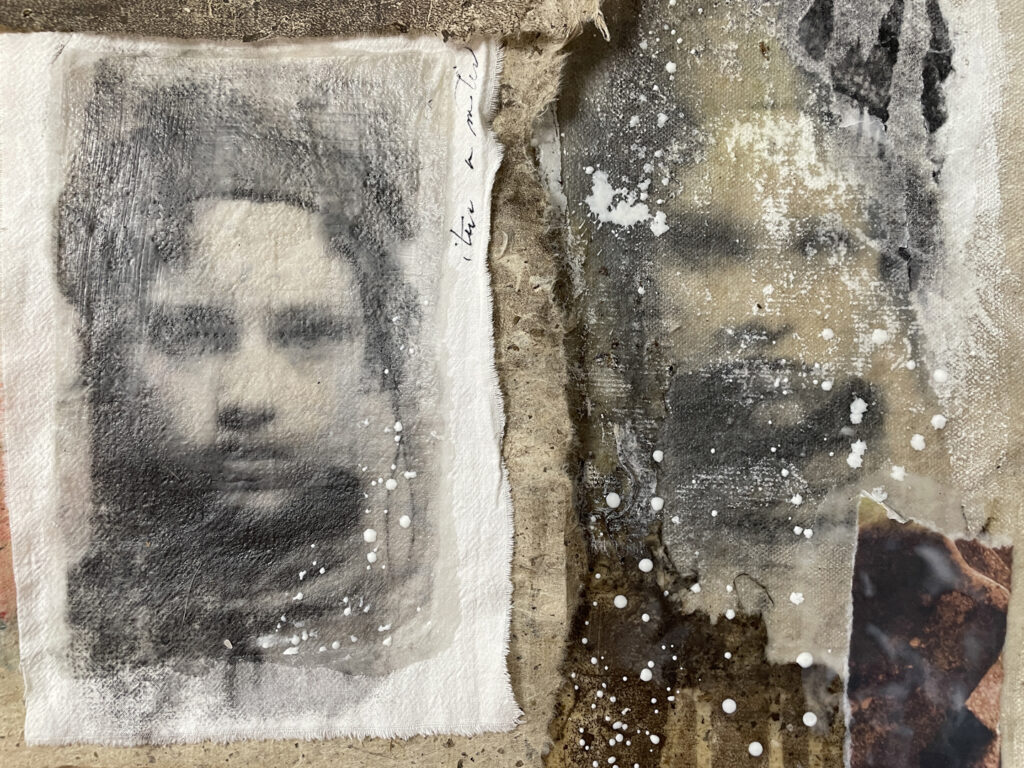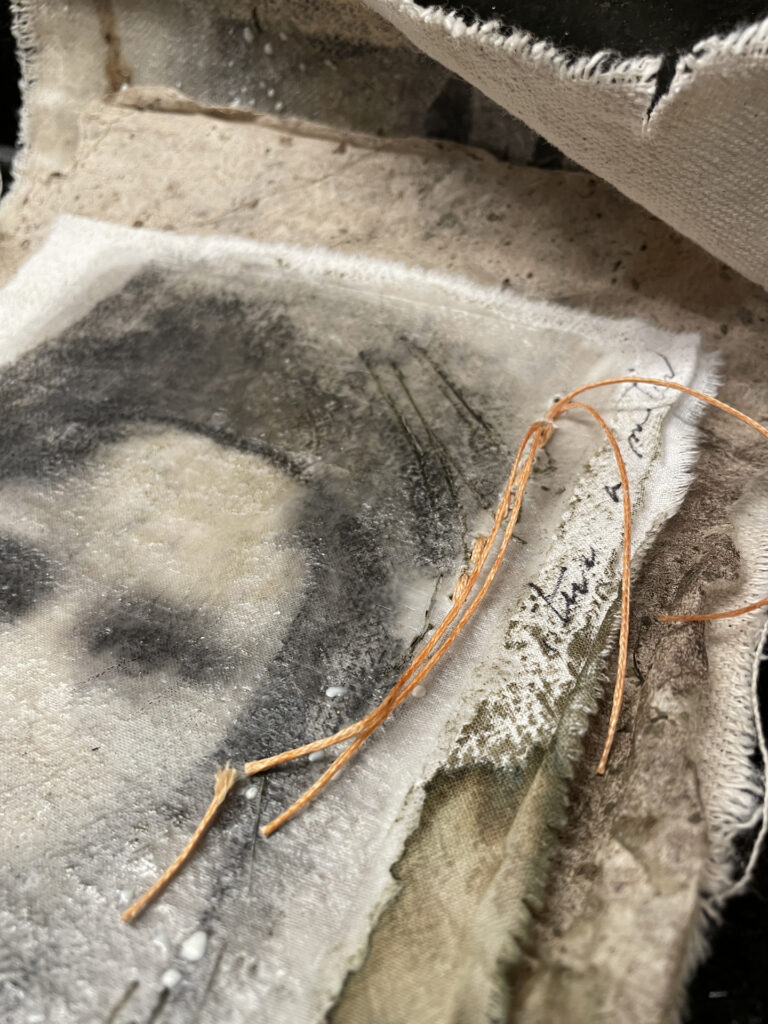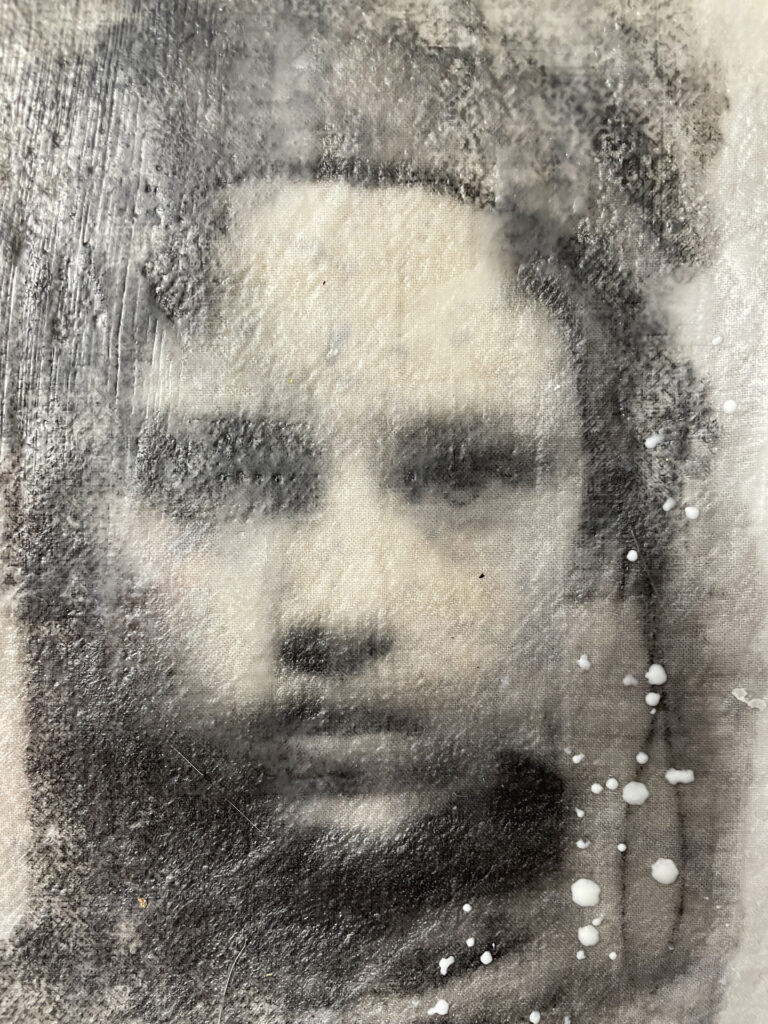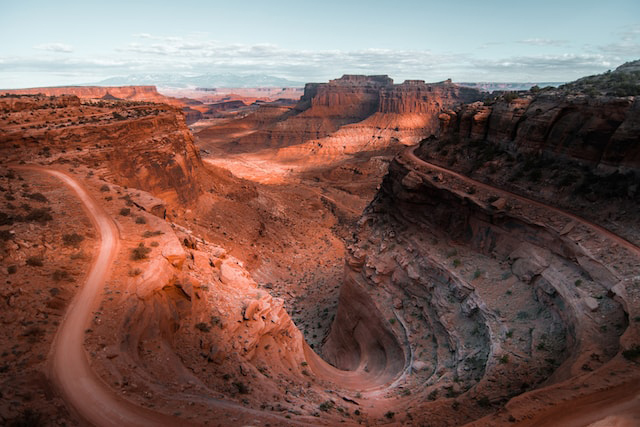
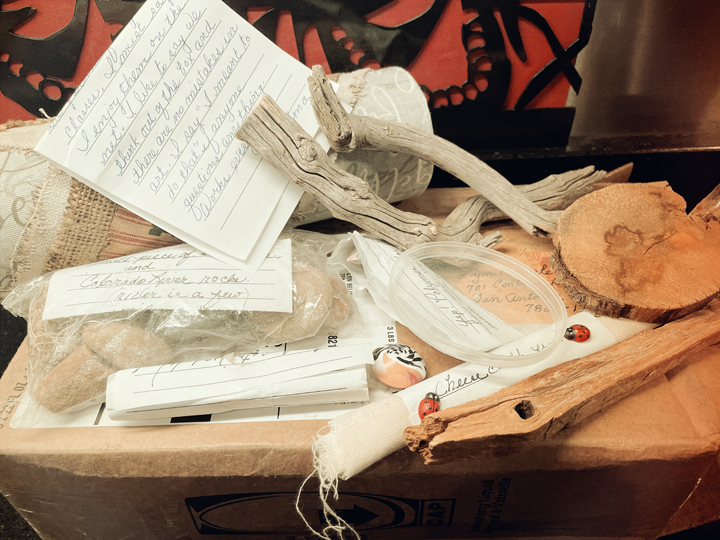
I’ve never been to Moab, Utah, but Moab came to me in a brown paper package a couple of days ago! My long-time online friend Wilma Sliger who lives there sent me a big assortment of sticks and stones and sand and beads and cheesecloth and petrified wood – a Moab sampler! Who doesn’t love getting an unexpected package in the mail??
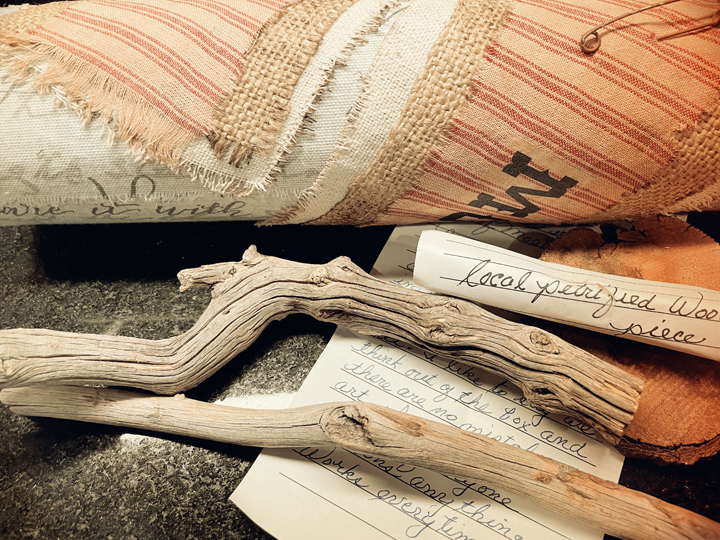
Even better, there were handwritten, funny notes attached to the objects.
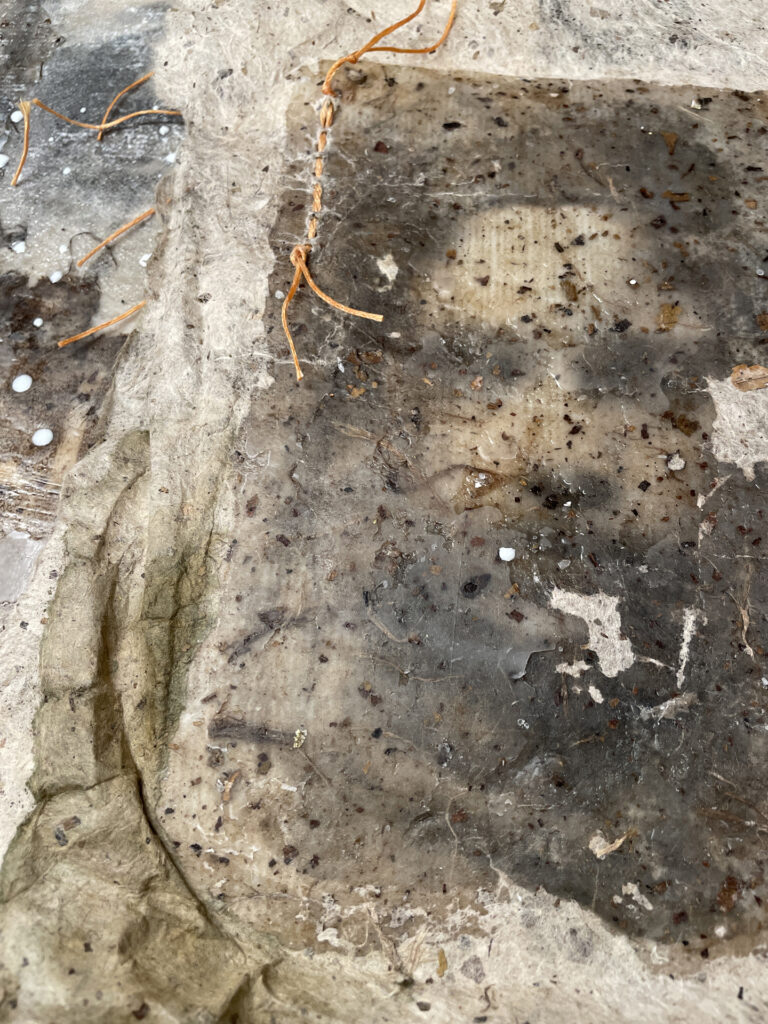
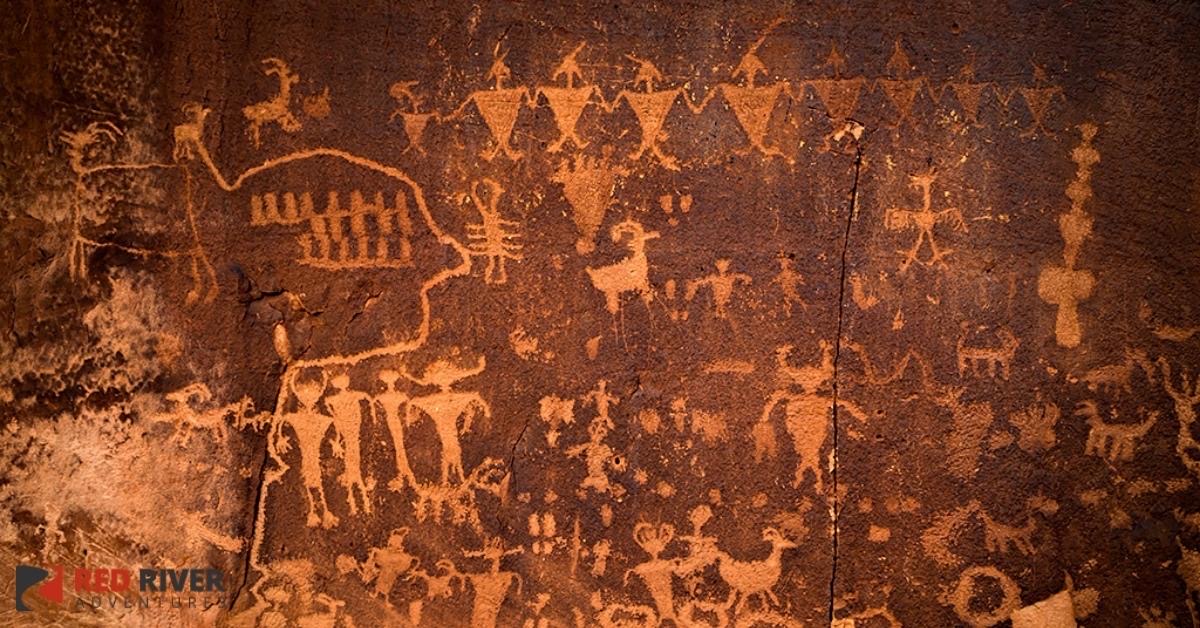
There is a small container of red sand include in the stash – just the thought of that red sand and the monumental land that it comes from gives me shivers. Maybe some prehistoric artist used that sand as a colorant on some of Moab’s magnificent petroglyphs.
I learned that when the iron molecules in the sand come into contact with the oxygen in the air, they oxidize – basically, they rust – turning into iron oxide, which has a reddish color. And you could mix them in acrylic medium or beeswax for a faux rust finish, I’ll bet.
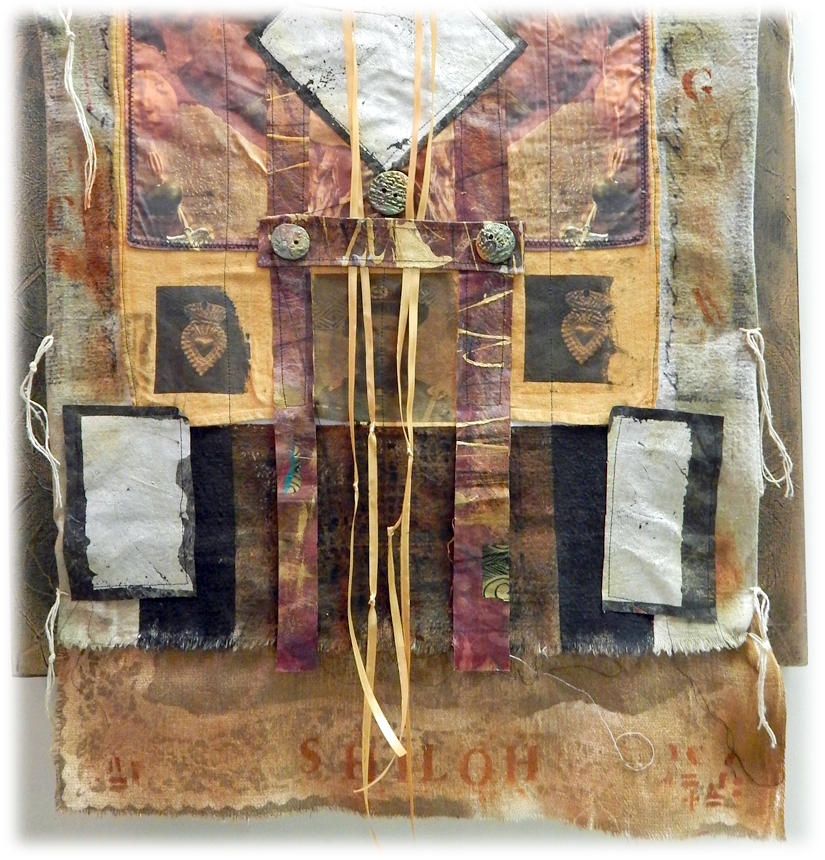
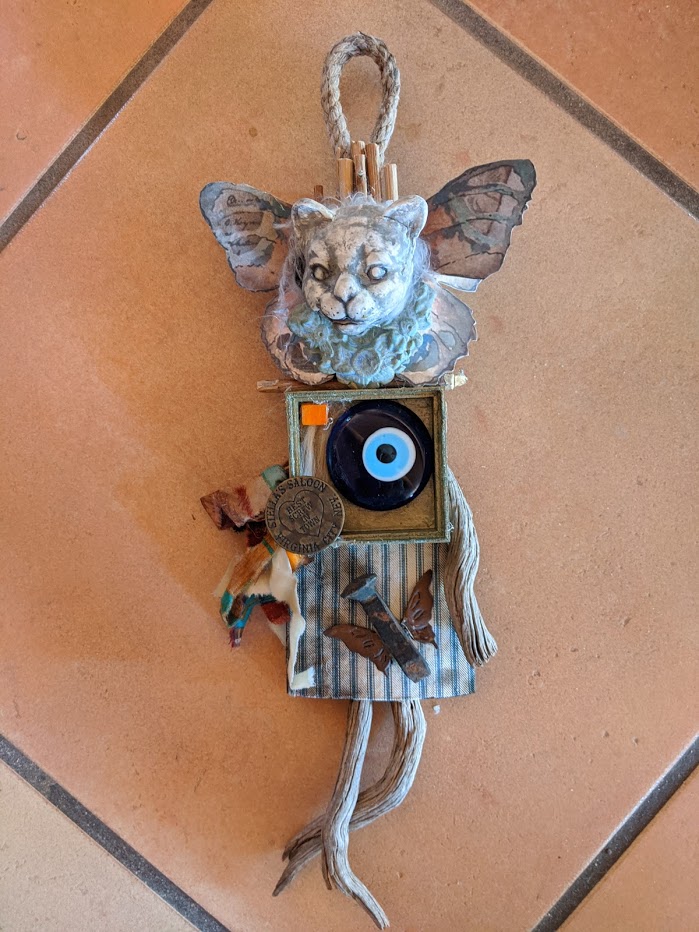
Obviously, Wilma feels the magic of the land in her own work – I did a post on her cat shamans a couple of years ago. This one has an glass evil-eye protection charm and looks pretty scary-clever to me.
Two things to take away from this – one, wherever you live and create, that area has its own resonance, quiet or dramatic, powerful or gentle. If you are ever in need of inspiration, go outside and look around you at the big things and the small ones.
And secondly, put some special treasures in a brown paper package and send it to a friend in another part of the country or world – it will make their day!!
PS . Here’s a little checklist of ways to connect with the land no mater where you live. Some you may be doing, some may be obvious, some may not work for you, but all are good practices:
Seeking inspiration and magic from nature in one’s local environment can be a deeply rewarding and sustainable source of creativity for artists. Here are five ways artists can connect with nature for inspiration:
- Daily Observations: Take time to regularly observe the natural world around you. Pay attention to the changing seasons, the behavior of wildlife, and the nuances of the landscape. Bring a notebook or sketchbook to jot down ideas, sketch, or make notes about what you observe. These small, daily observations can lead to significant creative insights.
- Nature Walks and Hikes: Explore your local parks, forests, trails, and green spaces. Spend time immersed in nature, and take long walks or hikes to connect with the environment. The sights, sounds, and smells of the natural world can trigger new ideas and emotions that can be channeled into your art.
- Natural Materials: Use natural materials as part of your creative process. This can include using leaves, flowers, twigs, stones, or other found objects in your artwork. Consider making natural dyes or pigments from plants for painting or using natural textures in your sculptures or installations.
- Photography and Sketching: Bring a camera or sketchbook with you on your outdoor adventures. Capture the beauty of nature through photography or create on-the-spot sketches. These visual records can serve as references for your artwork and help you better understand the details and patterns in the environment.
- Community Involvement: Join local environmental organizations, conservation groups, or community gardening projects. Volunteering or actively participating in these activities can provide a sense of purpose and connection with the environment. It can also expose you to like-minded individuals who share your passion for nature and creativity.
Remember that inspiration from nature can come from the smallest details, so stay open to the subtleties of your surroundings. The magic and inspiration are often found in the intricacies of the natural world, and by immersing yourself in your local environment, you can develop a deep and personal connection to your surroundings that will infuse your art with a unique sense of place and meaning.