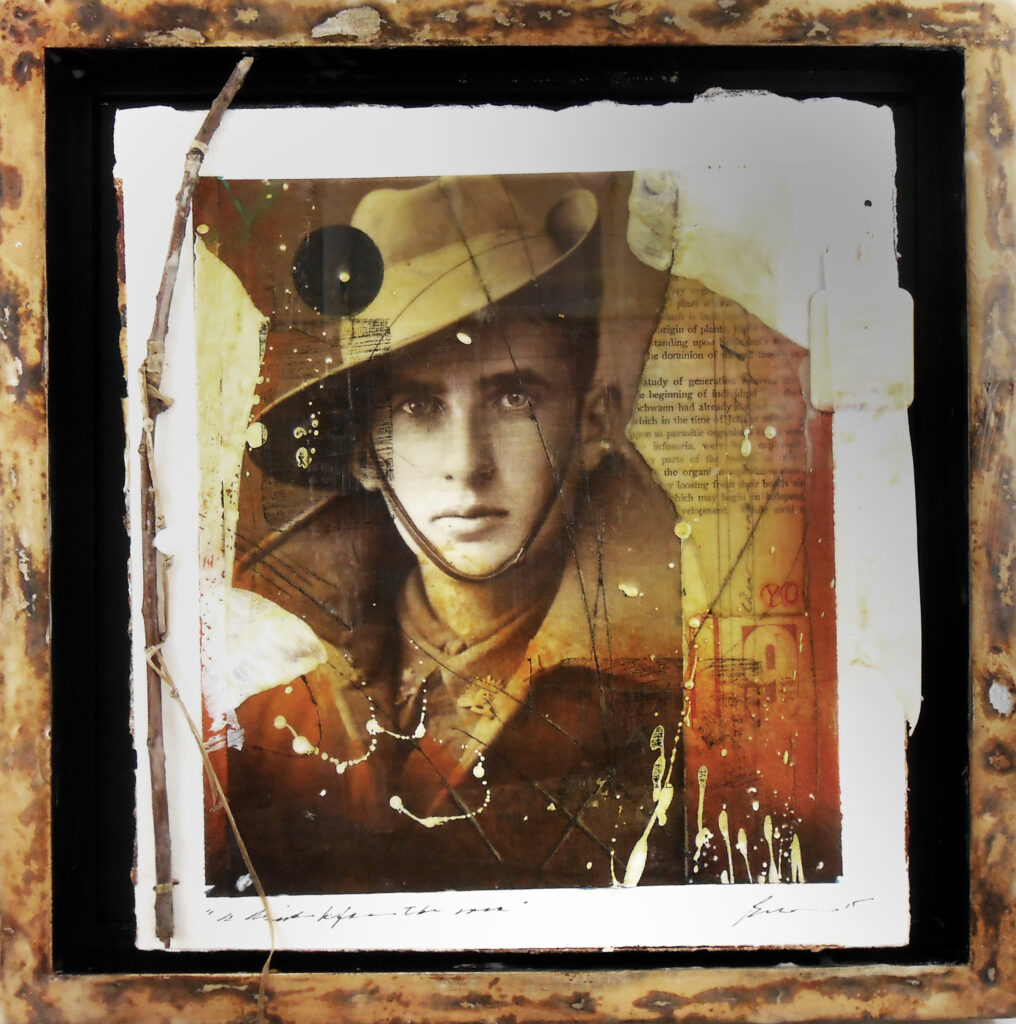
I have discovered that some of the most meaningful artworks I make begin not with my own ideas, but with an invitation to serve. A call for a themed exhibition (like Celebration Circle’s Altar Show). A collaborative project. A request from an arts organization. These opportunities often seem like small commitments—one more piece to make, one more deadline to meet. Yet time and again, they have introduced me to new histories, new communities, and unexpected teachers.
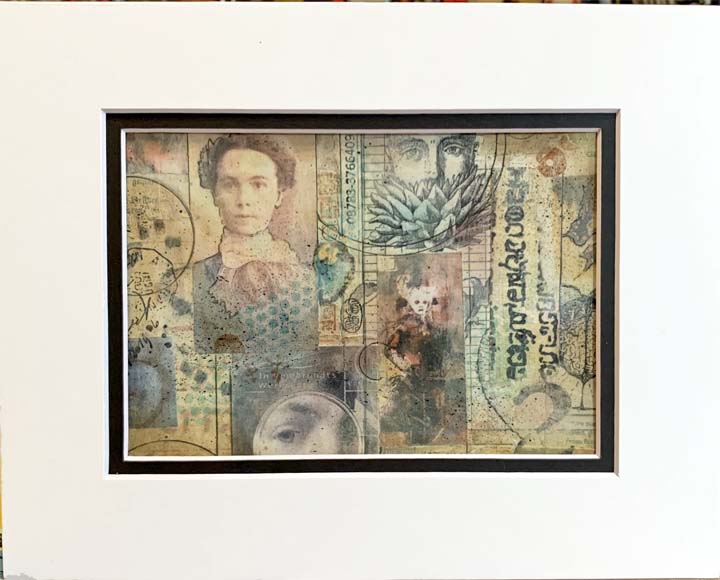
Recently, I was invited to participate in a members’ project sponsored by the Women’s Caucus for Art. The concept was fascinating: artists were assigned, at random, one of the organization’s Lifetime Achievement Award honorees and asked to create a “Zoom-style” portrait imagining that woman appearing on our computer screens today.
I was assigned Lorraine O’Grady. At first, I knew almost nothing about her. What a gift that turned out to be!
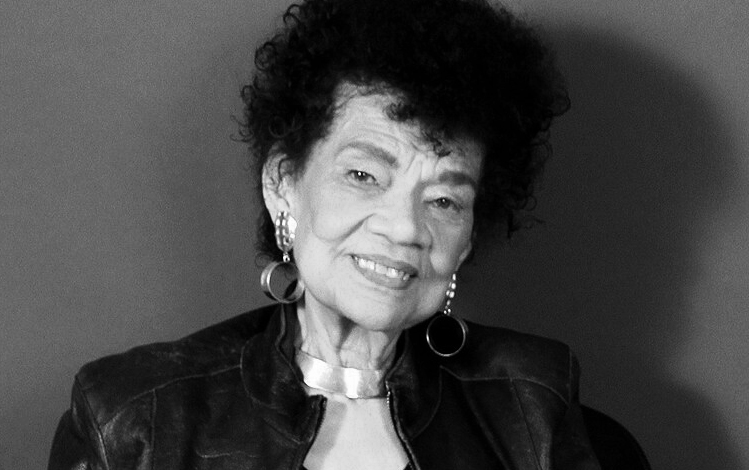
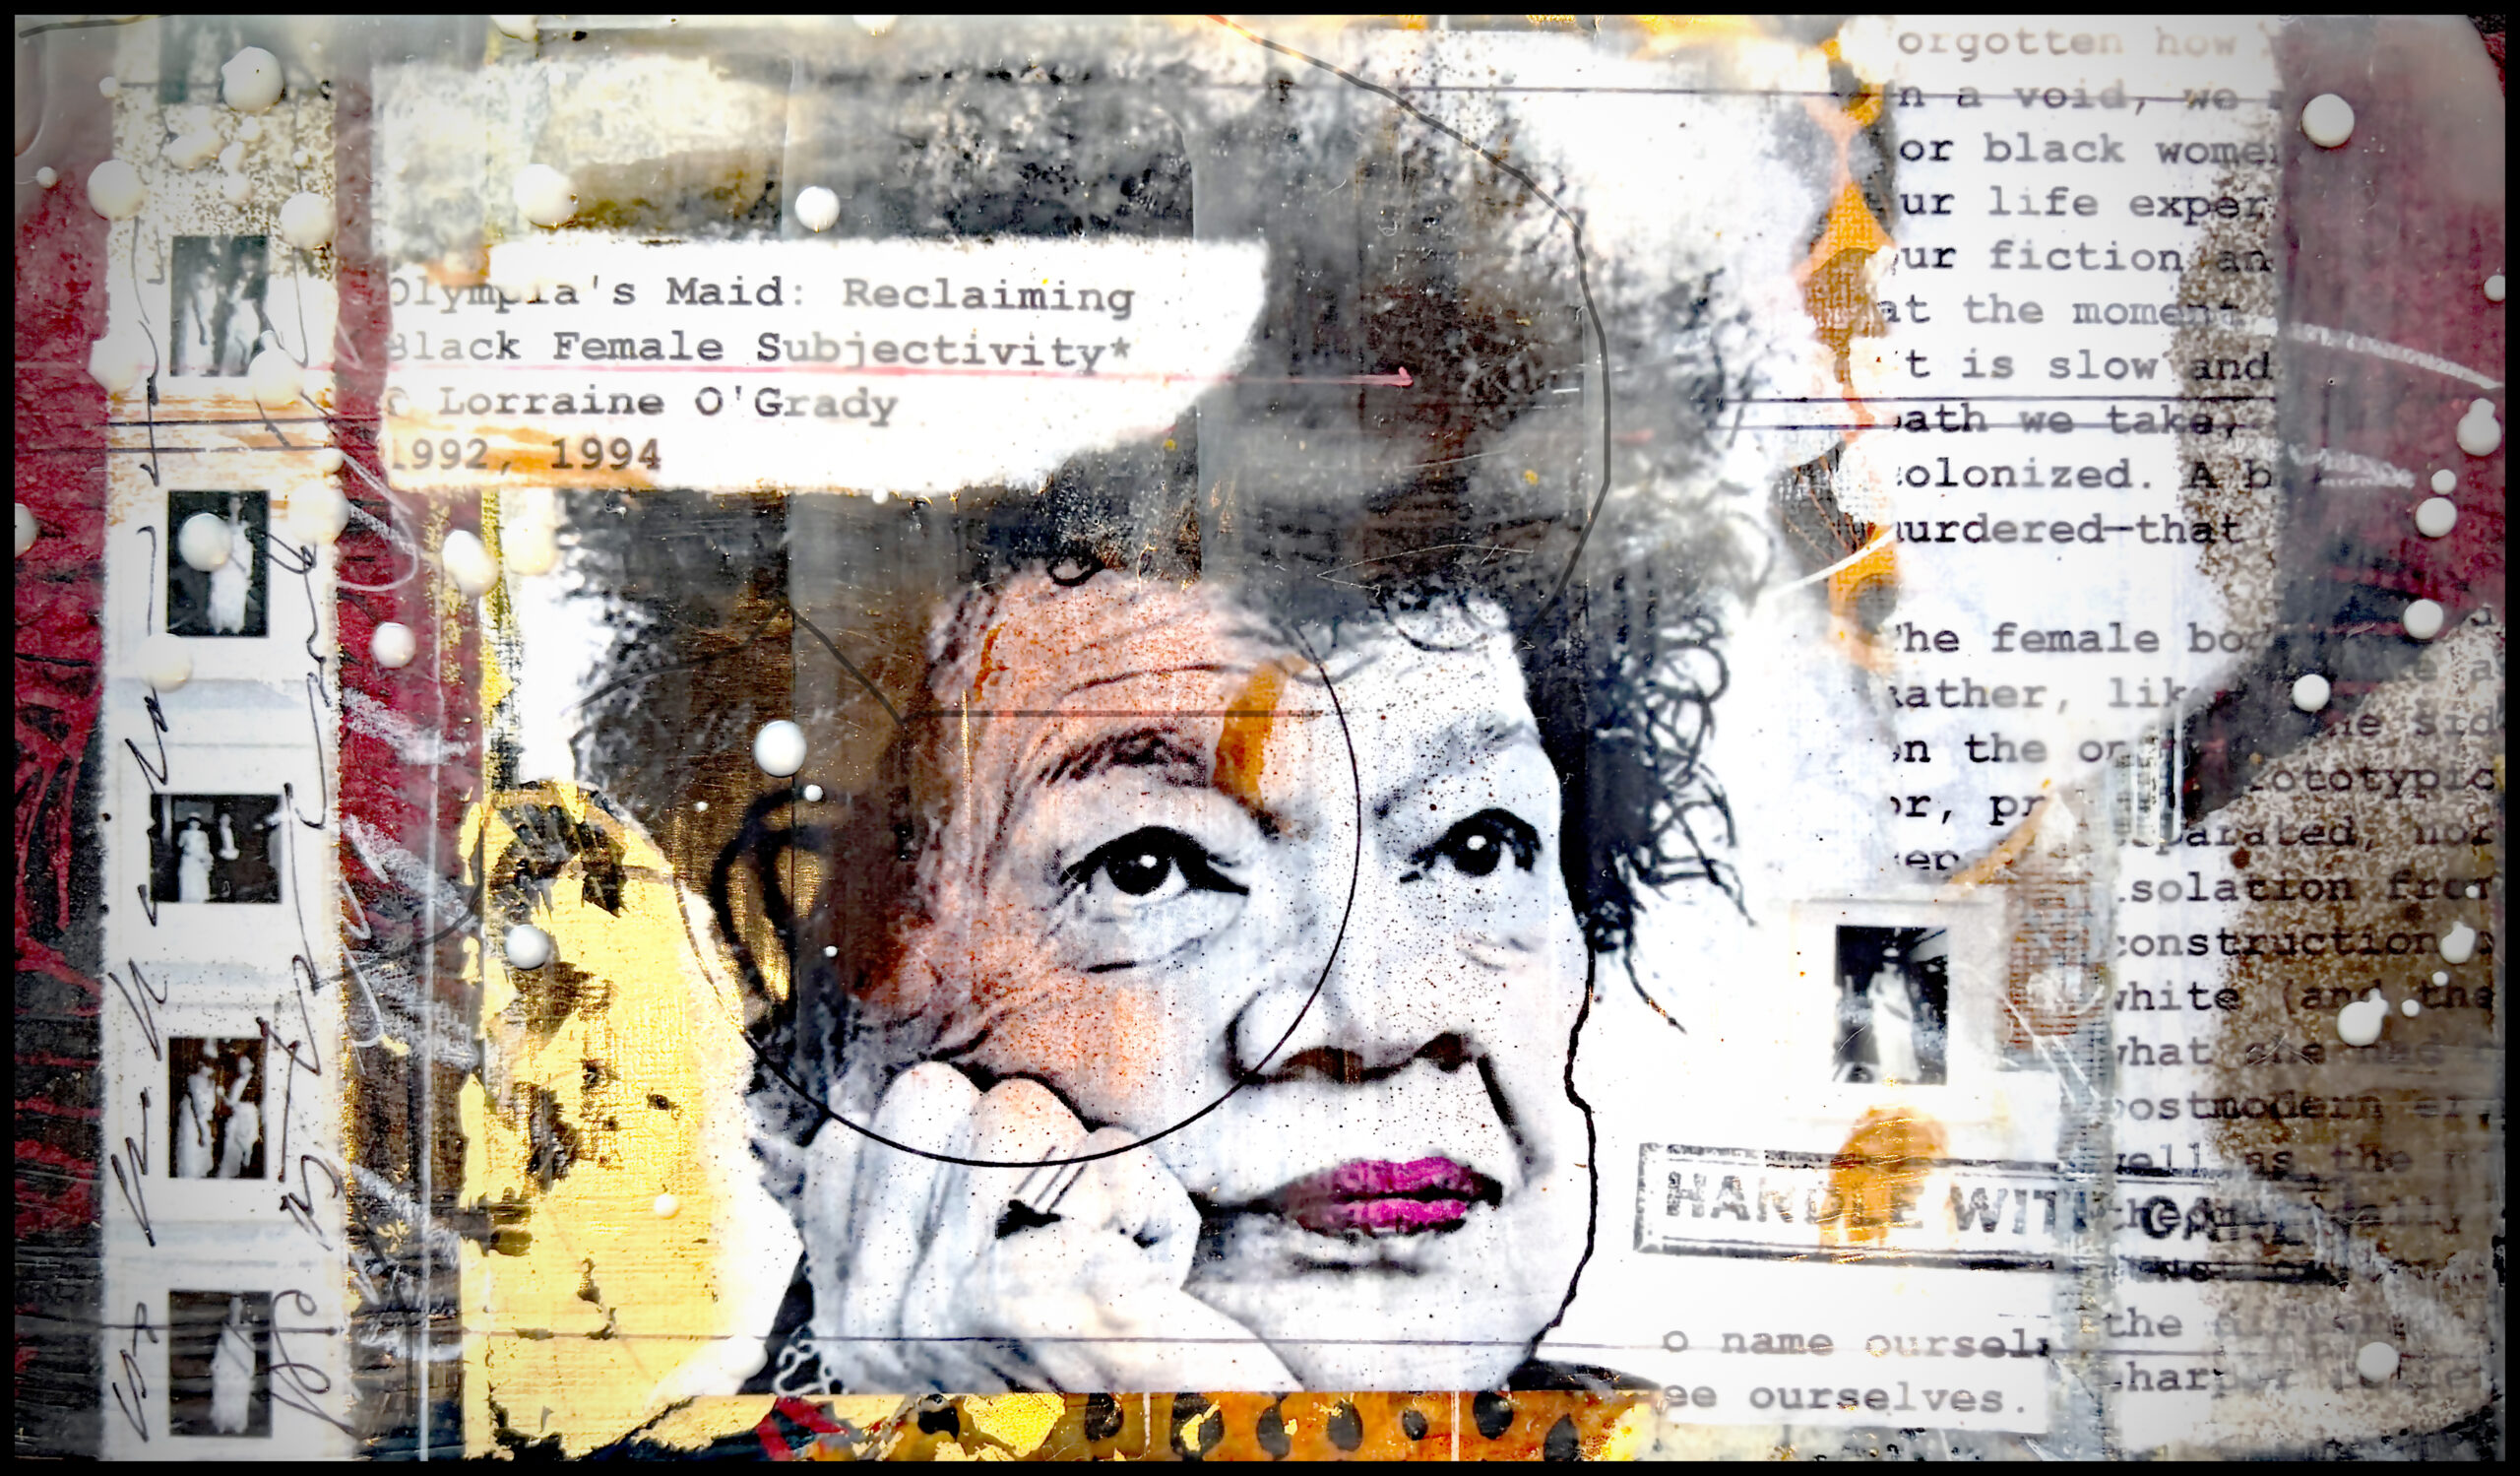
As I began reading her essays and studying her photographs, performances, curatorial projects, and activism, I found myself in conversation with an artist whose ideas feel astonishingly contemporary. O’Grady challenged exclusion in the art world and insisted upon the complexity and visibility of Black female subjectivity.
Again and again, she asked essential questions: Who is seen? Who is heard? What remains outside the frame?
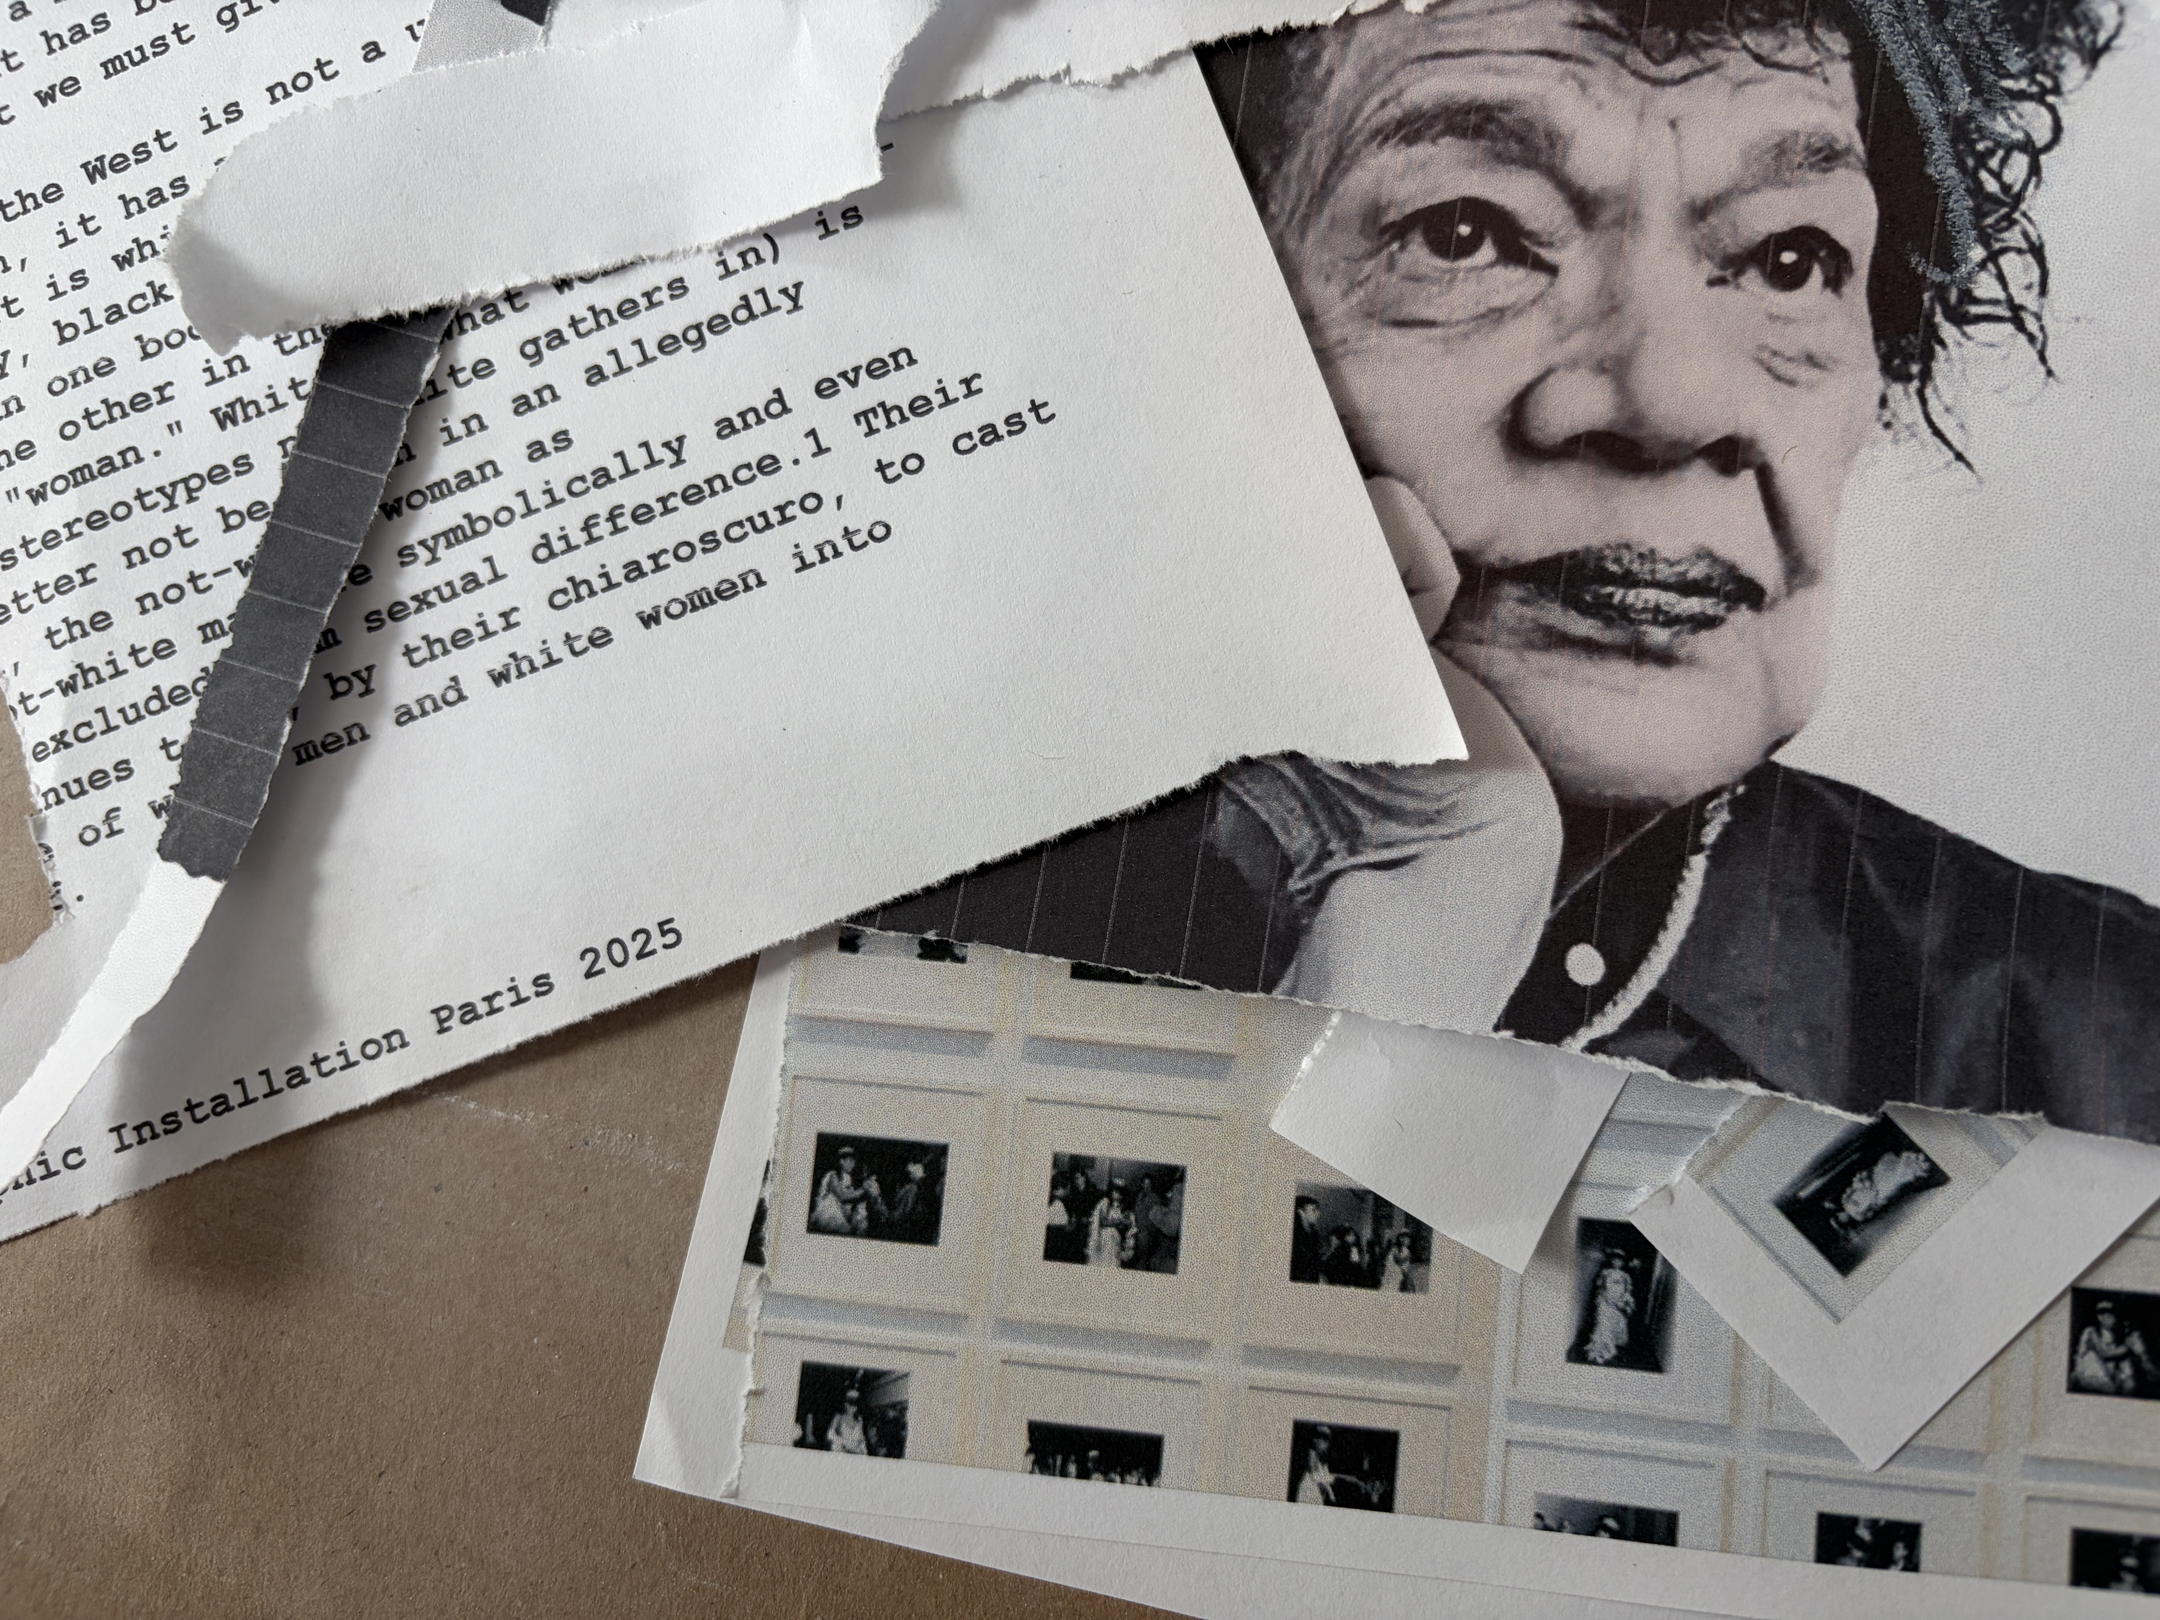
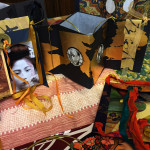
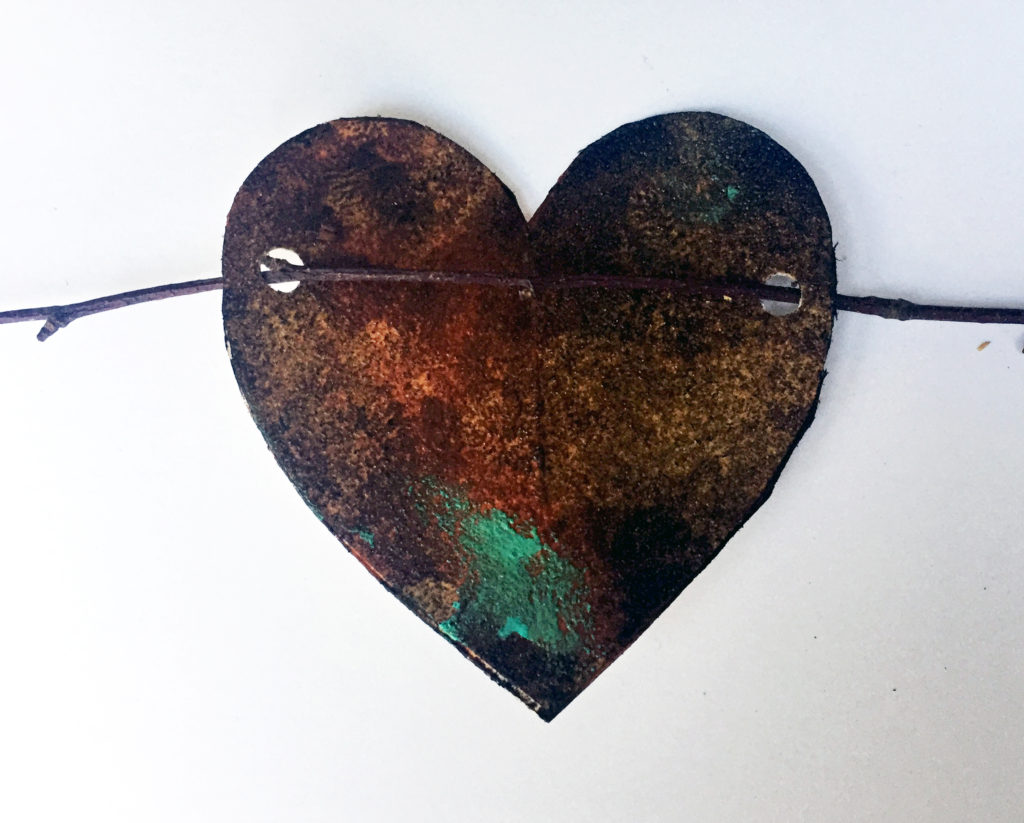
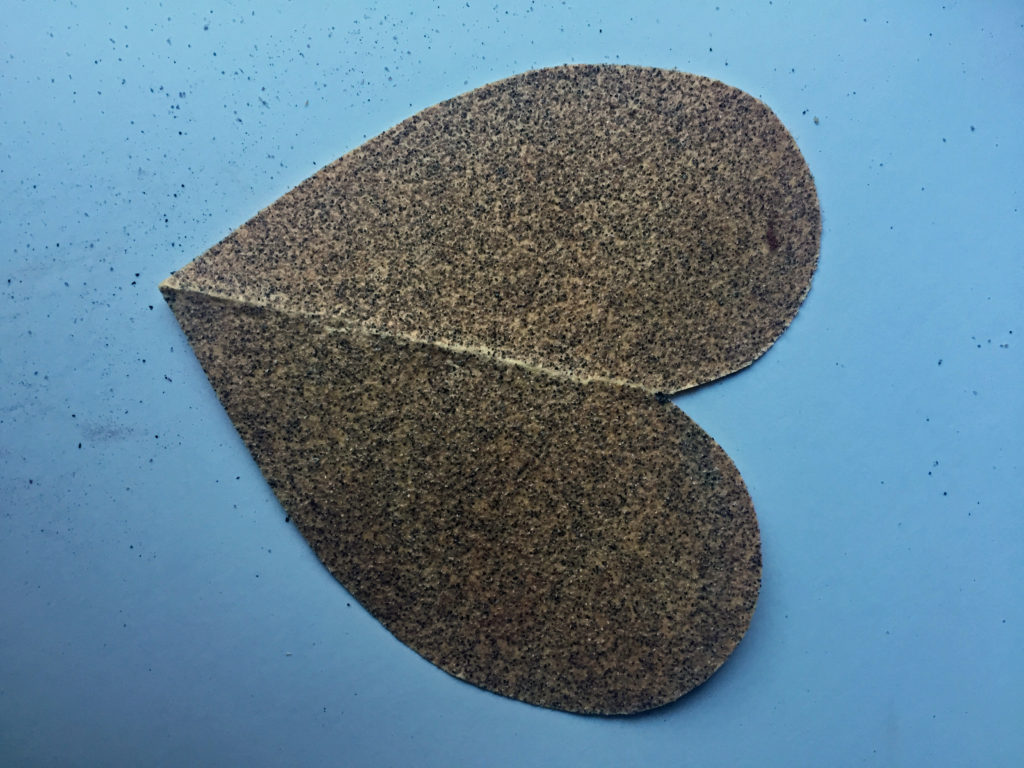
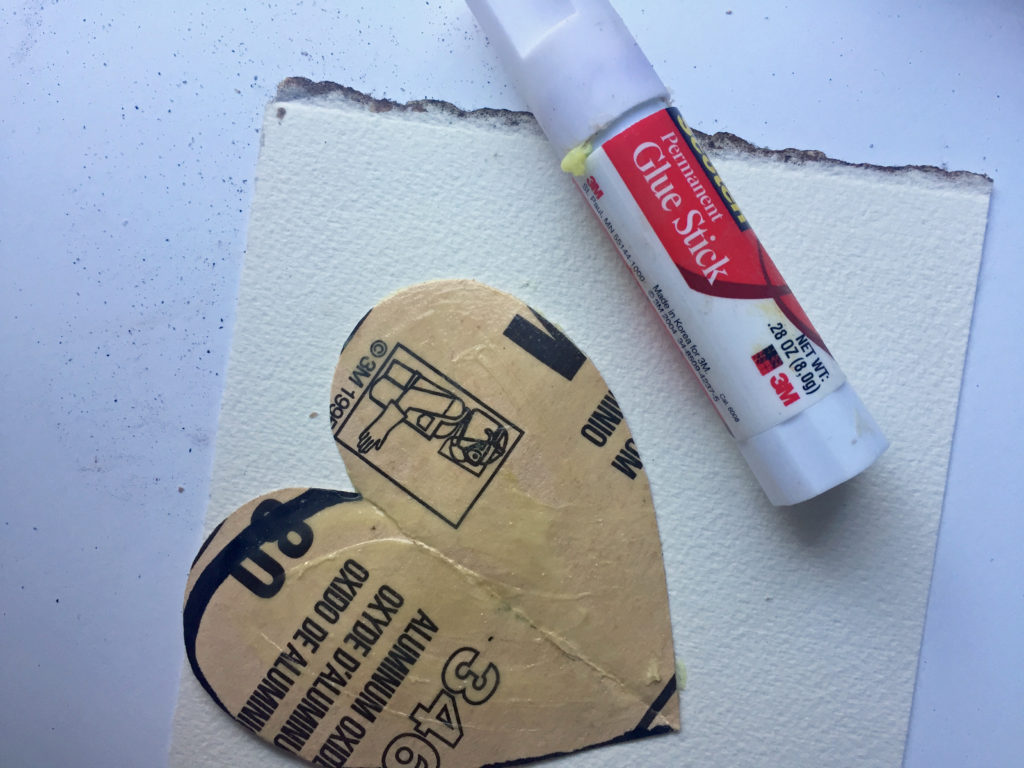
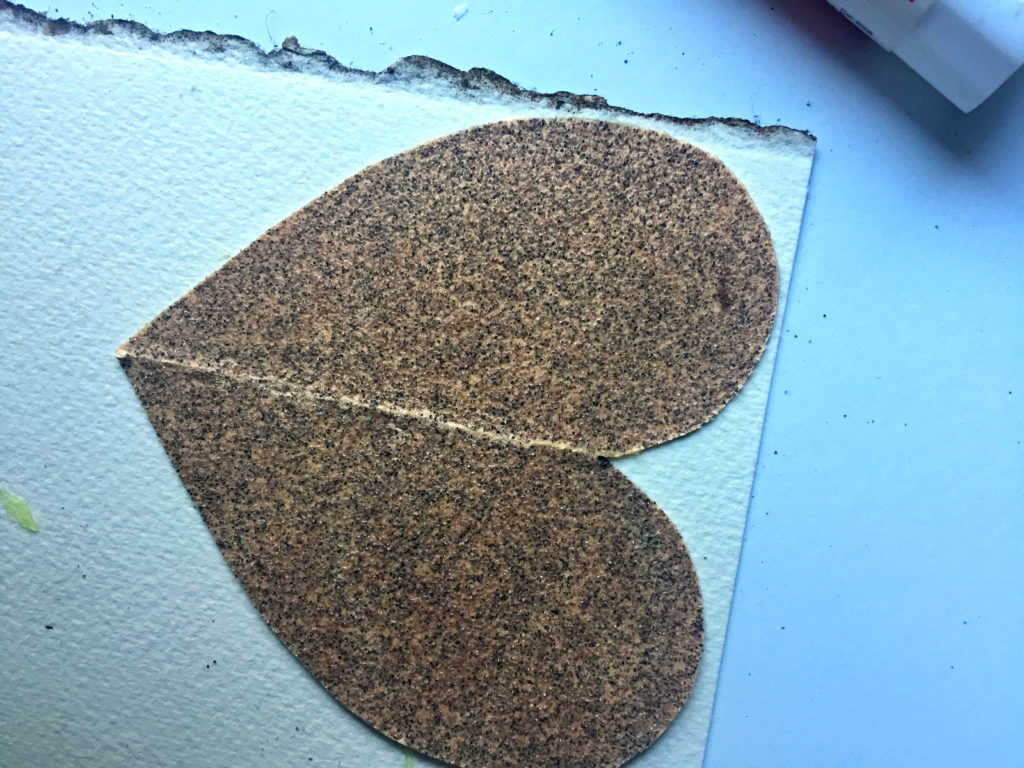
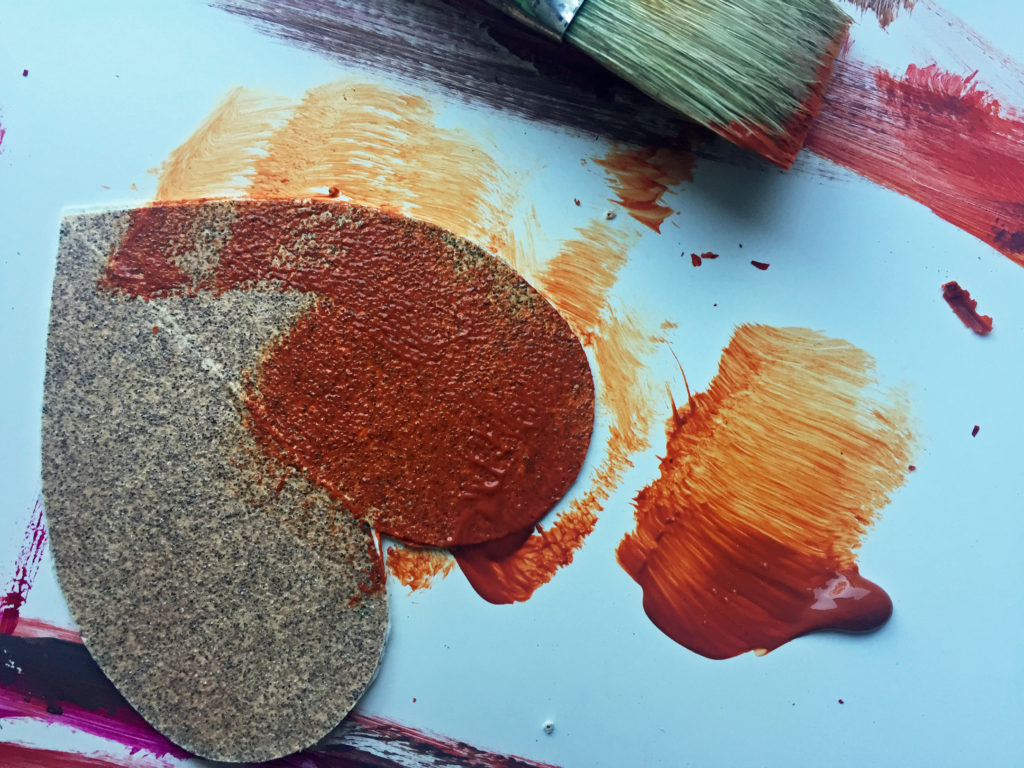
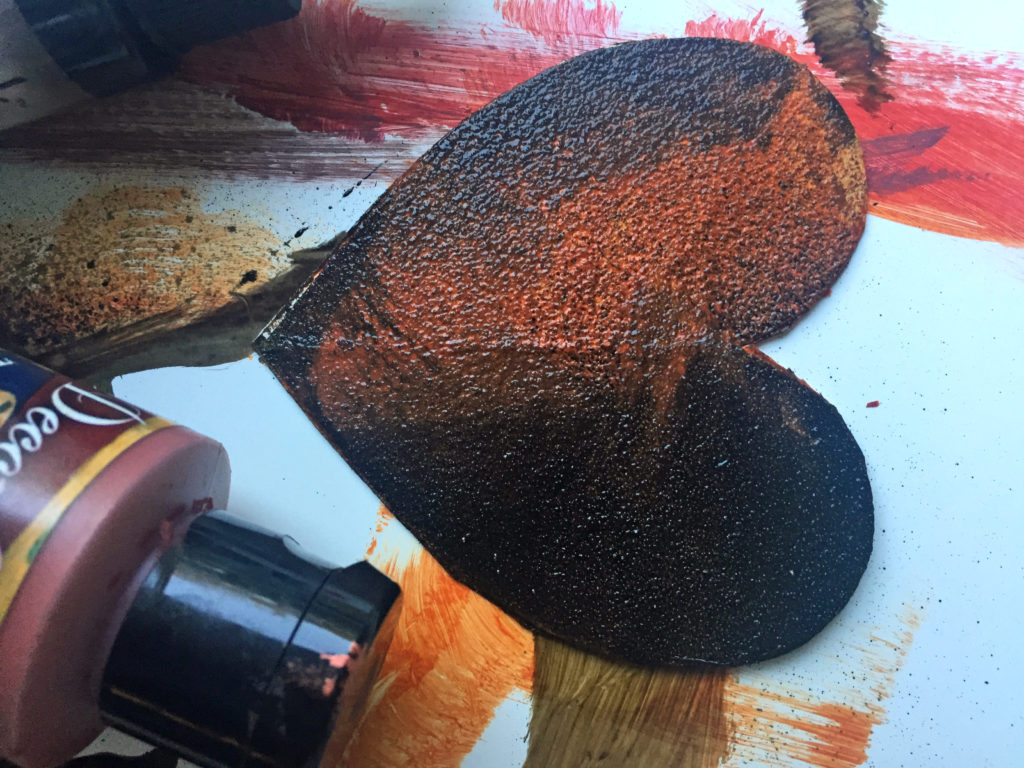
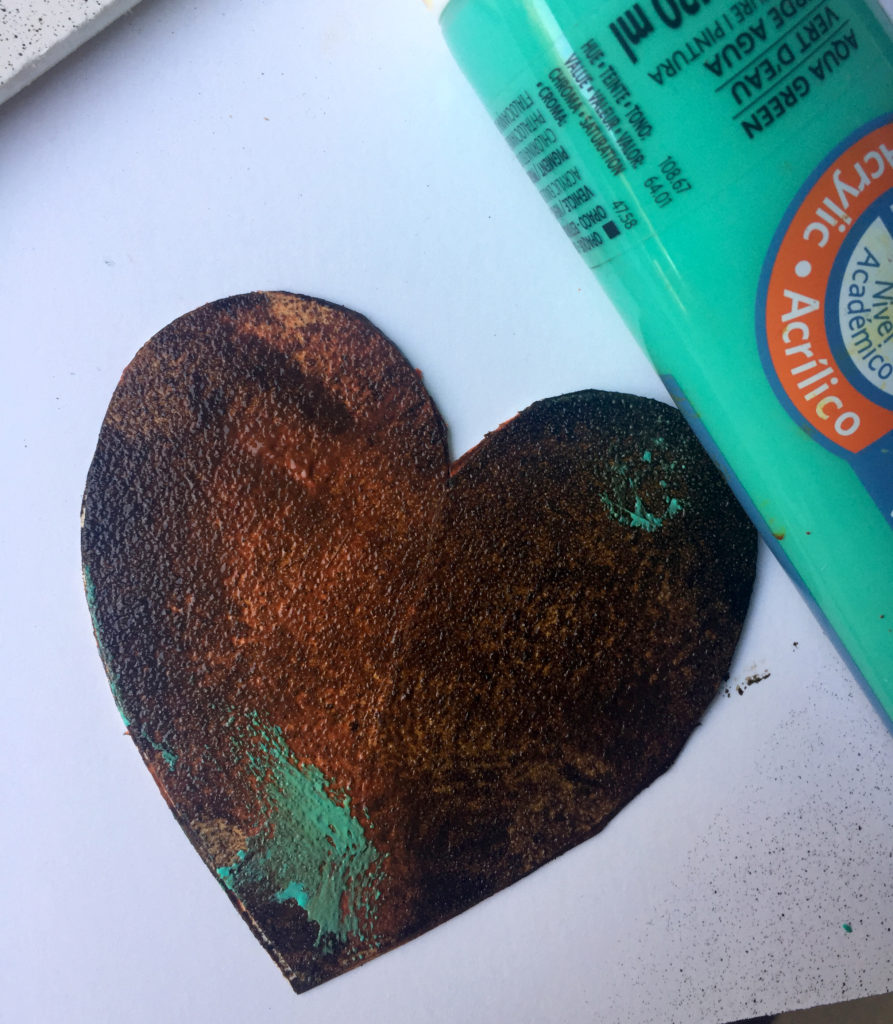
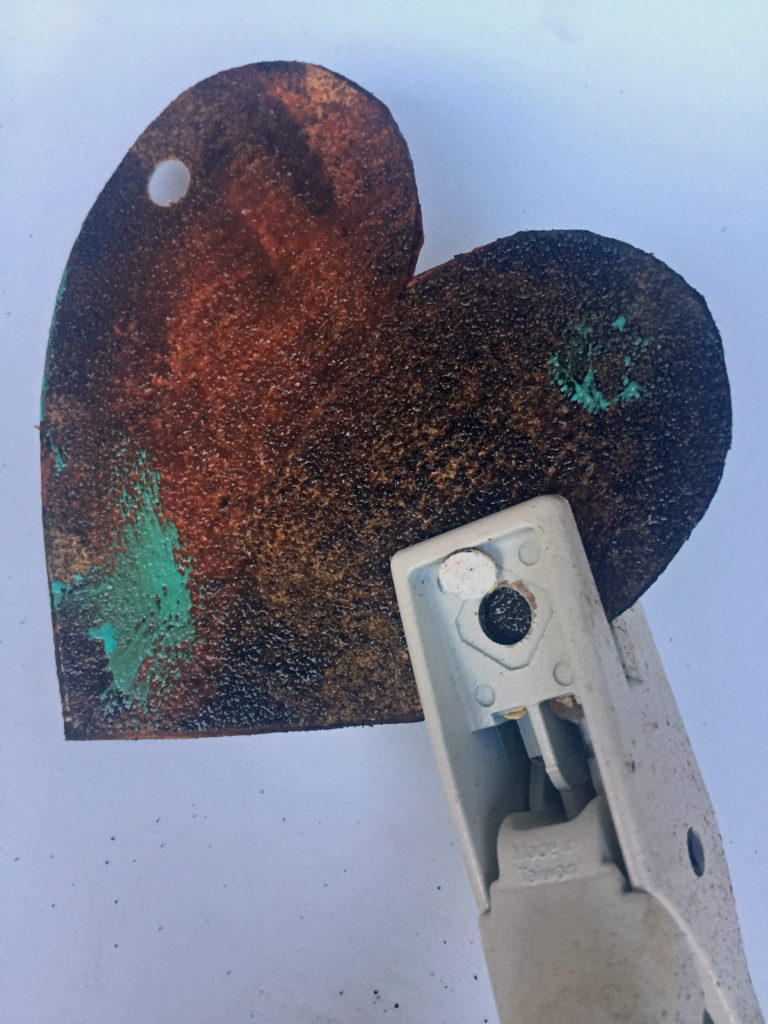
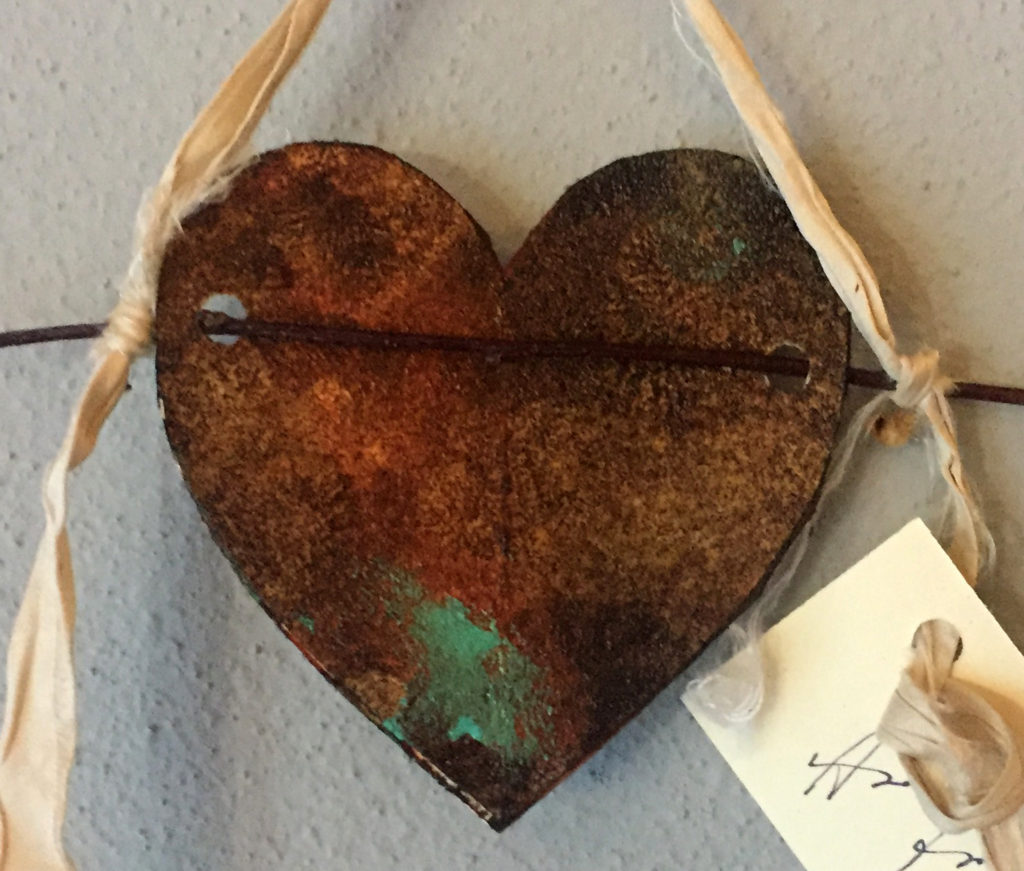
The encaustic mixed-media “pop-art” portrait I eventually created (the size of a Zoom frame, 10.5” x 6”) became more than an image of Lorraine O’Grady. It became an act of listening.
The Women’s Caucus project asks us to imagine contacting the past through contemporary technology. What might these remarkable women tell us about the path ahead? What might we learn by looking more closely at their surroundings and their work?
Artists spend so much time alone in our studios that we can begin to believe our journeys are solitary ones. They are not.
This is one of the benefits of belonging to organizations and solidarity groups such as the Women’s Caucus for Art, Fiber Artists of San Antonio, GAGA, or other creative communities. We often join because we want to support advocacy, education, and collective action. We want our voices to be stronger together than they are alone.
But there is another gift. These organizations continually lead us beyond ourselves.
They introduce us to artists we might never have encountered, histories we were never taught, and communities of makers whose concerns resonate deeply with our own. They remind us that our work exists within a much larger lineage.
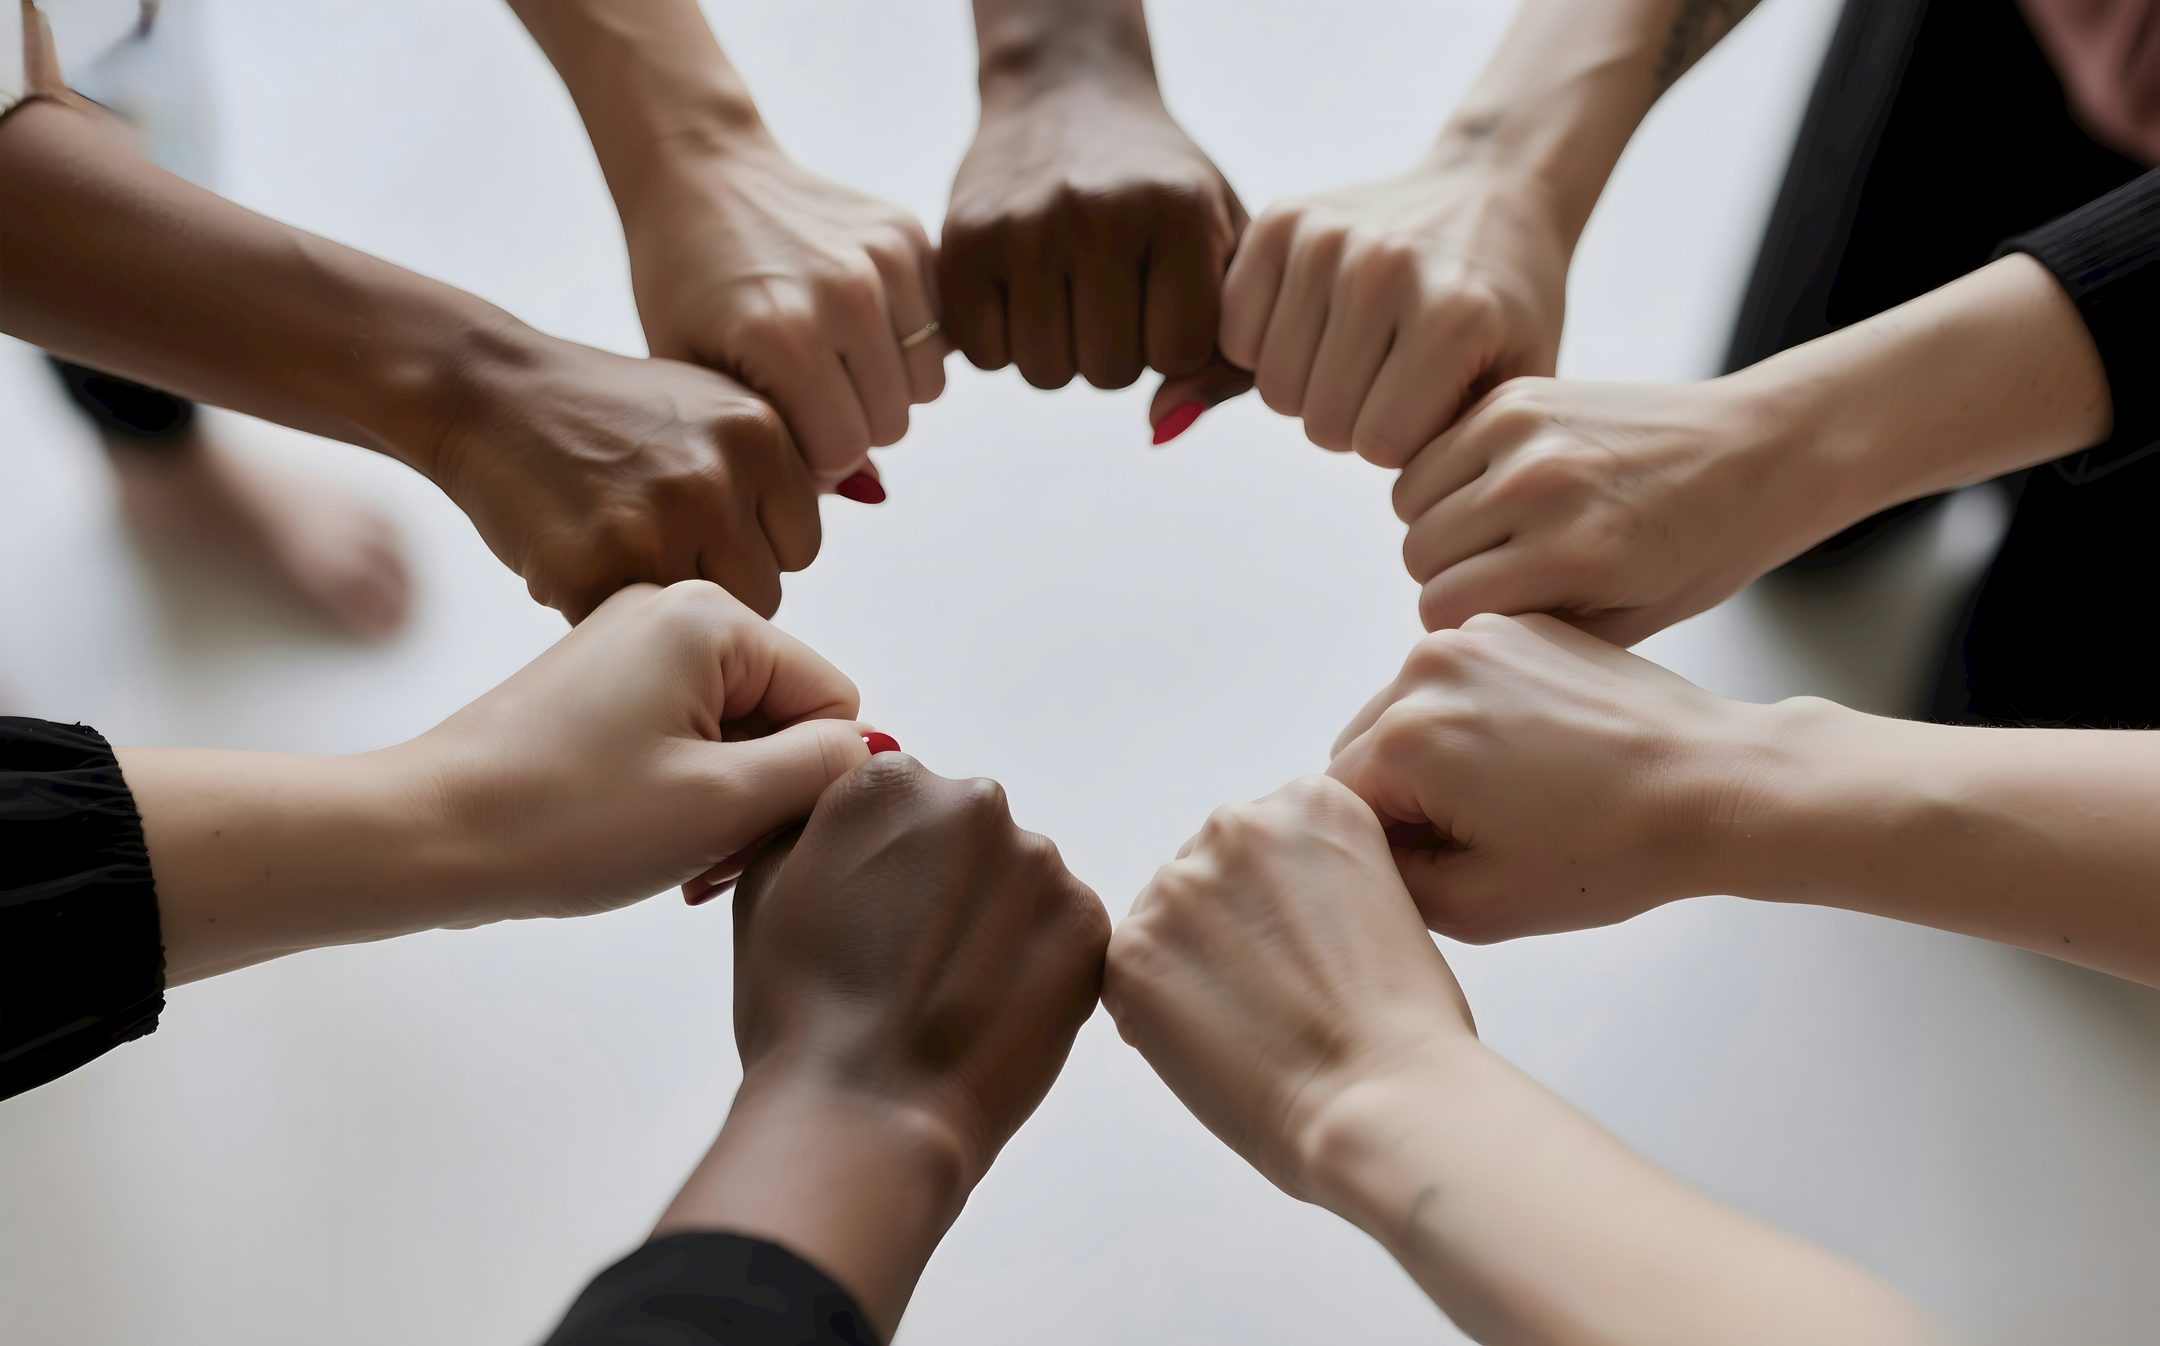
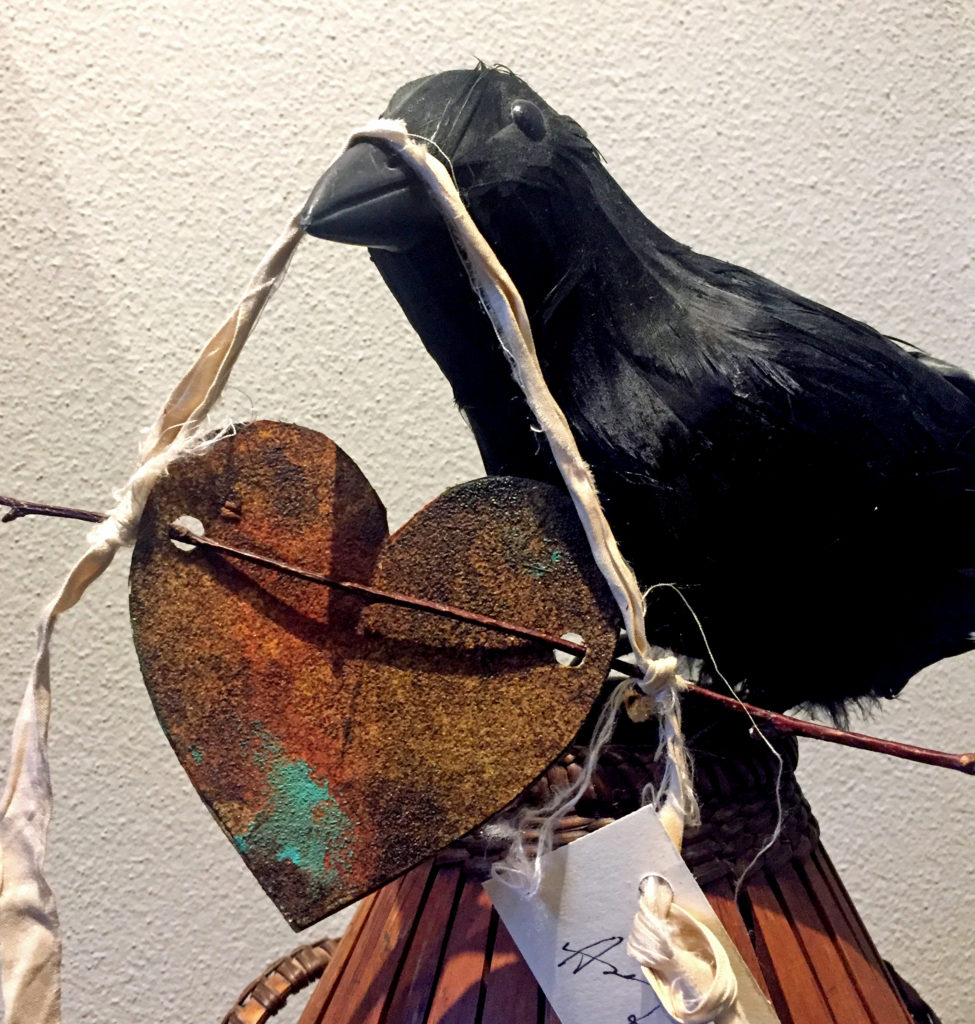
Photo by Kamil Kalkin
The Women’s Caucus project particularly reminded me of the remarkable legion of women artists whose names may not be widely known outside art circles, yet whose contributions have profoundly shaped culture and social change. Their stories deserve to be revisited, shared, and carried forward.
Maybe that is one of the reasons collaborative projects matter so much.
We agree to make a small artwork, and in return, we inherit an ancestor.
We offer our time and talents to a community, and in return we are reminded that we belong to something larger than ourselves—a vast, interwoven history of artists who have used creativity not only to make beautiful objects, but also to question, advocate, preserve memory, and imagine more generous futures.
Lorraine O’Grady’s Zoom portrait is now waits to travel to the exhibition in the Salmon Library Gallery at The University of Alabama. But the real gift is already here.
I know her work now. I have spent time with her ideas. I have listened to her questions.
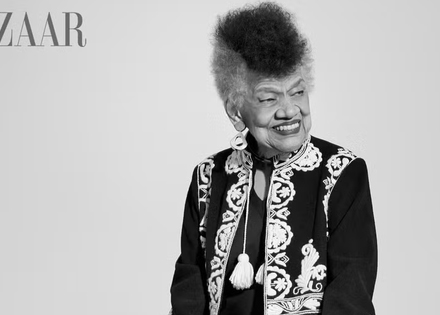
Read the article about O’Grady in Harper’s Bazaar, written just after her death in 2024
I said yes to the WCA request because I wanted to support an organization I value. I did not expect to come away this inspired.
But perhaps that is one of the unexpected miracles of artistic advocacy: when we step outside our own studios to contribute to something larger, we often return carrying new stories, new influences, and new companions for the journey.
Sometimes, in saying yes to a small project, we discover a larger world. And sometimes, if we are fortunate, we discover a new teacher waiting there.
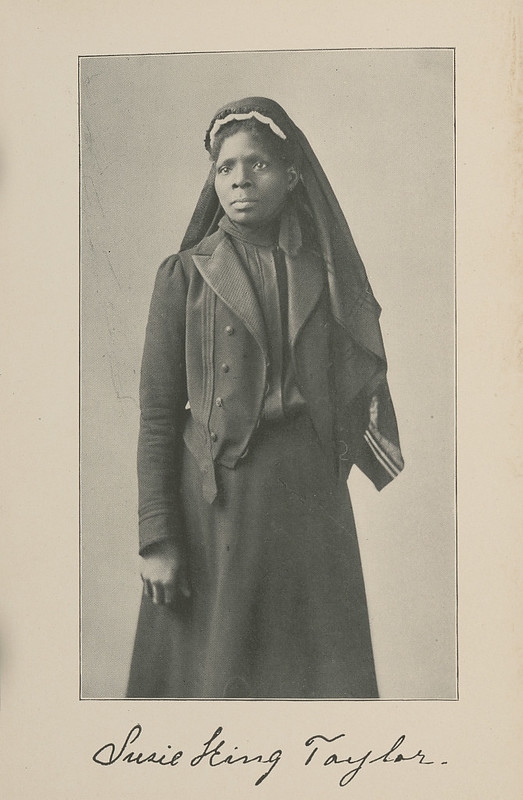
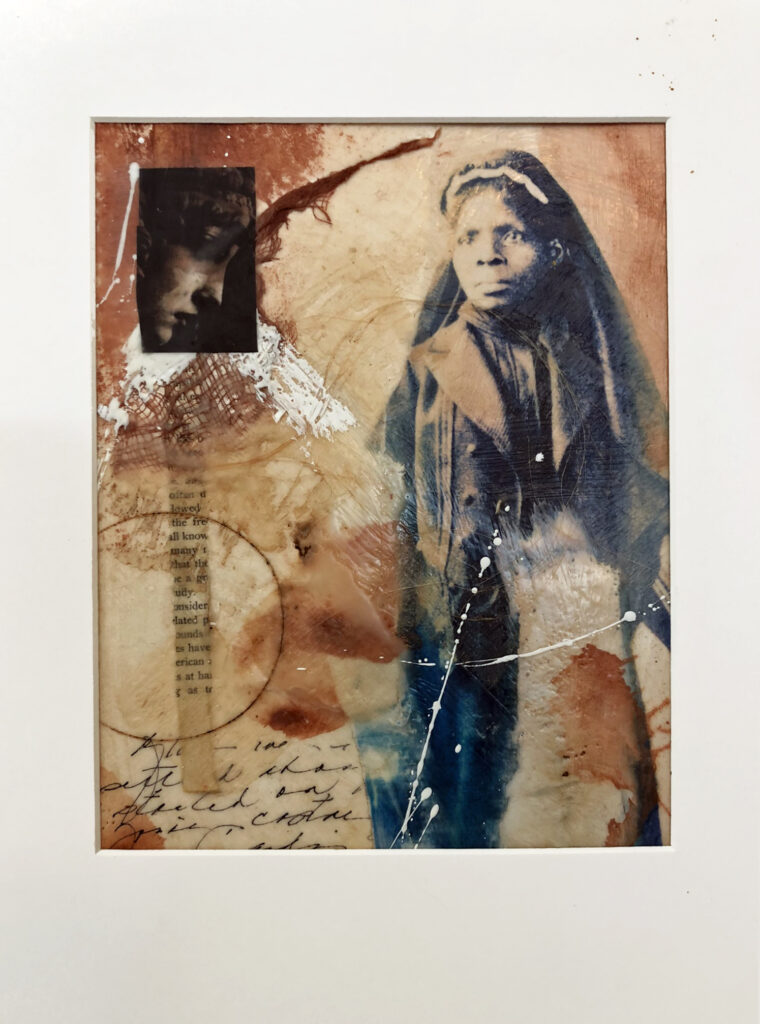 Susie
Susie


 Last night, I visited the