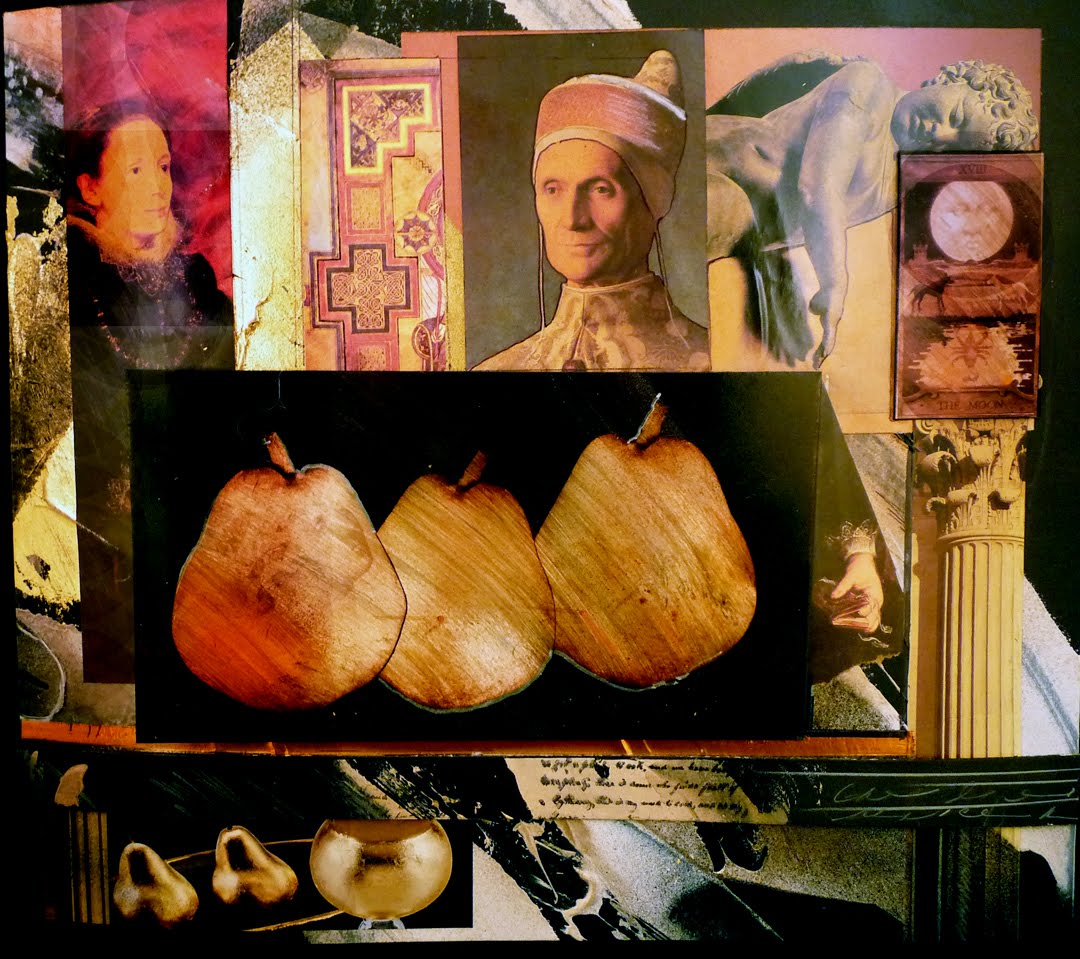
I think it may be – this piece is interesting. It doesn’t have a name yet, something about Venice and Doges and such probably.I knew I wanted to use a Tarot card and thought I knew which one, but found I was holding them against the work and “letting” them tell me which one to use. It turned out to be a different one, The Moon instead of the Page of Staves. Yikes, I’m losing it! But it was fun.
Cynthia Wenslow (aka the lovely Raven), talented artist and art advocate from Austin, included me in her series of Texas Artist Portraits and the results of the interview and her photographs taken in my studio were posted today: Texas Artist Portrait Project: Lyn Belisle I am so grateful to have been included in such a visionary project by a woman who does everything with grace and flair – thanks, Cynthia!
My favorite of four new works was happily someone else’s favorite at last night’s opening of LaVida Gallery in Southtown. It’s my new art venue, and the owner, Carole, has been wonderfully supportive. When I brought in four pieces at the last minute, she hung them in a great spot And my collage, Lady of Anjou, sold! I even got to meet and talk to the buyer. The opening itself, held on the established First Friday art night in San Antonio, featured musicians, food and wine and a lovely courtyard for visiting outside on the balmy evening. It’s nice to be a productive artist with a sale – Carole wants more work and I think I’m on a new creative track with this series, not too far from what I’ve been doing with the Kindle covers, but a bit more narrative. Carole hung my work on a vivid green wall – I wondered about the contrast, but it worked! See for yourself.
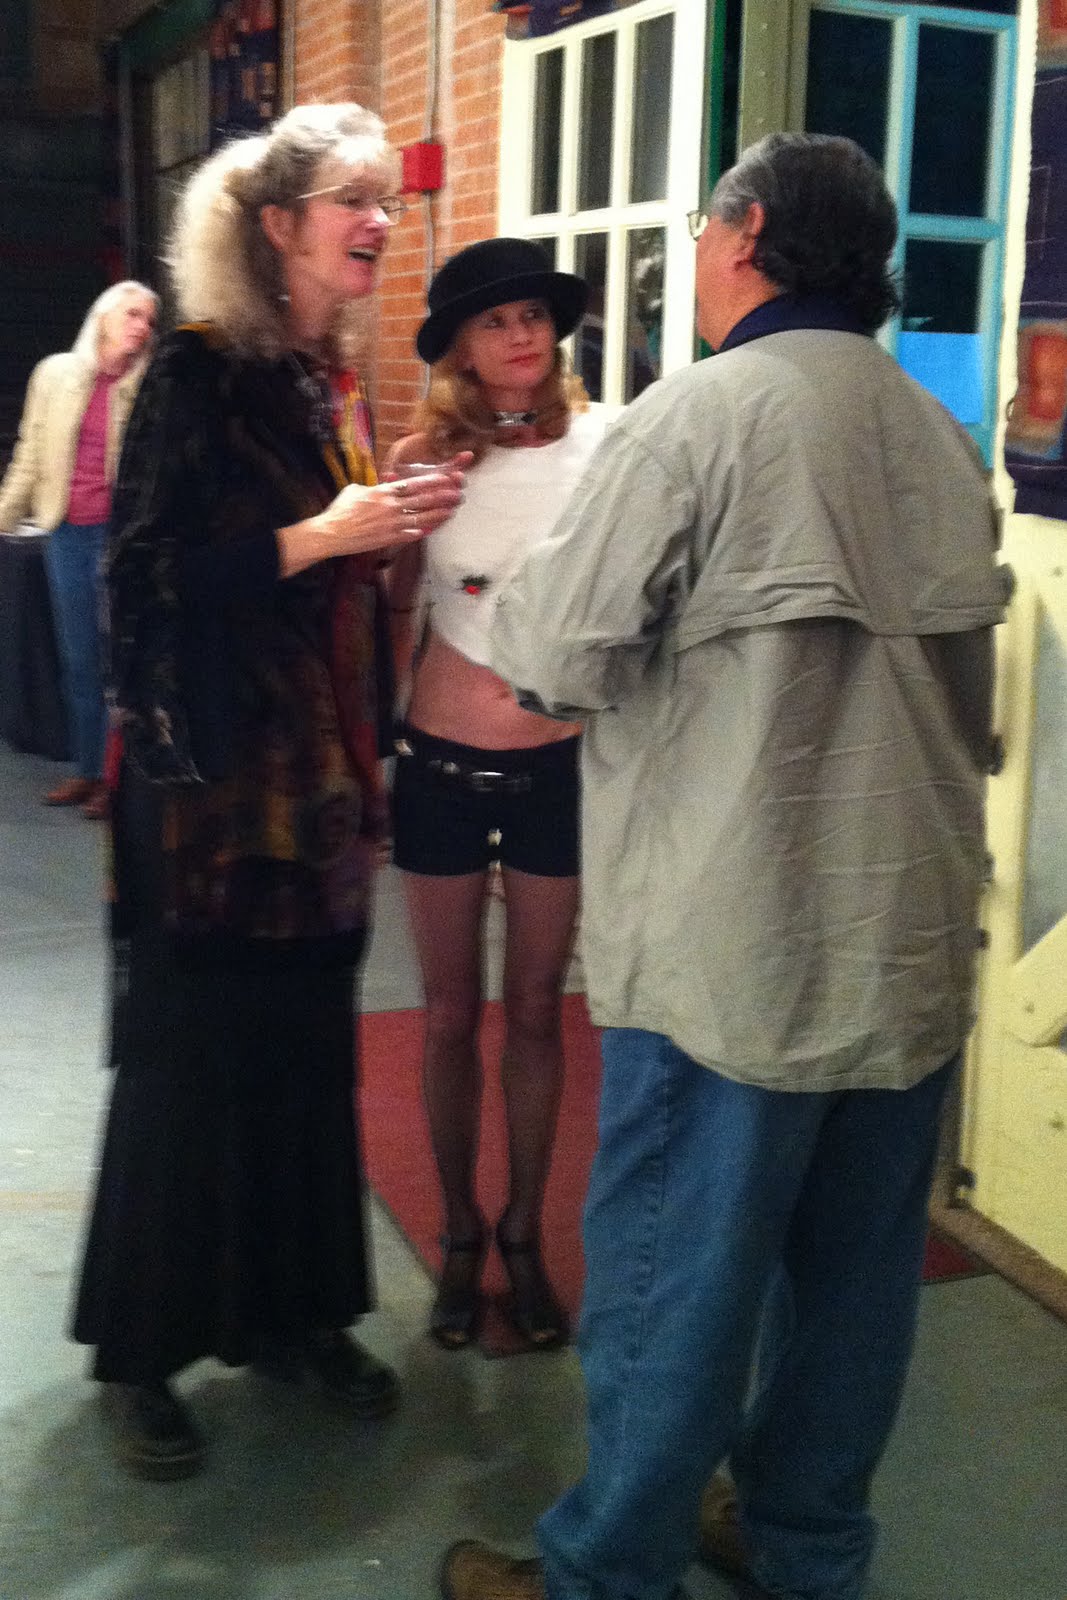
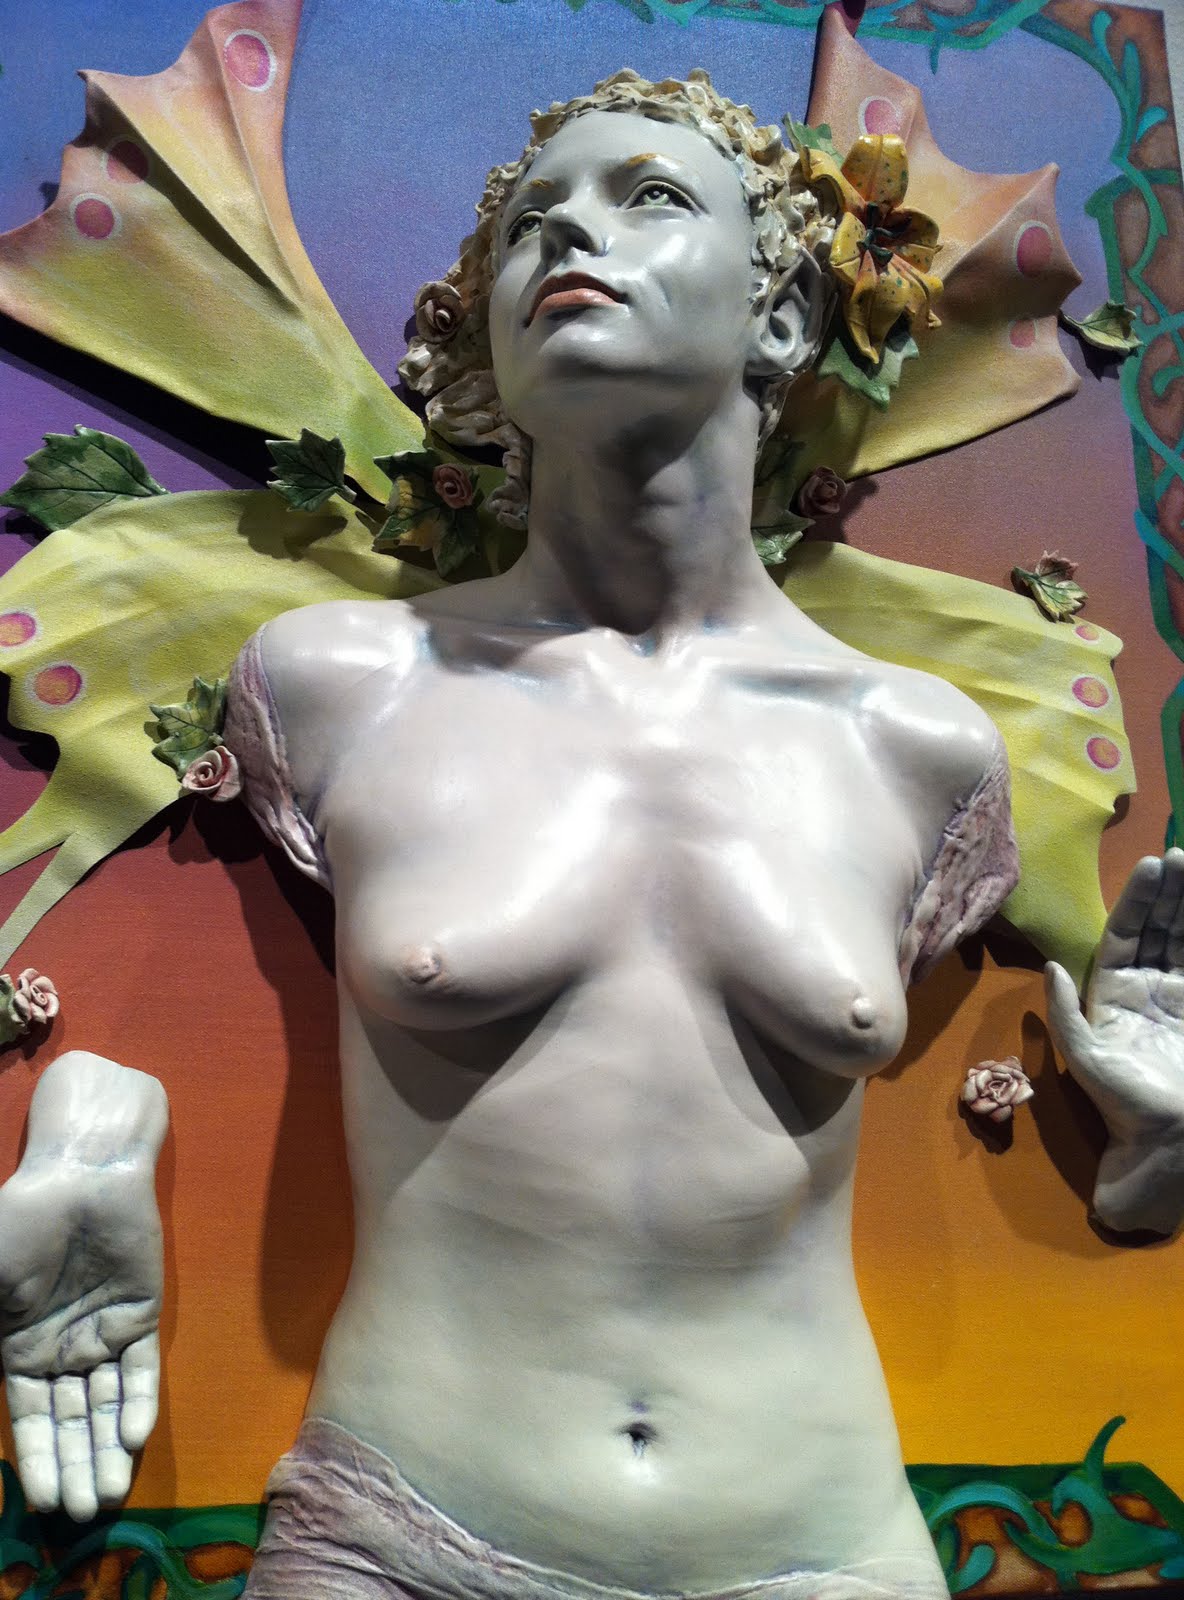
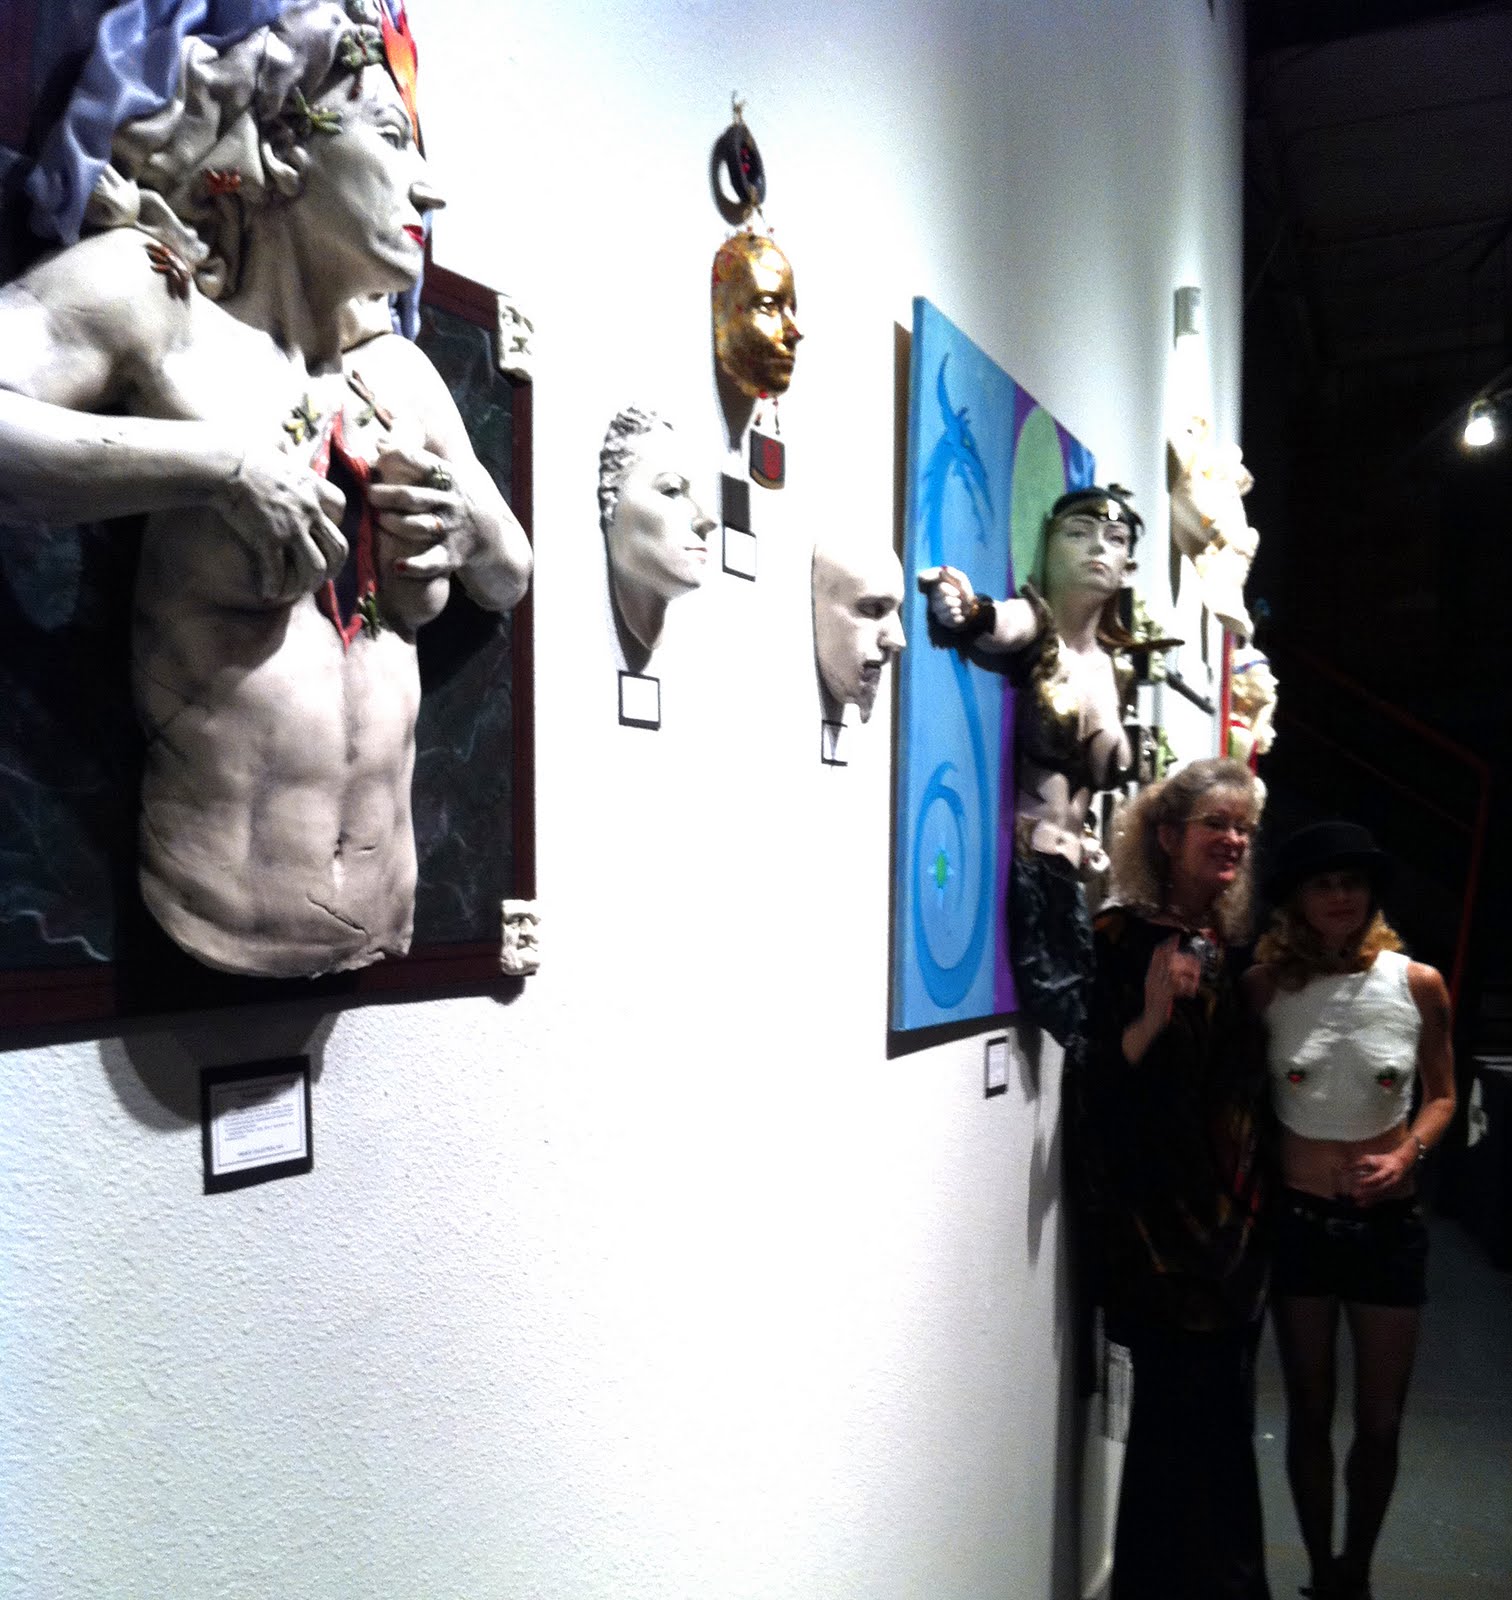
My dear, beautiful and exotic long-time friend Ann Lyneah Curtis was in San Antonio this weekend for a show of her exquisite body sculptures and I got to see her after far too long between visits. Tall and regal, Ann personifies the free spirit that comes through in her work. See what I mean at her website, Masquerade Life Casting. At her opening, her friend was wearing a paper cast body corset that laced down the back and was a replica of her own torso – it was adorned with funny, bawdy ceramic ornaments. She looked fabuous and was the subject of questions and photos. Ann is passionate about her work – she’s been doing this for over a quarter century. She’s cast faces, big beautiful bellies of pregnant women, groups – and anything else you might imagine. We made plans to get together in the spring when I visit her studio in the Hill Country. Here are some pictures from the opening.
Just finished the second collage of what appears to be a new series – I like the size, techniques and the materials (and the rather flexible self-imposed guidelines, such as they are). This one is called Lady of Anjou. These first two are 13″x15″ unmatted and will be 20″x22″ matted and framed.
The Esperanza Center’s annual Mercado de Paz/Peace Market was the Friday and Saturday after Thanksgiving, as it is each year. It’s my favorite holiday sales event – here’s how it’s described (see some photos of the sellers’ wares at the end of the post):
“As an alternative to crowded malls filled with crazed consumers and mass-produced goods, the Esperanza’s Peace Market features unique, handmade gifts and artesania centered around themes of peace, social justice, cultural diversity, and ecological concerns.
Shoppers can wield their economic power by spending their time and money supporting individuals and groups that are fighting for a better world. A diverse array of gifts are offered each year from artists like: Oscar Alvarado, mosaic-tile artist and found-object furniture designer; Veronica Castillo, internationally-renowned ceramic artist from Izucar de Matamoros, Mexico; Martha Prentiss, silversmith and owner of Prentiss Jewelry; Barrio Beat/Alma de la Raza, a company that seeks to carry on Chicana/o culture through community-based business enterprise, and to reflect and include voices of the pueblo in its operations; and Colores del Pueblo (formerly Pueblo to People), a Houston-based nonprofit organization that buys merchandise from over 200 grassroots craft and agricultural co-ops throughout Latin America—paying much better prices than for-profit corporations—and then resells directly to consumers in the U.S., thereby eliminating unfair profit and providing artists in developing countries a larger market for their work.”
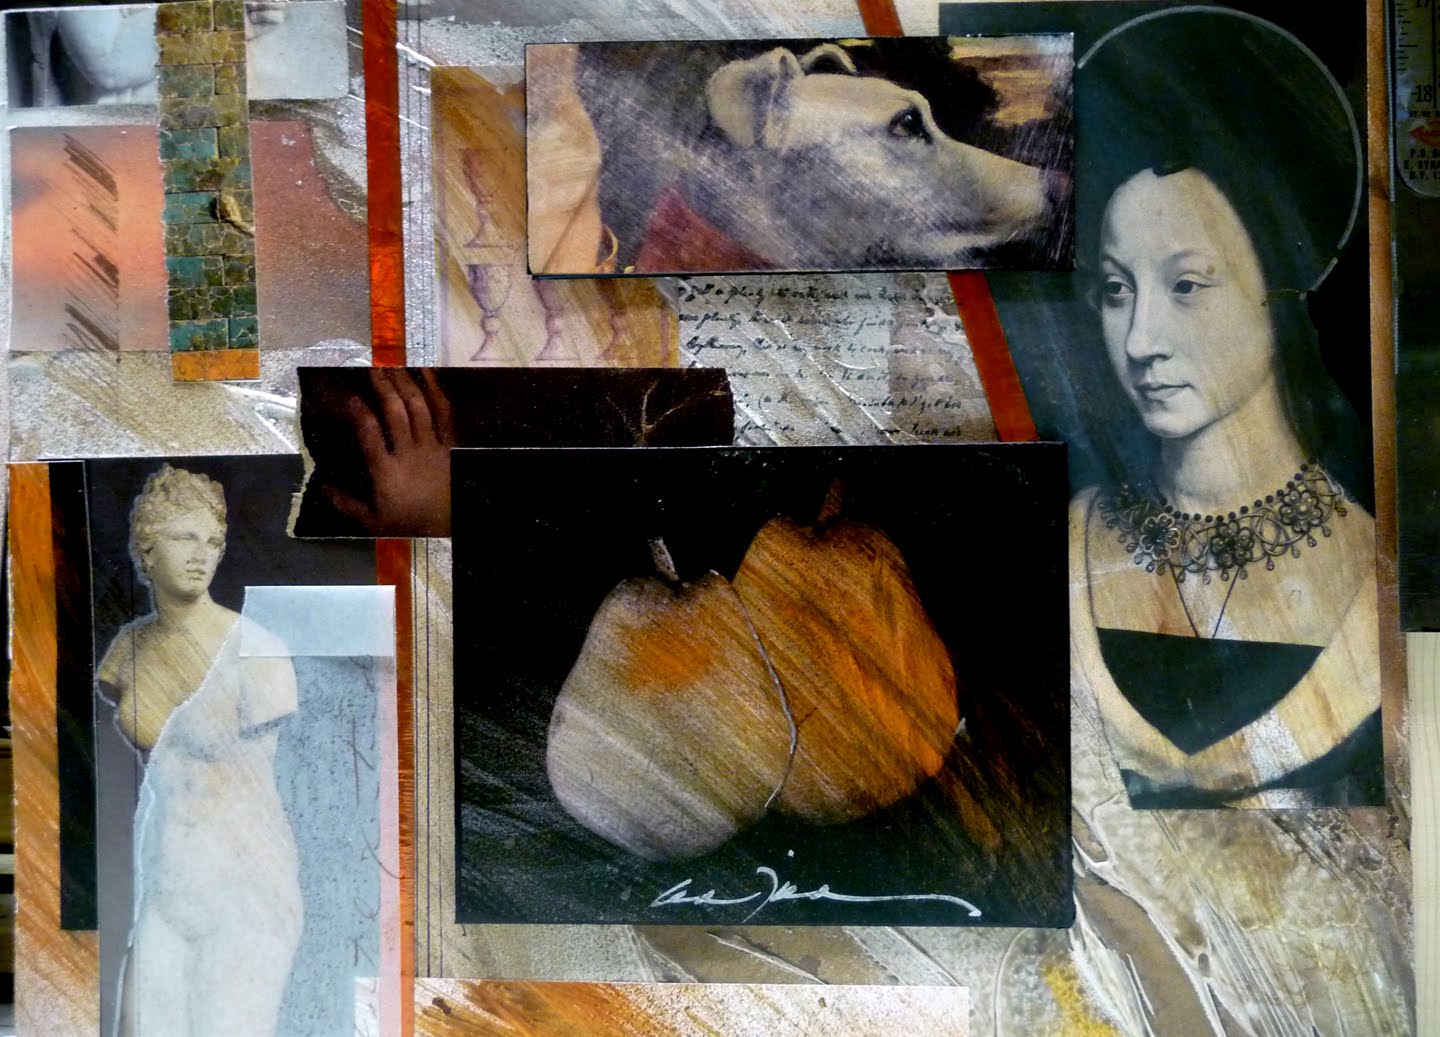
I think I’m finished with a new collage and may even have overworked it a bit, but for the most part it seems to hang together well. There’s a heavily textured background, some images of angels, a tarot card (the Four of Cups), a photo of eggs that I took last year – copper tape and walnut ink – some experimenting but mostly doing what I know. It’s going to go to LaVida Gallery later this week once it’s matted and framed – dark gray mat, I’m thinking, and thin chrome frame. That I can do myself since it’s simple. I’ve already started a similar one – will see where it goes. Making art is so intense and serene at the same time!
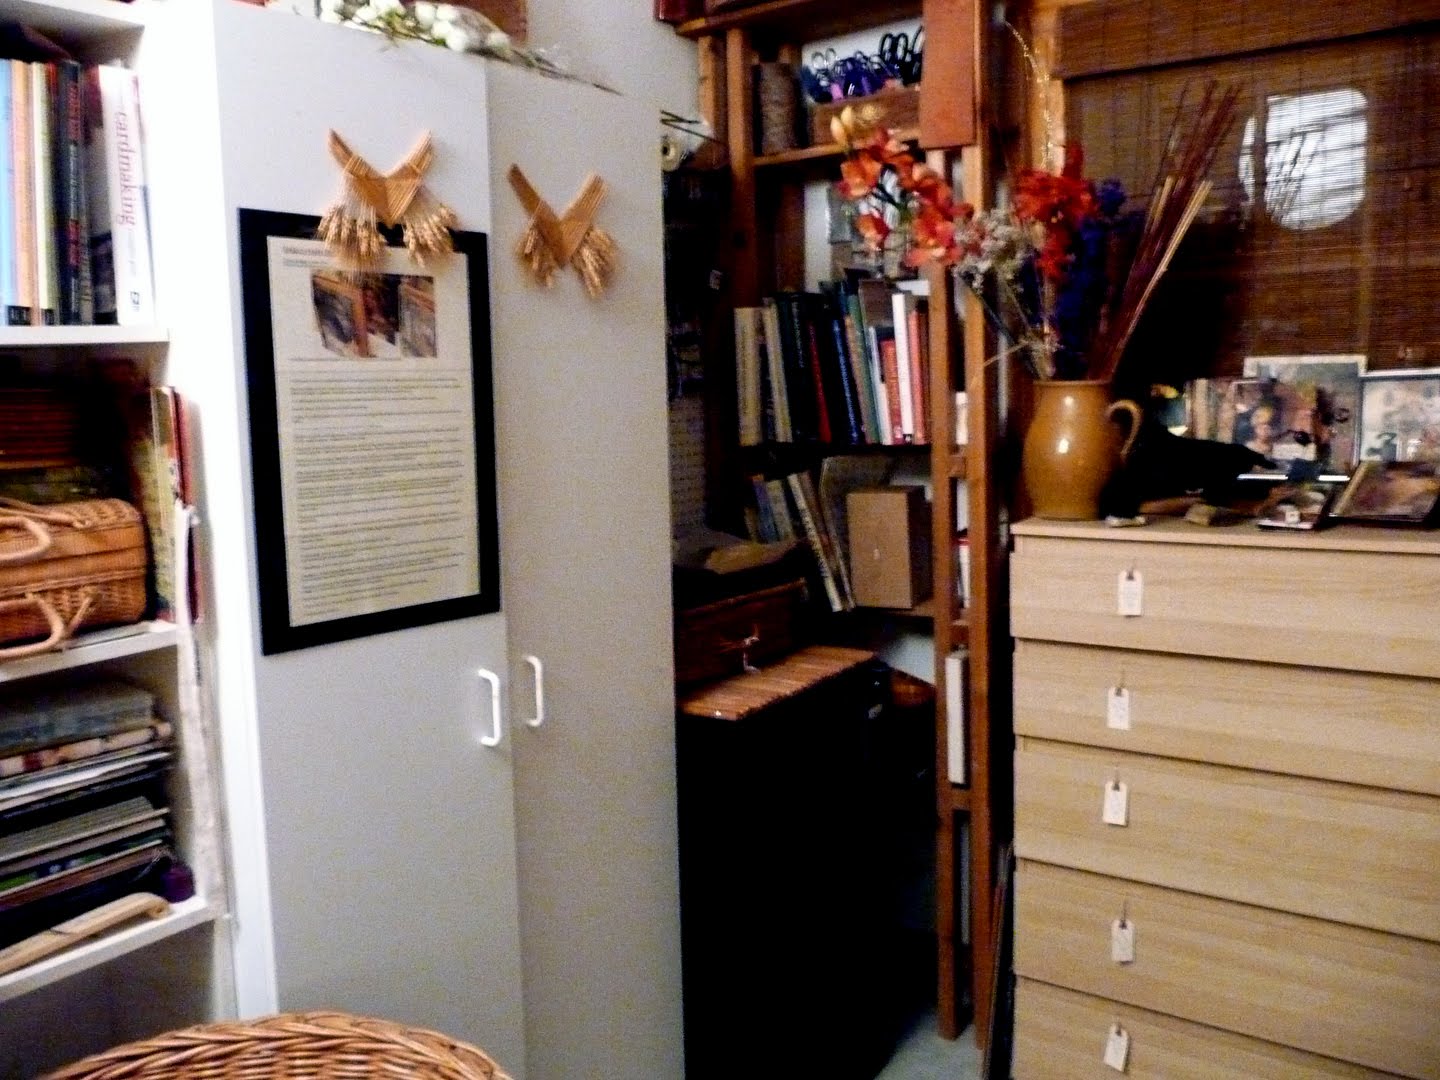
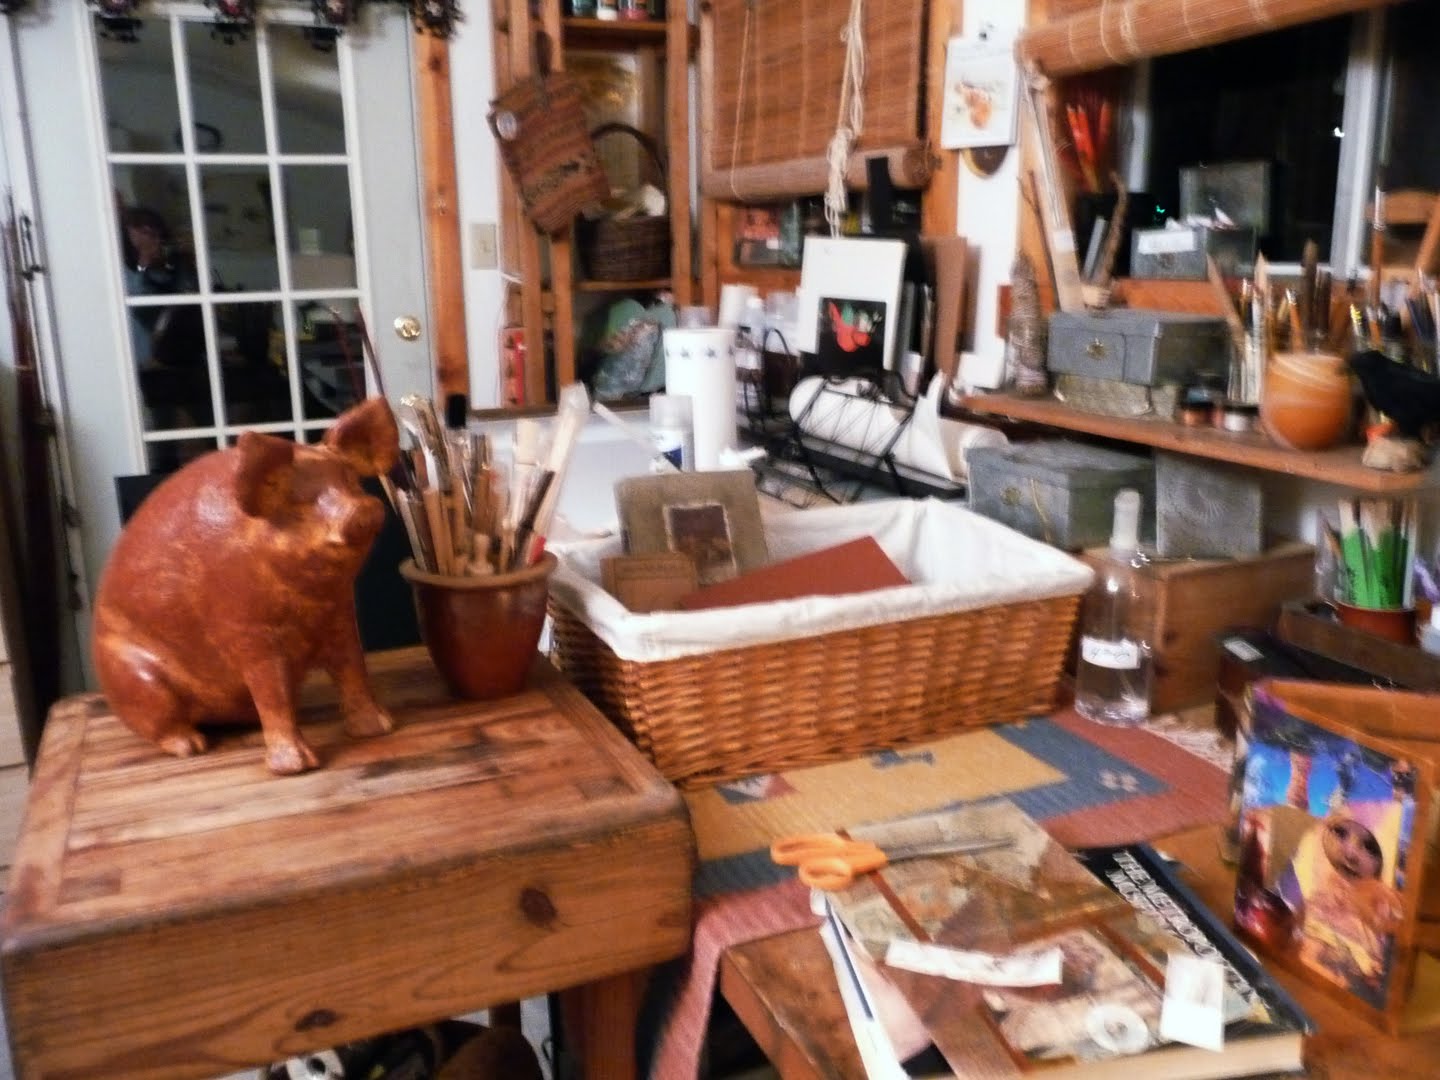
Just in time for semester’s end, the studio is becoming a workable space again after all if the construction. It was the “highway” between the driveway and equipment outside and the remodeling on the inside. But with the completion of the new pantry, the freezer has been moved and the freed-up space adds a lot of flat workspace to the room. I even have room to set up my light box. Now if I could magically create some extra time to work, I’d be set! But it’s a comfortable space, deceptively organized and full of possibilities!
This is somewhat studio-related, even. As part of the ongoing (and . . . ongoing) half-bath addition next to the studio, the new adjacent pantry/laundry room is taking shape and my washer and dryer were delivered Friday. I am in love. They are sculptural lipstick red icons, energy efficient, mindful of the environment, strong and beautiful, of epic design. They even sing a little song when their work is done. Who knew such major appliance wonders existed? Not me. Who could ask for anything more?? Not me. Swoon.