
It’s true – I usually show you workshops videos after the fact, but I thought it would be fun to check in BEFORE the workshop to show you how I work up a prototype.
Today’s upcoming workshop is called NeoSantos, and yesterday I played around in the studio with some ideas for construction.
Here’s the workshop description:
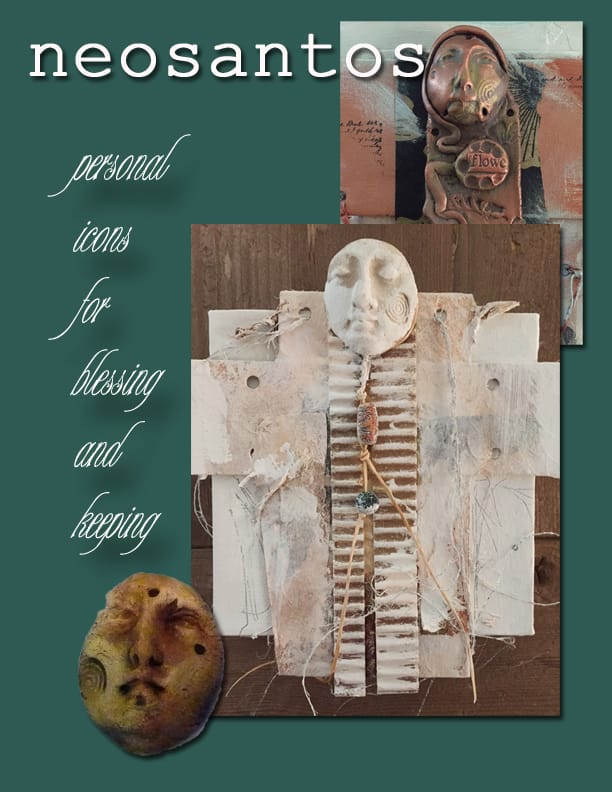
NEOSANTOS are small persomal icons that hang in your sacred space to bring you blessings.
“Santos” are found throughout many cultures. Some are primitive, some are very sophisticated, but all are sacred.
The Project – create a personal Neo (‘new”) Santo with your own intuitive creativity for yourself or as a blessing for another person.
The Process – Construct a neosanto sculpture on canvas using found objects, shard faces, paint and mixed media.
The Goal – Learn the secrets of 3-D construction on canvas while exploring your own sacred symbols.
I consulted my written outline, then I assembled some simple materials.
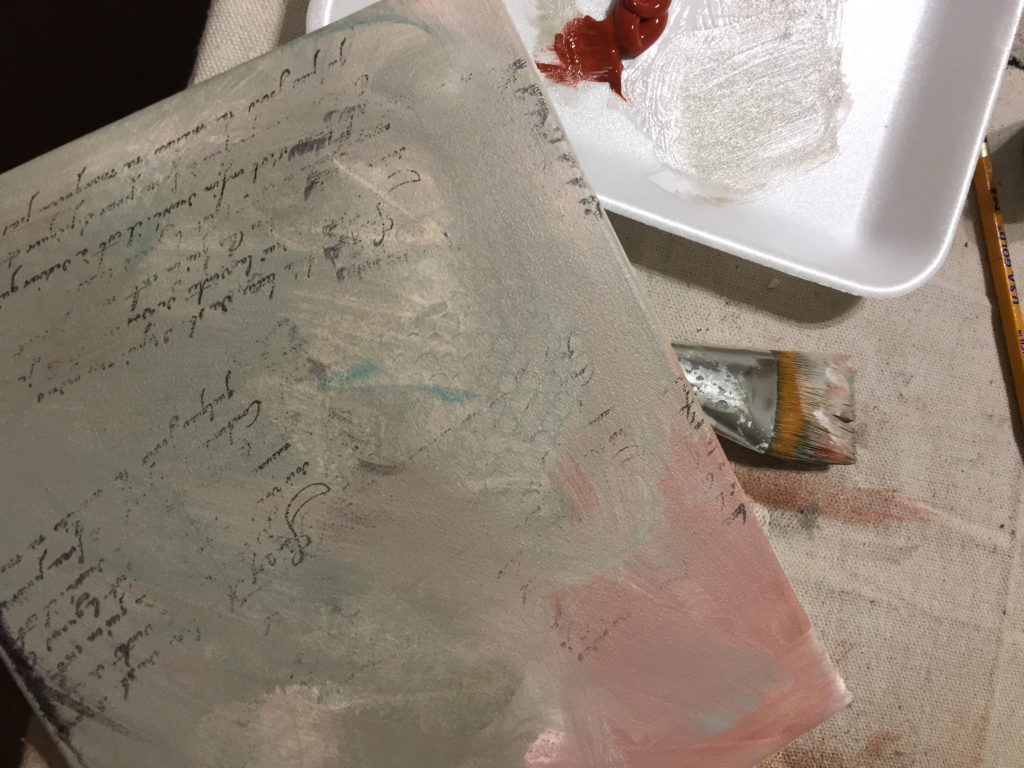
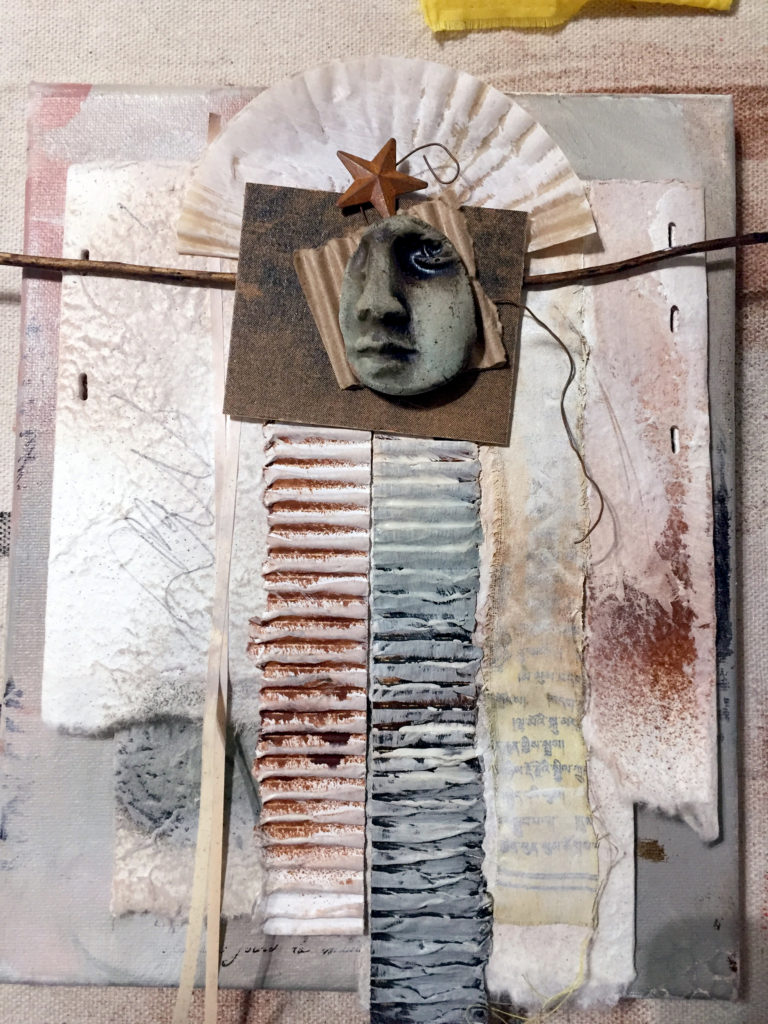
First step – painting an 8×10″ canvas that has writing and scribbles and scumbled acrylic paint for the background. This is set aside.
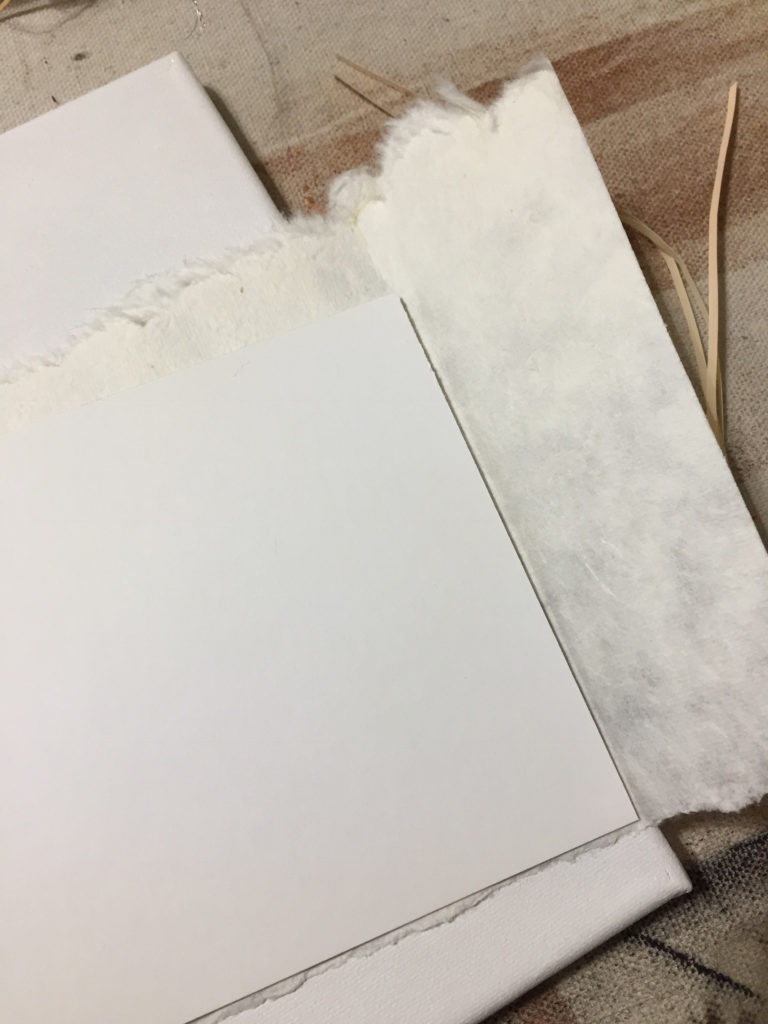
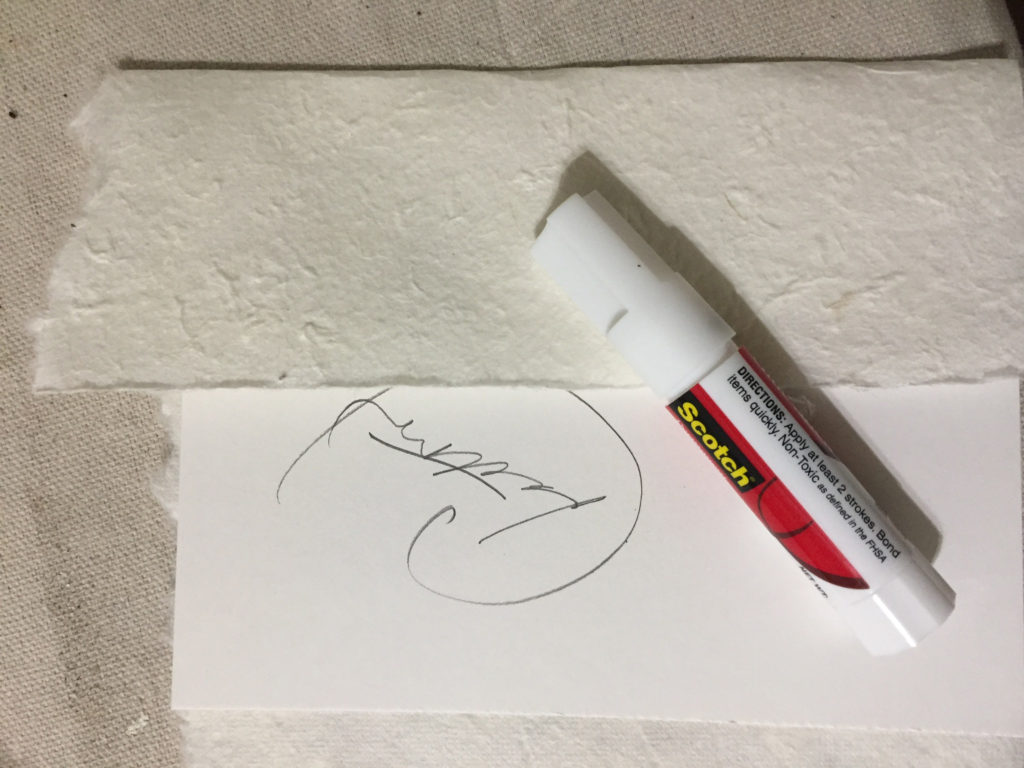
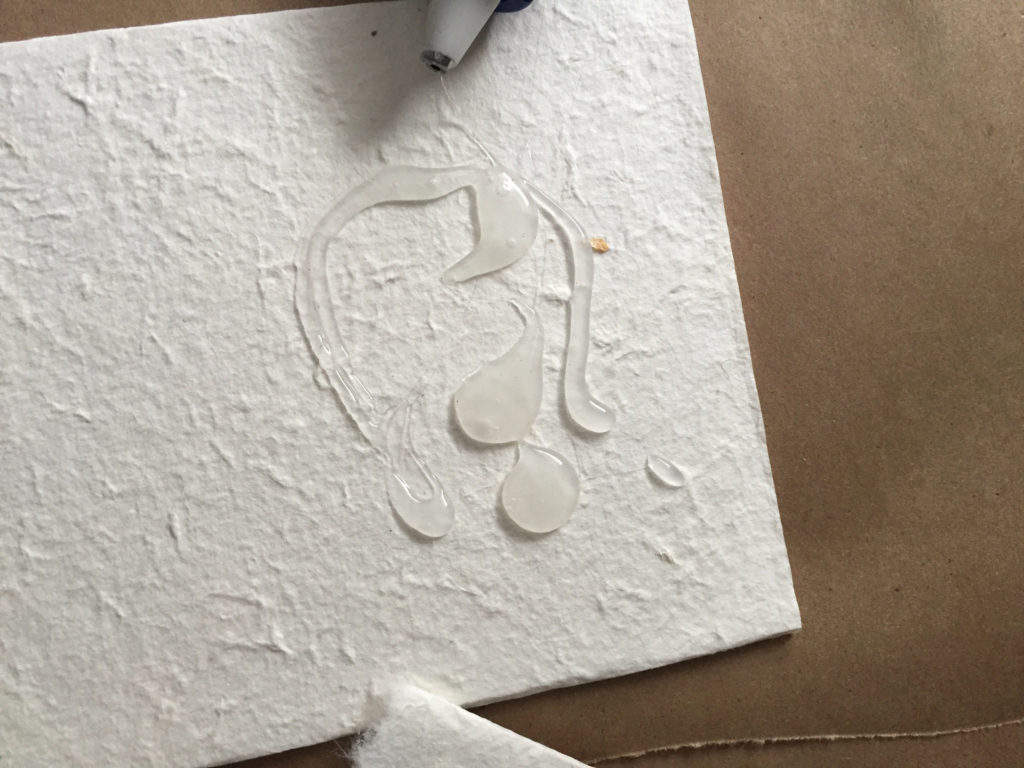
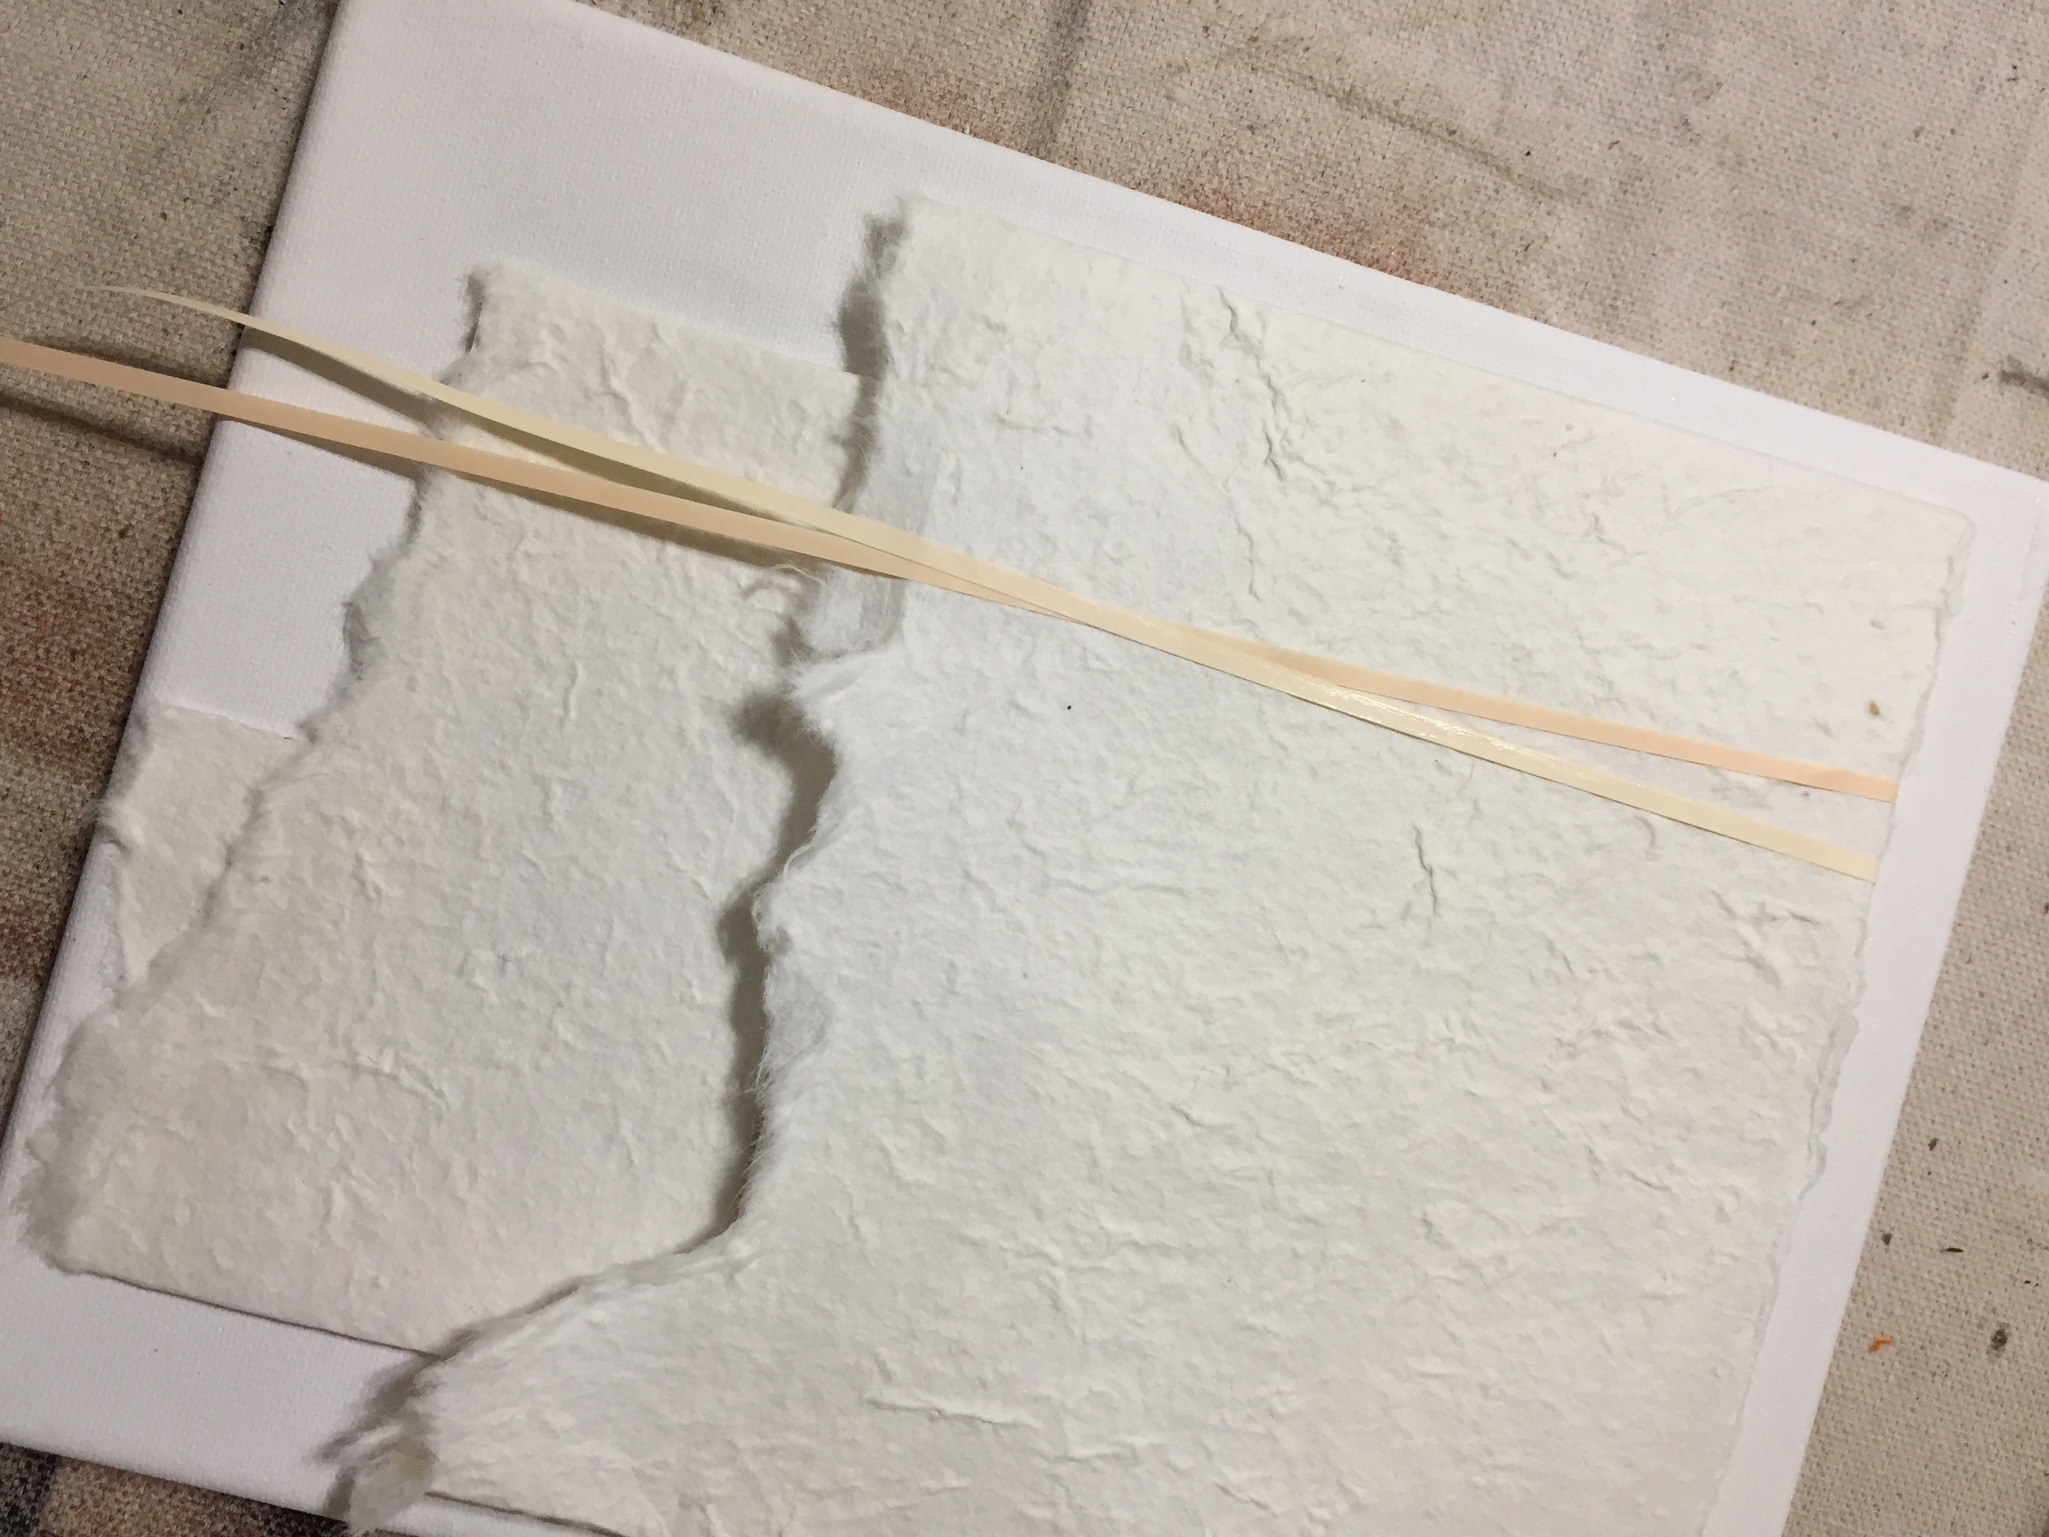
 Second step – wrapping two small pieces of archival mat board in handmade mulberry paper using glue sticks.
Next step – attaching the two wrapped shapes together with gool ol’ hot glue.
Next Step – playing around with collage elements – in this case, narrow strips of paper.
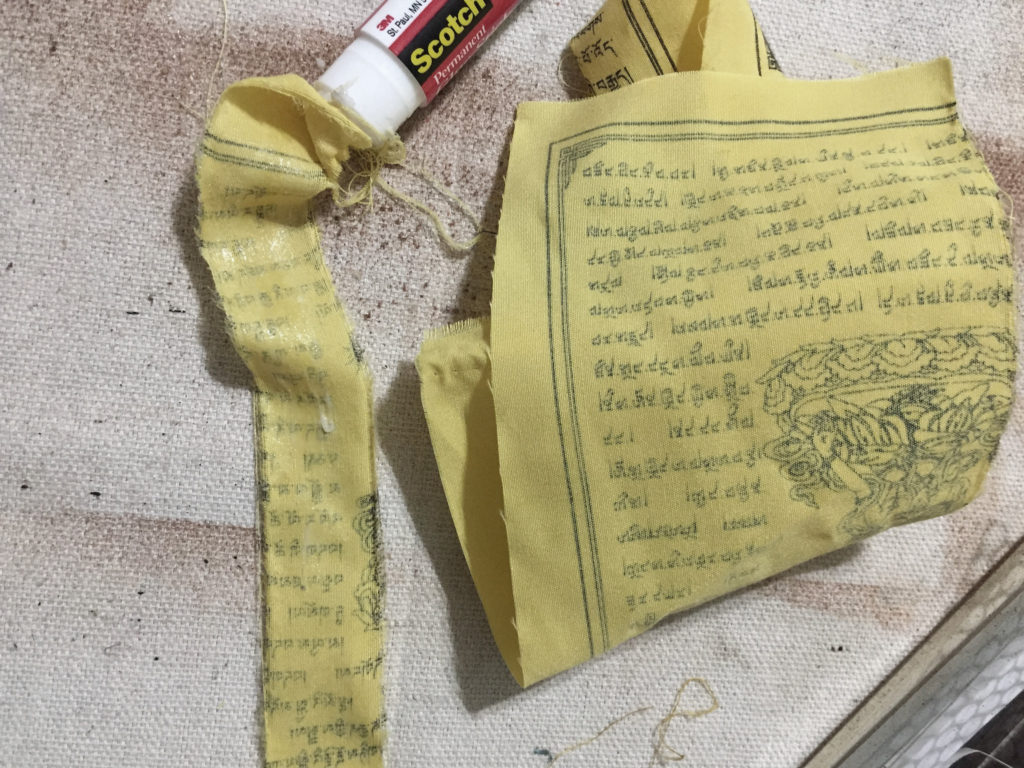
Next – adding some unusual textures – in this case, a torn strip of a prayer flag from Tibet.
Next step – more stuff!! More acrylic paint to veil the collage elements, trying out different materials – you know, all the fun things.
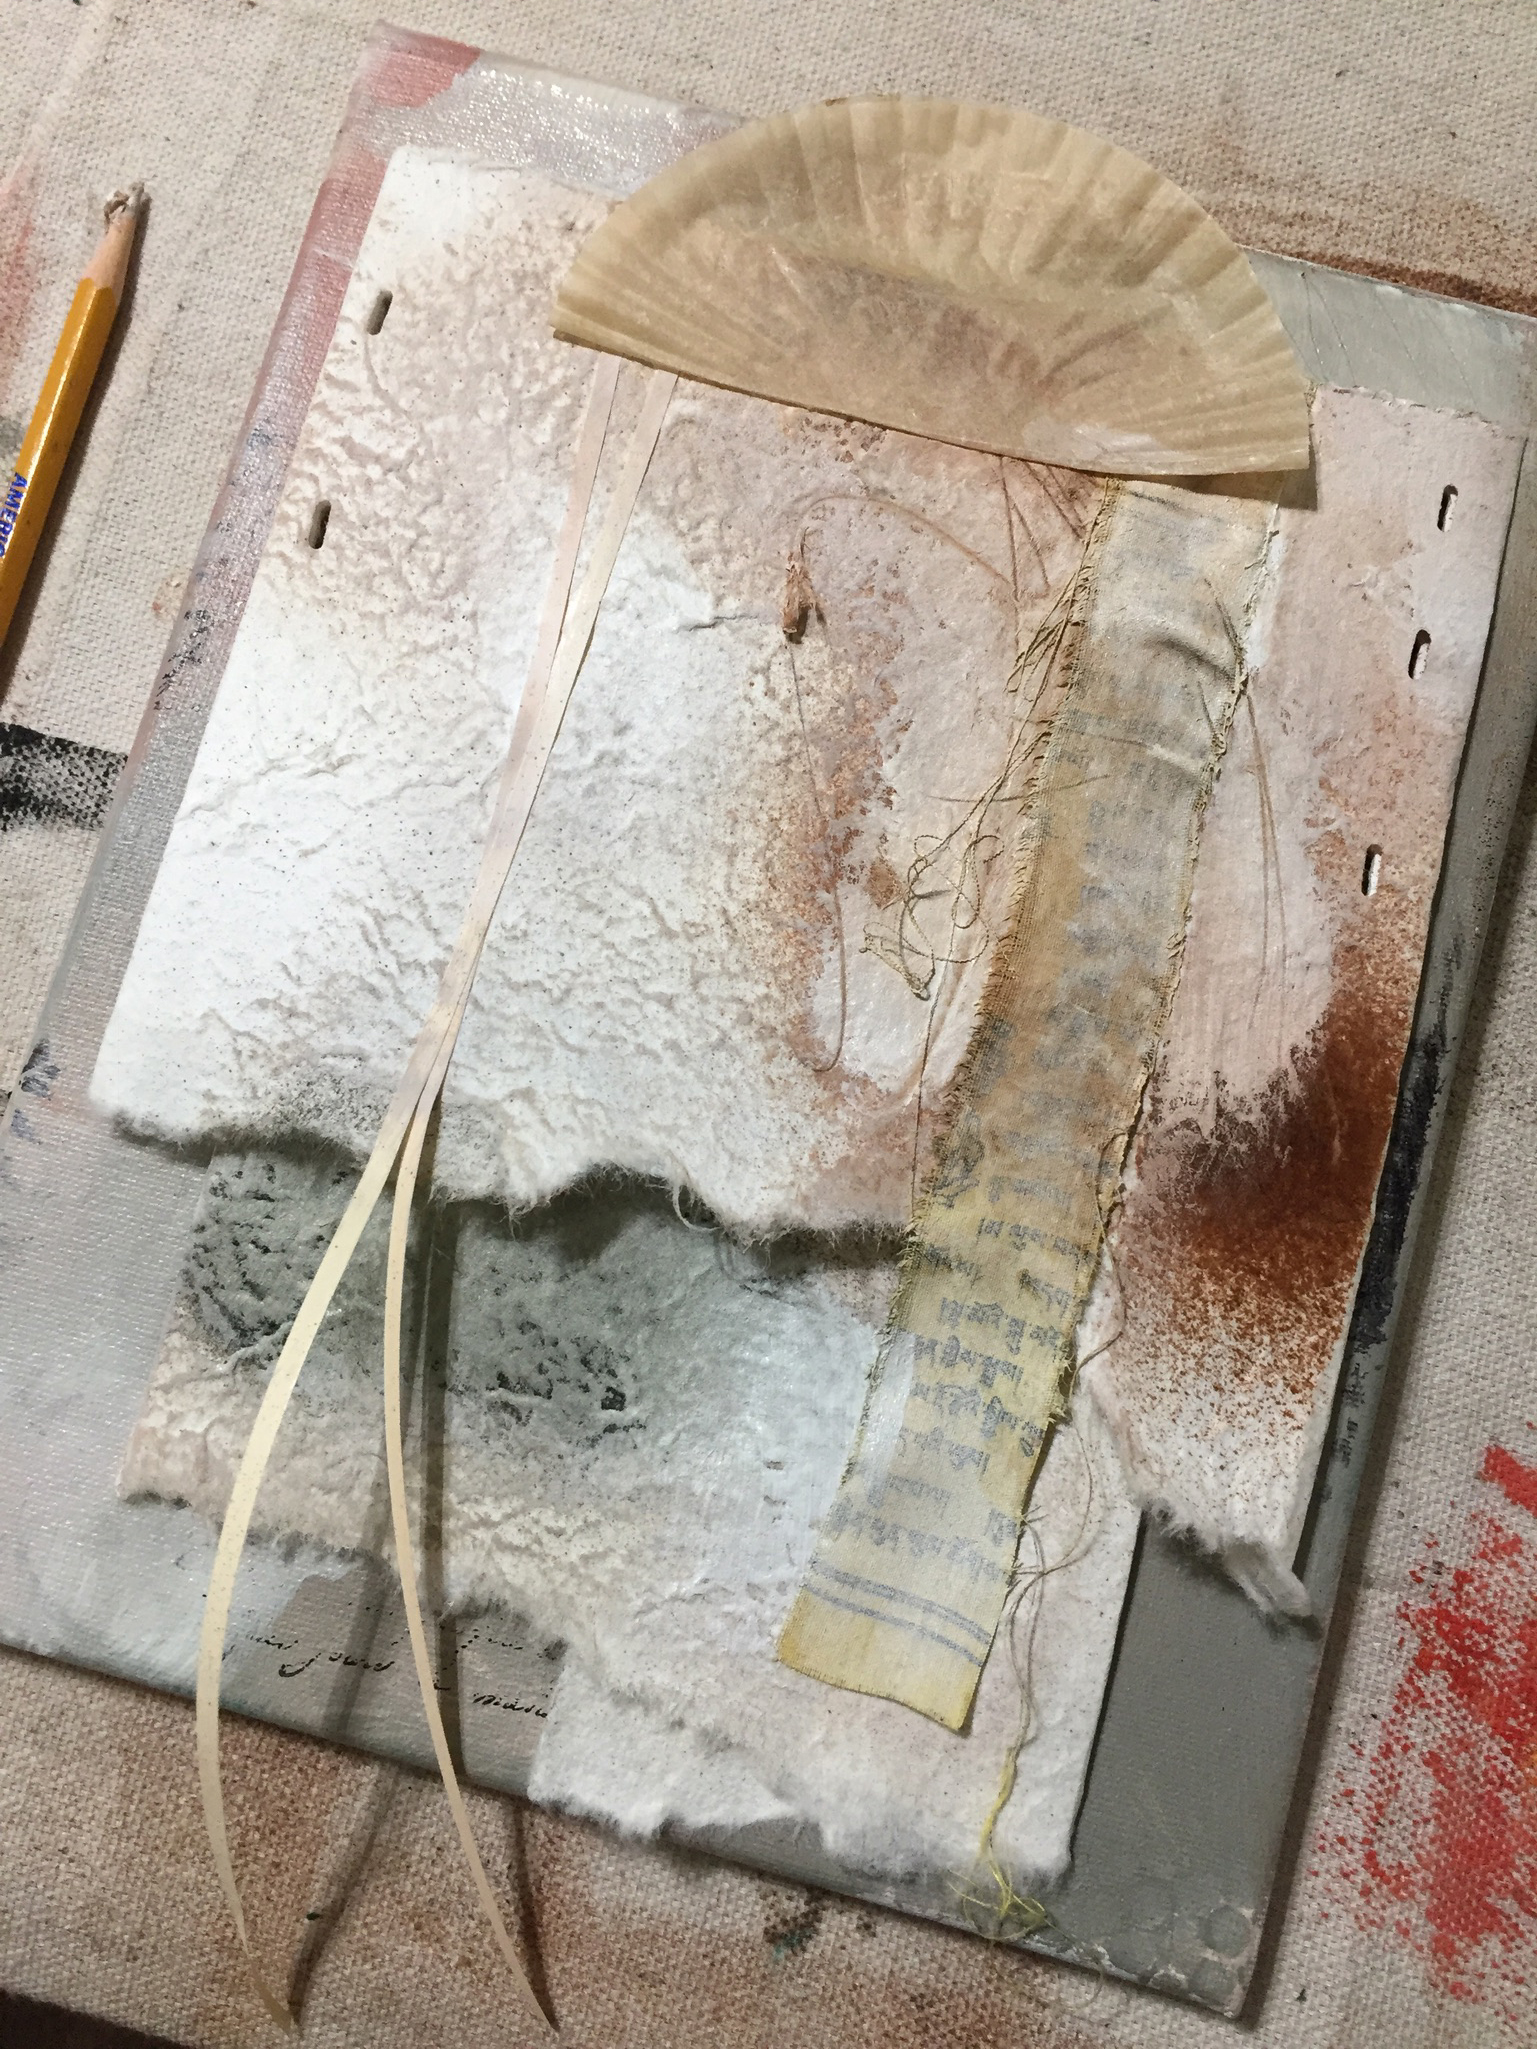 Next – lay a small earthenware face onto the construction to see where it’s headed – do I like it? Not completely, but I’m not finished. And the face isn’t attached yet so I can change it any way I like.
 At this point, I’m going to stop with this prototype and when the workshop participants arrive this afternoon, I’ll show it to them, explain how I did it so far, then ask for suggestions. It’s a great way to work collaboratively.
I’ll take pictures during today’s workshop and make a little video for you to see the results. Stay tuned!
…………………………………………………………………………………………………
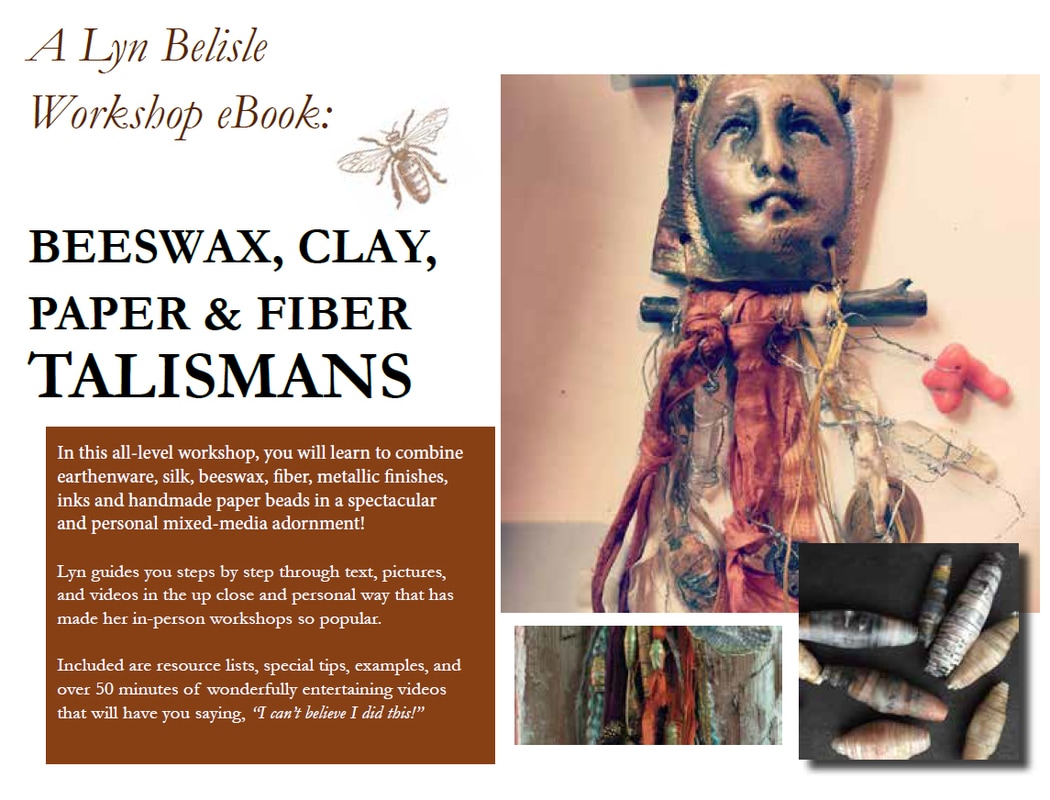
PS – The response to the Talisman Workshop eBook has been overwhelming! I’m making little talisman faces as fast as I can – thank you thank you!!
Love this idea of you showing the process for those of us who are not close enough to attend you seminars. Beautiful. I have many of the components including you heads now to find mulberry paper.
Thank you so much.
You crafty lady, you! Love, love, love all these ideas. But most of all I love your generosity and openhearted sharing of your creative process. Like previous commenter, “Juniper”, I am unable to be at your workshop in person. Reading your blog is a personal, one-on-one virtual workshop. Thank you.
Pingback: They found their wings. . . | SHARDS: fragments and reflections
I am absolutely thrilled to find you are now producing ebooks and courses, Lyn, since I live in the UK! I have whizzed through the Talismans one and hope there will be more! Many thanks for sharing your amazing skills. (And oh, boy… am I struggling to find Walnut Ink this side of the Atlantic!)