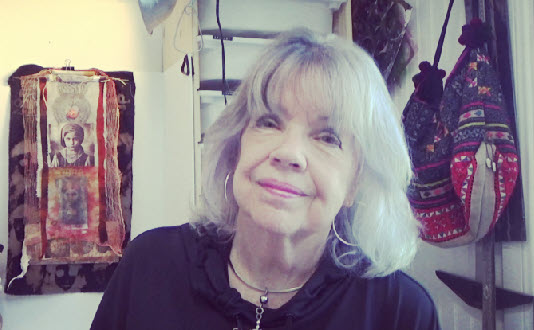
Lyn Belisle. 2025
(From the Dictionary: Woolgathering once literally referred to the act of gathering loose tufts of wool that had gotten caught on bushes and fences as sheep passed by. As you might imagine, woolgathering was not the most profitable of enterprises; its practitioners must have seemed to wander aimlessly, gaining little for their efforts. In the mid-16th century, woolgathering began to appear in figurative phrases such as “my wits went a woolgathering”—in other words, “my mind went wandering.” From there, it wasn’t long before the word woolgathering came to suggest daydreaming and mind-wandering.)
There is no Oracle Card for this post, but I do want to talk about something else that artists and makers hear a lot – that “Trust the Process” advice. In Shaun McNiff’s book by that name, he defines “trusting the process” as an embodied practice of letting go, staying open, embracing imperfection, engaging in improvisation, and responding to the evolving work—not insisting on a fixed result. It’s trusting that the creative intelligence inherent in the process itself will carry you to unexpected and resonant places.
What does that actually mean? Here’s a real example from my own studio that happened when I wanted to create a piece for the Fiber Artists of San Antonio juried exhibition, Rooted in Fiber: The Natural Textures of Texas.
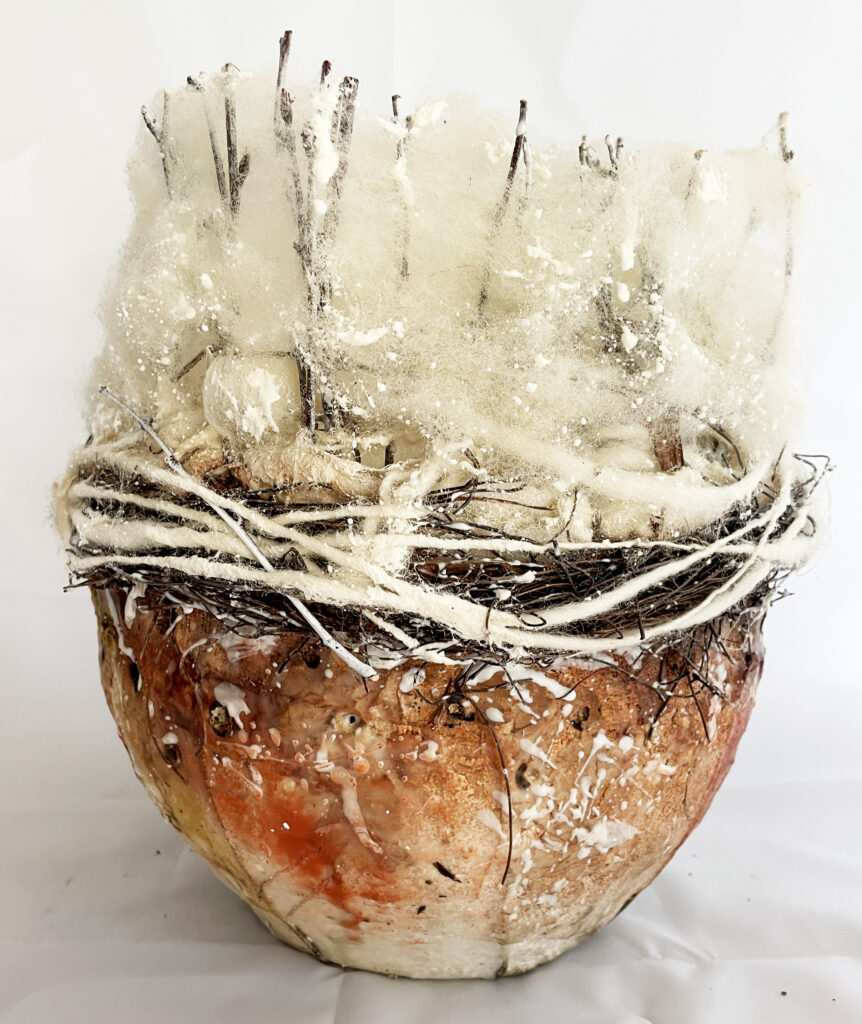
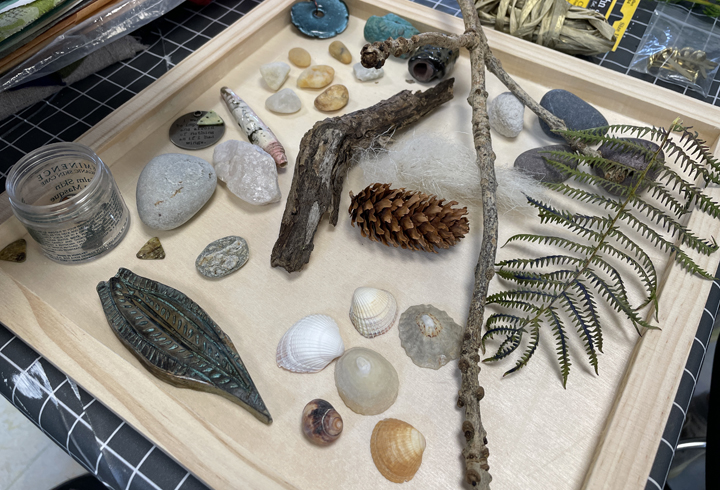
I started this piece with only a loose idea in mind—I wanted to make a vessel that would somehow reflect the call for entry, which asked artists to highlight our ties to the Texas landscape and textile traditions.
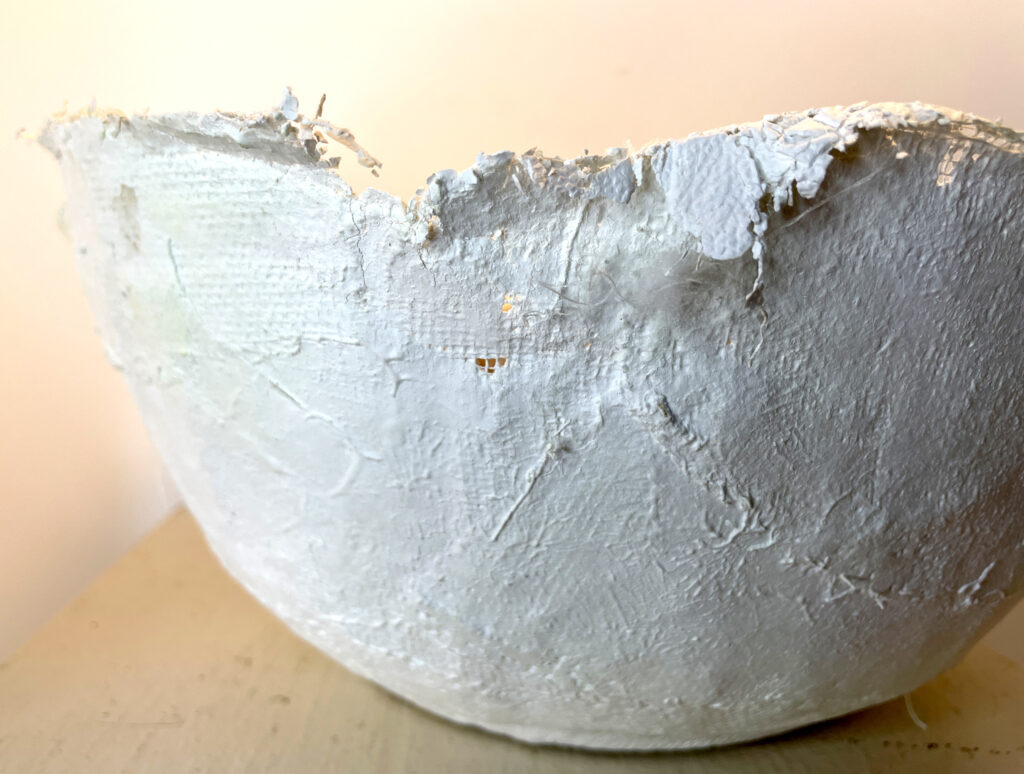
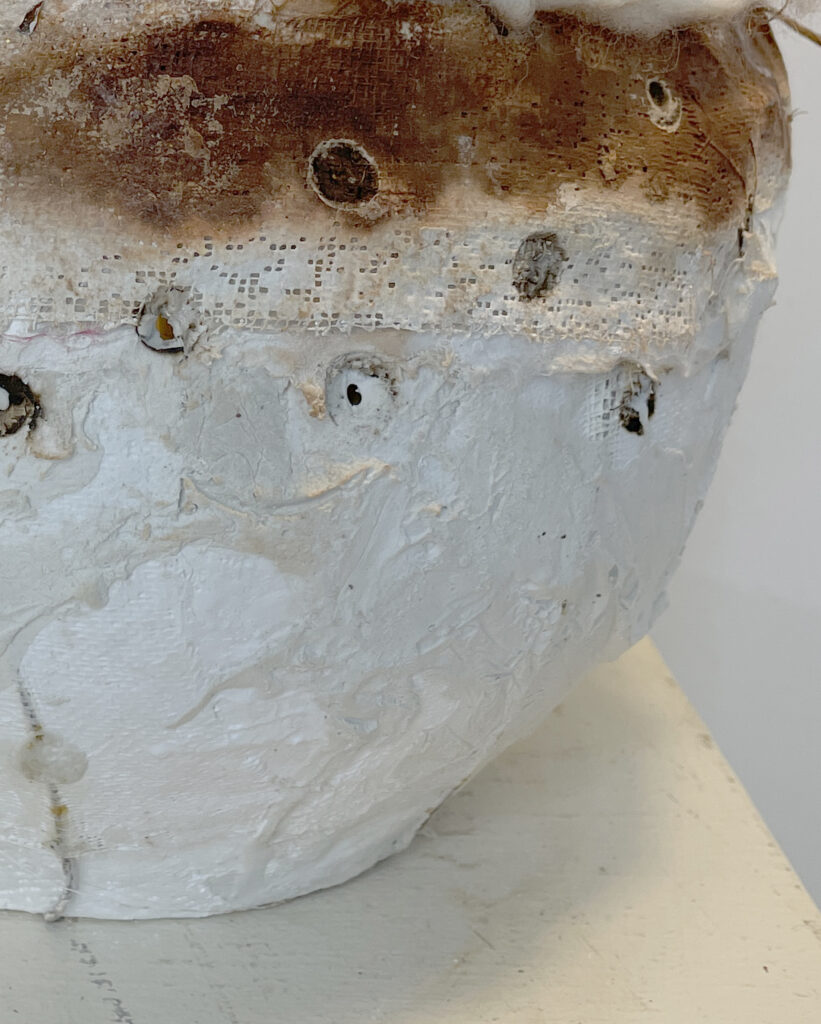
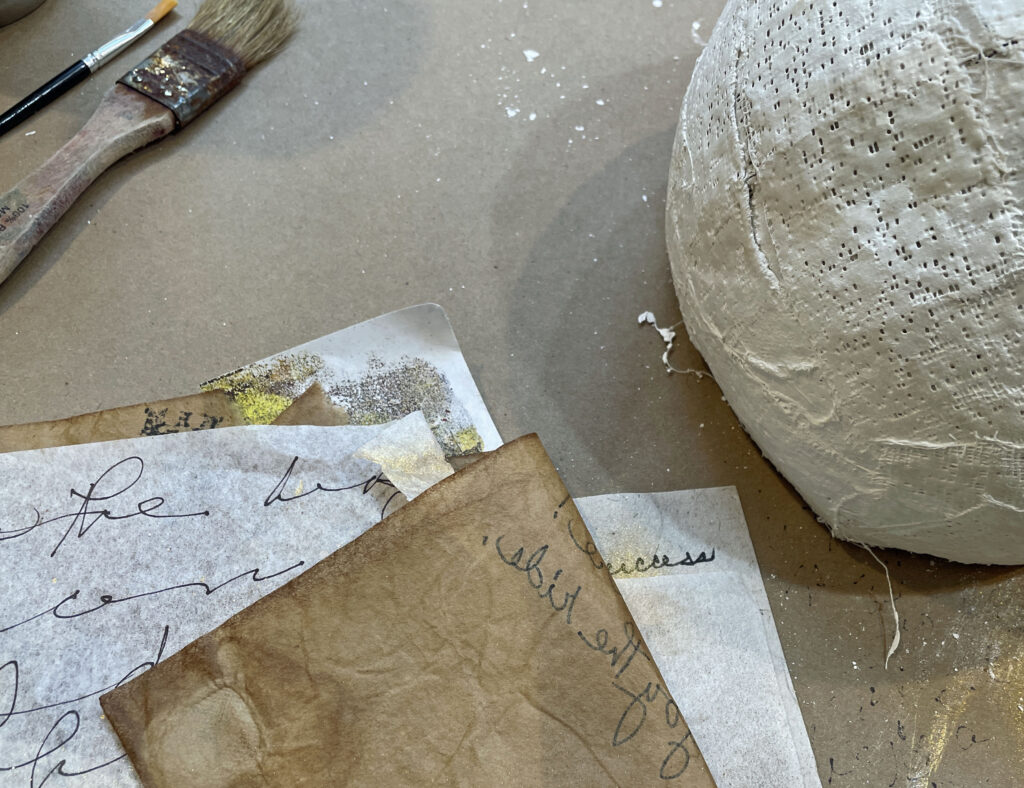
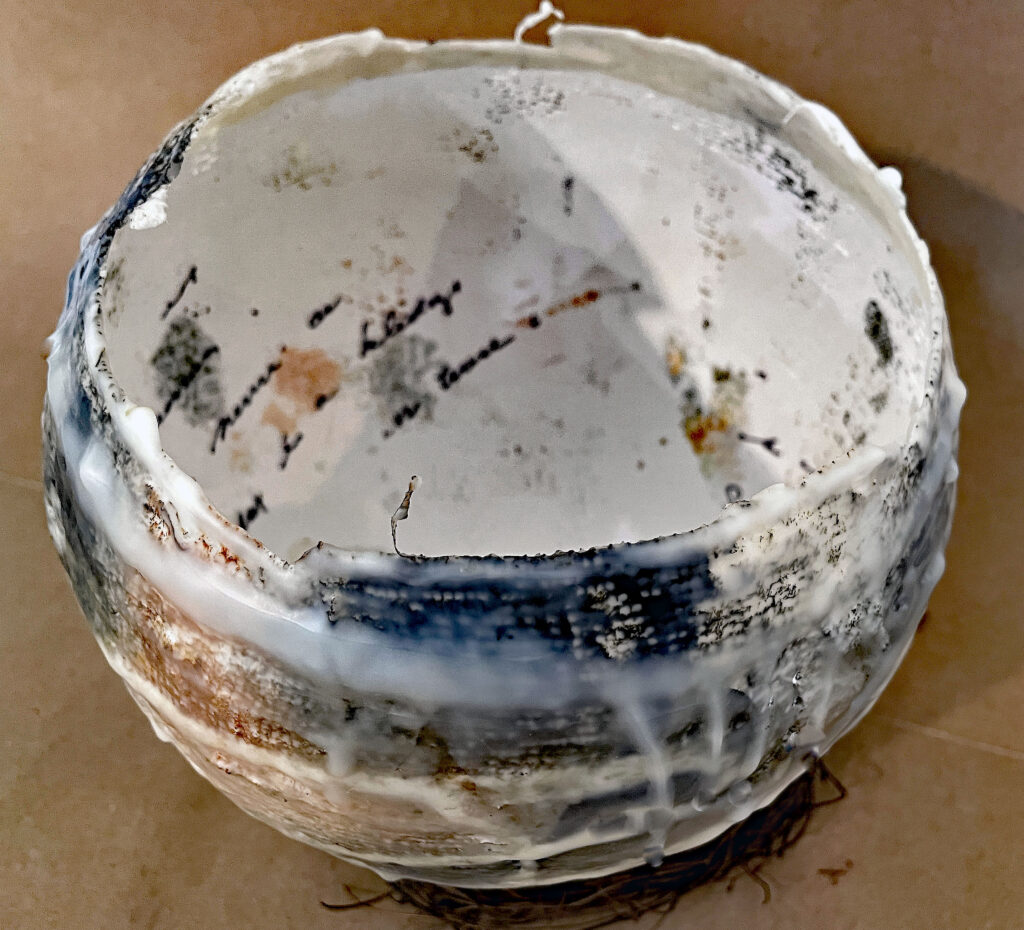
So I made a plain white form out of plaster and fiber. It sat on my table like a question mark: now what?
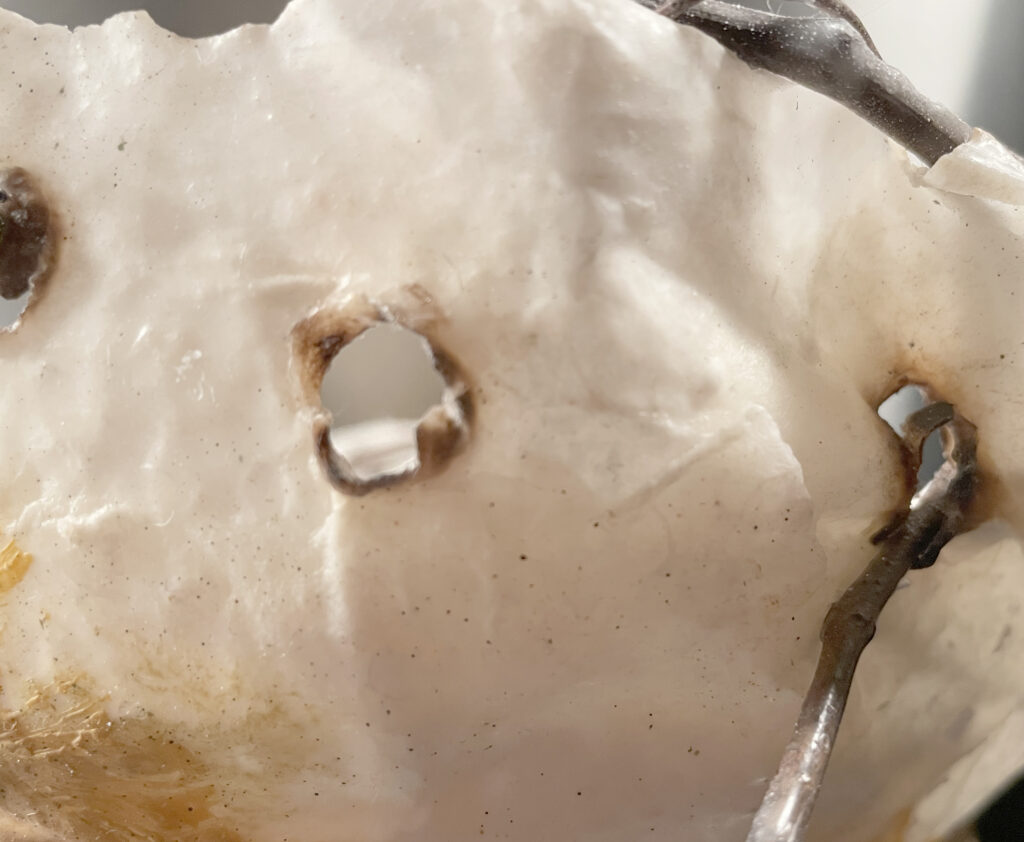
That’s when the process started asking me to trust it. My first risky move was burning holes into the surface with a soldering iron. It always feels scary—what if I ruin it? But the holes gave the vessel air, a kind of breath. (I thought about threading yarn through them, but that felt too simple, too obvious.)
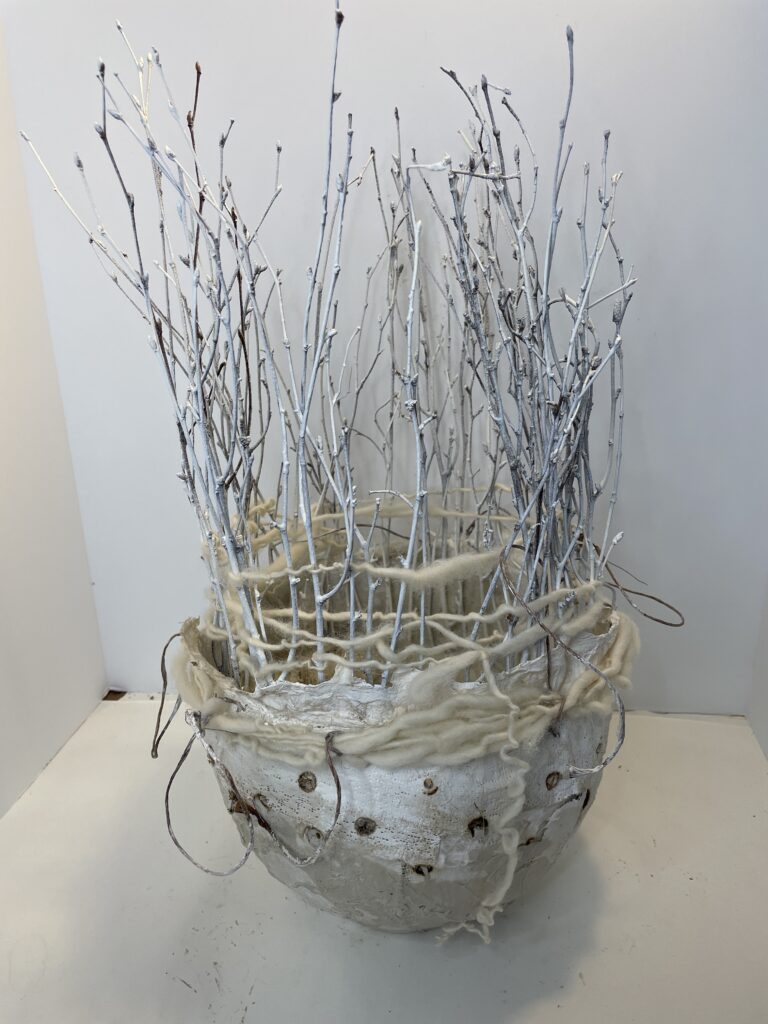
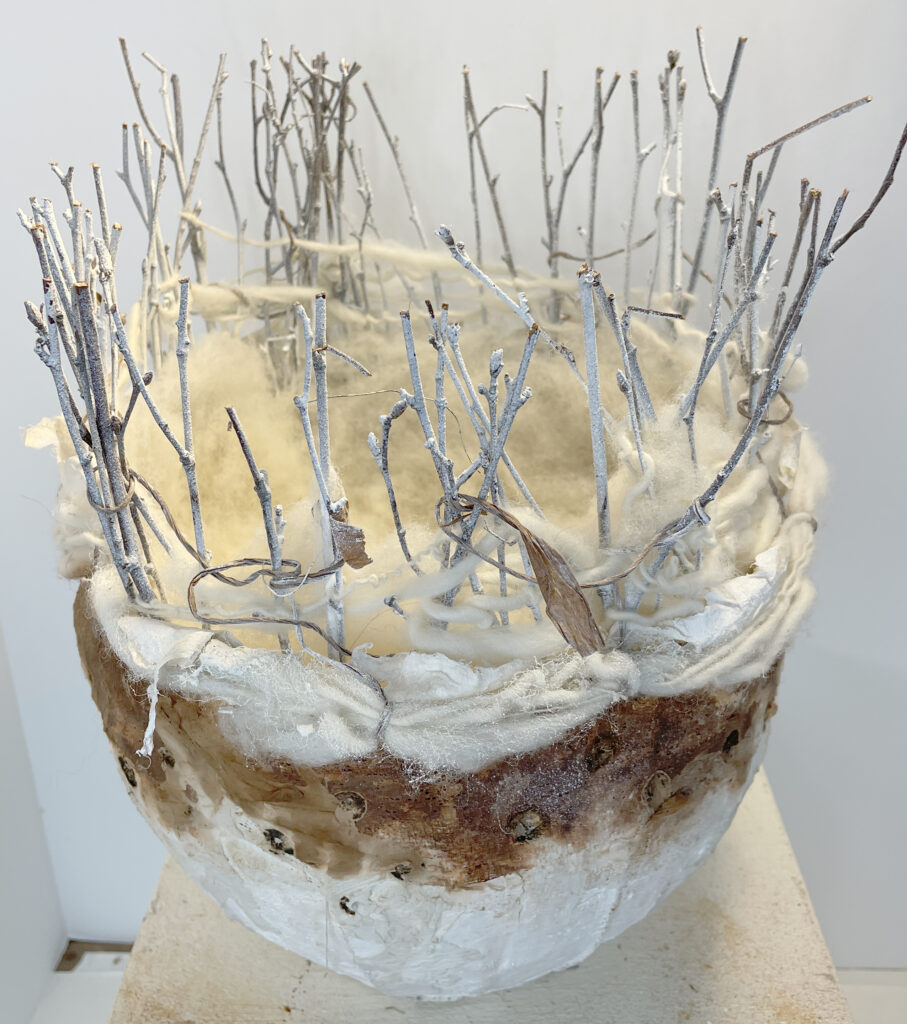
Next came long sticks and a branched rim. That looked promising, but the proportions were off—it seemed more like a bowl trying to become a bonfire. I painted everything white to unify it. Still, it wasn’t quite there. (Note – it really IS pretty, but I was trying to honor the theme of the exhibition by creating a conversation about Texas fiber and this was going in the wrong direction – I’m saving this idea, though!!).
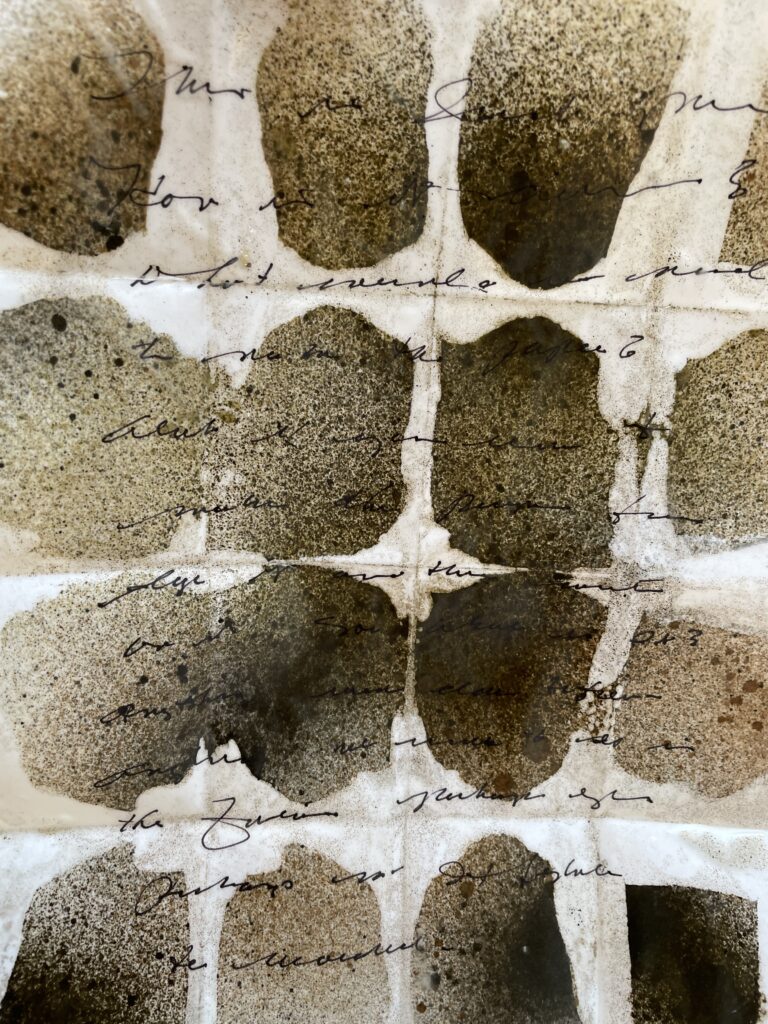
Then I stained the rim with walnut ink, hoping the earth tone would anchor the piece.
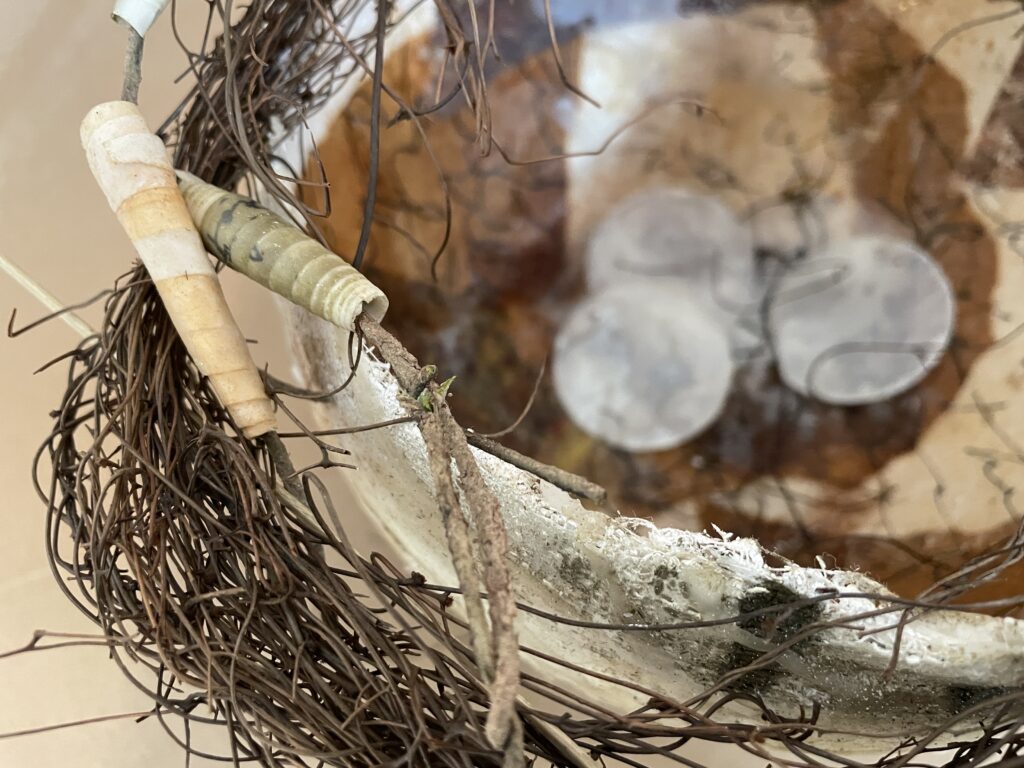
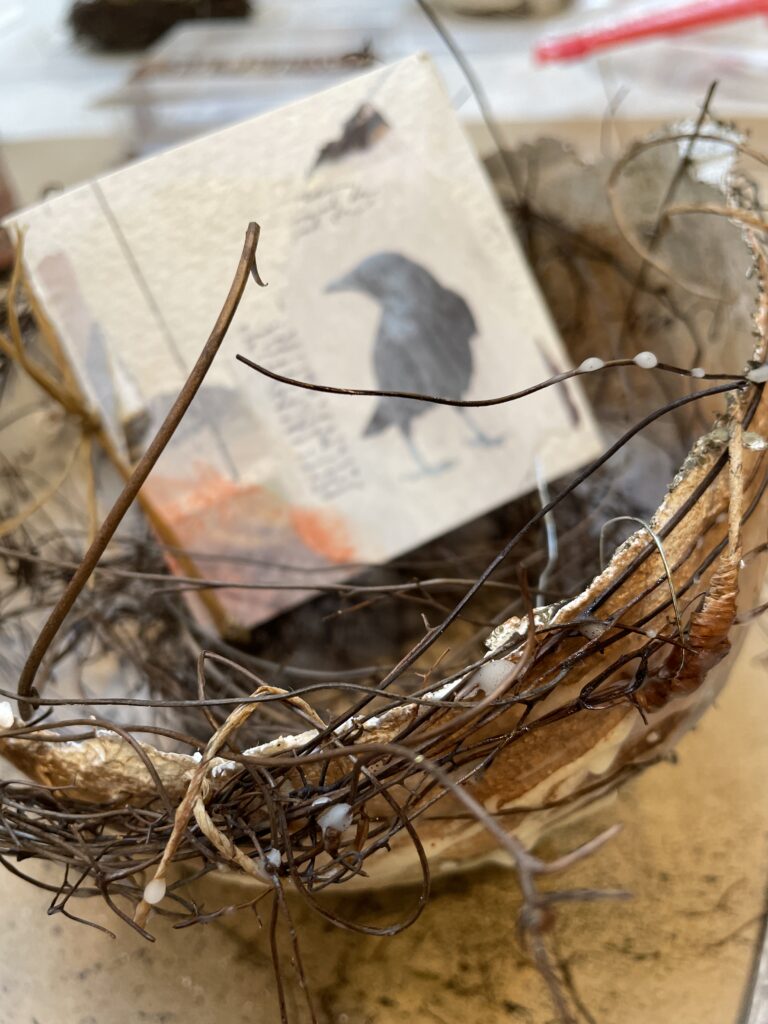
The shift came when I added unspun wool roving to the rim. Suddenly, something clicked.
On impulse, I looked up the word woolgathering. I discovered it referred not only to pulling scraps of wool from fences after sheep passed by—a task rooted in Texas’s textile history—but also to the act of daydreaming. That was the key.
But I had to cut back the sticks to change the focus and to reflect the idea of a rustic fence.
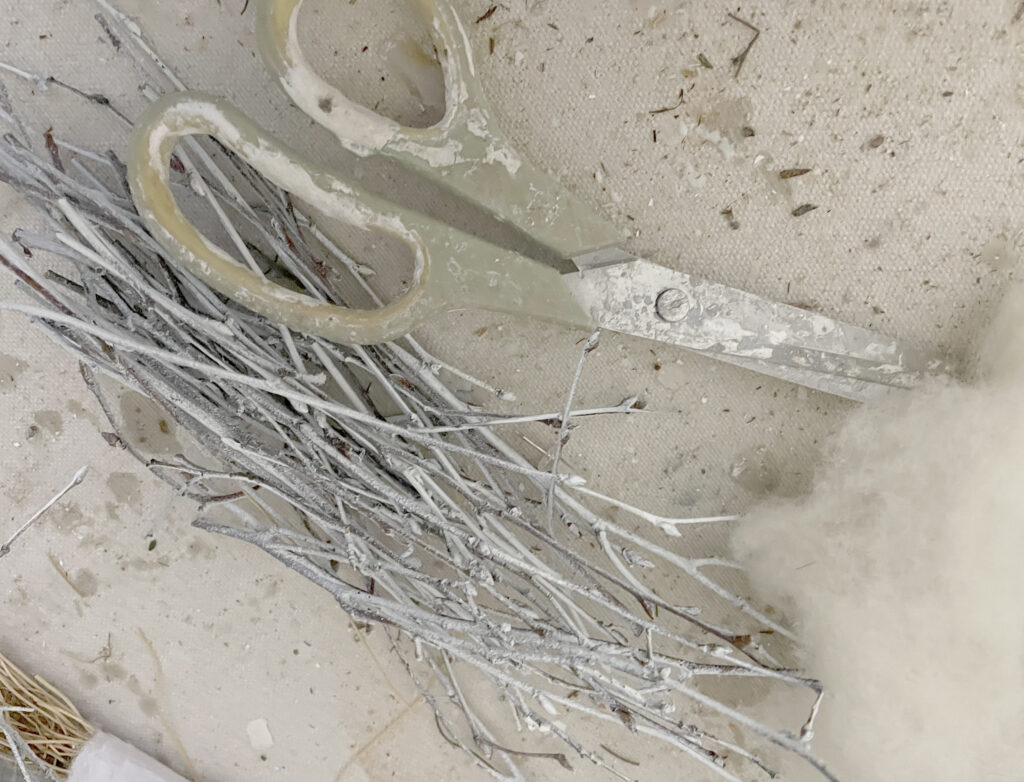
Cutting the sticks down was painful—they were beautiful, but they were overwhelming the form. Once shortened, though, they offered a perfect fench-like perch for bits of wool.

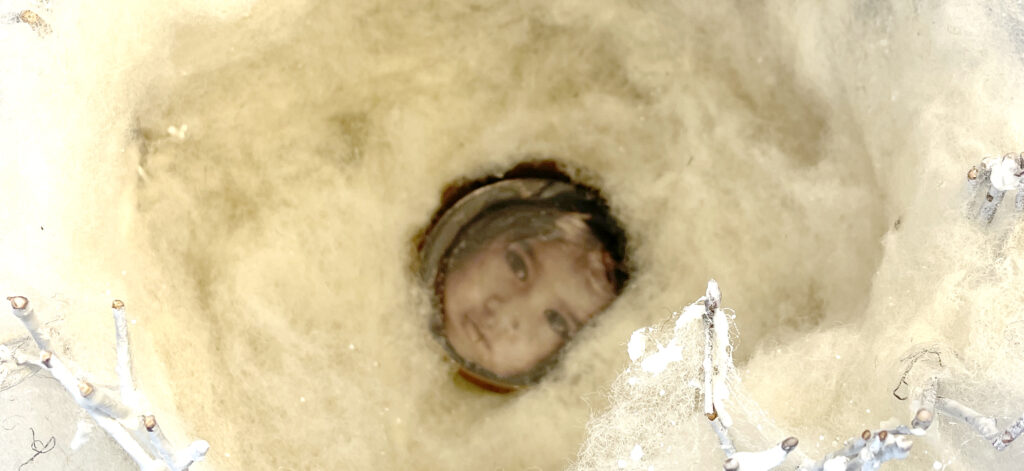
After reshaping the twigs, I brushed encaustic wax across the vessel’s surface and rubbed in pan pastels, earthy tones that recalled the grazing fields of sheep.
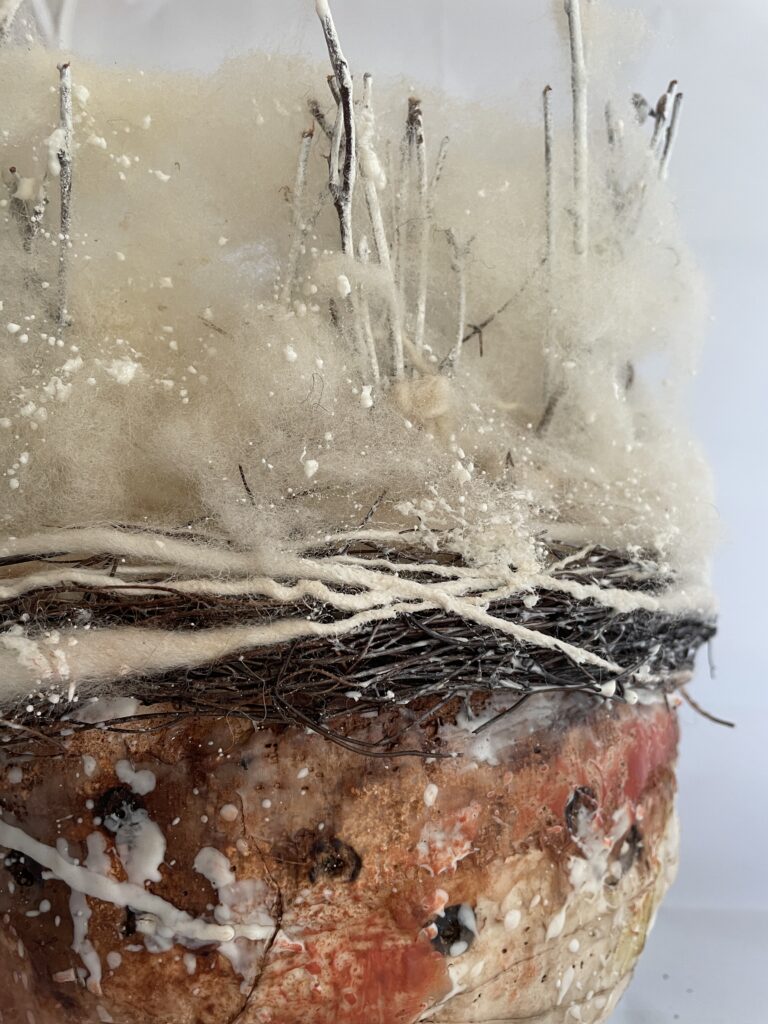
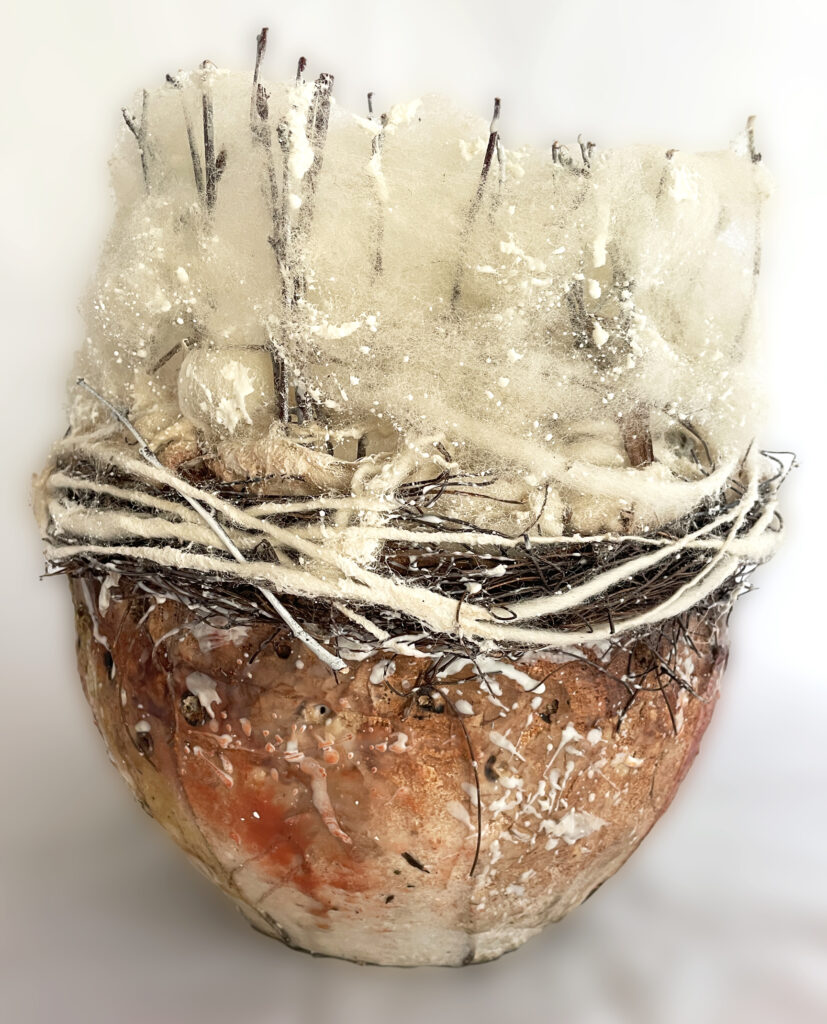
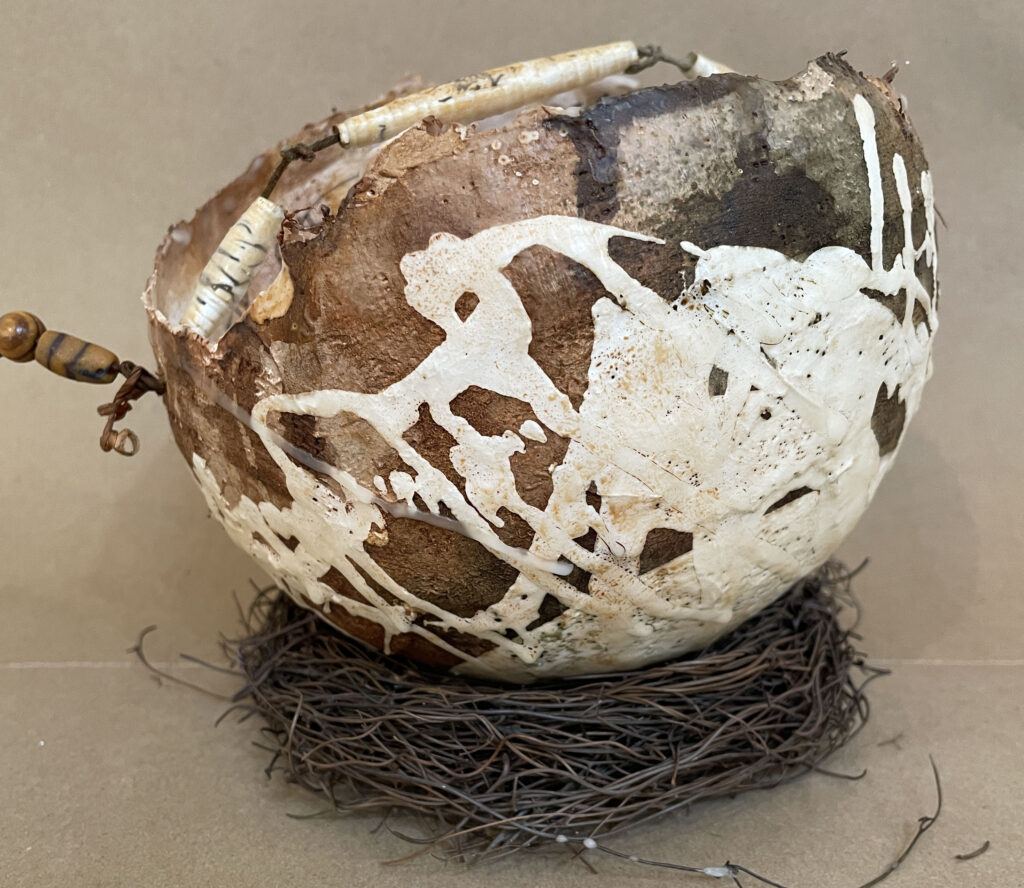
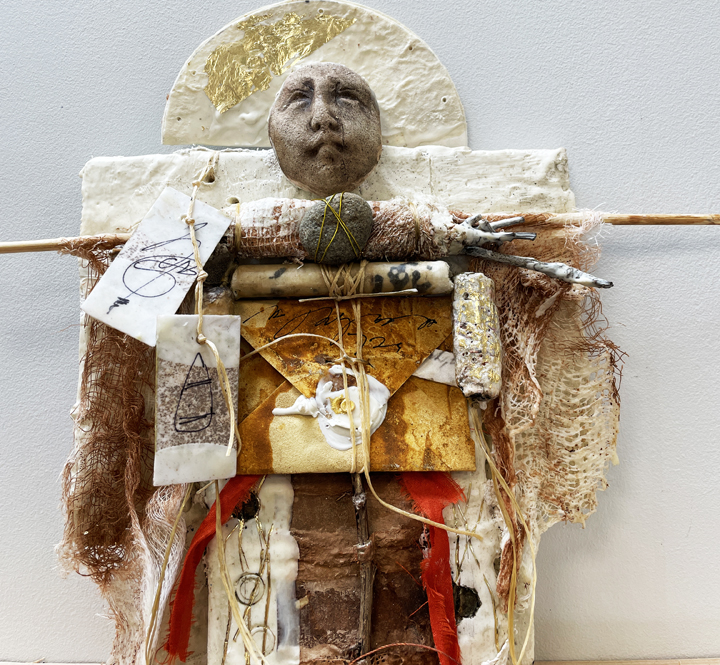
The vessel seemed to root itself in the land. When the wool was woven and integrated into the rim, I added final “sparkles” of white wax across the surface, echoing both stray tufts of wool caught on fences and the small white wildflowers that brighten Texas pastures. At last, the vessel became whole.
Every stage of this work asked me to let go, to take a chance, to risk losing what I had in order to find something better.
Woolgathering is the result: a vessel that holds both memory and imagination.
It carries the story of Texas’s fiber traditions, of sheep and goats shaping the land, and also the quiet act of wandering thought. For me, it’s a reminder that trusting the process is less about control and more about listening—about gathering scraps, following clues, and allowing the work to become what it wants to be.
And maybe that’s true for all of us, no matter what we’re making: the real beauty often emerges in the space between what we plan and what we dare to discover.
For me, trusting the process shows up in a lot of different ways:
-
Following a hunch. Sometimes I don’t know why I reach for a certain tool or material—I just feel the pull. Trusting the process means letting myself act on those impulses without needing a guarantee that they’ll work.
-
Welcoming accidents and discoveries. When I looked up the meaning of woolgathering, it was almost by accident, but that small act gave me the concept that tied everything together. Trusting the process means staying open to those chance encounters and letting them shift the work in a new direction.
-
Pausing when needed. There were moments when the vessel just wasn’t working, and I had to stop and wait for the next clue to reveal itself. Trusting the process means giving myself patience and permission not to solve everything at once.
-
Being willing to risk and revise. Cutting down those tall, beautiful sticks was hard, but it changed everything for the better. Trusting the process means being brave enough to undo or alter something I love for the sake of the whole piece.
-
Listening more than controlling. Over time, the vessel began to tell me what it wanted to become. Trusting the process means letting the work guide me, rather than forcing it to fit a plan I made at the start.
So for me, trusting the process isn’t just one thing—it’s following hunches, welcoming surprises, taking breaks, risking change, and listening carefully. It’s my way of saying: “I don’t know exactly where this is going yet, but I trust it will show me.”
My Invitation to You
How does trusting the process show up in your own work? I’d love to hear where uncertainty has led to discovery in your creative practice.


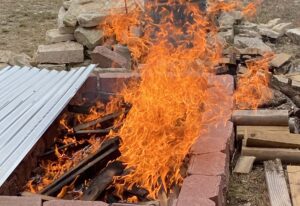
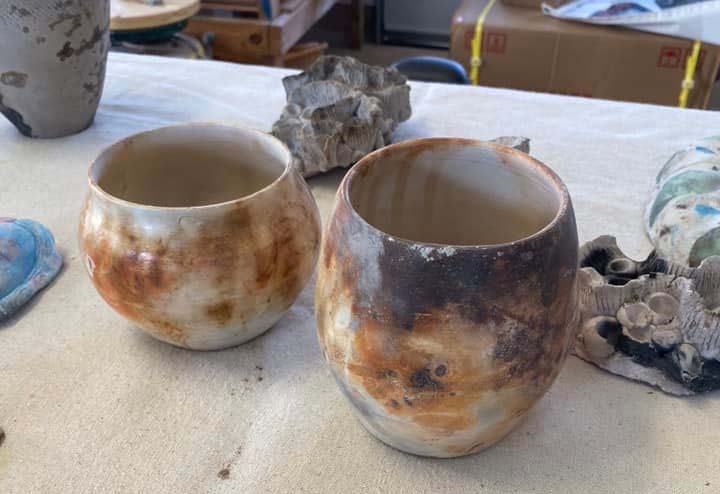
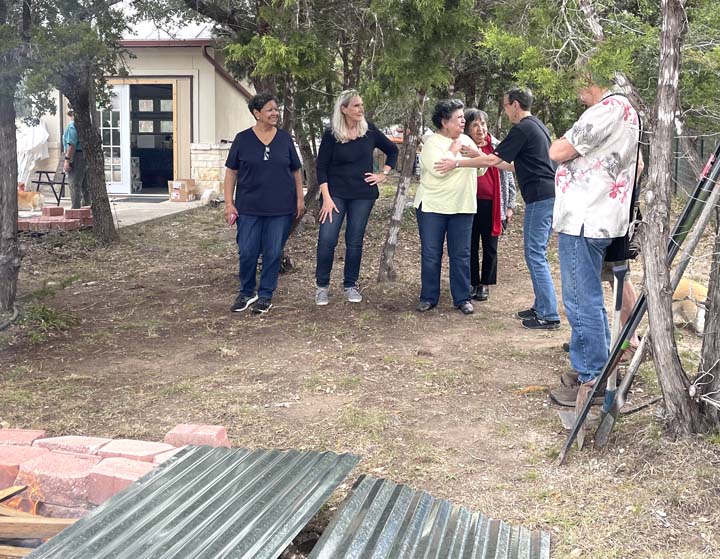
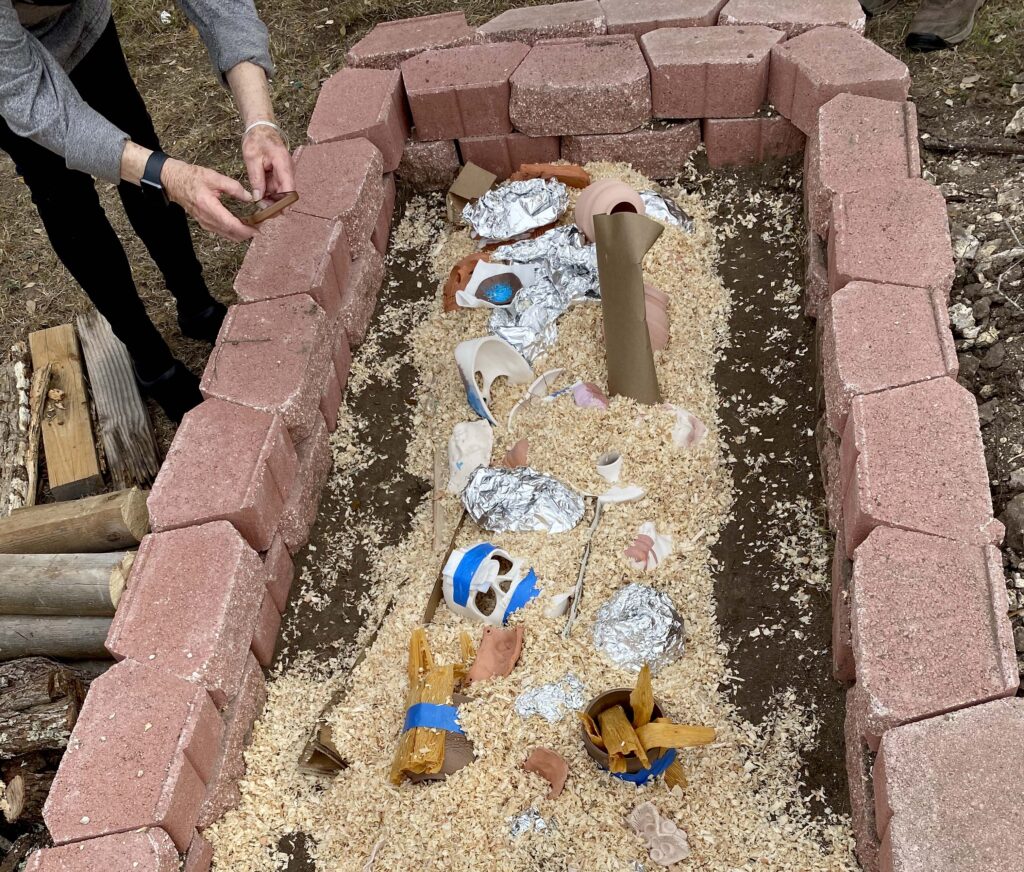

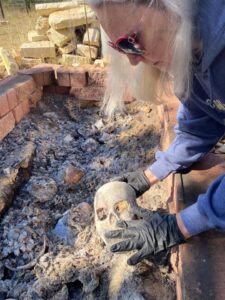
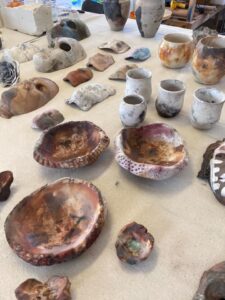
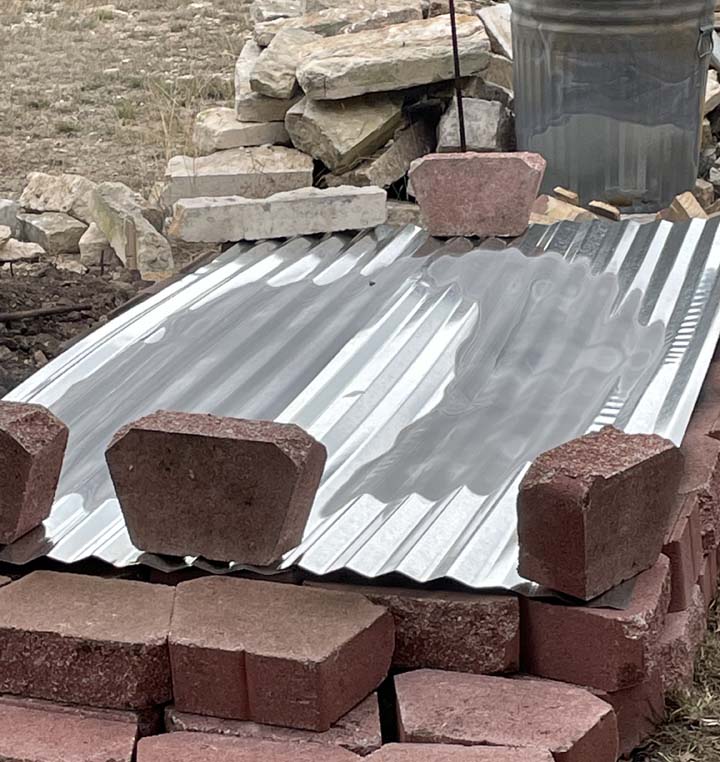 There was so much to learn and to experience. We all took lots of pictures. After Andy and Virginia opened the pit two days later, they pulled the pots from the ashes and cleaned them. Then they sent photos of our work.