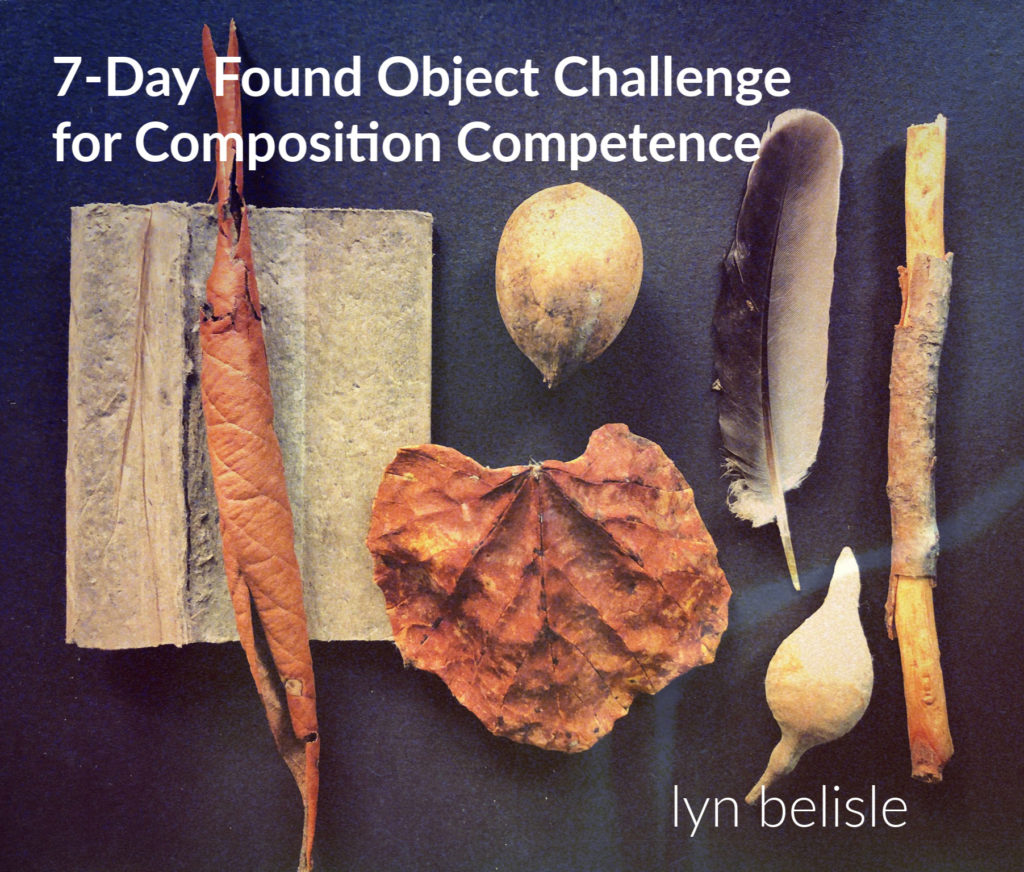
Gifts I’m Carrying Into the New Year
As the year turns, I find myself less interested in presents and resolutions and more drawn to offerings—the thoughtful, non-material gifts that actually sustain a creative life.
It’s been a year that asked a lot of us. One that felt heavy in ways that were hard to name, where clarity was scarce and holding steady sometimes counted as progress. In moments like that, I find myself returning to the work—not for answers, but for anchoring.

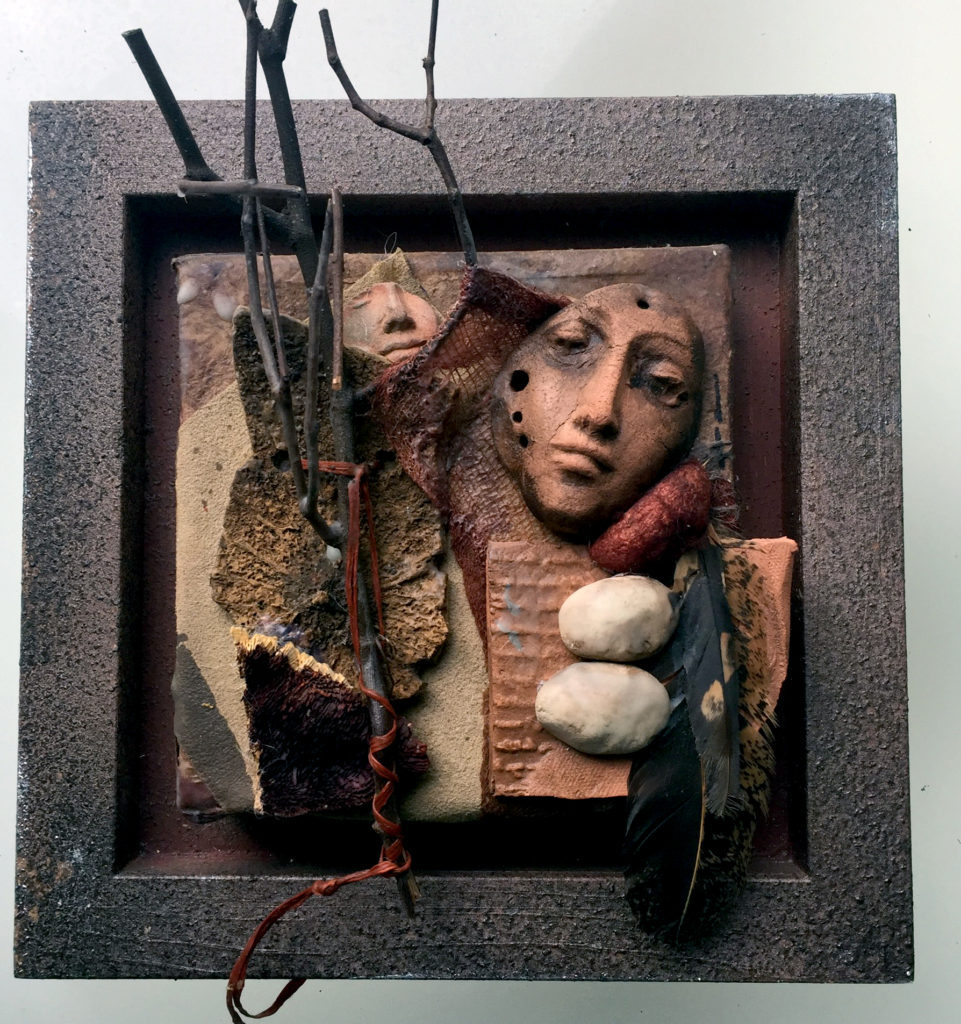
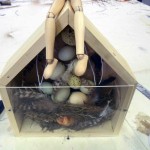
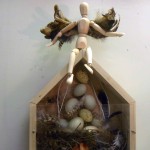
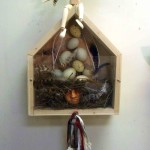
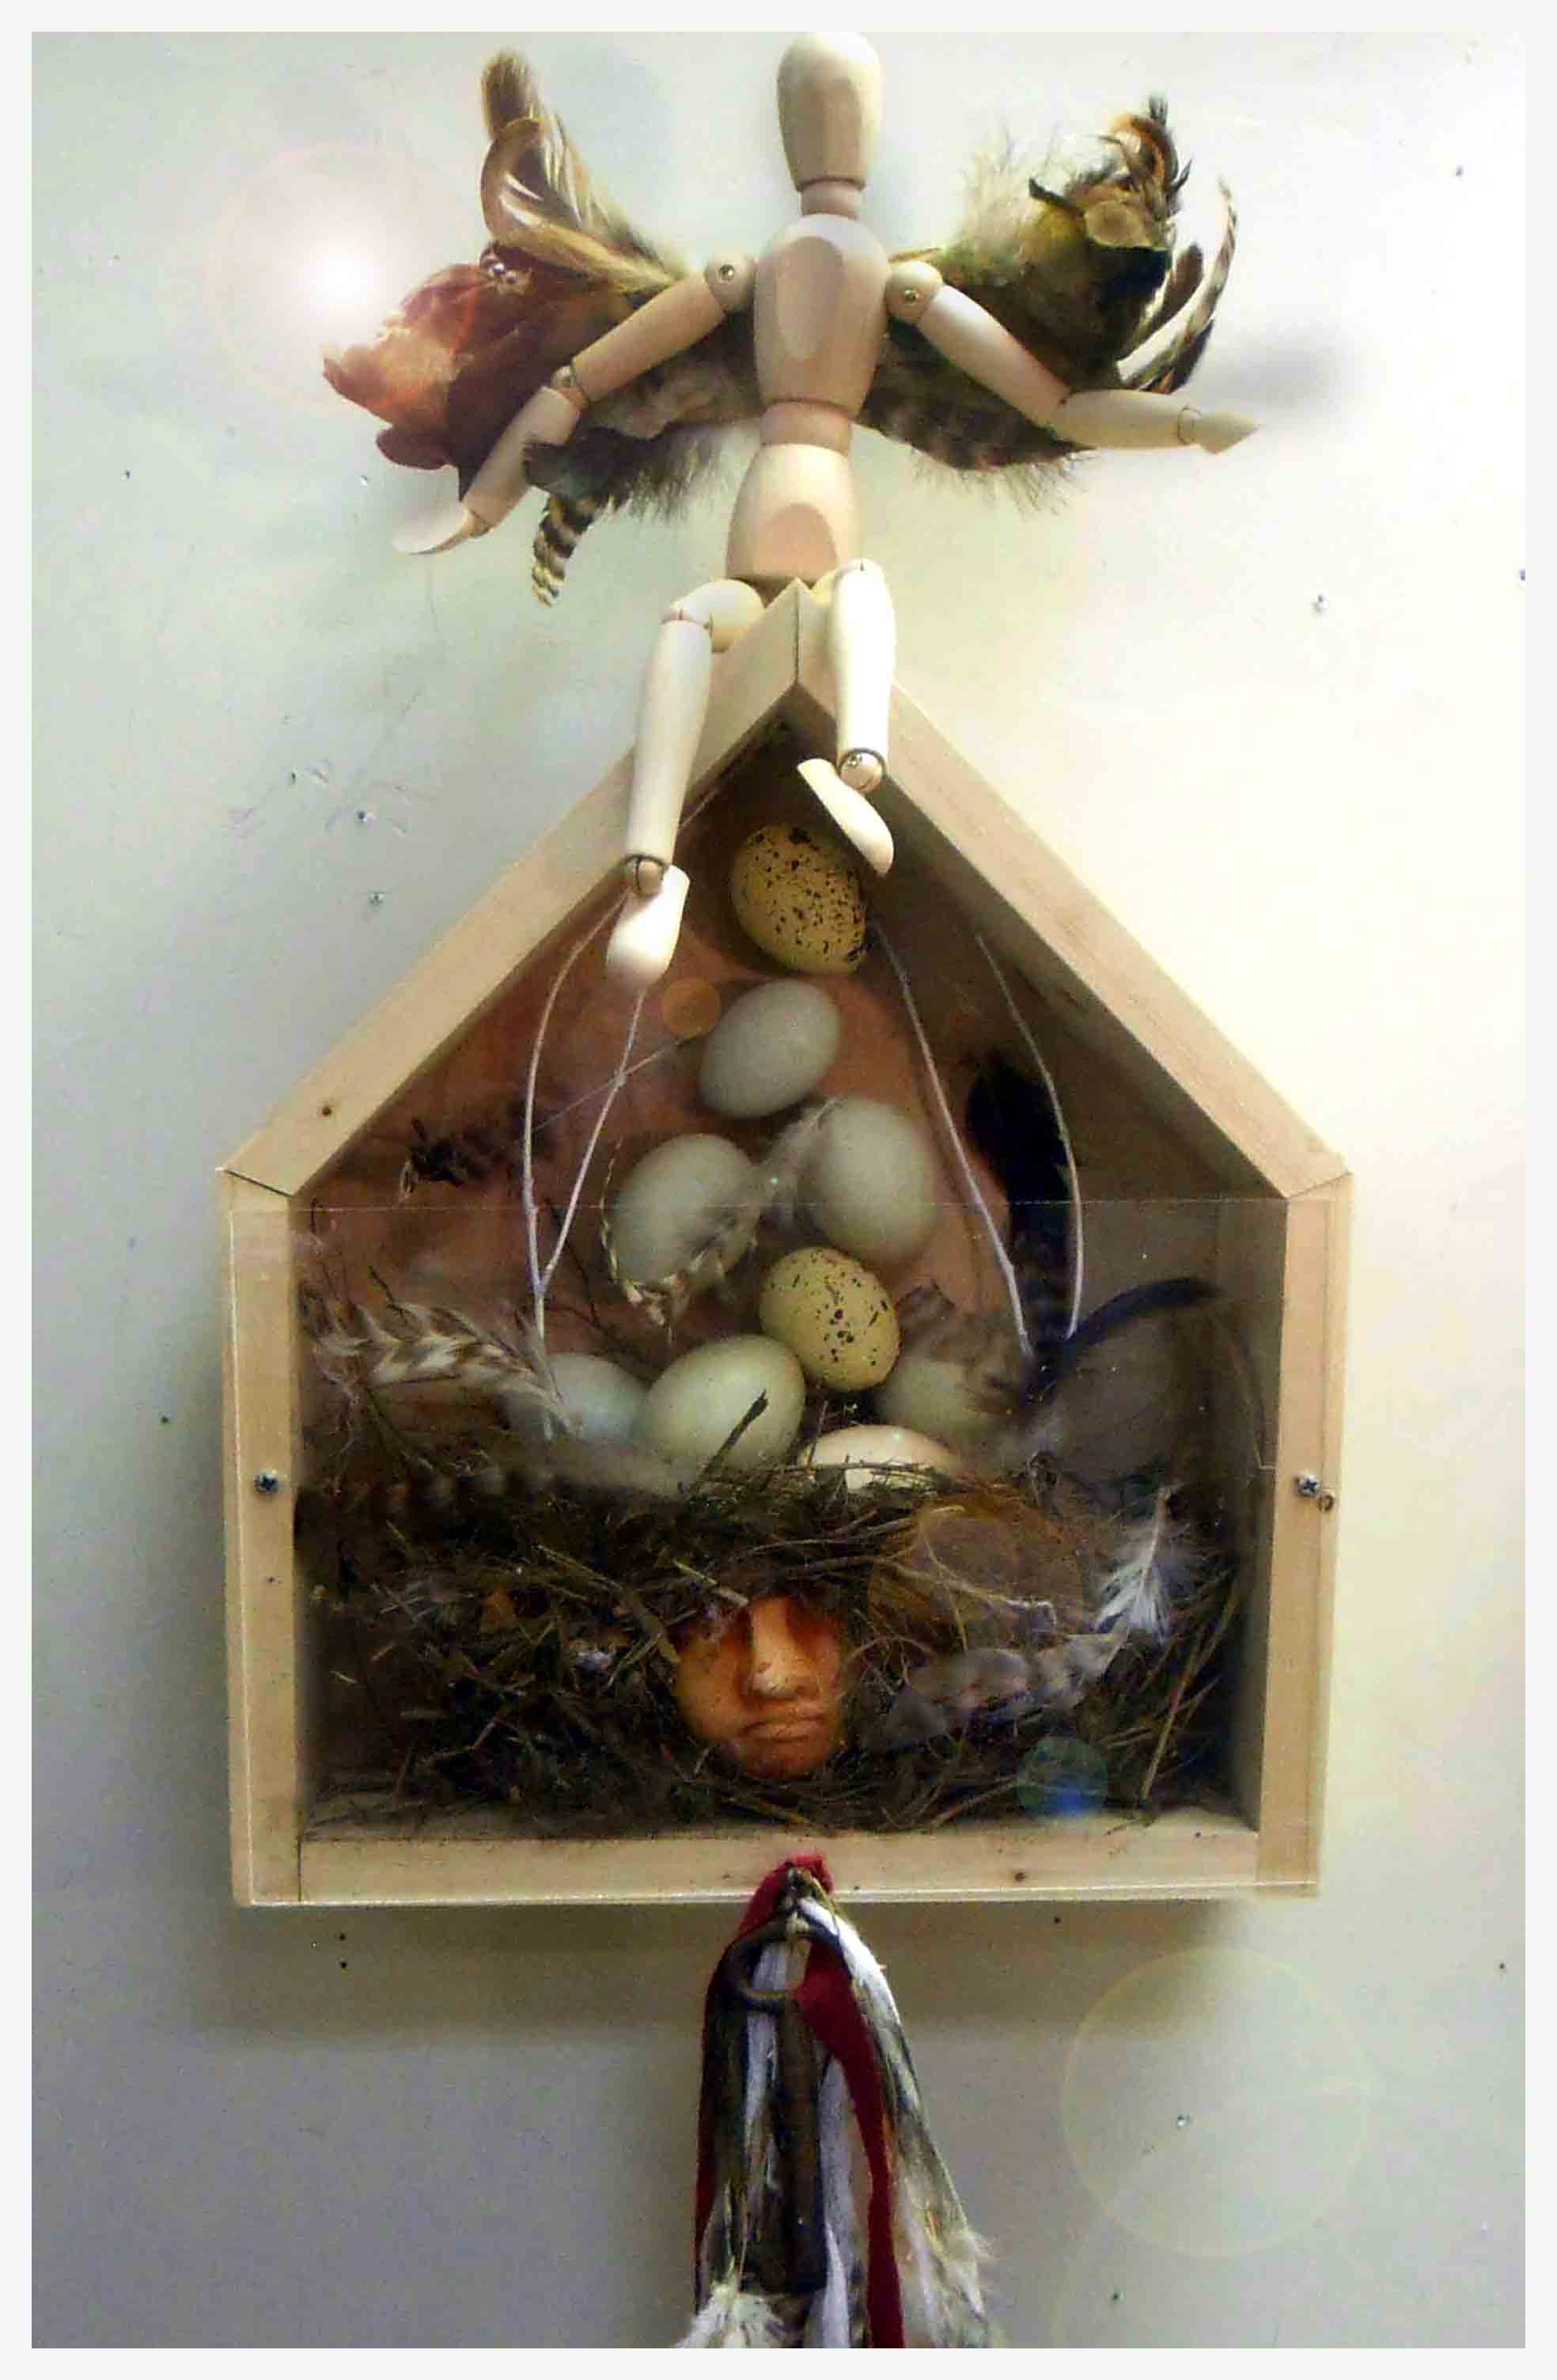
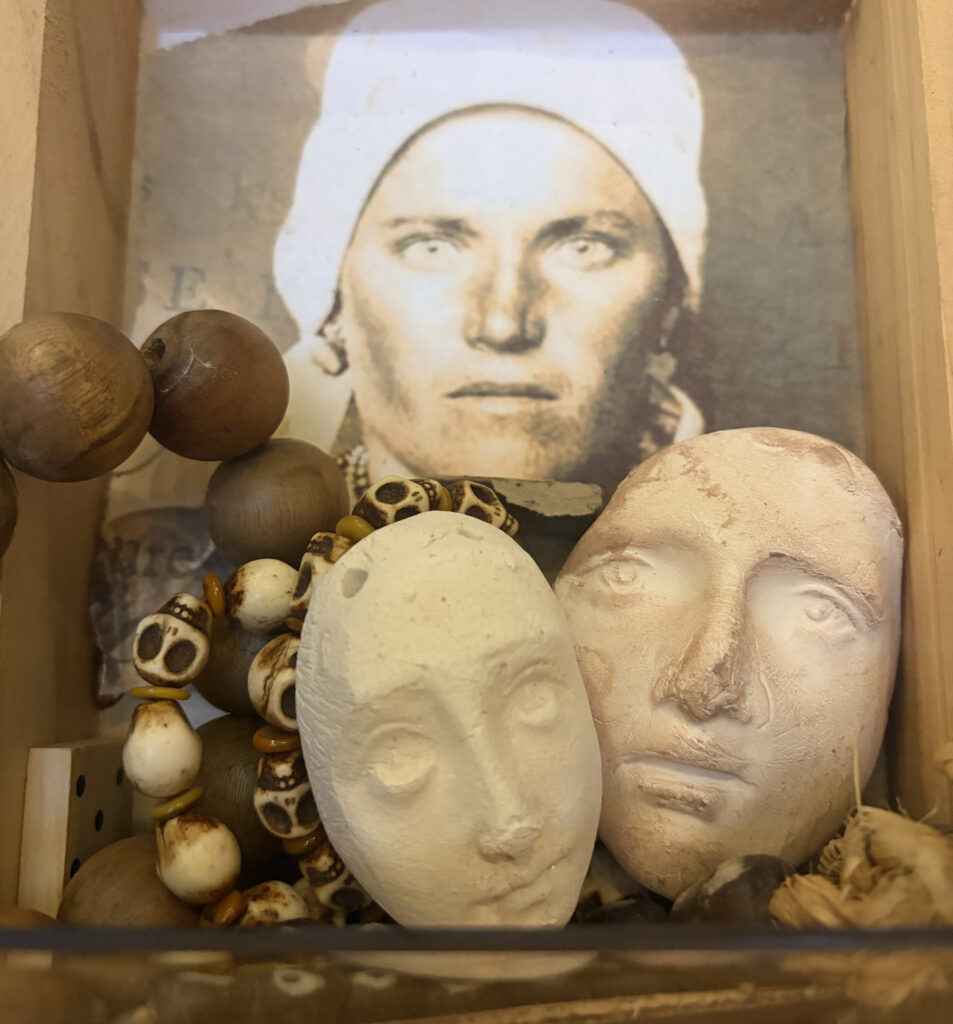
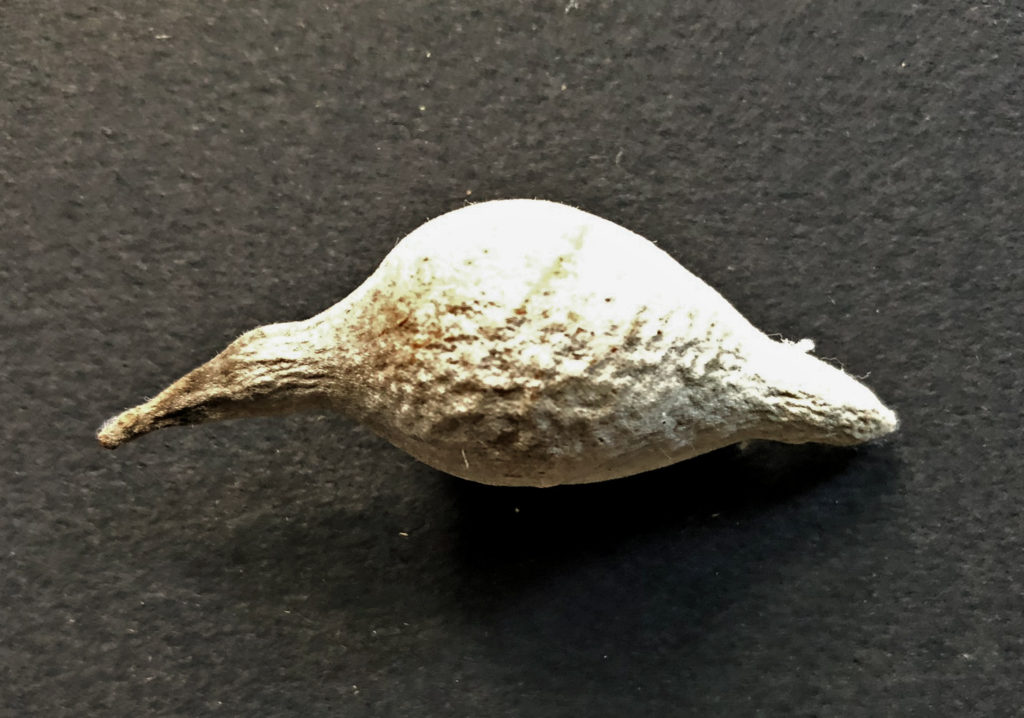
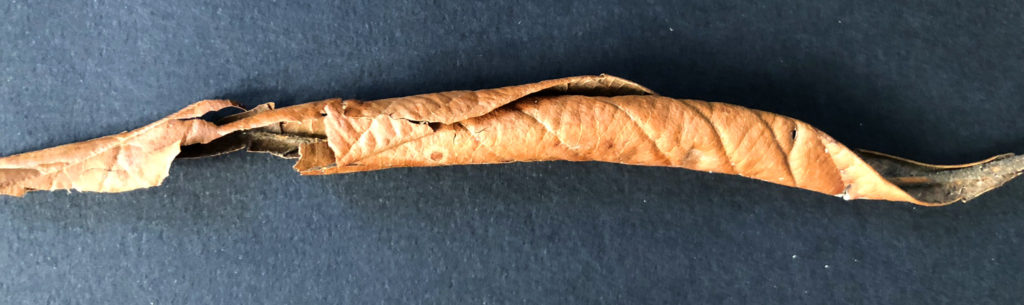
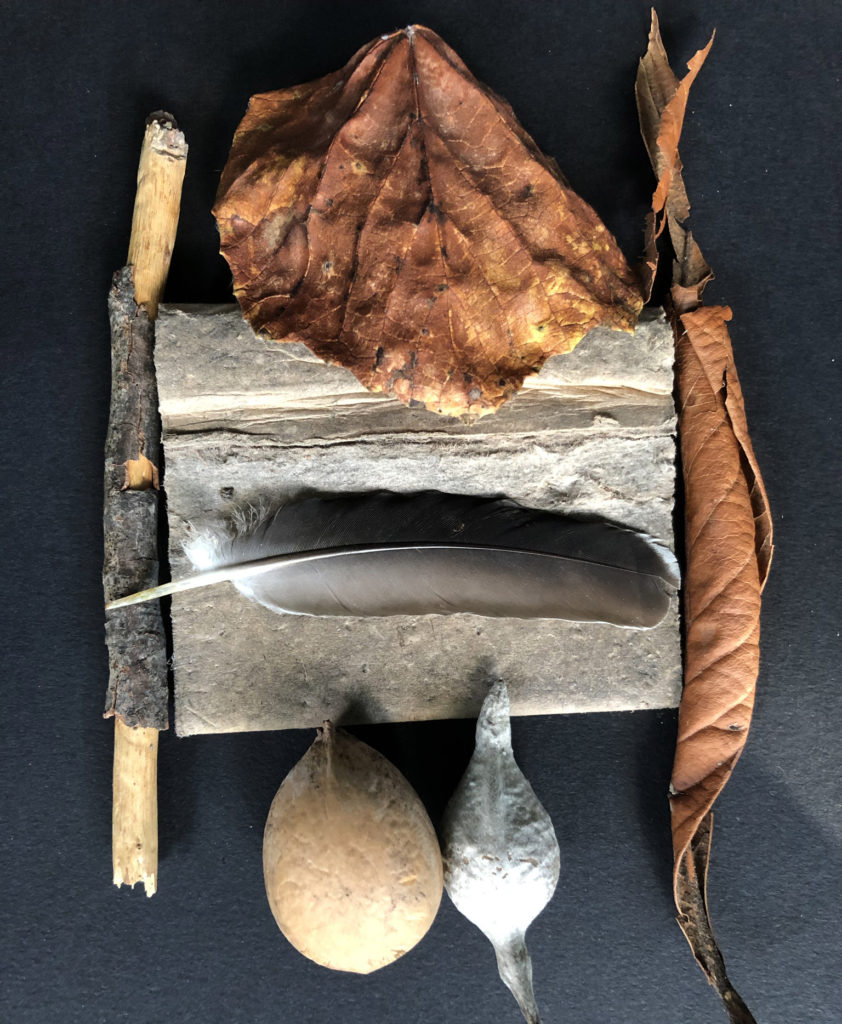
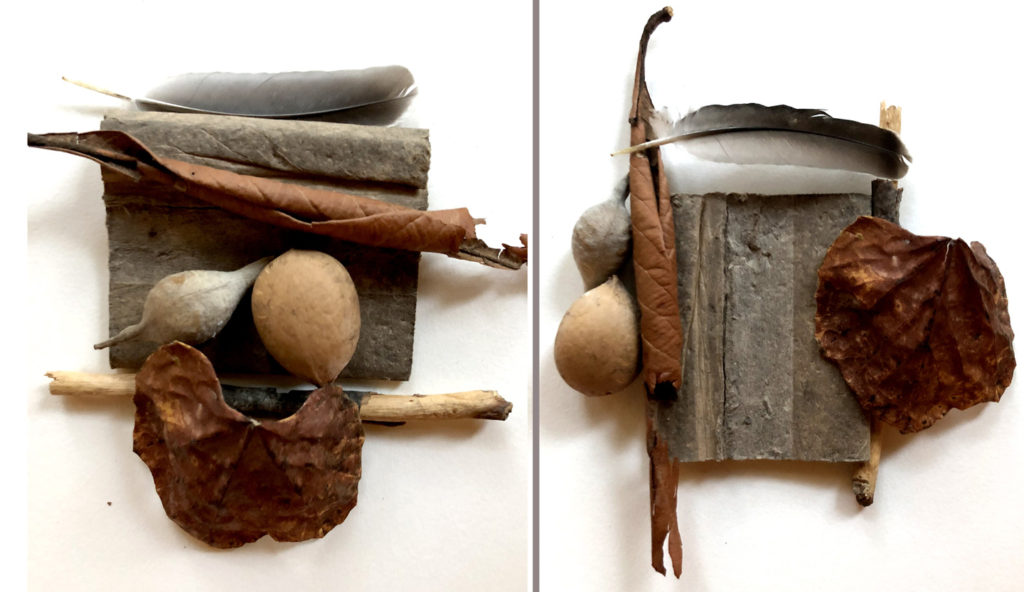
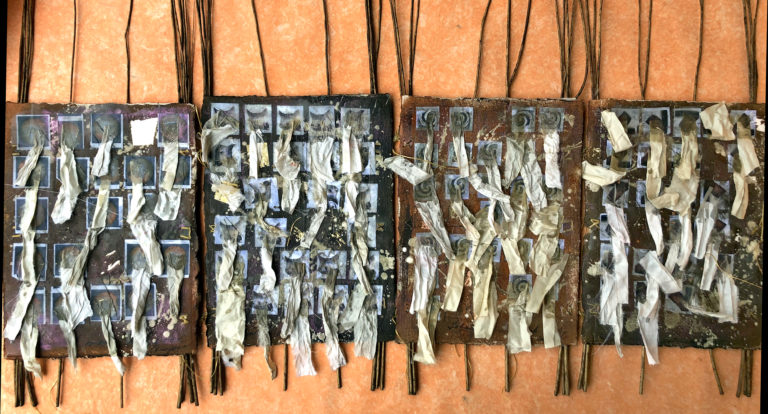
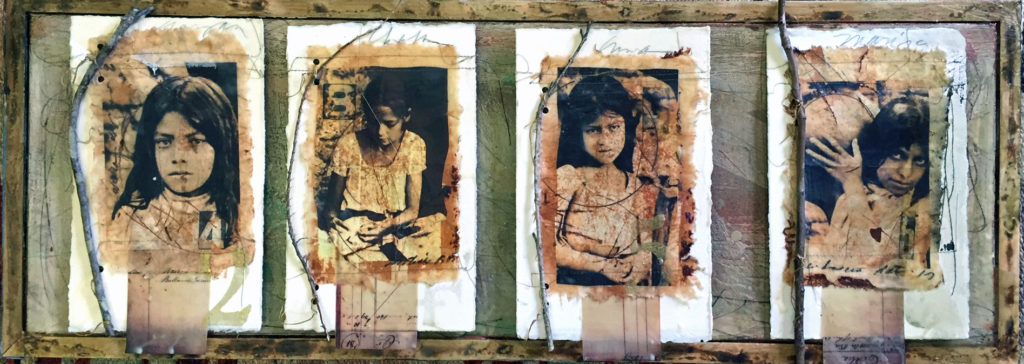
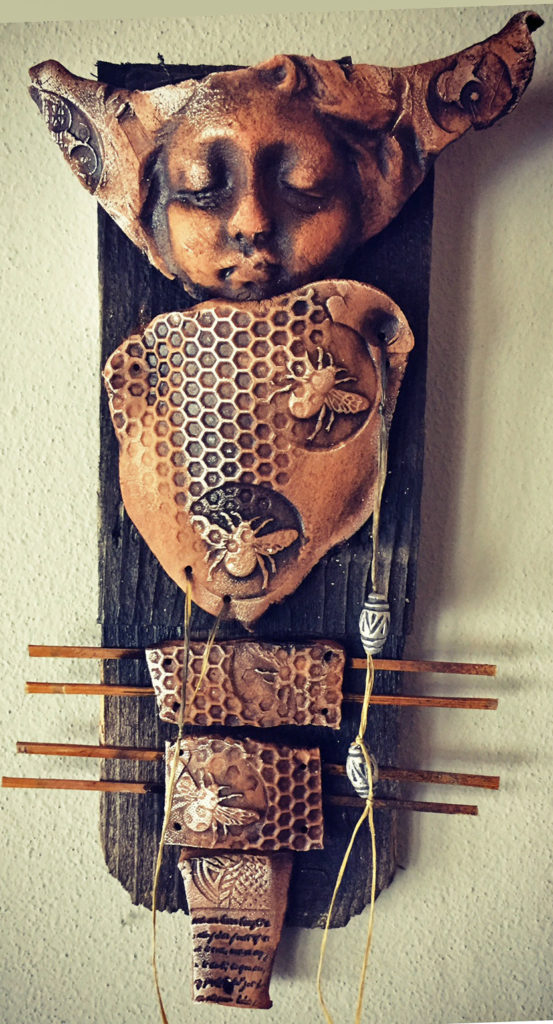
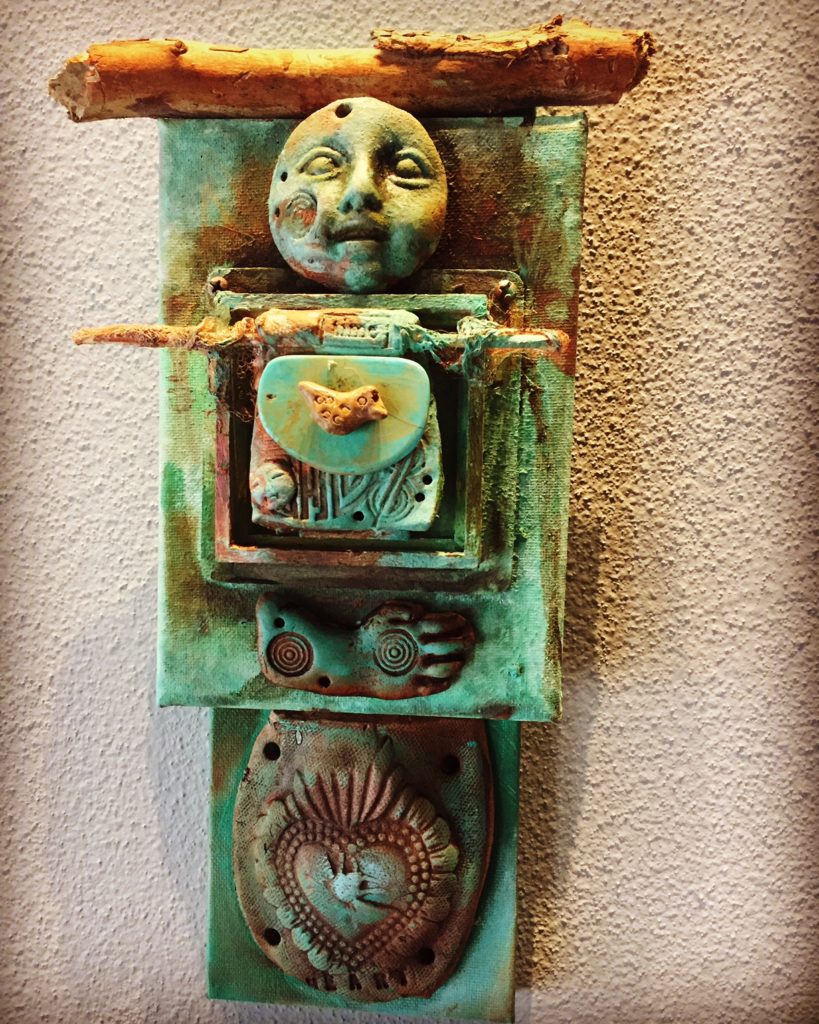
Three of the Seven Messengers, Earthenware and Found Objects, Lyn Belisle, 2025
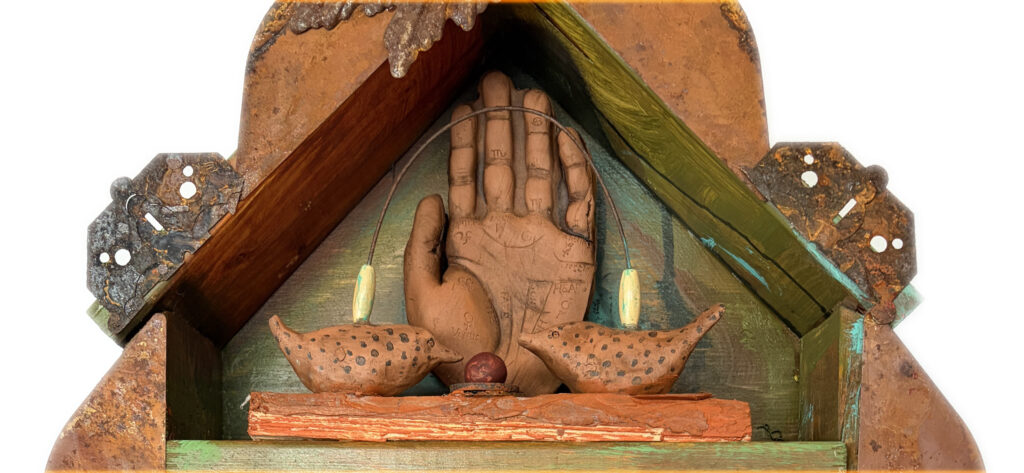
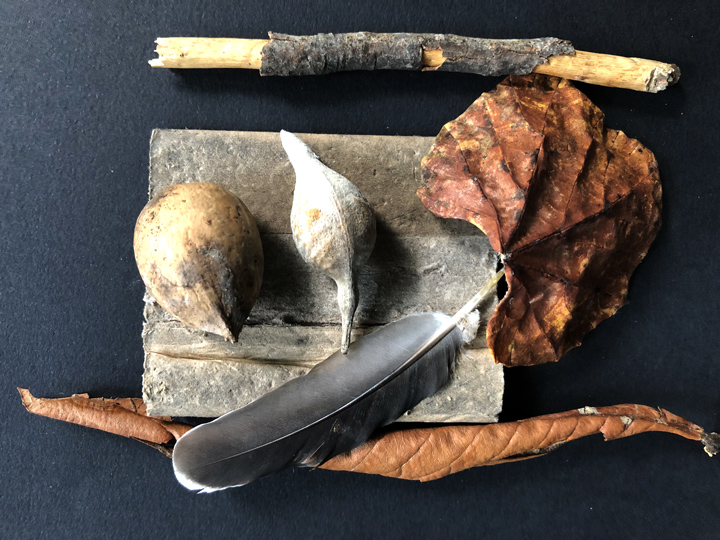
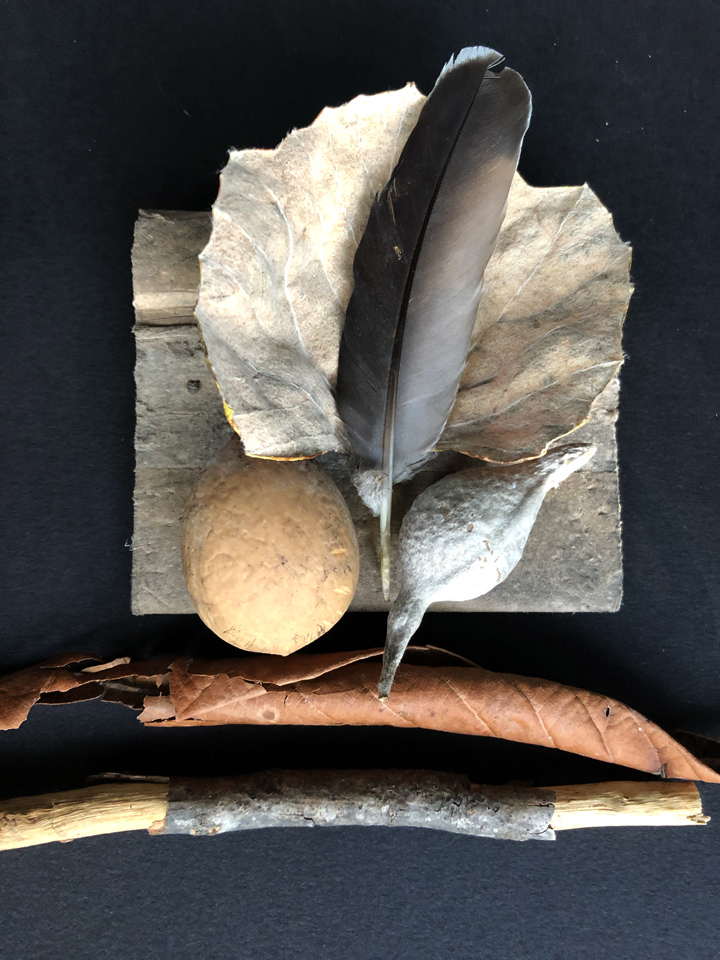
In the Encanto collection I’m creating for the Taos exhibition, nothing begins as whole. Each piece is assembled from fragments: shards of material, memory, intuition, and story. Individually, they hold meaning. Together, they become something new—a vessel, a guardian, an altar that didn’t exist before their meeting.
That feels like the right metaphor for the year ahead. Not a clean beginning, but a gathering. A year shaped less by starting over than by recognizing what is already in our hands—saved fragments, carried questions, pieces that refused to be discarded.
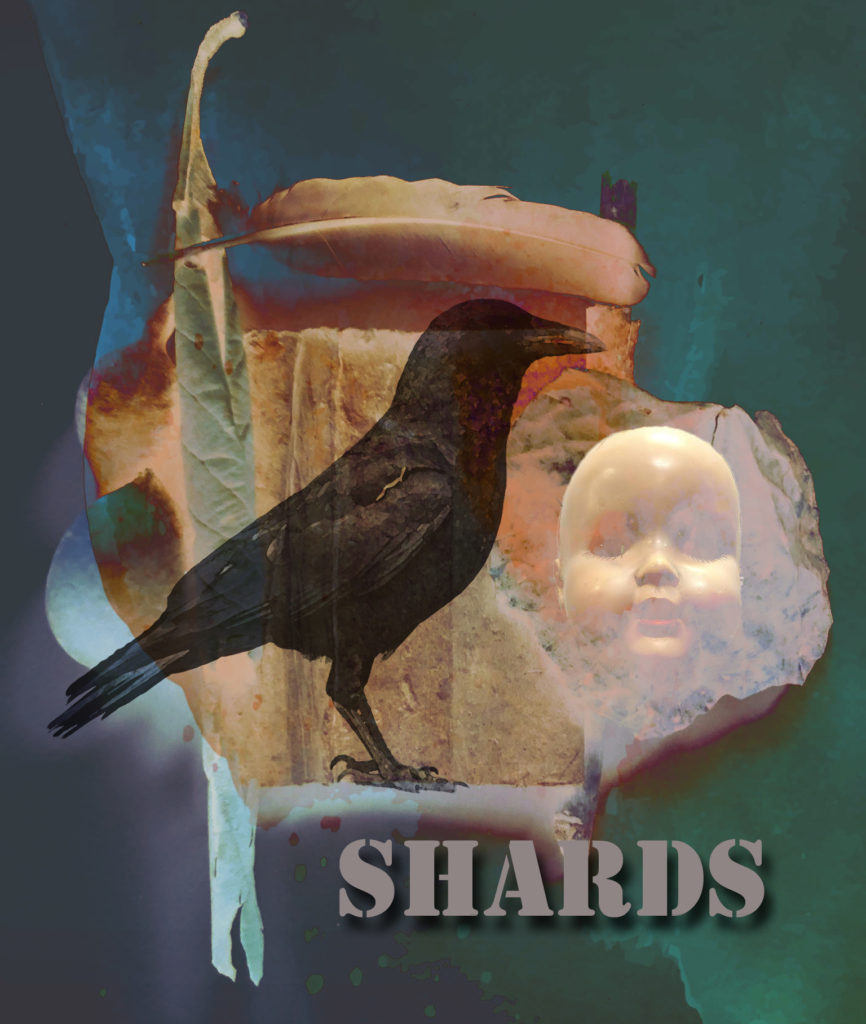
The work ahead isn’t about inventing something entirely new, but about listening closely enough to hear how the shards and clues want to speak to one another, and trusting that connection itself is a form of creation.
For Robert Rauschenberg, especially in his Combines series, the work was rarely about inventing new imagery from scratch. Instead, it emerged from listening to what disparate materials wanted to say together: a quilt, a newspaper clipping, a photograph, a brushstroke, a found object.
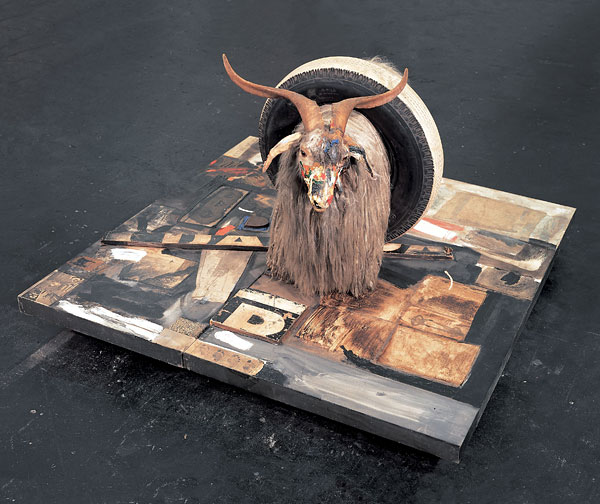
Robert Rauschenberg, Monogram, 1955-59 Freestanding combine Oil, printed paper, printed reproductions, metal, wood, rubber heel and tennis ball on canvas, with oil on angora goat and tyre on wooden base mounted on four casters, 106.6 x 160.6 x 163.8 cm
Individually, these elements carried their own histories. But when brought into proximity, they began a conversation that produced meaning neither could hold alone.
He trusted that relationship itself was generative. The act of placing, juxtaposing, and allowing tension or harmony to arise was the creative act. In that sense, the artwork wasn’t imposed—it was discovered through attentive assembly. This concept means the world to me.

Robert Rauschenberg, Odalisk, 1955-1958 Freestanding combine Oil, watercolour, crayon, pastel, paper, fabric, photographs, printed reproductions, newspaper, metal, glass, pillow, wooden post and lamps on wooden structure with stuffed rooster, 210.8 x 64.1 x 68.8 cm
So, about those gifts — one gift I’m carrying forward is permission—to work slowly, to trust that fragments don’t need to explain themselves right away. Shards know how to wait. They reveal their connections in time.
Another is attention, the soft, ongoing, background kind. The listening that notices how one piece leans toward another. How an image answers a question posed months ago. How intuition doesn’t hand us a map, but offers clues – “a secret handshake“.
 I’m also carrying continuity. The understanding that the work doesn’t reset on January 1st. We bring our fragments with us—unfinished ideas, saved scraps, half-formed thoughts—and the new year simply offers a fresh surface on which to assemble them. It also gives us a grounded connection to where we have been.
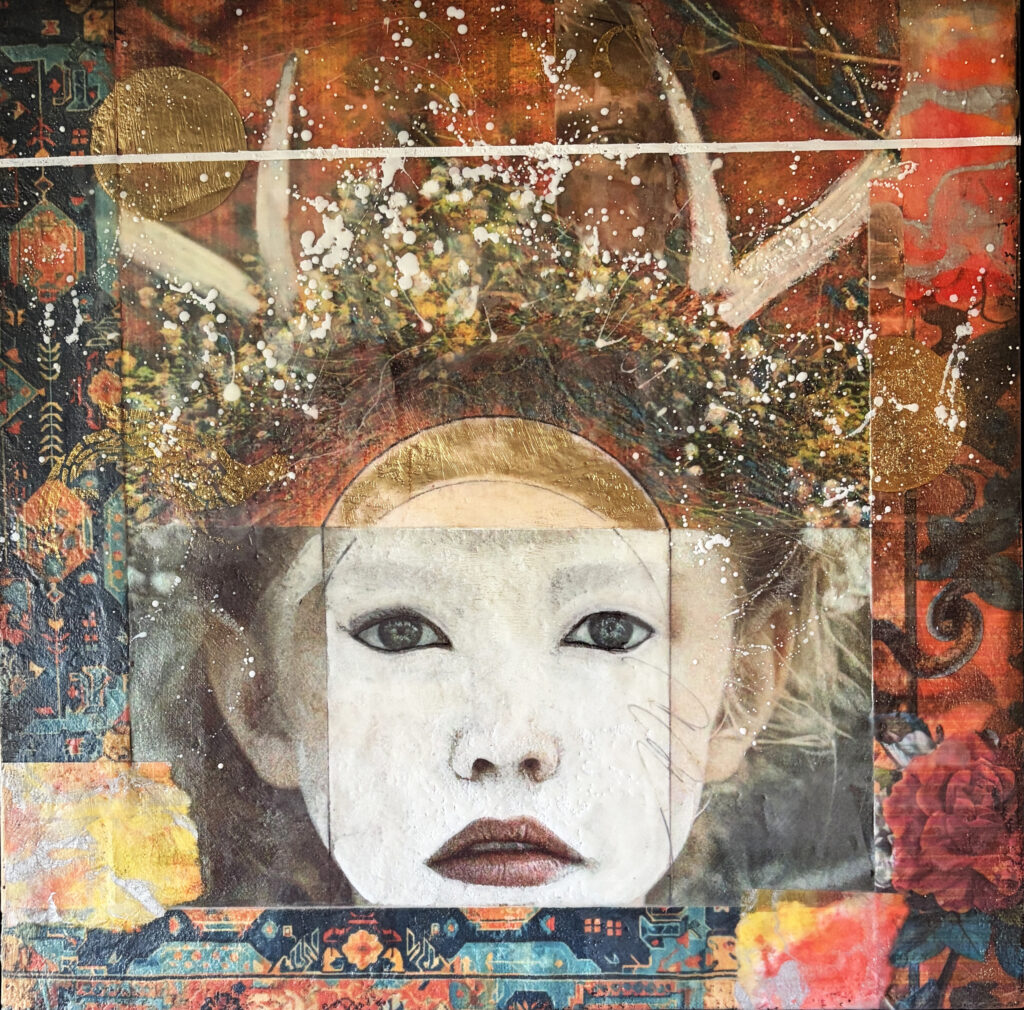
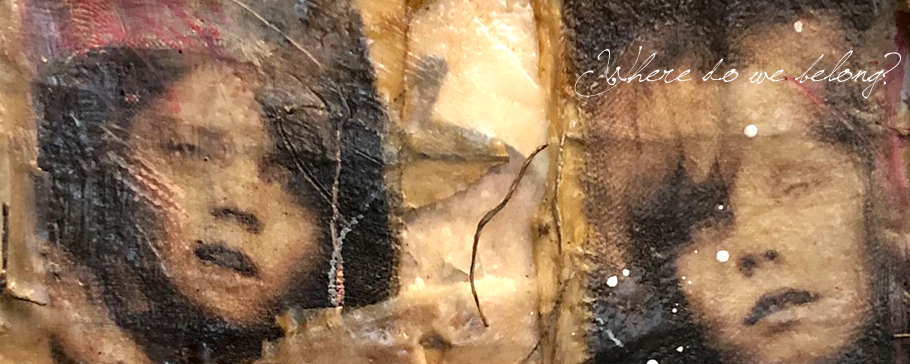
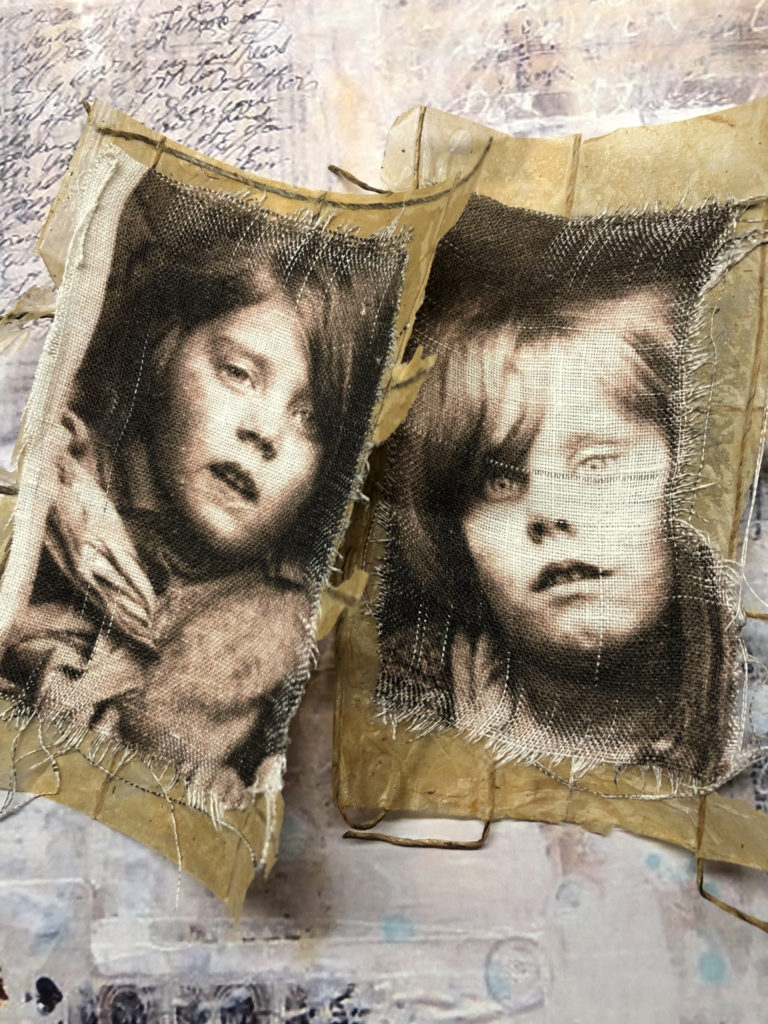
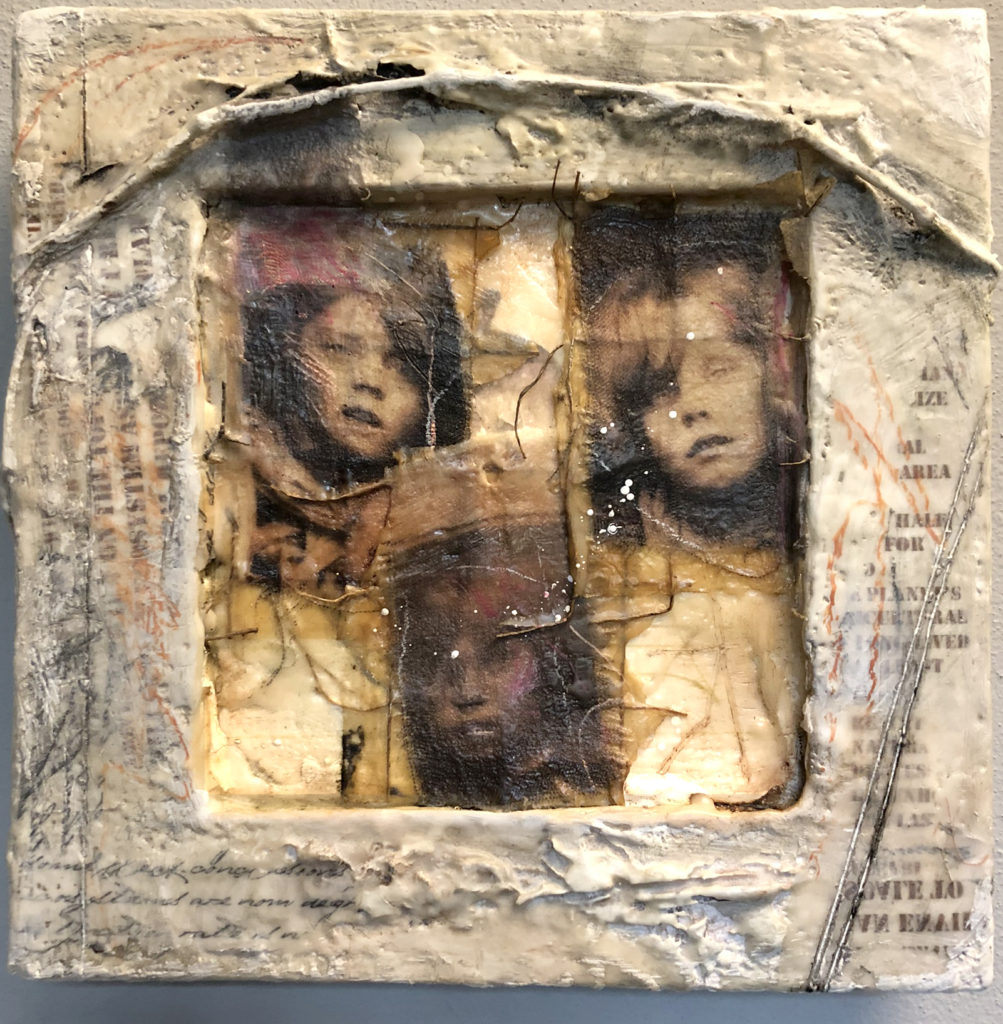
Santa Nina, Encaustic Collage, Lyn Belisle, 2025
And finally, companionship. The knowledge that we never gather shards alone. We are guided by shared histories of making, by other artists (like Rauschenberg) working in the past or in parallel, by unseen hands that have always known how to build meaning from pieces.
- Permission
- Attention
- Continuity
- Companionship
If there is a gift in these words, it’s this: a reminder that you don’t need to arrive whole to begin the year. Thank goodness! What you carry—your fragments, saved pieces, unfinished ideas, and intuitive longings—is already enough. My hope is that you’ll treat them with the same care we give to cherished shards in the studio, trusting that when the time is right, they will find their place and become something new.
Thanks for your presence, thanks for giving me attention and companionship, and for meeting these thoughts with the intelligence and generosity that only the best readers bring. Happy Holidays!


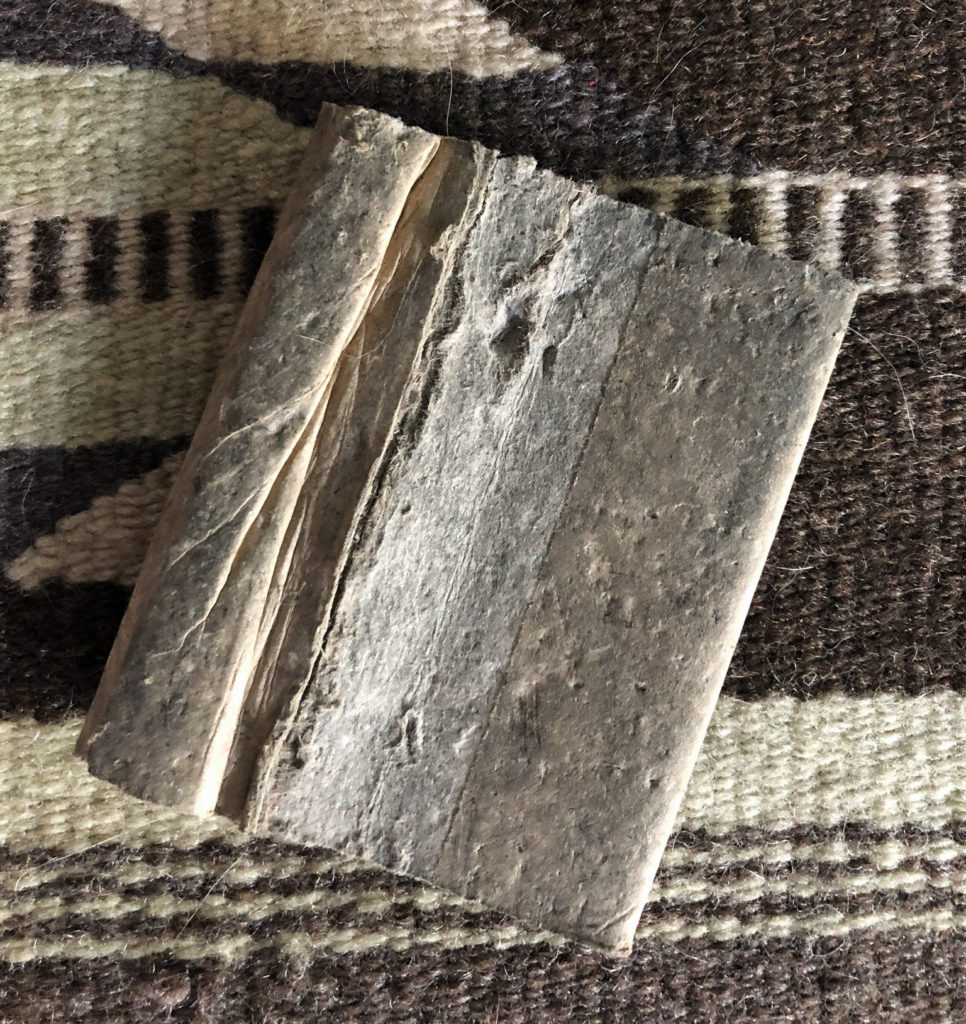


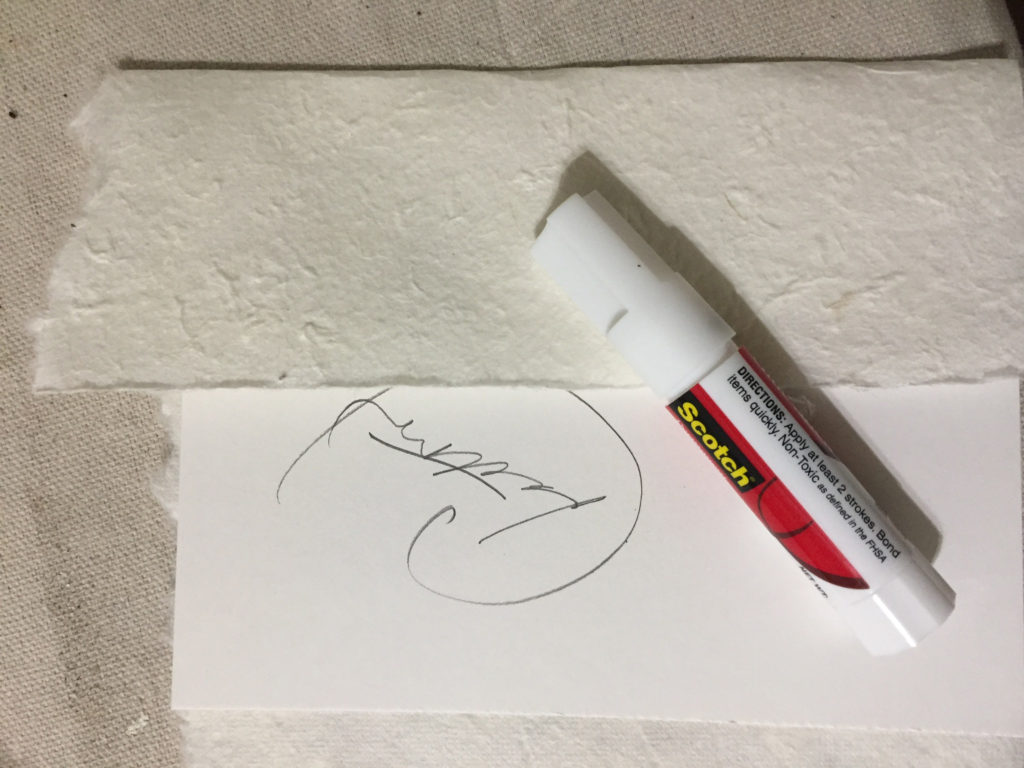
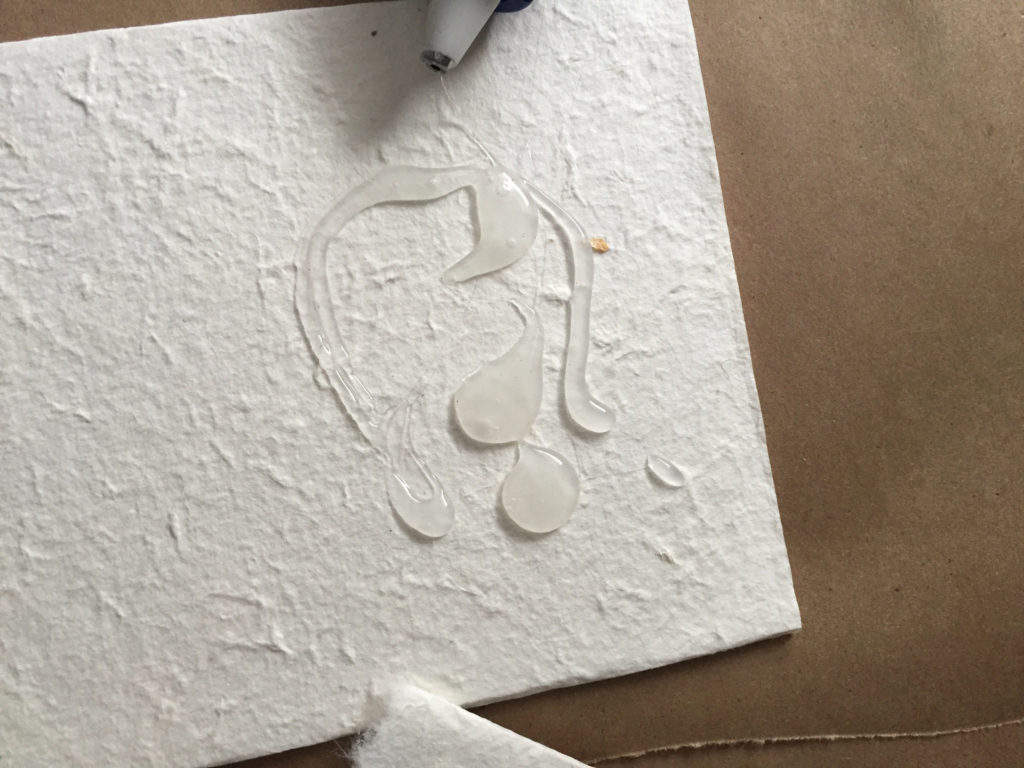
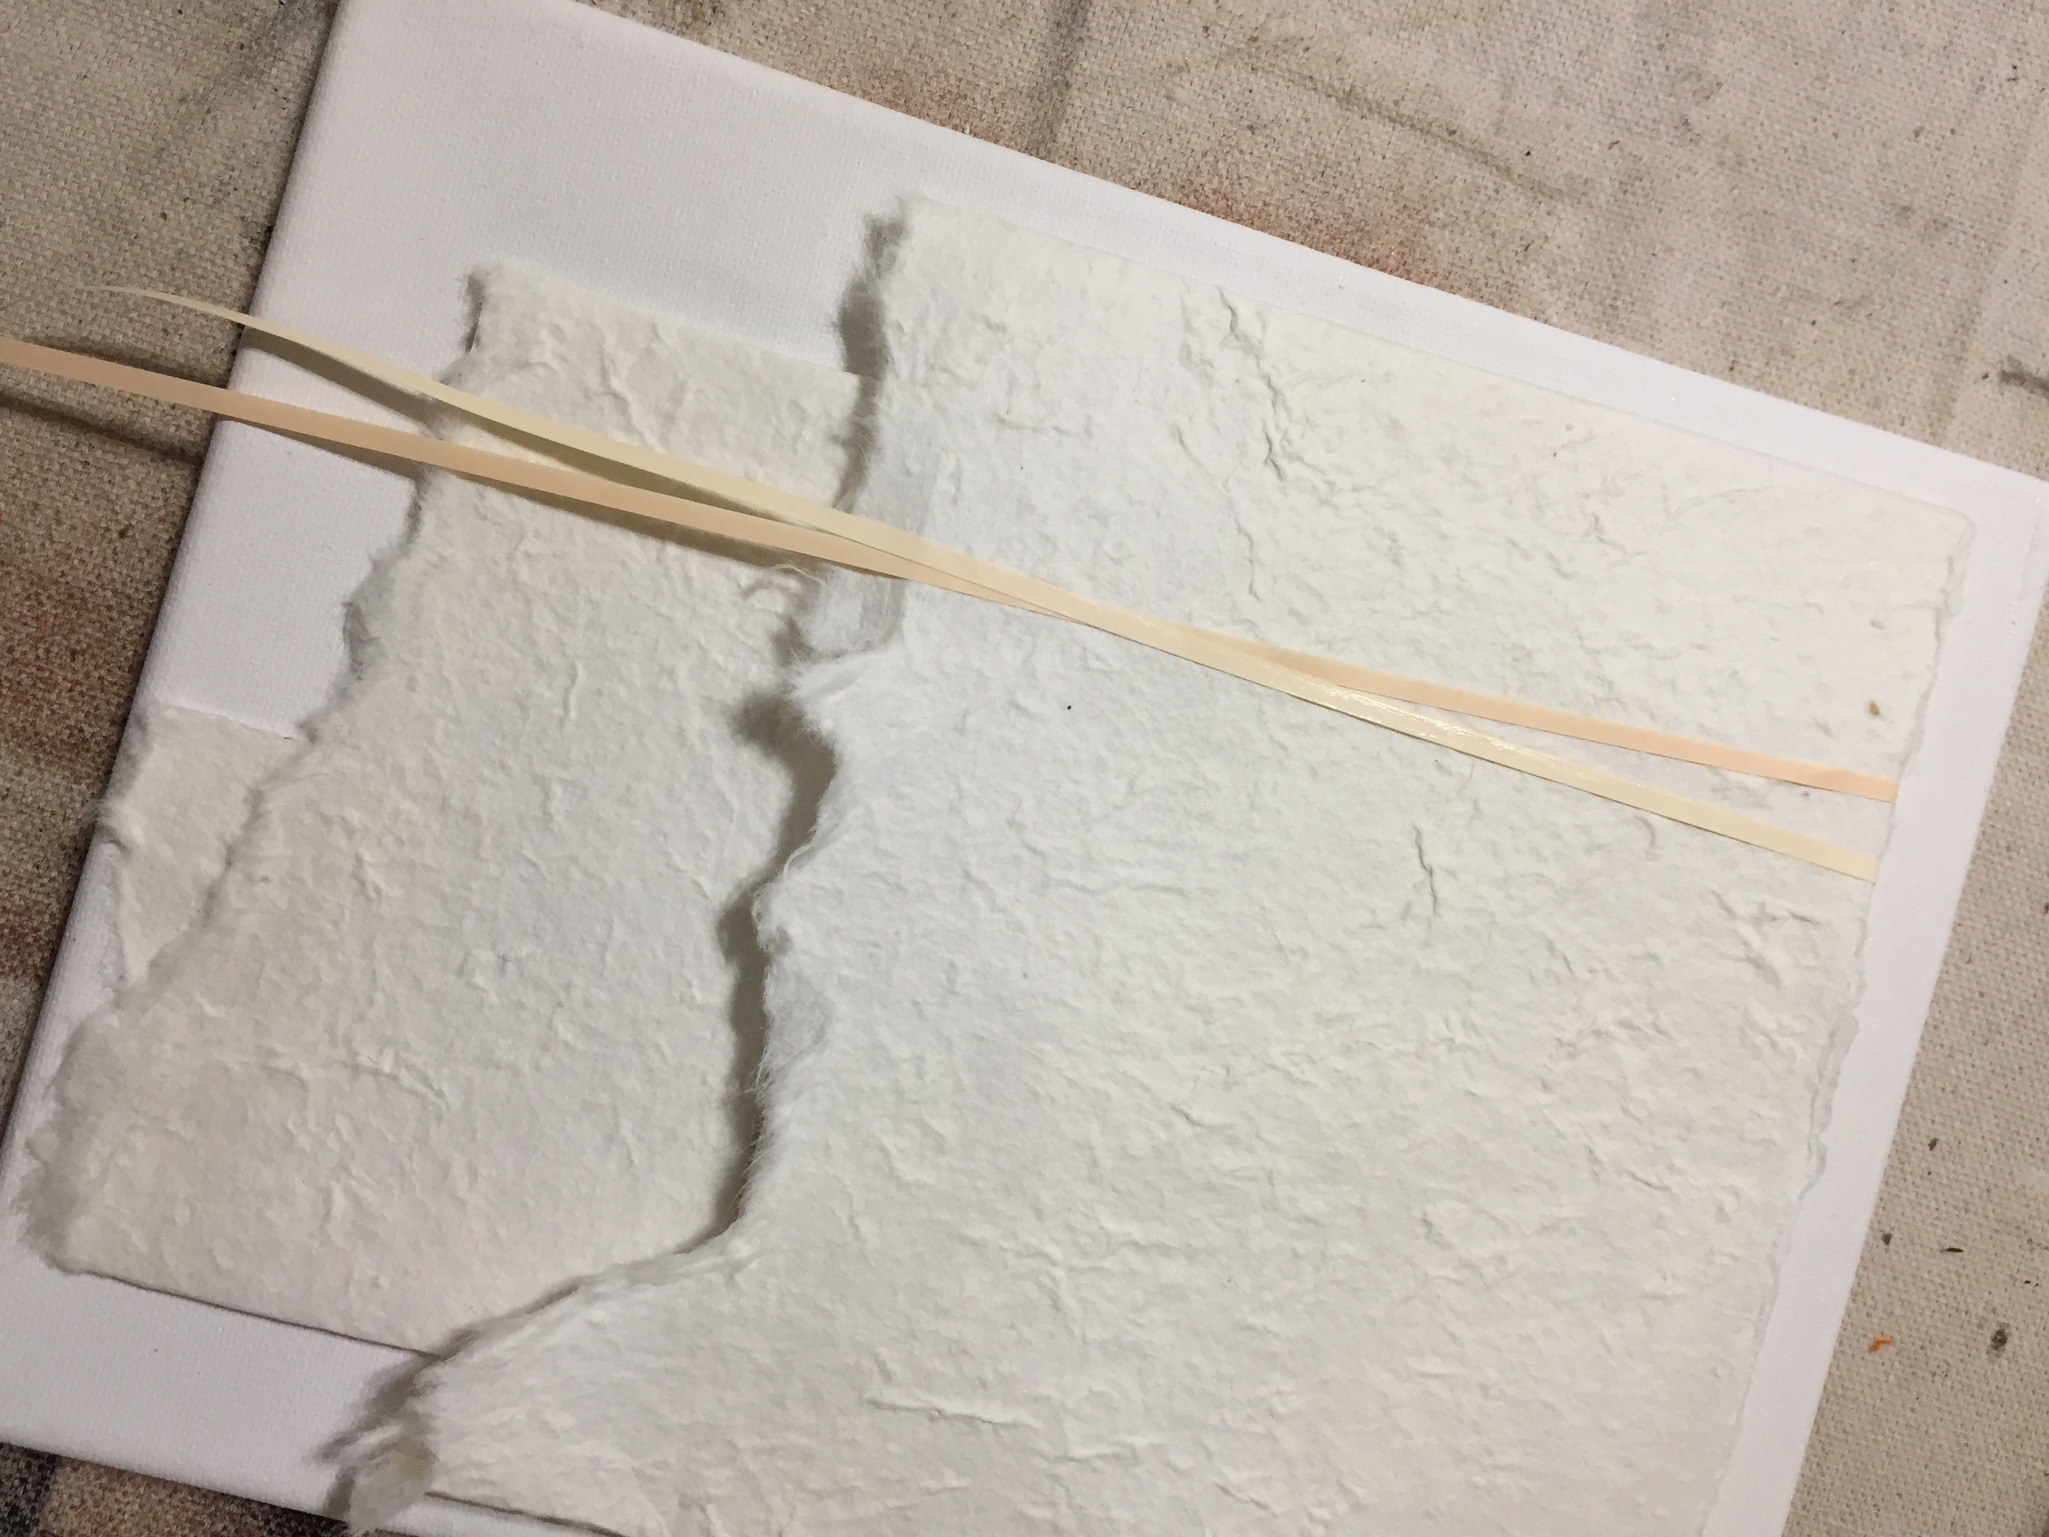
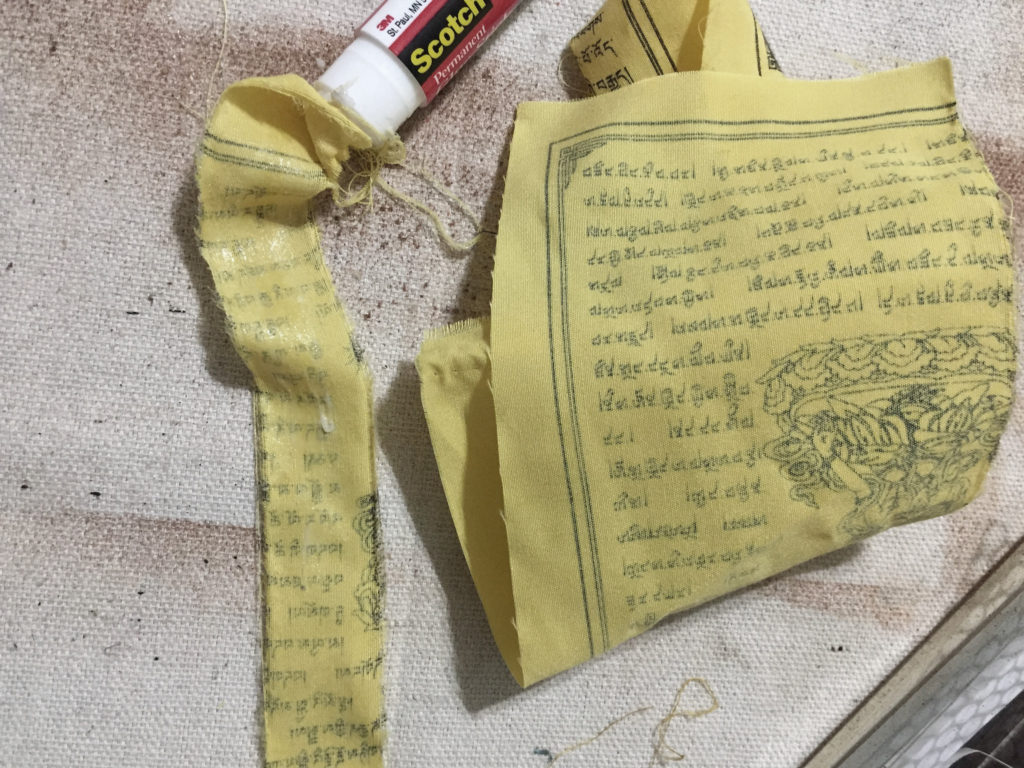
 Second step – wrapping two small pieces of archival mat board in handmade mulberry paper using glue sticks.
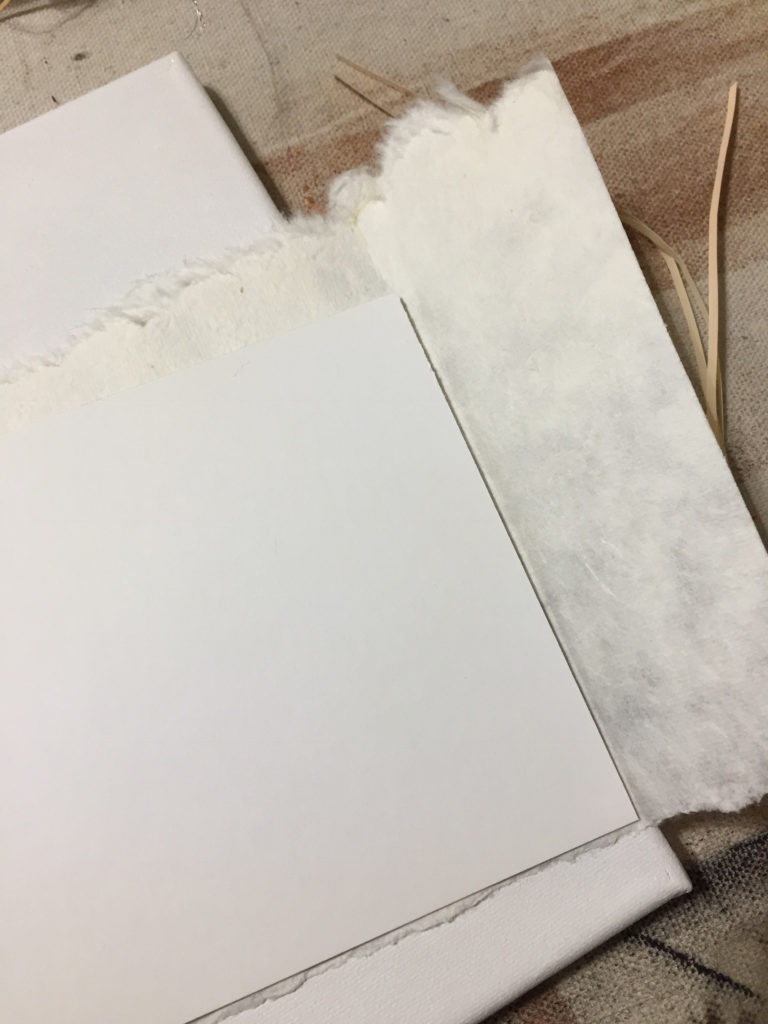
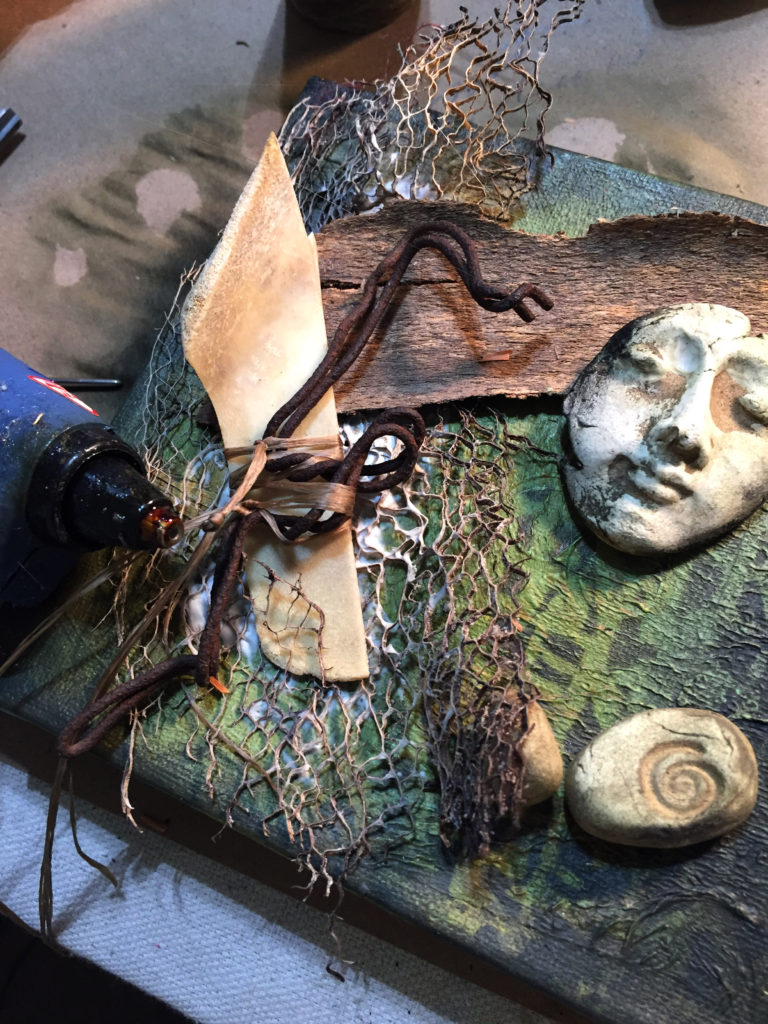
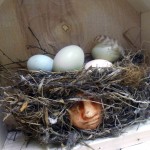
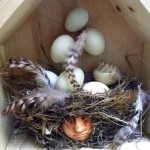
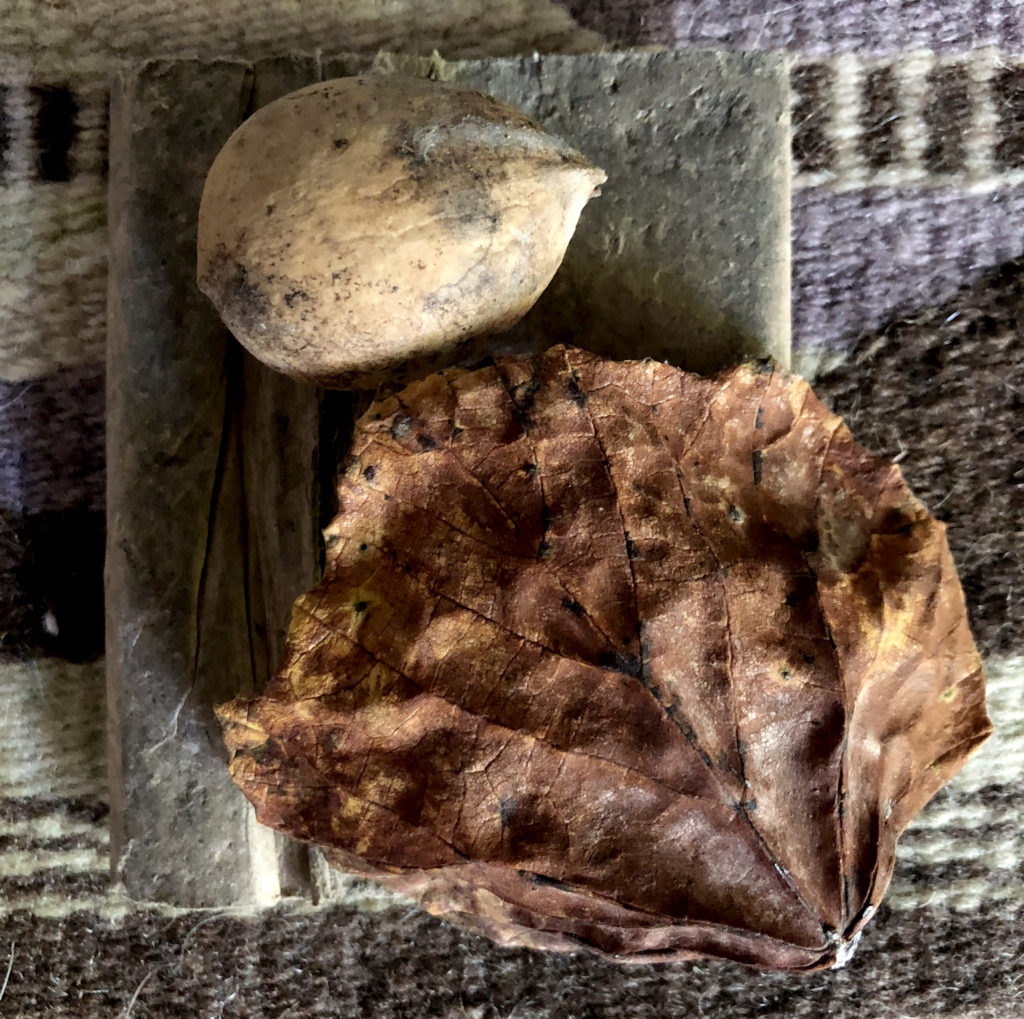
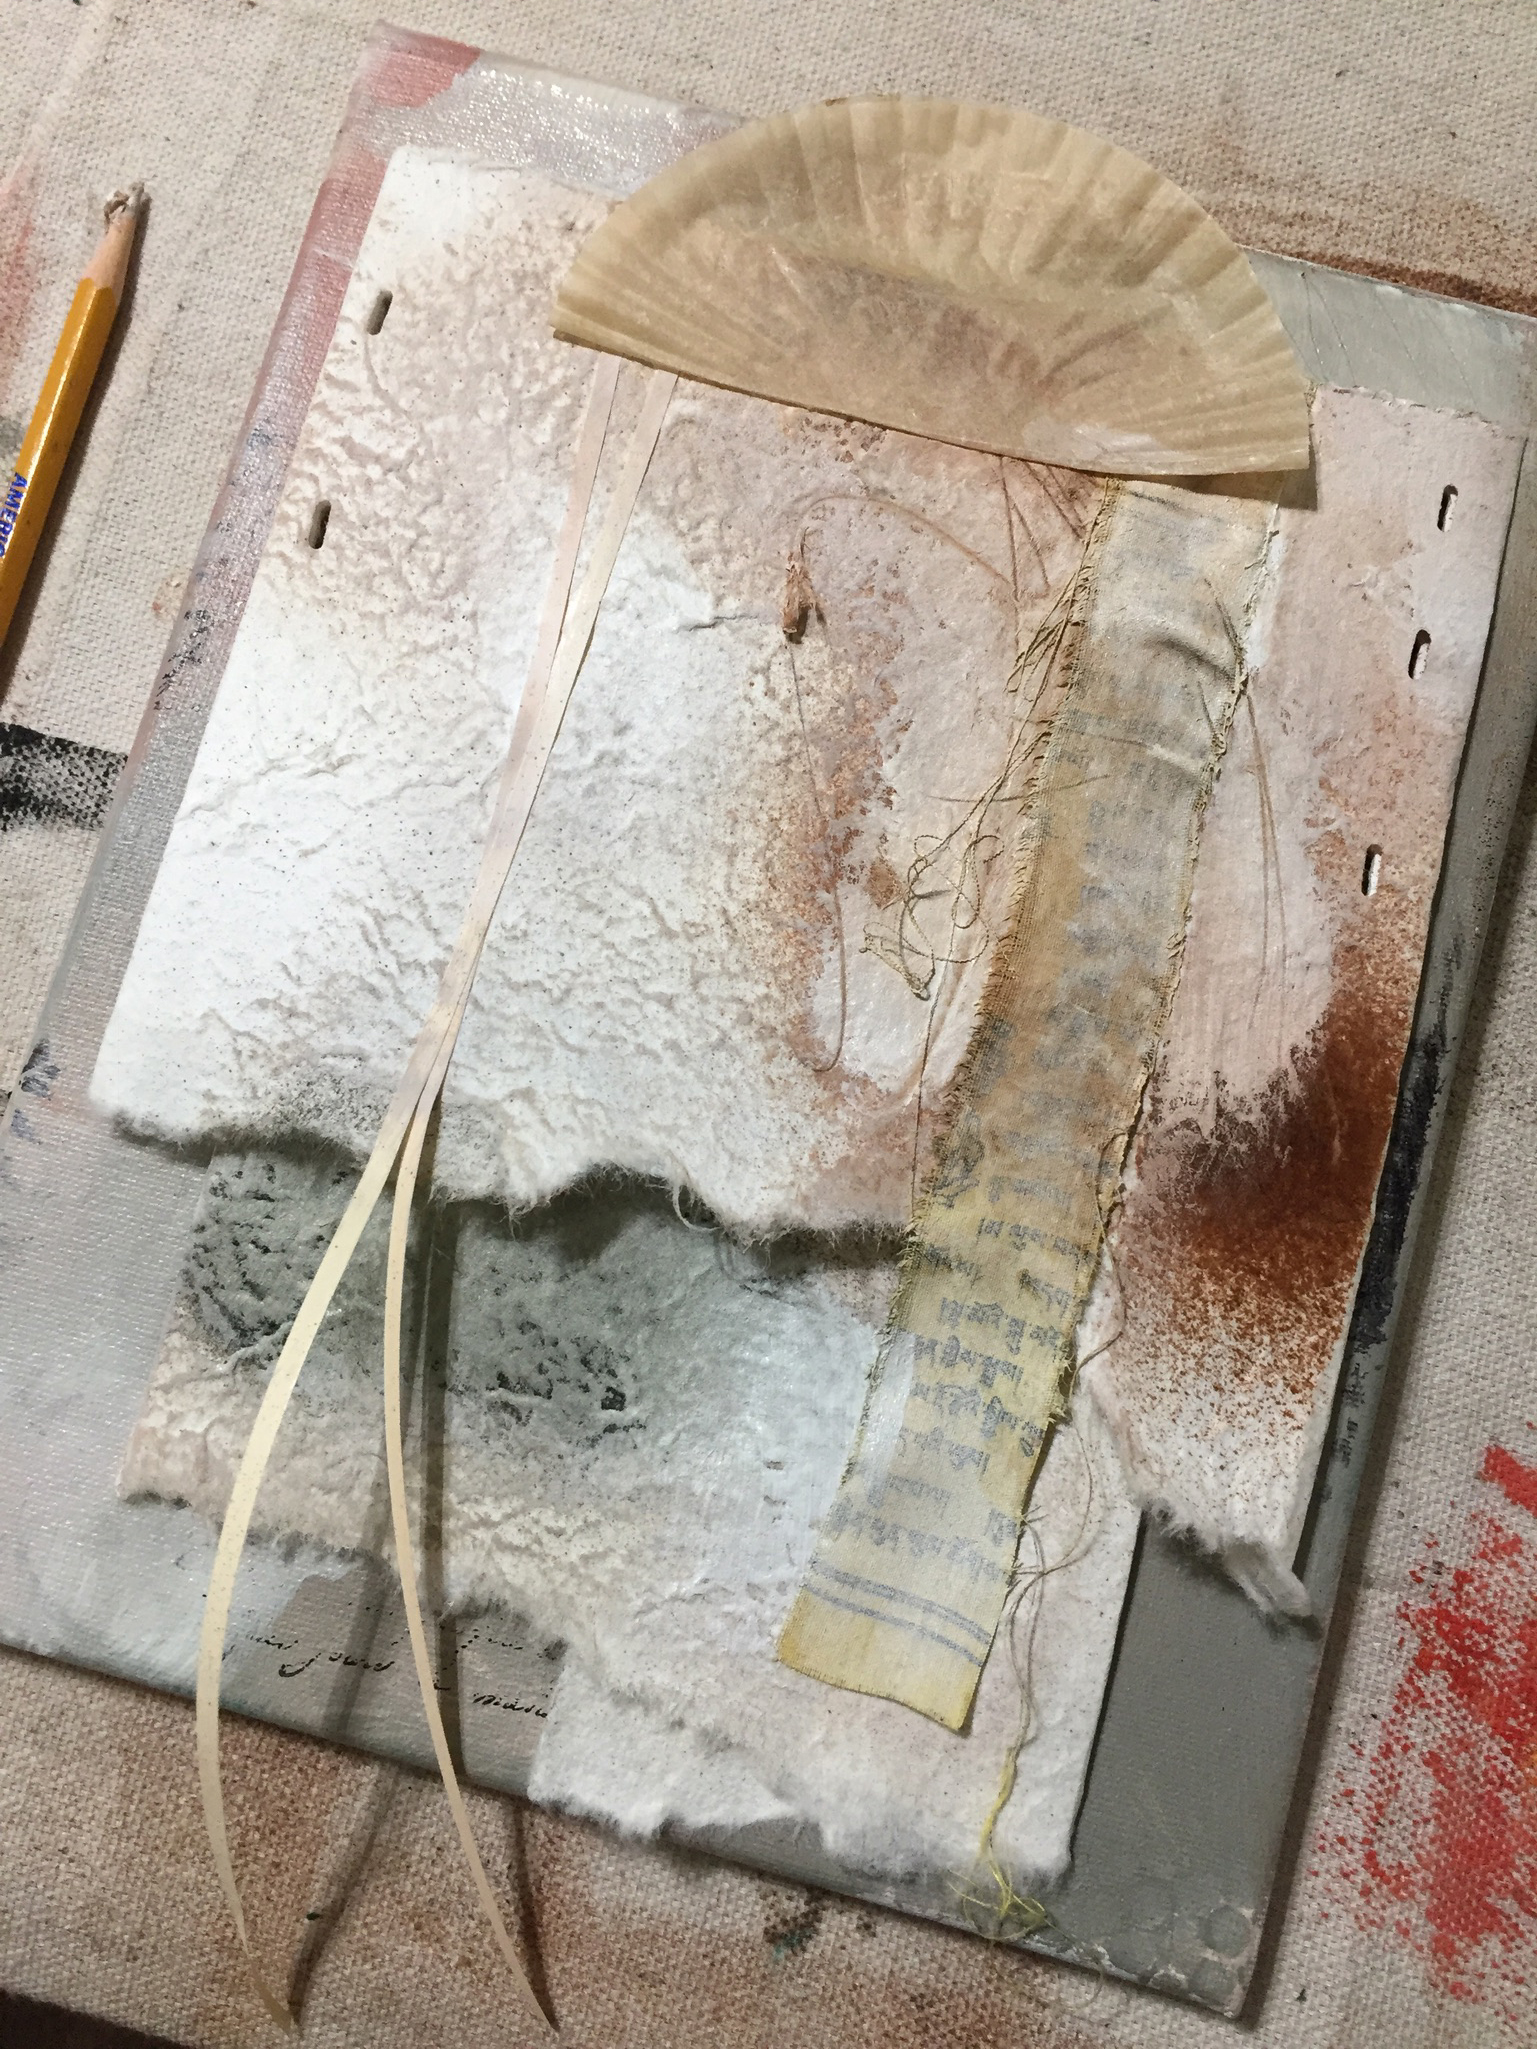 Next – lay a small earthenware face onto the construction to see where it’s headed – do I like it? Not completely, but I’m not finished. And the face isn’t attached yet so I can change it any way I like.
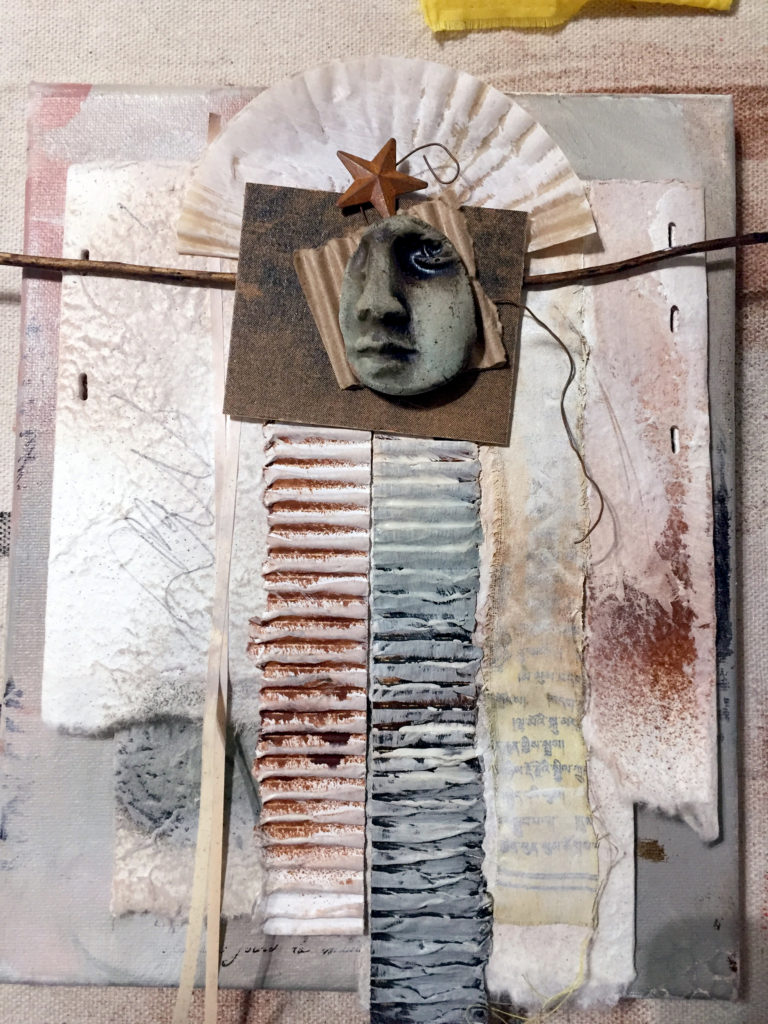 At this point, I’m going to stop with this prototype and when the workshop participants arrive this afternoon, I’ll show it to them, explain how I did it so far, then ask for suggestions. It’s a great way to work collaboratively.