
One thing is for sure – the number of faces that came into the workshops on Sunday and Monday were a lot fewer than the number of faces that went out. The energetic and enthusiastic workshoppers must have created hundreds of little air-dry clay people – and not just human faces – there were 3-D molds, insects, cats, and one persona that looked like creepy Chucky (that one became our mascot).
The object was to explore ways to use no-fire clay – to make original and iconic clay face shards and other dimensional components without the need of firing in a kiln.
We concentrated on four areas:
- How to make reverse press molds with both two-part silicone and with air dry clay
- How to use the molds with various kinds of air-dry clay to make a dimensional object
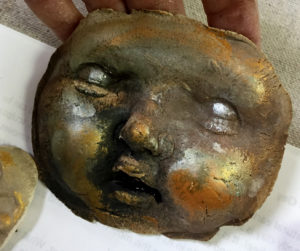
- How to finish the surface of the dried clay faces with walnut ink and metallics
- How to use those finished components in mixed media projects
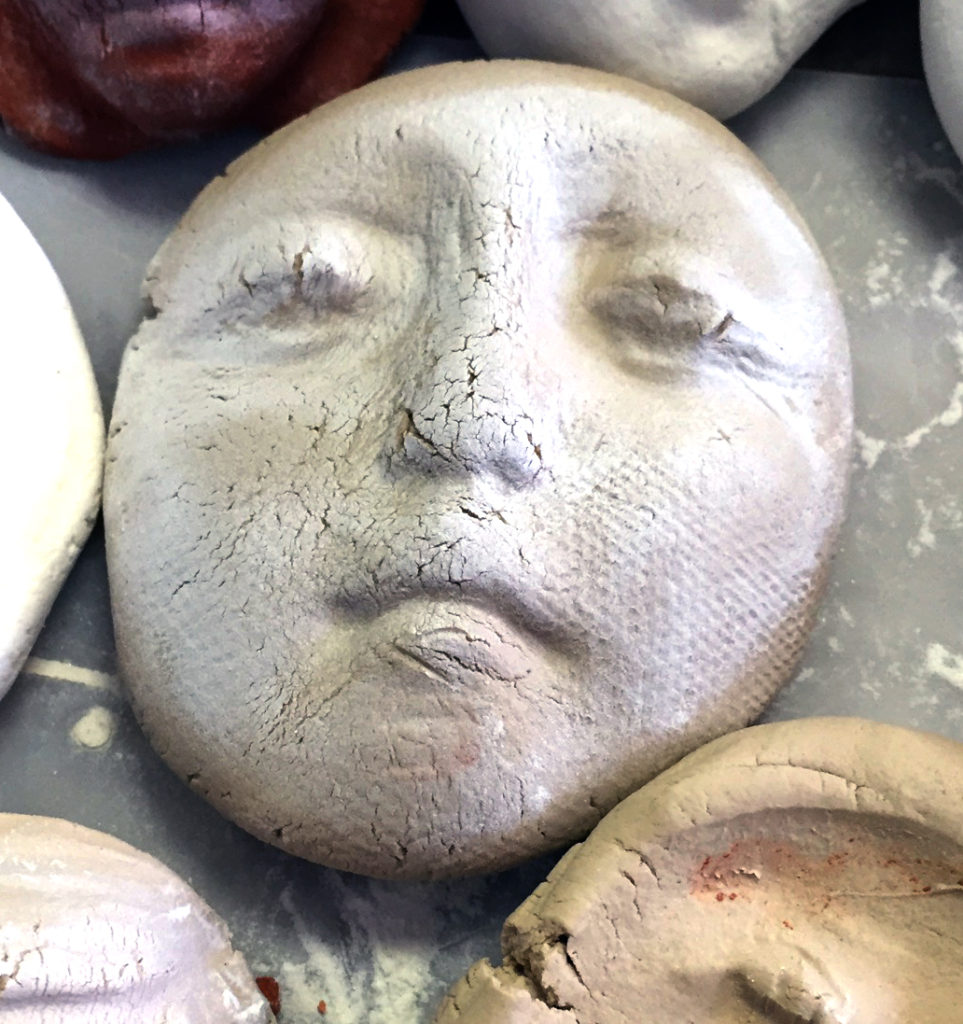
The key to success is to embrace the imperfections inherent in the air-dry clay – those cracks and irregularities give the pieces the illusion of heritage and a wabi-sabi touch of imperfect beauty. You can see what I mean from our video – every picture tells a story, every little face has a secret history – hopefully not Chucky’s:
Looks like so much fun! What kinds of air dry clay did you use? And you made molds with the air dry clay?
We used Crayola Air Dry clay for both the molds and the reverse images – use talcum powder to release the damp clay from the dry mold – works great.
If you used molds for the faces, where do you get them? I have had the hardest time finding face molds!