Being away from the Studio for two weeks meant playing catch-up when I got back. There were a lot of things I could do art-wise while I was gone, but creating earthenware and firing it was not one of them. Sunday was Clay Day – I made about 60 small and large face shards and small sculpture pieces such as pendants. Monday was hurry-up-and-dry-so-I-can-fire-the-kiln day. I loaded the kiln Monday afternoon even though some larger pieces were still damp (gulp). This is a huge NO-NO. I don’t want to see you guys trying this.
Do you see the little face on top of the big face? It’s completely dry – you can tell because it’s white, but the big piece underneath is gray. It’s damp, and anyone with any sense wouldn’t fire it at this point, but I propped the kiln lid open, let it stay on Low for a few hours, and crossed my fingers that it would dry out and not shatter in the firing.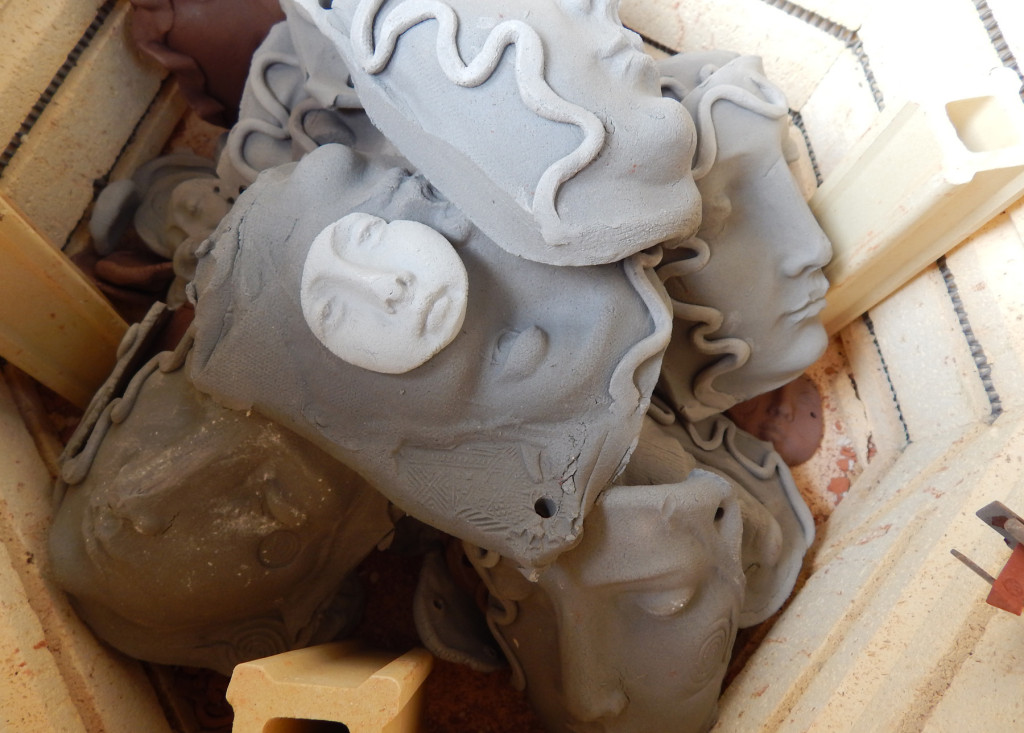
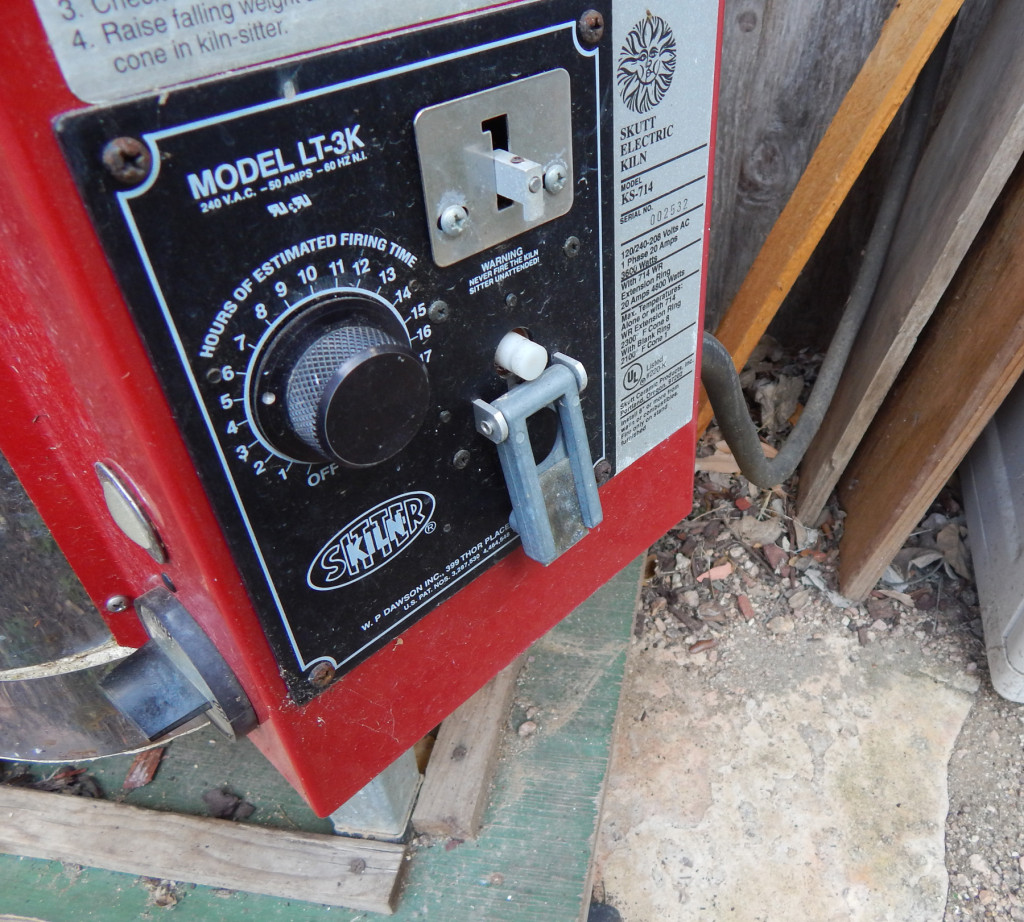
There’s really nothing mysterious about loading and firing a kiln. Most electric kilns like my Skutt have a kiln-sitter that uses a pyrometric cone made of clay. The cone is designed to melt at a specific temperature (in this case, about 1800F). When it melts, a three-prong device trips and turns the kiln off. That metal rectangular thingy has dropped down, indicating that the #05 cone on the inside has melted.
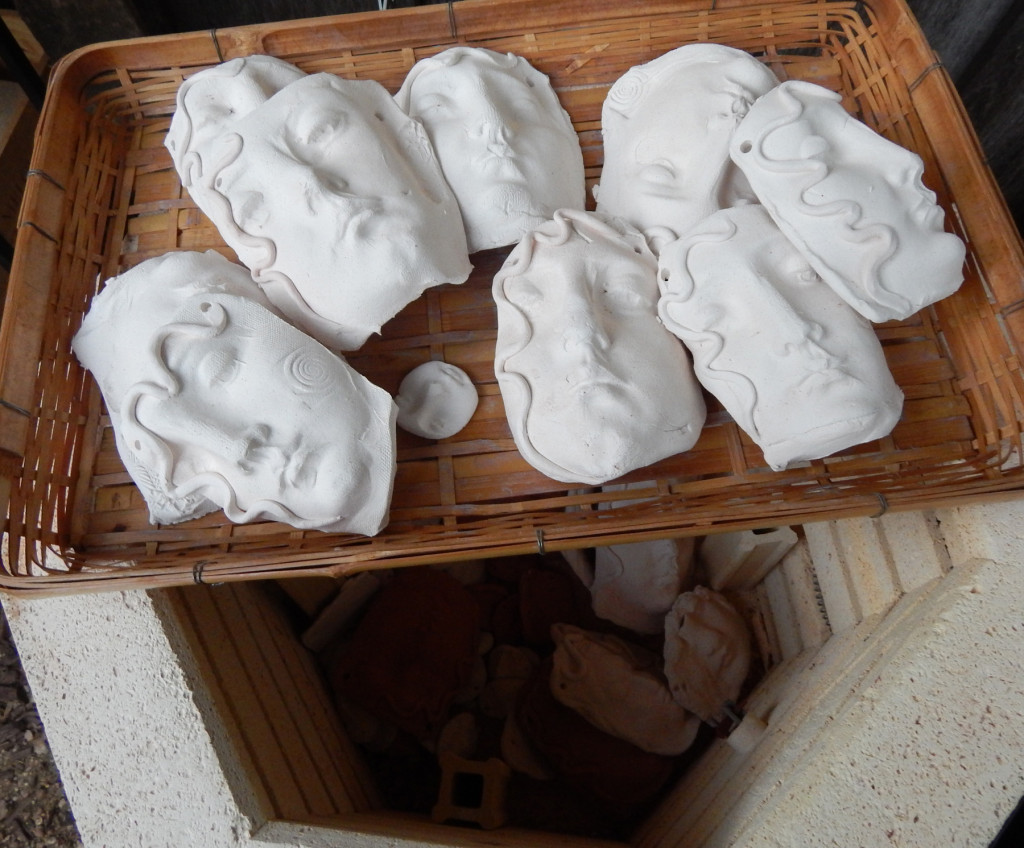
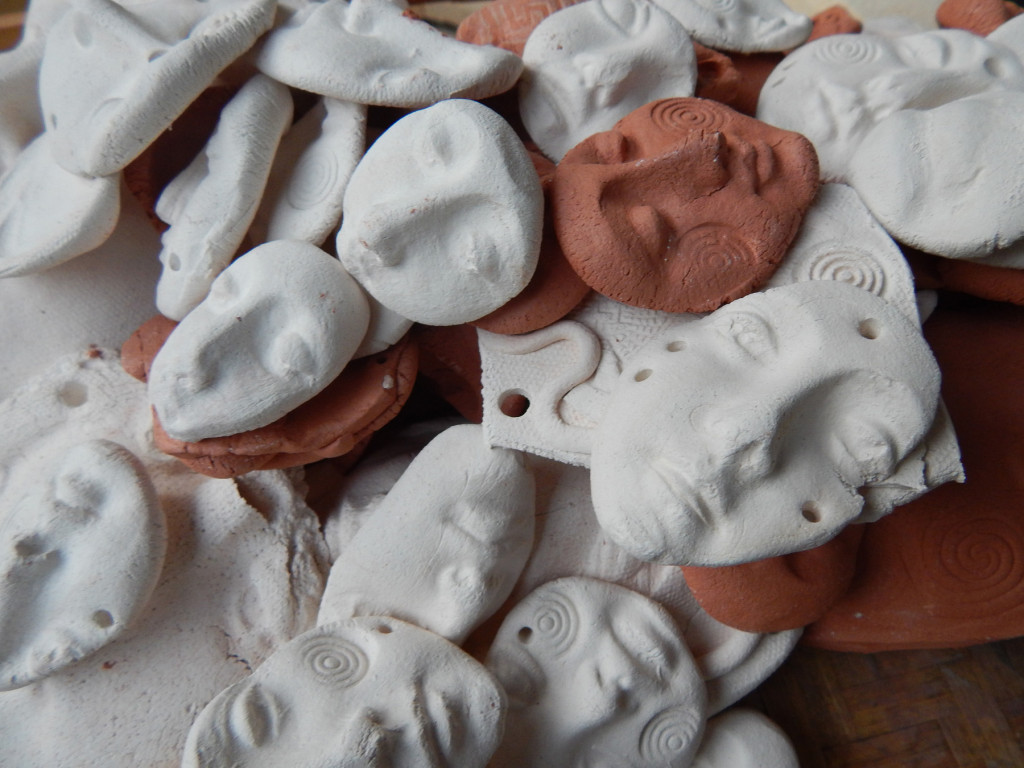
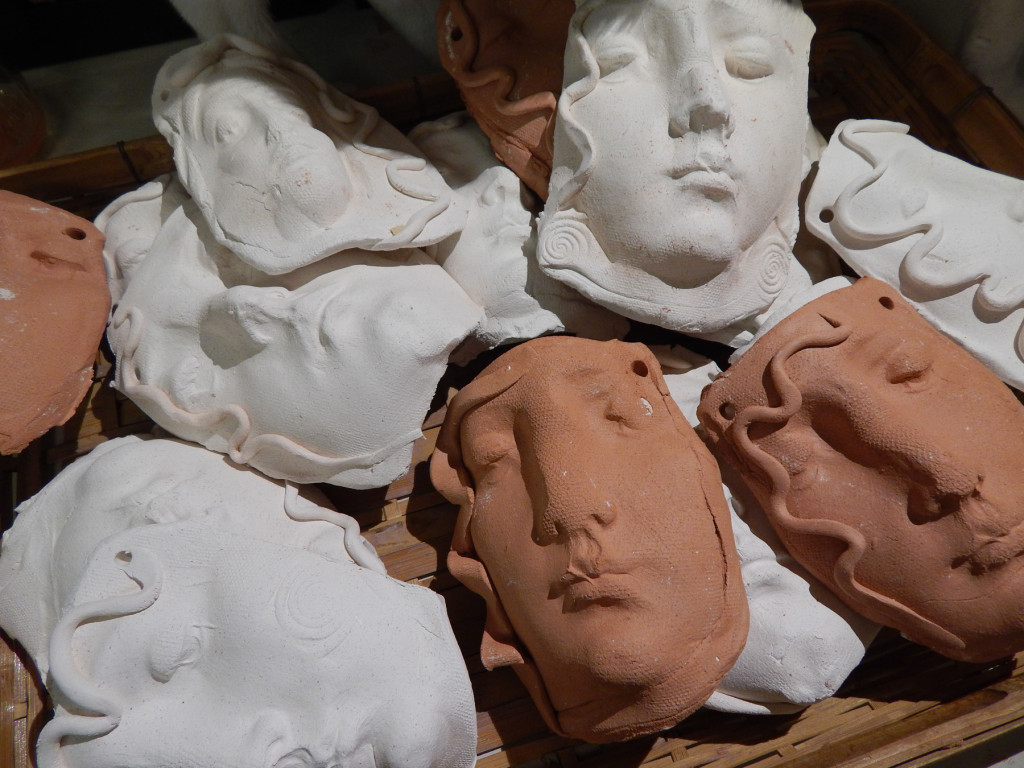
The Kiln Gods were kind – nothing broke, amazingly enough. Here’s the first tray just out of the kiln, still very warm.
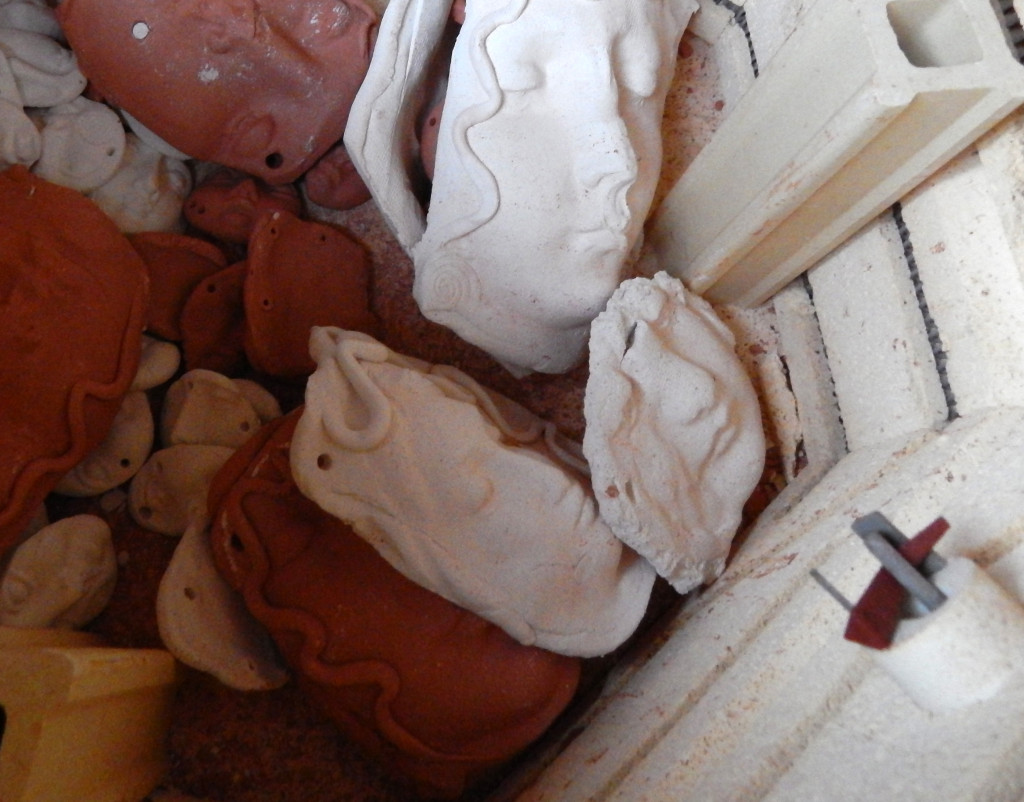
Here’s the bottom layer, waiting to be unloaded. If you look on the right, you can see the slumped cone and the tripping device with the middle pin in the down position.
So despite my Bad Practice of loading damp greenware, I got away with it – this time. These pieces are now ready for me to figure out how to use them – as Scent Shards? Sculpture pieces? Stay tuned 🙂

Thank you for sharing the kiln process! It’s great to see how those precious clay faces were baked.