Making art is largely a matter of making choices.
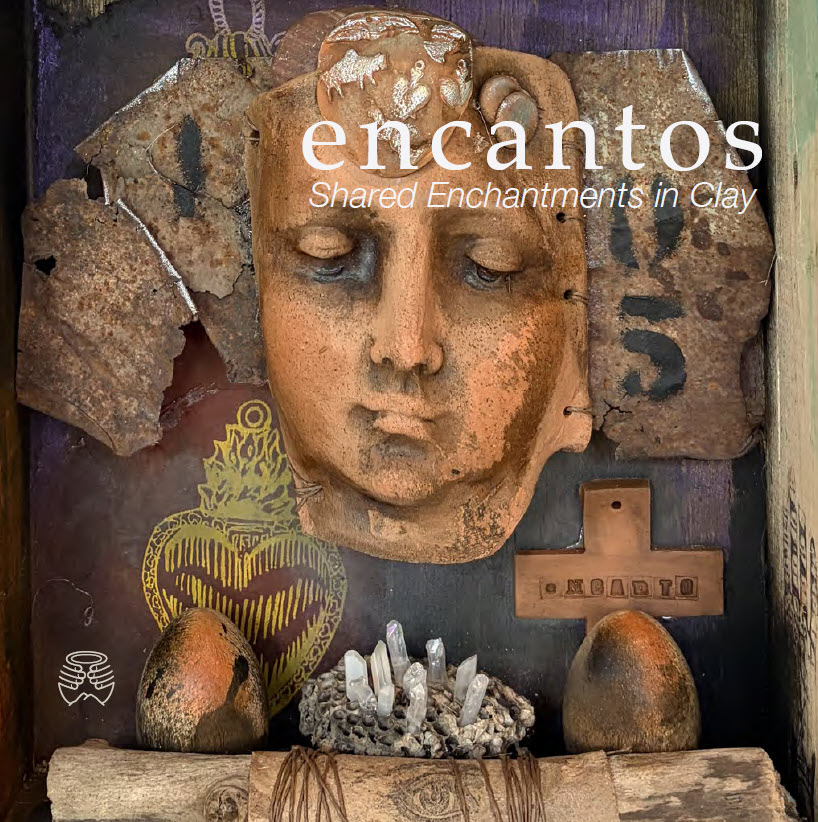
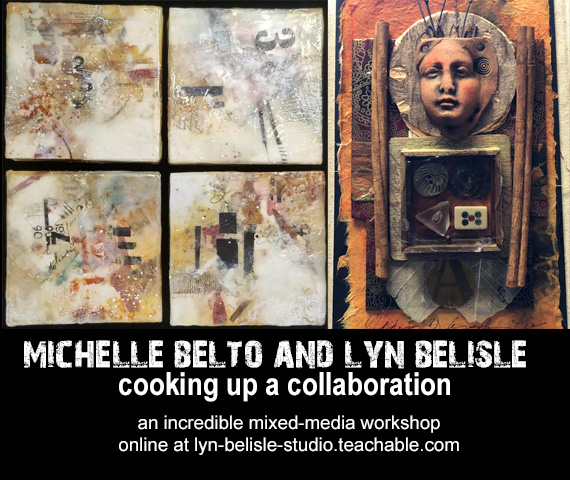
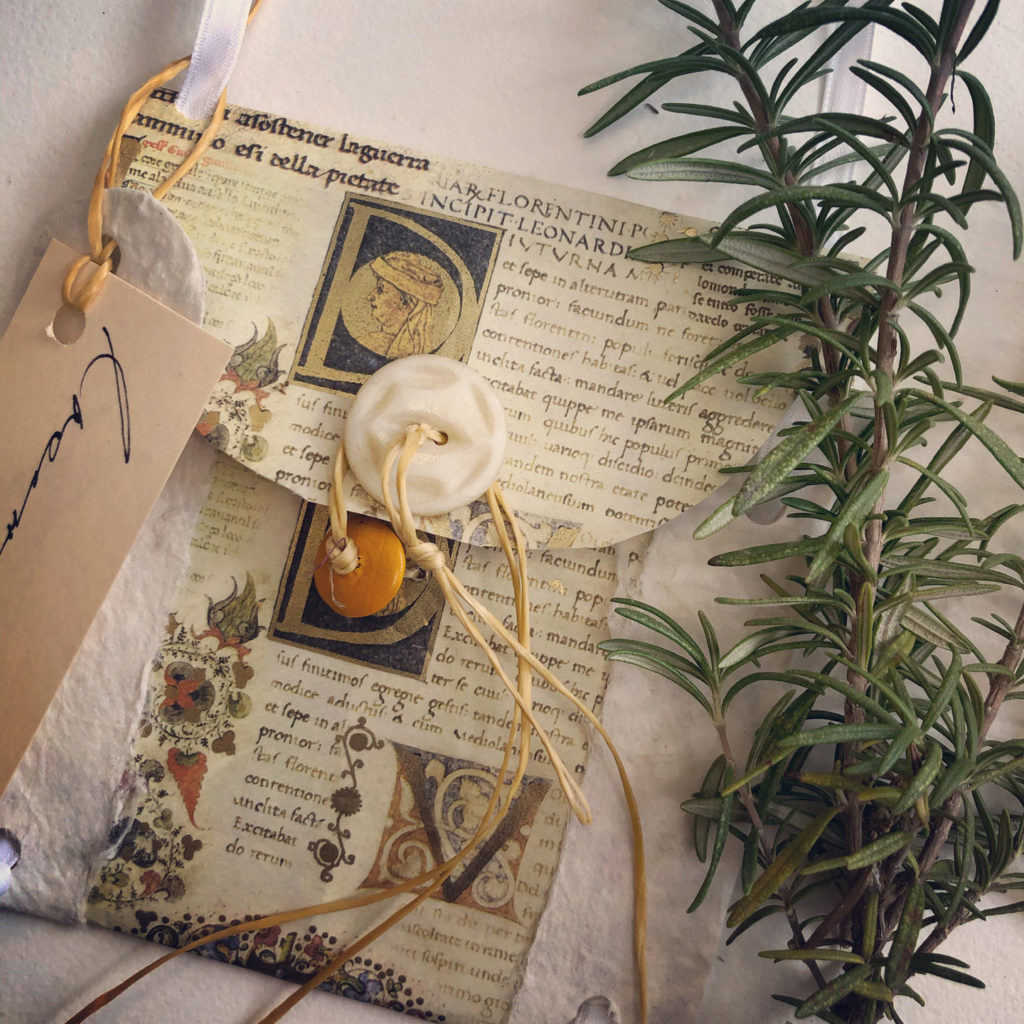
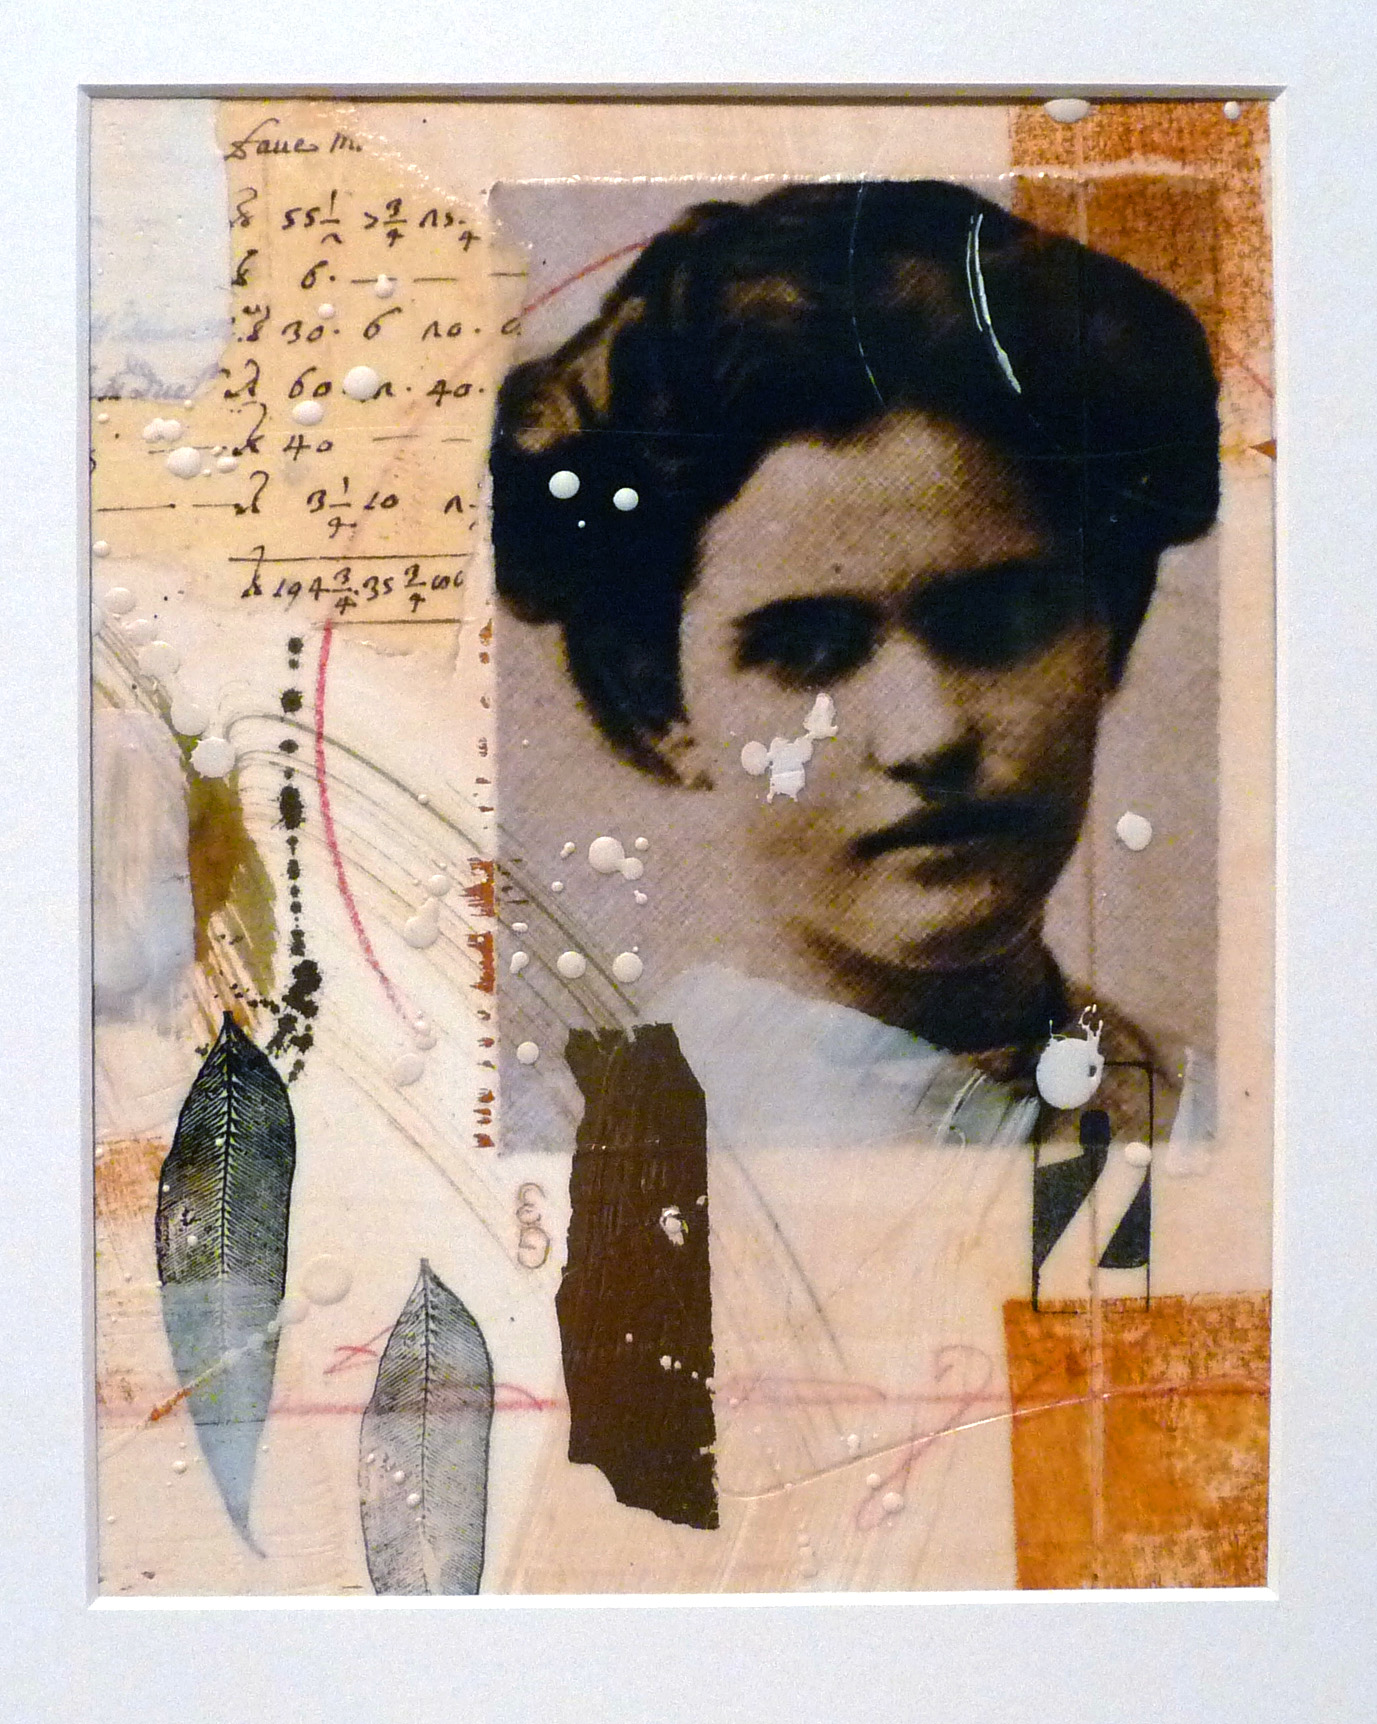
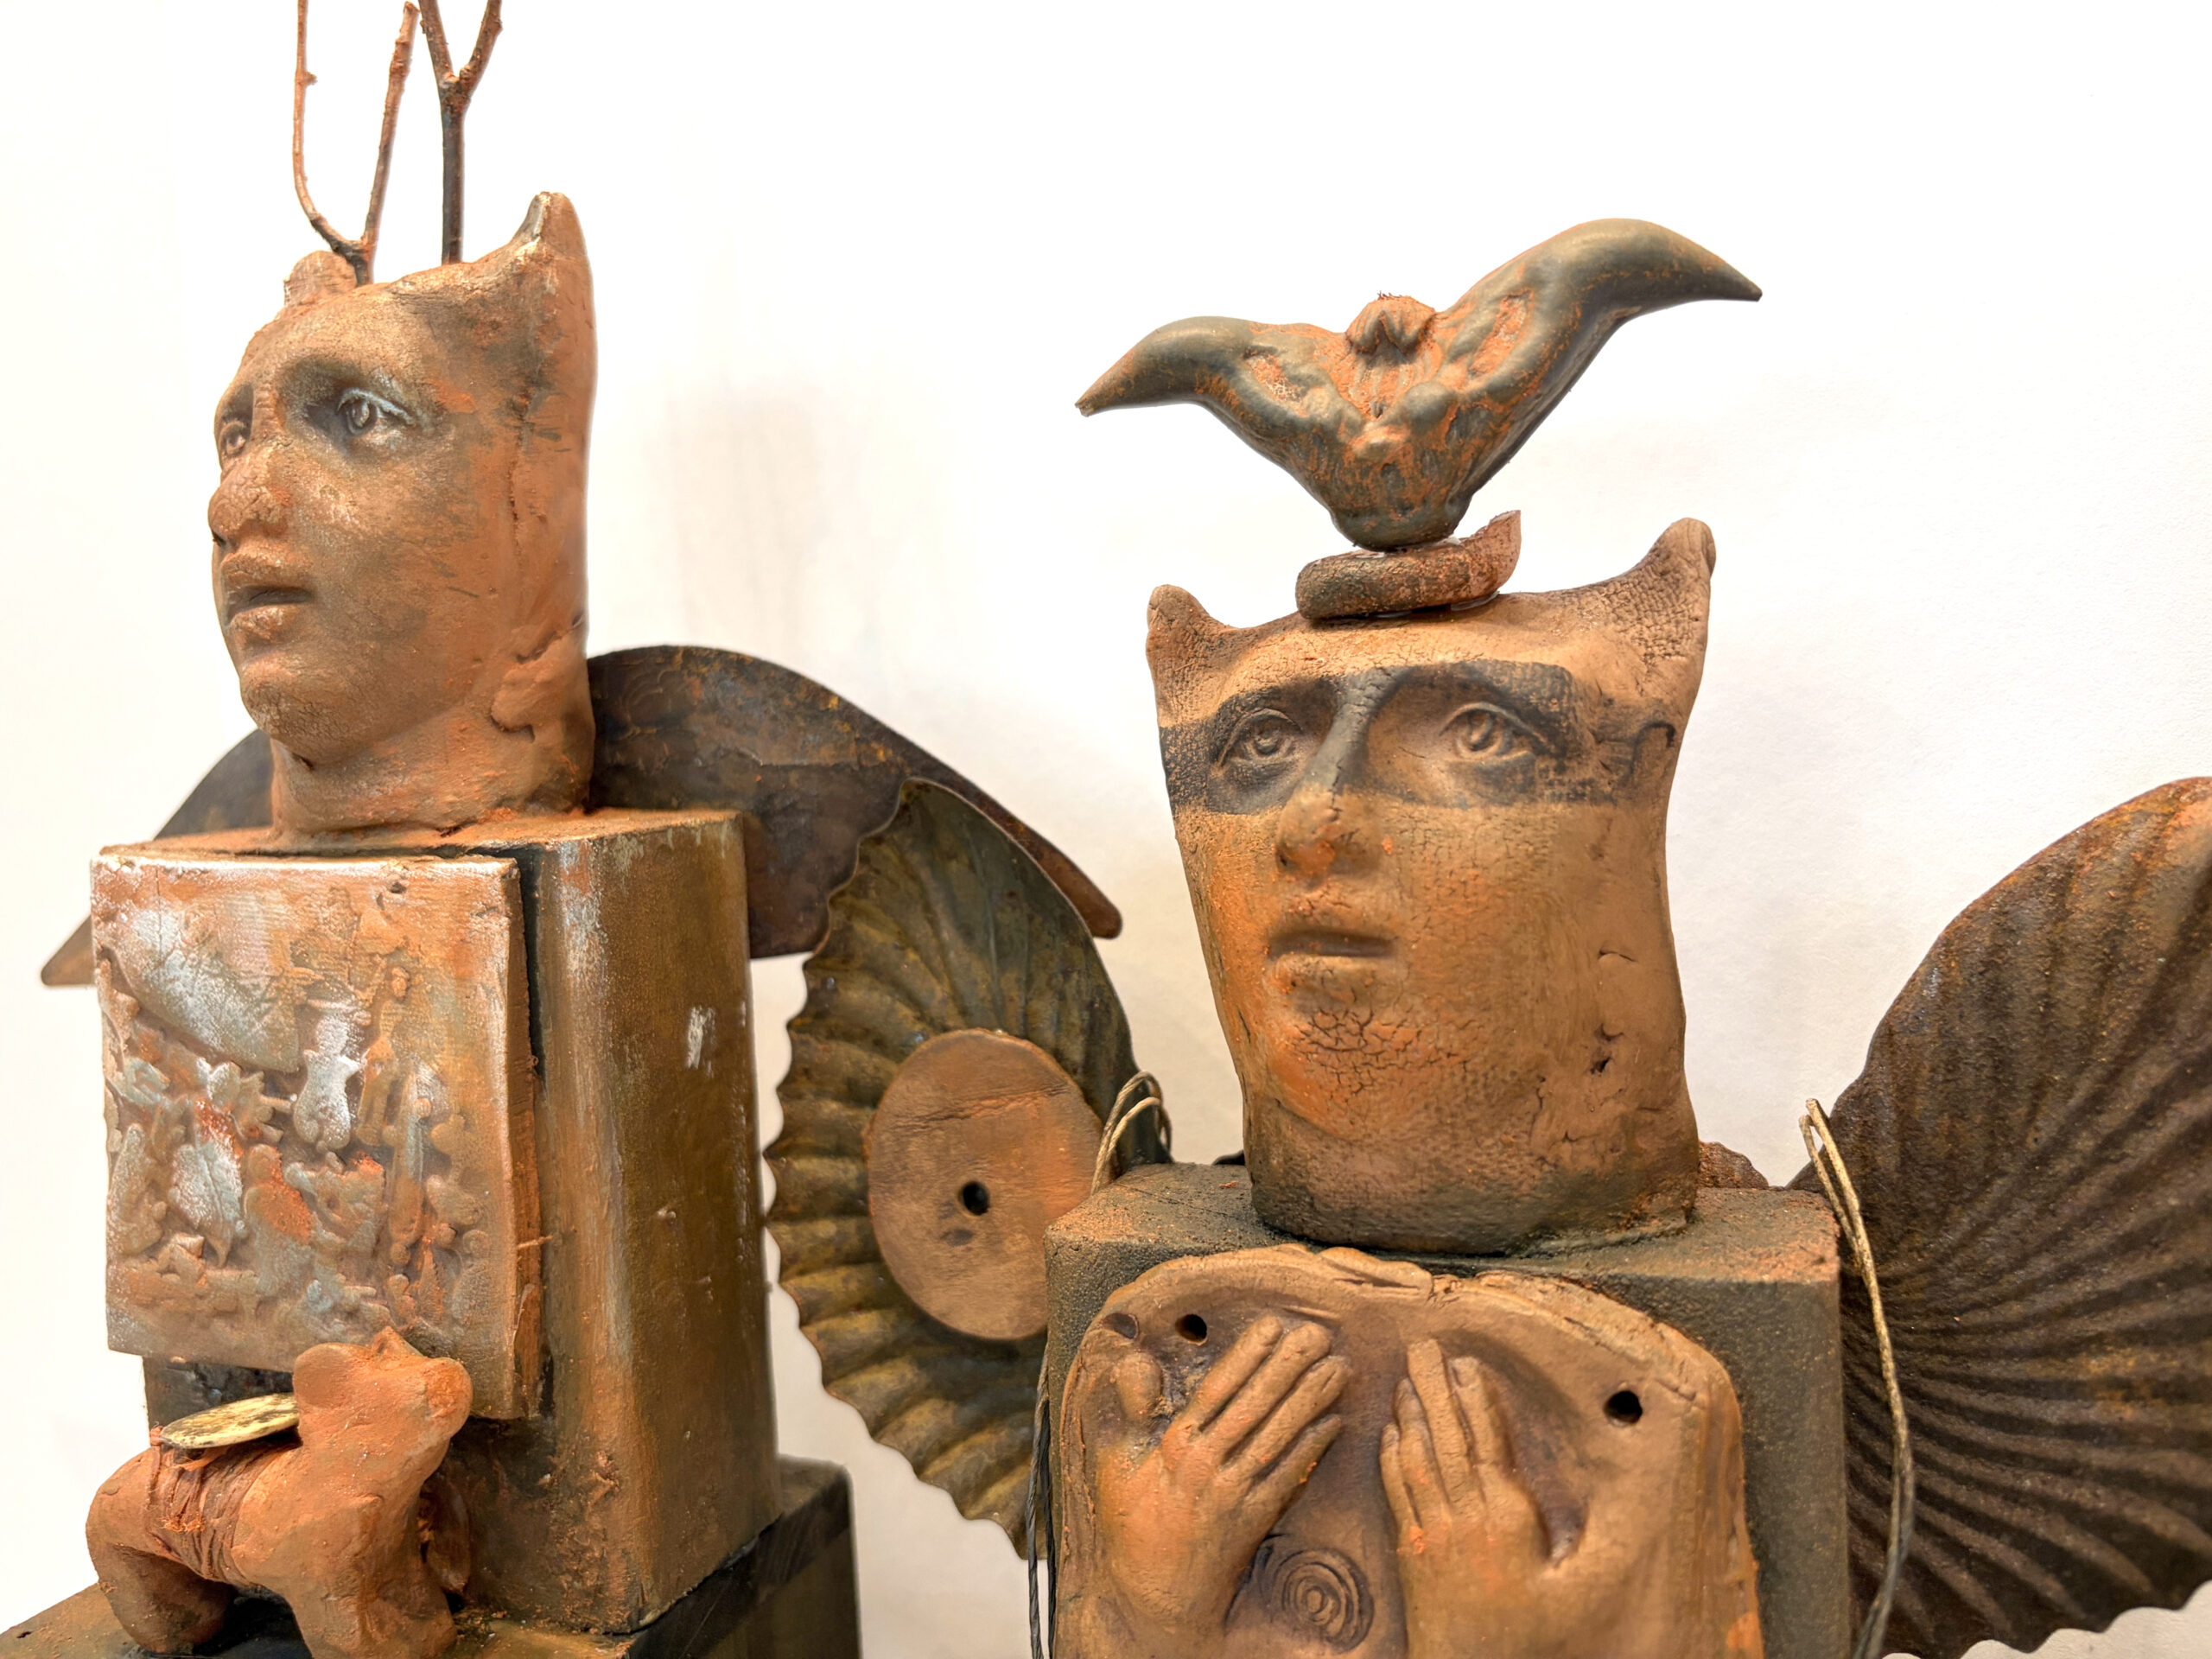
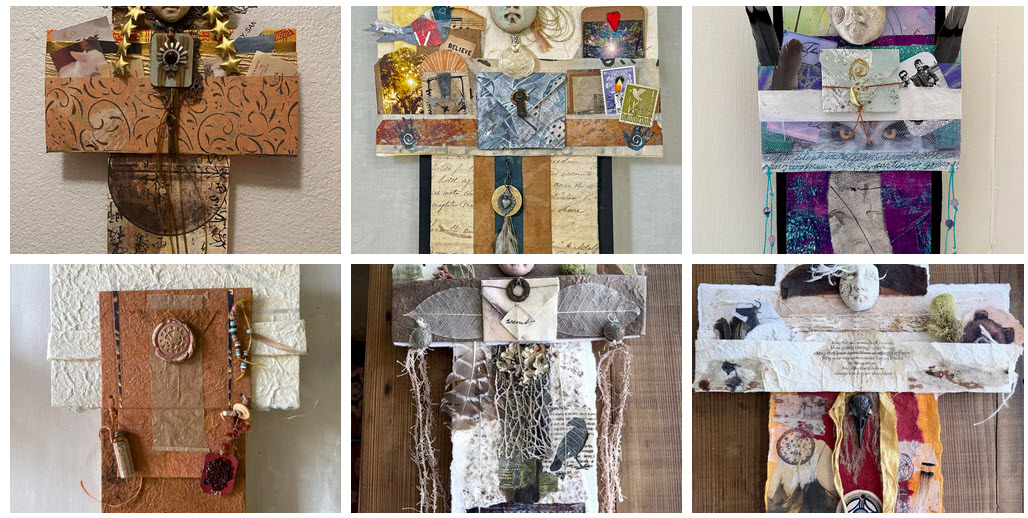
Last week, when I wrote about the Lifedance series—three small encaustic collage studies—I promised to share some thoughts about making choices in more three-dimensional work. This Crow Reliquary, one of a group of four, seemed like a good example.
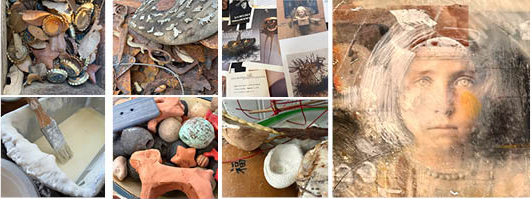
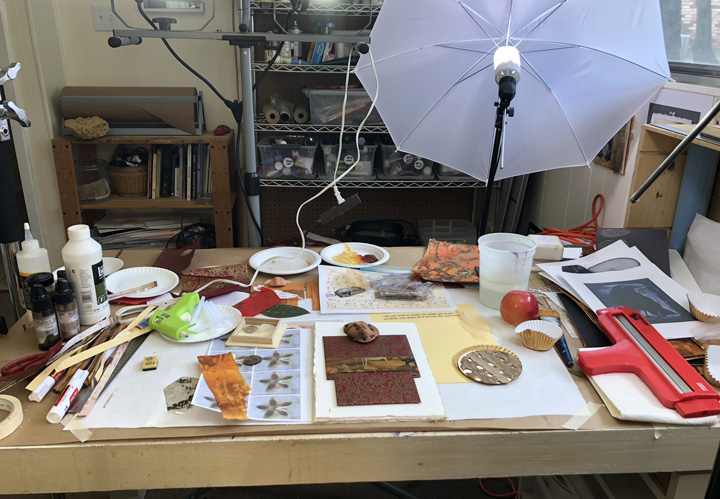
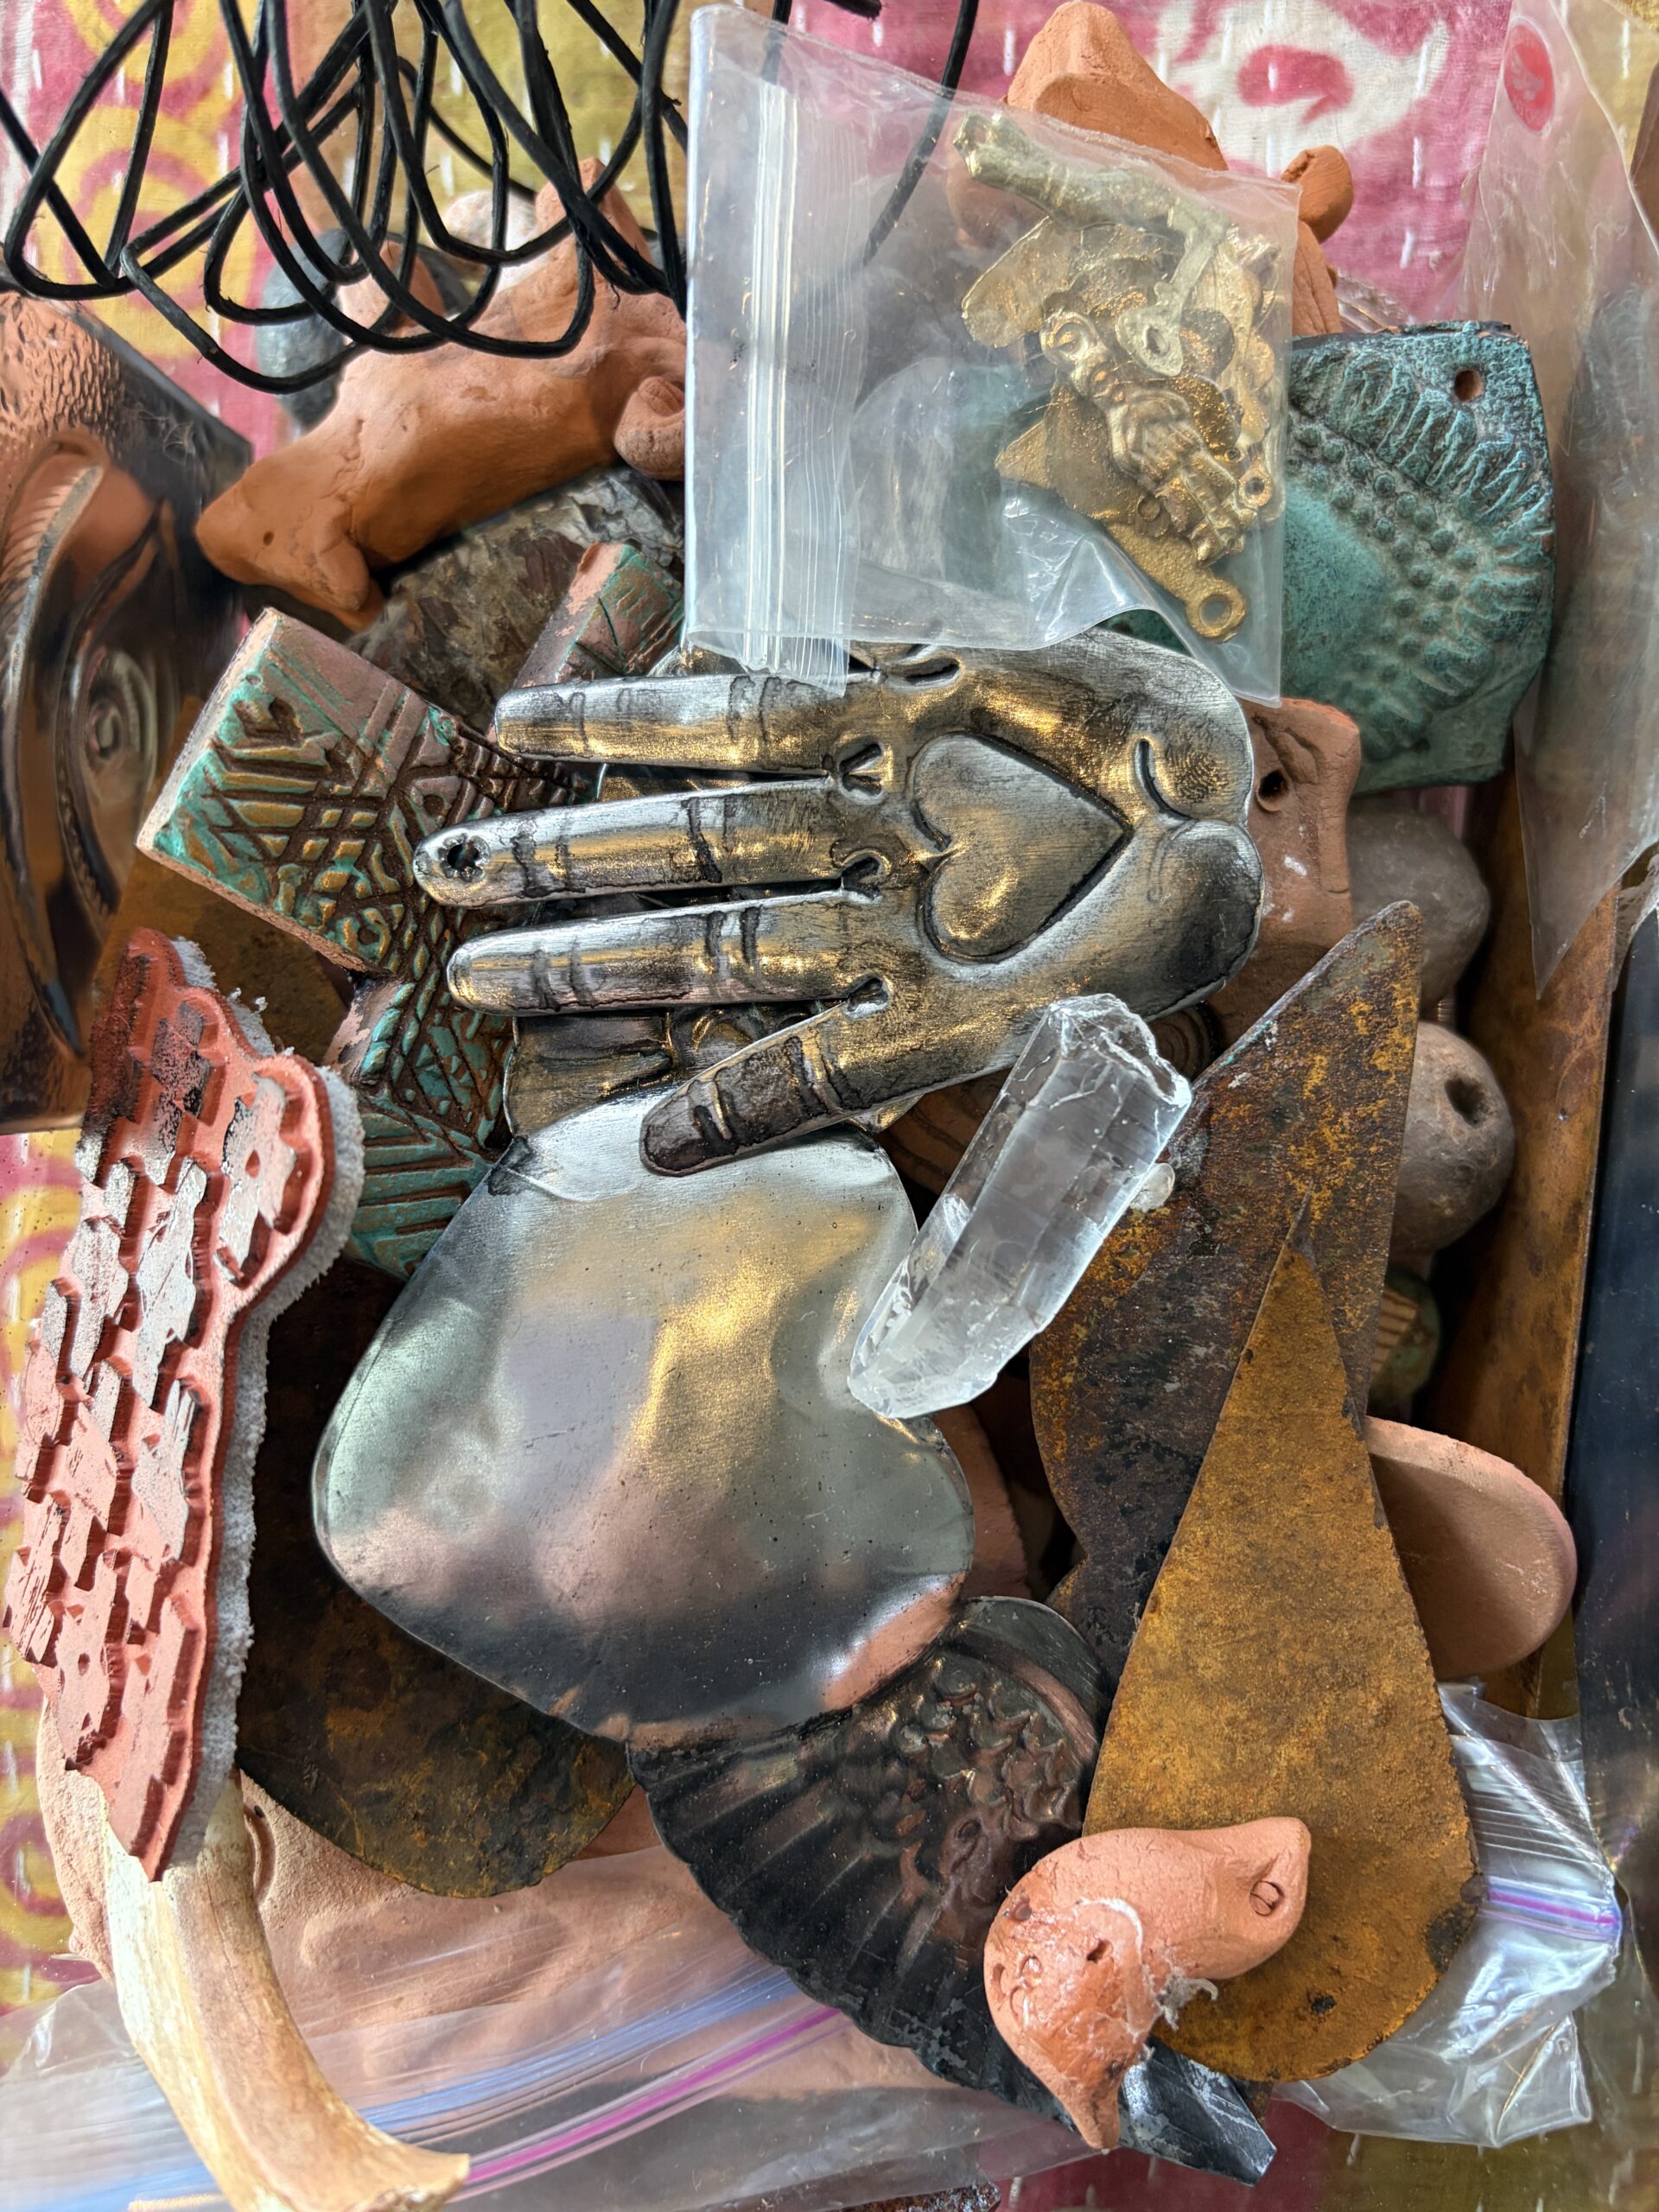
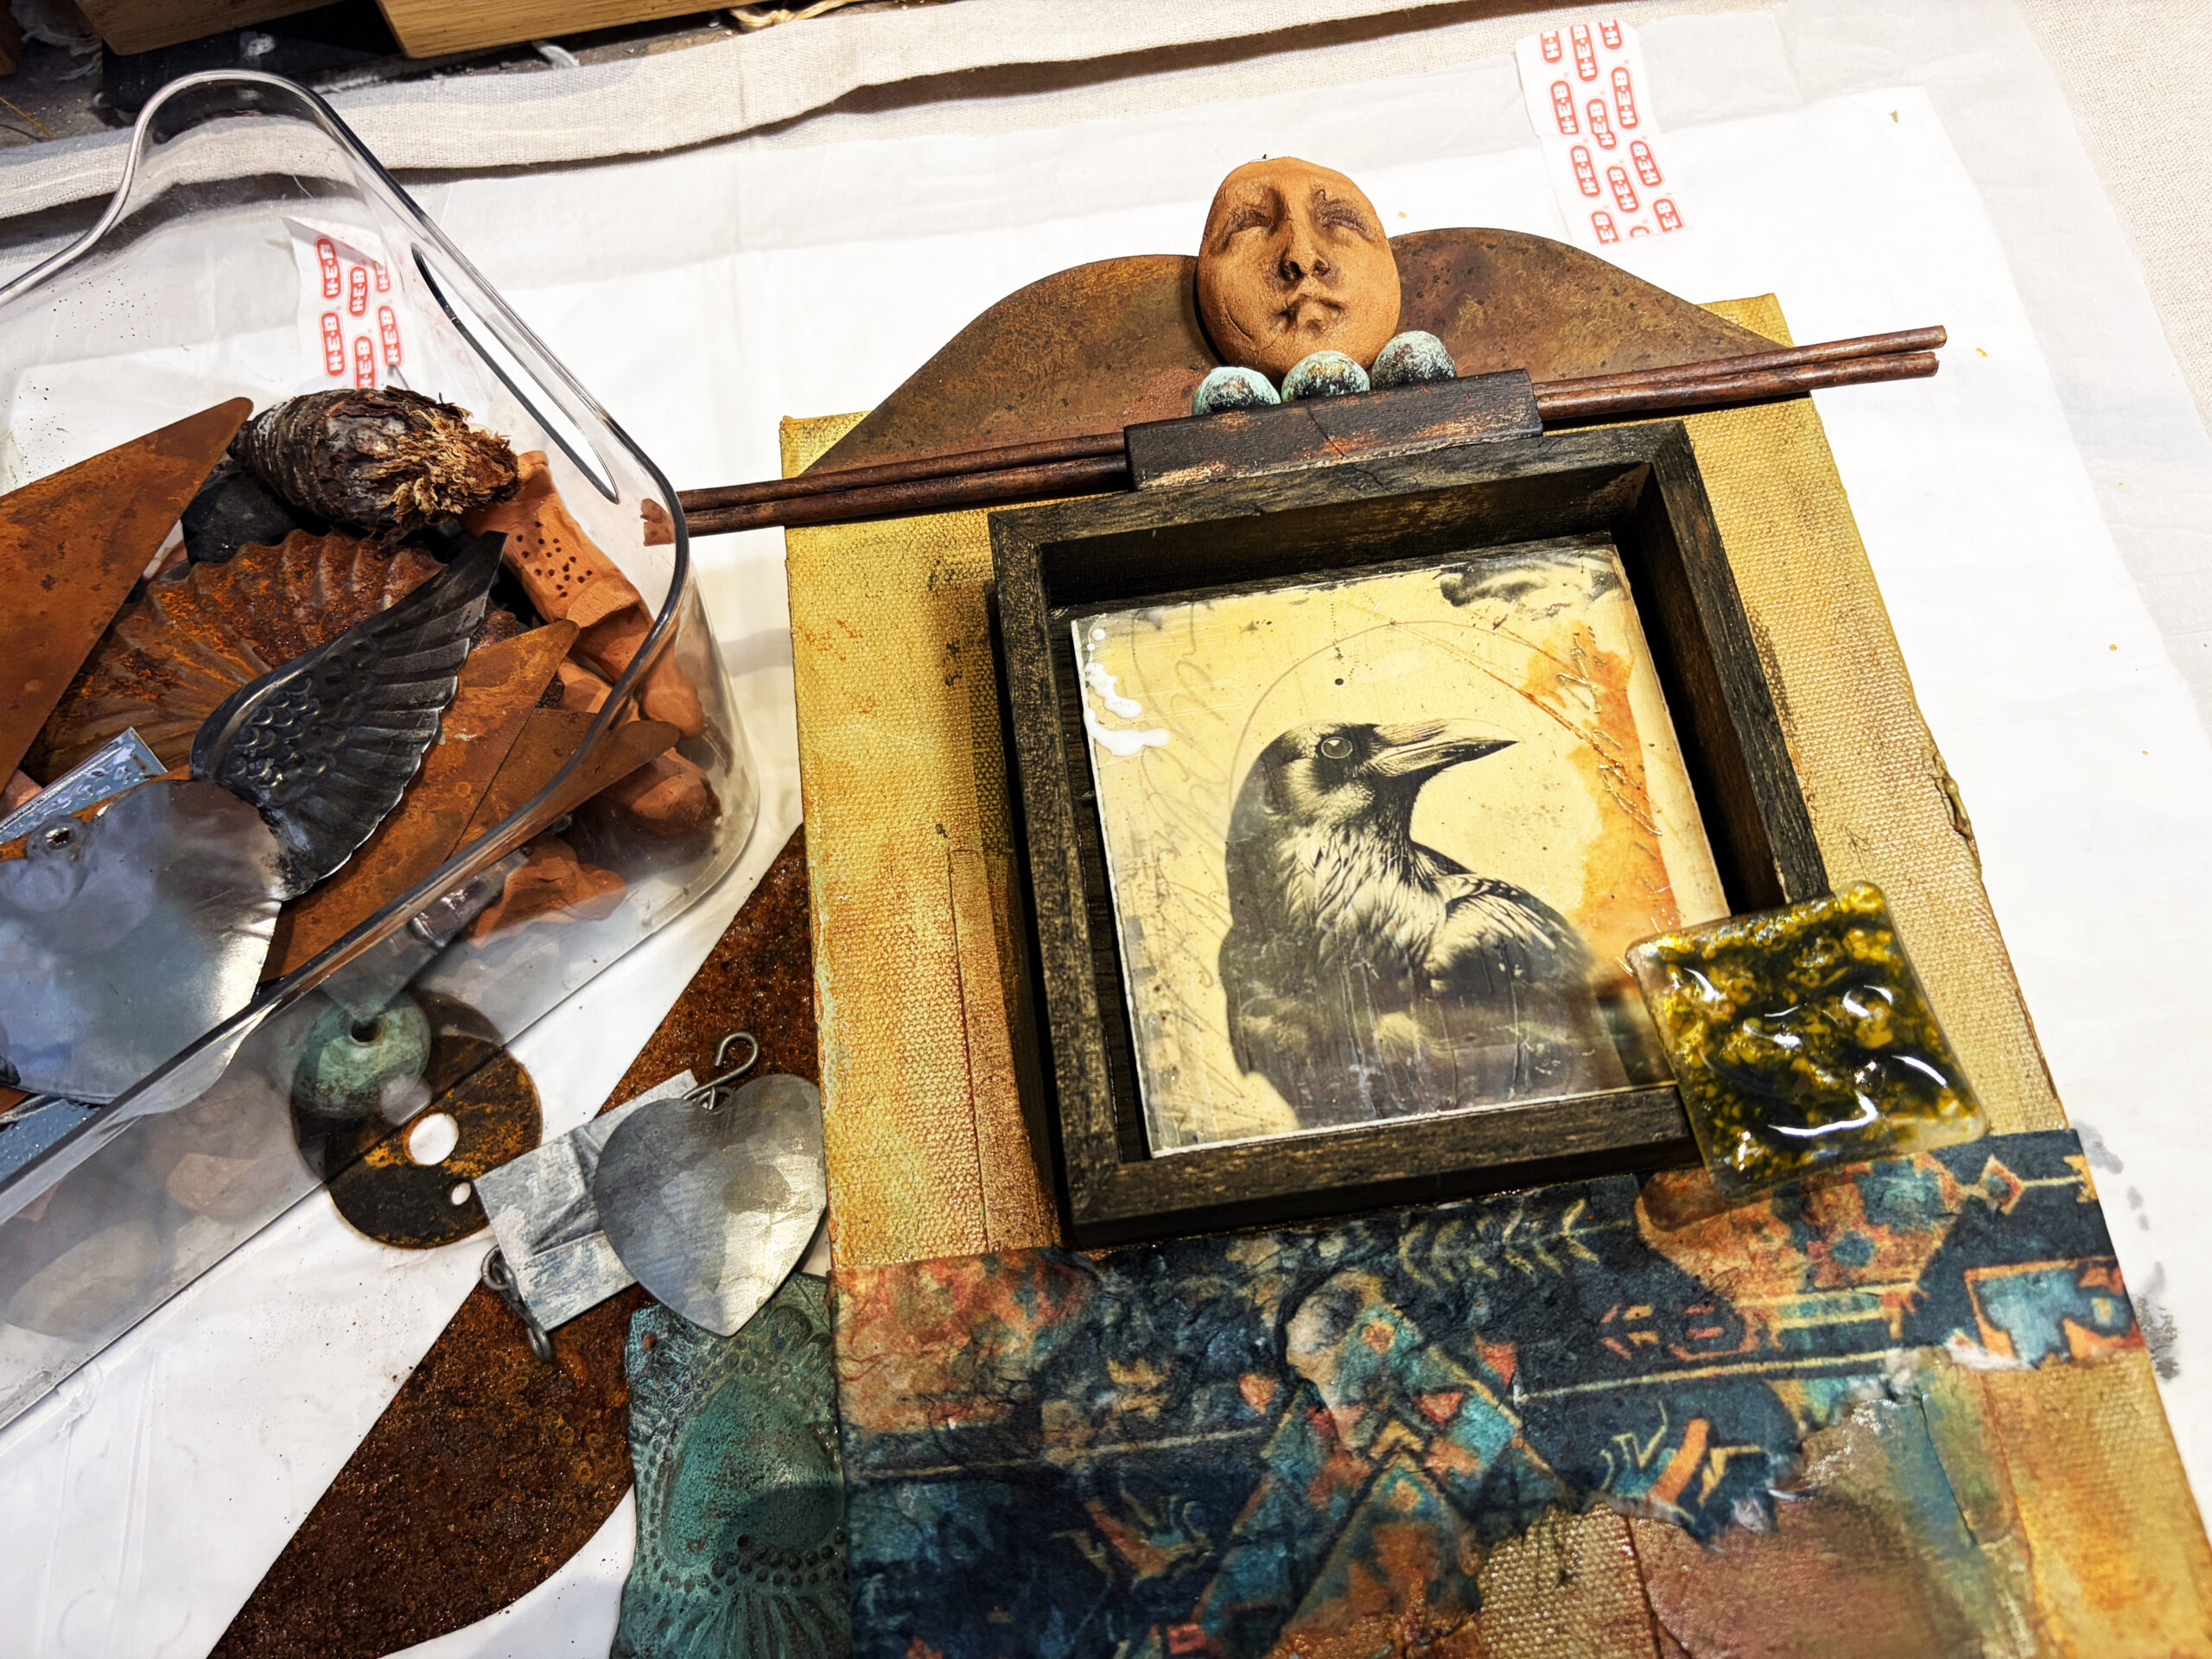
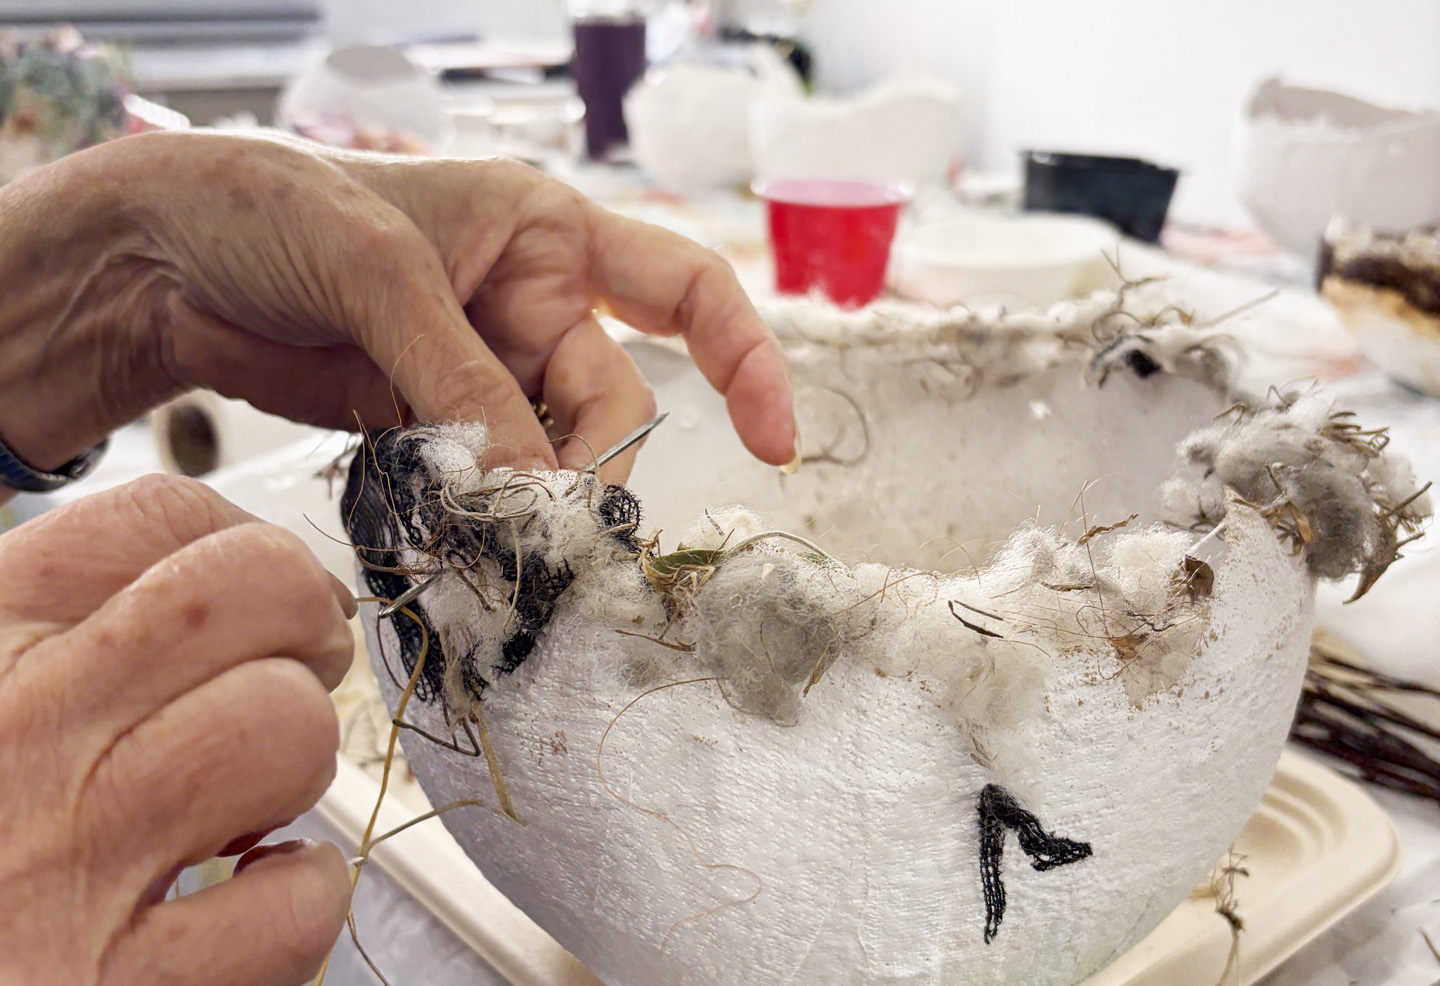
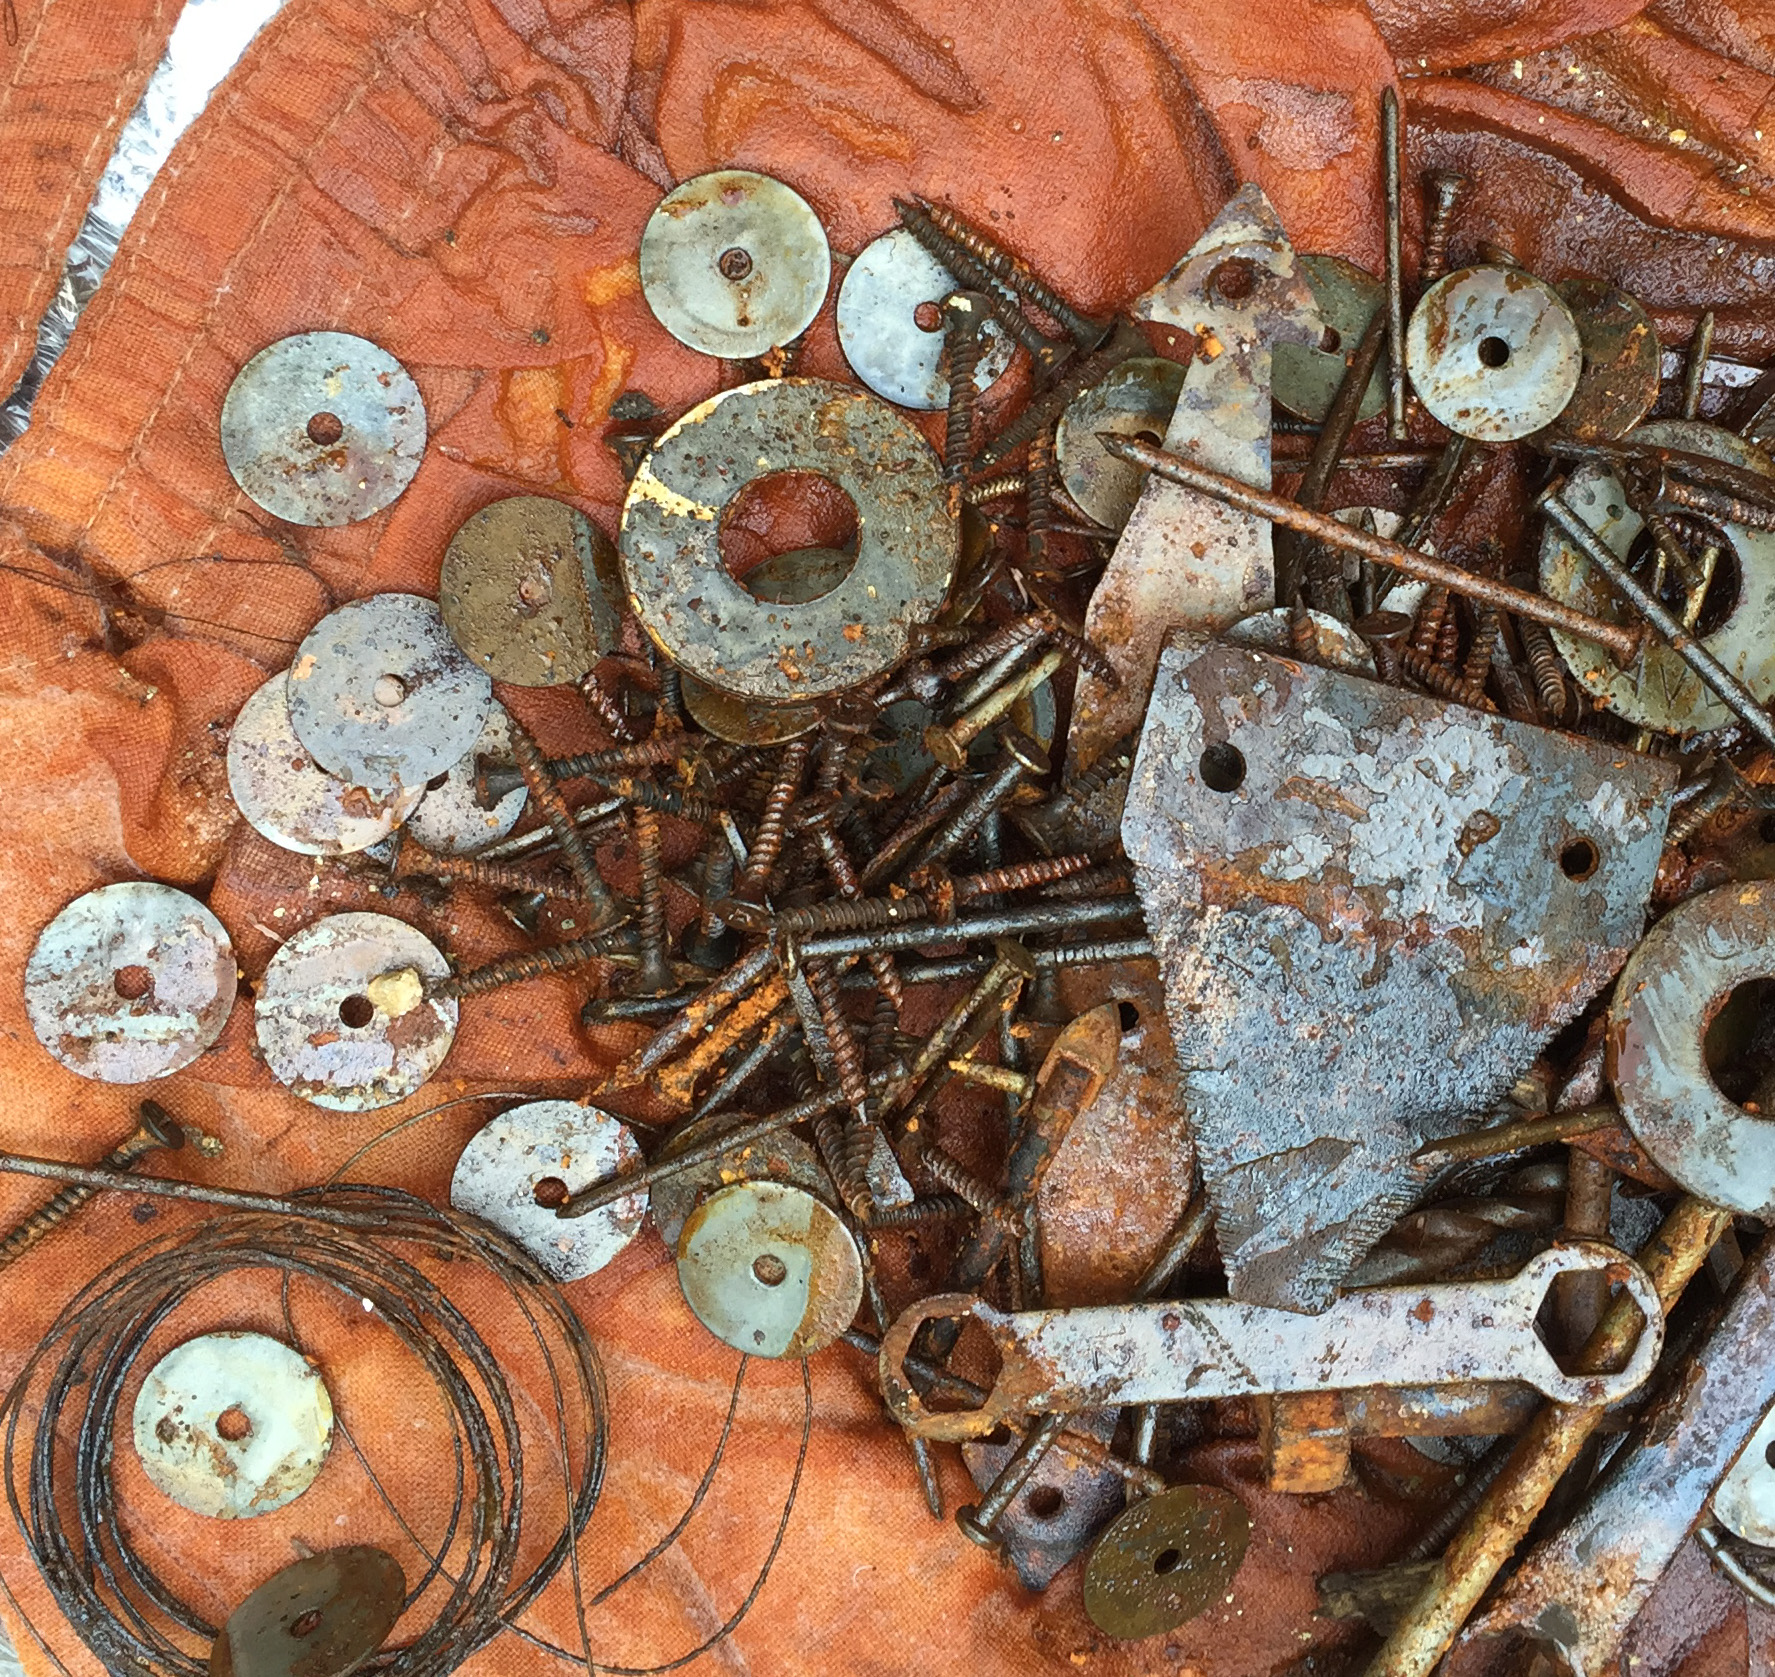
Some choices are conscious, but many emerge from a mysterious mixture of accumulated experience, personal taste, visual memory, and happy accidents. I rarely begin with a fixed plan. Instead, I gather fragments—rusted metal, bits of wood, shells, old photographs, clay forms, found objects—and let them wait patiently until they reveal their purpose.
Perhaps that’s why I collect so many things—and maybe you do, too. A studio full of possibilities makes the act of choosing less about invention and more about recognition. Eventually, one piece simply feels right.
The four new Crow Reliquaries taught me that lesson again. All four reached that awkward late stage when they seemed to need “something” to become complete.
Before arriving at its final form, I tried several different solutions for this piece, The Dreaming Witness. Looking at those alternatives now, I realize that every discarded choice helped lead me to the one that stayed.
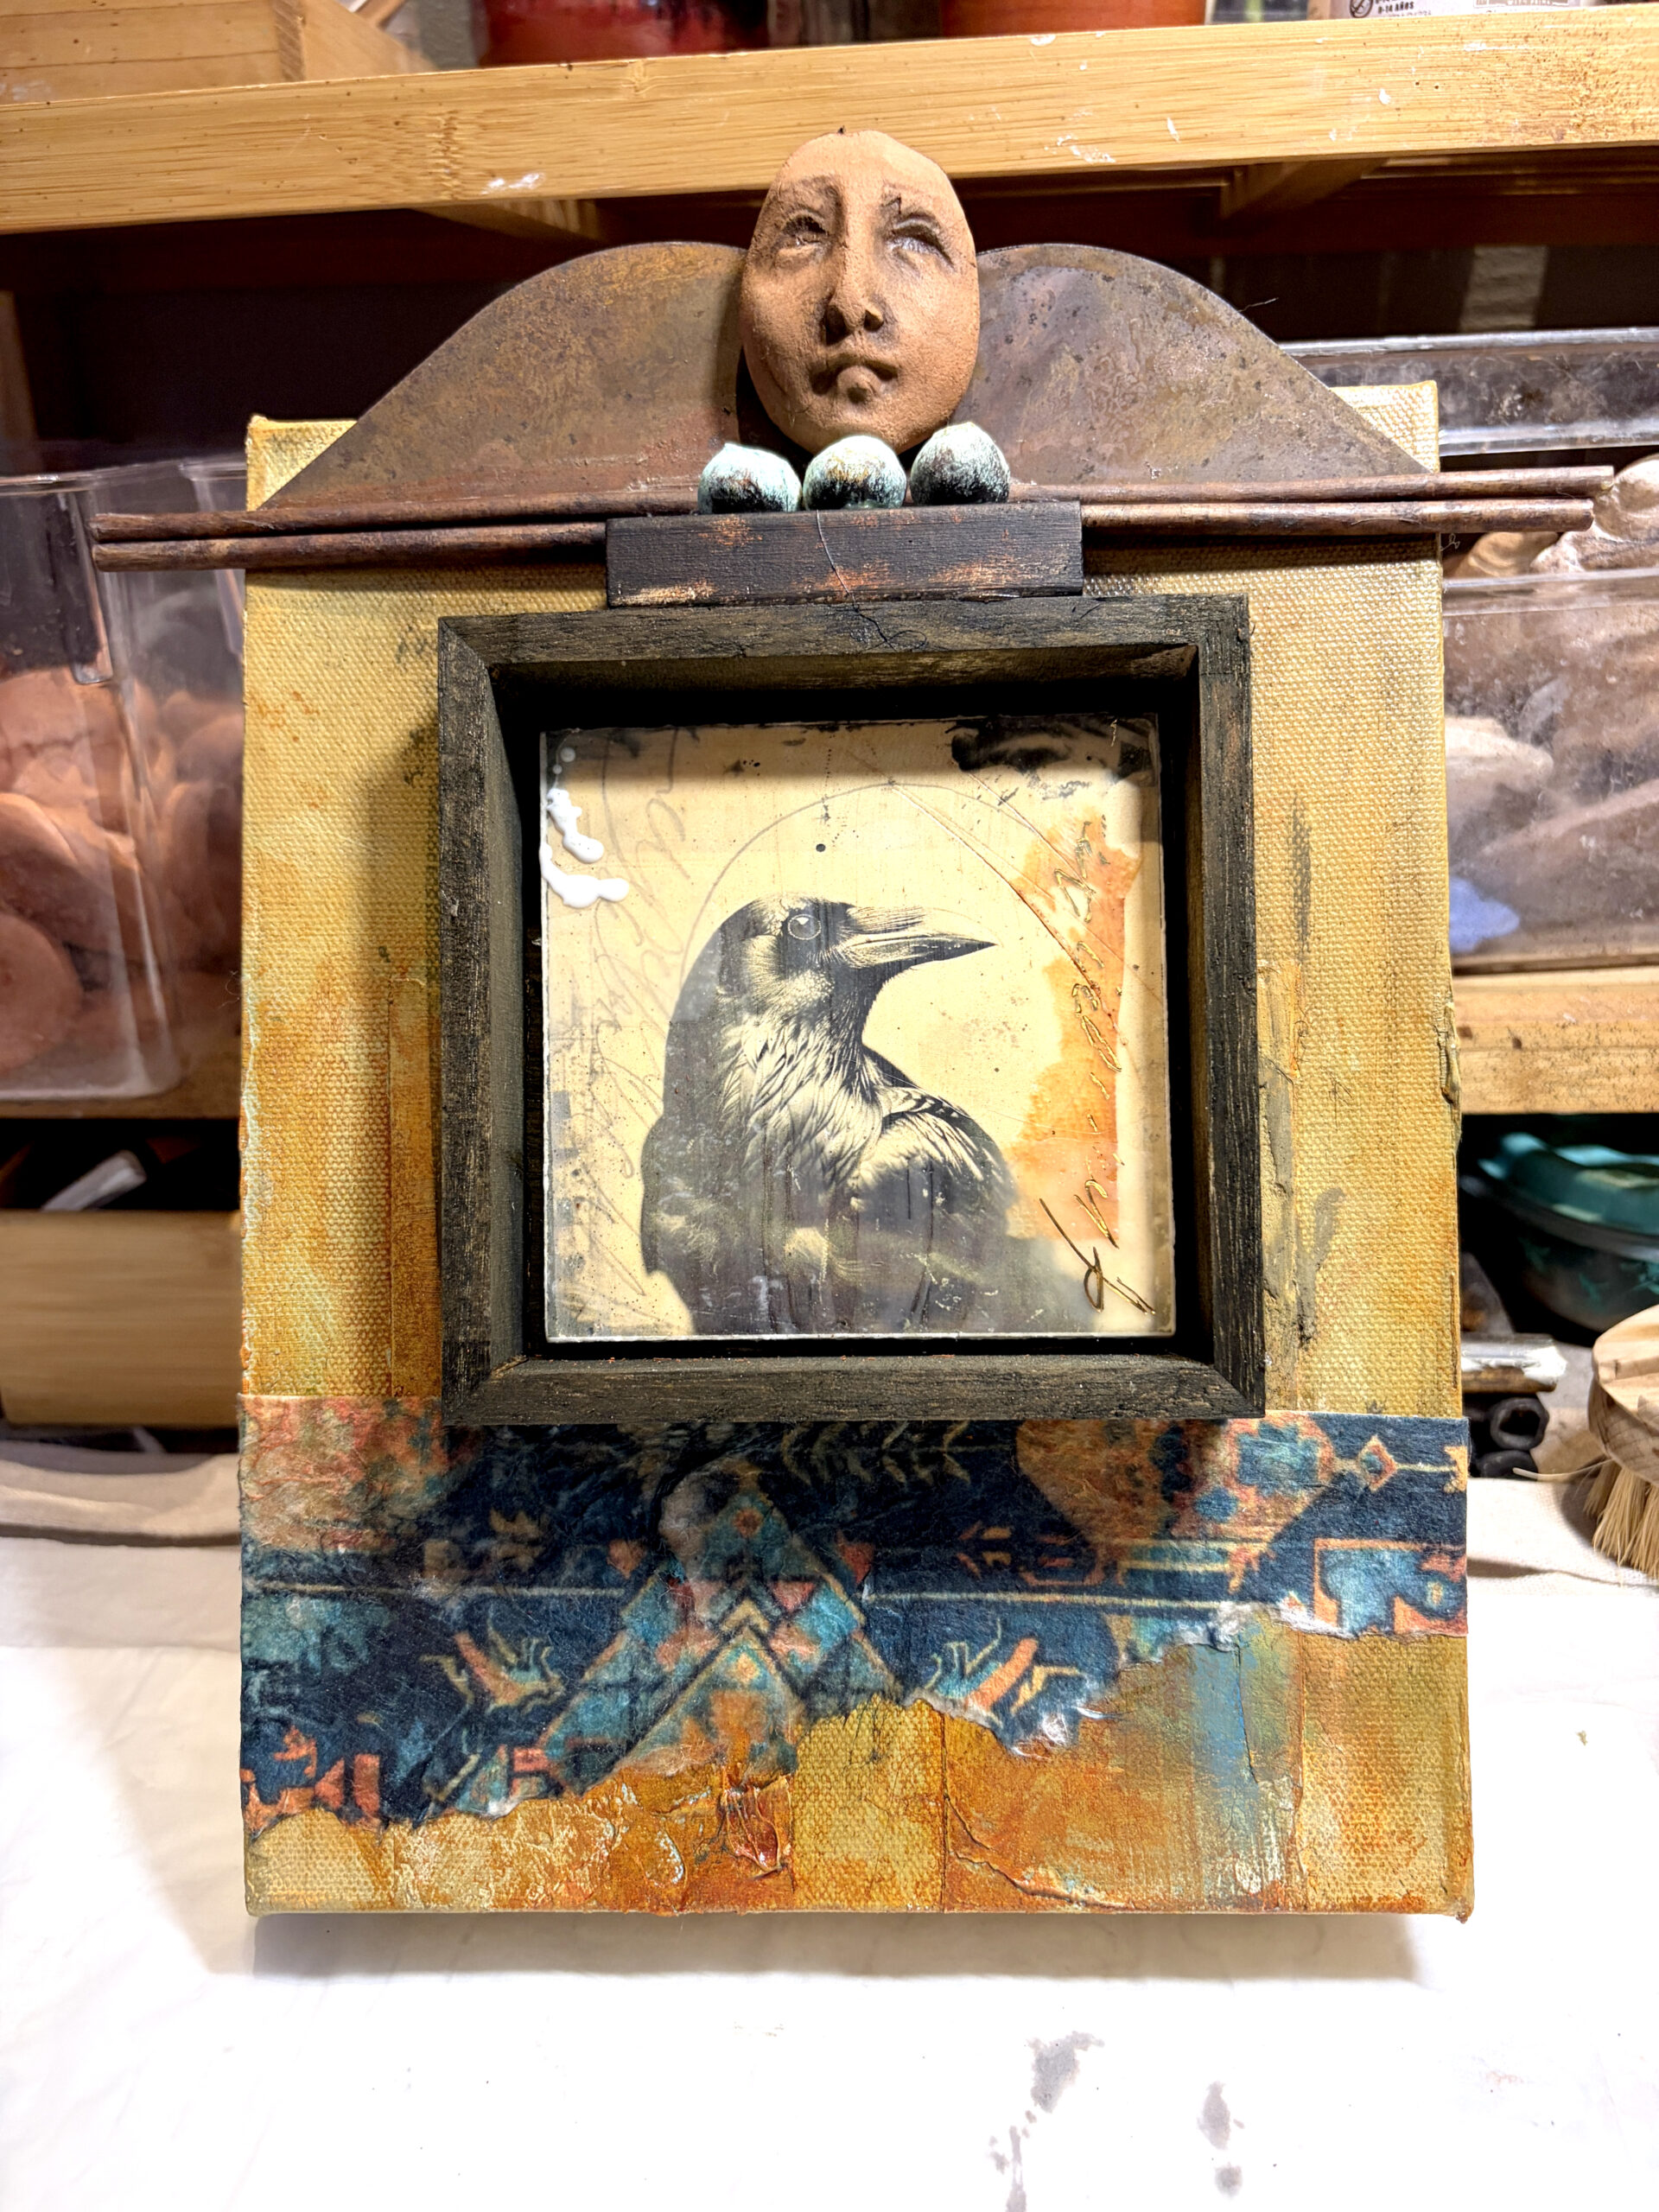
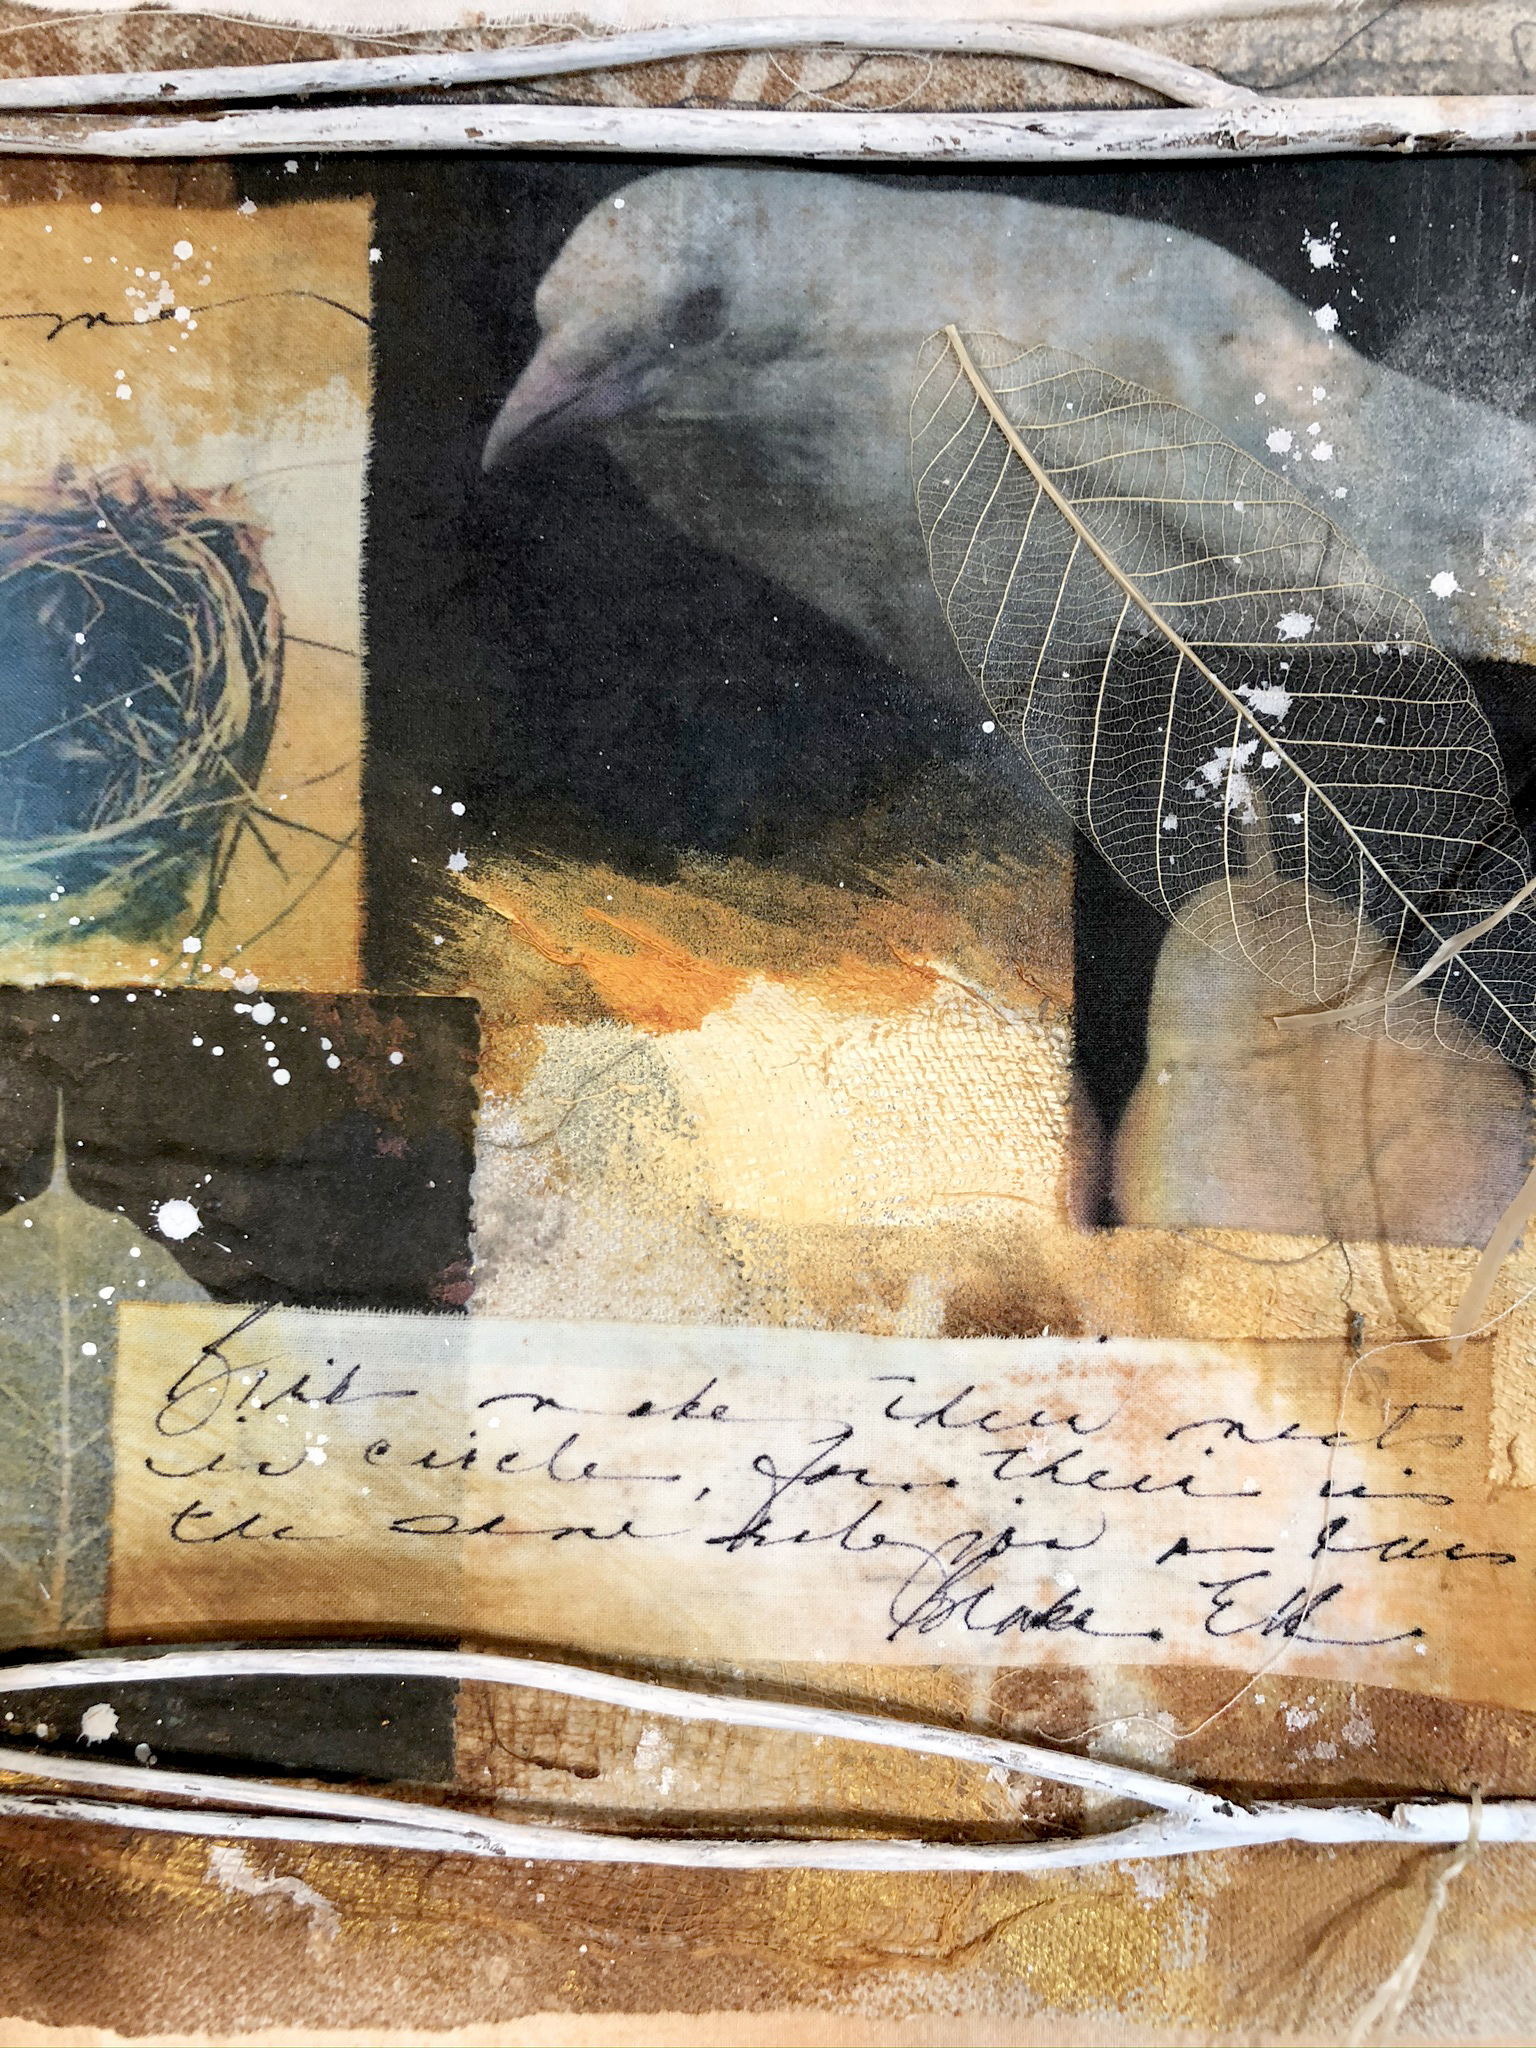
By this stage, I had already made some major decisions—a deeply textured surface on a stretched canvas, an altar-like top, and a crow shrine box attached to the center. A band of printed mulberry paper ran across the bottom. It could have been called “finished,” but somehow it wasn’t complete.
So I thought it might be fun to take a little photo tour of what I tried—and what I finally chose.
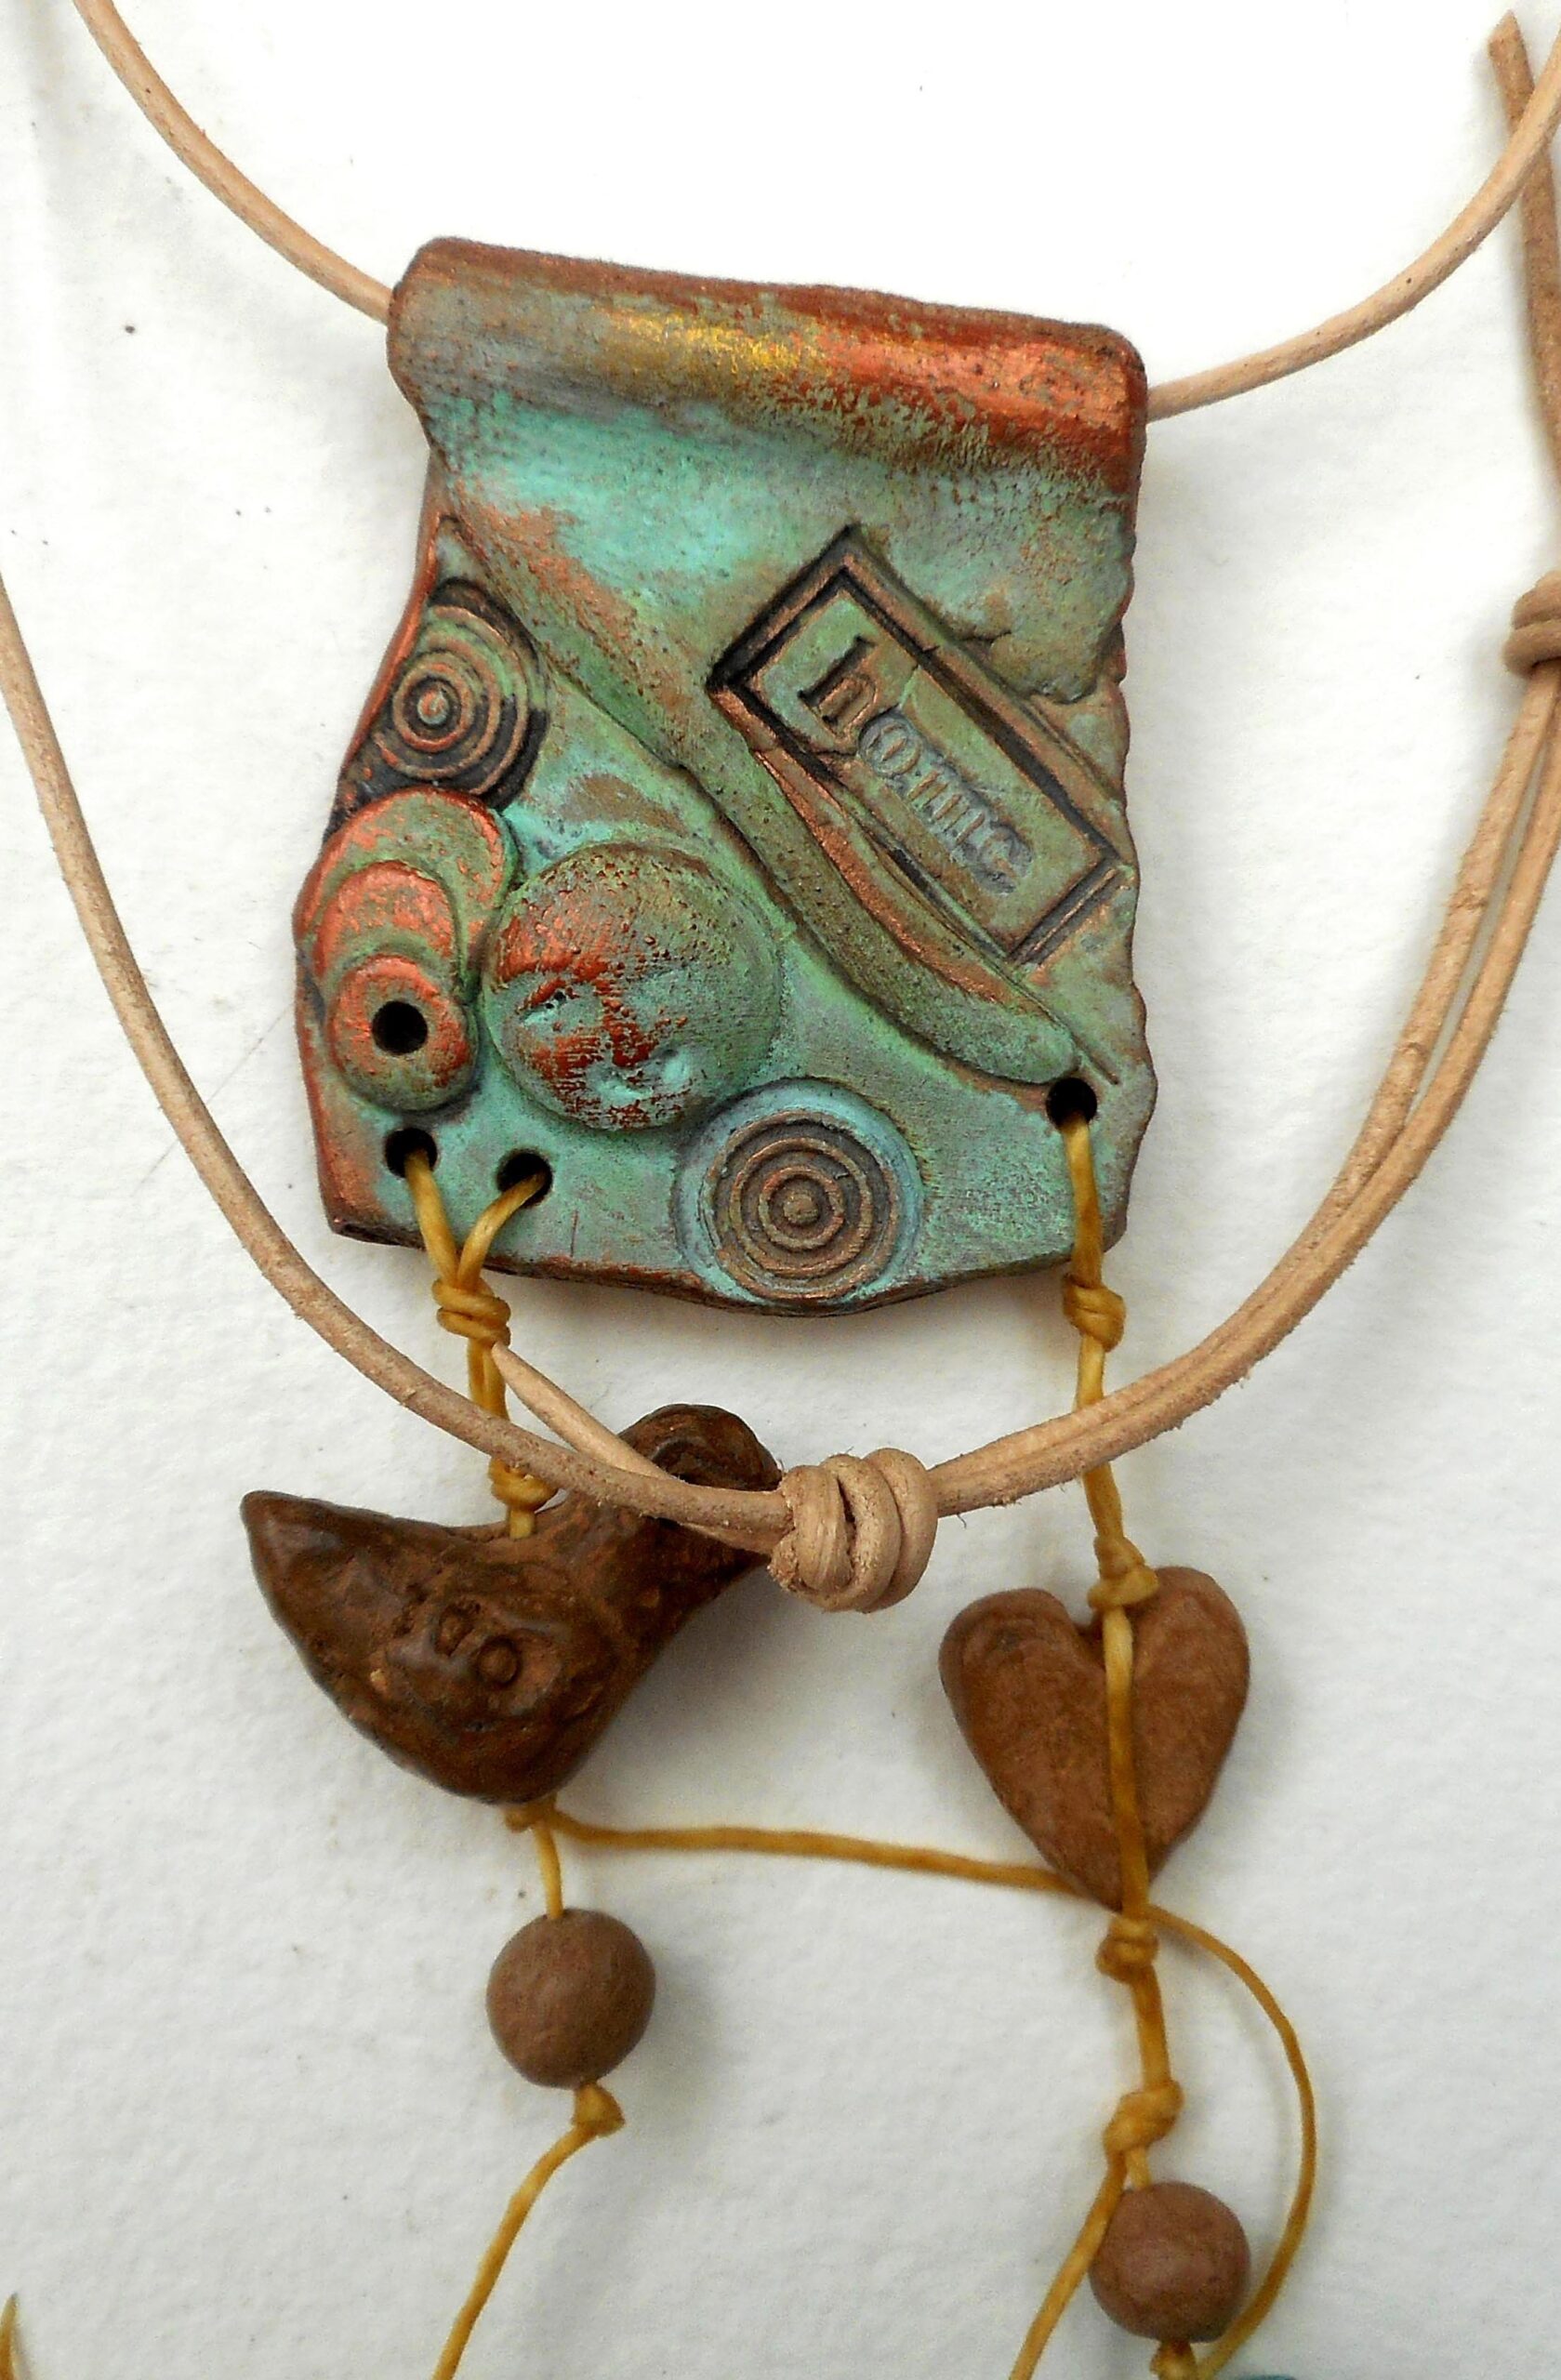
First, I experimented with a few small charms and tokens attached to the shrine box. They looked more like decorations than meaningful additions, but the idea of small treasures stayed with me.
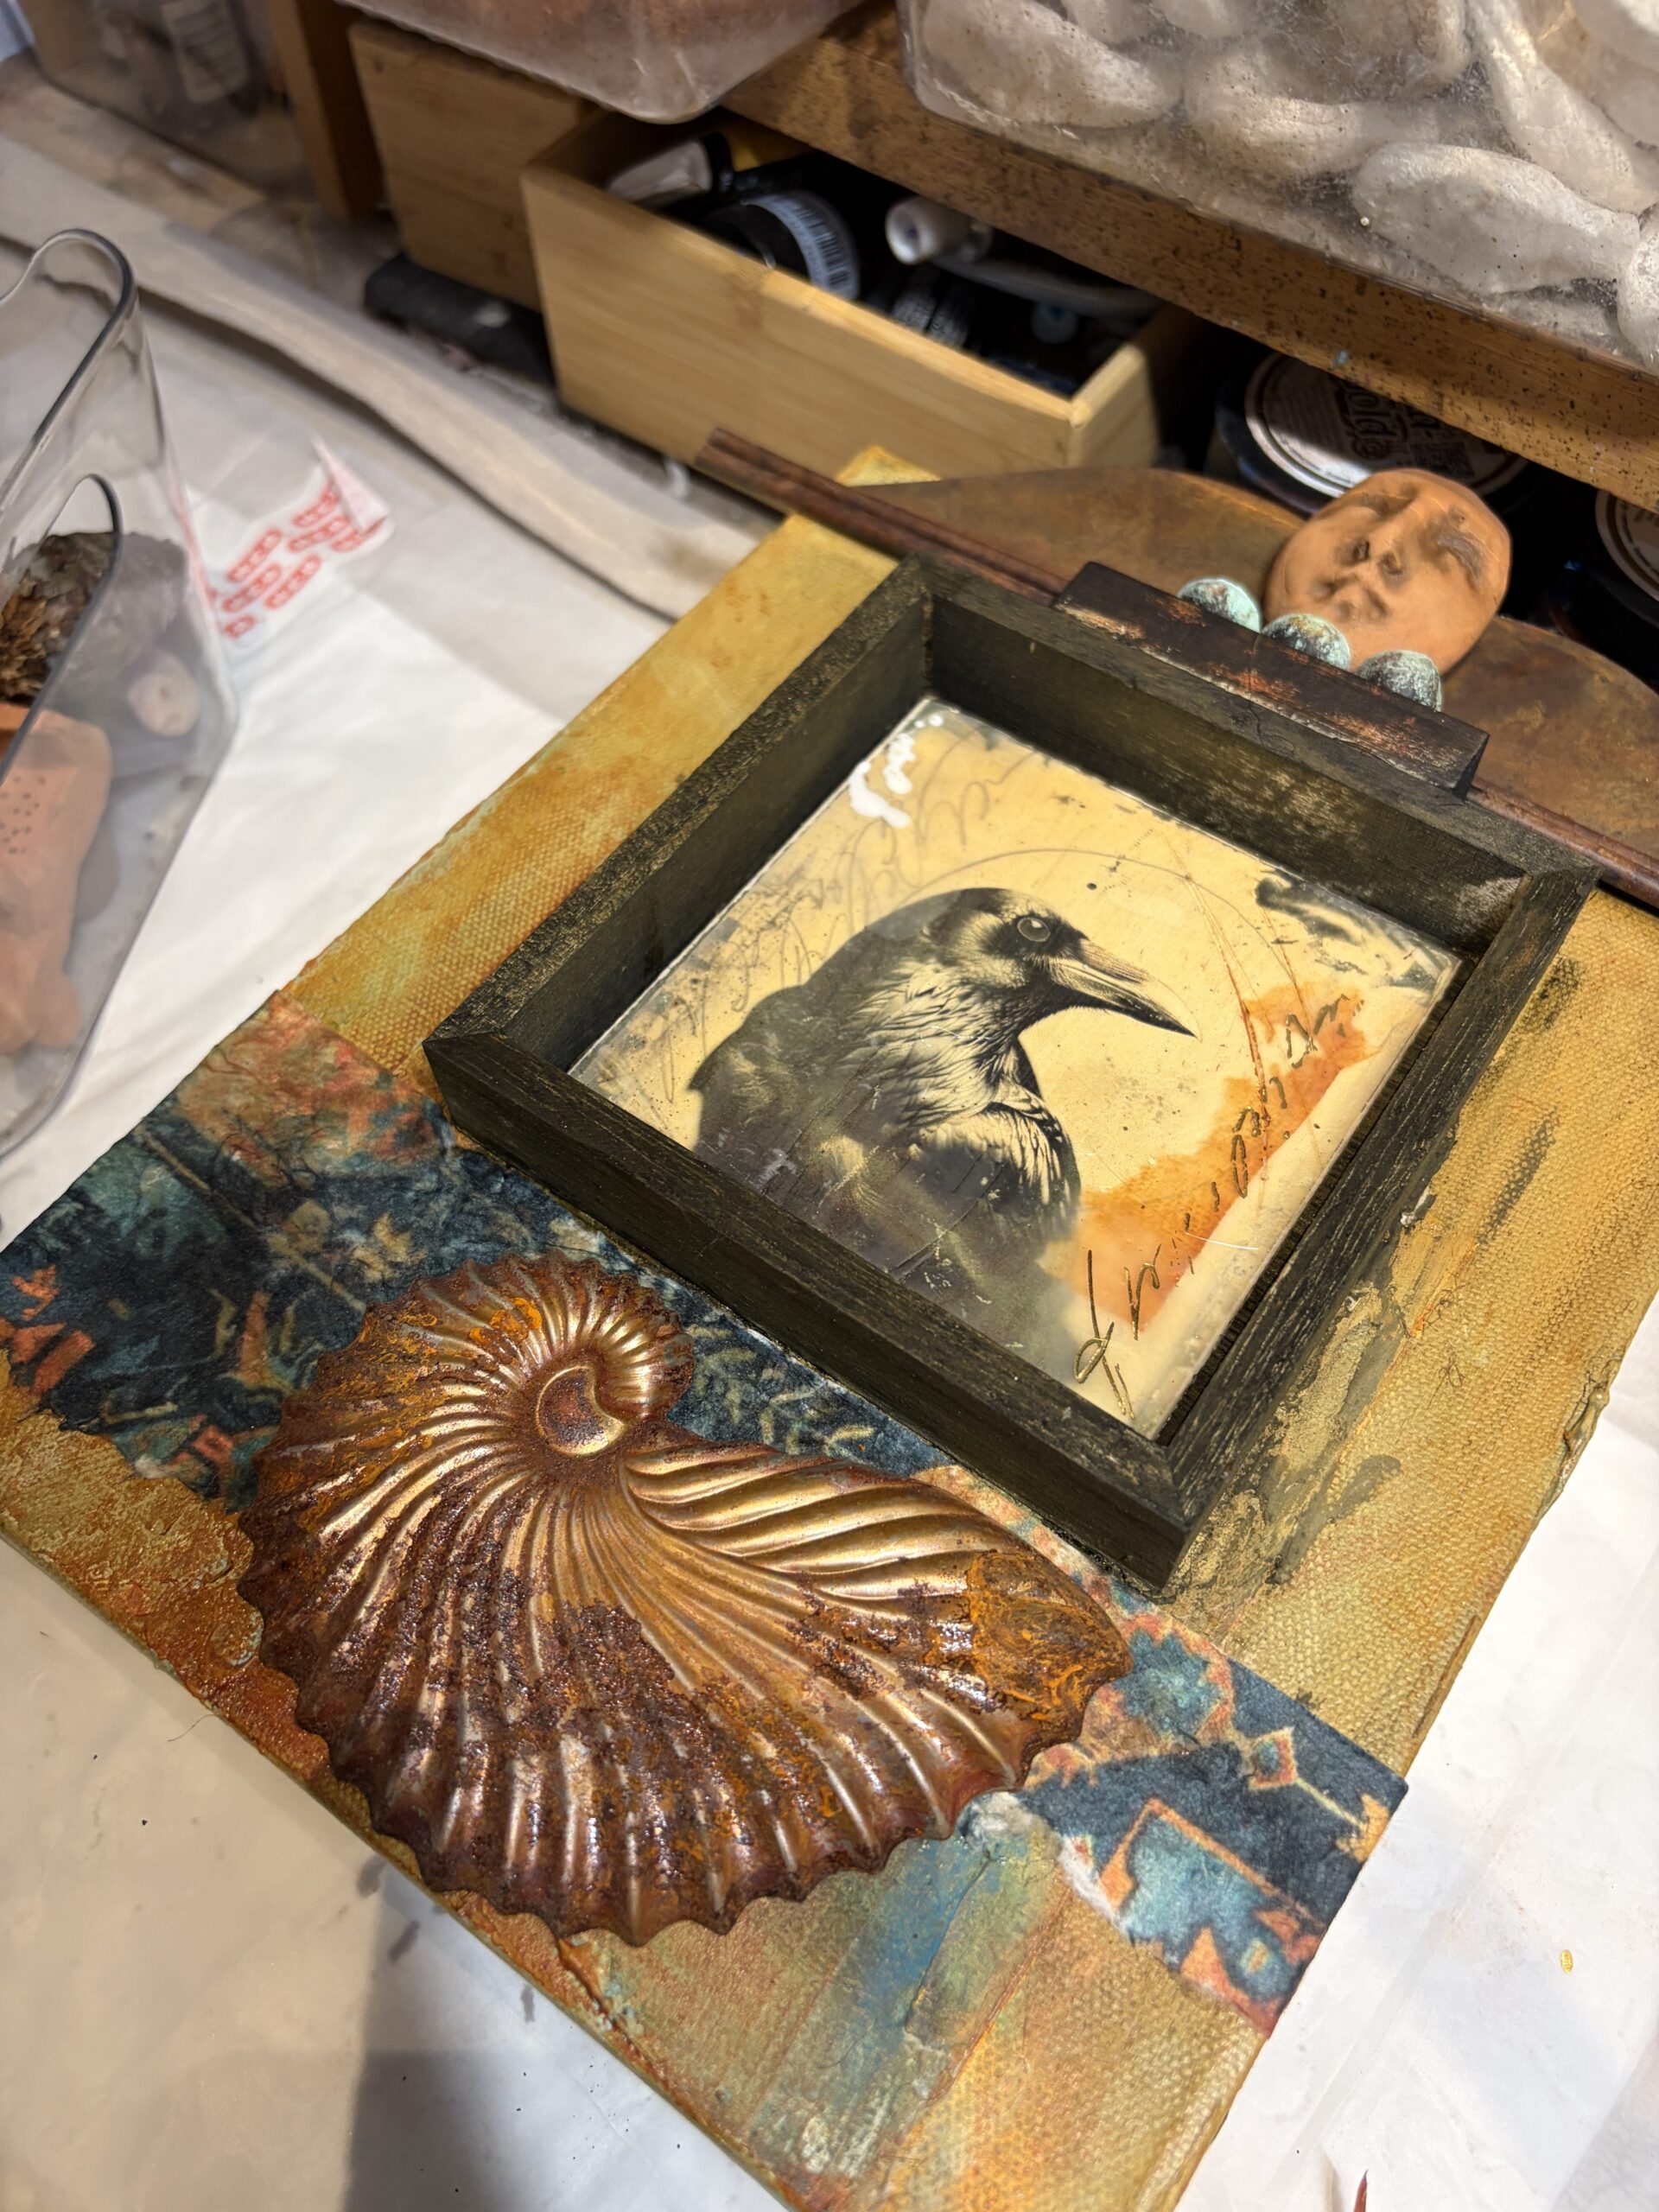
Next, I pulled a rusted tin nautilus shell from my metal pile. It was close—the shape worked beautifully—but somehow it didn’t connect with the themes of watching and dreaming, nor with the rough beads and clay face above.
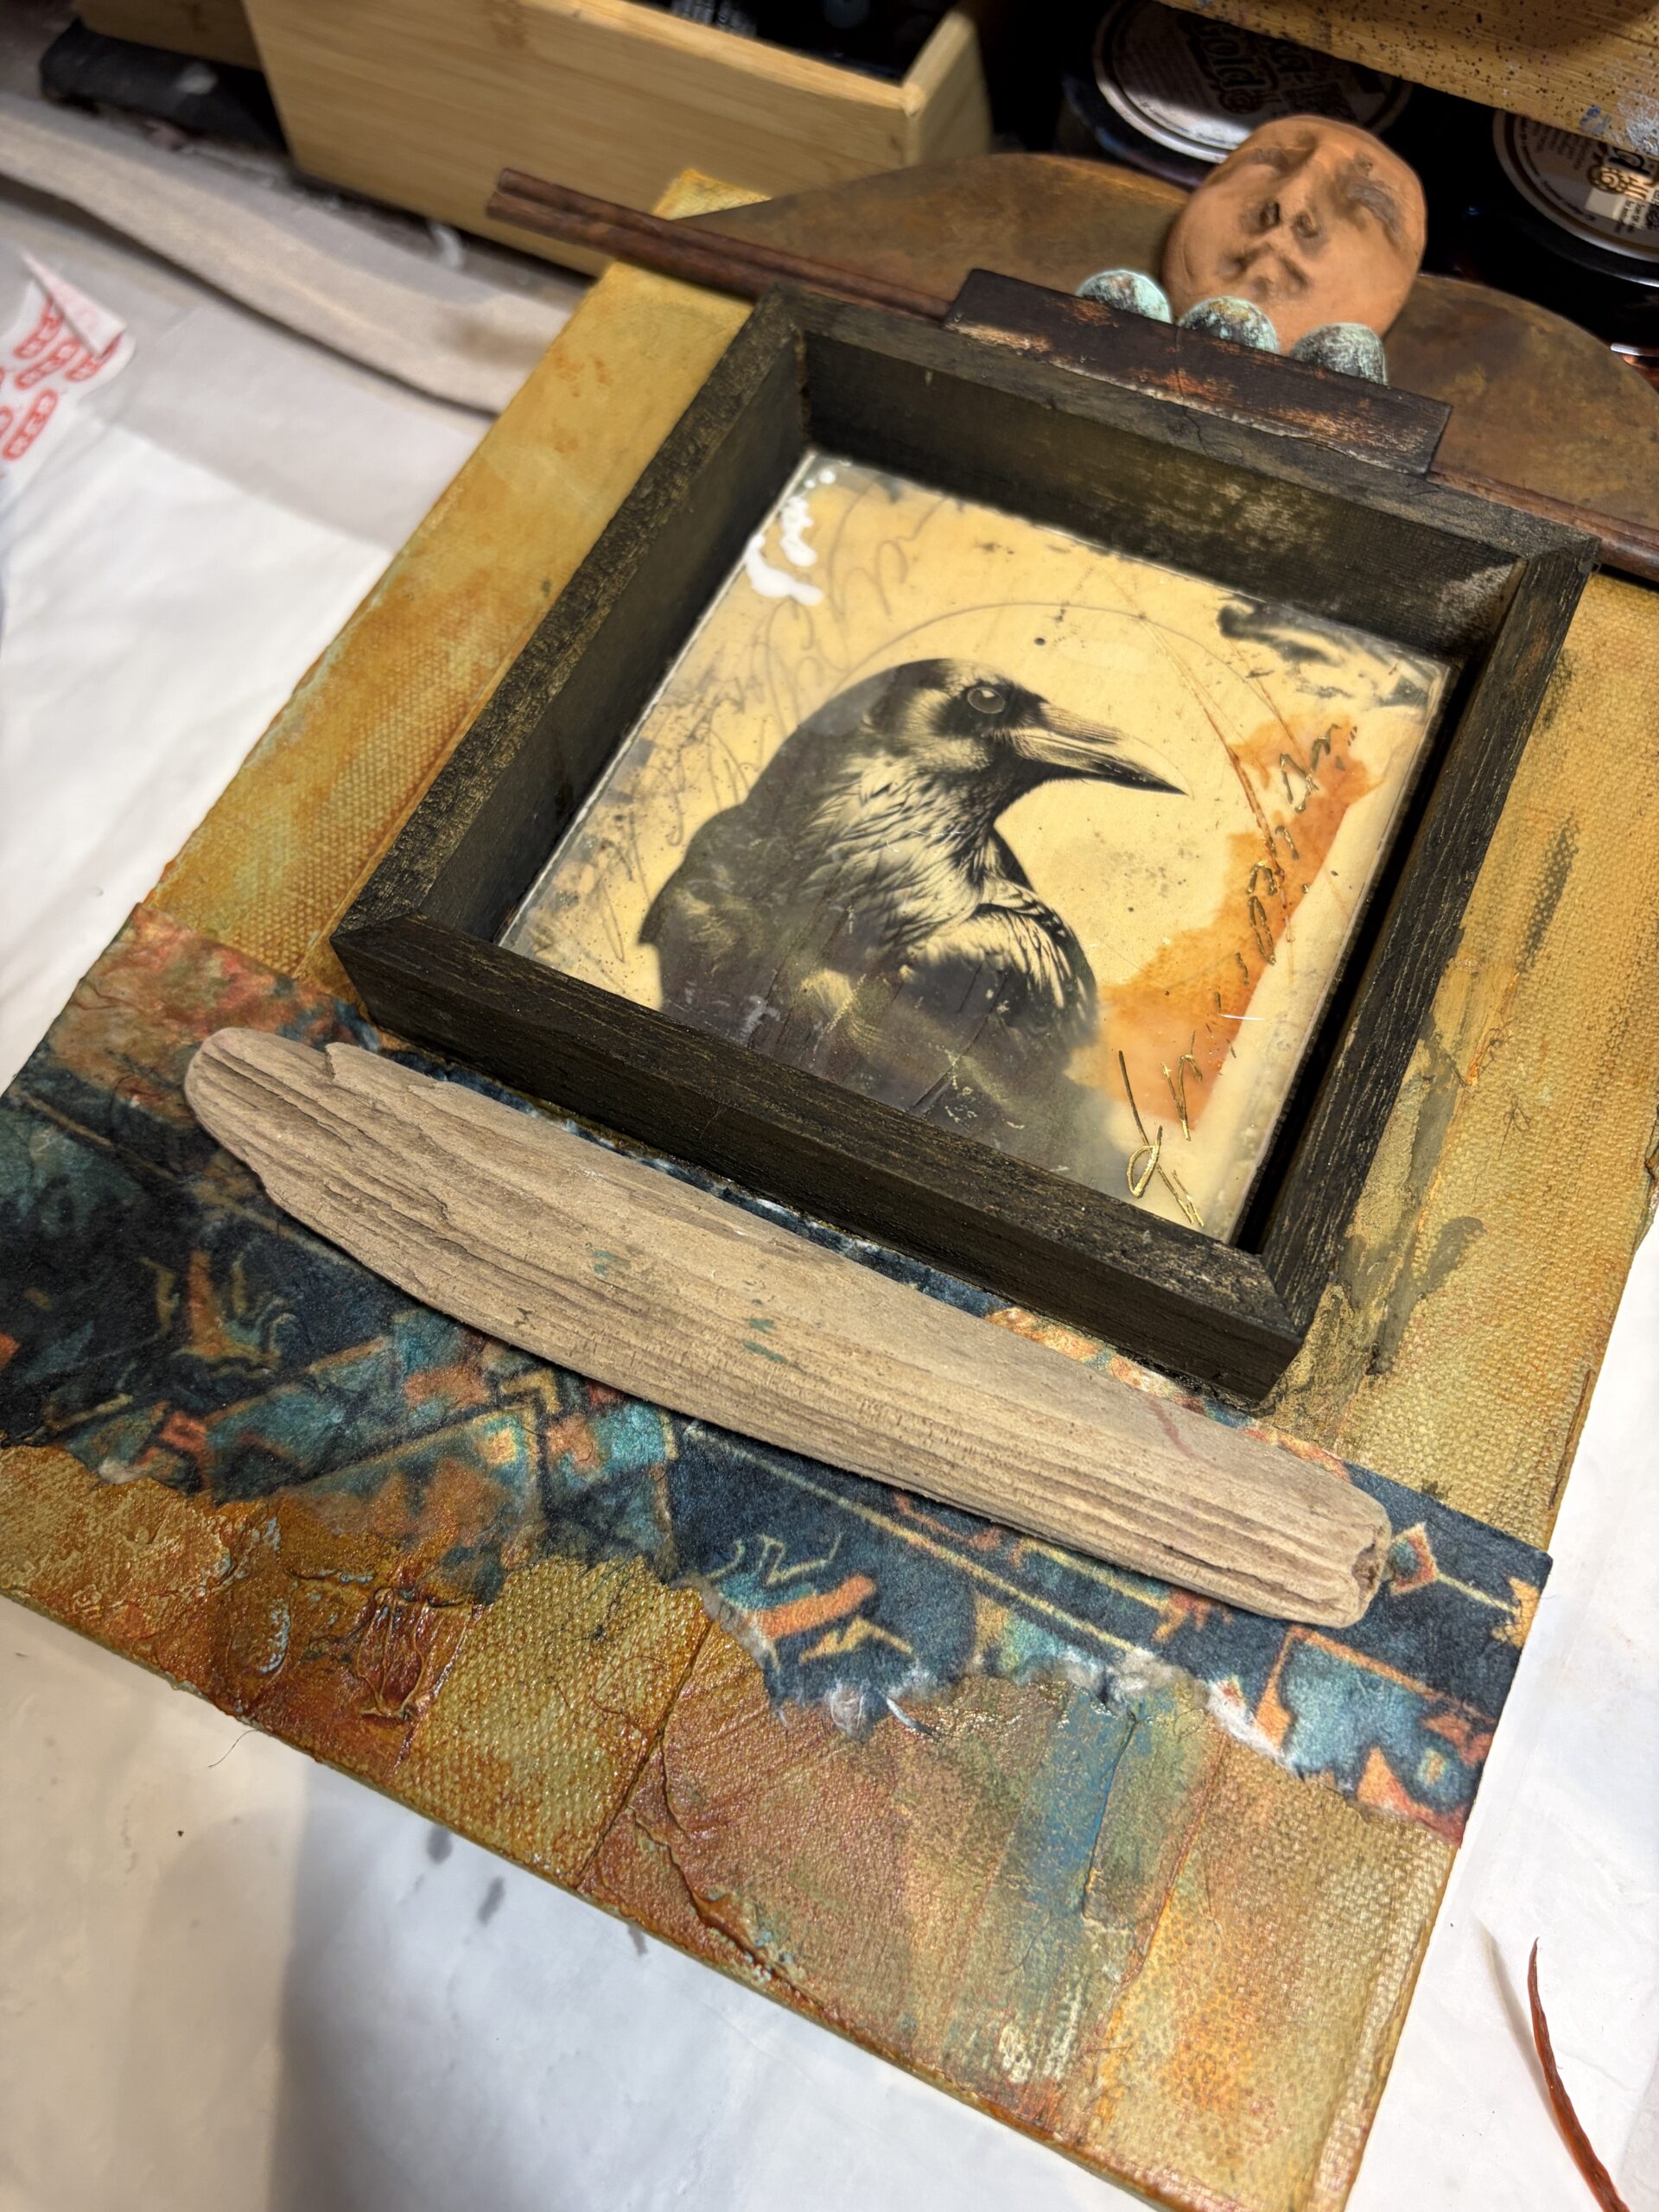
Then came a piece of driftwood laid along the bottom of the reliquary box. Again, the shape felt right: rustic, weathered, and quietly beautiful. But it lacked a story of its own. Even so, it gave me an “Aha!” moment. If that shape worked, what else might have the same proportions?
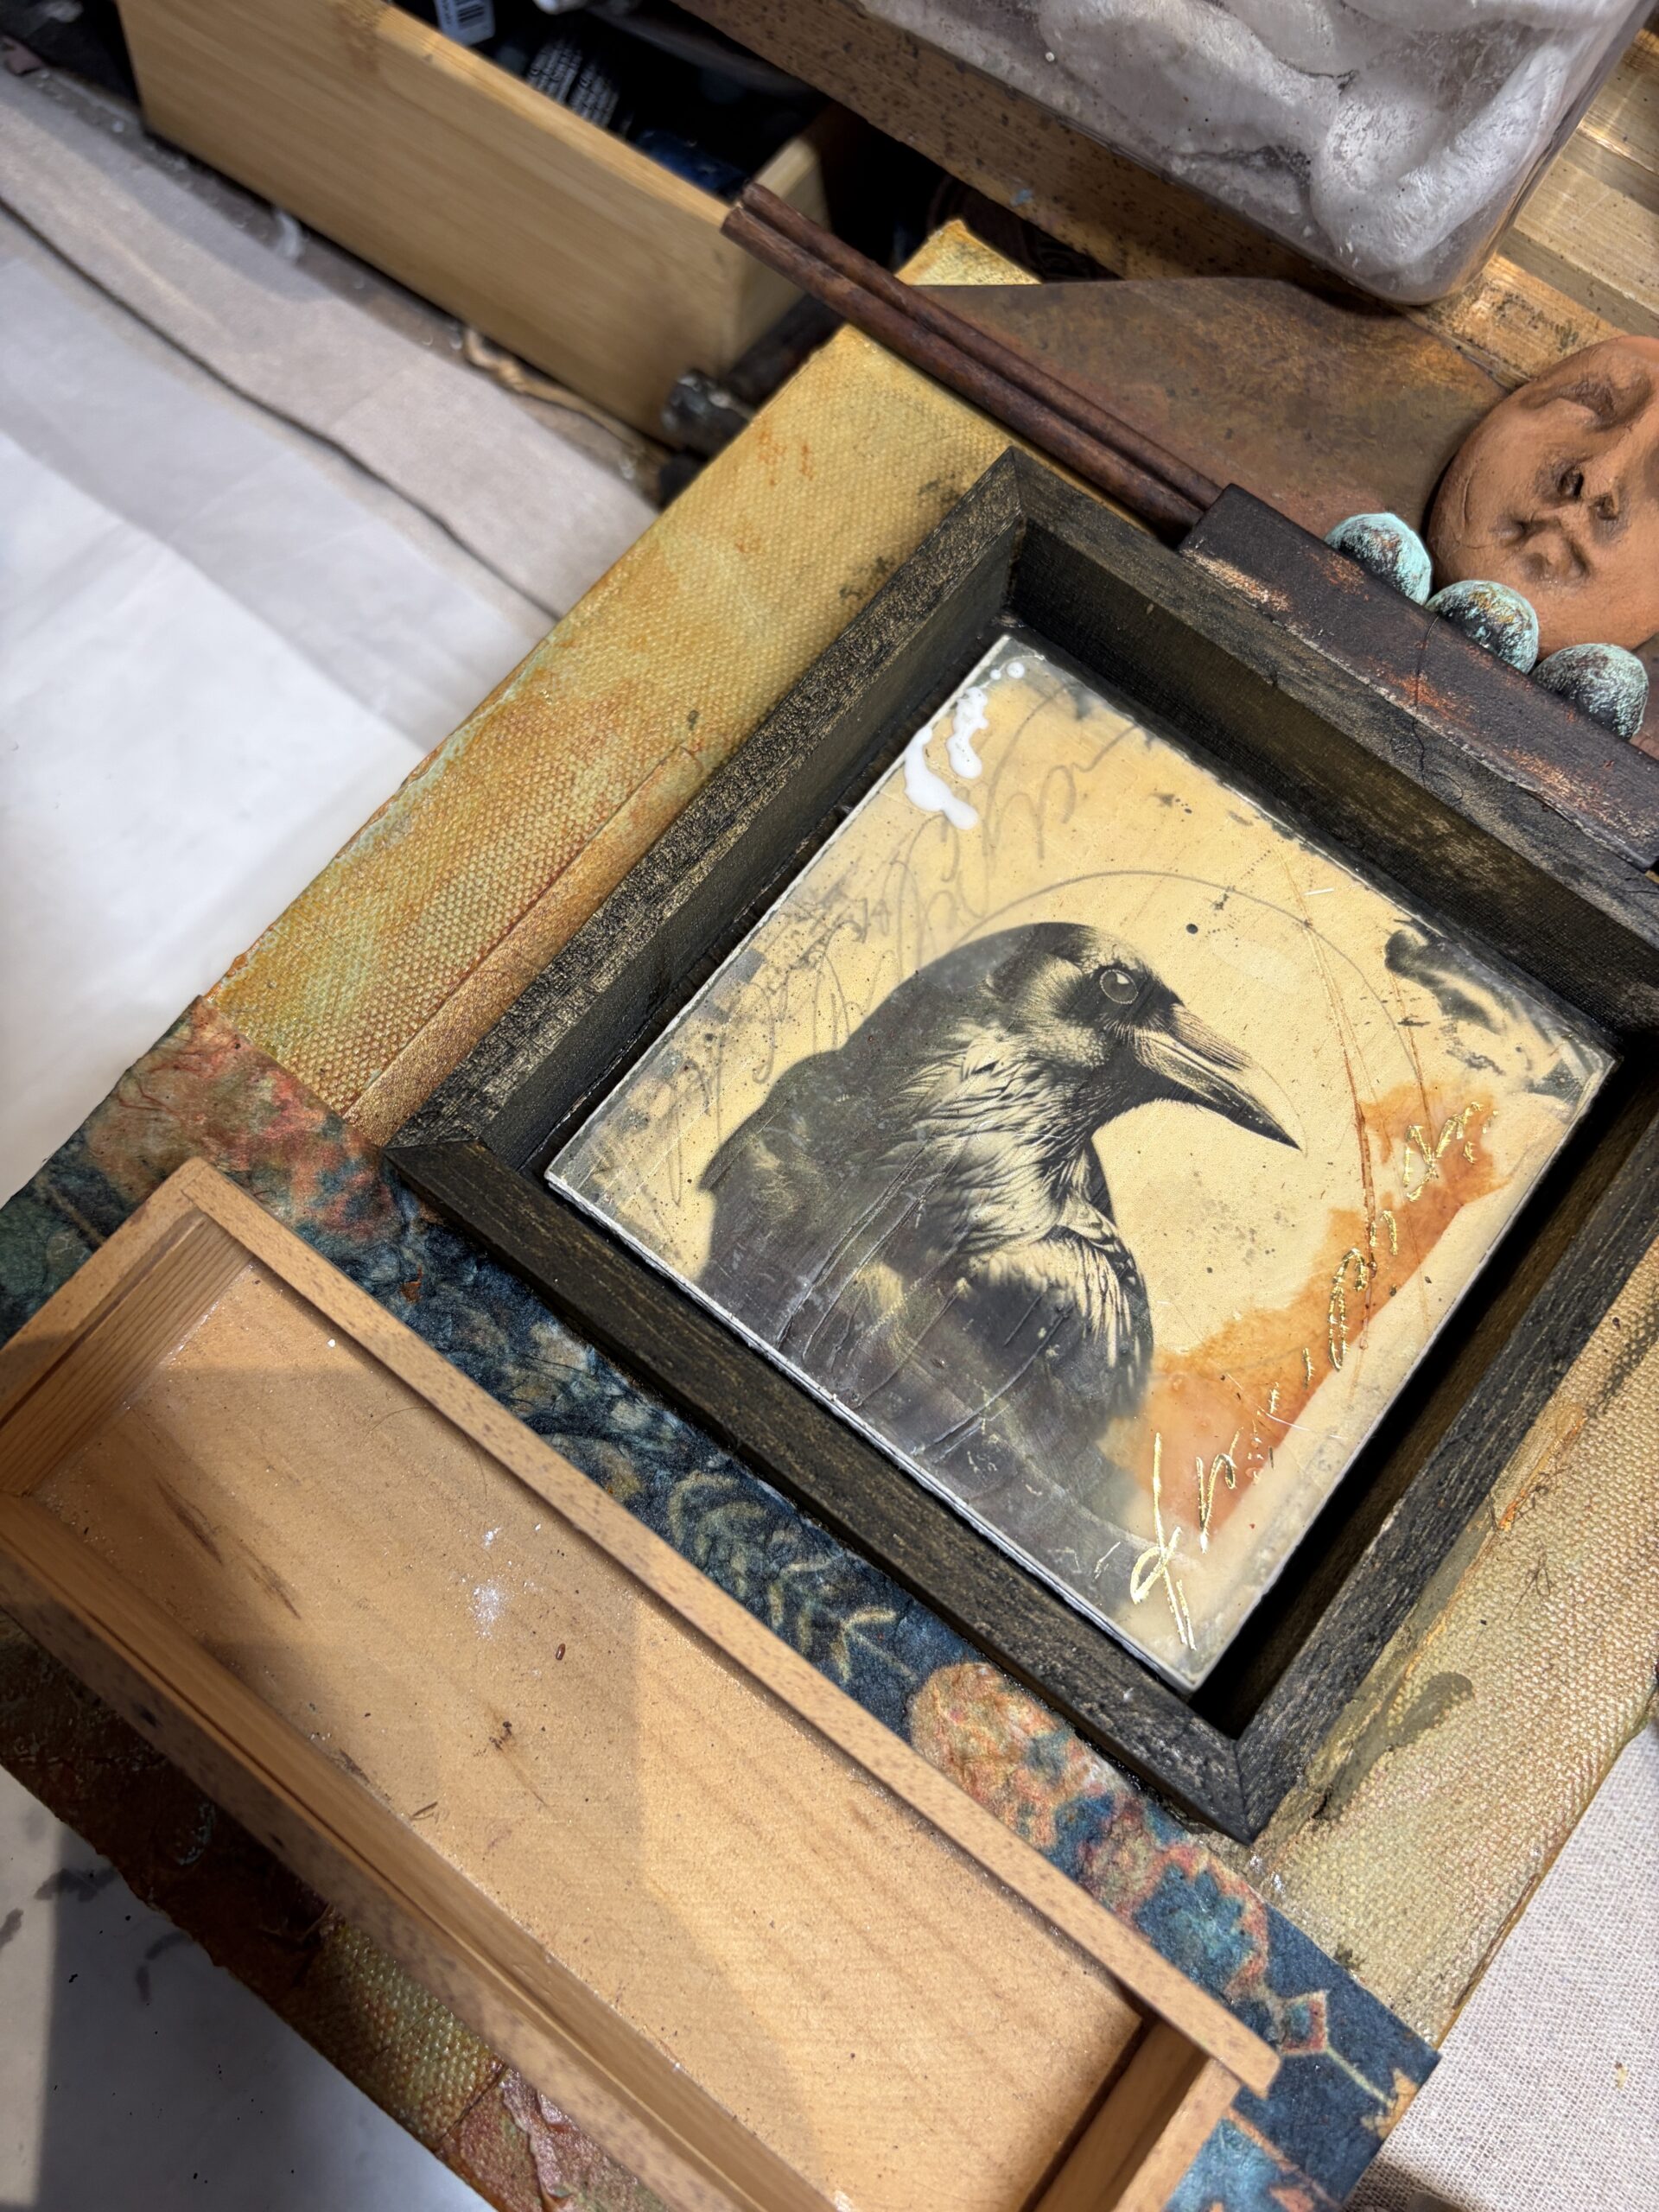
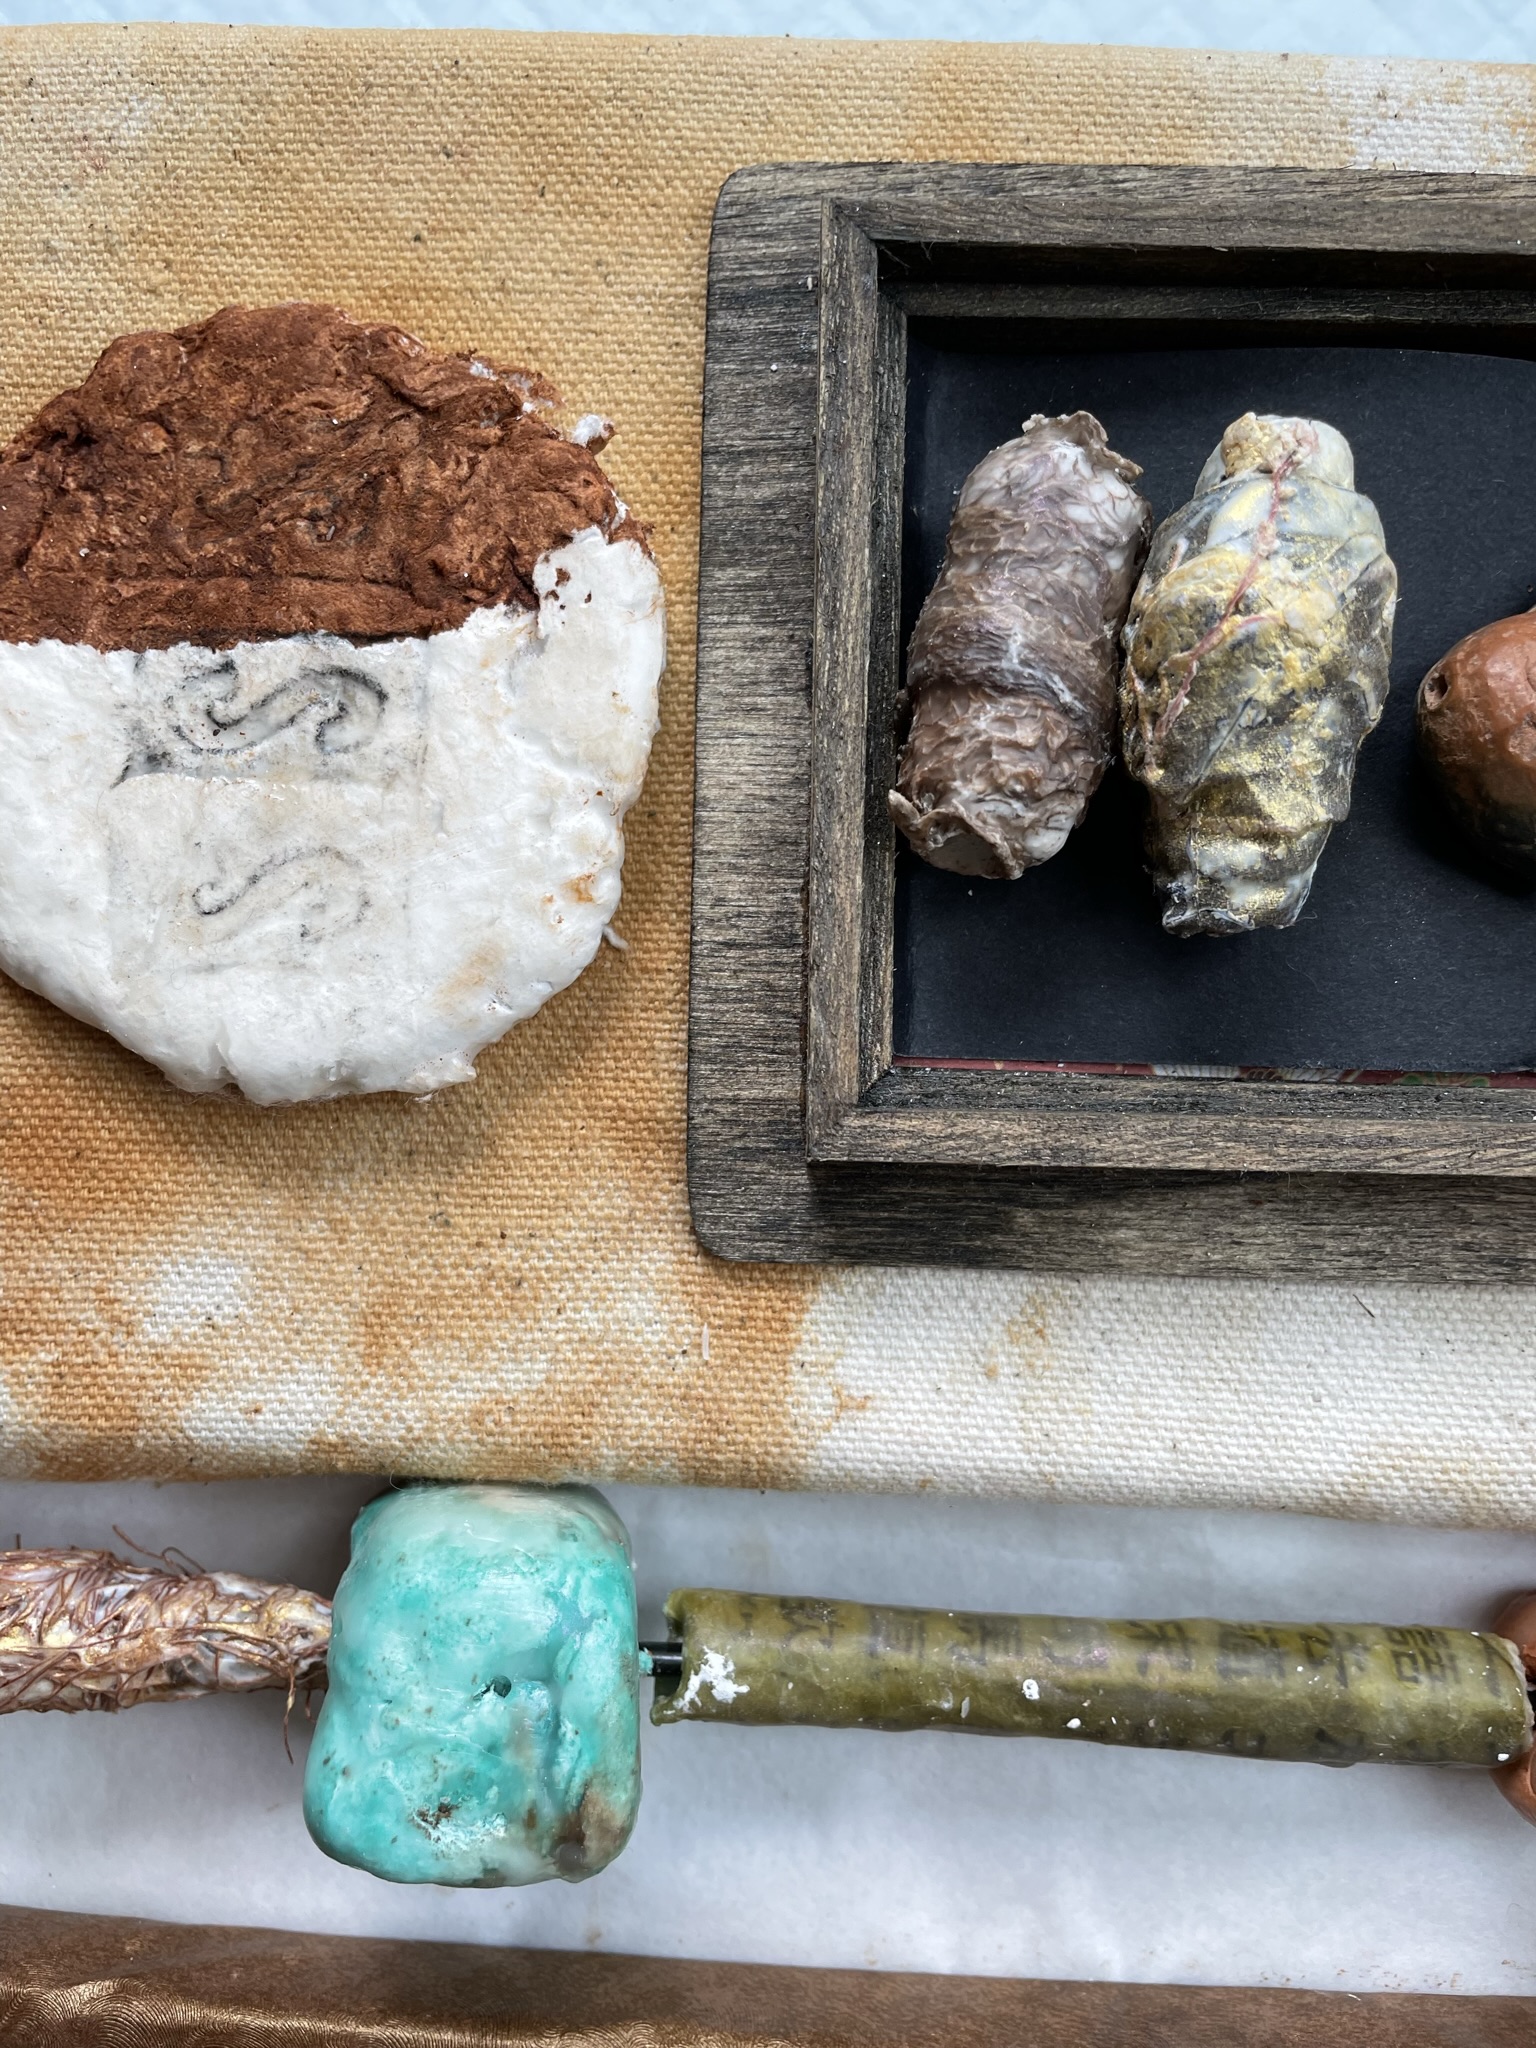
And then I found a small wooden box that had been waiting patiently in the studio for years.
It turned out to be the answer. Its shape echoed the shrine box above, and, as a bonus, it offered a place to hold small objects that connected visually with the rough beads and clay face.
Attaching and engineering is always a part of any assemblage decision. I punched three holes with an awl through the back of the box and through the canvas.
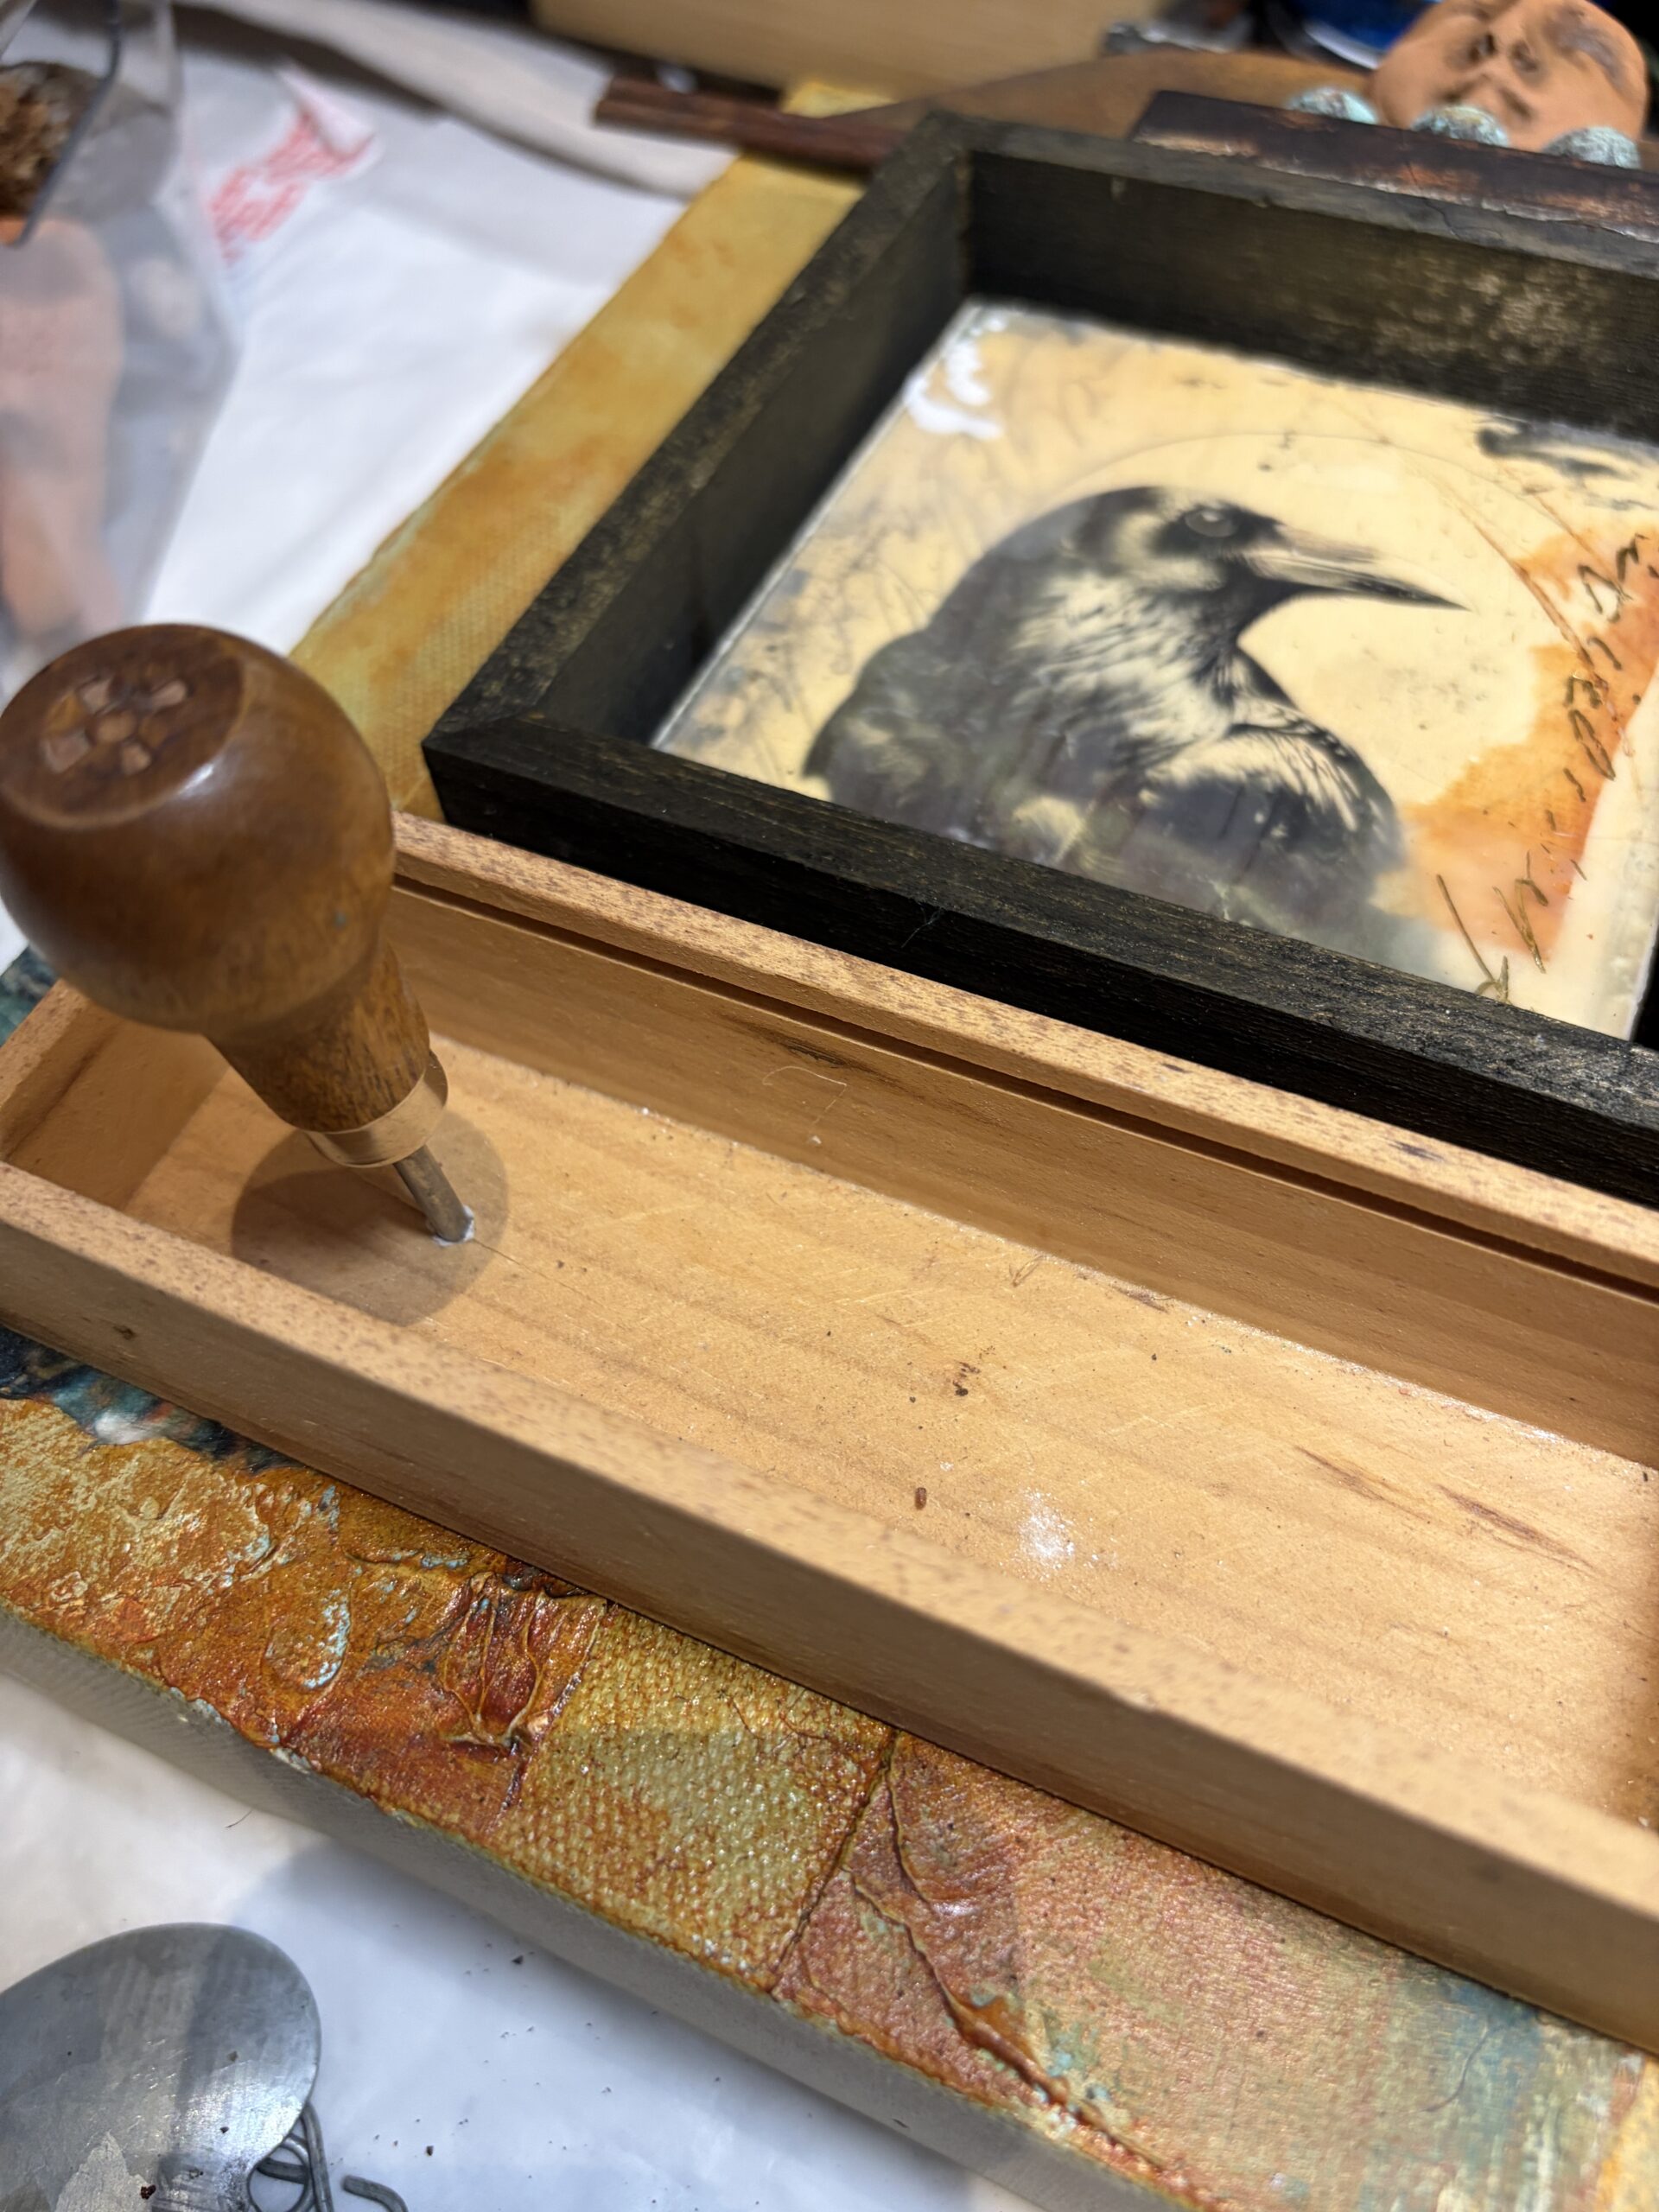
I attached three metal brads through the holes and spread the clasps out on the back of the canvas, but before i did that, I added some E6000 adhesive to the back of the little box for stability.
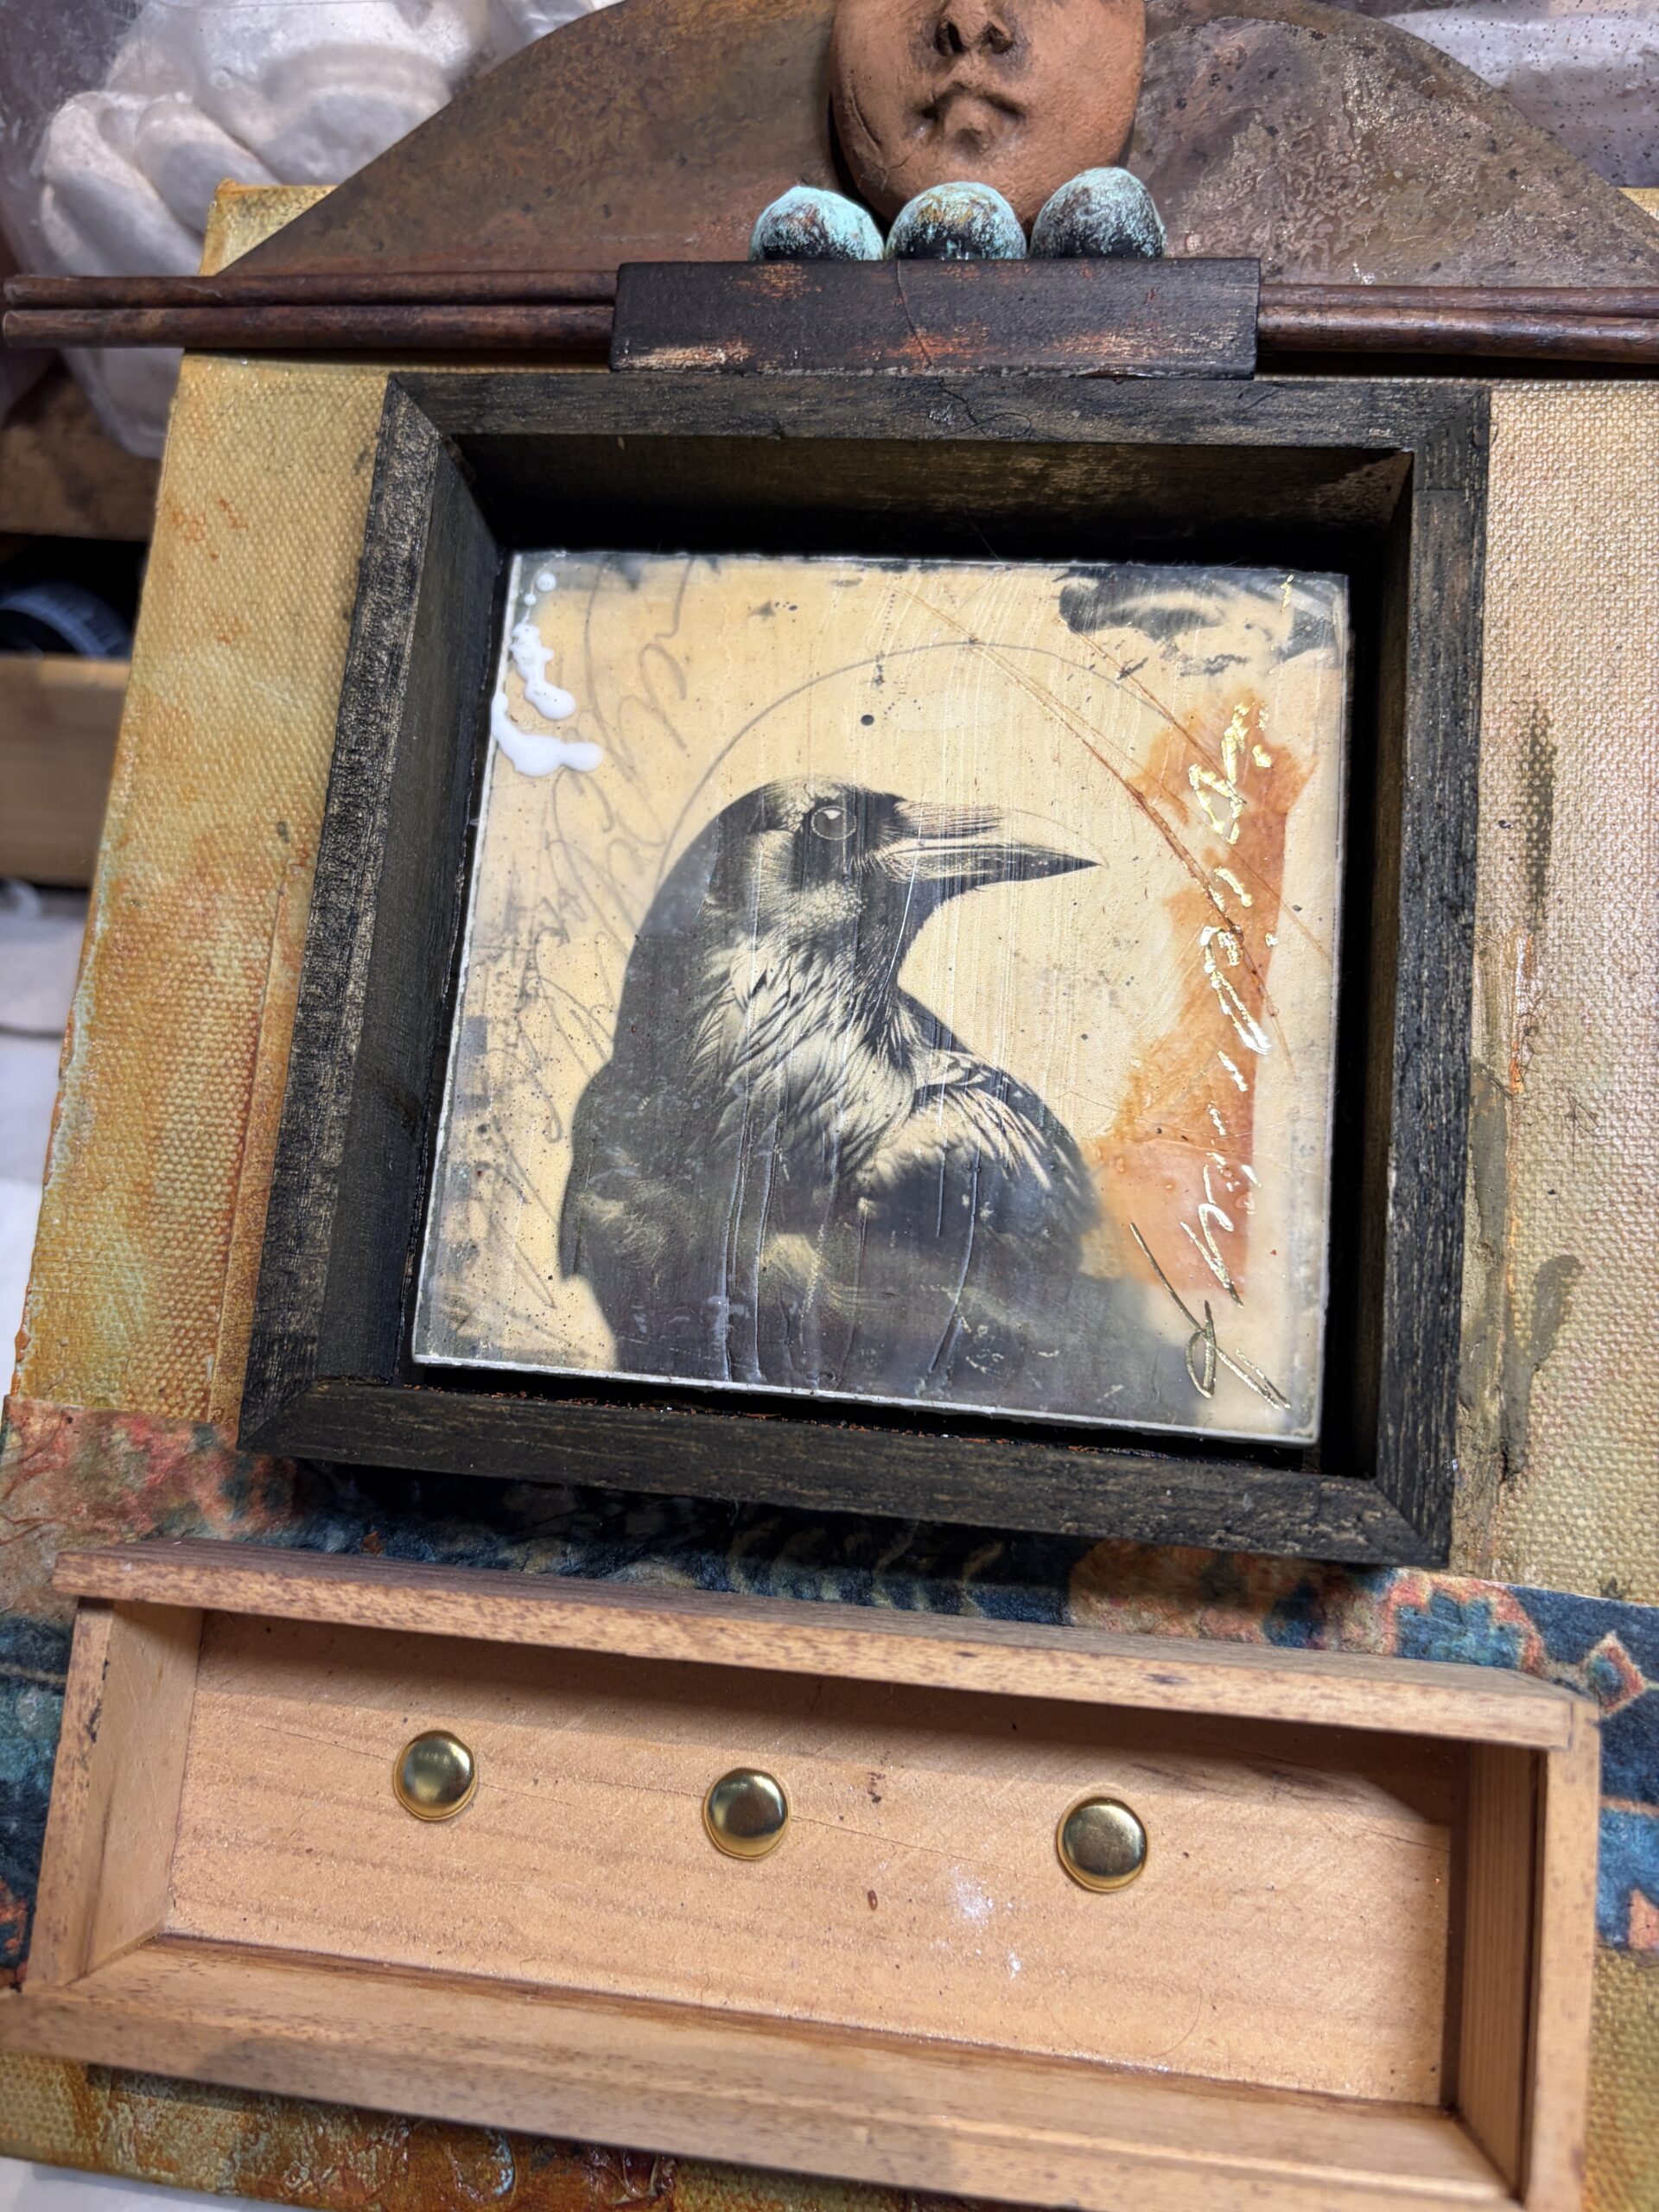
After attaching it securely, I added tiny clay birds and another rough bead. Final touches included a metal plaque, a few straight twigs, and a sheet of mica that gives the bird a slightly dreamlike presence.

Crow Reliquary: The Dreaming Witness
Looking back at the photographs, I realize that none of the earlier attempts were mistakes. They were stepping stones. Every rejected choice quietly pointed toward the one that belonged.
That’s one of the things I love about making art. So much of the process is simply paying attention and trusting that the work will eventually reveal what it needs.
I’m curious—if you had been standing beside me in the studio, would you have chosen one of the earlier versions instead? Which solution speaks to you most? There are no wrong answers, and I think it’s fun to imagine the many directions a piece might take.
I’d also love to hear about the choices you make in your own creative work. Do you sketch out a plan and follow it faithfully, or do you, like me, collect possibilities and wait for the right one to announce itself? Have you ever changed course at the last minute and discovered that the “almost” version was simply leading you toward the one that truly belonged?
After all, perhaps making art isn’t so much about making perfect choices as it is about recognizing them when they appear.
 What a long title for a post! Read on . . . .