
So you can’t come to the workshop this afternoon? Darn! Well, never fear – here’s a how-to freebie on making your own shard faces and adornments at your own place of creative belonging. No kiln needed because this project uses air-dry clay, lightweight and inexpensive. I’m going to demo this process at the workshop this afternoon although we will be using actual earthenware clay today. But this is a fun option to try at home (yes, you can try this at home). Here are some how-to step-by-step photos. And if you click this link, you’ll get a printable one-page list of materials and directions. Happy molding! That sounds weird. Happy creating beautiful one-of-a-kind clay objects of delight!!
-
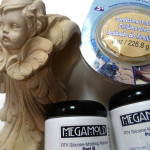
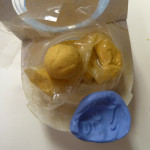
- Ready to go with molding compound and an object to mold
-
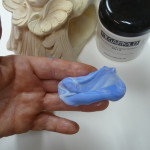
- Squish the white and blue stuff together
-
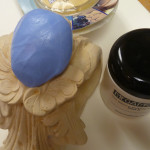
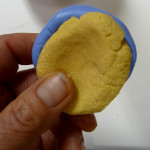
- Push it on the poor little angel’s face and wait five minutes
-
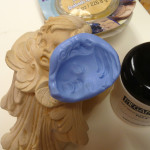
- Pull it off gently – it sets up fast!
-
- Roll a ball of air-dry clay so there are no cracks
-
- Moosh it into the mold
-
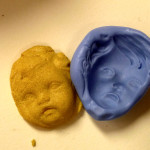
- The big reveal
-
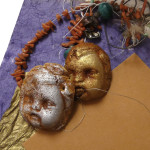
- Finish or just leave with a clay surface – poke holes if you like
Pingback: Fun with faces | SHARDS: fragments and reflections