
For a while now, I’ve wanted to go back to basics with some of my favorite simple materials: paper, beeswax, indigo and walnut ink in new ways and combinations.
And I’ve wanted to revisit my beloved kimono format that brought me such joy and success in the past. Here’s one of those pieces, a large-scale origami construction called “Luna,” done in about 2003.

But I didn’t want to revert to exactly the same process. So I am experimenting with natural indigo and mulberry paper which I’ve painted and stamped with pure beeswax, much like the traditional batik technique, but on paper rather than fabric. As far as I know, no one is working quite this way, but I thought it would be a great material to fashion into small kimono constructions.
The new kimonos pieces are not completed yet – I’m still working on them for an exhibit in August (Susie Monday, this is the process I was describing to you) – but I thought I’d share what I’m doing with the indigo paper and beeswax surface design.
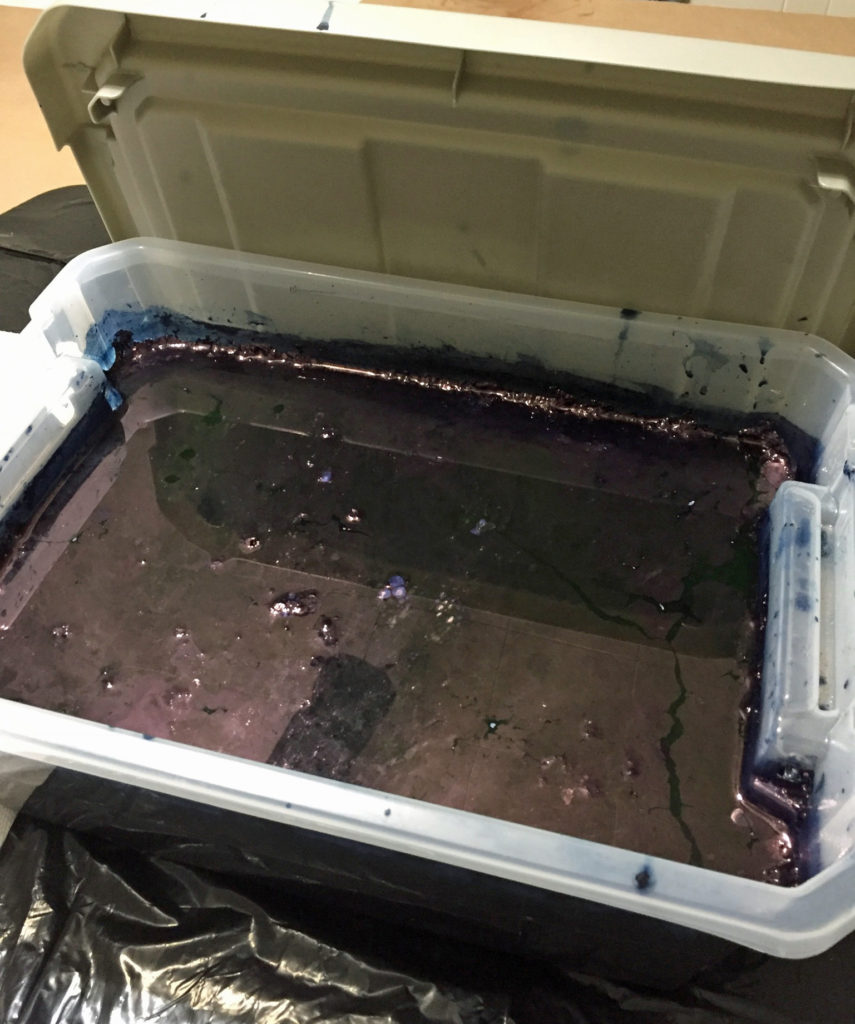
This is the indigo dye vat. I chose a rectangular container instead of a round bucket because I wanted to submerge the mulberry paper without crumpling it. (Mixing indigo is a whole ‘nother subject. Jacquard has a pre-reduced indigo that makes it easier.)
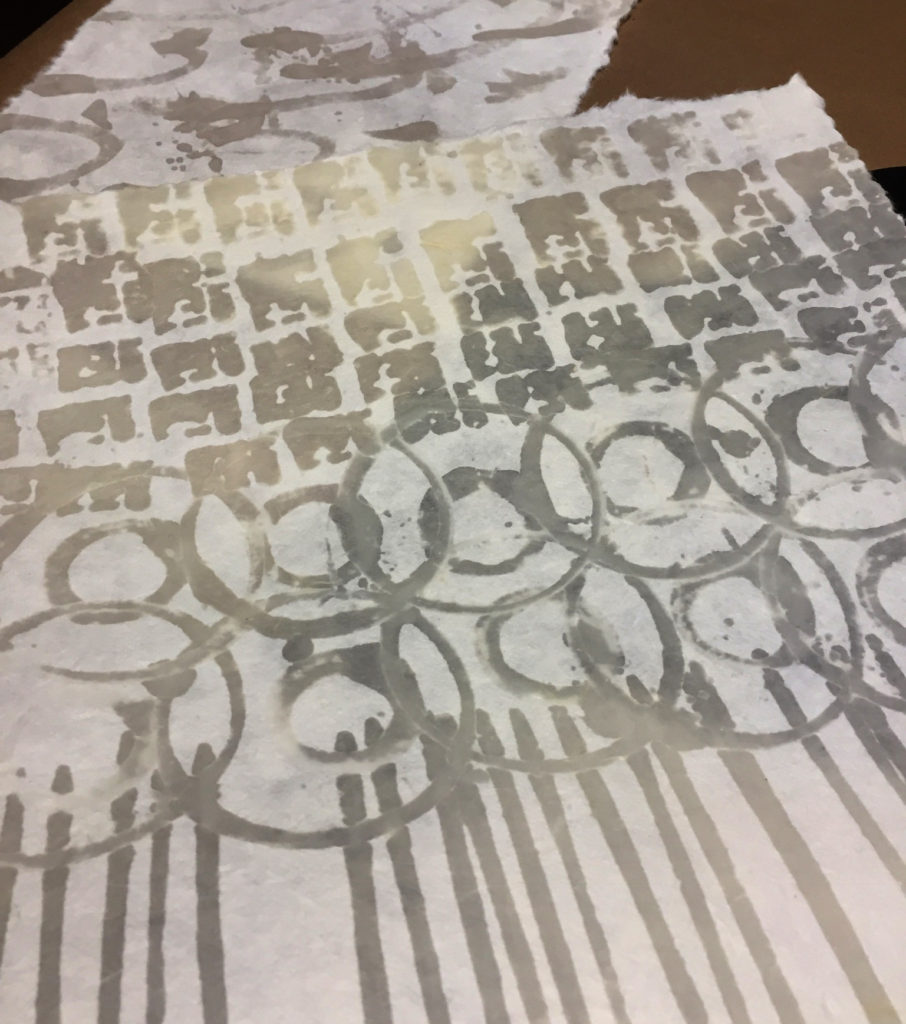
I used a heavily-textured white mulberry paper, and painted it with natural beeswax. Sometimes I stamped on the wax with random found objects. Here’s what it looks like before the dye.
And here’s what it looks like after the indigo dye bath process.
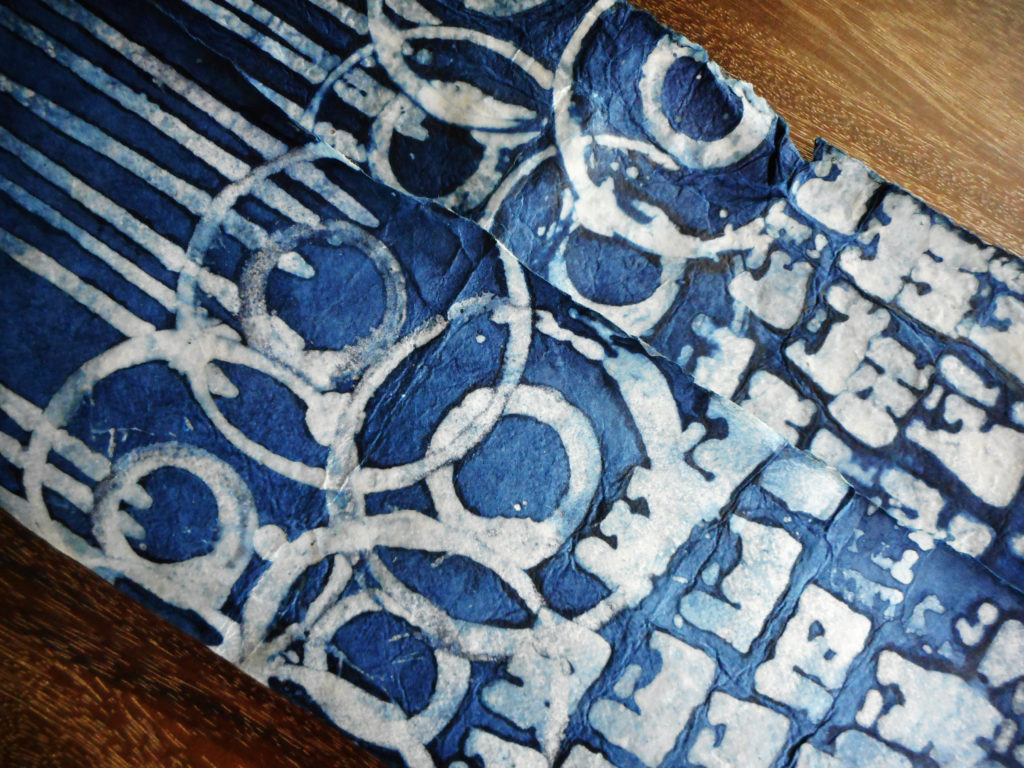
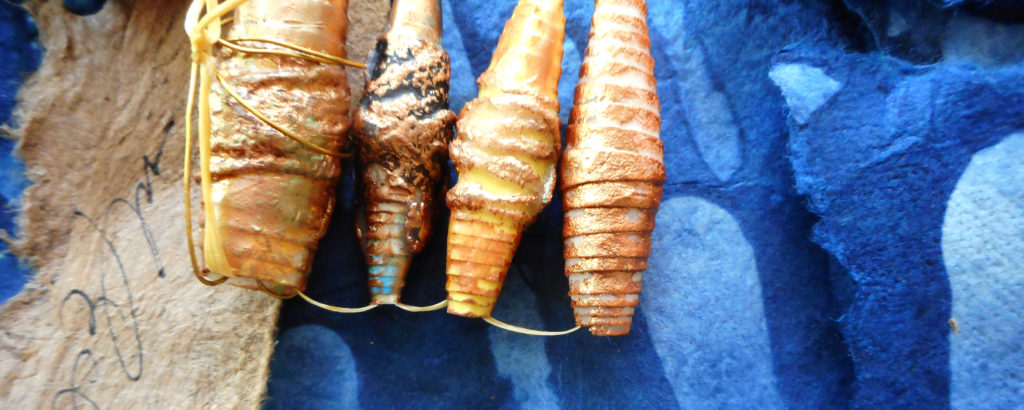
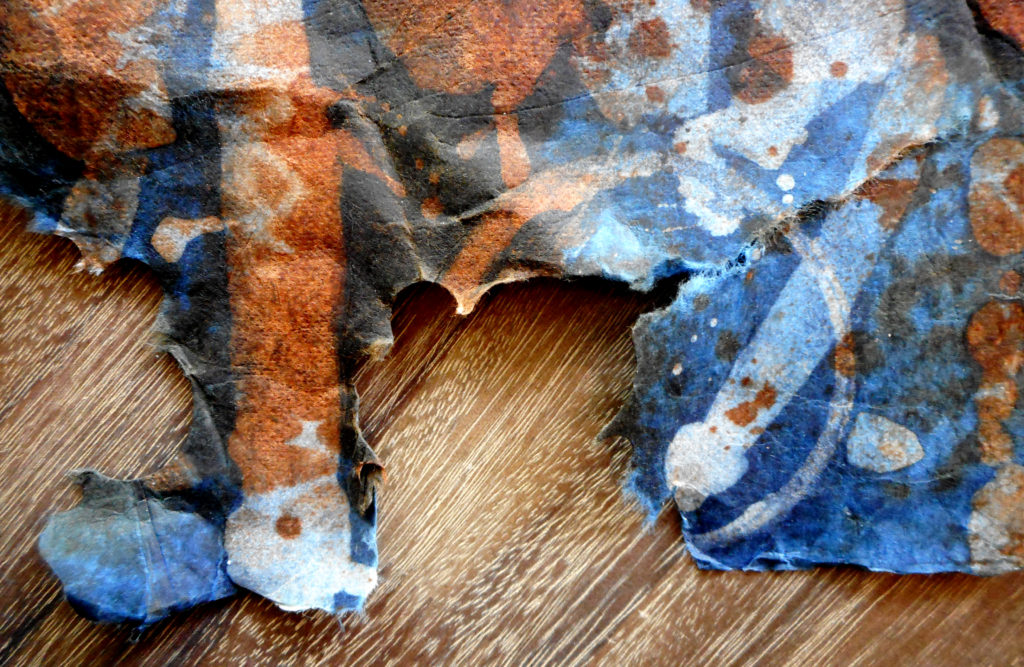
The varied blues are wonderful, and the wax gives the paper a very different feel. Here are some other samples, some with terra cotta walnut ink added.

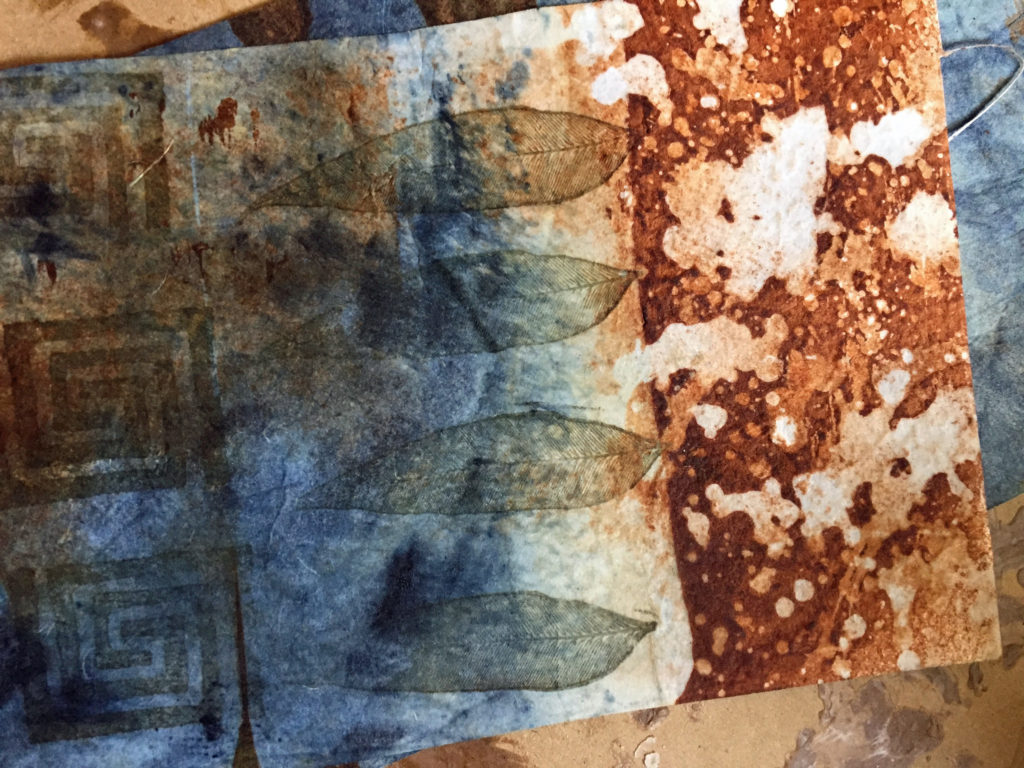
One of the neat things about working with mulberry paper rather than fabric is that you can control how the paper “frays.” If you run a stream of water on the edges, the fibers fall apart, giving a wonderfully organic look.
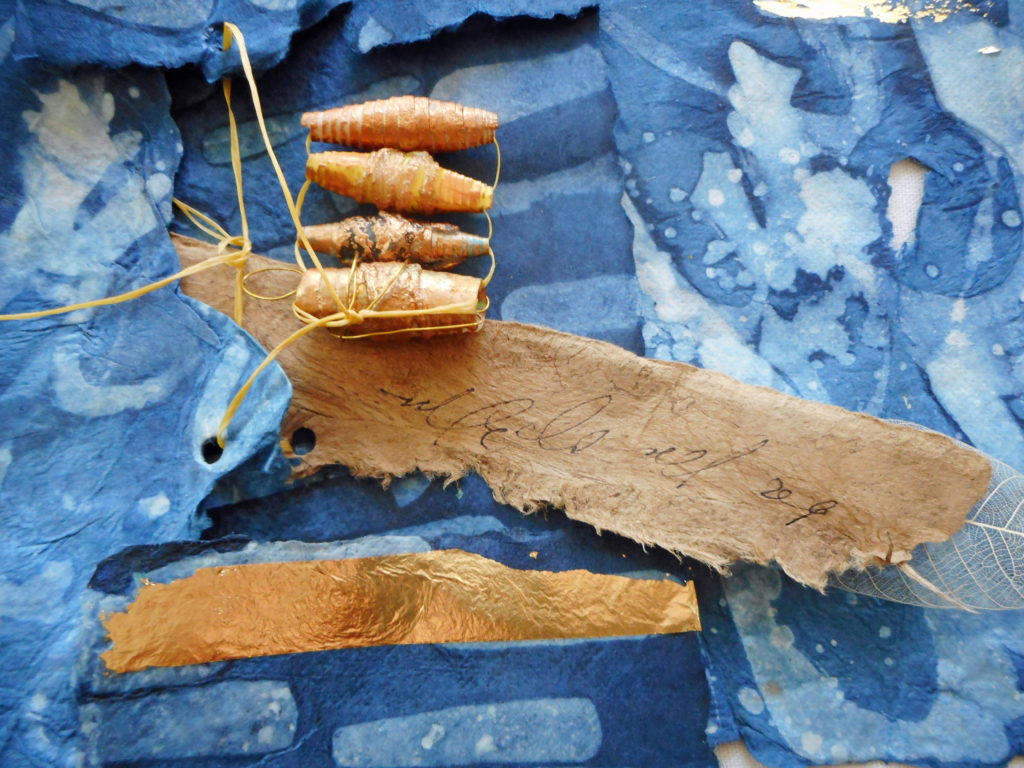
I’ve sketched the kimono forms and have decided to add some of the paper and wax beads that I used in the Talisman Workshop. It will be a great combination – I hope!
Once the pieces are finished, I’ll post them here on SHARDS. In the meantime, this kind of creative play with paper and indigo is such fun! It’s even red, white and blue! Sorta.
Happy 4th, everyone!! Thanks for reading SHARDS.
Oh, my! I love this… and have recently purchased some pure beeswax, currently still sitting in a jar… so I shall definitely be experimenting now! Thanks for the inspiration.
It’s really fun – part of the fun is the unpredictable nature of the wax and dye –
How beautiful! I love the batik style!
I do too – it’s so organic plus the wax smells good!
Love this and all your work, Lyn. Would love an online video workshop on this process. Always on the lookout for unique ways to utilize different decorative papers. Very cool!
Great idea, dawn. I’ll see how the
Pieces come out and then make an outline for a workshop – thanks!
Totally wonderful.
Wow, thanks, barb!
Lynn,
All of this is so lovely! The indigo is so beautiful and my brain is already thinking of how to use it.
I’m ready for a workshop or video workshop on how to do this. Really miss your workshops this summer!
I miss YOU! This would be a good workshop because we are working fairly small …
Oh, Lyn, how wonderful! I love “watching” the turning wheels of your magical mind as you devise new and beautiful ways to combine different processes and materials. You are truly Mistress of Mixed Media!
Ok, I’m going to get a tshirt with Mistress if Mixed Media on it – – thanks for the great message!
Thank you so much for sharing this!
Give it a try, laurel – it would go great in your work –
Lyn, Gorgeous indigo papers! Can’t wait to see the finished artwork. Thanks for sharing and have a fantastic July 4th!
Thanks, Linda!!! ⭐️⭐️⭐️⭐️
A M A Z I N G !!!!!!!!!!!!!!!!!!!!!!!!!!!!!!!!!!!!!!!!!!!!!!!!!!!!!!!!!!!!
Oooooo!!!! My very favorite so far! Ebook please!!!!!!!!
My superior favorite so far. Hopefully it will become an E book!!
Love this! Did you iron off the wax after applying indigo and walnut ink? I’ve done watercolor batik (watercolors and wax on ginwashi paper) for years and that is the last step of the painting process for me. Ironing off the wax changes the whole feel of the paper. Can’t wait to see where you take this!!
Your pieces are just beautiful! Thanks for sharing.
Pingback: Indigo paper kimonos: a tribute to Boro | SHARDS: fragments and reflections
This looks lovely! Thanks!