Cats and Possibilities

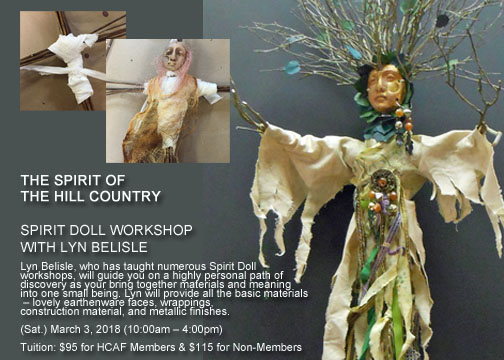
When times are turbulent, I keep telling myself, “Trust the Process.” This doesn’t mean doing nothing and just watching it all happen, but rather doing what we do best – creating with compassion and imagination in the certainly that adding beauty to the world fuels thoughtfulness and optimism.

Seeing what others are doing in this turbulent time brings me that sense of optimism – particularly when their art stems from our Teachable workshop community. And particularly when the subject is cats!

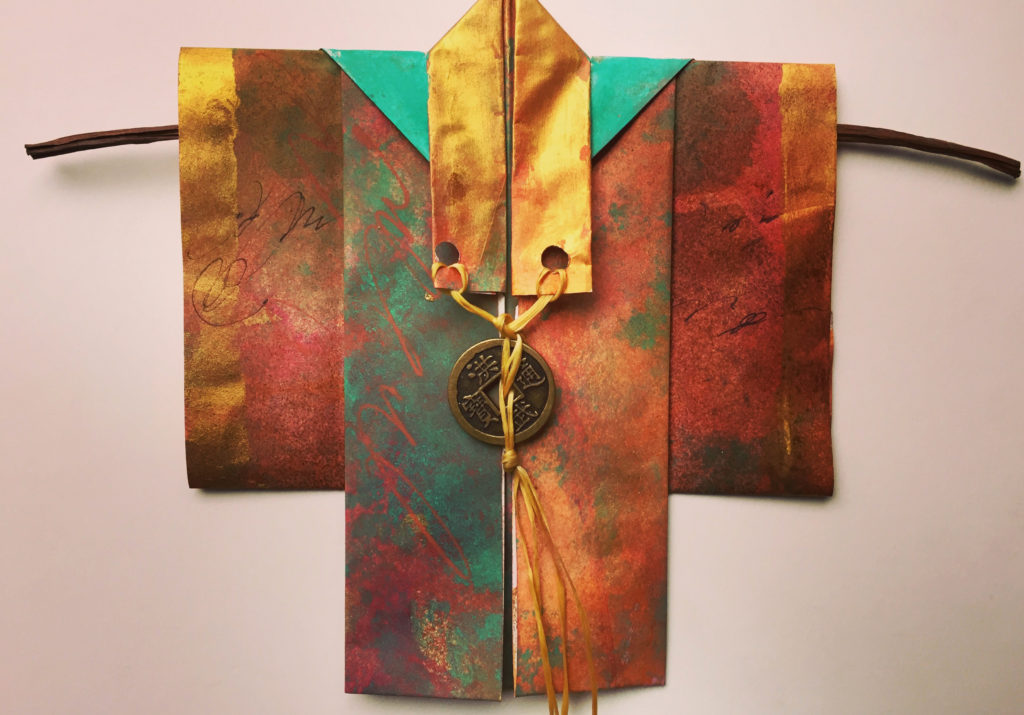
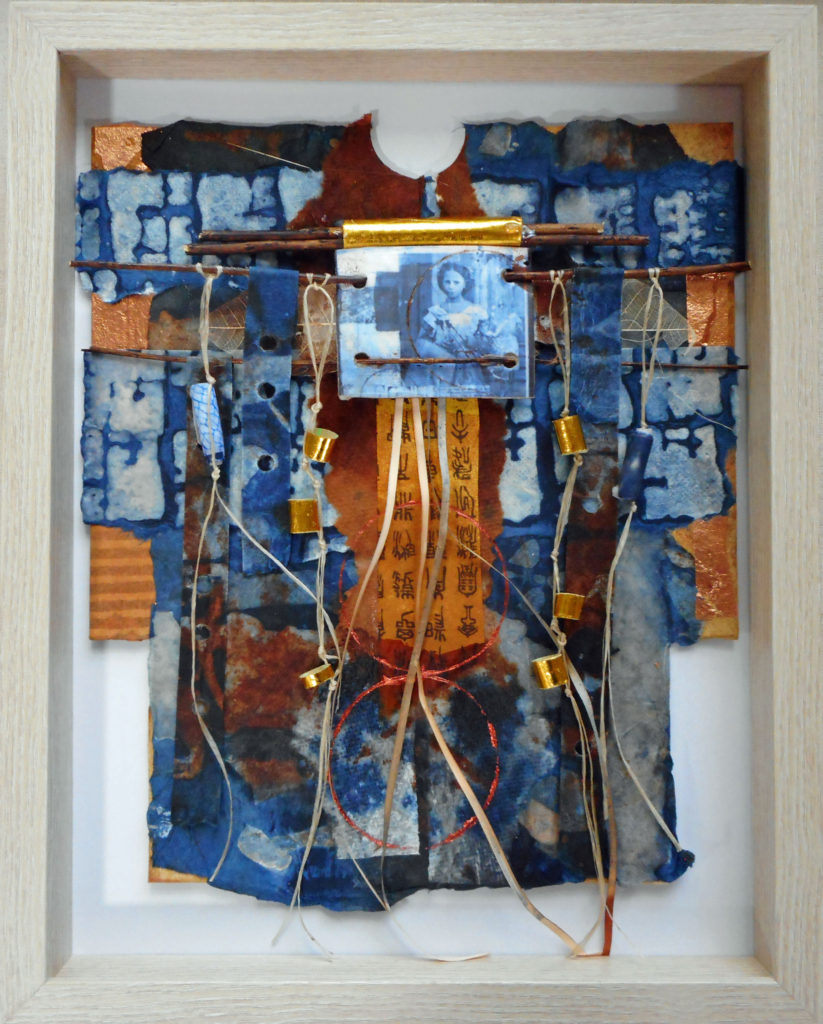
Willma Sliger’s Cat Shaman pieces are a perfect example of taking a basic idea (from my Cat Shaman online workshop) and just flying with it.

Wilma writes, As promised here are the Cat Shamans I have joyfully created. . . .Some have very old ticking . An evil eye brought back from Turkey by a friend. A replica of a coin given to men in old time saloons/bawdy houses. And lots more.
You are my antidote for covid. Seriously. Stay safe and well.
Love, Wilma the Desert Dweller

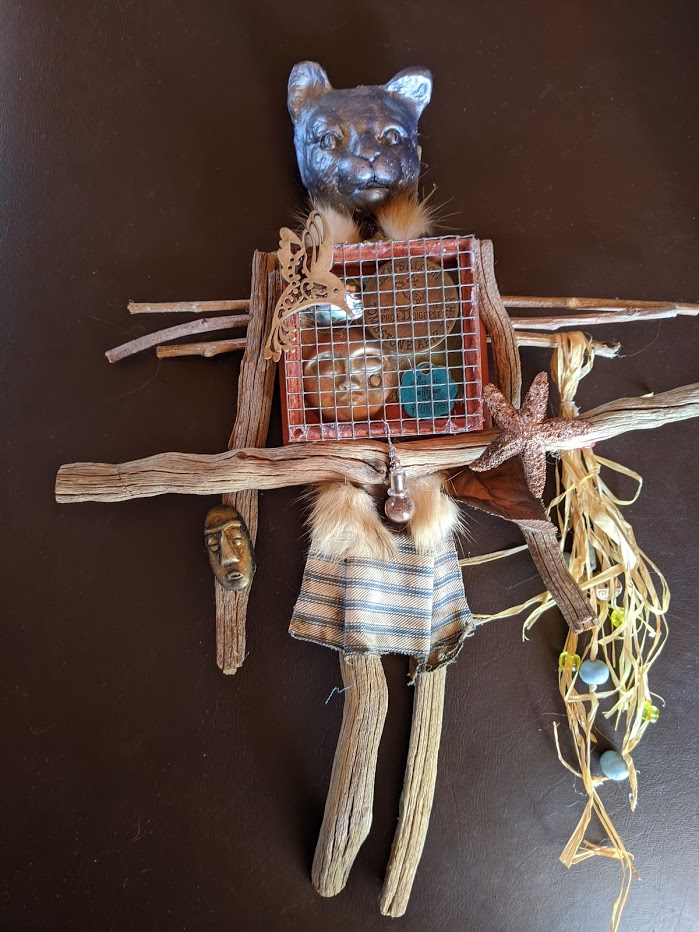
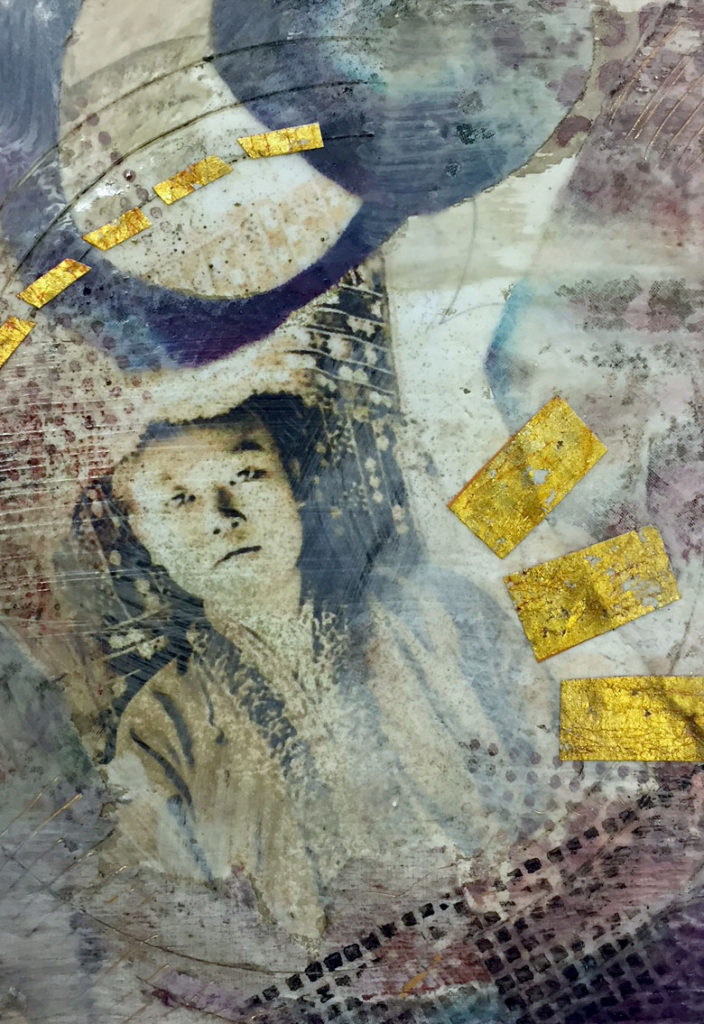
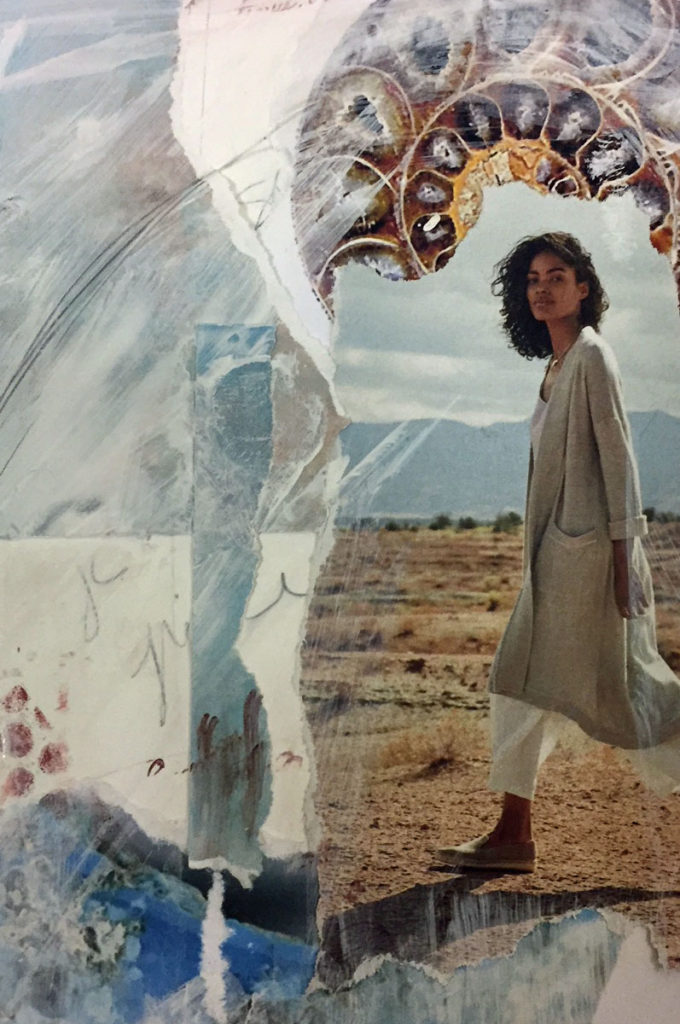
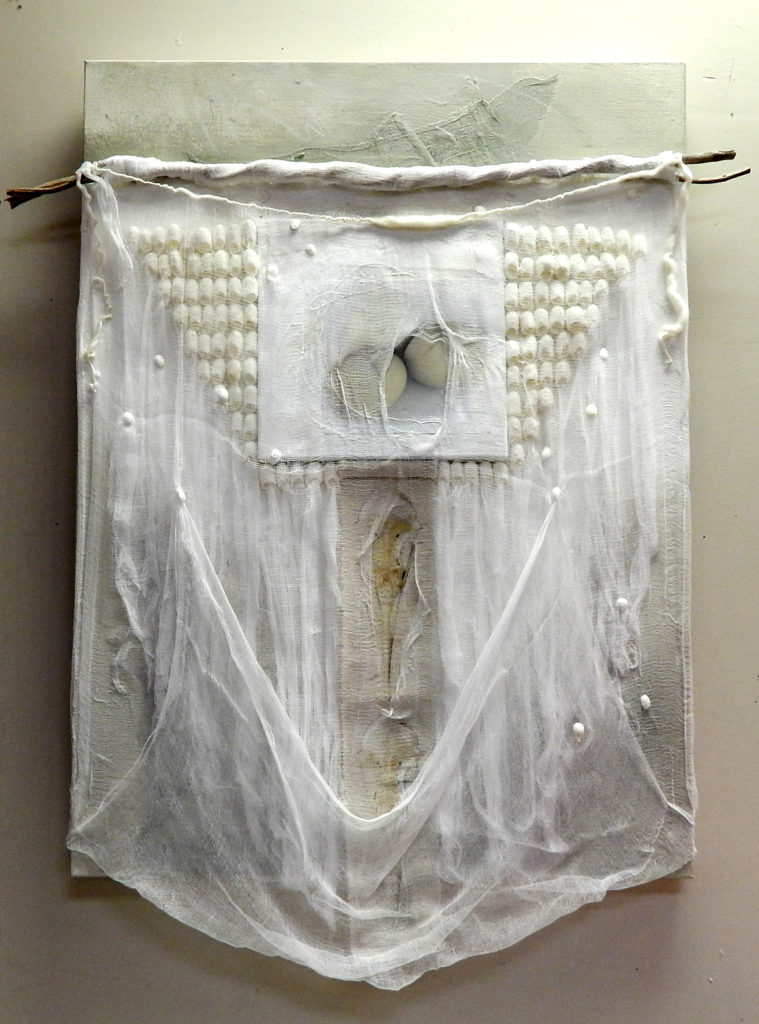
Wilma lives in Moab, Utah where she creates fabric & mixed media collages, incorporating photos and found objects with fabric to produce unique wall hangings. I told her I was stealing her idea of using a mesh screen on the Heart Box of her Shaman – it’s symbolic and mysterious.

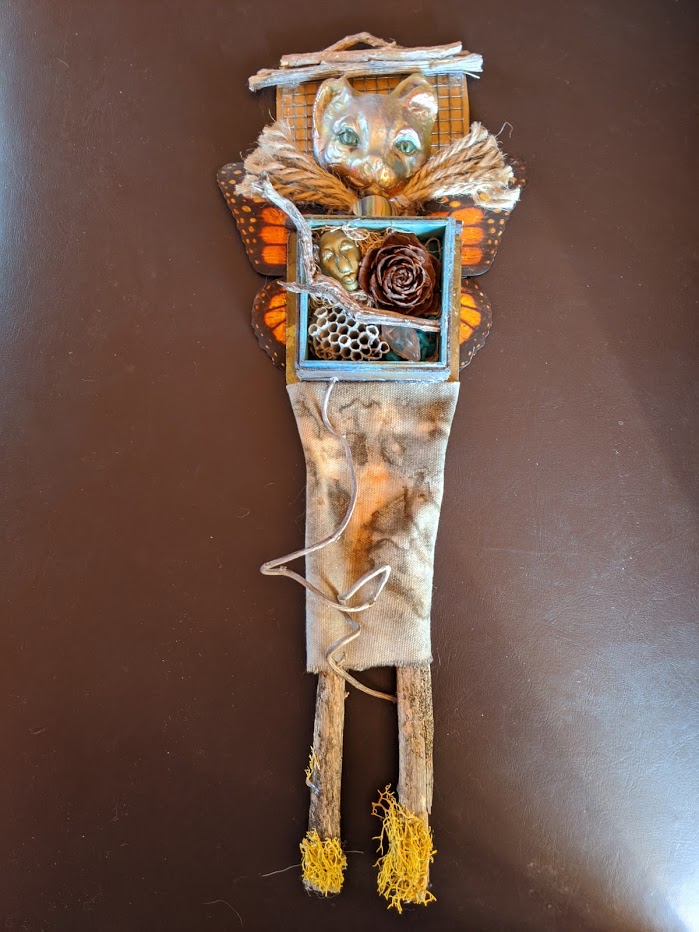
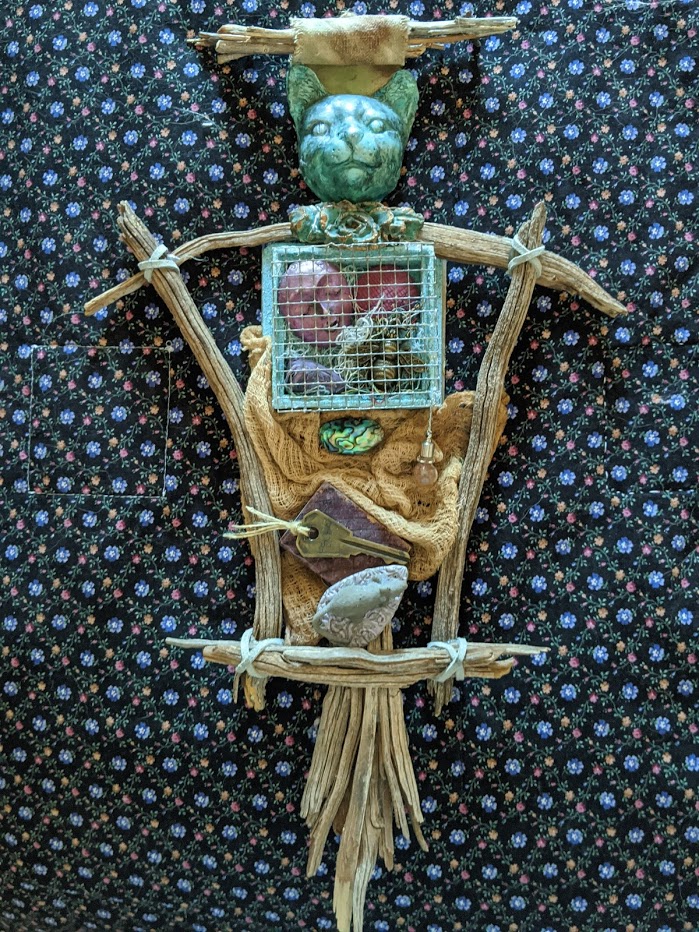
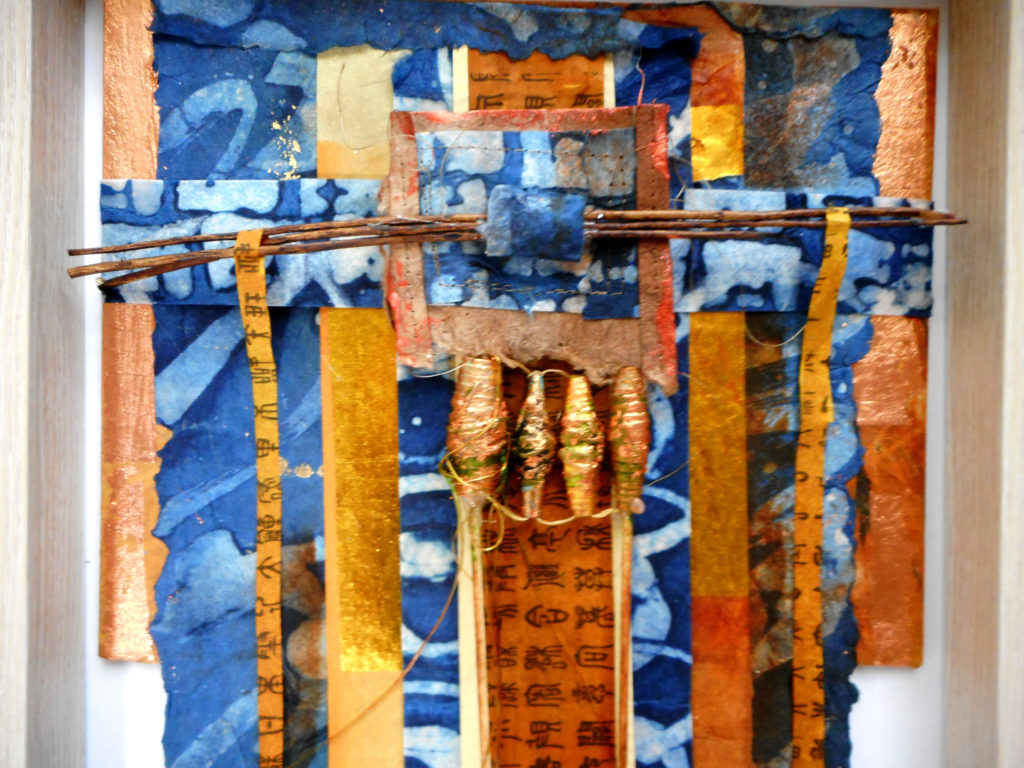
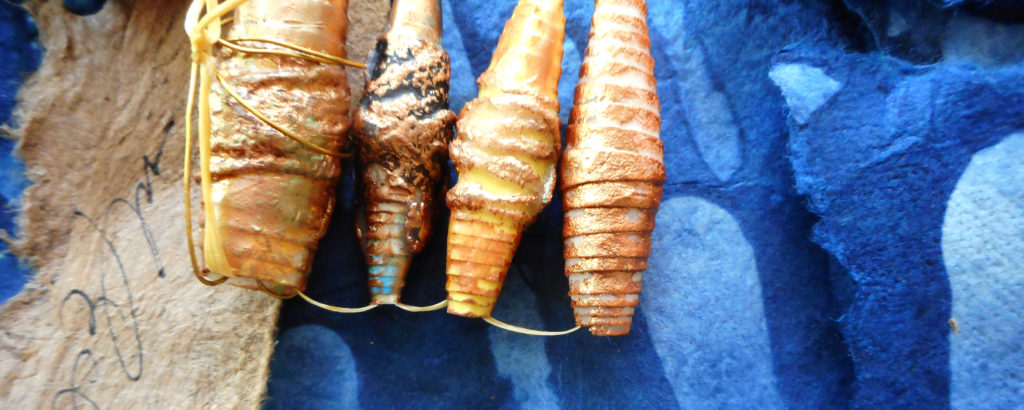
Here is another one of those great Heart Boxes filled with charms and found objects. I like the tied desert wood pieces as well.

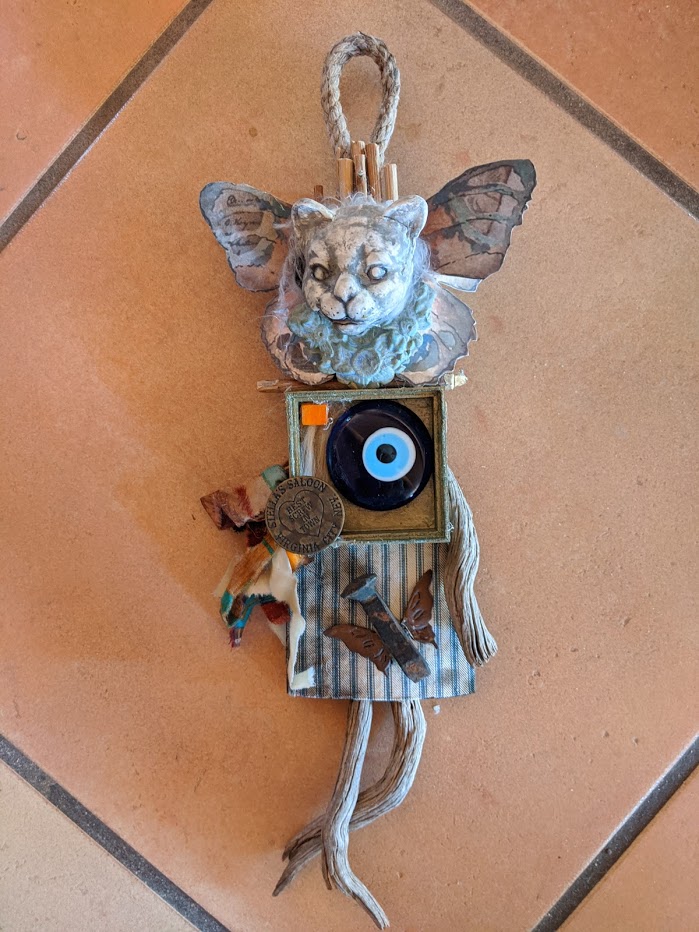
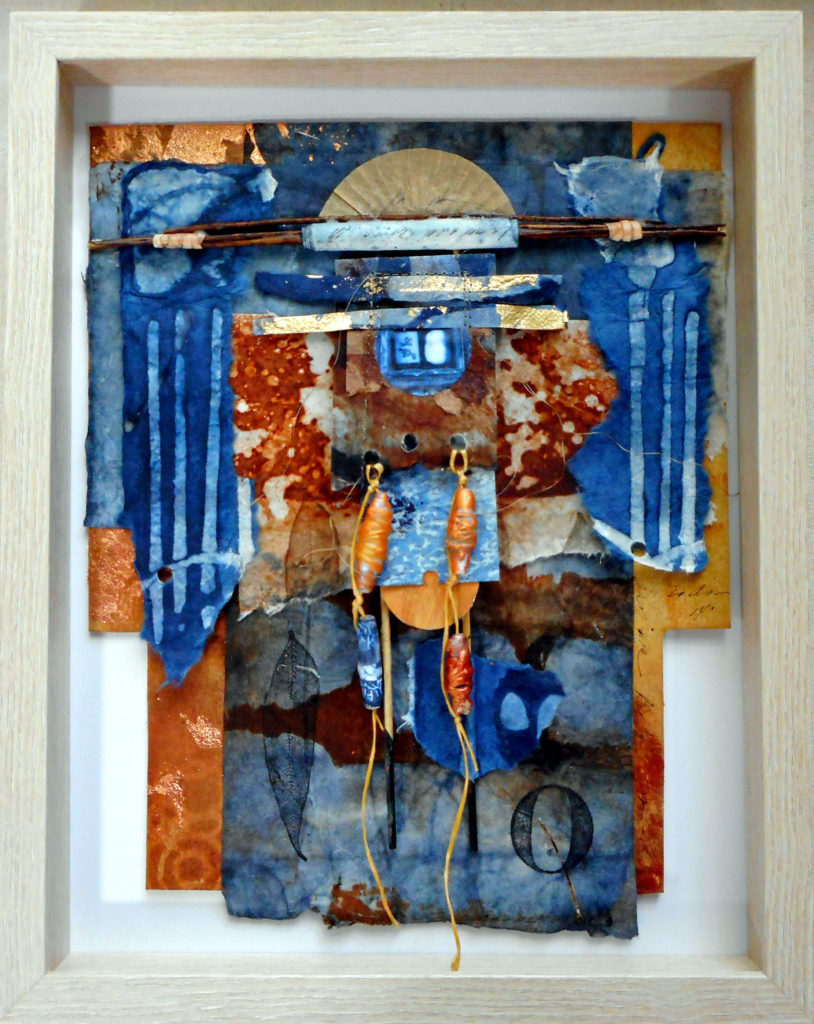
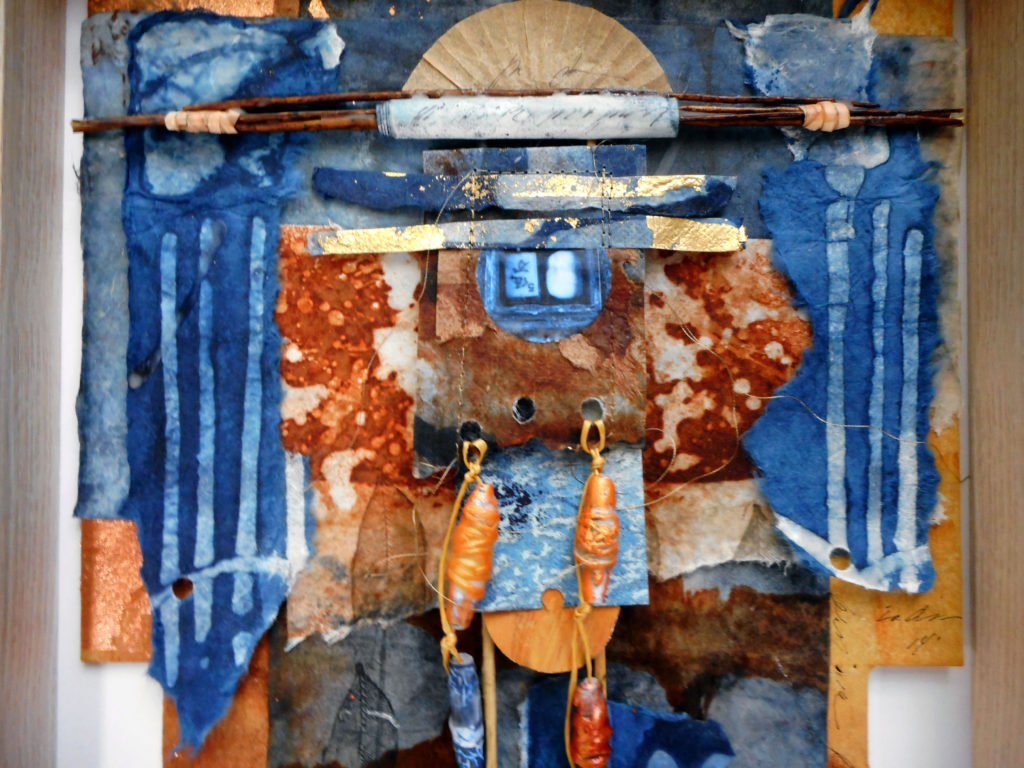
This Evil Eye fellow may be my favorite, all twisty and dance-y, with the lion-like head and butterfly wings.

I am so grateful to Wilma for sending these pictures – her work is artfully folk-like but complex, with a real sense of purpose in every assemblage.

So what do YOU do when you know you should be creating something for the good of you heart and soul, but you can’t get started because you don’t have an idea??

That’s an easy one – just get started, Grasshopper, and the Idea will come. Here’s an example.

Two days ago, I desperately needed to make some art so I could (at least briefly) focus on the creative rather than the political. Nothing inspiring struck. That’s rare. But I know if I did SOMETHING, I’d feel better, more optimistic.

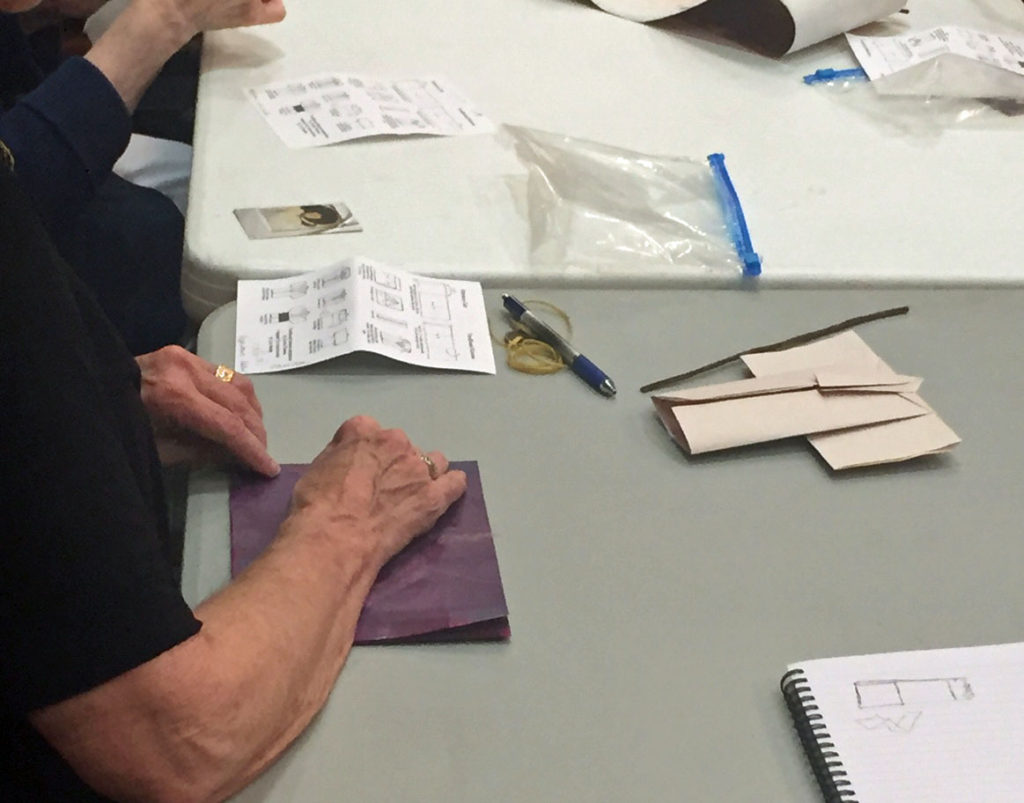
So . . . I found a block of wood, and marked some holes. Two holes seemed like a good number. Maybe.

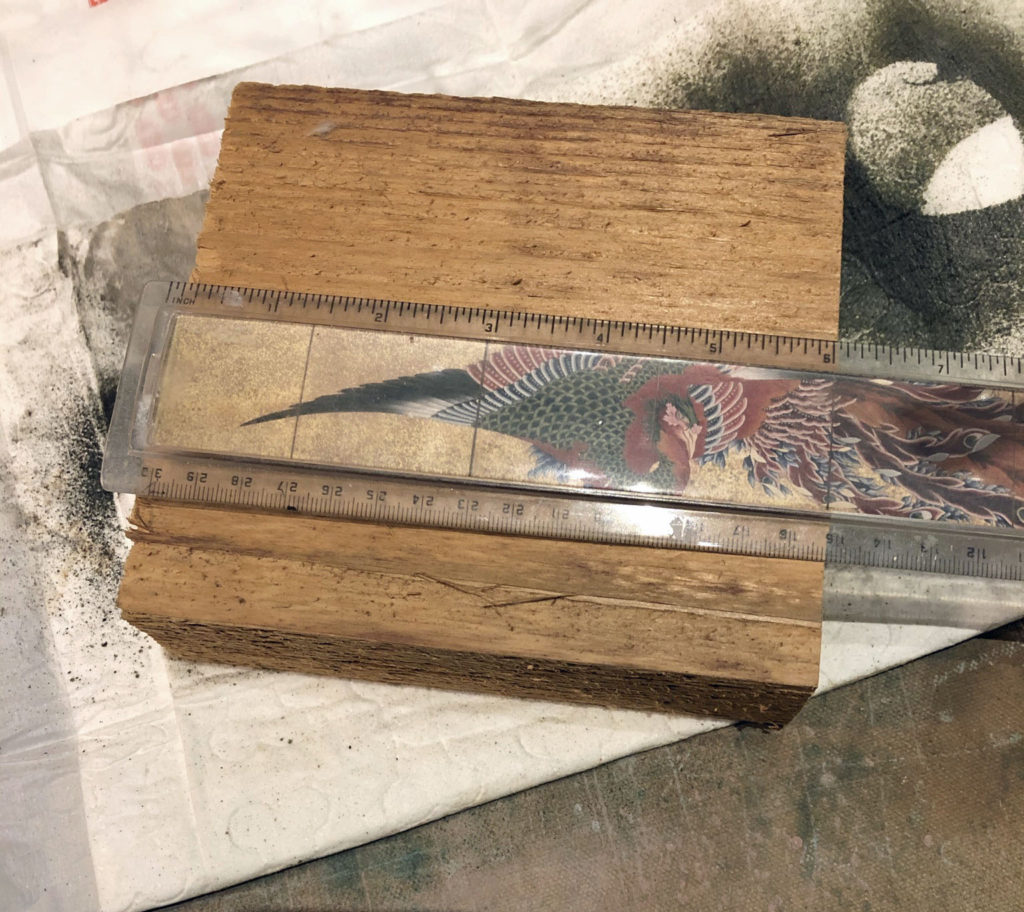
I got out my trusty cordless drill (every artist should have one of these) and drilled two holes.
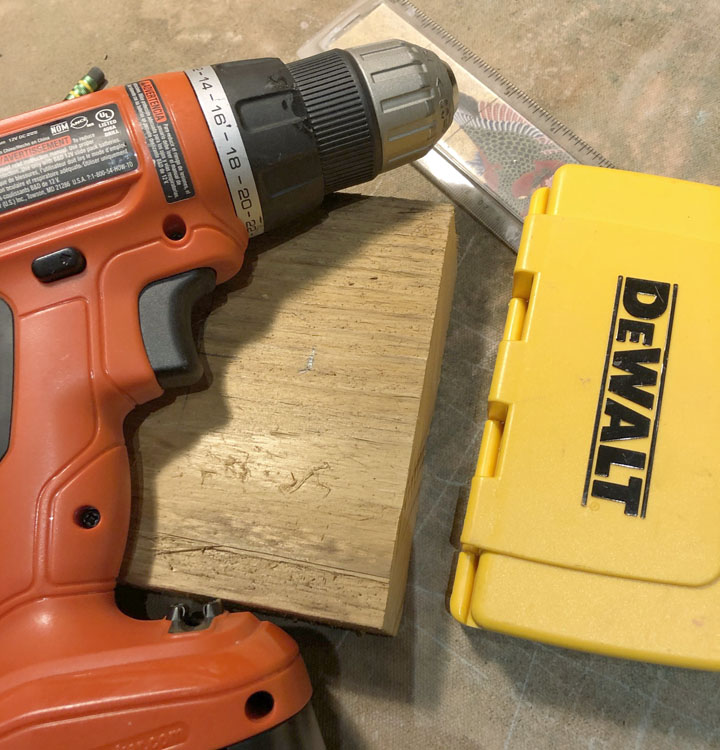
Then I cut some super-strong but slender bamboo sticks to about 18″ tall and stuck them in the holes.

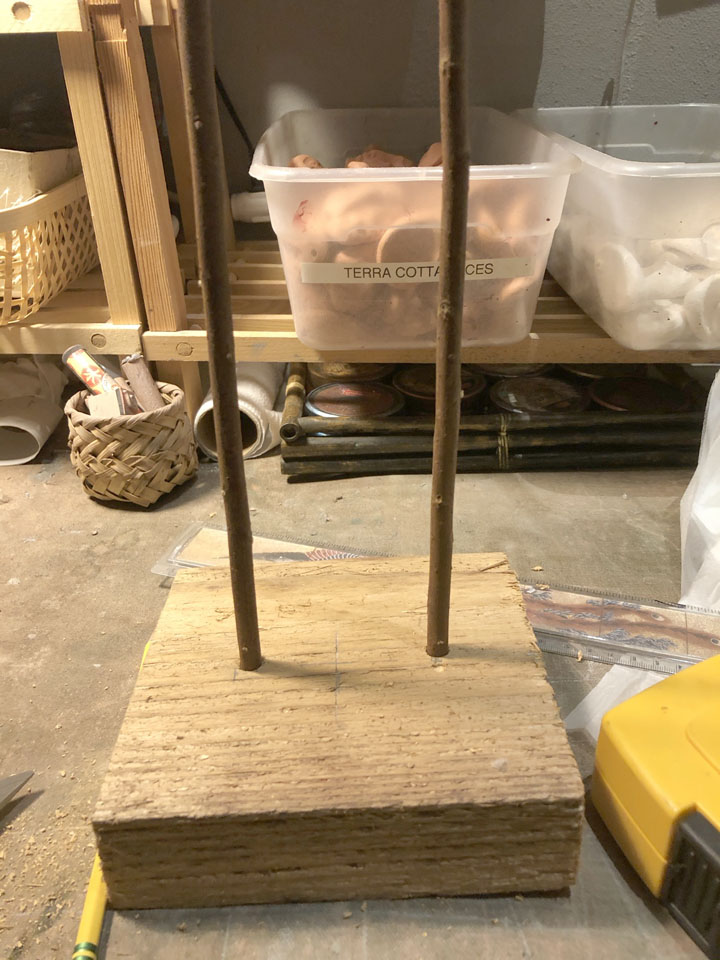
Voila! It ain’t much yet, but it will be SOMETHING! Who knows what?? When I posted it to Instagram, my friends suggested it could be a two-legged table or a REALLY tall spirit doll.

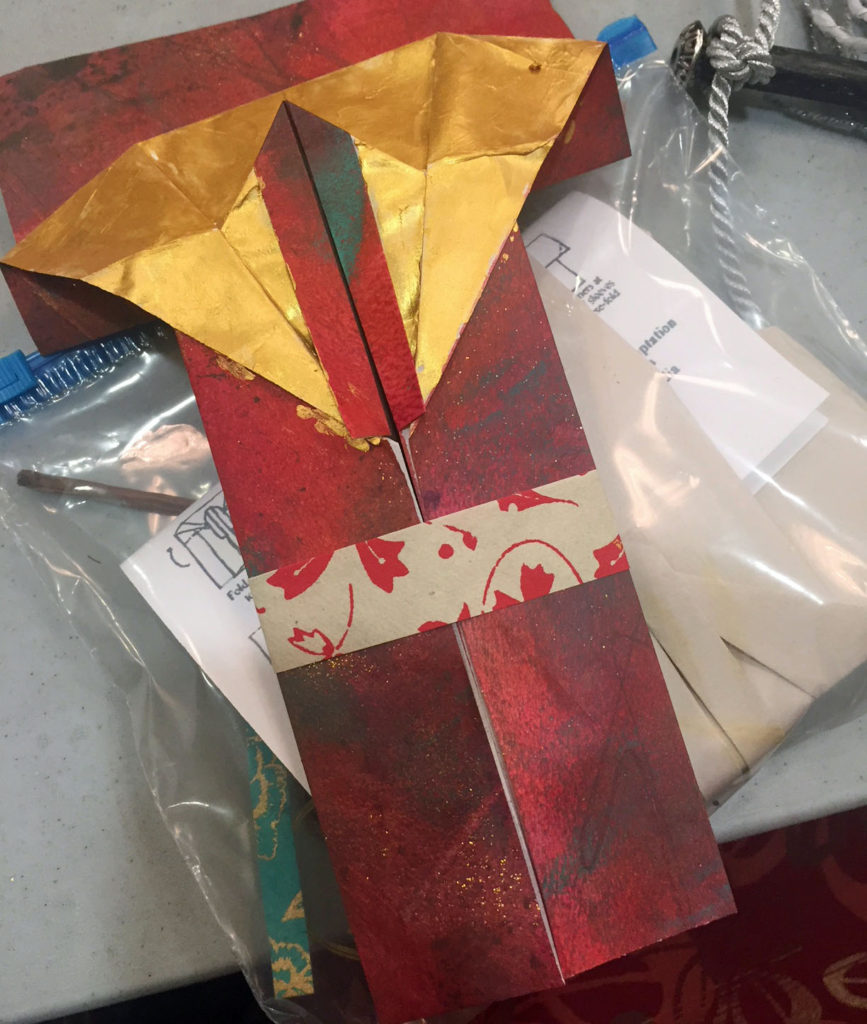
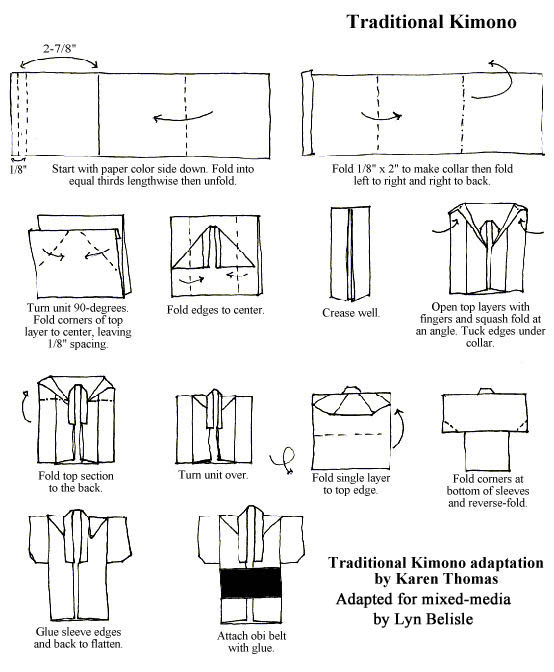
I’m thinking it might be a sculpture with a body that’s shaped like a kimono with beeswax-coated pages that open and close. Maybe so, maybe not . . .but the whole process got me thinking in a new creative direction –

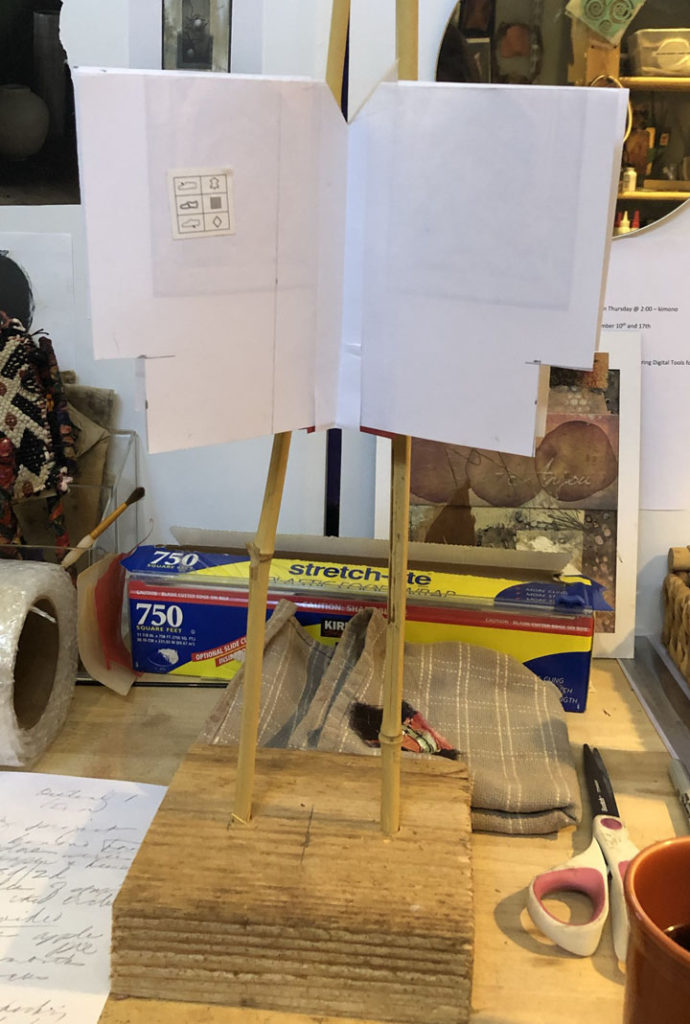
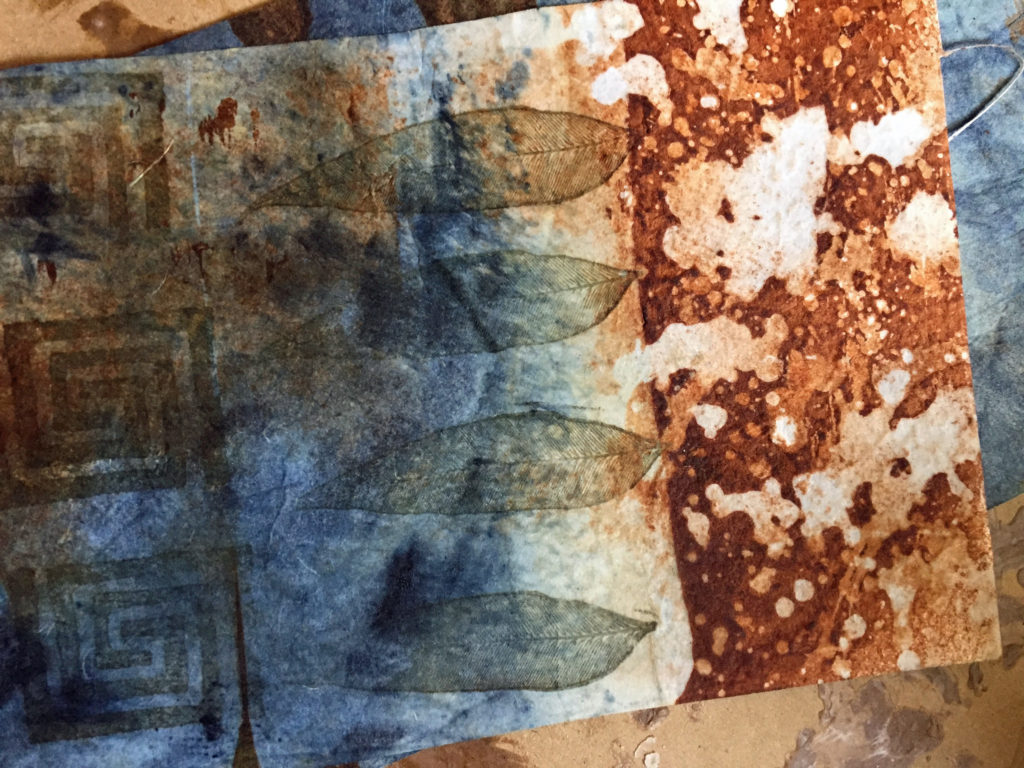
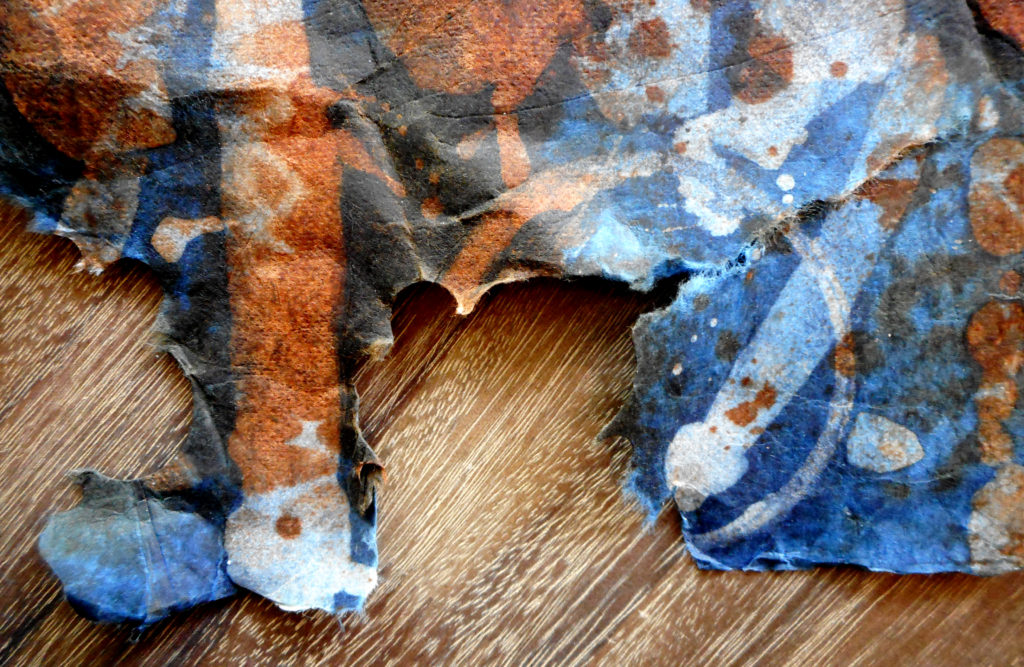
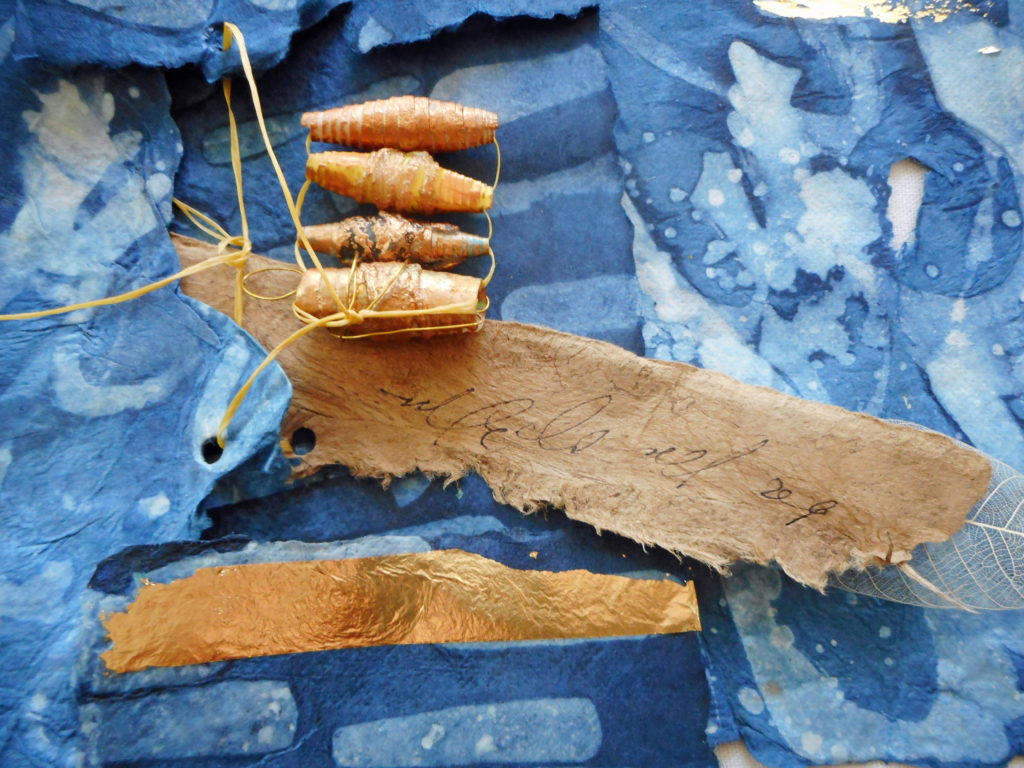
So the point is, you can’t “Trust the Process” if there isn’t a process to trust yet. Start something. Wrap some string around a stick. Pour the last of your morning coffee on a piece of watercolor paper. Unravel a worn-out sweater.

In the background, I can hear Wilma’s Cat Shamans saying, “The journey of a thousand miles begins with the first step, Grasshopper.” Pounce. Munch.


Road trip – and the fantastic Dallas fiber artists

(Our regularly scheduled post will begin after this commercial message)

Come to the Texas Hill Country Saturday morning and learn to make a spirit doll with native materials and good intentions! There are three spots left! Click here!

(OK, now back to our regularly scheduled post.)

I’ve spent almost a week in Big D and lived to tell the tale! Last fall,  I was invited to do a presentation for DAFA, the Dallas Area Fiber Artists, and to teach workshops on mixed media to their group.

They decided that they want to learn more about Composition and Collage, so that’s what we did on Saturday. I taught two three-hour workshops, and it was really fun. Each participant was a skilled fiber artist and the way they arranged and embellished their images was fascinating.

Here are some examples:

Nice, right?

On Monday evening for the DAFA monthly meeting, I did a mini-workshop before the presentation. It was called “The Enduring Kimono” and I taught them how to fold small kimonos from paper just to learn how the folds work. These are similar to the large kimonos that I made in the 90’s, only a lot smaller!

If you’d like to give it a try, here are the directions that I gave to the DAFA members to follow along with as we learned to fold the kimono model.

Finally, I did a presentation for the DAFA members called “Shards and Mirrors: Life is just one big mixed media collage.” and I talked about how we can find a small shard of inspiration anywhere, and mirror it through our own creative intuitition into a new work of art.

Eggshells, for example, inspired my fiber art piece, below with the idea of eggs and cocoons. I used silk cocoons on the piece as symbolic elements.

It was a great trip – many thanks to everyone who welcomed me and learned with me. This is an extraordinary group of artists. To learn more about the Dallas Area Fiber Artists, visit their website, here.


Indigo paper kimonos: a tribute to Boro

A Vintage indigo-dyed Boro fabric kimono from 20th Century Japan, lovingly patched and preserved

I’ve just finished the three pieces that were inspired by the indigo dyed mulberry paper described in my last post. I had wanted to return to a kimono-like construction, and about halfway through the process of piecing the papers together, I realized that this was much like constructing a vintage indigo Boro kimono.

Boro is a Japanese word meaning “tattered rags” and it’s the term frequently used to describe lovingly patched and repaired cotton bedding and clothing, used much longer than the normal expected life cycle. The beauty of boro fabric is the highly sophisticated sewing and weaving techniques used by the women who made and mended it. The beautiful arrangement of patches and mending stitches was born of necessity and happenstance, and was not planned by the maker.

Boro fabric reminiscent of American patchwork quilting

Here’s the first of my three indigo-dyed mulberry paper “Boro” kimonos, below. Each scrap of hand-dyed paper, each beeswax-coated paper bead, played an integral part in the composition.

You can see some of the construction details in this close-up. There are sticks woven through dyed and waxed images and paper beads hanging down from waxed linen string.

The second kimono, below, is a bit more formal in composition, but is still constructed from tattered and torn indigo-dyed mulberry paper. I also used a bit of Korean print rice paper which I sprayed with walnut ink in order to give some color  contrast – very Boro-like.

In the detail, below, you can see how four of the waxed and gilded paper beads have been double-laced together and then tied into the focal ornament.

All of the pieces are displayed in 11×14″ shadow boxes. I took the glass off to photograph the works, but at the exhibit, they will be covered with glass to protect the collage elements. Everything is adhered, but there is still some movement of string and beads behind the glass when the work is tilted, which is fun

In this last detail, you can see a bit of the rust effect that terra cotta walnut ink made on waxed white mulberry paper. I love that!

In fact, I love each of these three pieces because they reflect the philosophy of Boro, which means “too good to waste.” If you are a collagist, you know what I mean. We hang on to the tiniest of paper scraps, knowing that they will find a place –  eventually –  that is just right.

If you’d like to know more about Boro, here is a very user-friendly article from the FurugiStar blog. There are some lovely pictures, as well, and an intriguing description of a bodoko, or “life cloth.”

I am so happy about the connection that my little indigo kimono pieces have to the Boro tradition, and I plan to continue to explore this connection in paper and in fiber. More soon!

Save

Save

Indigo + paper + beeswax = kimono construction

For a while now, I’ve wanted to go back to basics with some of my favorite simple materials:  paper, beeswax, indigo and walnut ink in new ways and combinations.

And I’ve wanted to revisit my beloved kimono format that brought me such joy and success in the past. Here’s one of those pieces, a large-scale origami construction called “Luna,” done in about 2003.

But I didn’t want to revert to exactly the same process. So I am experimenting with natural indigo and mulberry paper which I’ve painted and stamped with pure beeswax, much like the traditional batik technique, but on paper rather than fabric. As far as I know, no one is working quite this way, but I thought it would be a great material to fashion into small kimono constructions.

The new kimonos pieces are not completed yet – I’m still working on them for an exhibit in August (Susie Monday, this is the process I was describing to you) – but I thought I’d share what I’m doing with the indigo paper and beeswax surface design.

This is the indigo dye vat. I chose a rectangular container instead of a round bucket because I wanted to submerge the mulberry paper without crumpling it. (Mixing indigo is a whole ‘nother subject. Jacquard has a pre-reduced indigo that makes it easier.)

I used a heavily-textured white mulberry paper, and painted it with natural beeswax. Sometimes I stamped on the wax with random found objects. Here’s what it looks like before the dye.

And here’s what it looks like after the indigo dye bath process.

The varied blues are wonderful, and the wax gives the paper a very different feel. Here are some other samples, some with terra cotta walnut ink added.

One of the neat things about working with mulberry paper rather than fabric is that you can control how the paper “frays.” If you run a stream of water on the edges, the fibers fall apart, giving a wonderfully organic look.

I’ve sketched the kimono forms and have decided to add some of the paper and wax beads that I used in the Talisman Workshop. It will be a great combination – I hope!

Once the pieces are finished, I’ll post them here on SHARDS. In the meantime, this kind of creative play with paper and indigo is such fun! It’s even red, white and blue! Sorta.

Happy 4th, everyone!! Thanks for reading SHARDS.


Save

Save

Save

Save