Ancient indigo, heroic weeds, and instant rust

But make no mistake: the weeds will win; nature bats last. ~Robert M. Pyle
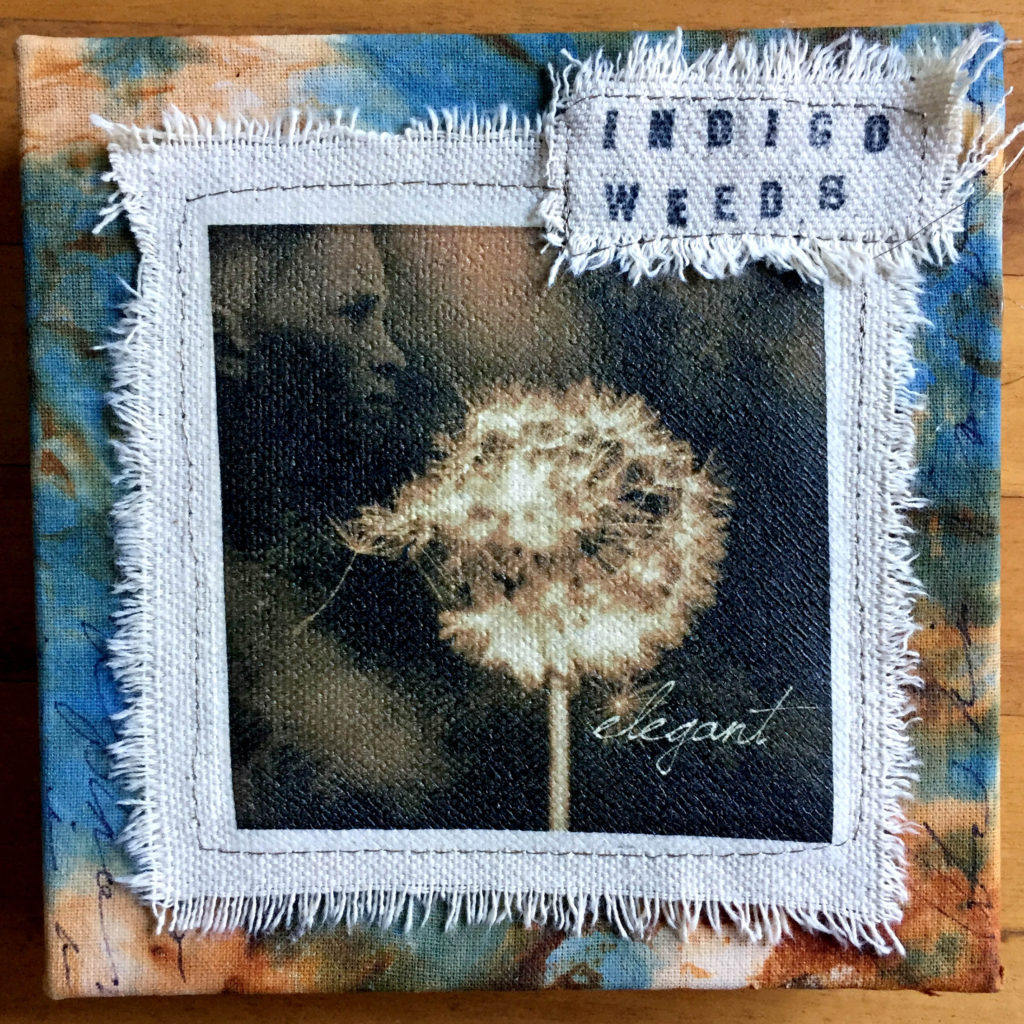
“Indigo Weeds: Elegant”
6×6″
Lyn Belisle 2018

Weeds are my heroes. They are tenacious, enduring, simple, and elegant. “Indigo Weeds” is my new series of small works celebrating these wild, determined plants that are the ultimate survivors.

Here is the series of four finished pieces:
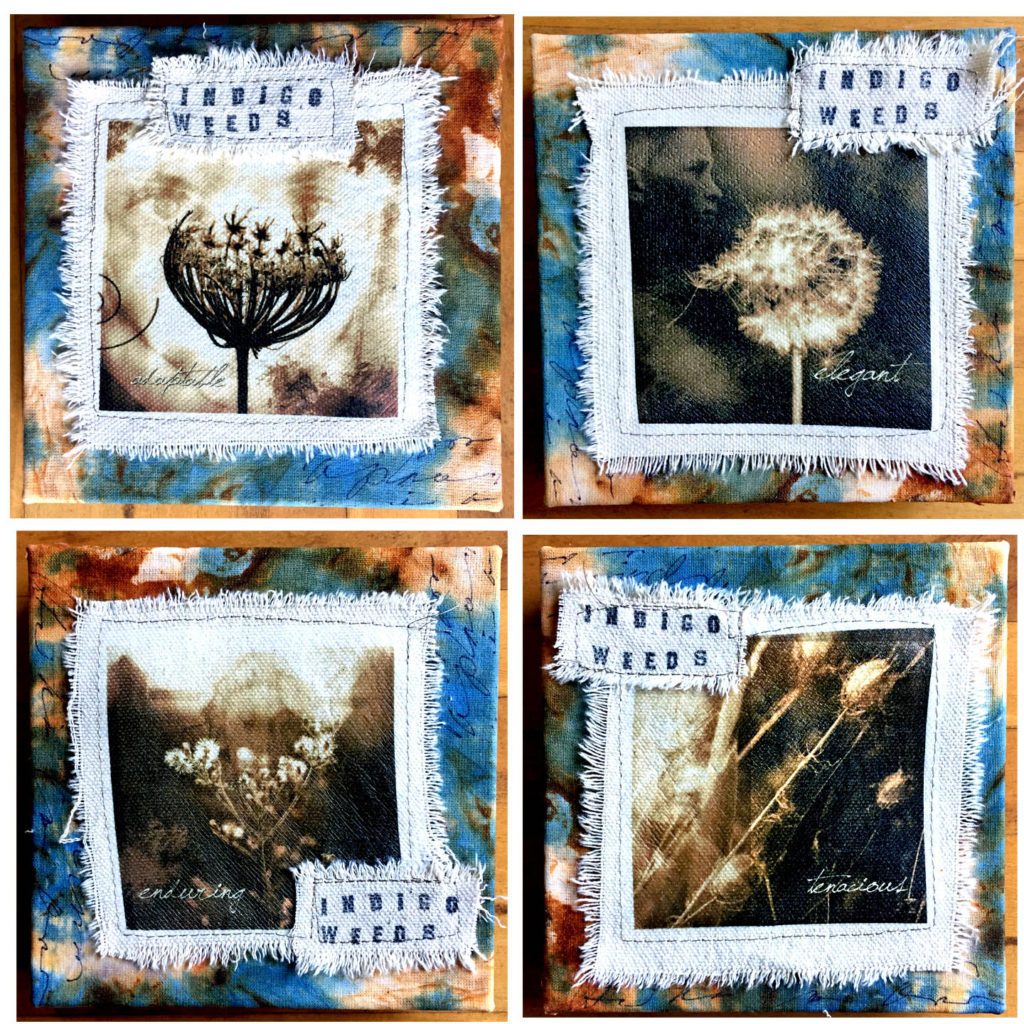
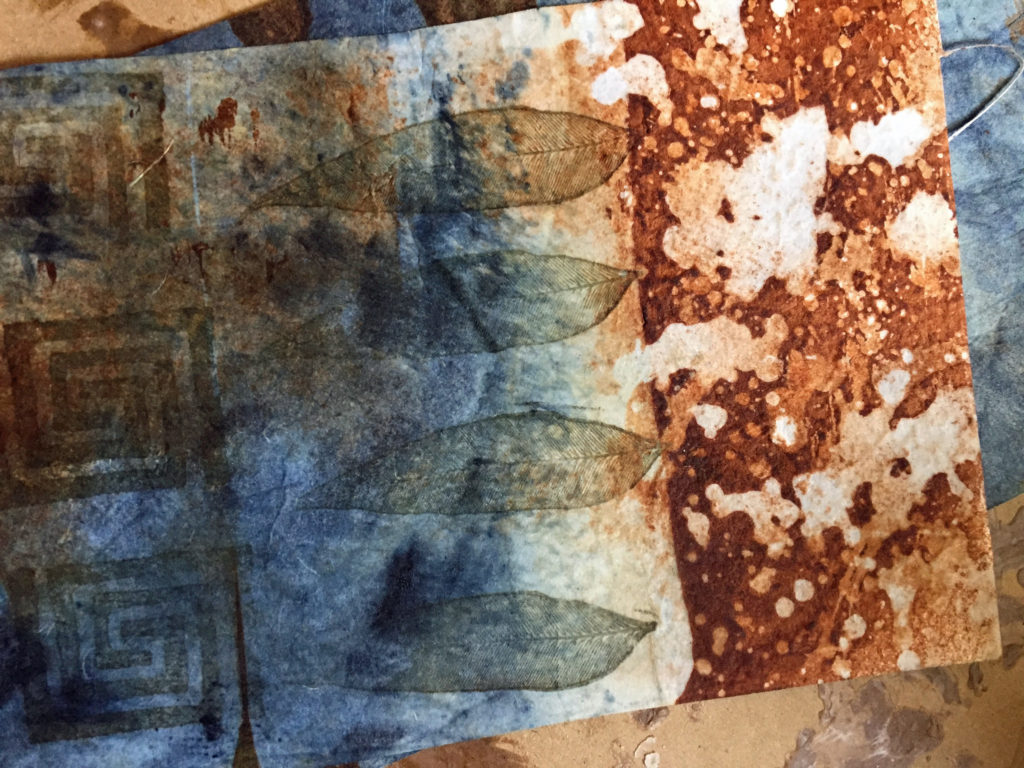
Process: I made enhanced photographs of weeds, then phototransferred them onto sections of torn canvas dropcloth from my studio.They were designed to be stitched into place on a cloth-covered stretched canvas.

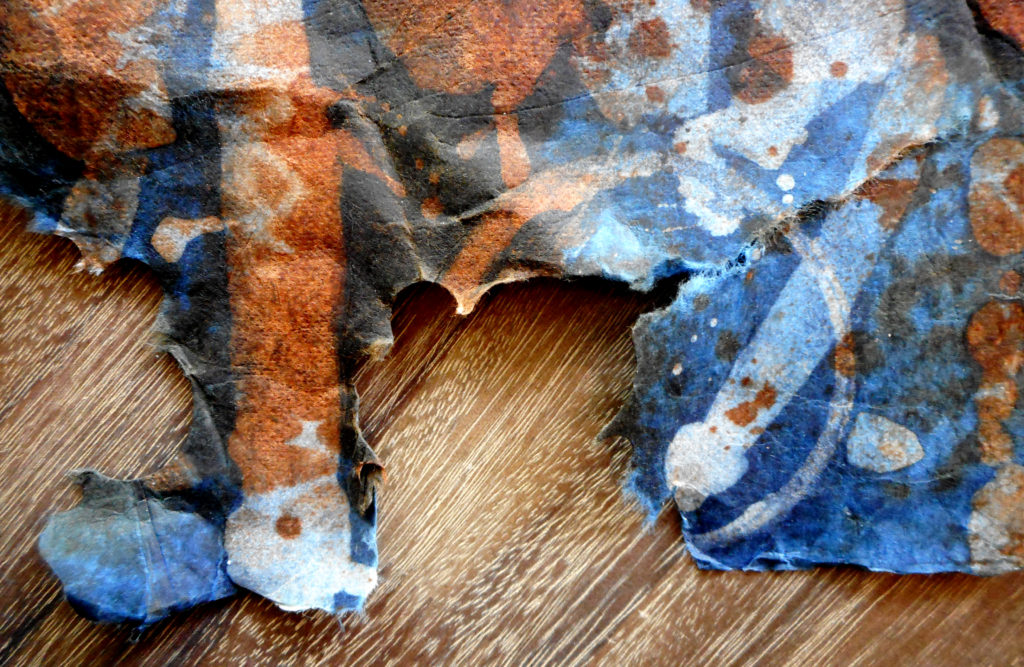
It seemed appropriate to build these little fiber works on canvases covered with fabric that was hand-dyed with indigo (a plant related to beans) and then rusted with common metal objects. I liked the nature-inspired symbolism.
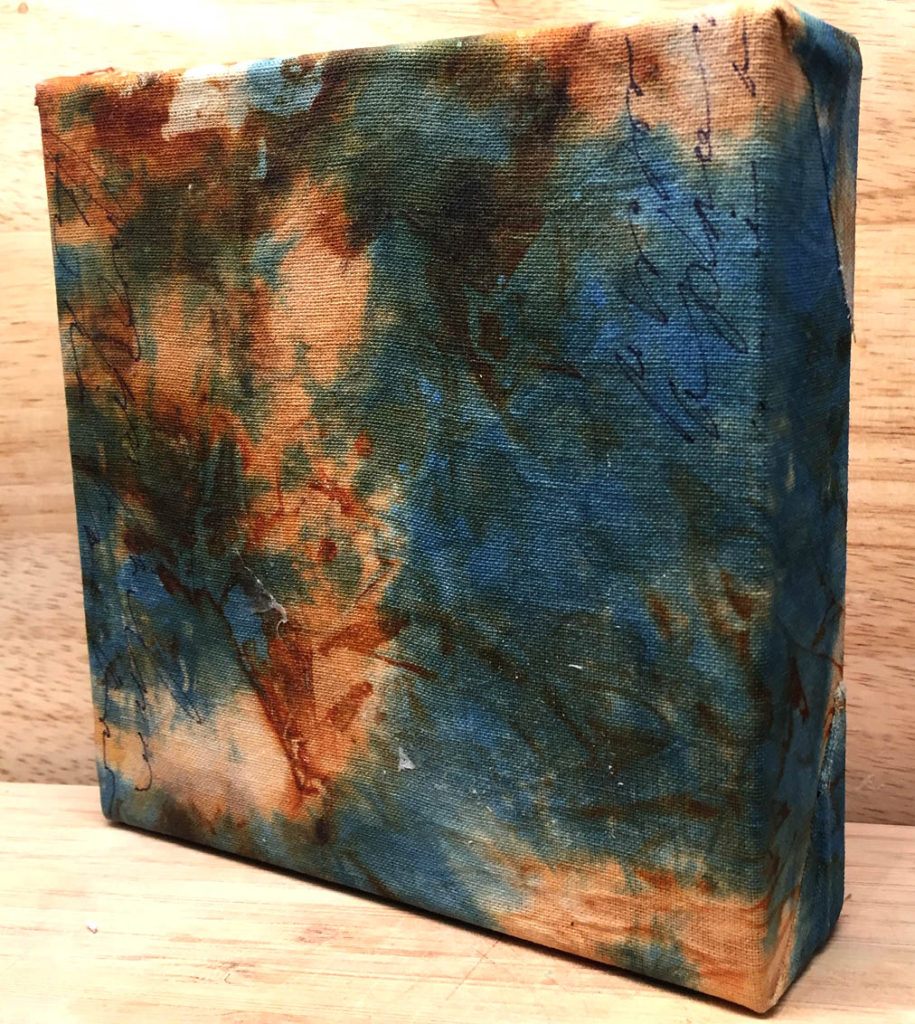
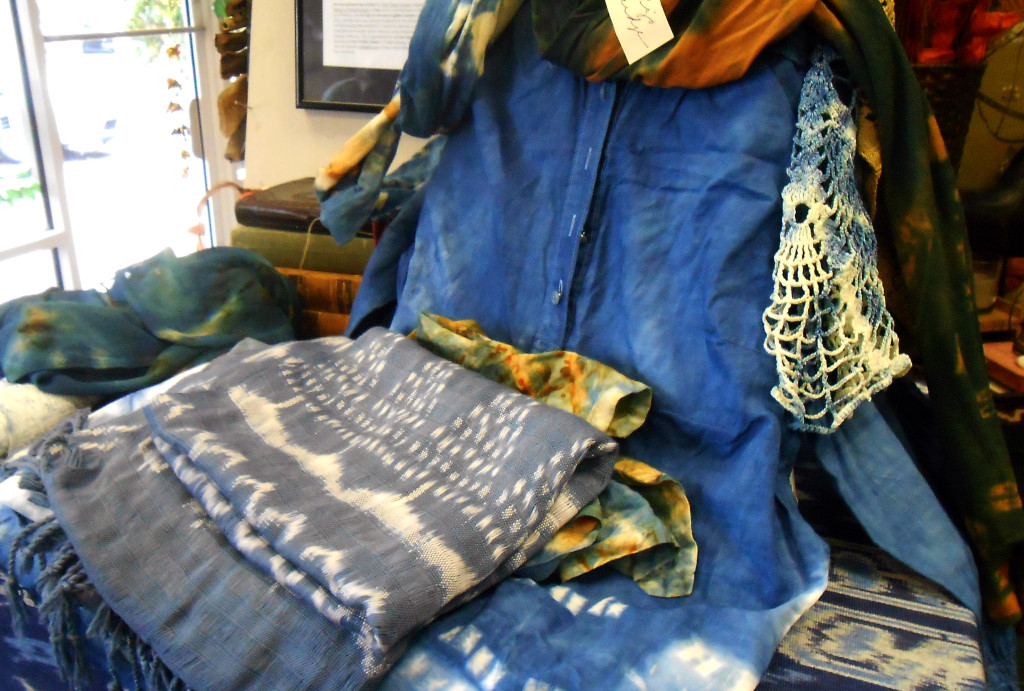
Hand-dyed indigo cloth for the covering was no problem – I had plenty left from teaching previous workshops on dyeing with indigo. Remember this one?

But rusting the cloth afterwards can be tedious. It has to be done after the indigo dyeing so it won’t corrupt the indigo vat. I first tried my usual method – wrapping rusted objects in the vinegar-soaked indigo cloth after sprinkling a layer of salt on everything, then leaving it overnight sealed in a plastic bag. Time-consuming . . . .
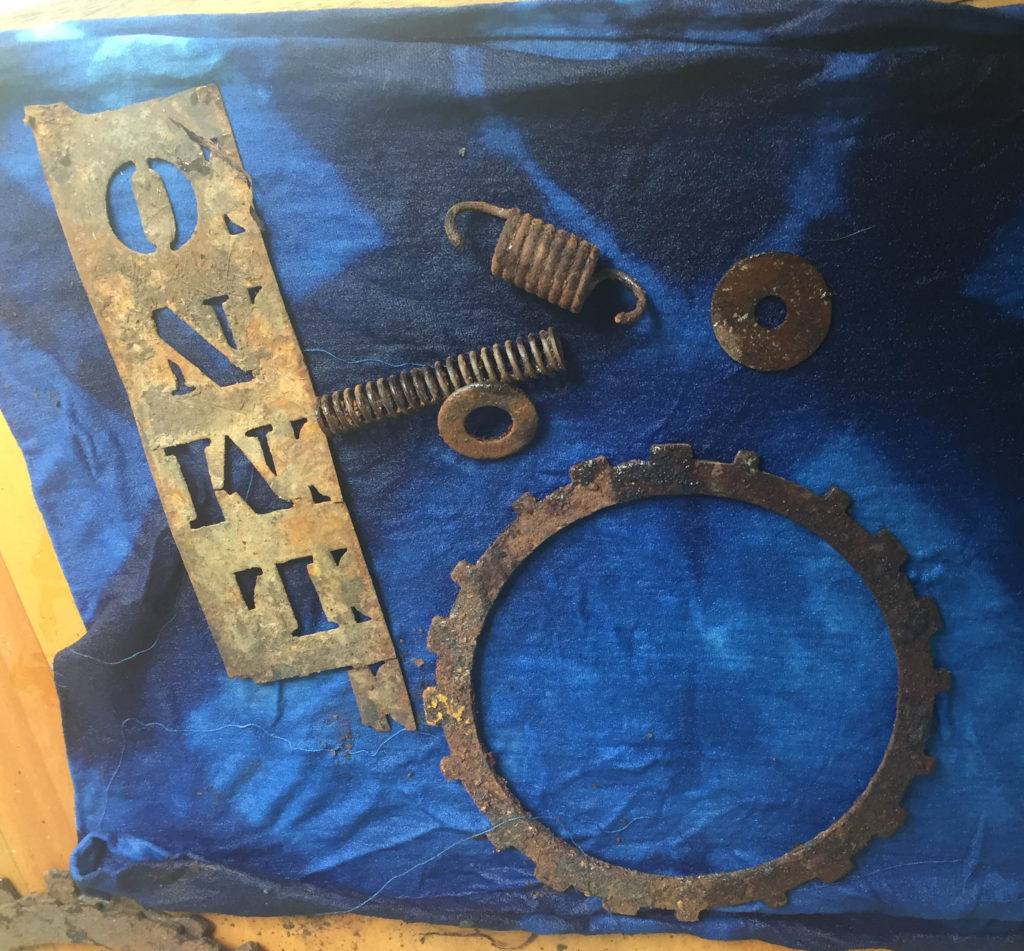
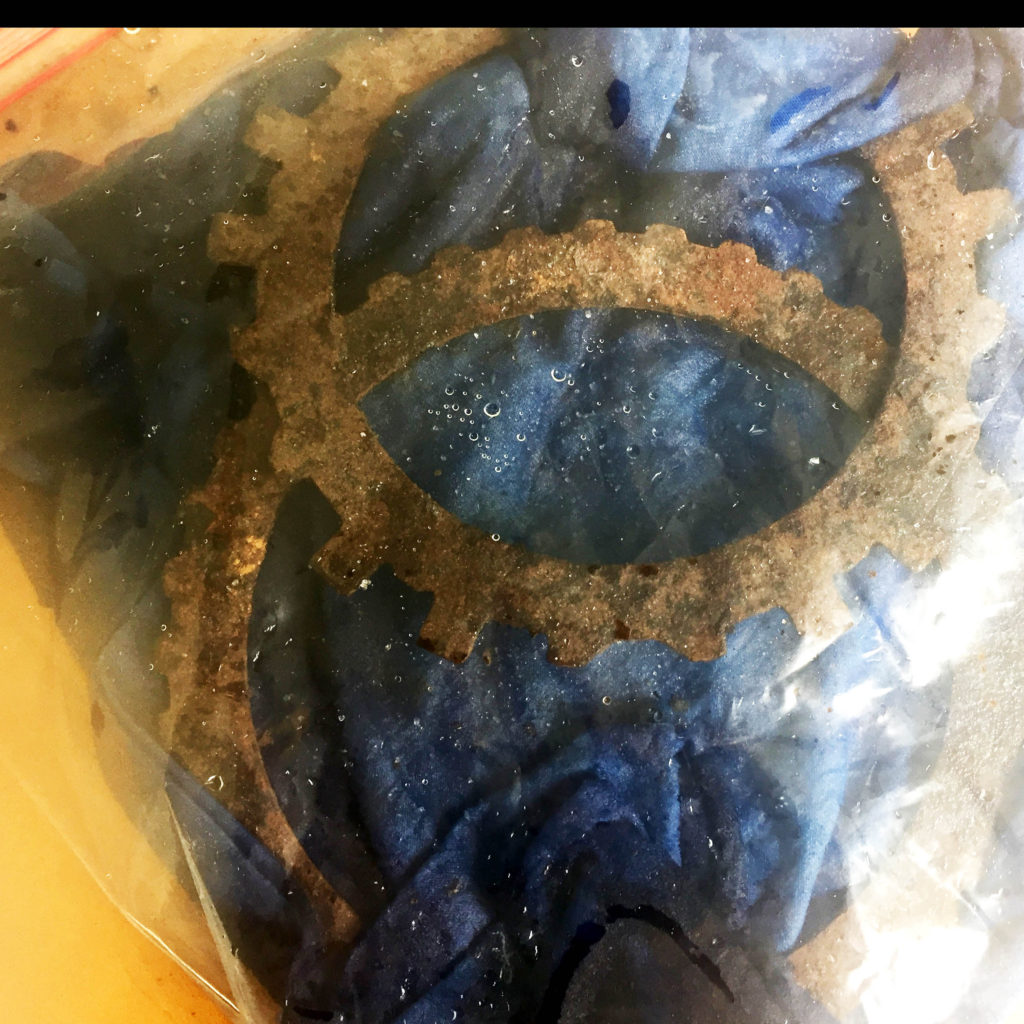
As always, the results are unpredictable, but that’s part of the appeal of the process.

However, I had a real AHA! moment in the middle of all this – wouldn’t terra cotta walnut ink mimic the rust effect? And it might be an even more appropriate material to use because it is plant-based!

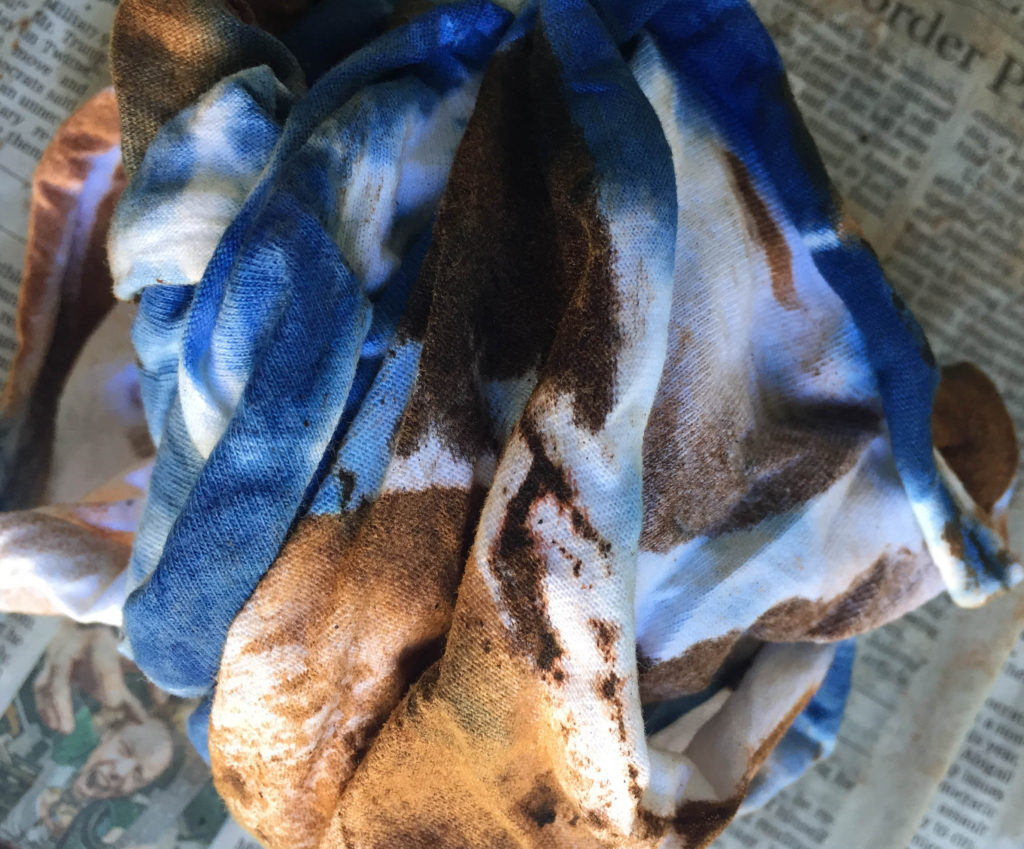
Here are photos of the walnut ink being sprayed onto the indigo cloth – I used rust objects and found objects to create patterns.
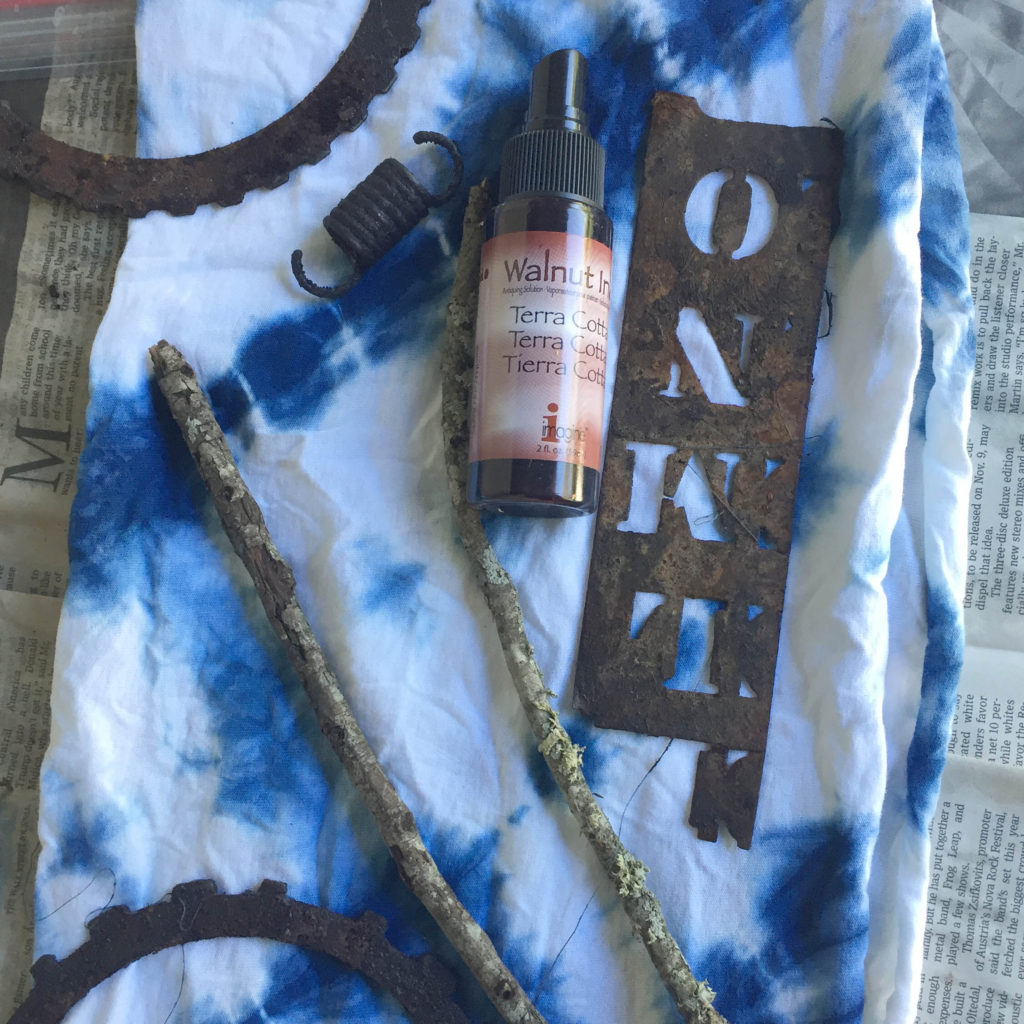
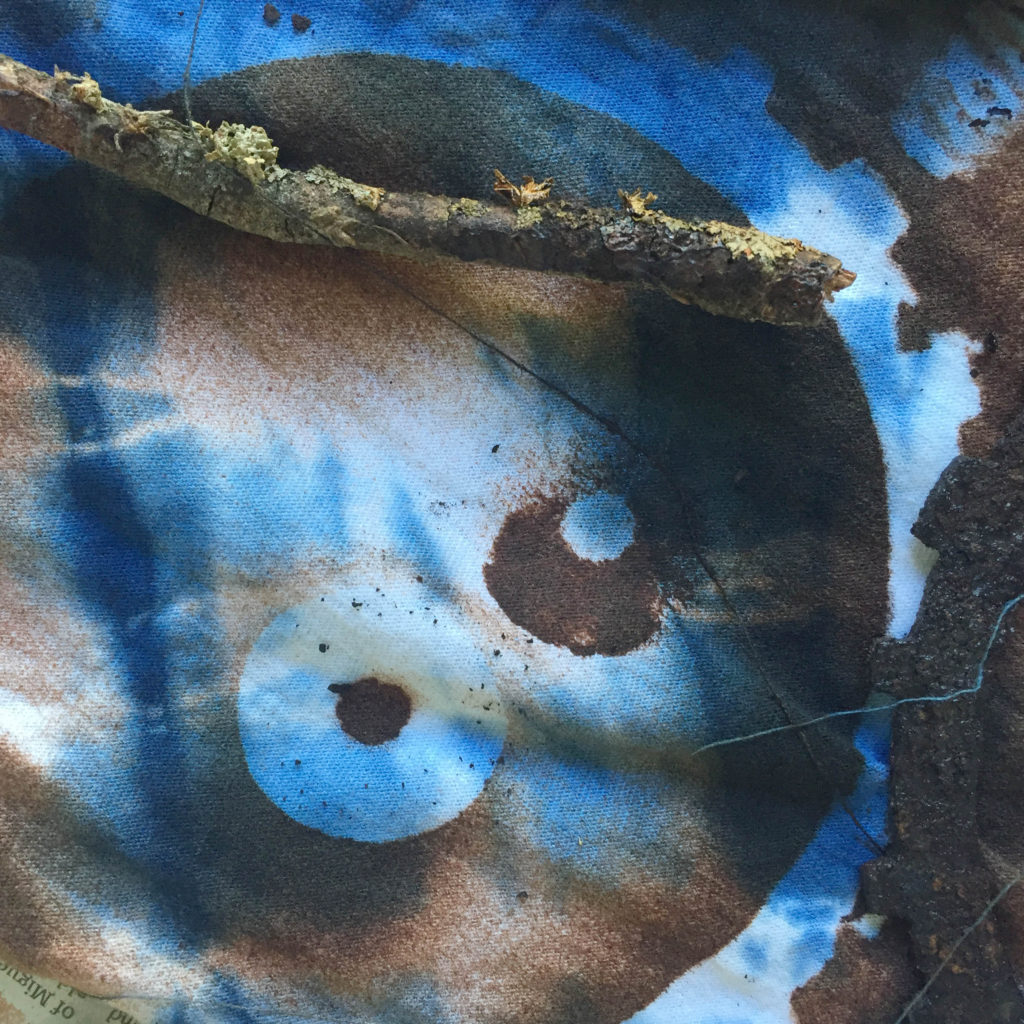
TIP: If you scrunch up the walnut-ink-sprayed fabric while it is still damp, it will soften the pattern edges and give a more natural result.
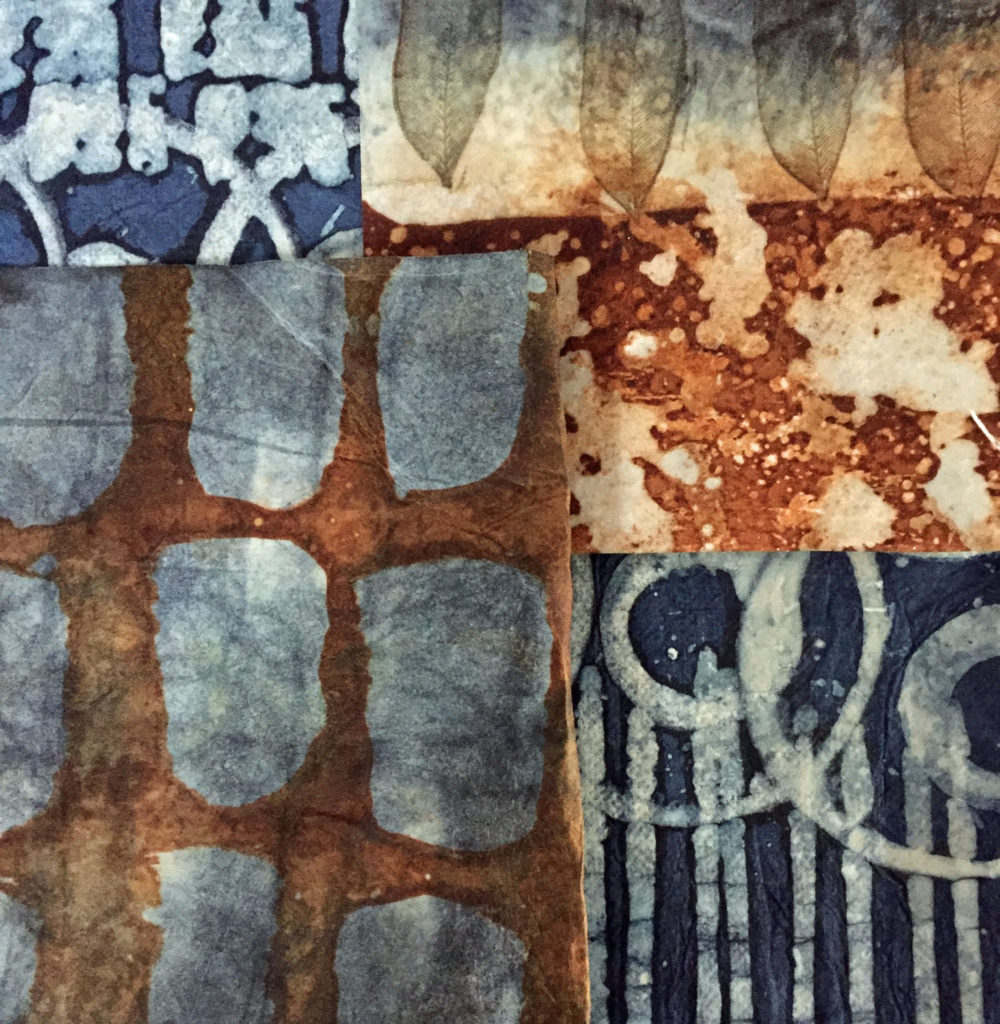
Side by side, fabric rusted with oxidized iron objects (left) and fabric “rusted” with plant-based walnut ink (right):
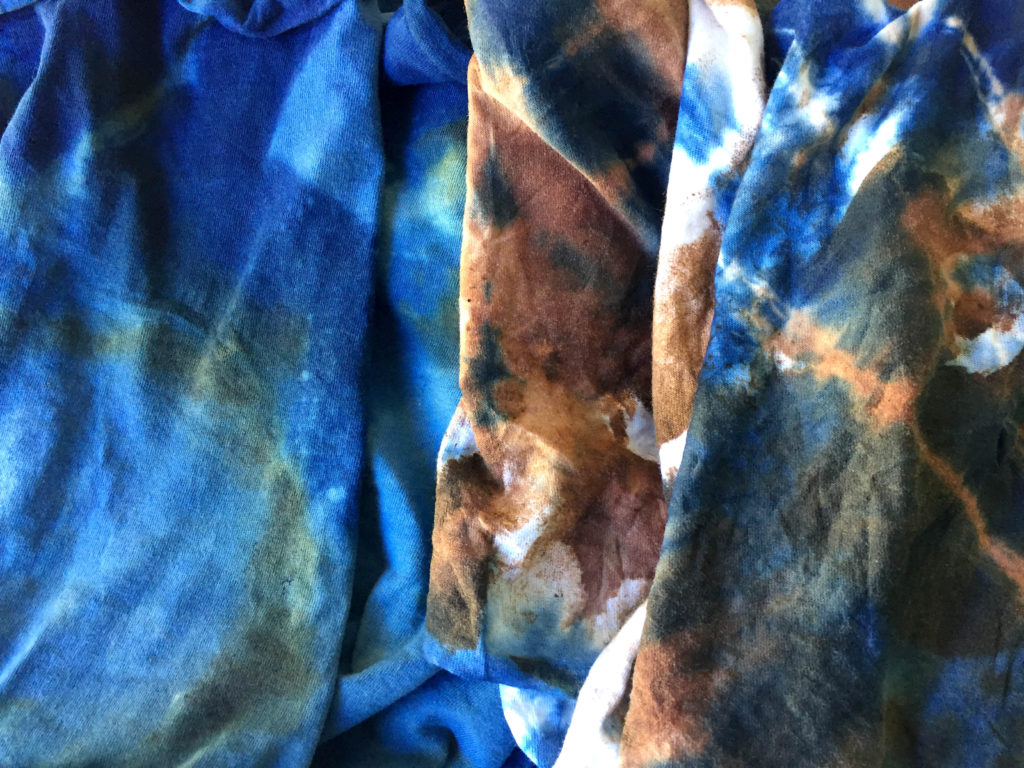
The walnut ink finish is not a washable process for garments and will fade (as will “real” rust) but I love it because it is fast, engaging, slightly more controllable, and – plant-based!

For my purpose – celebrating the tenacious, adaptable, unbeatable weeds of the world  – it’s perfect!
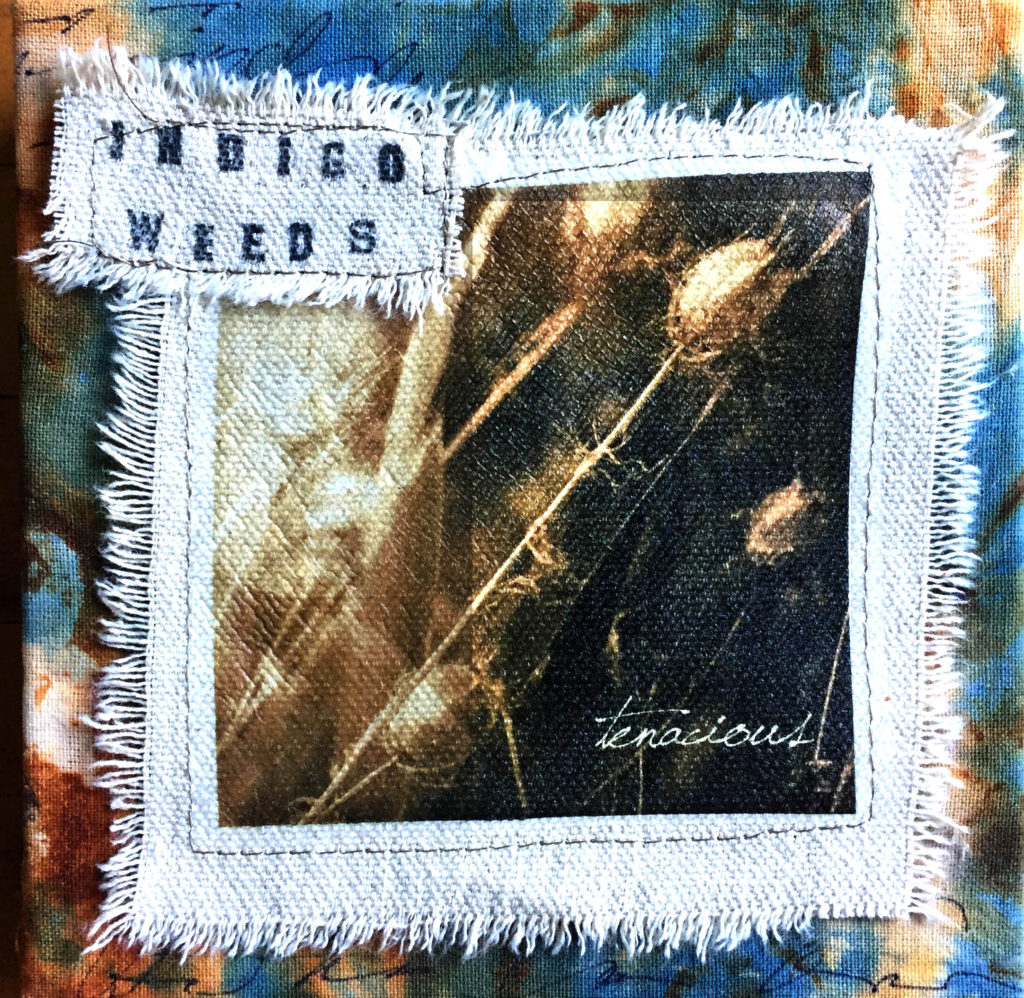
The Indigo Weeds series will be available at the Pop-Up Gallery at SAY Si during the 44th Juried Fiber Arts Exhibit at Say Si Art Gallery, located at 1518 S. Alamo St., San Antonio, TX 78204. Art will hang December 7, 2018 to January 25, 2019.

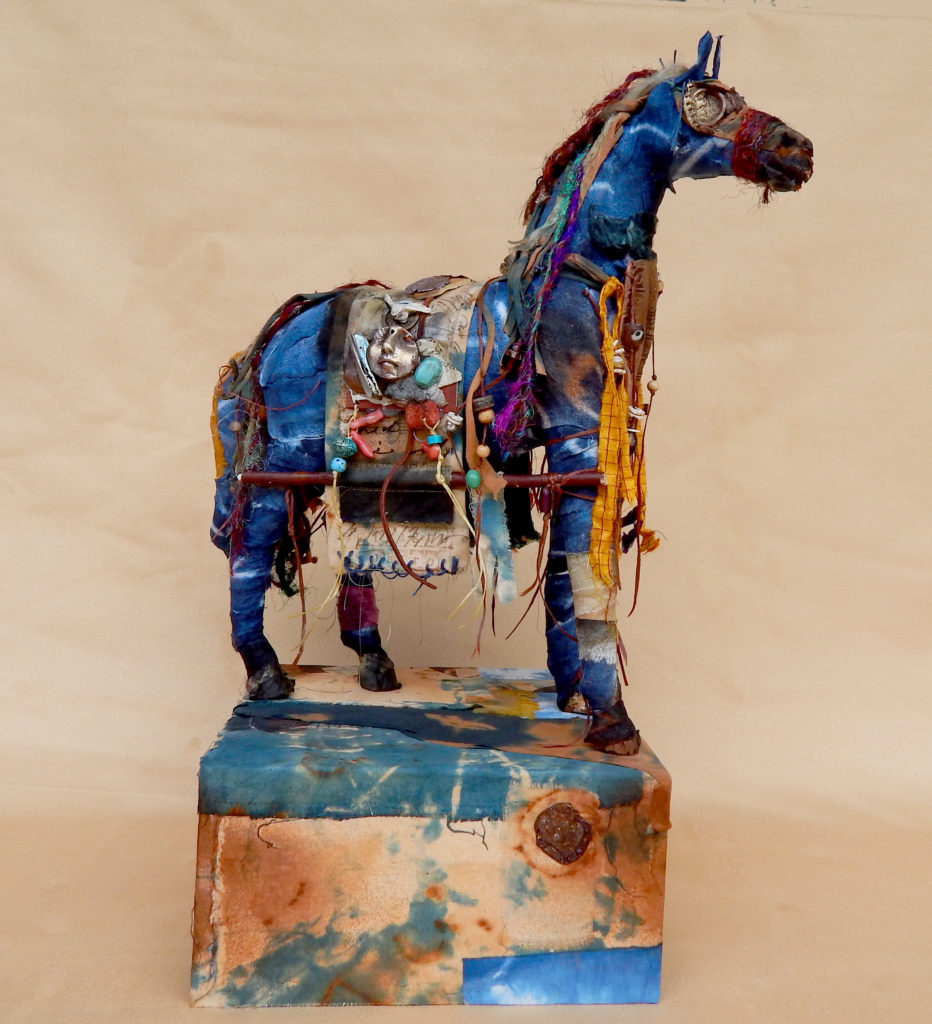
Oh, and guess who got into the show?? Yep, Boro Horse! You can see him, too, when you come to the FASA exhibit! 

Happy trails!
Lyn Belisle
“Boro Horse” 2018


Indigo paper kimonos: a tribute to Boro

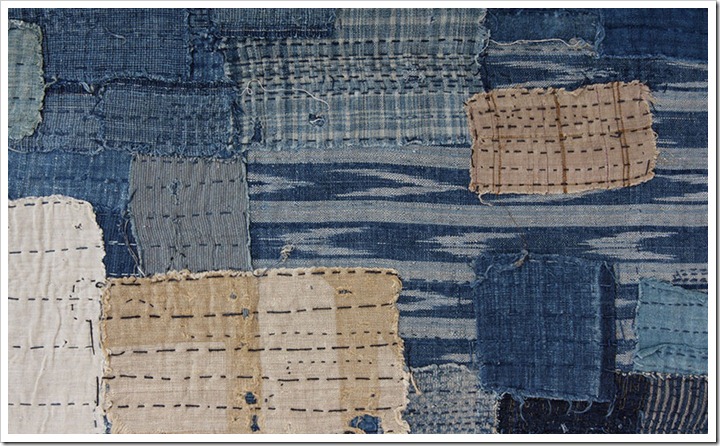
A Vintage indigo-dyed Boro fabric kimono from 20th Century Japan, lovingly patched and preserved

I’ve just finished the three pieces that were inspired by the indigo dyed mulberry paper described in my last post. I had wanted to return to a kimono-like construction, and about halfway through the process of piecing the papers together, I realized that this was much like constructing a vintage indigo Boro kimono.

Boro is a Japanese word meaning “tattered rags” and it’s the term frequently used to describe lovingly patched and repaired cotton bedding and clothing, used much longer than the normal expected life cycle. The beauty of boro fabric is the highly sophisticated sewing and weaving techniques used by the women who made and mended it. The beautiful arrangement of patches and mending stitches was born of necessity and happenstance, and was not planned by the maker.

Boro fabric reminiscent of American patchwork quilting

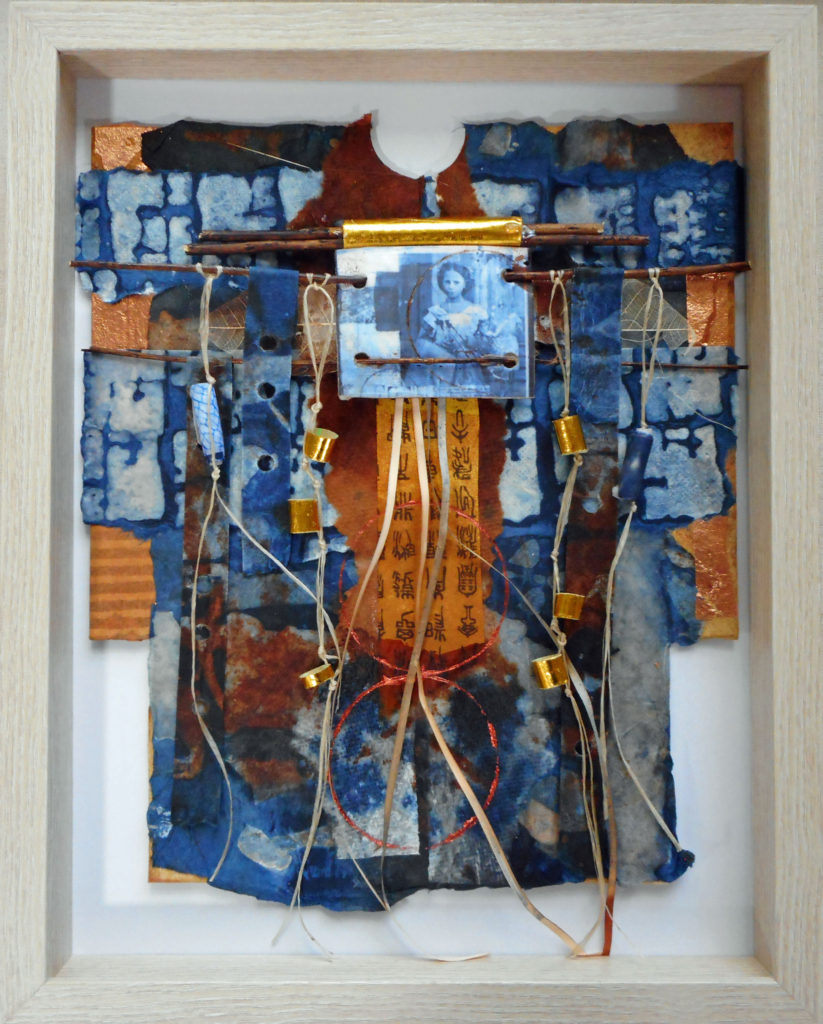
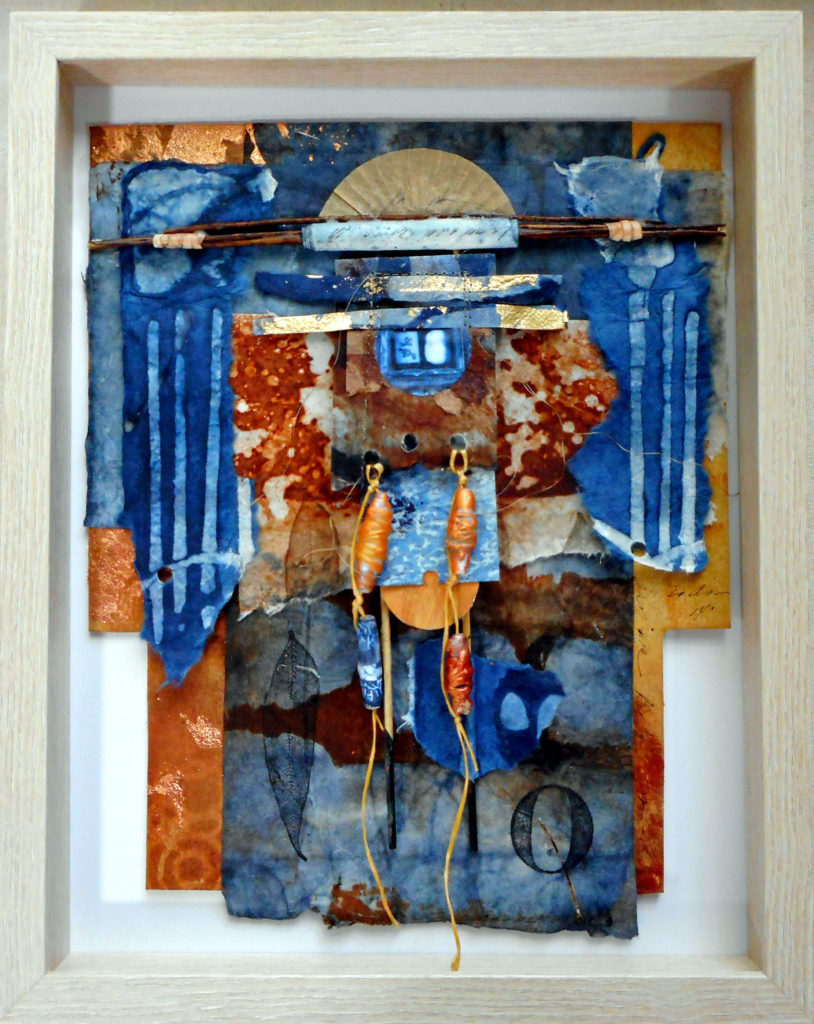
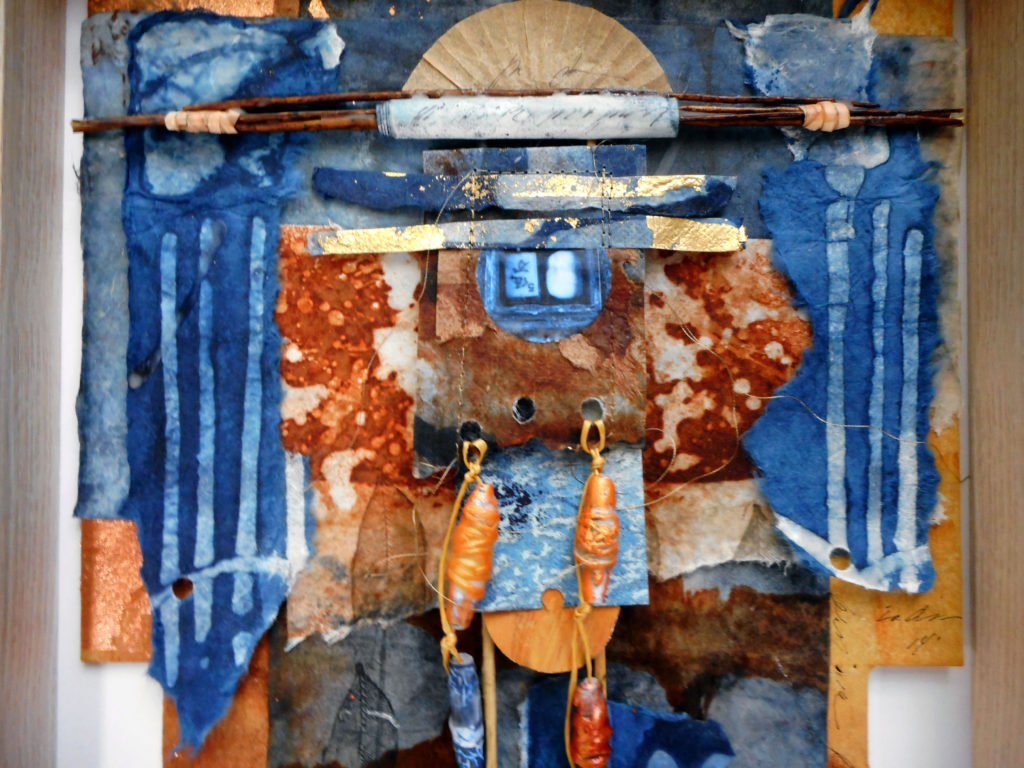
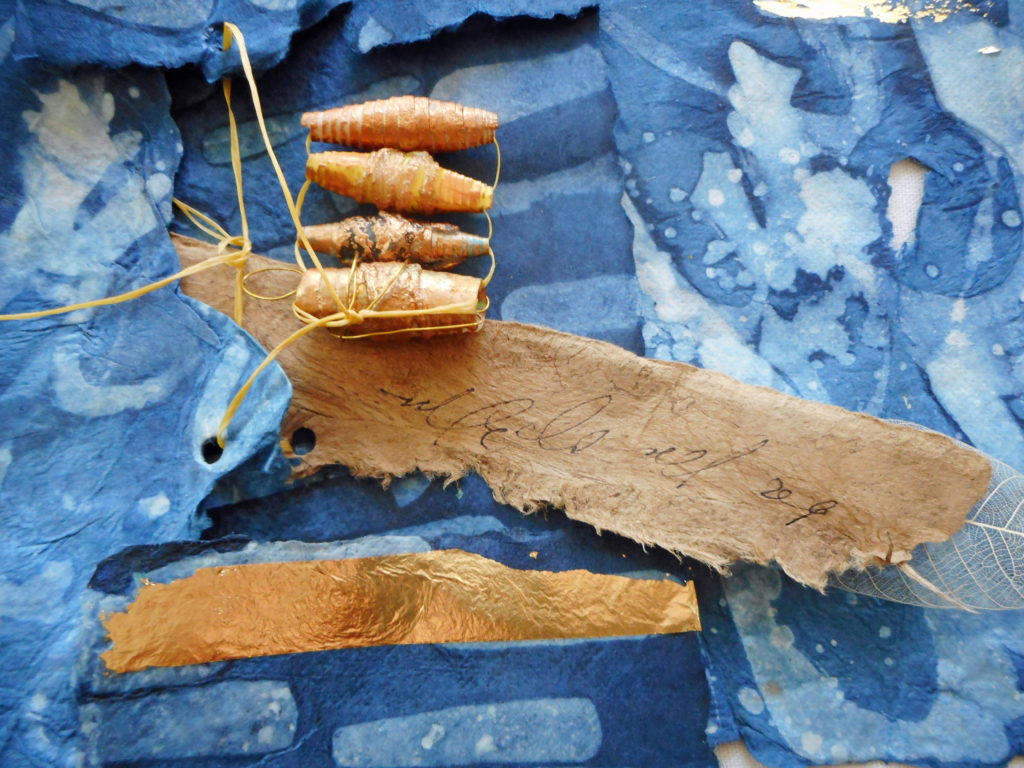
Here’s the first of my three indigo-dyed mulberry paper “Boro” kimonos, below. Each scrap of hand-dyed paper, each beeswax-coated paper bead, played an integral part in the composition.

You can see some of the construction details in this close-up. There are sticks woven through dyed and waxed images and paper beads hanging down from waxed linen string.

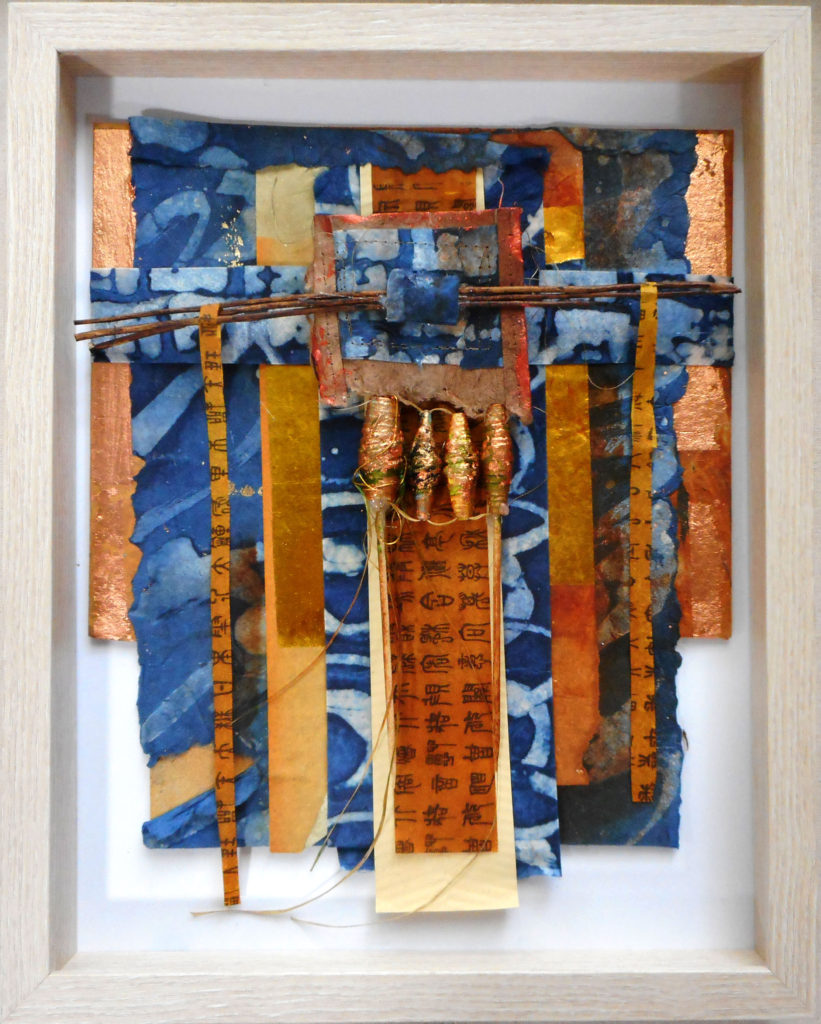
The second kimono, below, is a bit more formal in composition, but is still constructed from tattered and torn indigo-dyed mulberry paper. I also used a bit of Korean print rice paper which I sprayed with walnut ink in order to give some color  contrast – very Boro-like.

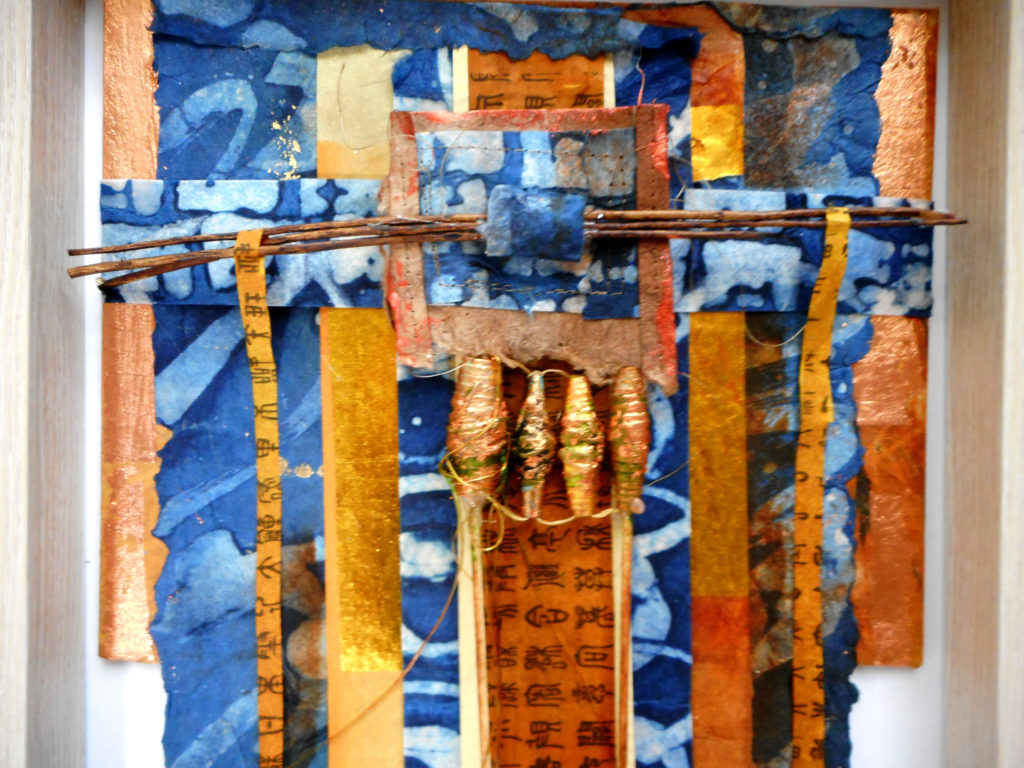
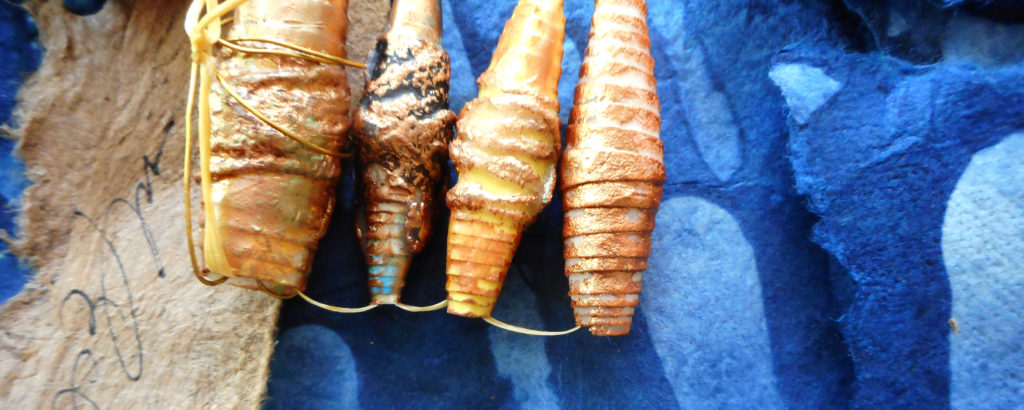
In the detail, below, you can see how four of the waxed and gilded paper beads have been double-laced together and then tied into the focal ornament.

All of the pieces are displayed in 11×14″ shadow boxes. I took the glass off to photograph the works, but at the exhibit, they will be covered with glass to protect the collage elements. Everything is adhered, but there is still some movement of string and beads behind the glass when the work is tilted, which is fun

In this last detail, you can see a bit of the rust effect that terra cotta walnut ink made on waxed white mulberry paper. I love that!

In fact, I love each of these three pieces because they reflect the philosophy of Boro, which means “too good to waste.” If you are a collagist, you know what I mean. We hang on to the tiniest of paper scraps, knowing that they will find a place –  eventually –  that is just right.

If you’d like to know more about Boro, here is a very user-friendly article from the FurugiStar blog. There are some lovely pictures, as well, and an intriguing description of a bodoko, or “life cloth.”

I am so happy about the connection that my little indigo kimono pieces have to the Boro tradition, and I plan to continue to explore this connection in paper and in fiber. More soon!

Save

Save

Indigo + paper + beeswax = kimono construction

For a while now, I’ve wanted to go back to basics with some of my favorite simple materials:  paper, beeswax, indigo and walnut ink in new ways and combinations.

And I’ve wanted to revisit my beloved kimono format that brought me such joy and success in the past. Here’s one of those pieces, a large-scale origami construction called “Luna,” done in about 2003.

But I didn’t want to revert to exactly the same process. So I am experimenting with natural indigo and mulberry paper which I’ve painted and stamped with pure beeswax, much like the traditional batik technique, but on paper rather than fabric. As far as I know, no one is working quite this way, but I thought it would be a great material to fashion into small kimono constructions.

The new kimonos pieces are not completed yet – I’m still working on them for an exhibit in August (Susie Monday, this is the process I was describing to you) – but I thought I’d share what I’m doing with the indigo paper and beeswax surface design.

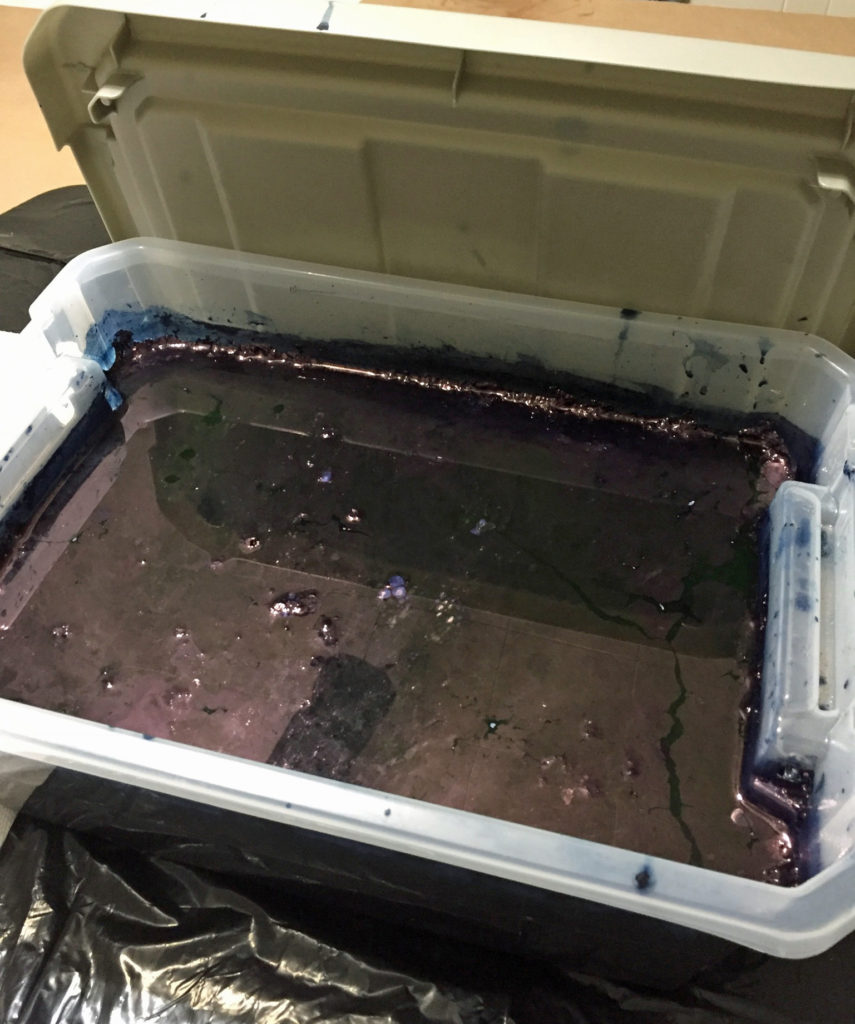
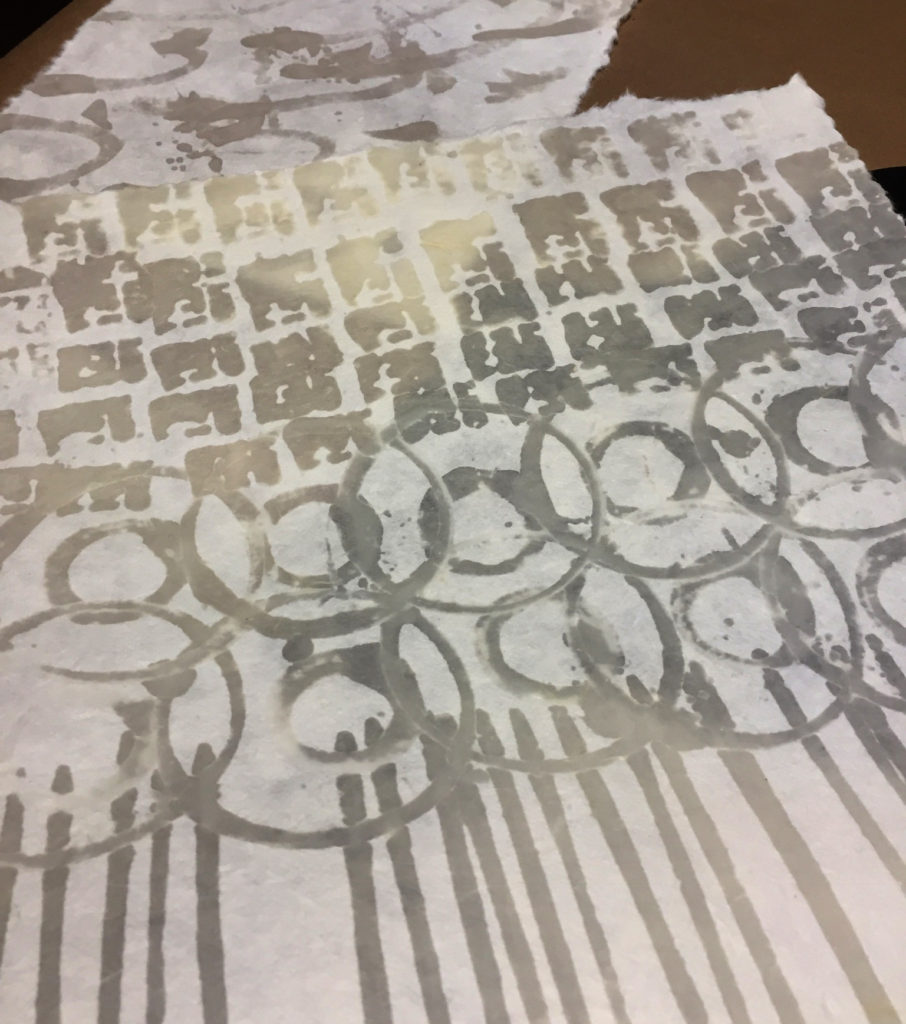
This is the indigo dye vat. I chose a rectangular container instead of a round bucket because I wanted to submerge the mulberry paper without crumpling it. (Mixing indigo is a whole ‘nother subject. Jacquard has a pre-reduced indigo that makes it easier.)

I used a heavily-textured white mulberry paper, and painted it with natural beeswax. Sometimes I stamped on the wax with random found objects. Here’s what it looks like before the dye.

And here’s what it looks like after the indigo dye bath process.

The varied blues are wonderful, and the wax gives the paper a very different feel. Here are some other samples, some with terra cotta walnut ink added.

One of the neat things about working with mulberry paper rather than fabric is that you can control how the paper “frays.” If you run a stream of water on the edges, the fibers fall apart, giving a wonderfully organic look.

I’ve sketched the kimono forms and have decided to add some of the paper and wax beads that I used in the Talisman Workshop. It will be a great combination – I hope!

Once the pieces are finished, I’ll post them here on SHARDS. In the meantime, this kind of creative play with paper and indigo is such fun! It’s even red, white and blue! Sorta.

Happy 4th, everyone!! Thanks for reading SHARDS.


Save

Save

Save

Save

Indigo Blue, Take Two

33

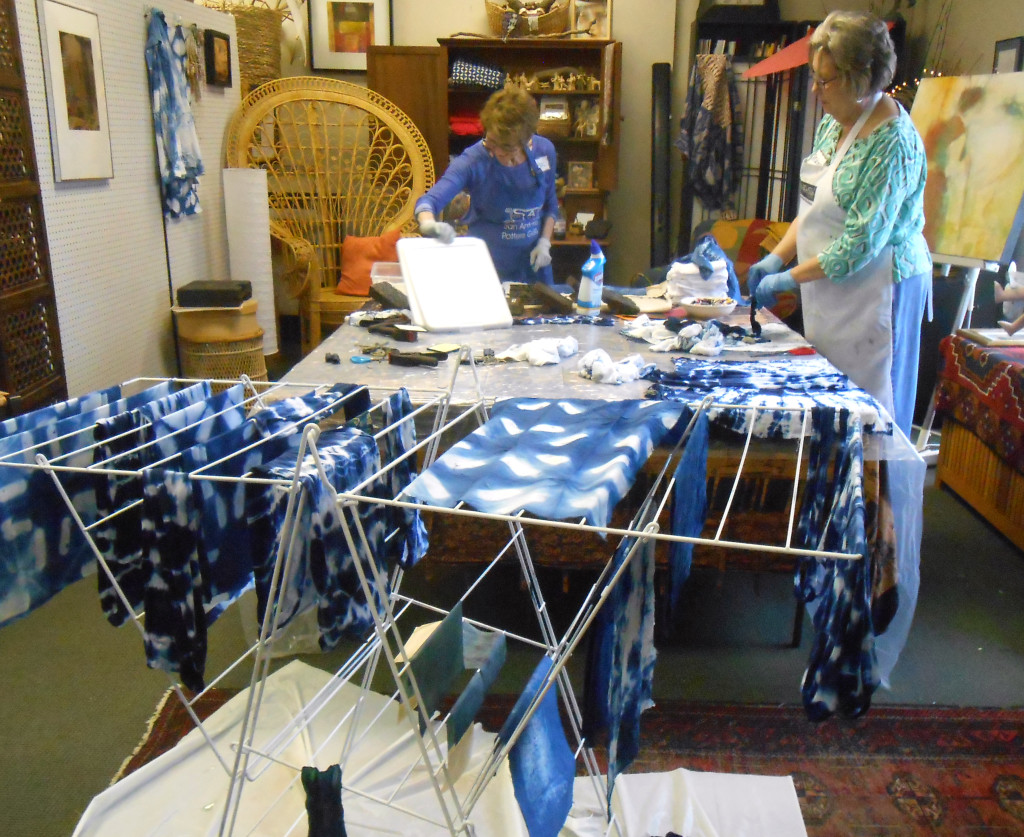
The magic of indigo never gets old, even to novice fiber artists like me. Sunday’s workshop was flat-out fun – many thanks go to Mary Ann Johnson, whose expertise in shibori and dyeing greatly enhanced our experience. The weather was perfect – our fabric dried quickly in the breeze and the sunshine on our makeshift clothesline.

Here are the basics of how we did it:
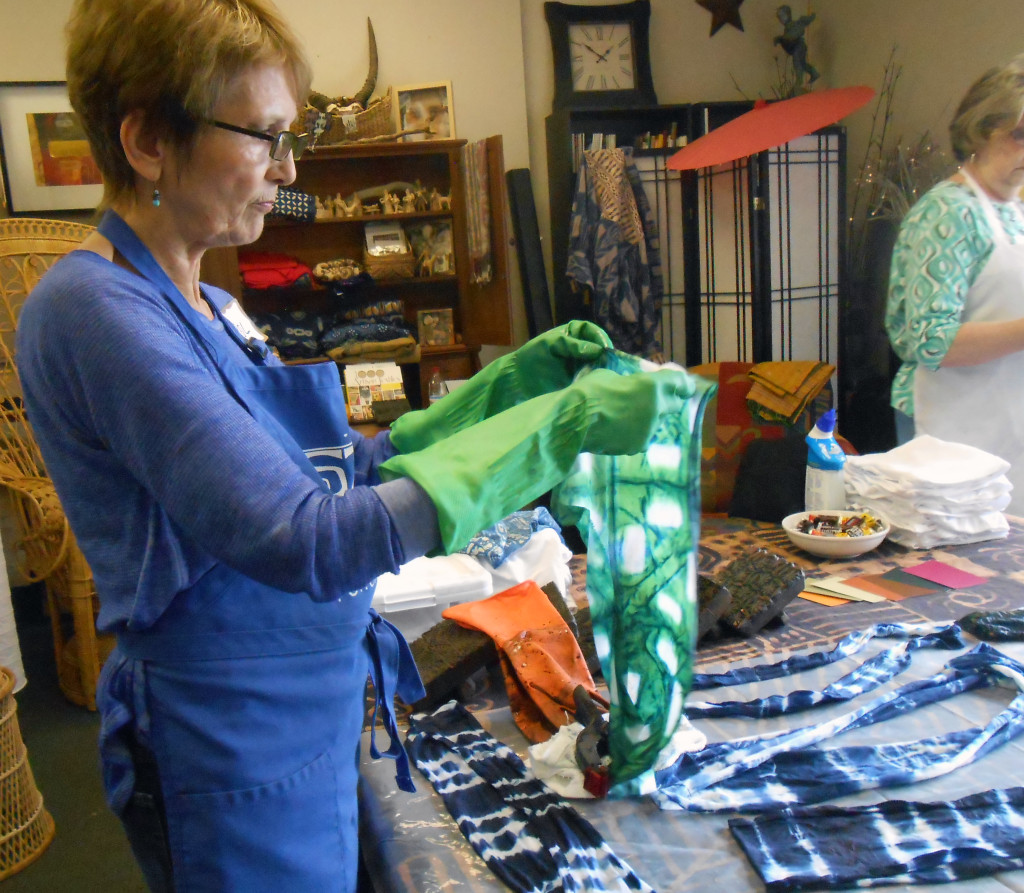
The fabric is tied, clamped, rusted stitched, crumpled – any or all. Then it is submerged slowly into the indigo vat for about a minute. The bound fabric is gently removed from the dye bath, avoiding  splashing or dripping into the vat, as this introduces oxygen back into the dye. The fabric looks green when you first take it out of the bucket. This is when the magic happens (or to be more precise, chemistry). Indigo develops its color when it is exposed to oxygen. Once the fabric is in contact with the air, it starts changing color and turns from green to blue. You can see some of this happening in the video, below.

If you are new to this process, I highly recommend that you start with the Jacquard Indigo Kit. It has everything you need to make true indigo plant-based dye. The video below, from Jacquard, shows how to do it.

Things to watch out for – holes in rubber gloves!  The biggest danger, though, is addiction to indigo dyeing, particularly when you realize it can also dye paper and yarn.

I can’t wait to cover some journals with my indigo fabric, and perhaps combine indigo-dyed paper with encaustic. It’s true blue indigo love!


Indigo Wednesday

blue

I’ve scheduled a few Wednesday afternoon workshops this spring at the Studio  and it’s working out well. Yesterday’s Indigo session was kind of a “test drive” of the three hour format – the second Indigo workshop is on Sunday, and there is another special request group on Monday, so the Studio will be blue for almost a week.

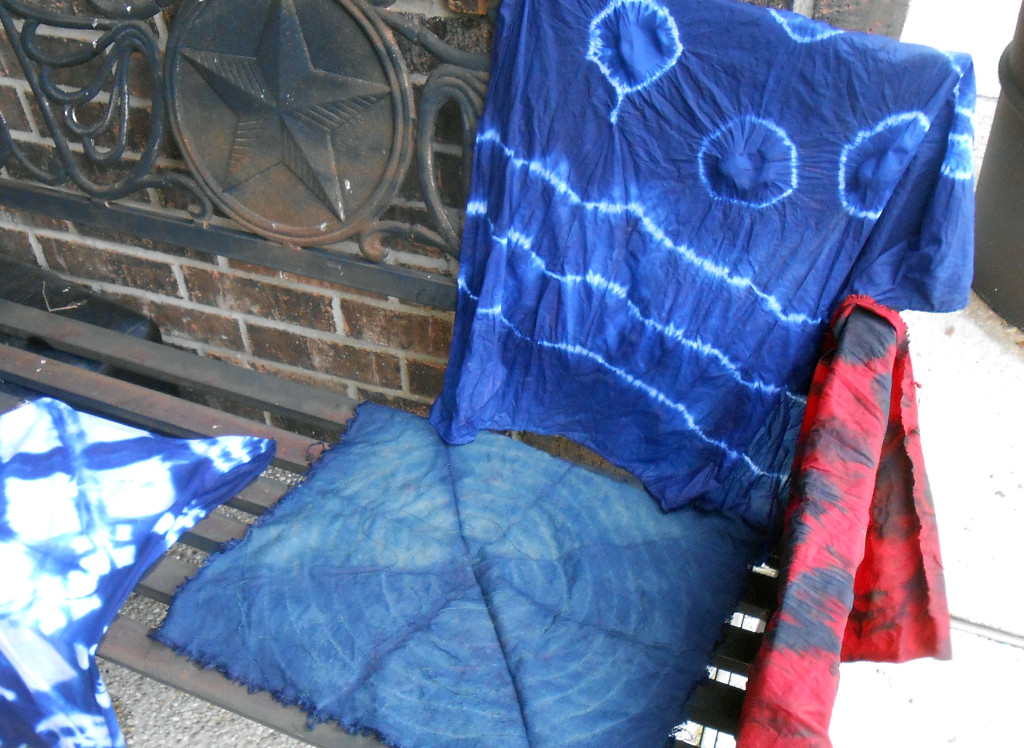
Wednesday’s participants had some excellent suggestions about how to keep the dyeing process flowing during the short three hours. It was a rainy day, so our drying was done inside or on the bench under the awning. Everything clicked, the indigo did its magic, and we had a fantastic time.

I’ll be wrapping up the indigo experiences next week and will give you some tips and resources on how you can do this at home or in your own studio. One of the most-repeated comments from yesterday’s students was , “This is sooooo much easier than I thought it would be!” And it is!

6 2 3 1


Mood indigo

Part of the fun of teaching a new workshop is the research (aka play) that goes into developing a curriculum and a process. Michelle Belto and I have a chance to teach a class in indigo, shibori and rust dyeing for Vivi Magoo at The Prairie in early November, and we jumped at the chance. I had done shibori and rust dying, but had not worked much with indigo (OK, I so had never worked with indigo, but don’t tell anybody).

Like learning most new things, learning indigo dye techniques was a combination of asking people how to do it and practicing on my own. It’s an amazing substance – this plant has been used for dyeing since 2400 BC, and maybe earlier. Cakes of indigo were used as currency in the Revolutionary War. Once dyed, indigo is so colorfast that it can last for centuries or even millennia. Here’s a video of my first indigo adventure.

I have a lot more to learn about creating color with indigo, but yesterday I worked on learning some basic techniques, mixing the indigo properly, and experimenting using paper and fabric. The deep blue-greenish color is a natural partner for the terra-cotta shades of rust dyeing. I really can’t wait to teach these classes at the retreat and share this wonderful process! Hope you’ll think about joining us at Vivi Magoo at The Prairie on November 3rd. I promise that it won’t make you bluewell, maybe it will.