Want to explore encaustic portraits? Use your phone to email photos to yourself!

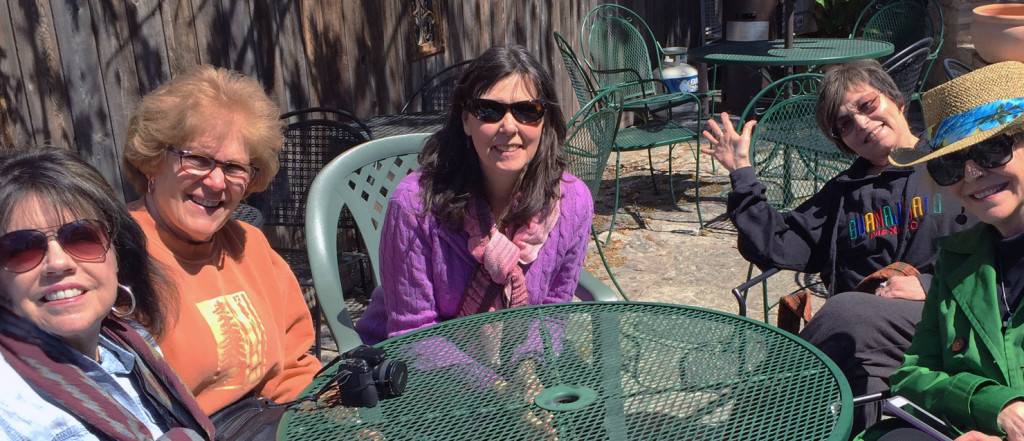
Another enthusiastic workshop group met at my studio on Wednesday afternoon to explore collage, composition, and beeswax. Thanks to Marcia Roberts for organizing this great gathering. They were fantastic.

It’s my custom at the beginning of the workshop to give everyone a large packet of images that have been printed on regular letter paper with an inkjet printer. This insures that the paper is absorbent and will be “beeswax friendly.” I ask everyone to choose only from these images for their first collage.

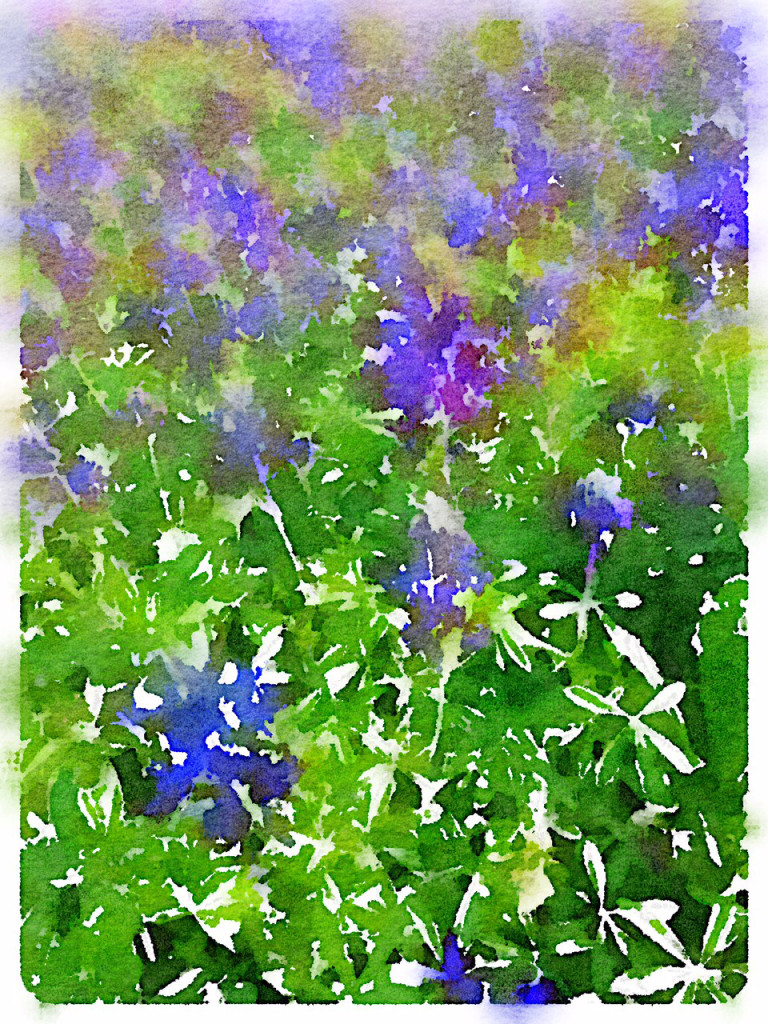
This gives everyone choices within the same range of images, and it’s amazing to see how different each resulting artwork is. Here are a few of the images being arranged and veiled with white paint and asemic writing.

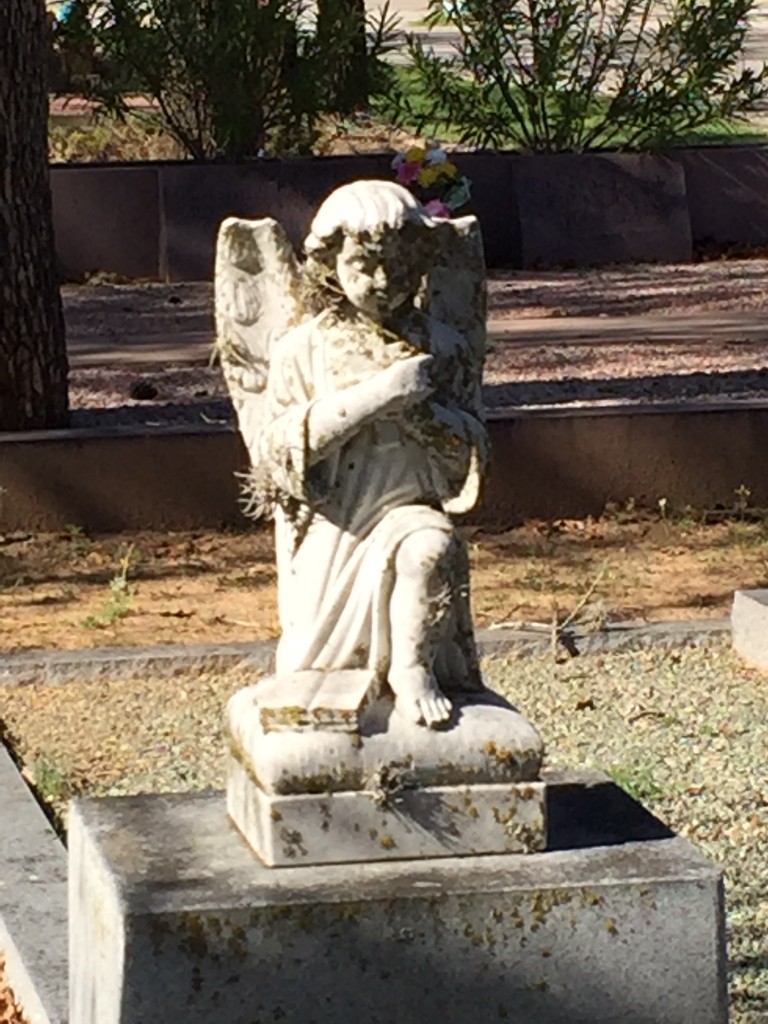
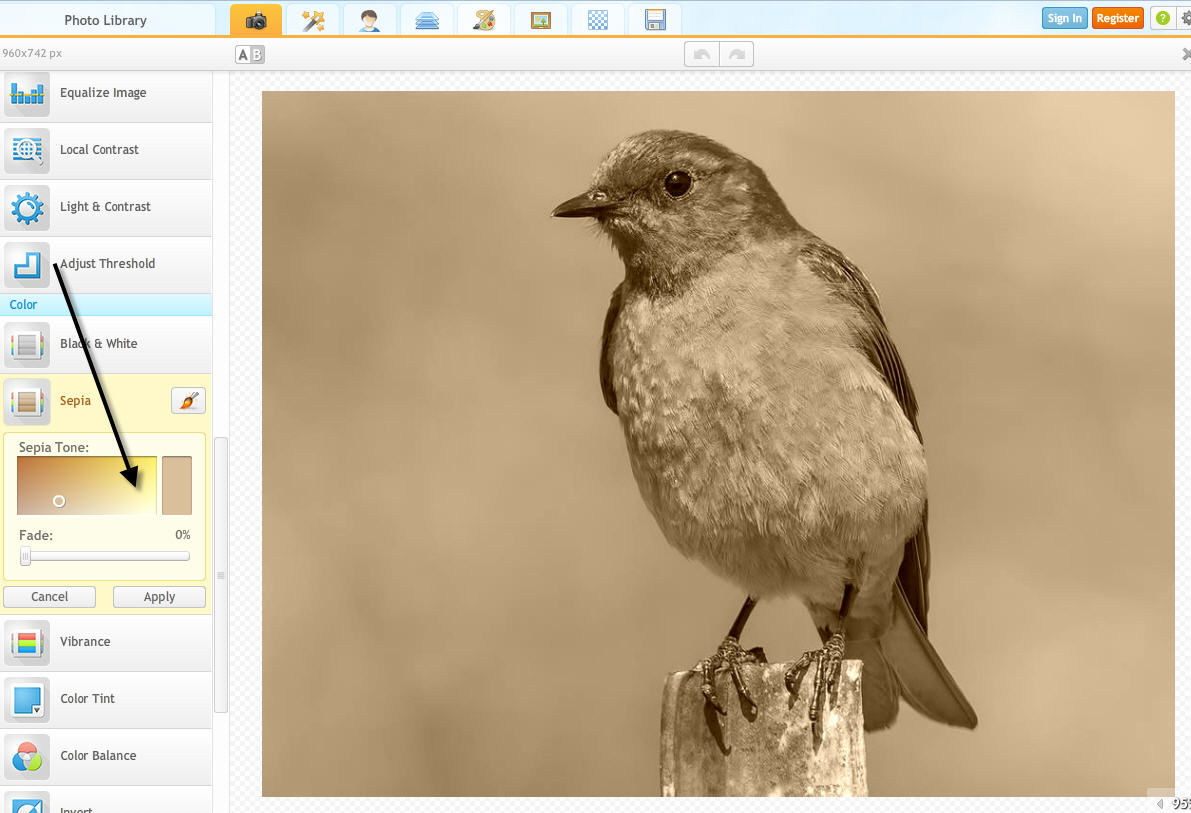
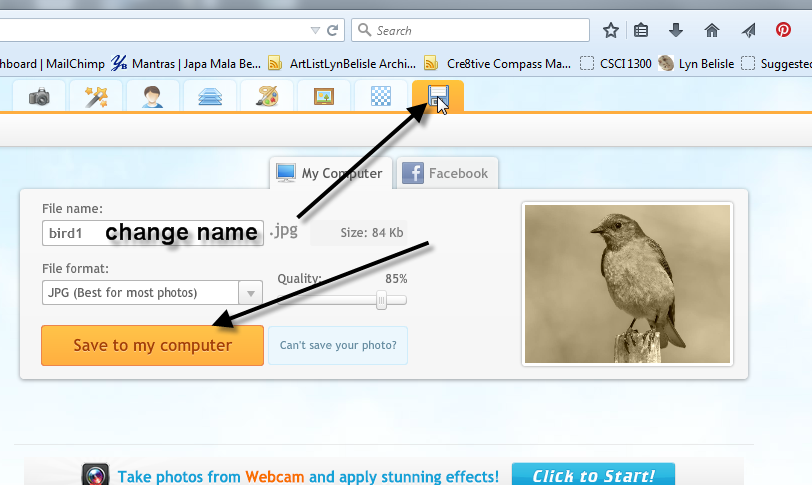
Then I showed them a tip that I want to share with you as well – how to use your own photos in an encaustic collage. I took a photo of Veronica while she was working at the table, then emailed it to myself from my phone. Here she is – great smile, right?

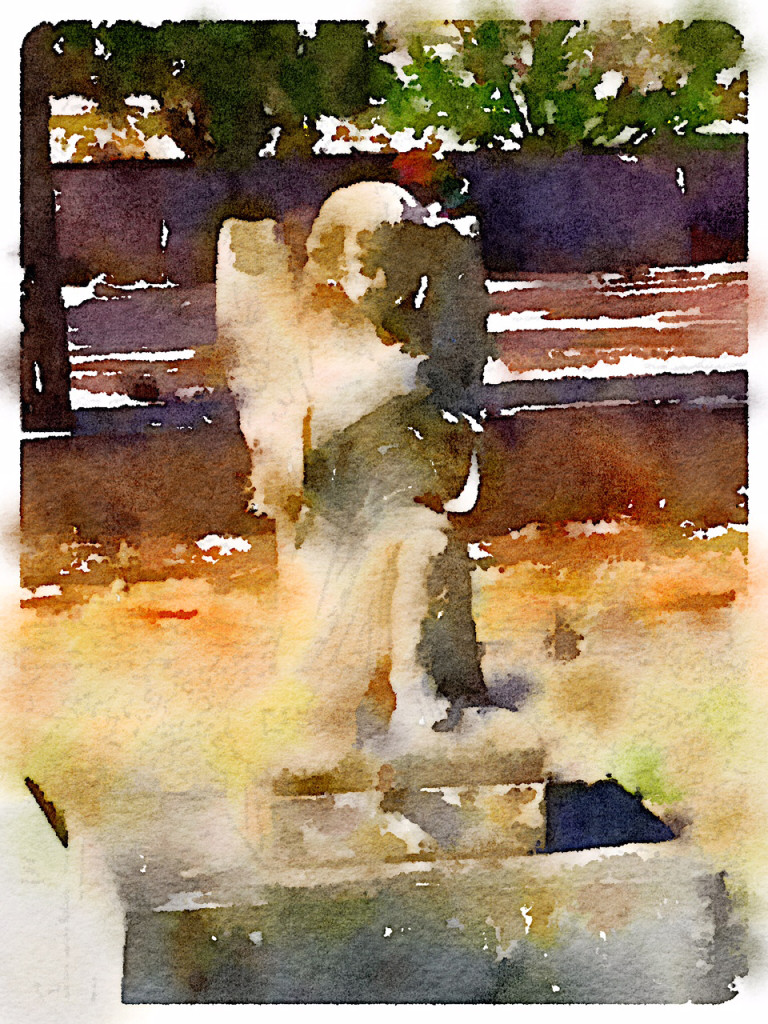
I went right to my studio computer, opened the email and the attachment, and showed everyone how to print out the photo in sepia tone. Then I adhered it to my demo collage and added some graphic elements such as veiling, asemic writing and stamps.

I continued the demo and showed how to apply a layer of beeswax, to incise, and to add pan pastels and book foil to the composition. It was fun playing with a photo of someone who was actually in the workshop, and Veronica got a collage portrait to take home!

I encourage you to take photos with your phone and email them to yourselves to print out and use in your work. It doesn’t even have to be a person – think orchids, cats, and spider webs!

Everyone in Wednesday’s workshop was really inspired – here are some of their encaustic collages. They paid attention to the composition lesson, and even though some of the packet images were similar, the results are beautifully original.

Veronica Miller

Maggie Fitch

Maggi Peachy

Catherine Danner

Marcia Roberts

I think these encaustic collage workshop are so useful and popular because the lessons on composition and layering can be used in any medium, from acrylic painting to fiber to journaling. And using your own phone photos gives a personal touch that makes this kind of art practice a unique statement of who you are.

Thanks for reading SHARDS!


Waterlogued at our retreat in Fredericksburg

00

Last year at this very time I was on Whidbey Island at Joanna Powell Colbert’s Gaian Soul Retreat. Four friends from San Antonio went with me, and this weekend the five of us celebrated our one-year anniversary with a reunion trip to Fredericksburg. We stayed at Sidney Burnette’s charming B&B called Butterfly Cottage.

Butterfly Cottage owned by the very lucky Sidney Burnette

We shopped and ate and reminisced. And shopped. And ate! I collected photos of the wonderful colors and textures in this great Hill Country town. Special thanks to Sidney for sharing her country home with us!

One of the things we played with at the cottage was the artful iPad app called Waterlogue. I’ve had it for quite a while but the others hadn’t seen it – it transforms every photo into a watercolor masterpiece. We went crazy taking photos and transforming everything into watercolor paintings – cats, rocks, each other – nothing was safe. It was an unexpected and fun diversion.

Below are some before and after “Waterlogued” examples from photos I took on Saturday. Truly, the watercolor version take exactly one second and one click to create. I thought you might want to know about this fun app to try it for yourself. It works on iPhones and iPads and costs a mere $2.99 (cheaper than four years of art school). It’s an easy introduction to altered digital images. Here’s more info.

0147cf96f8d4c4c9344c2c2fed658ae694dabad7fe

The kitchen at the cottage


Waterlogue version

Waterlogue version

Bluebonnets on Willow City Loop

Bluebonnets on Willow City Loop

Waterlogued version

Waterlogued version

Cemetery angel

Cemetery angel

Waterlogued version

Waterlogued version

Easy color-to-sepia photos for beeswax collage using iPiccy

Sunday’s workshop at the Studio is Beeswax Collage (it’s sold out, yay!), and I’m going to ask the participants to bring a sepia-toned photo to work with. I’m sending them the link to this post to show them how to do a sepia effect with iPiccy, and you can find out, too, by following these instructions!

First, you need to choose a photo that you want to transform to sepia, and remember what file it’s in so you can find it to upload it. Then go to iPiccy and choose Start Editing!

sepia

You’ll see a window that asks you to upload a photo.

sepia0 Browse to the file on your own computer that has the photo you want to change from color to sepia and select it

sepbird    Your photo uploads into the editing window.

sepia 5

Look on the left side and find the bar that says Colors.

sepia5Click on it and scroll down that list until you come to the bar that says Sepia – choose the sepia tone that you like.

sepia3Once you’ve transformed the image to sepia, you can click on the Save icon at the top right and save it back to your computer

sepia7Give it a different name so it doesn’t overwrite our original color photo. Now you are ready to print it out and use it for your beeswax collage – or whatever creative purpose you desire!

Happy weekend, everyone!