File this post under “Studio Tips” – I just found an amazing storage solution for my mixed-media toys!
It was totally accidental. I was at IKEA after we got back from our trip looking for a folding chair. You can’t get to that department without going through the children’s furniture section, which I normally just rush right through. All of a sudden, I spotted this:
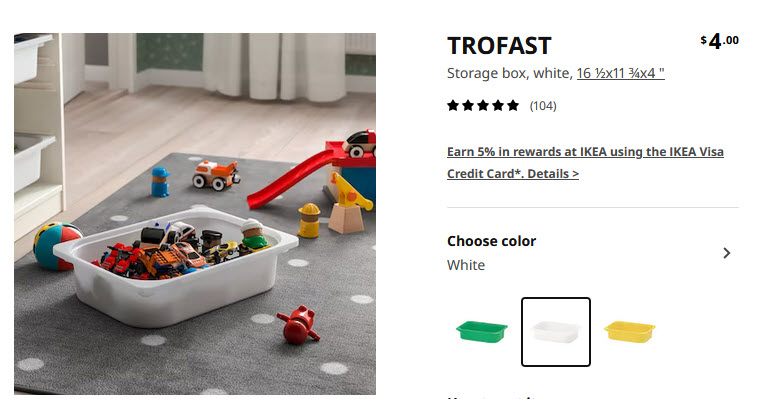
Even better, when I looked beside the pile of bins, there were some frames for toy storage that the bins fit in!
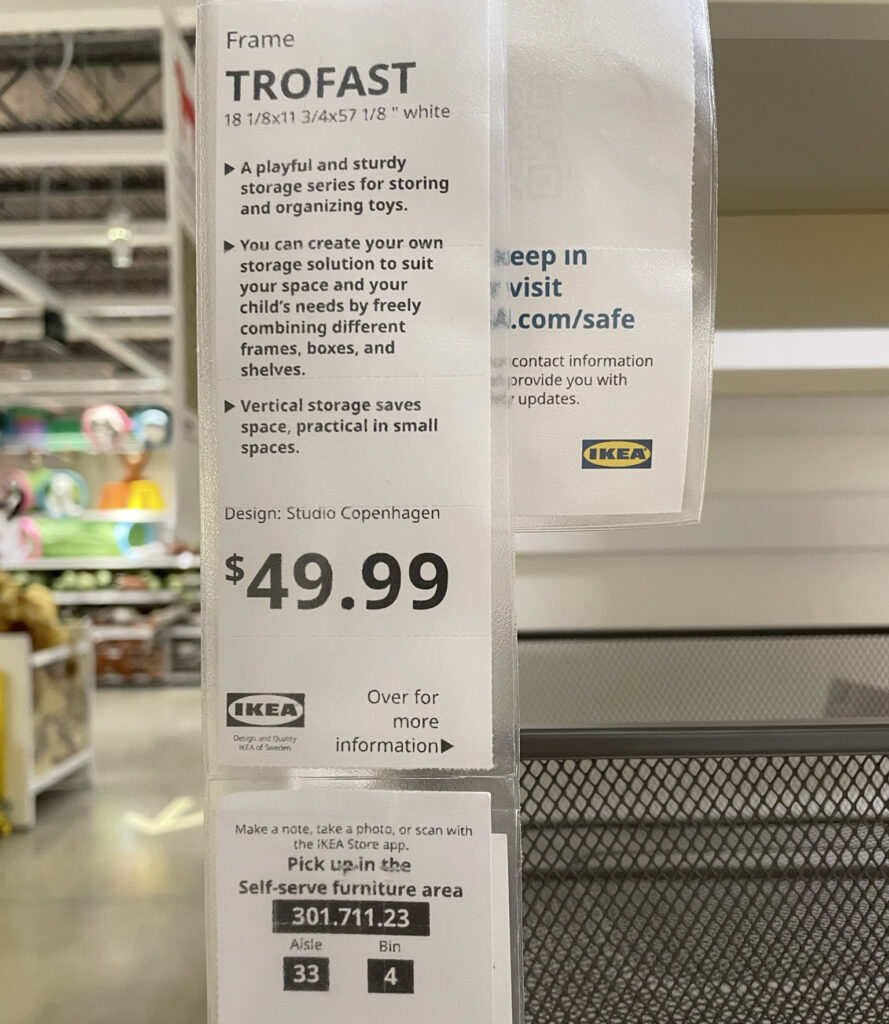
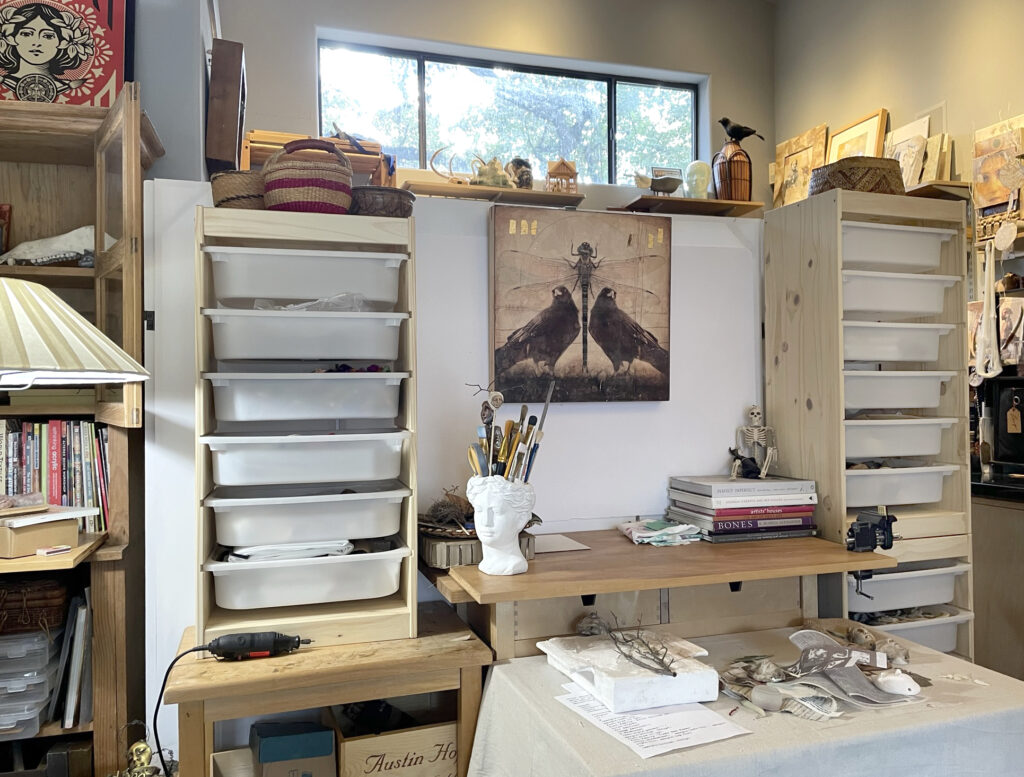
“Dang,” said I. “This looks like the kind of storage system we had when I taught high school art – bins for supplies.” IKEA had both white frames and natural pine ones. I picked up the natural pine one and six white bins. I took them back to my studio, and the frame was amazingly easy to put together – 24 pegs, six screws, twenty minutes tops. And look!
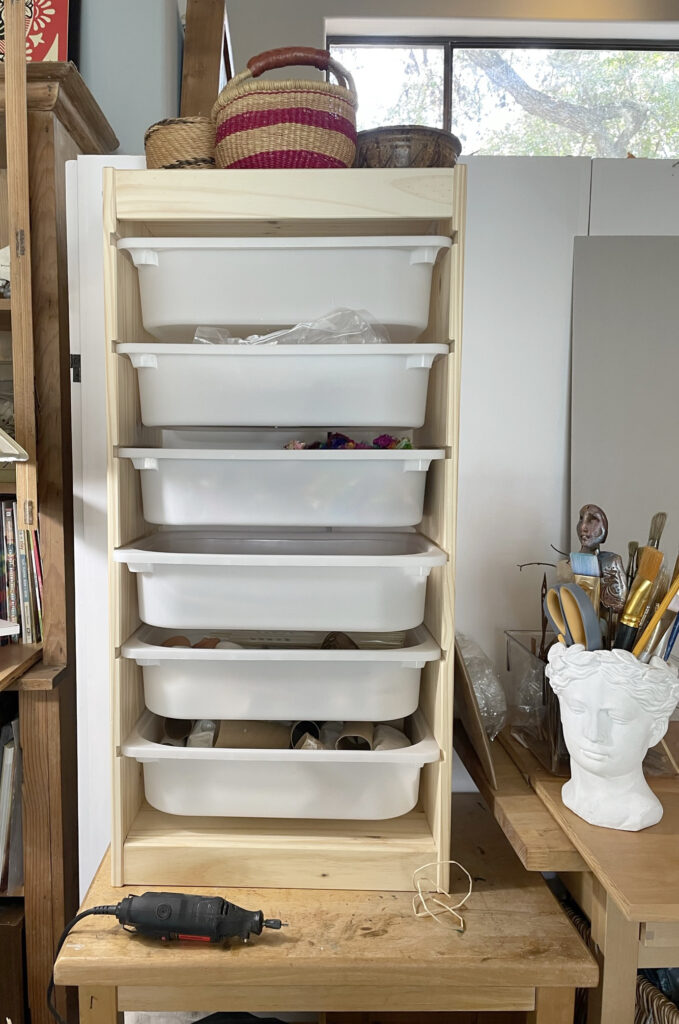
But wait, it gets better. The next day (yesterday) I went back and got two more sets of bins and frames and stacked them on top of each other on the other side of the work table – check this out:
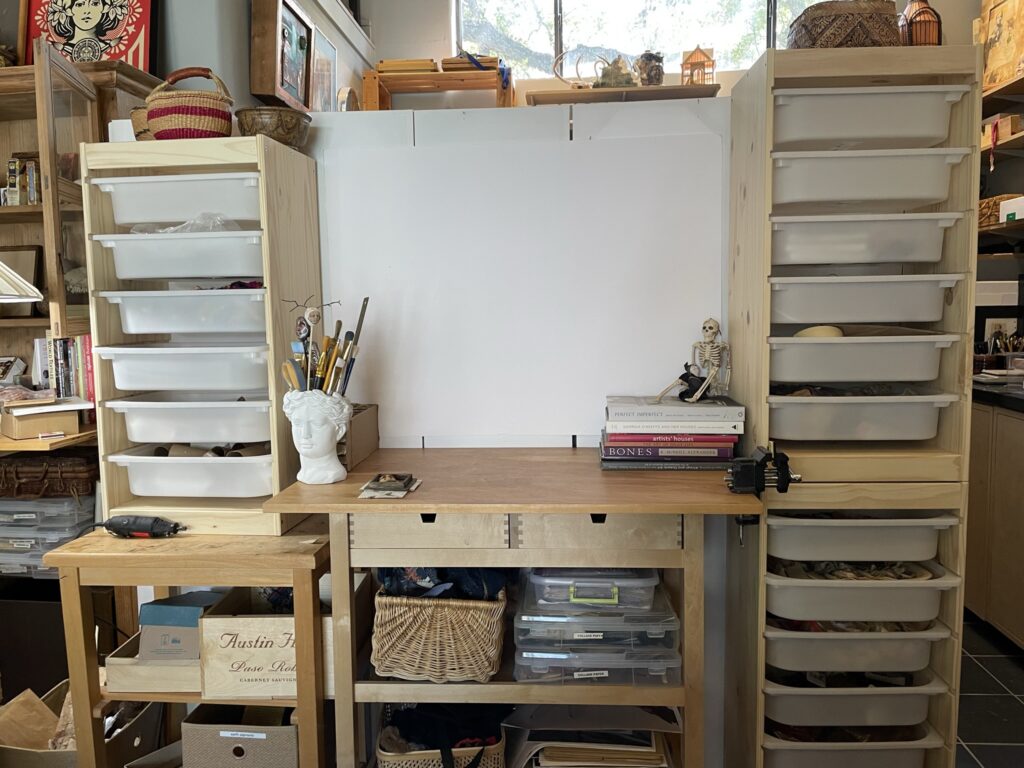
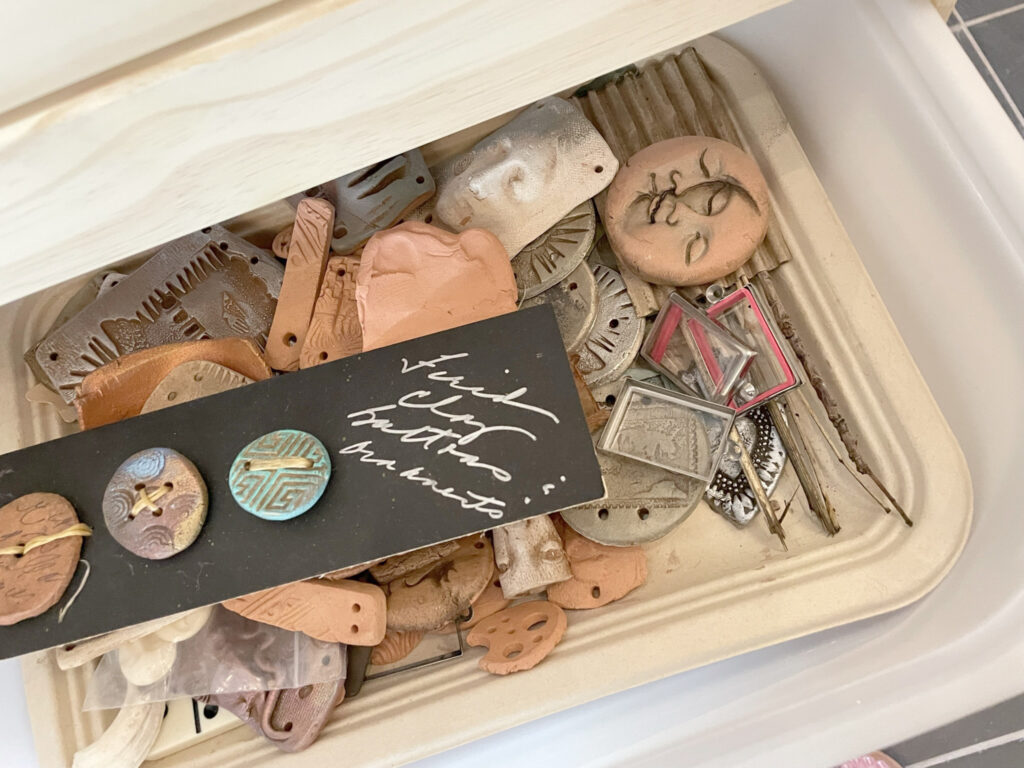
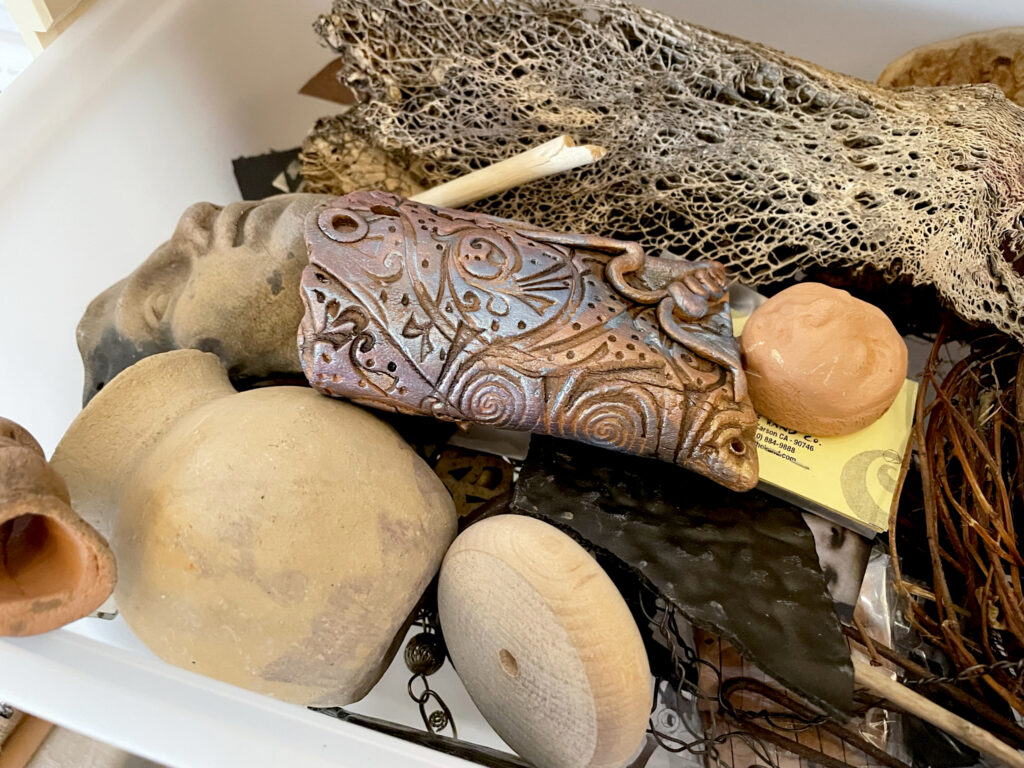
This is a game changer! I have trouble with conventional storage systems because I work in clay, fiber, paper and wax and little bitty pieces and shards which defy categorization. These bins are perfect! They keep things separated but accessible, and I can pull them out when I need them. Plastic bins of my stuff! Hooray!
And may I add, this is an incredibly affordable system? Each unit costs about $74 for the frame and six plastic trays. So I got all of this for a little over $200. The white frames are even cheaper – $39. You can also get colored plastic trays and metal mesh trays.
Here is the link to the IKEA page that has these toy storage system:
https://www.ikea.com/us/en/cat/toy-storage-20474/
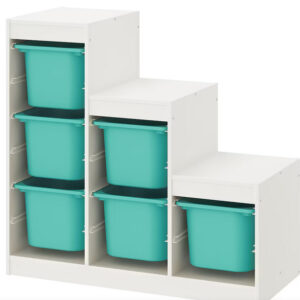
They even has one that looks like a Japanese Tansu Chest (well, sorta). This is the white frame with larger colored bins, but you can mix and match:
So I know not everyone has an IKEA close to them, so I checked to see if these can be shipped, and they can. Delivery costs may vary, but it’s still a deal.
So bye for now – I’m off to play with my toys – and I promise to put them away when I am finished with them.

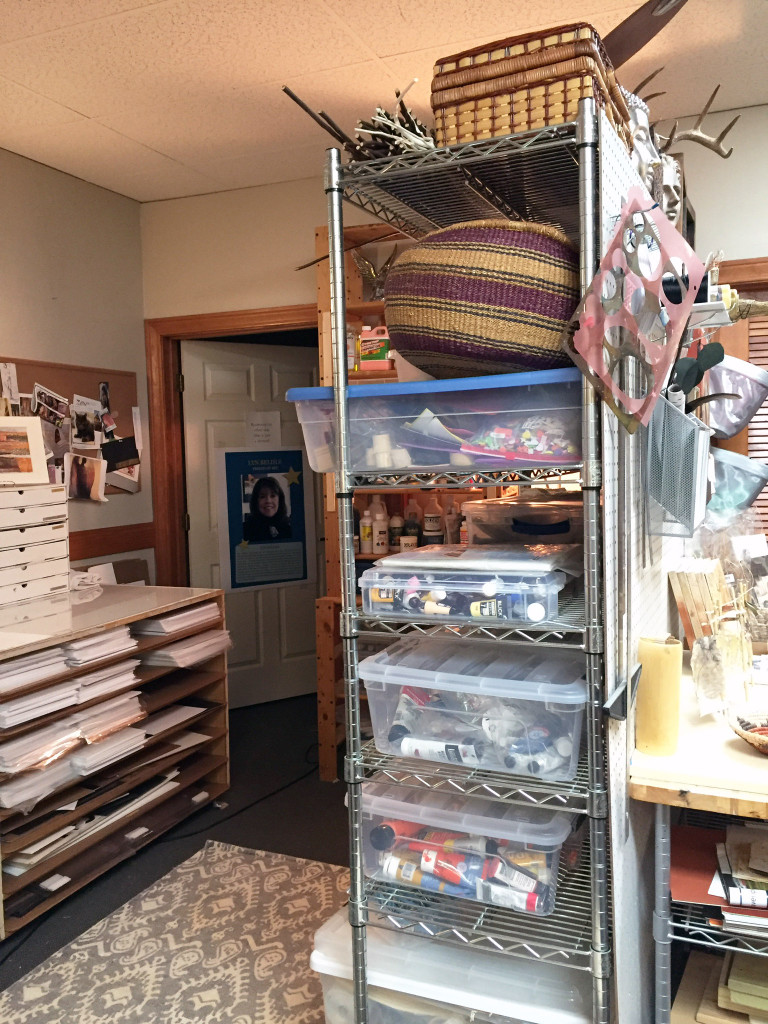
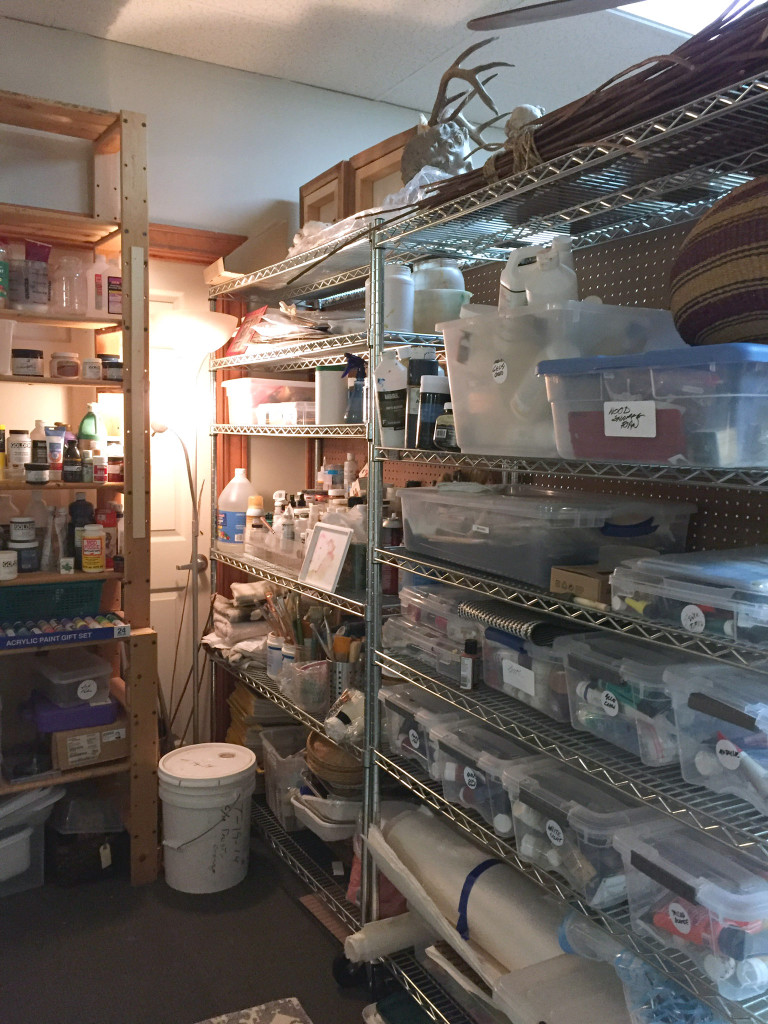
 A metal shelf, 4’x8’x18″ – I bought mine from Costco –