My friend Lisa Stamper Meyer had a great studio show and sale yesterday that showcased her recent painting trip to France. She (lucky woman) enjoyed a time of deep artistic exploration during a month-long residency at the Chateau Orquevaux.
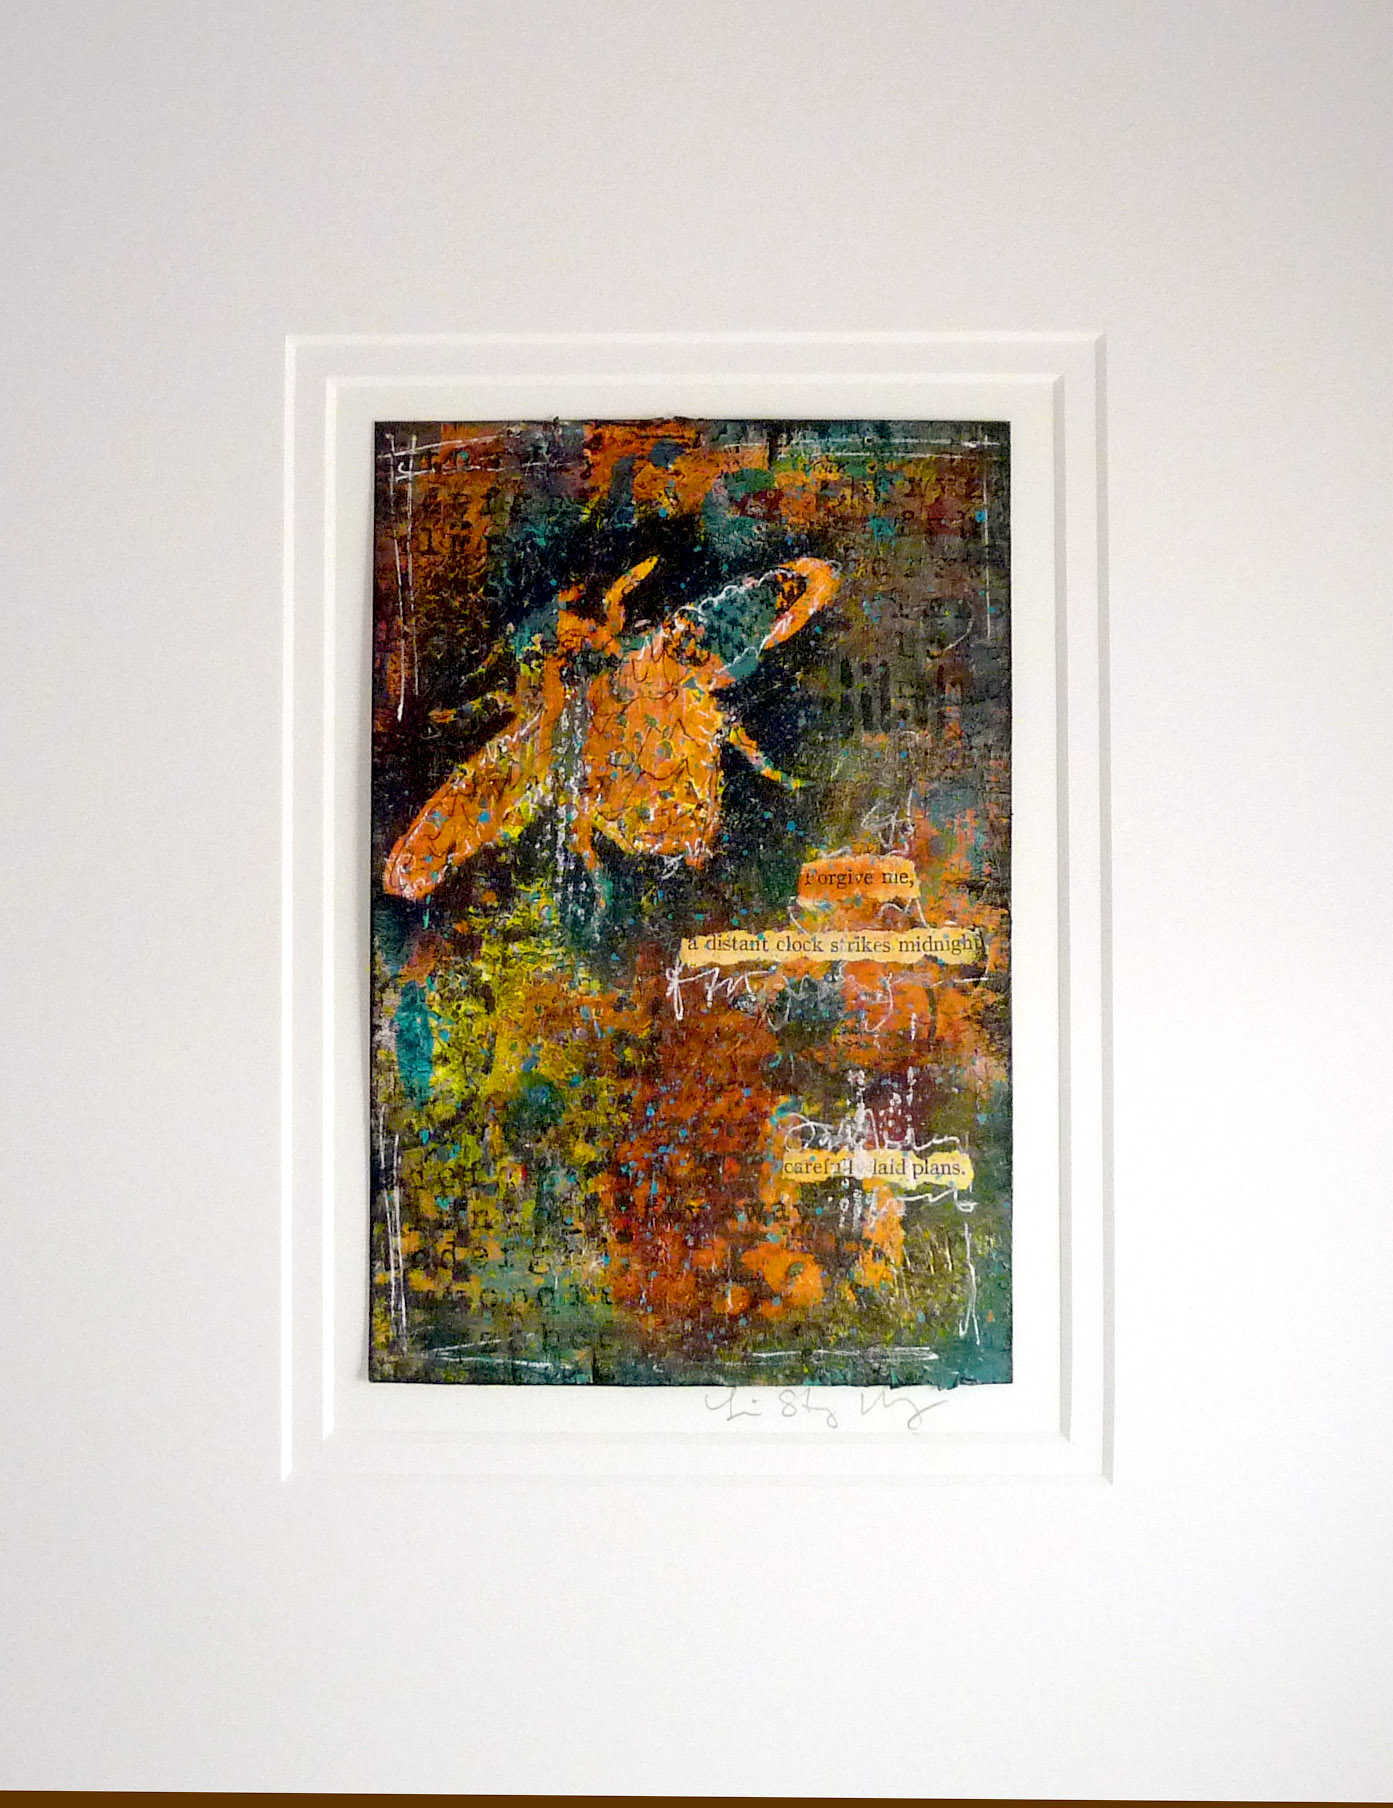
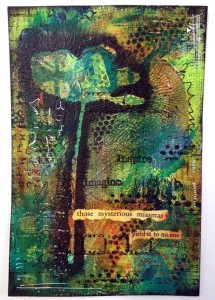
Here’s a piece that I purchased from her yesterday. It reflects some of her signature materials and themes, which came into sharp focus during her journey – and everyone loves her ravens:
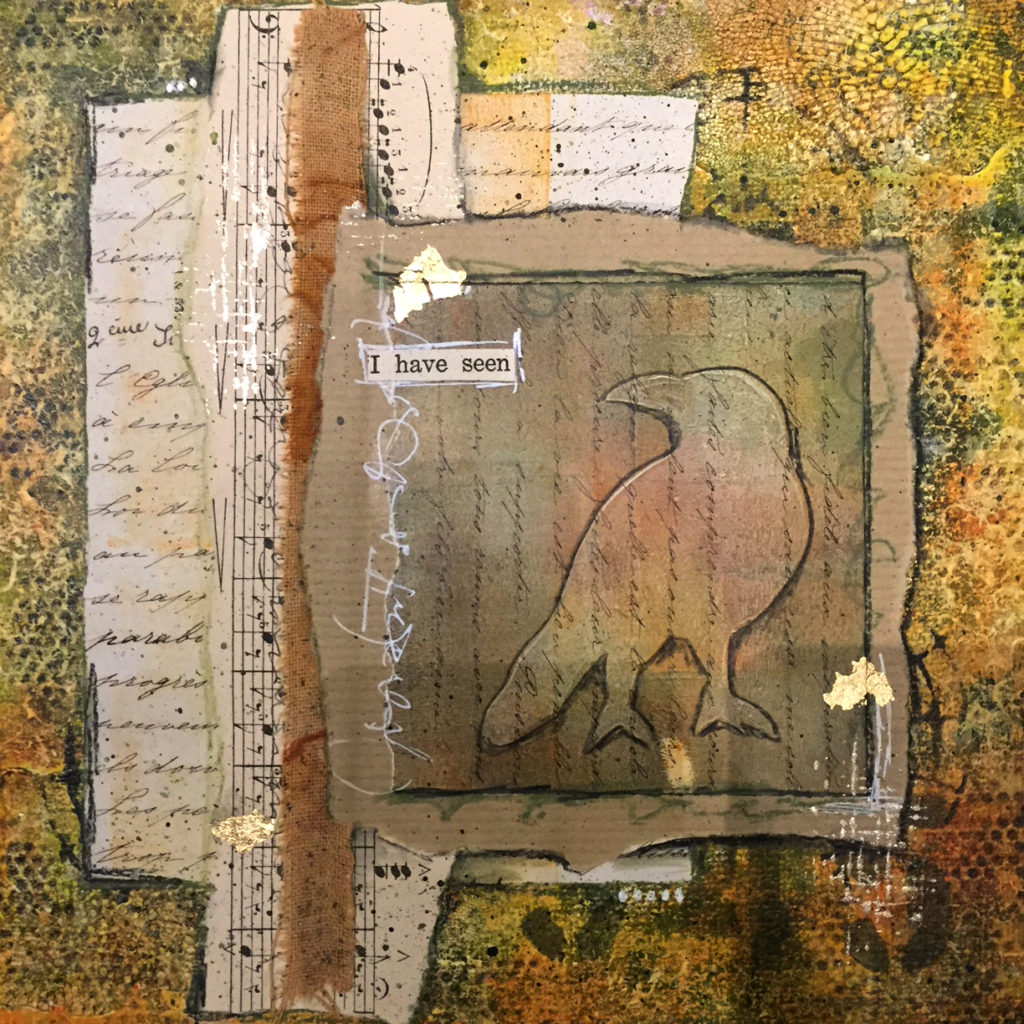
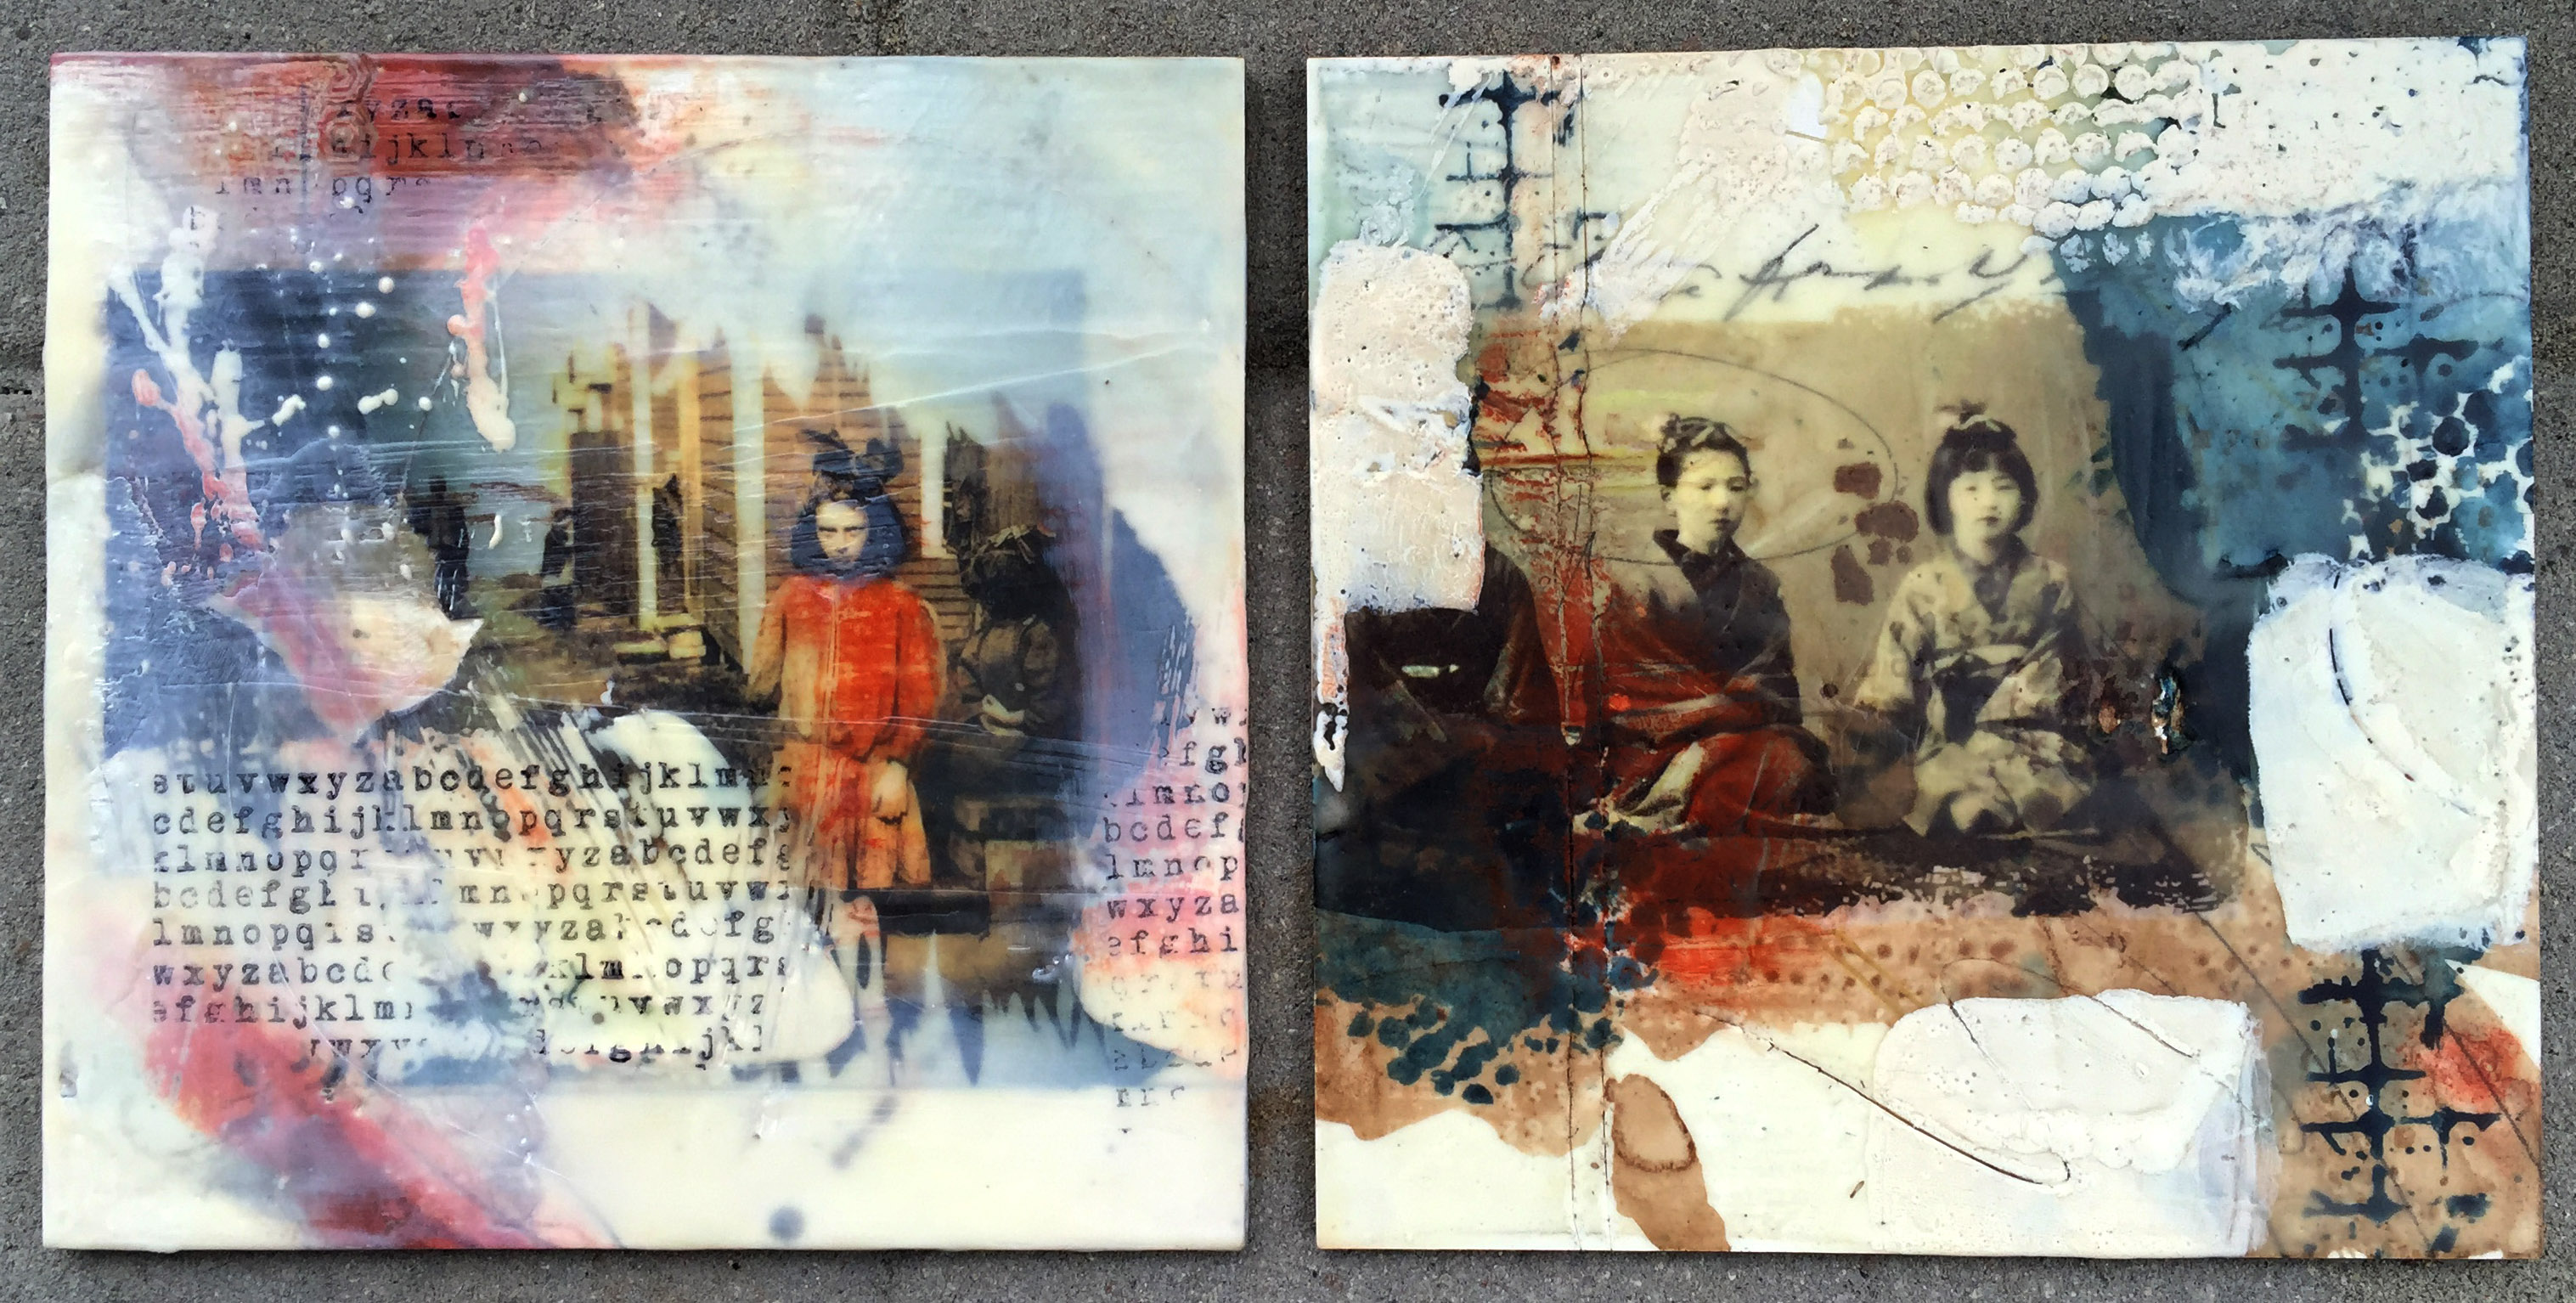
Mixed media collage, Lisa Stamper Meyer
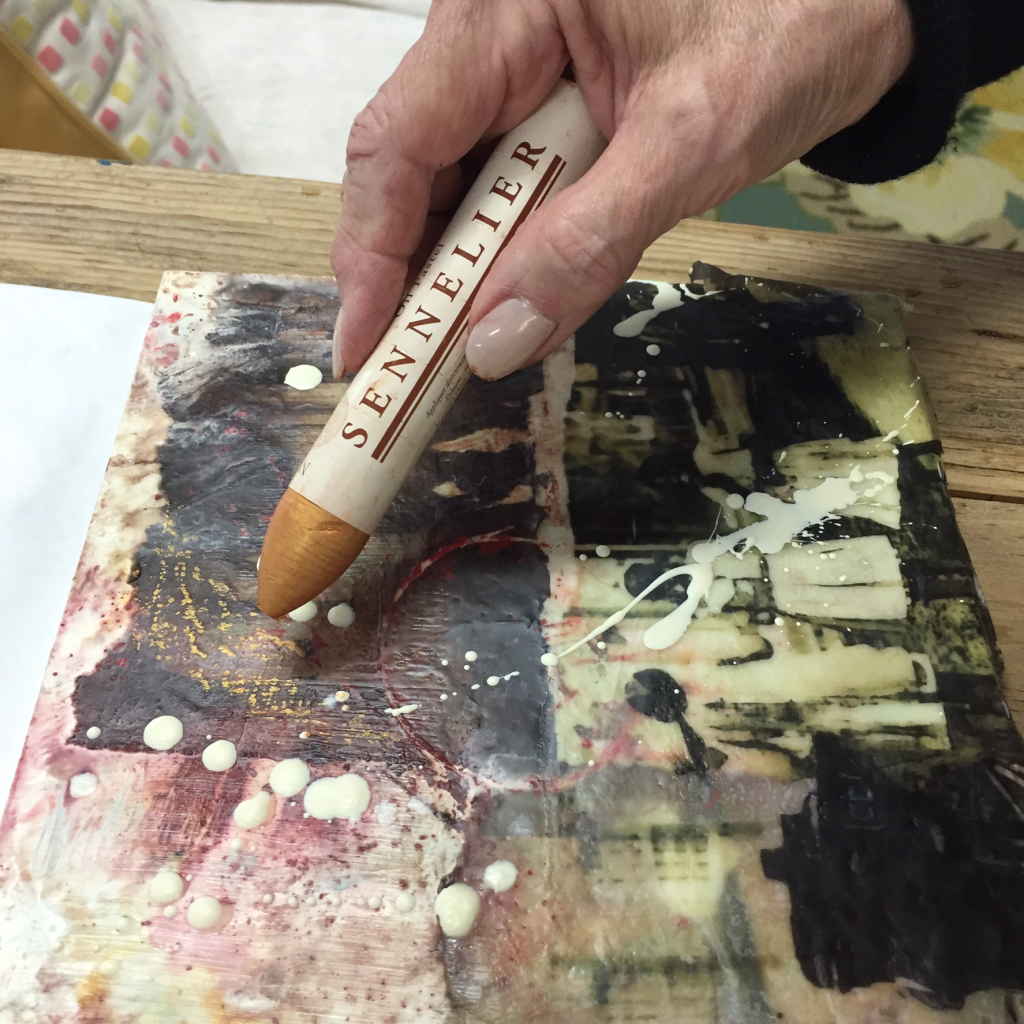
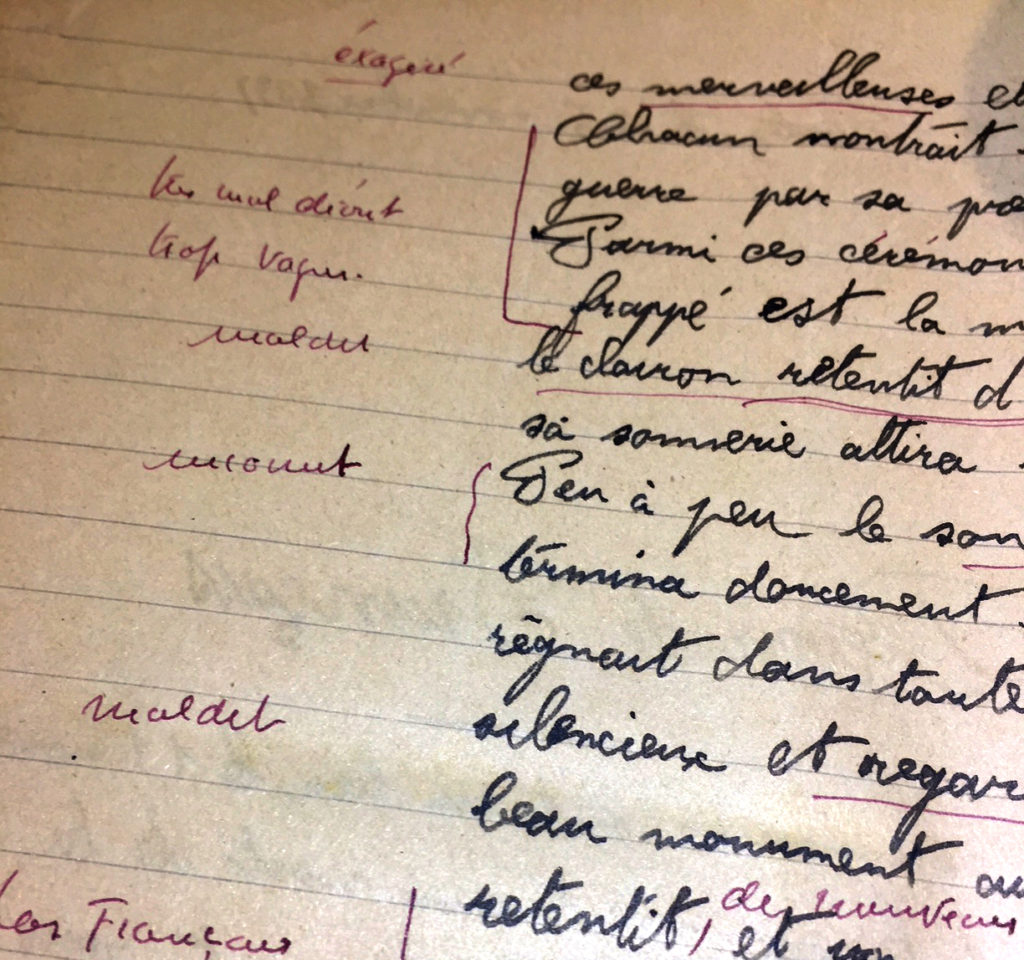
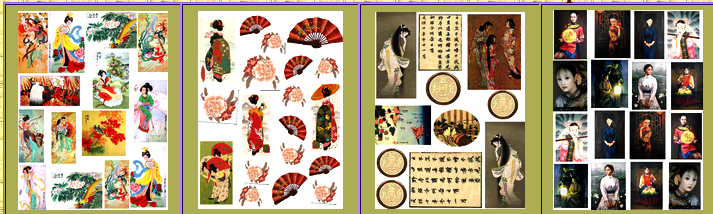
Lisa is a master in both collecting and using “ephemera,” those wonderful scraps of vintage paper that add intrigue to artwork. Fortunately for her friends, she brought back packages of French papers, letters, and book pages to share with us. Look at some of the cool stuff I got!
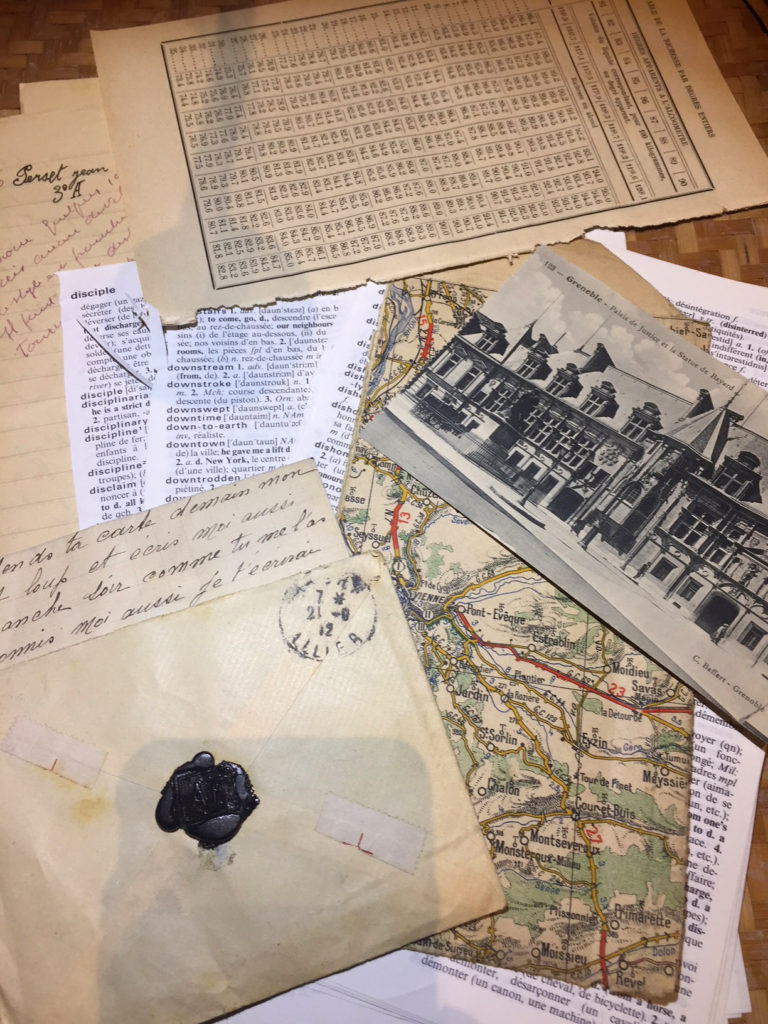
There is something about using authentic letters and book pages that somehow makes one’s artwork more precious than using reproductions.
When you are working with ephemera and printed pages, remember that the same guidelines of composition apply – Alignment, Breathing Space, and Thirds.
Here’s a preliminary collage arrangement of some of the pieces that I got from Lisa:
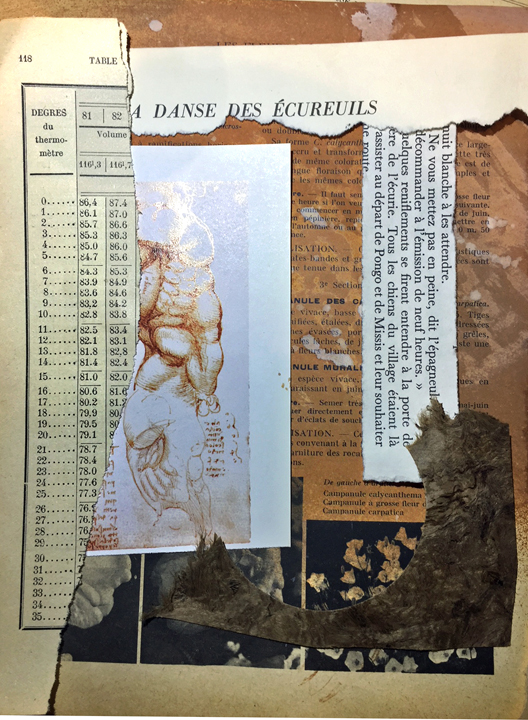
collage composition practice
And here are a couple of tips for YOU that will help when you use ephemera or printed media.

ephemera composition tips
- If there is a border on the torn paper strip, use it to good advantage by reinforcing the visual border of your work (see on left edge how the black border stops the eye from going off the page).
- If you have one torn edge and one straight edge, the torn edge should face into the work (see the top edge) – again, this focuses the viewer toward the interior of the composition.
- When you use a section of text, align it into the center. If it’s aligned away from the center, the viewer will be inclined to turn the composition outward to try and read it, and that will redirect the eye off the page.
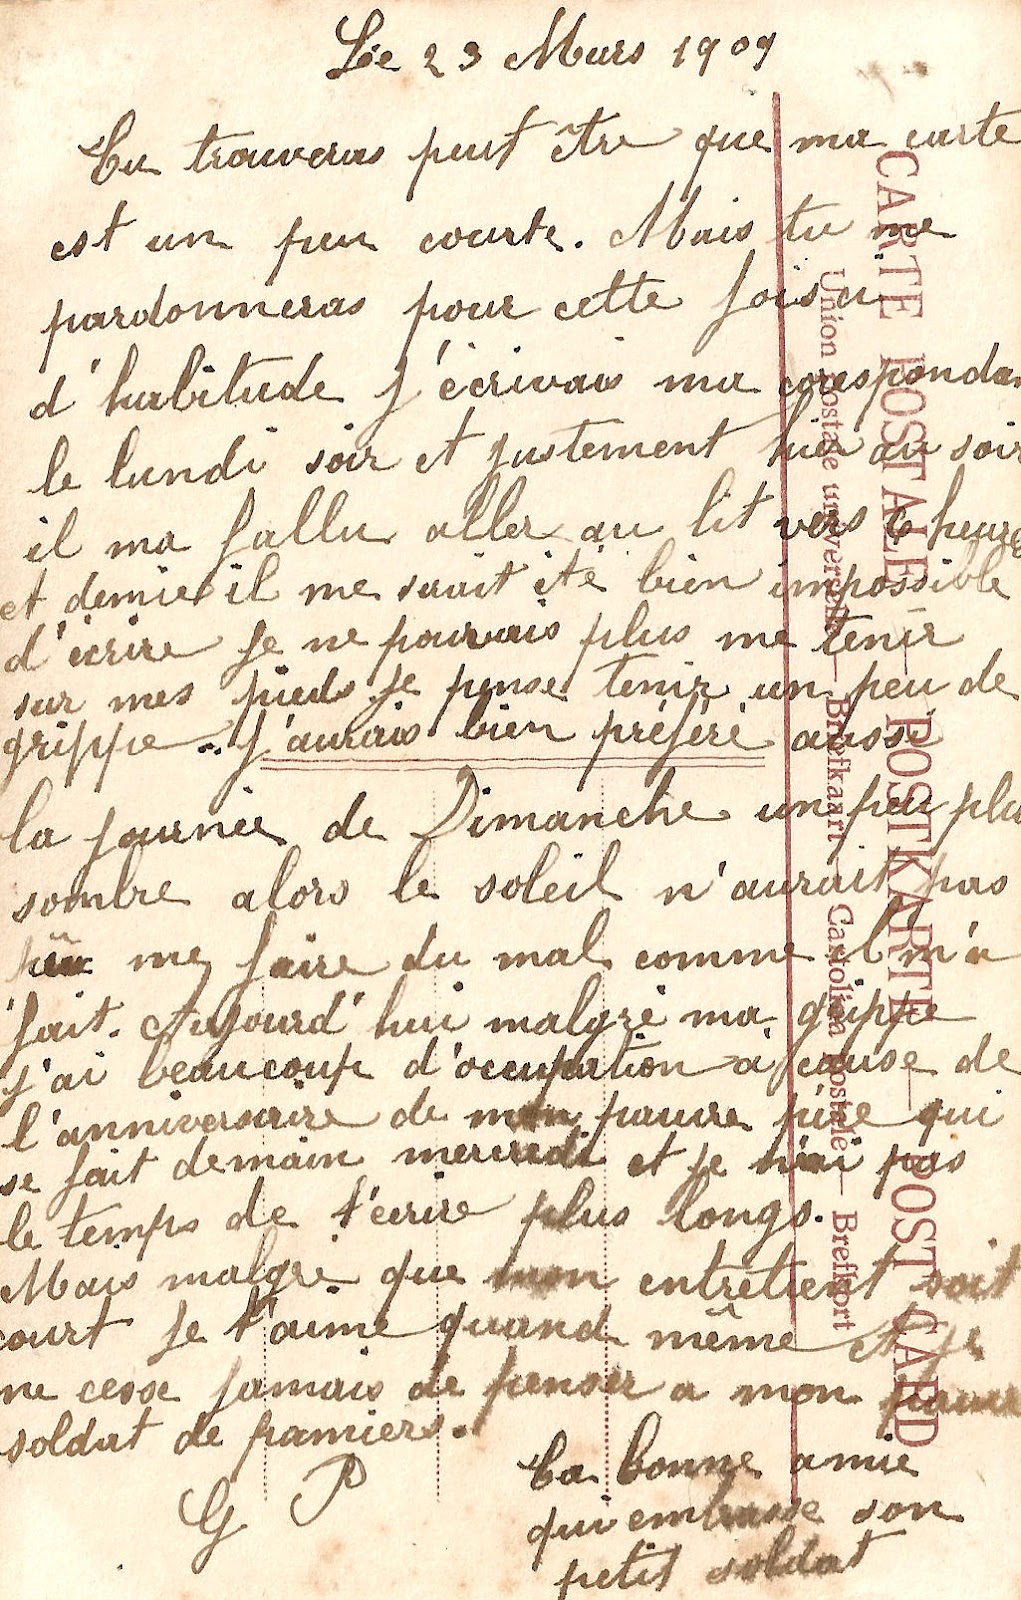
Next time Lisa goes to France, I am going too, with four empty suitcases to fill with nifty French ephemera! (I wish) What is it about printed materials foreign languages that is so intriguing?
If you’re interested in materials like this and can’t get to Chateau Orquevaux, there are good sources on Pinterest for vintage French correspondence like this one
There are also design sites like this one that sell more vintage collage and decoupage ephemera that you can shake a glue stick at -:Southern Blackberry Designs
Somehow, though, going to France on a residency program to collect ephemera sounds a little more appealing. Thanks, Lisa, for sharing your experience, your work (and your fantastic ephemera) with us!

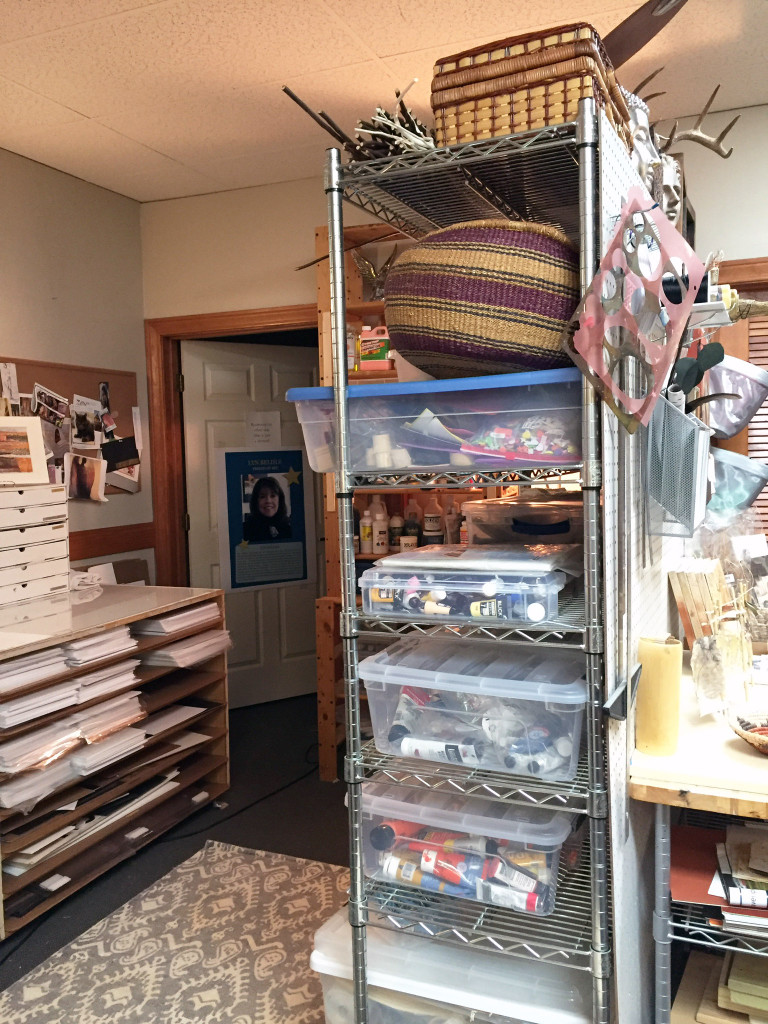
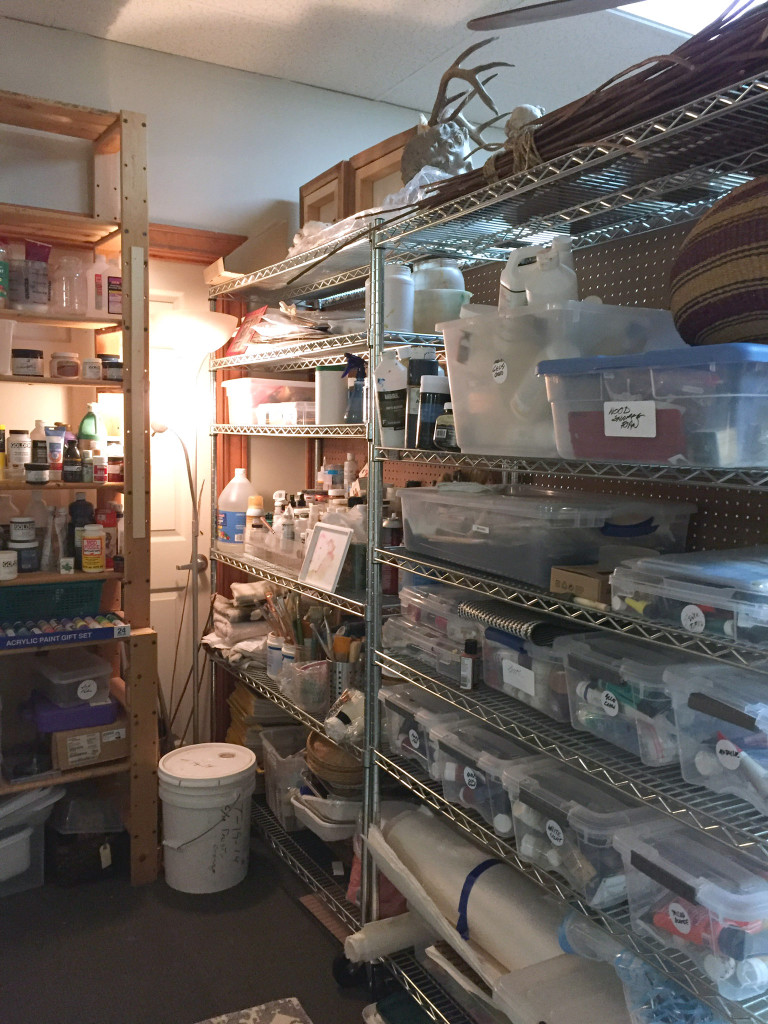
 A metal shelf, 4’x8’x18″ – I bought mine from Costco –
 Happy New Year! For me, 2016 got off to a great start yesterday at