Wednesday’s Votive Candle Screen get-together was a de-light – I was joined in the studio by Pam B. and Pam F. and the three of us spent a relaxing afternoon experimenting with surface design on paper for a candle screen project. I’ve taught workshops on this topic before, but this session had a more intensive focus on hand-enhanced decorative papers.
This project is perfect for the holidays. Paper is folded and slit in a way that allows it to open in the middle for a little battery candle to fit inside. I wrote and article about this for Cloth Paper Scissors magazine a few years ago.
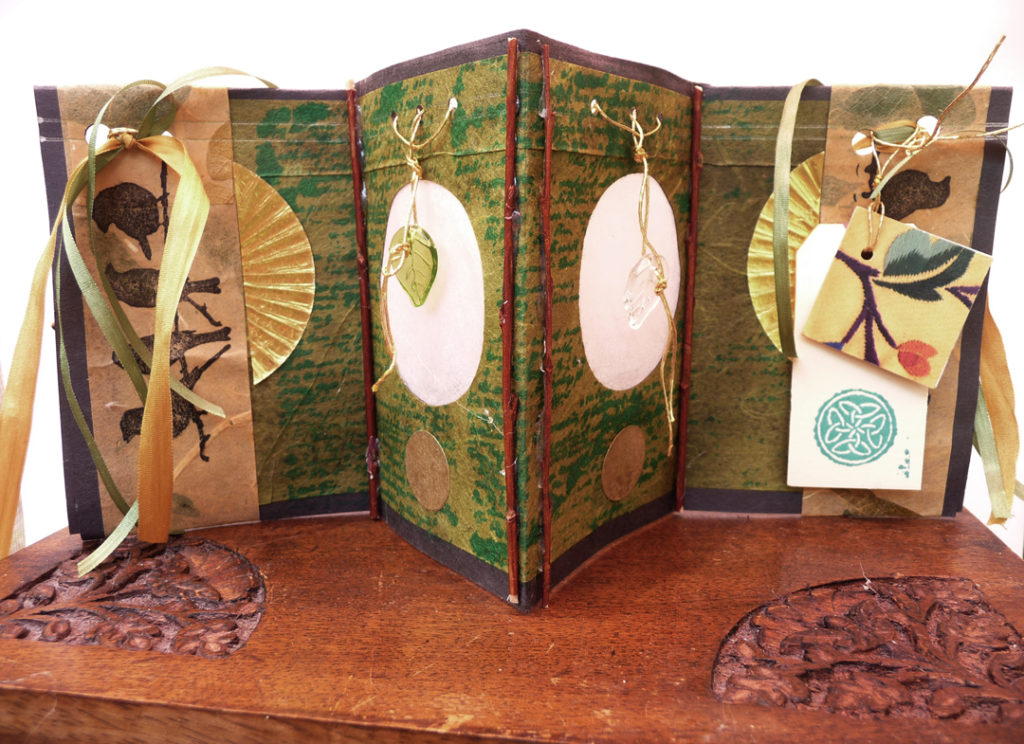
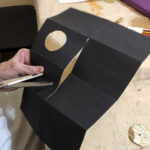
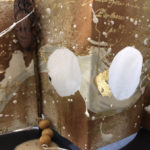
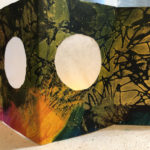
Alas, the magazine is no longer around, but I still have the article. Here’s an example of the folded paper votive screen:
We spent more time working on surface design than we did on decorating the finished votive screens.
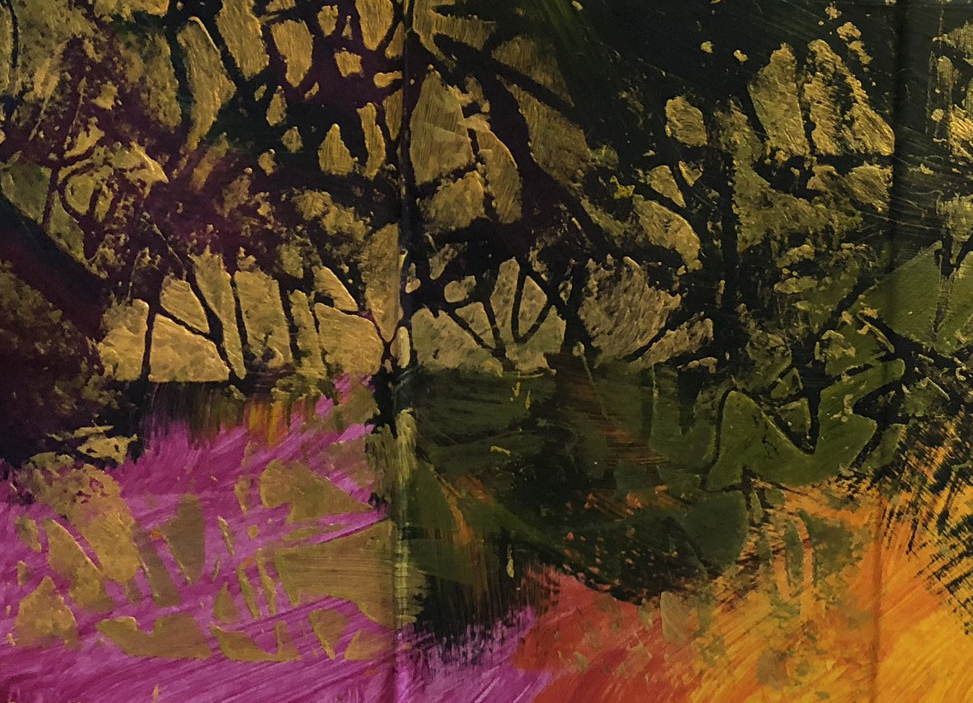
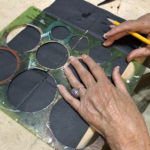
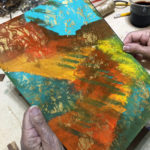
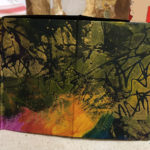
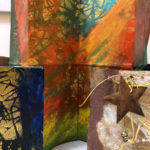
First experiment – we covered a sheet of 9×12″ lightweight watercolor paper with three colors of acrylic paint, dry-brushing and “scumbling” the colors together. After that first layer dried, we stenciled over it with gold acrylic paint – here’s what that looked like:
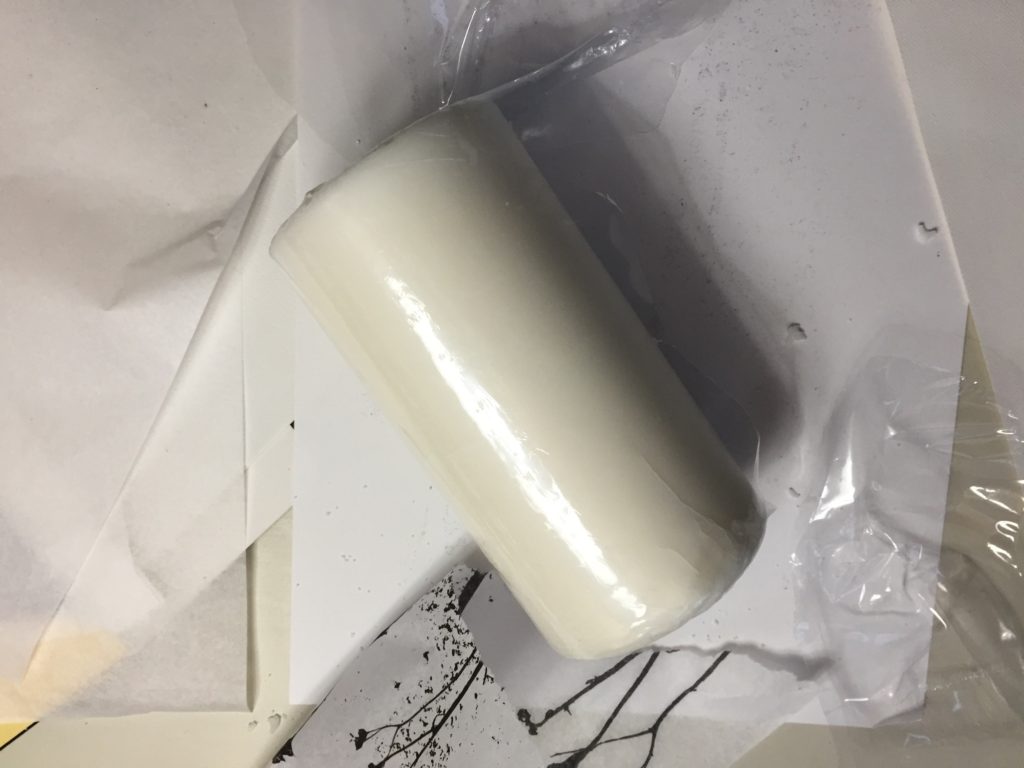
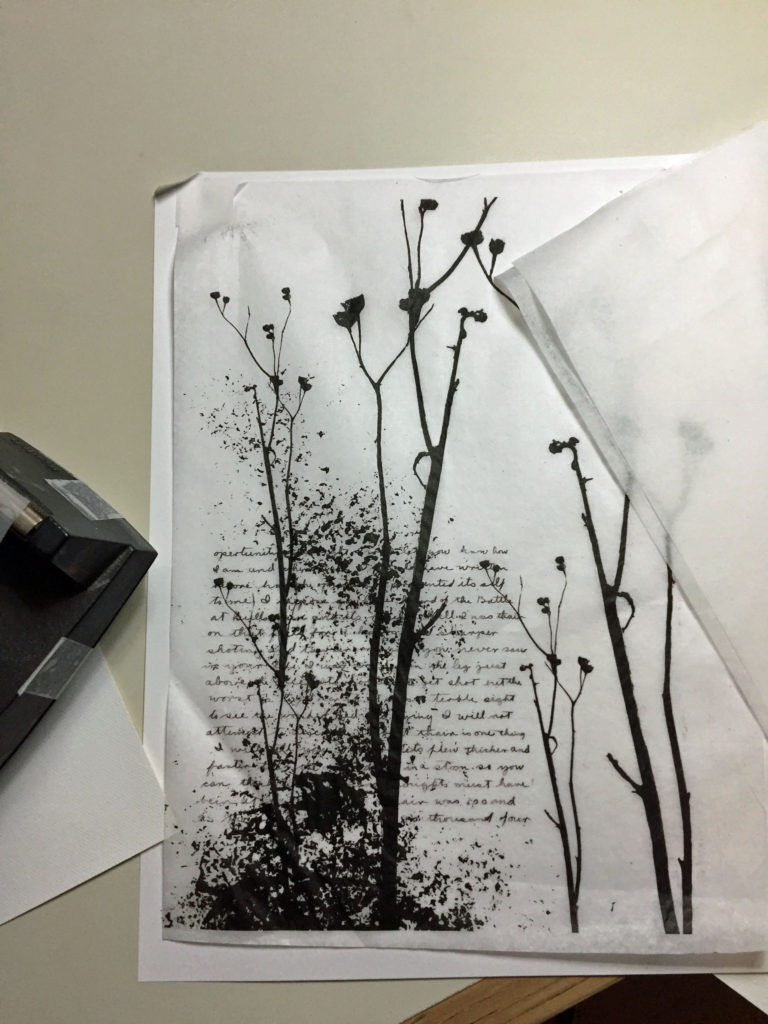
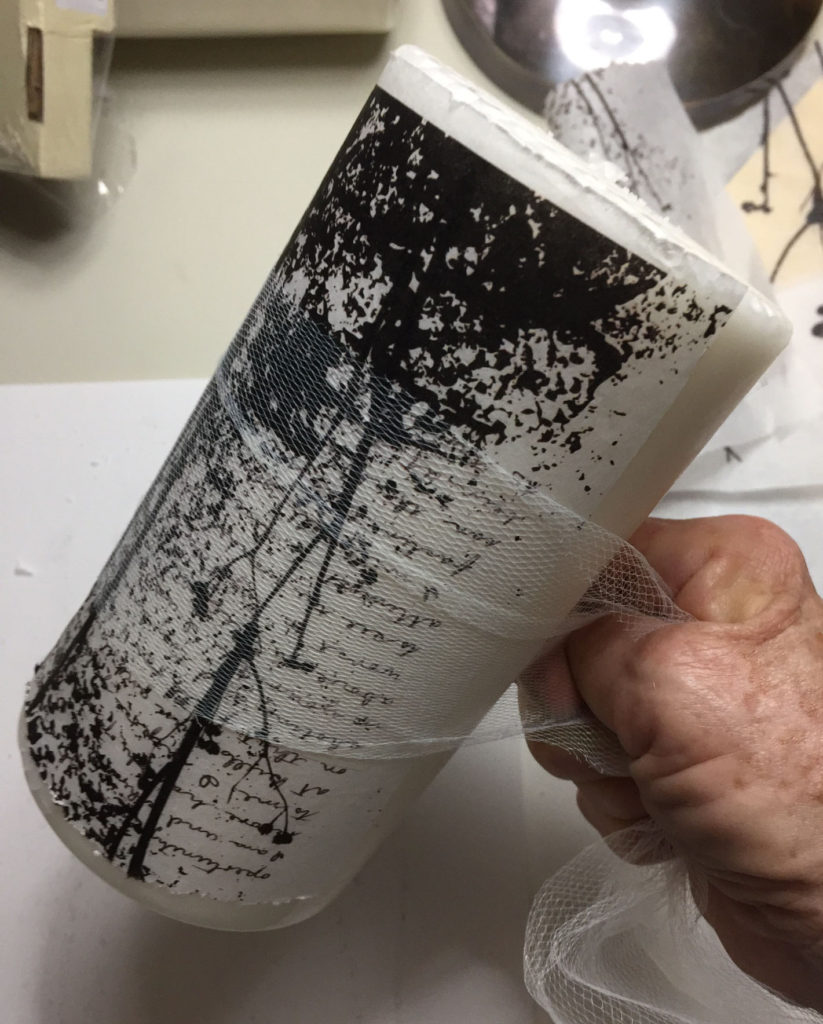
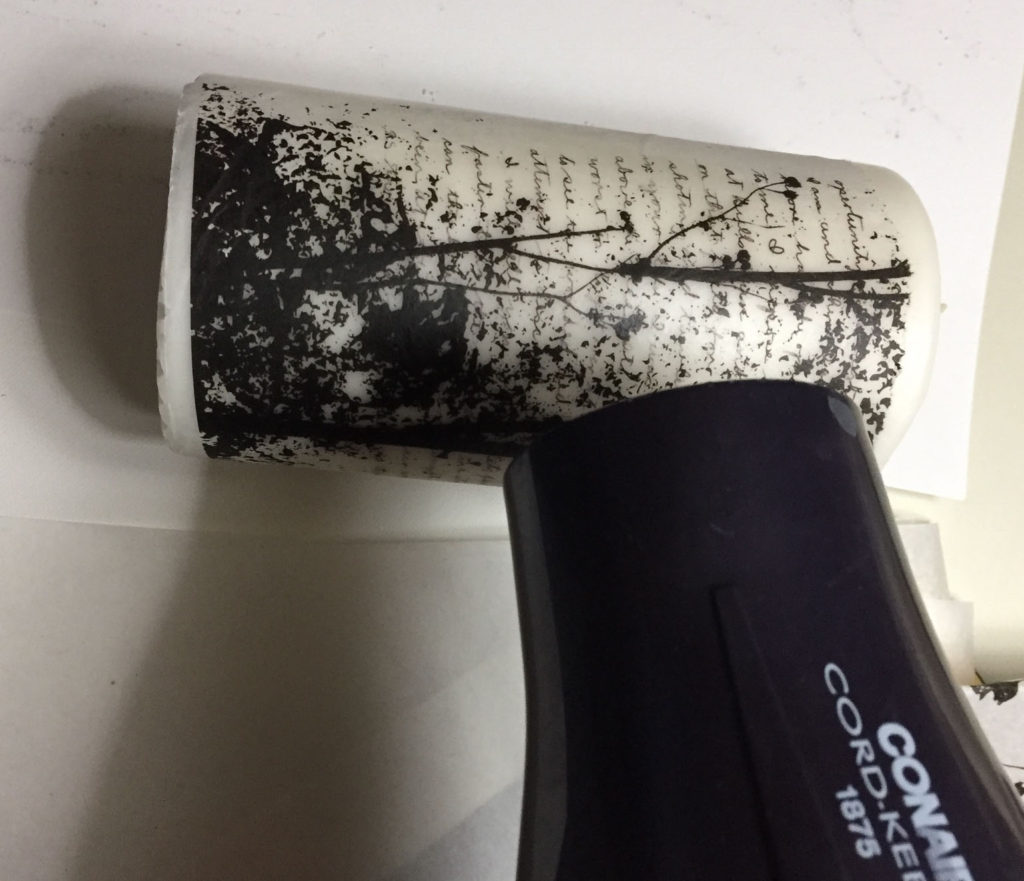
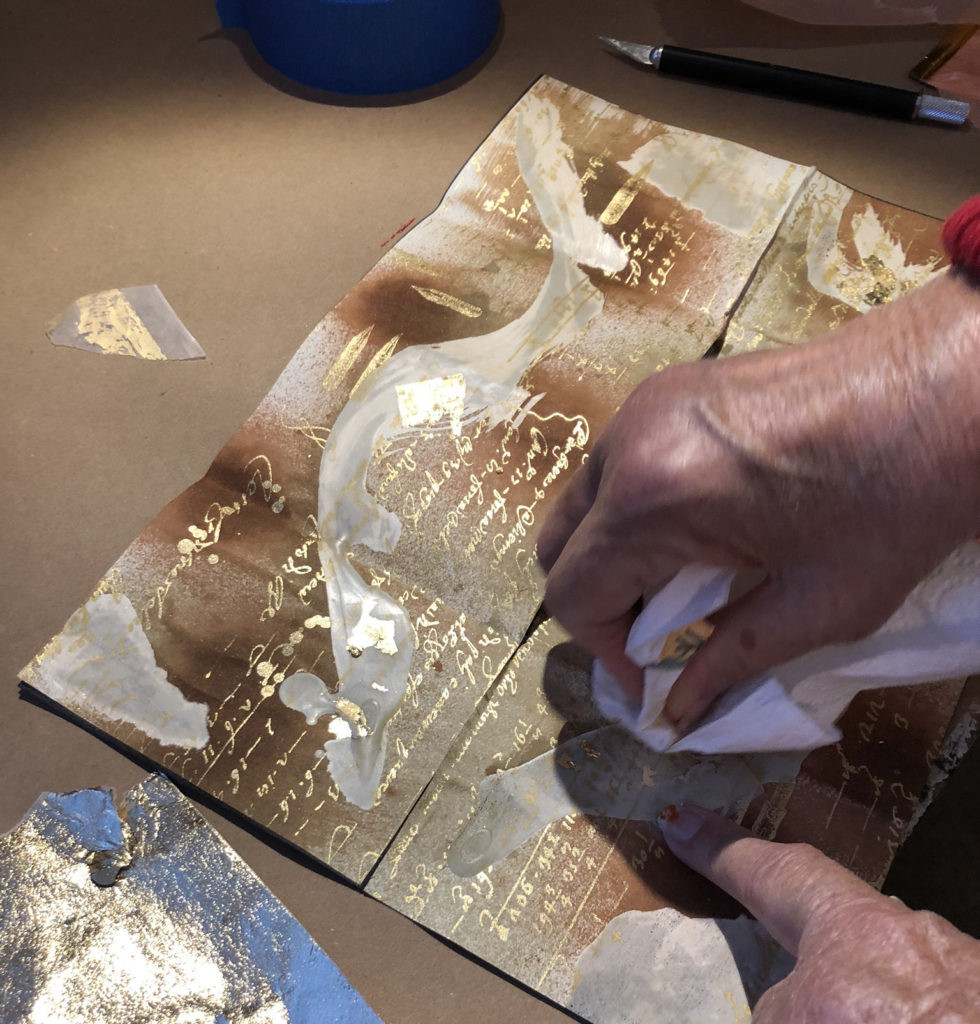
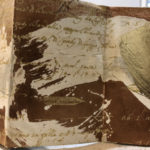
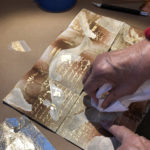
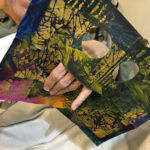
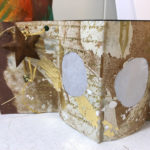
Our next experiment involved Italian decorative paper with gold writing on it. We made loose brushstrokes of melted beeswax over the paper, then sprayed it with various hues of walnut ink. Here’s one of the Pamelas rubbing off some of the walnut ink from the cooled wax:
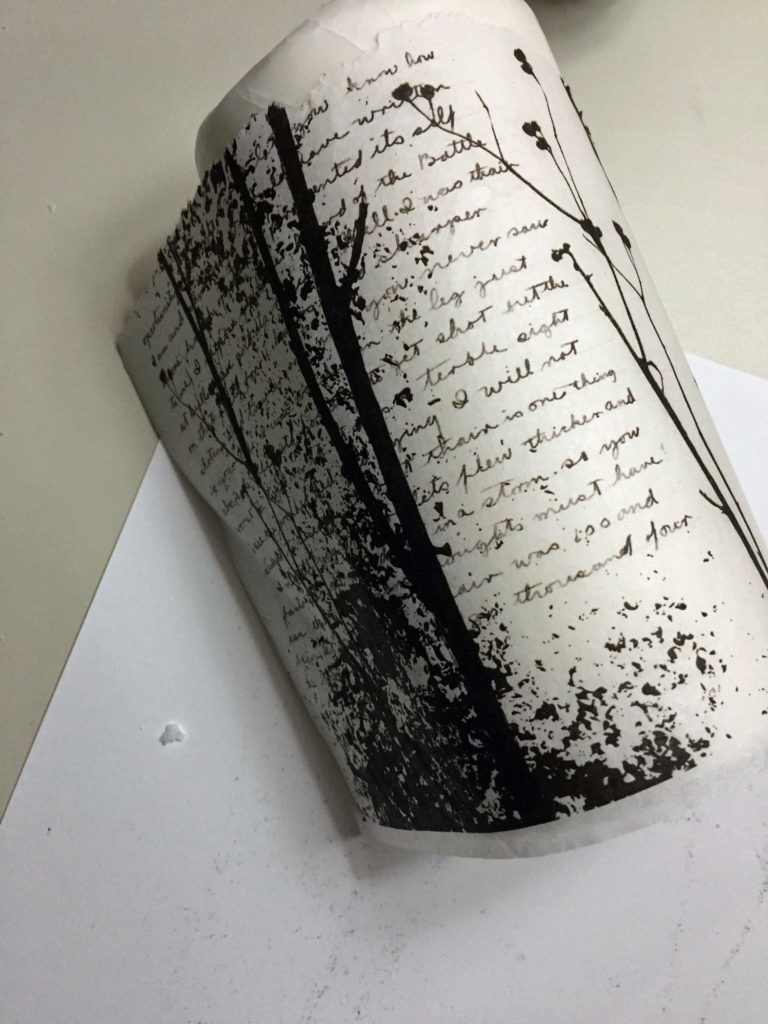
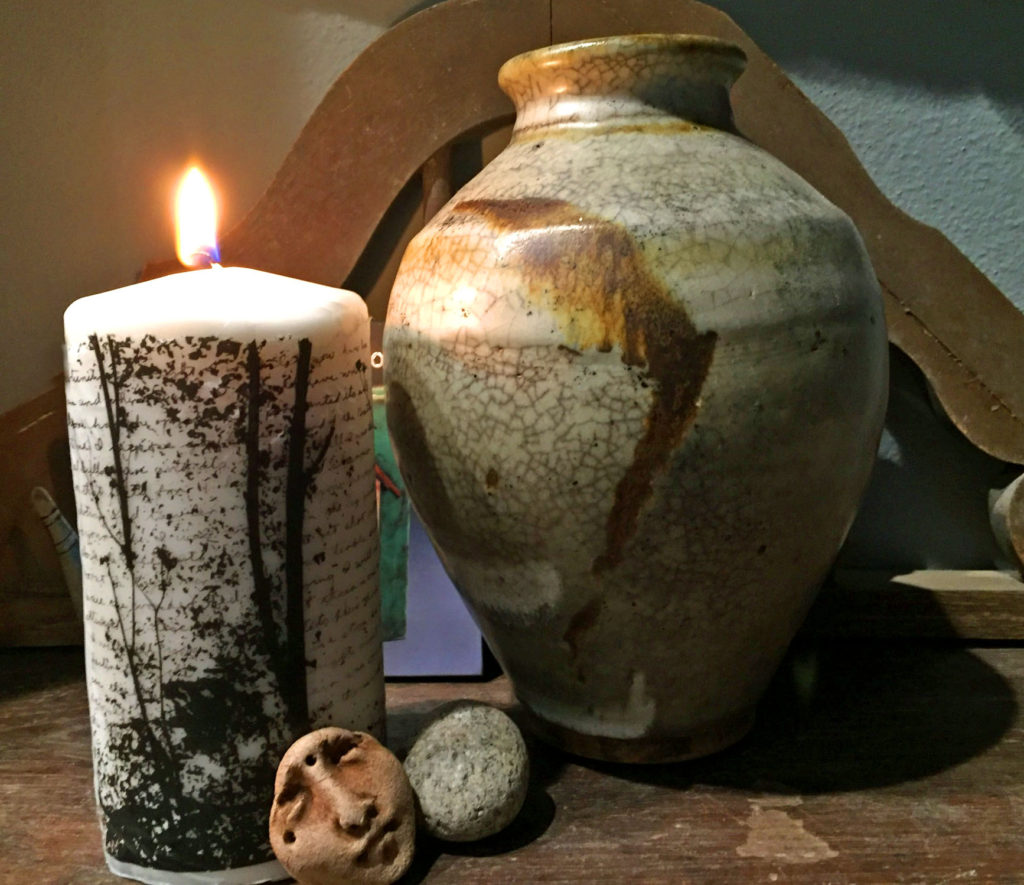
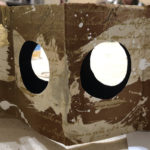
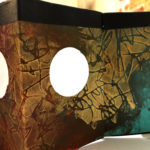
This paper folded beautifully into the votive screen shape:
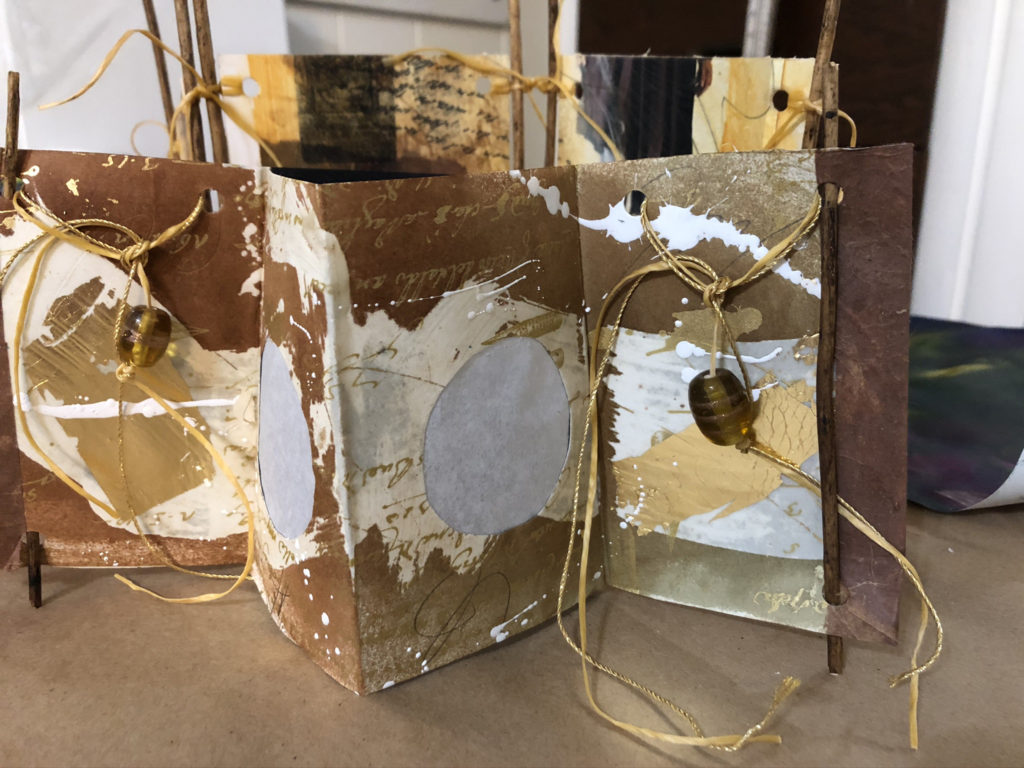
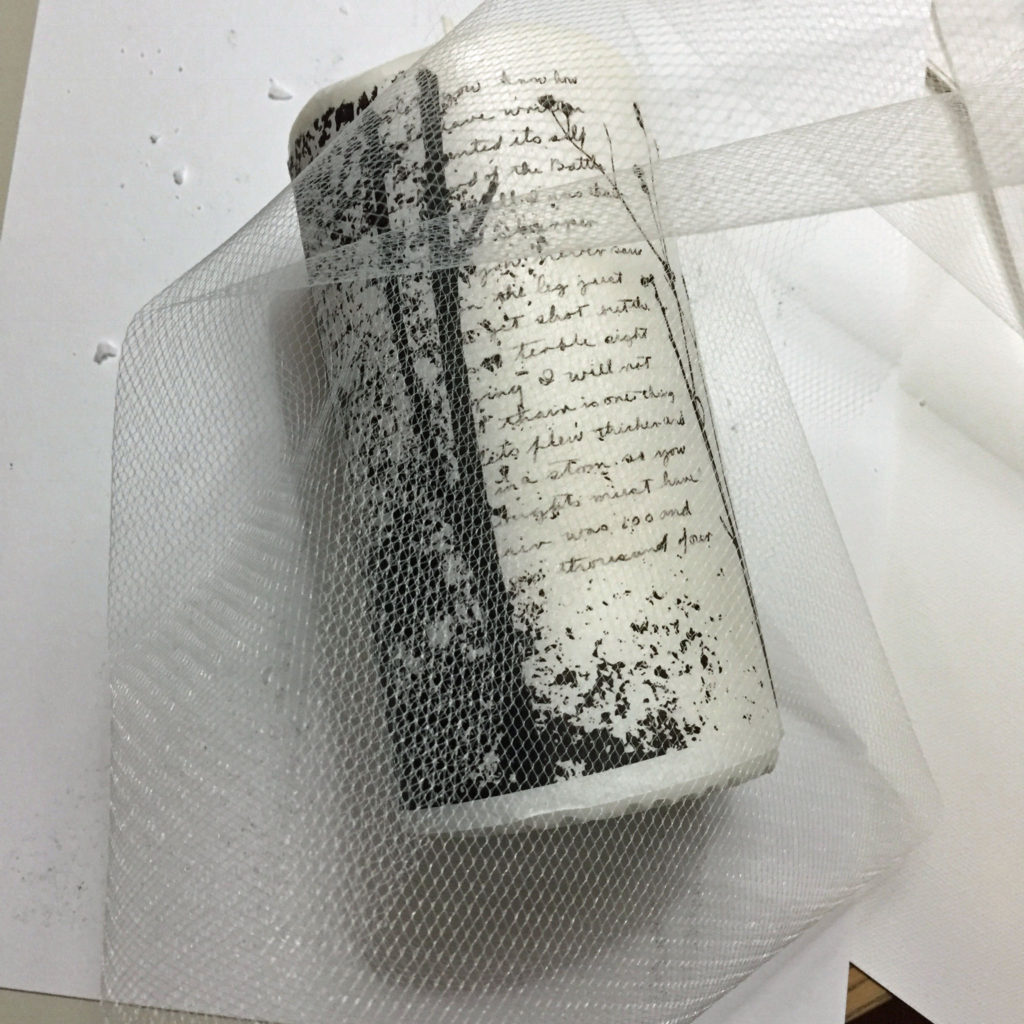
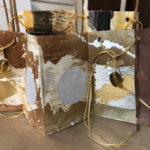
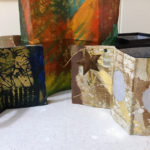
Here are some more photos of various stages of the process of assembling the votive screens. I honestly don’t know which treatment I liked better – the scumble and stencil, or the beeswax and walnut ink.
The votive screens turned out well, but all of us decided that the hand-decorated paper surfaces were the real winners. Both of the techniques we used – scumble and stencil and beeswax and walnut ink – would lend themselves beautifully to abstract painting, which will be my next workshop coming up in February of 2020.
Thanks to the two Pamelas for experimenting with me!
Here’s the list of materials if you want to try this on your own:
Votive Candle Cards Materials
- 9×12 construction paper or other medium weight crafting paper
- Two 4.5×11 pieces of decorative paper
- 4 2.5” square pieces of translucent vellum or translucent rice paper
- Two ½” bands of contrasting paper for side trim
- Compass or large round hole punch
- Craft glue or double sided tape
- Stamps, stickers, metallic pens – whatever “de-lights” your heart
- Small twigs, reeds or sticks
- A battery votive tea light
As a special gift to you, I’m sharing the original article that I wrote for Cloth Paper Scissors with all of the directions and how-to photos for making your own mixed-media votive candle screens. I hope you enjoy it! How about making one for every person at your holiday dinner table?
Happy Holidays, and thanks for reading SHARDS!
Photo by Food Photographer | Jennifer Pallian on Unsplash