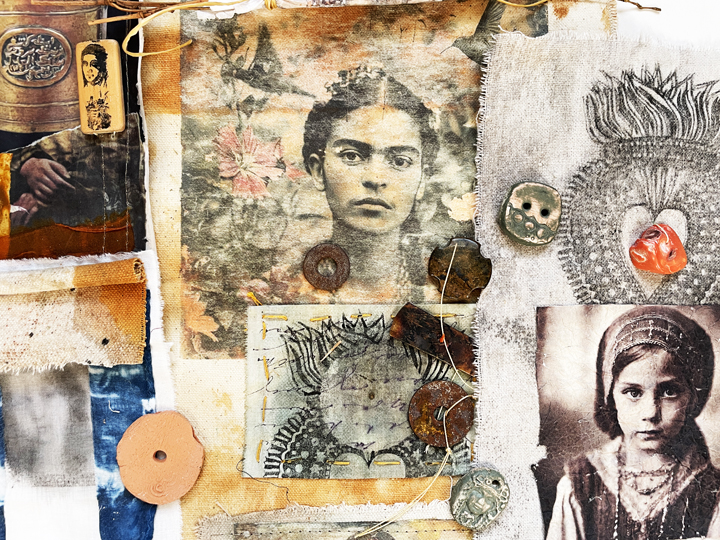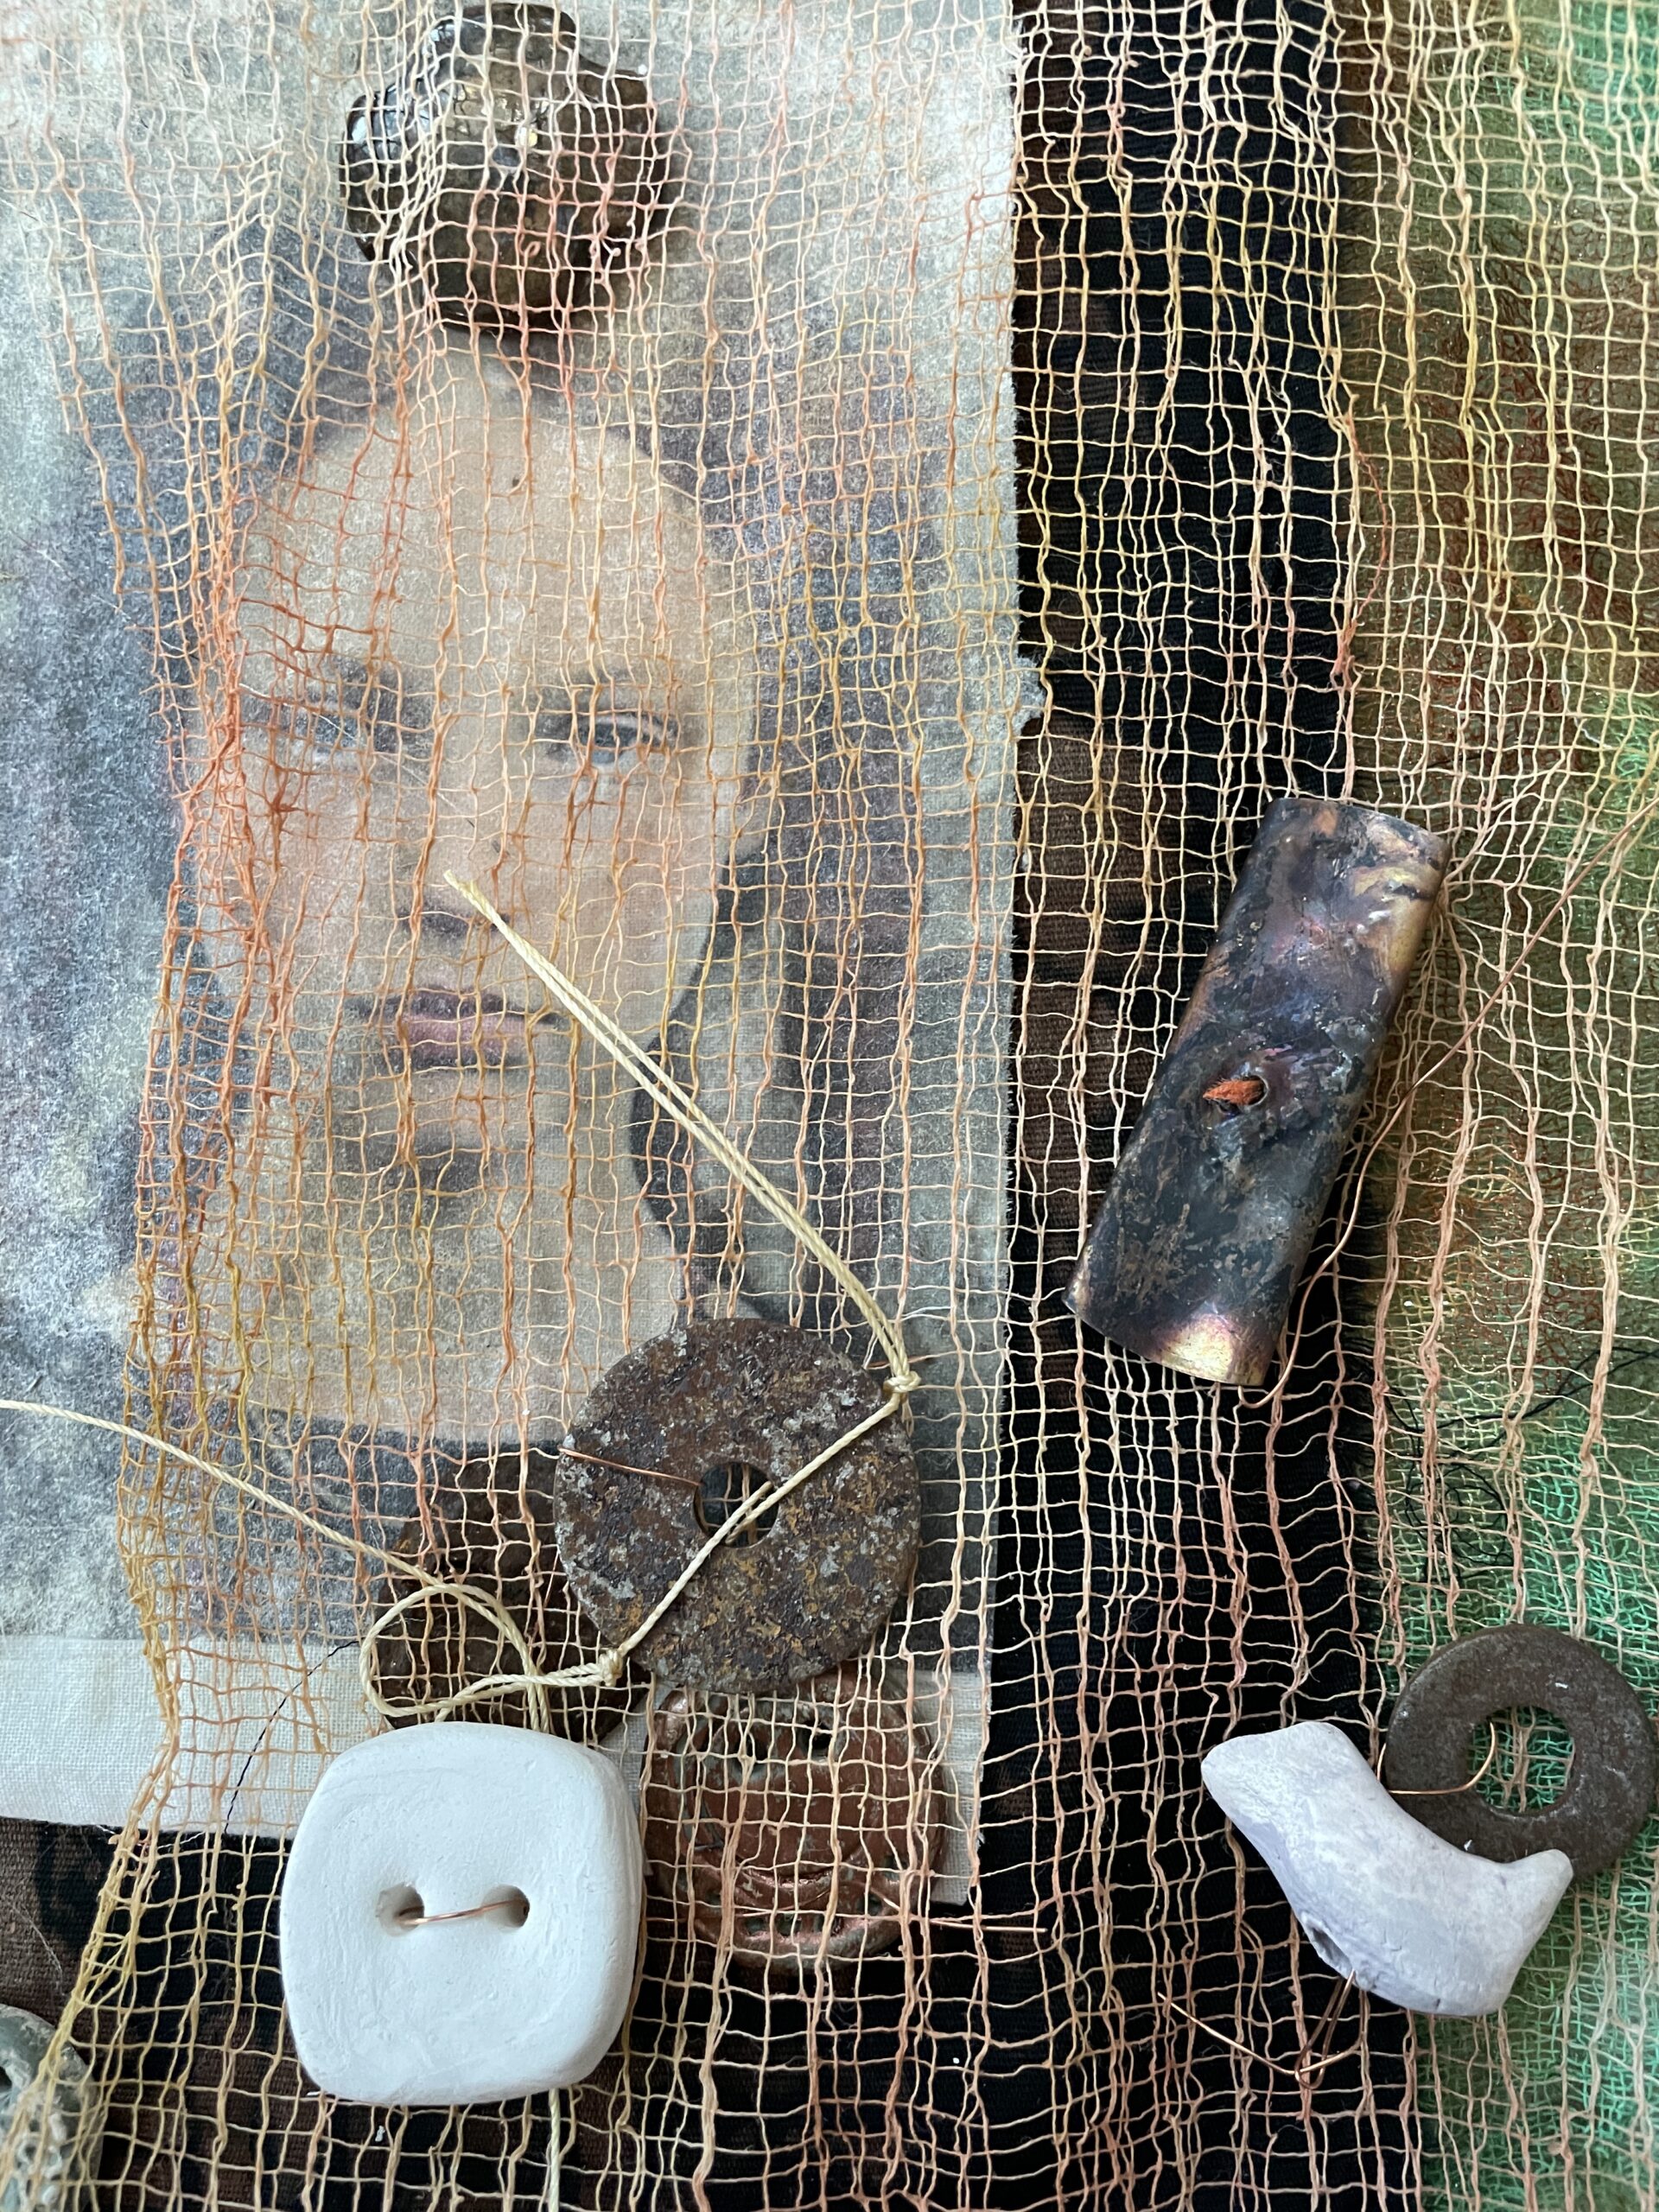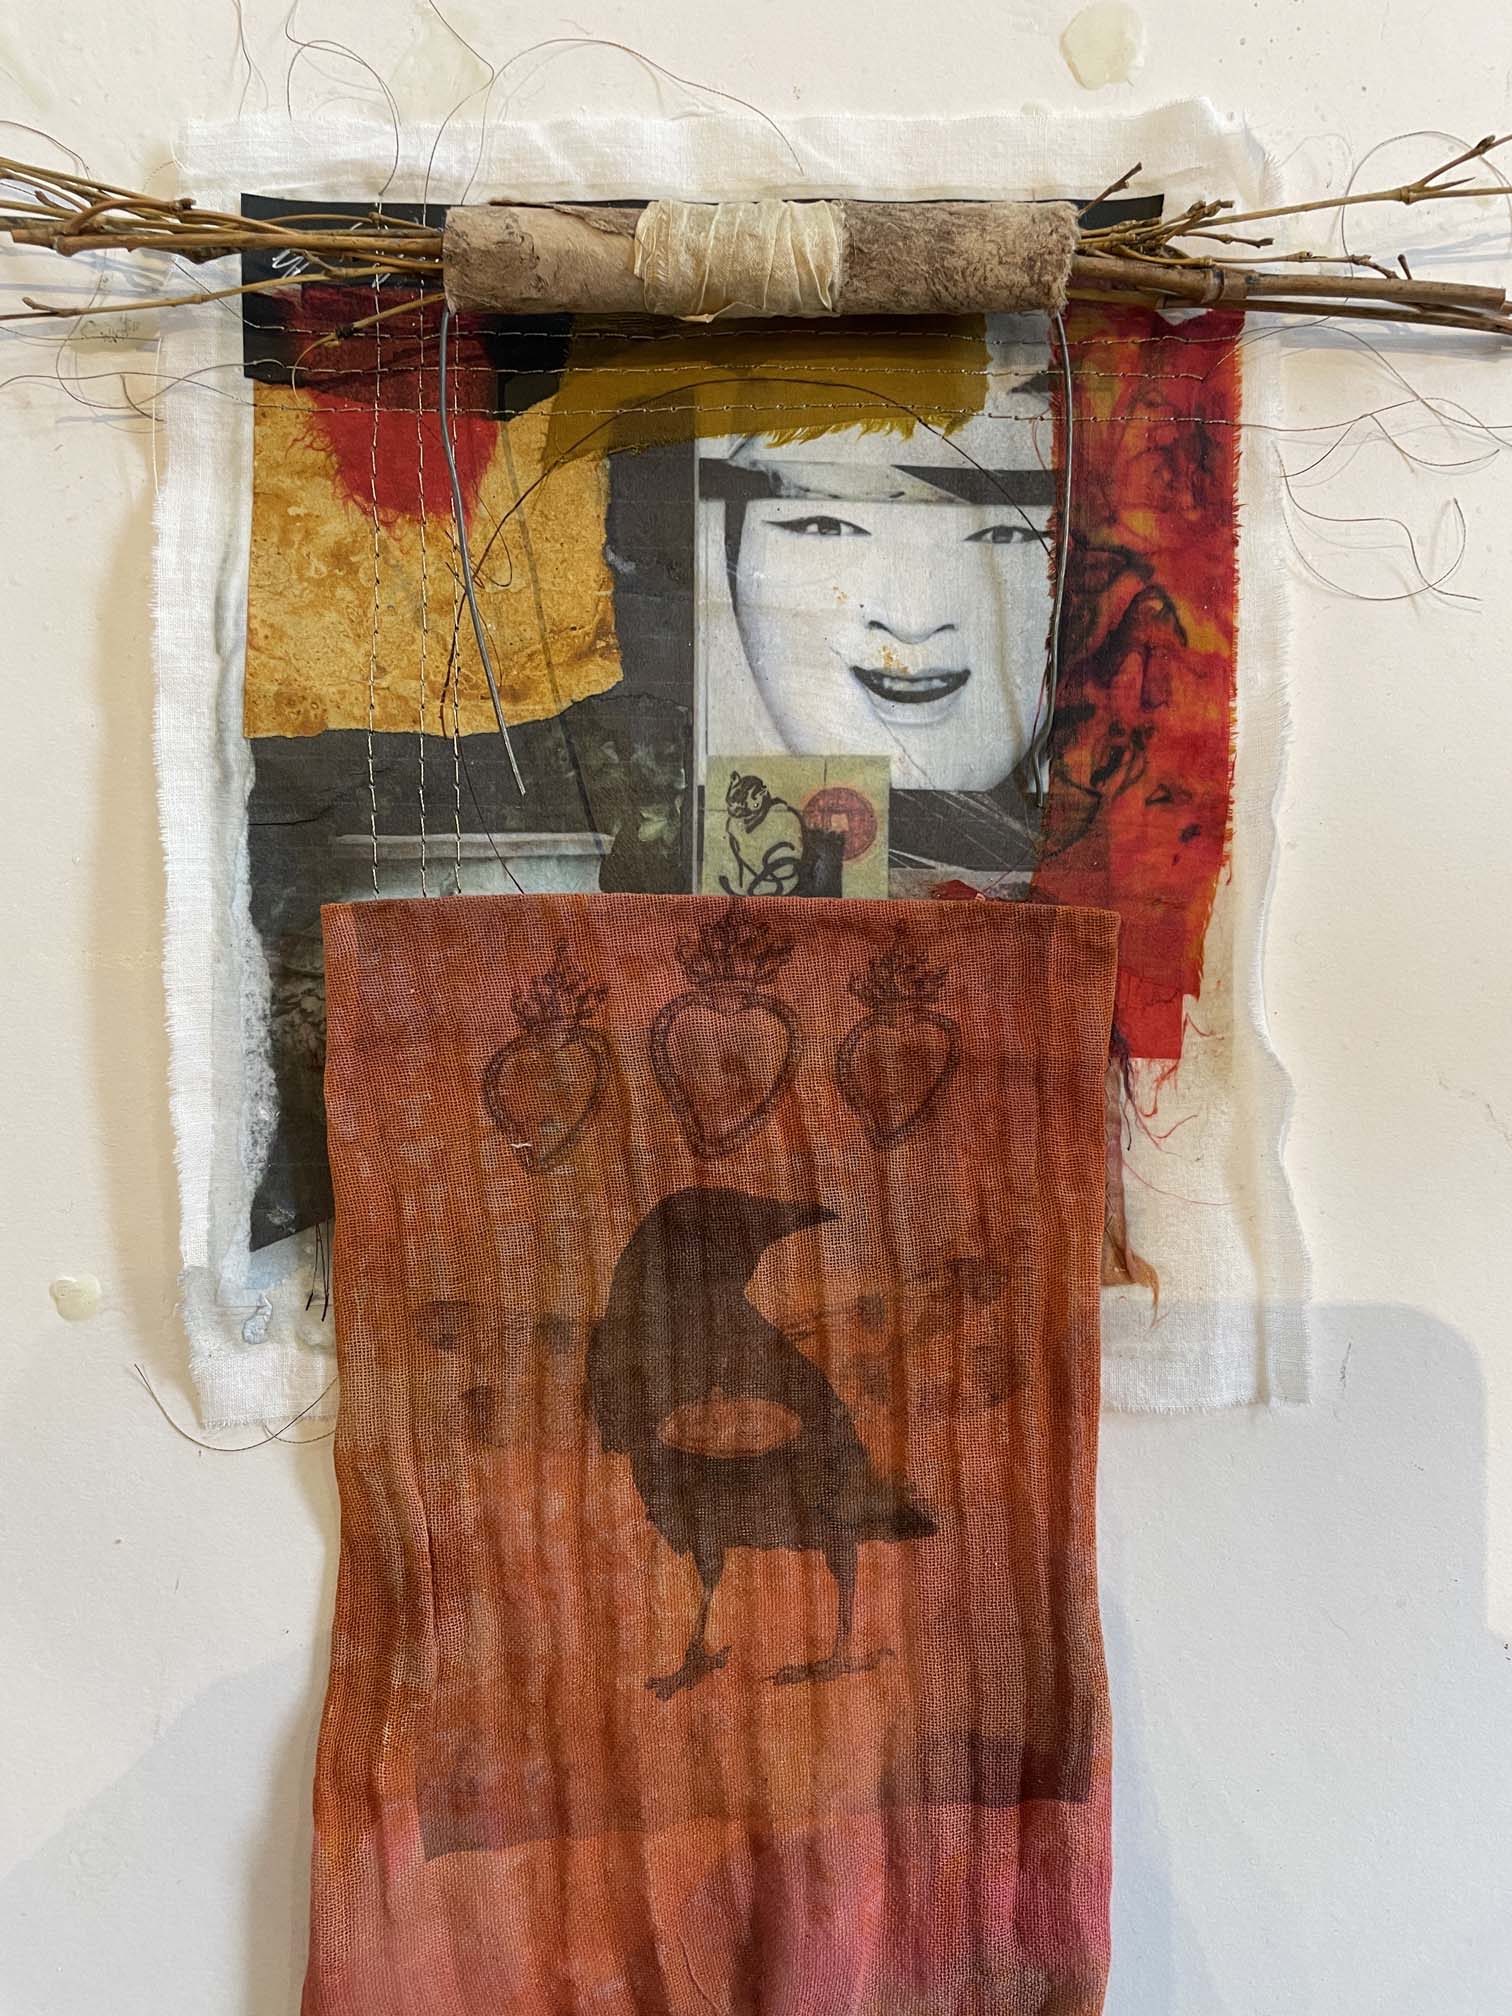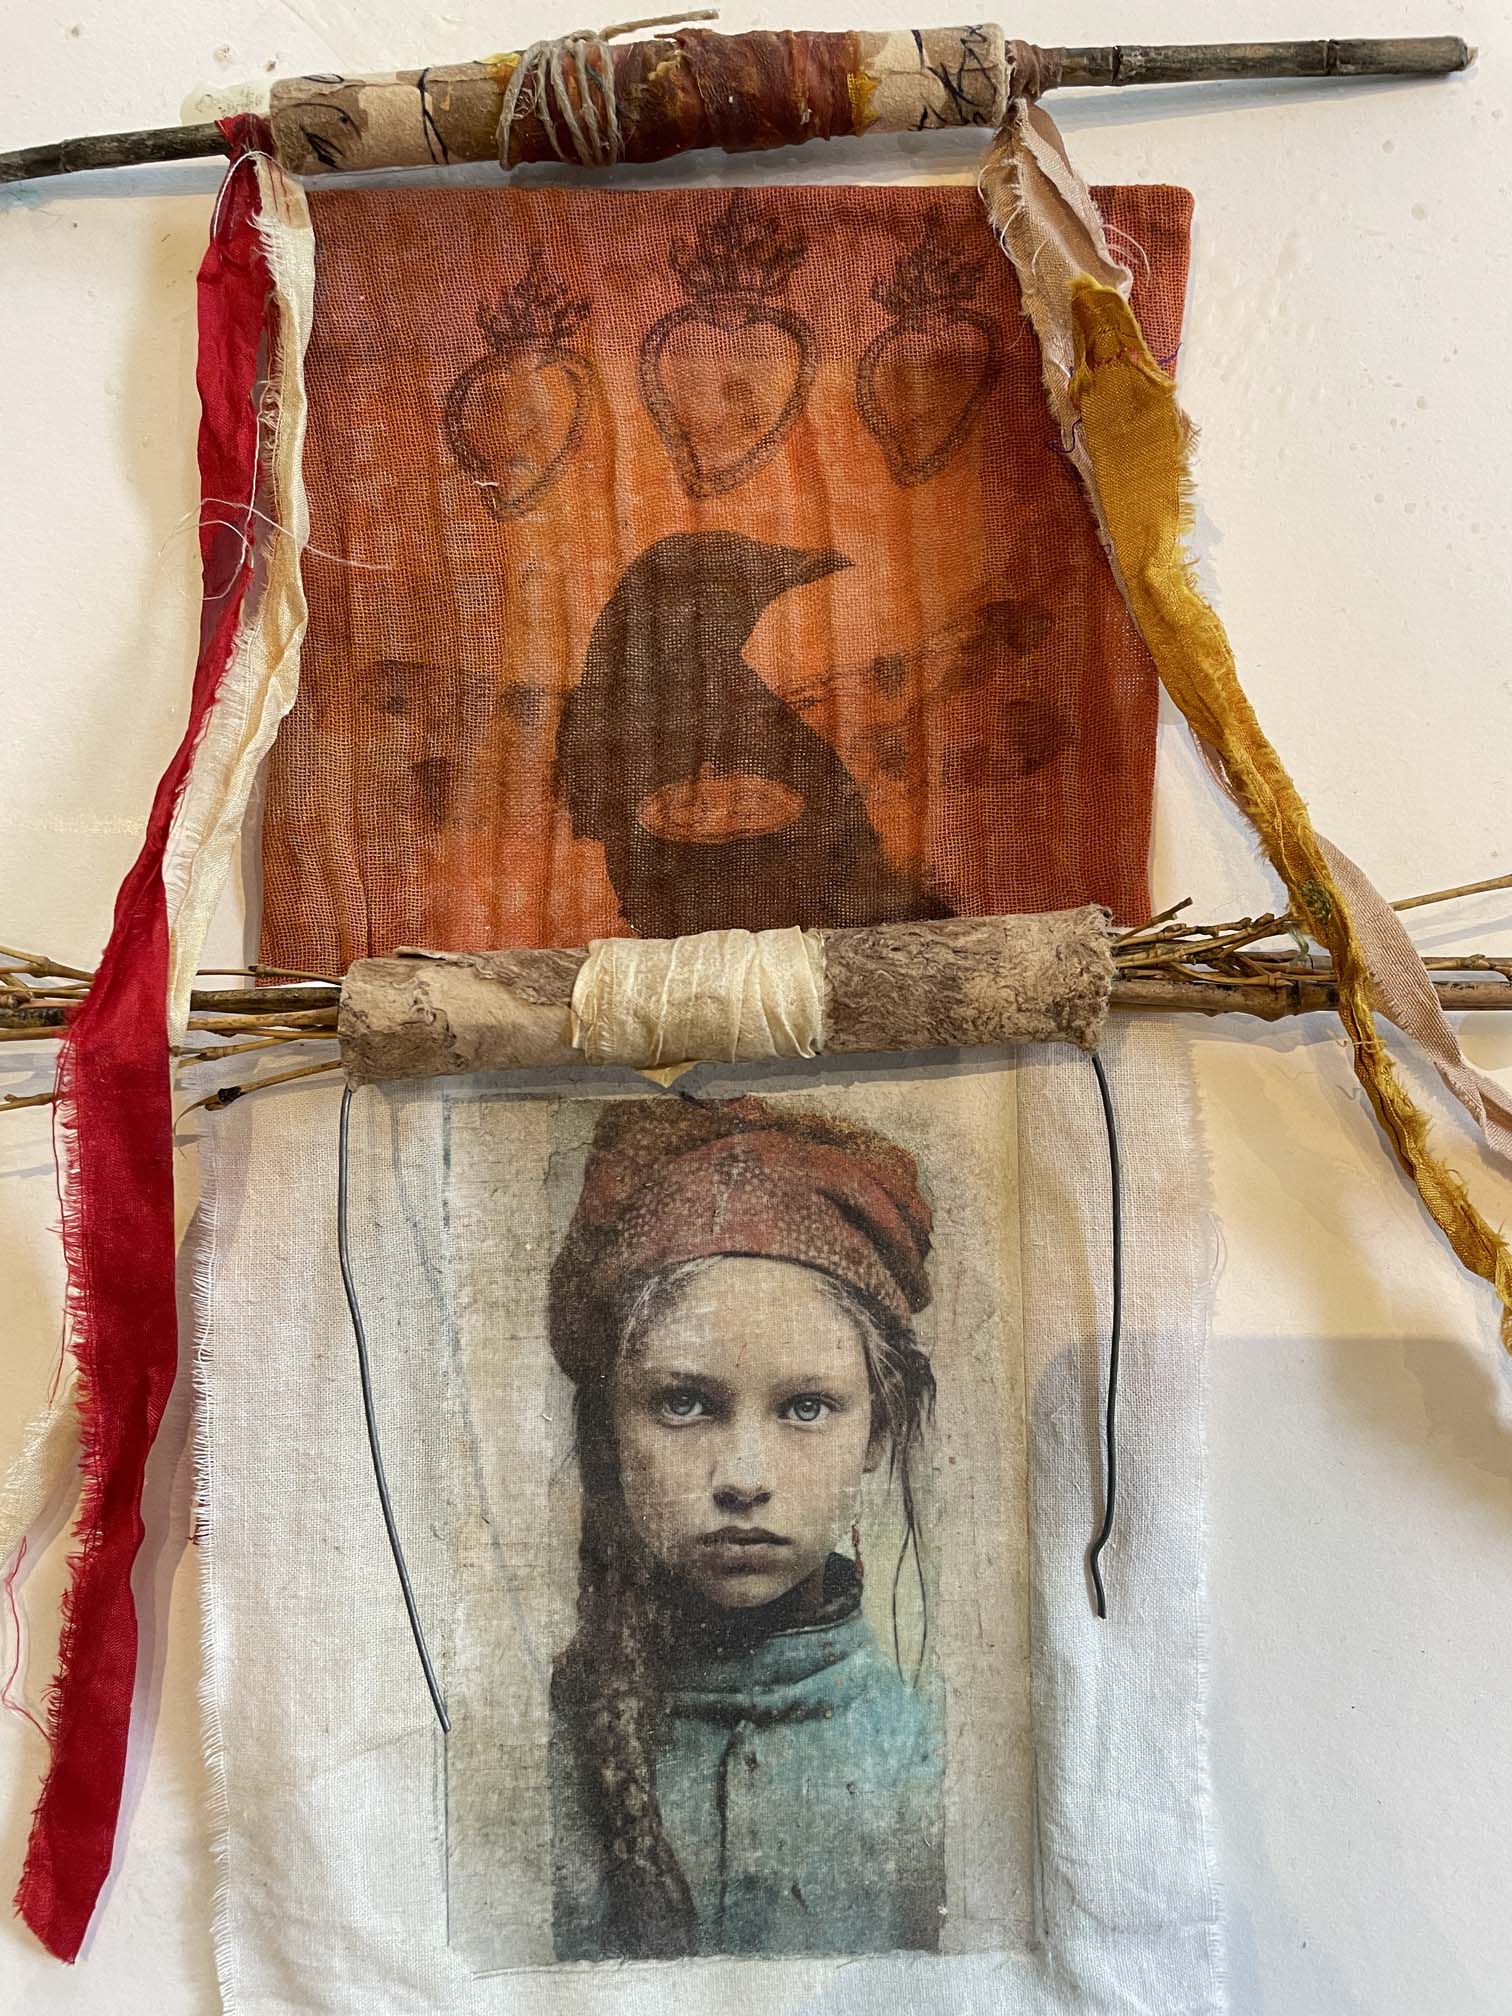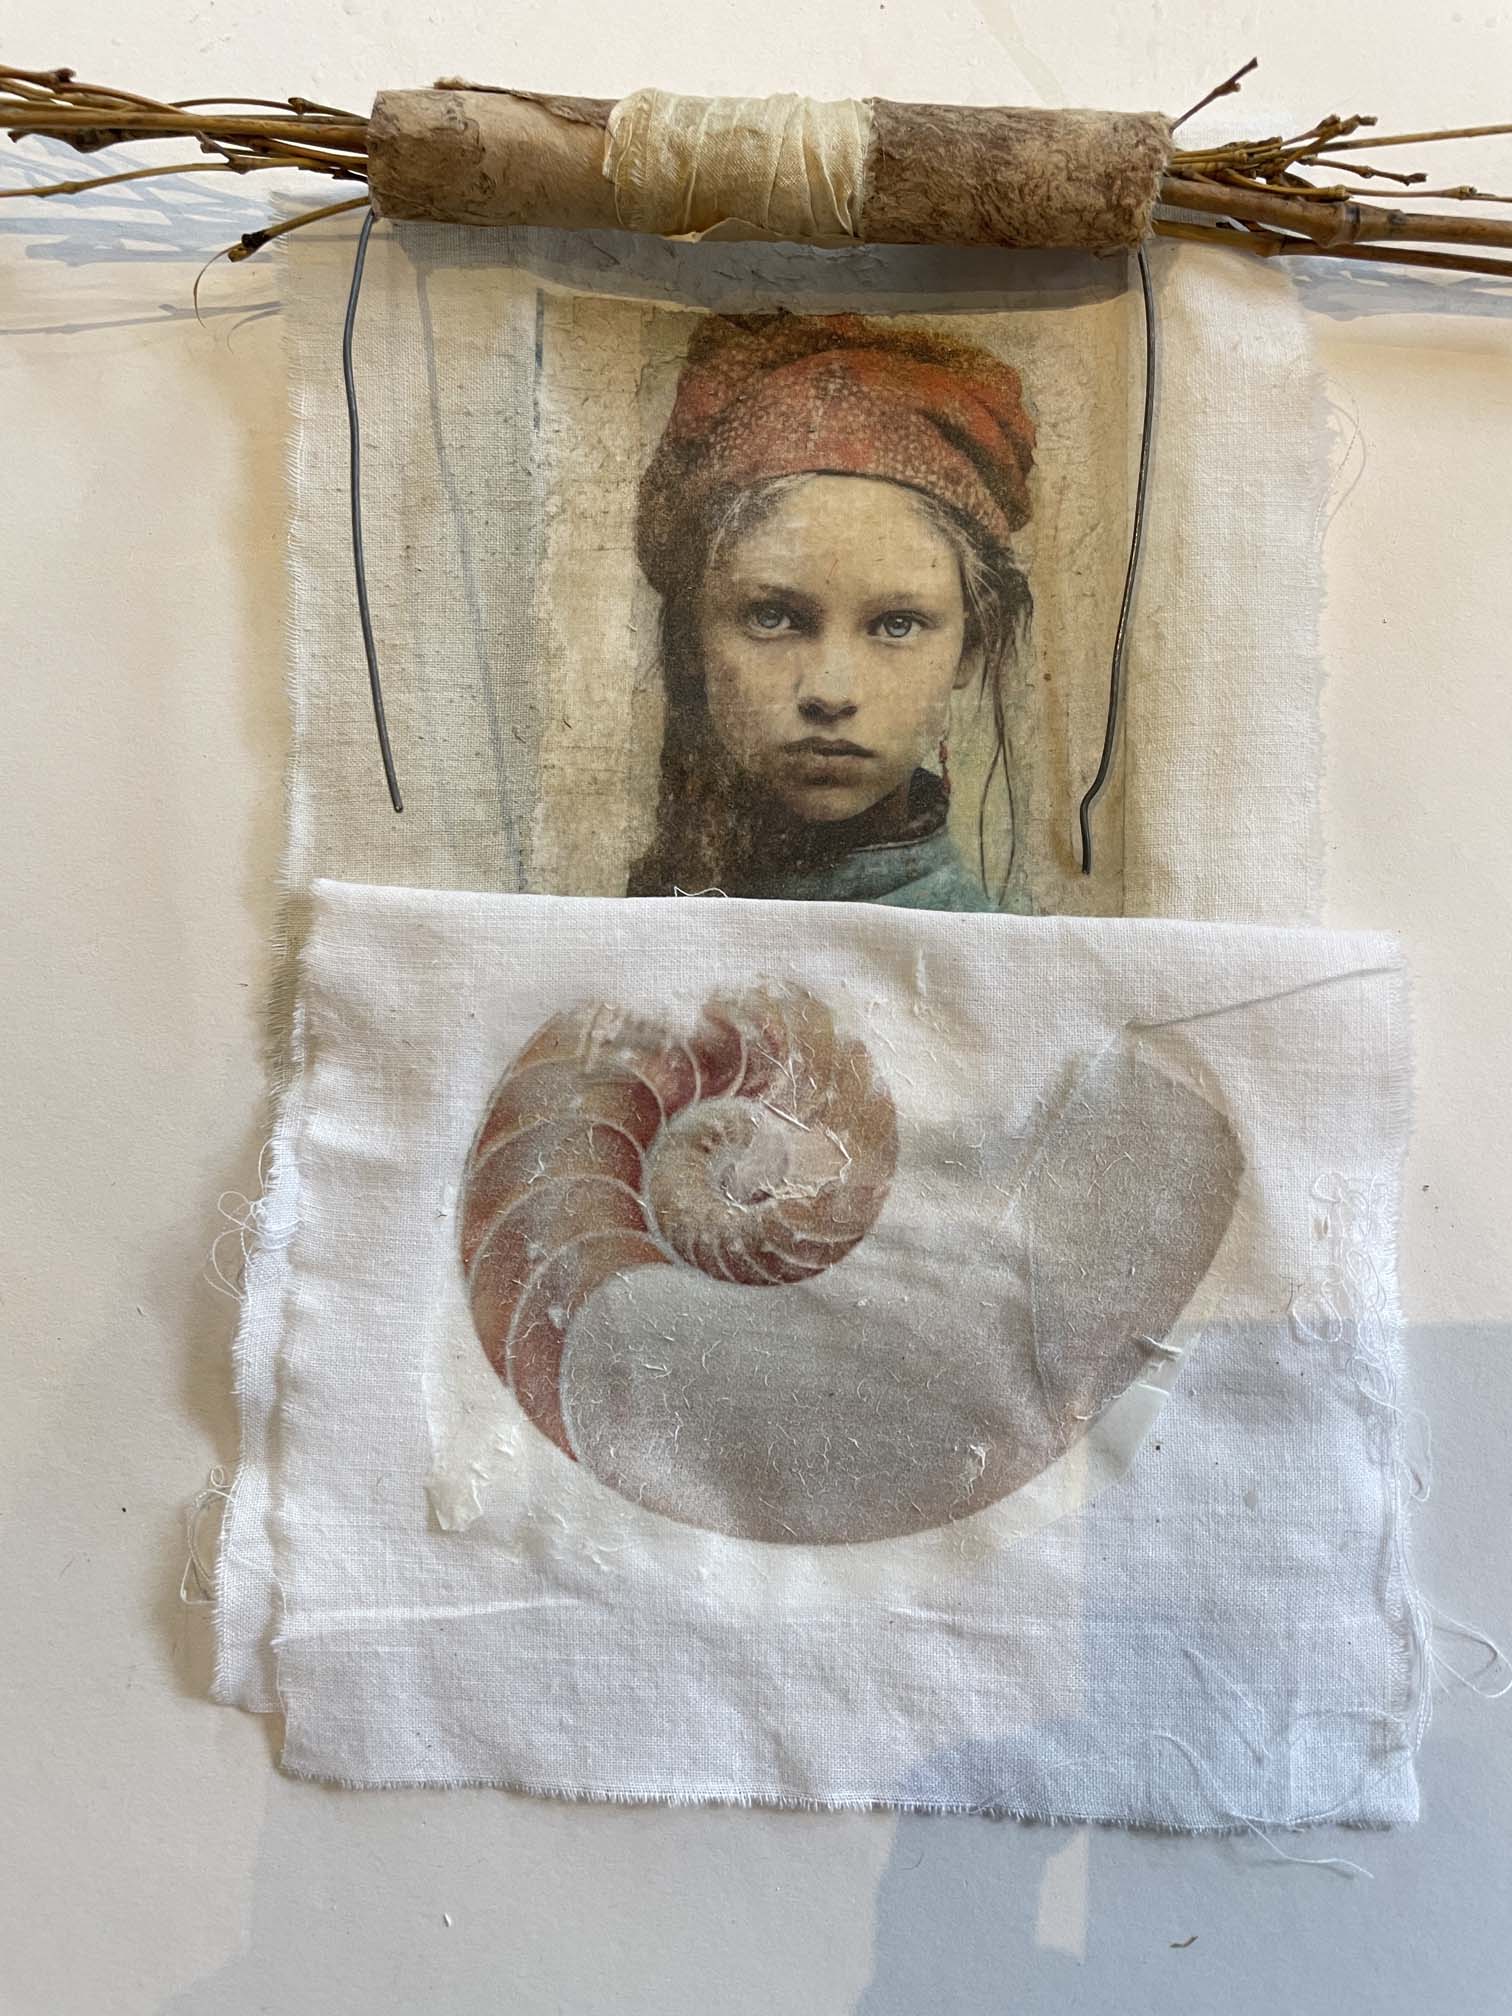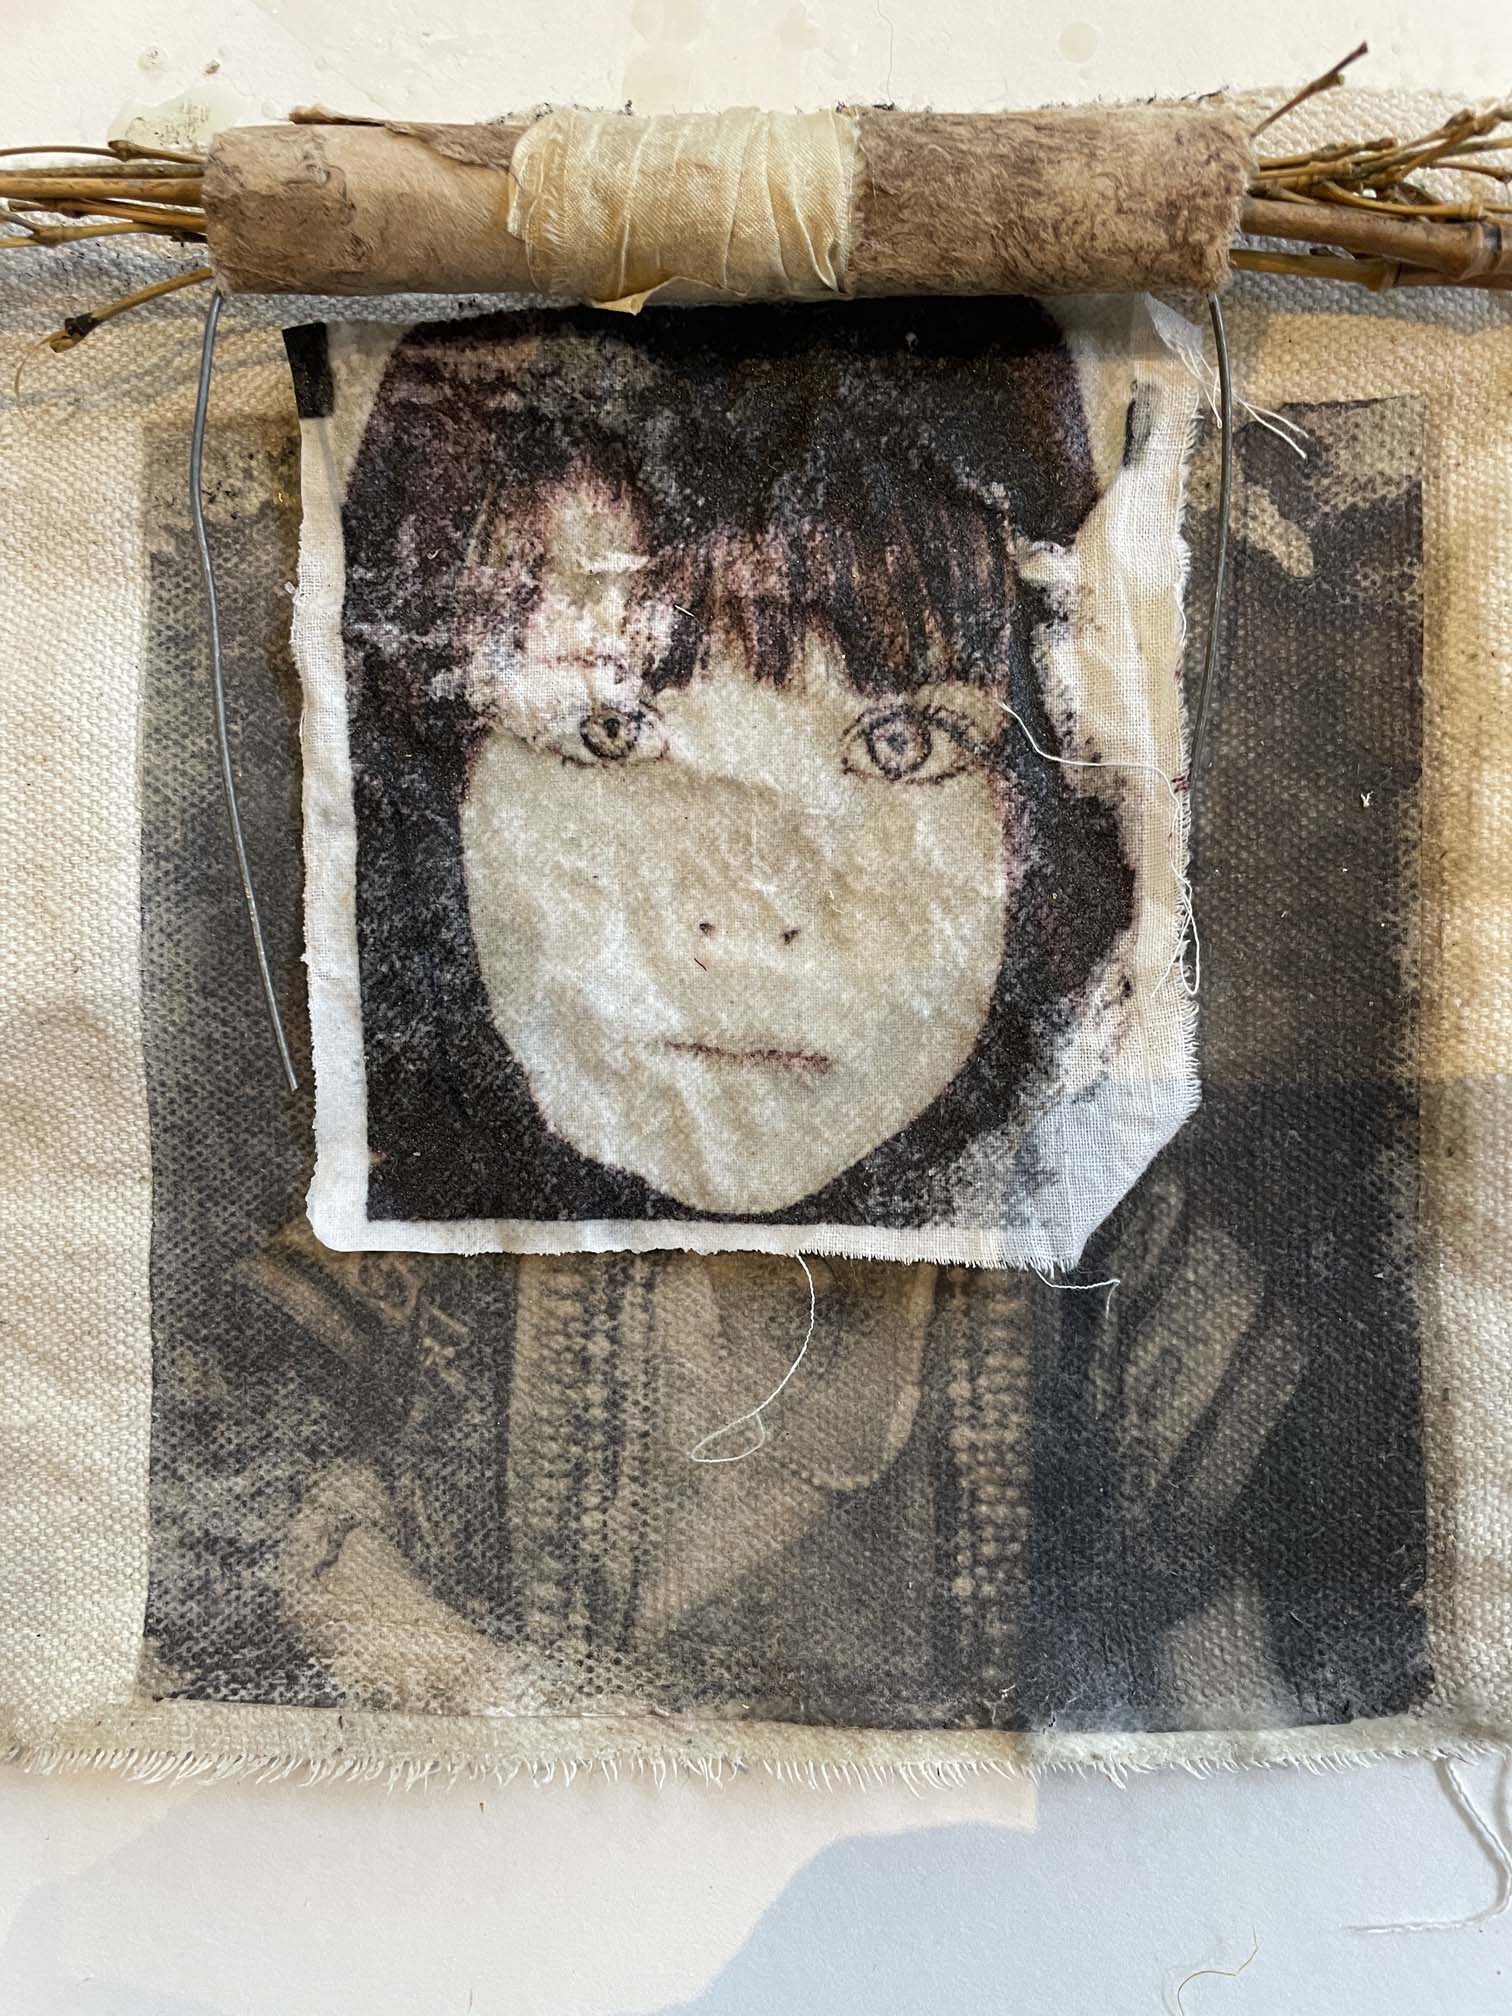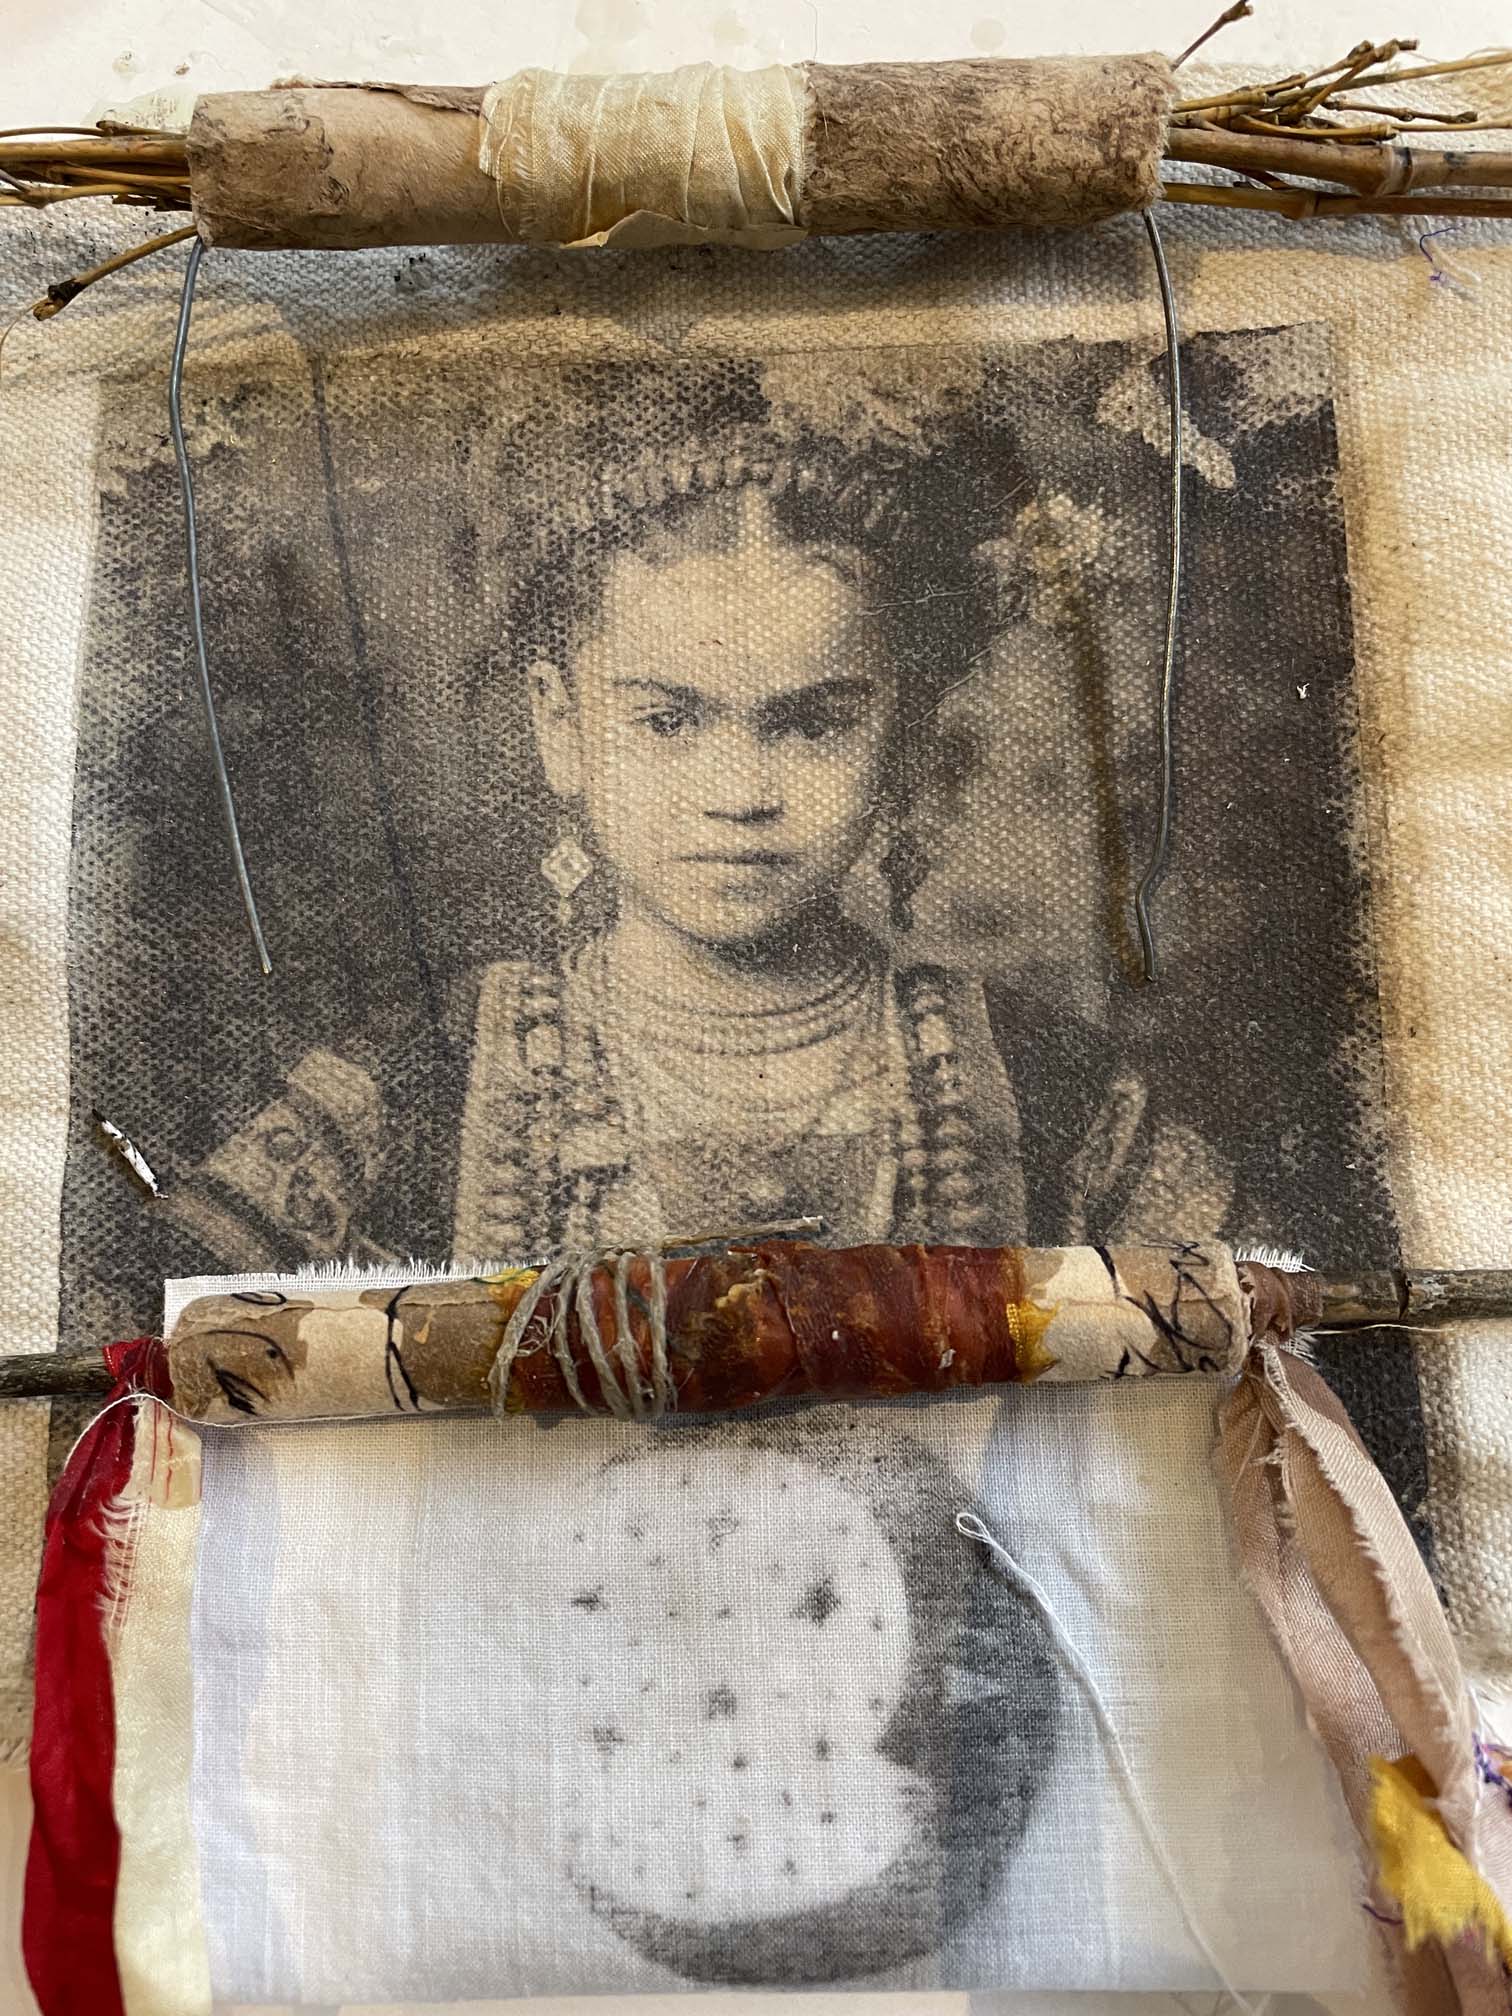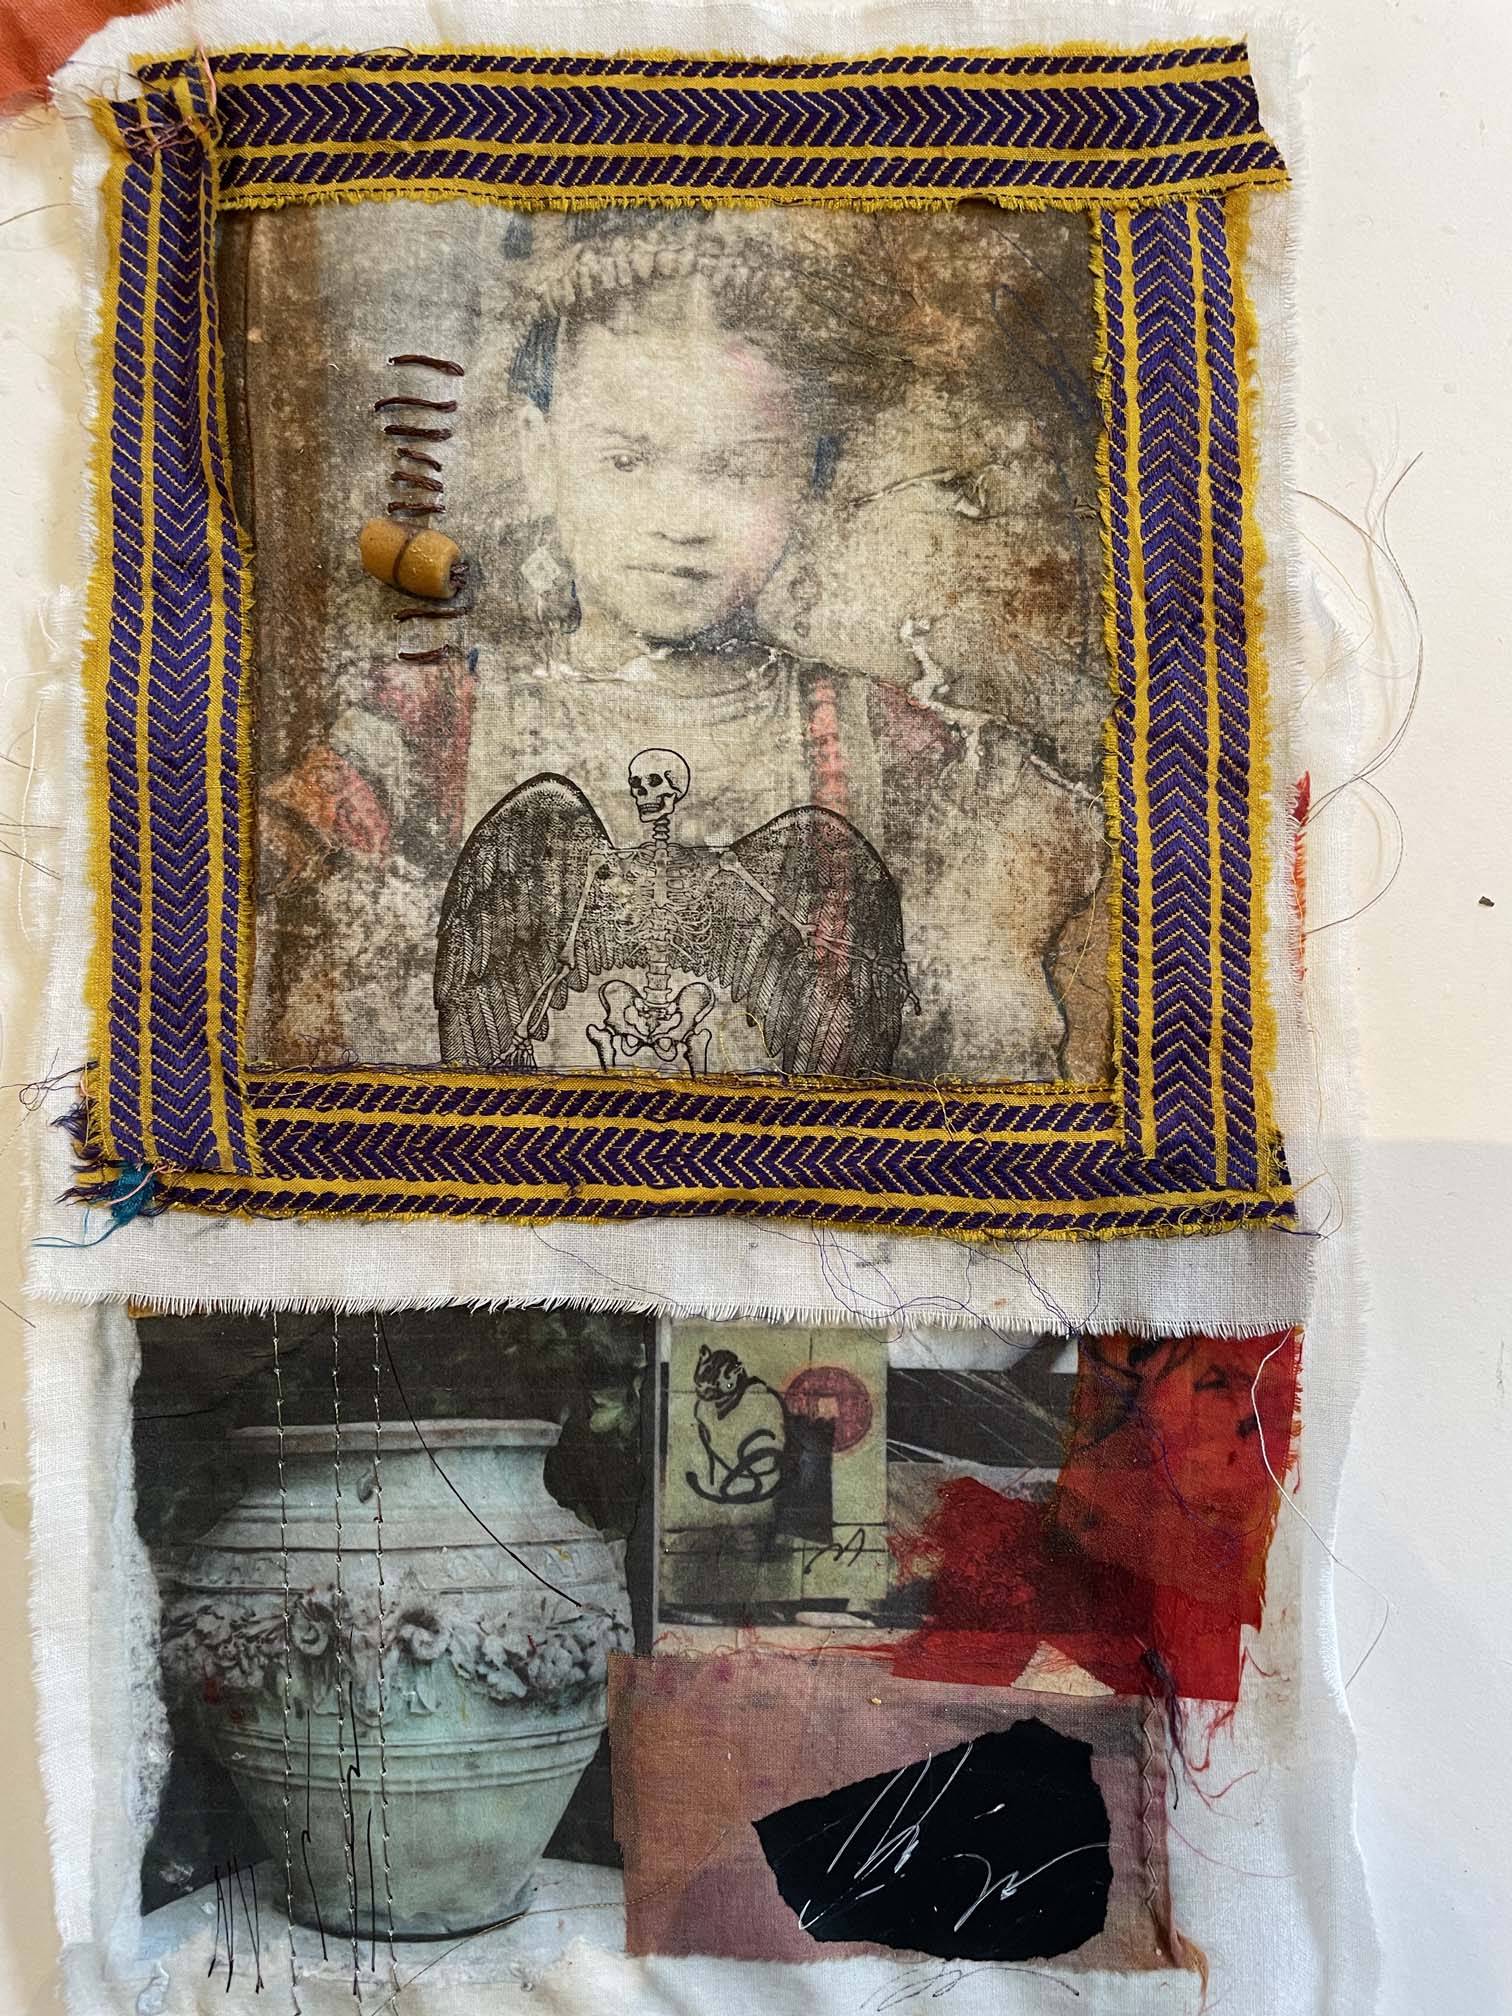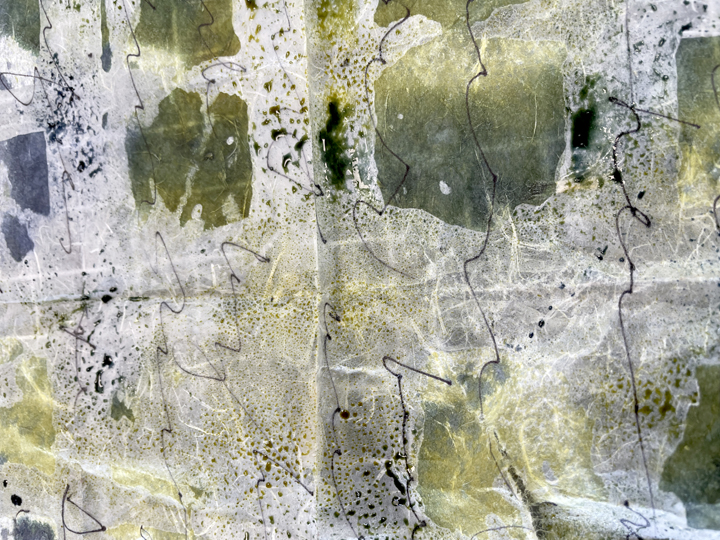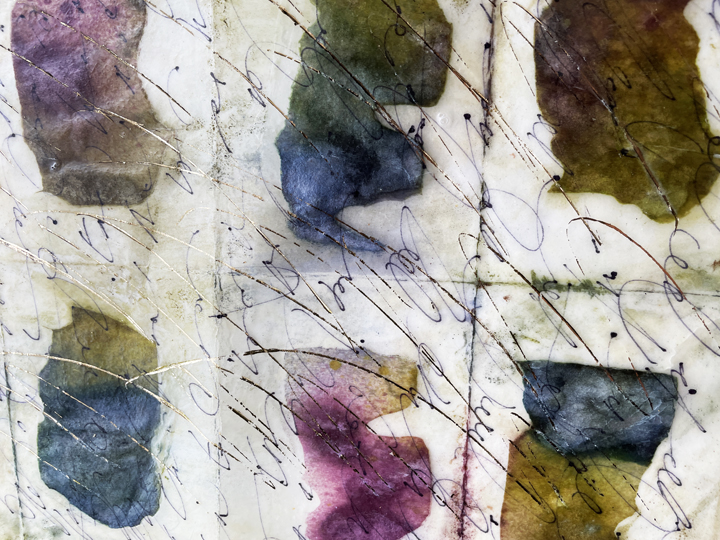
The Pilgrim’s Scroll: Stories in Paper and Cloth

Color me happy !! My new online course, The Pilgrim’s Scroll, is open for enrollment! You saw the results of the recent in-person workshop in this post, and now you can join the workshop online with extra lesson and materials and unlimited time to play.

It’s been a dream of mine to explore the fusion of paper and fiber in a way that is both simple and profound. Paper is a fiber, of course. Combining paper and fiber into a scroll is akin to weaving together threads of history, culture, and creativity into a tapestry of artistic expression. The marriage of these materials allows for a unique fusion of textures, colors, and forms, culminating in a fine artwork that transcends traditional boundaries.

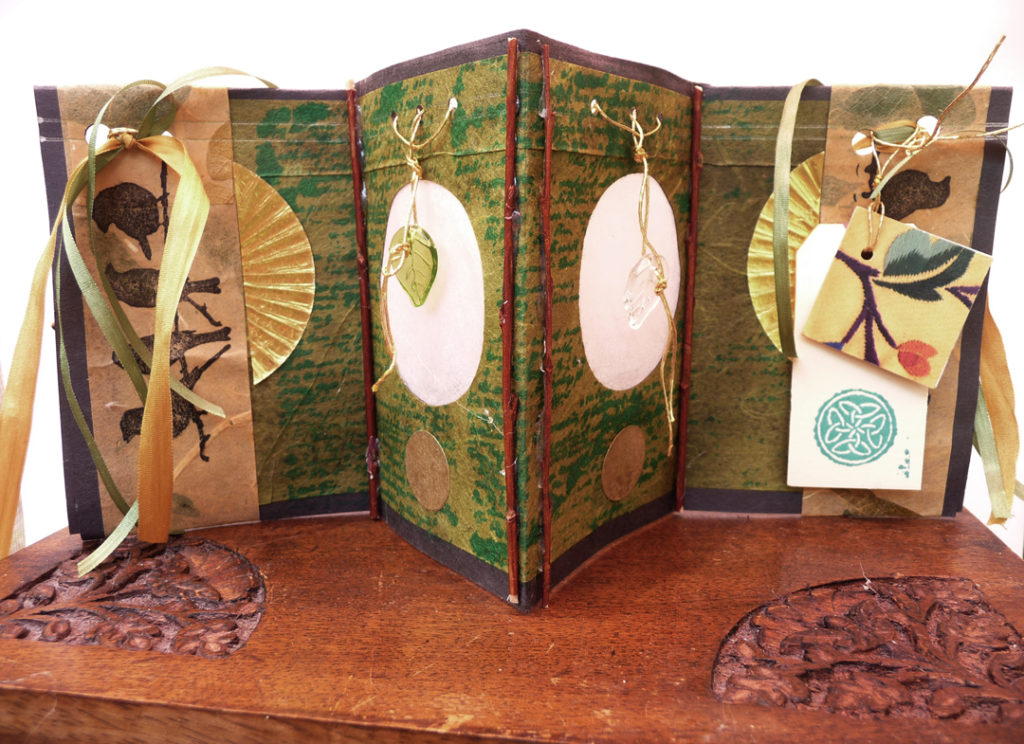
This new course, The Pilgrim’s Scroll: Stories in Paper and Cloth, is designed to help you choose what matters most to you and to express that in simple terms. Techniques include several kinds of image transfer , methods of surface design on textiles (think wabi-sabi), creating beads, talismans, and birds from paper clay and fiber, and assembling these with thread, wire, ribbon, and adhesives.

Here’s is the Introductory video which will tell you more about the workshop than just writing about it can:

As always, I try to keep my courses affordable, and this course is just $49 right now for instant access, downloadable videos, free images, and almost five hours of video instruction, including, as usual, the non-perfect parts (which always make us feel better somehow).

Find Out More

I hope you will join me in this course. Even though these workshops are self-paced, I’m always here to answer questions. The Pilgrim’s Scroll represents a journey, as you will see in the lessons, and we will arrive at a place of discovery and self-awareness together!

May our feet always be light on the path!

šŸ™‚ Lyn


Patched up . . .

I started this blog in its current form back in 2010 and it has become my invaluable journal of where the creative path has taken me. Recently, however, my SHARDS blog site completely crashed and I thought 15 years of entries and over 1000 posts were lost forever. Thanks to George Howard, a smart techie and highly-recommended good guy, we are patched up and running again. Sending you a shout-out, George!

I’m back just in time to share something lovely that Jude Hill wrote this morning

“So what if I concentrate on story building with loose patches for a while? Language Patches is what I have come to call them.Ā  They are simple and small and maybe you can play along?”

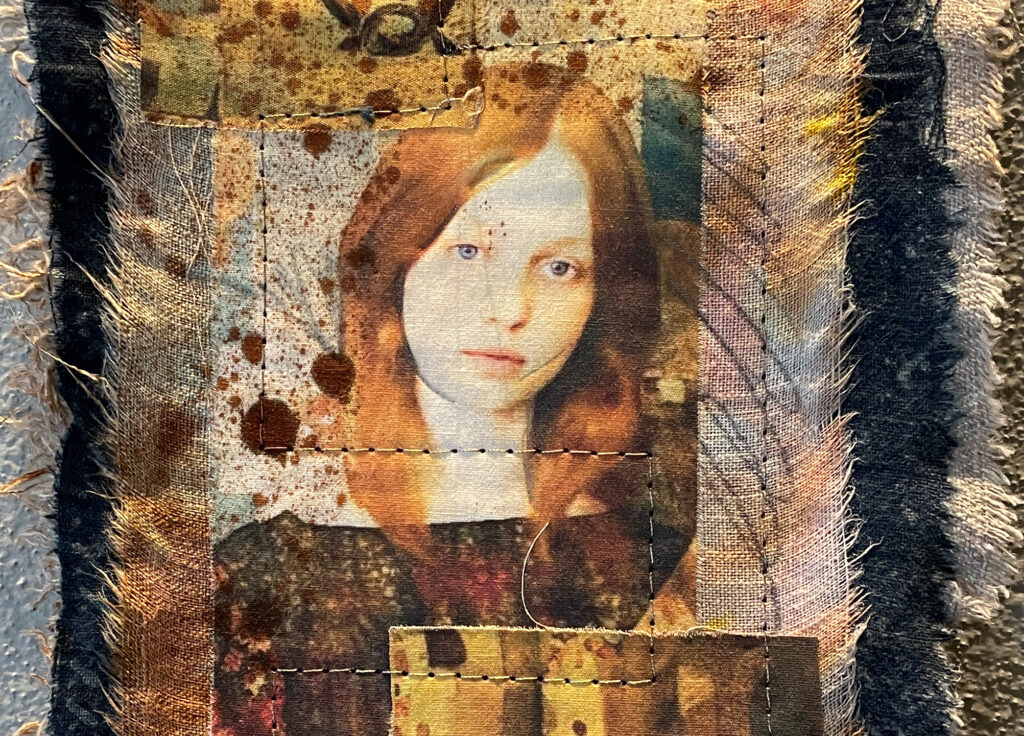
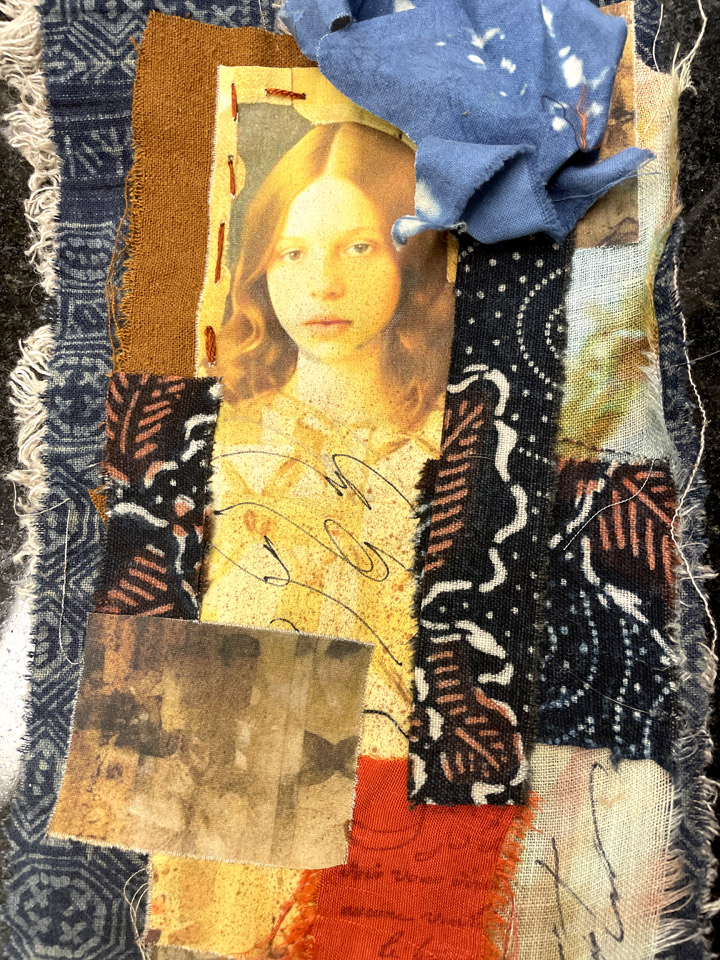
This is so much like what I’m doing with my new workshop, Scrolls and Surface, that I wanted to expand on the idea. The scrolls that I’m assembling as prototypes for the class are nothing more than a collection small “patches” of narrative. They go together in various ways, much like chapters in a book, and because they are small, they can be rearranged.

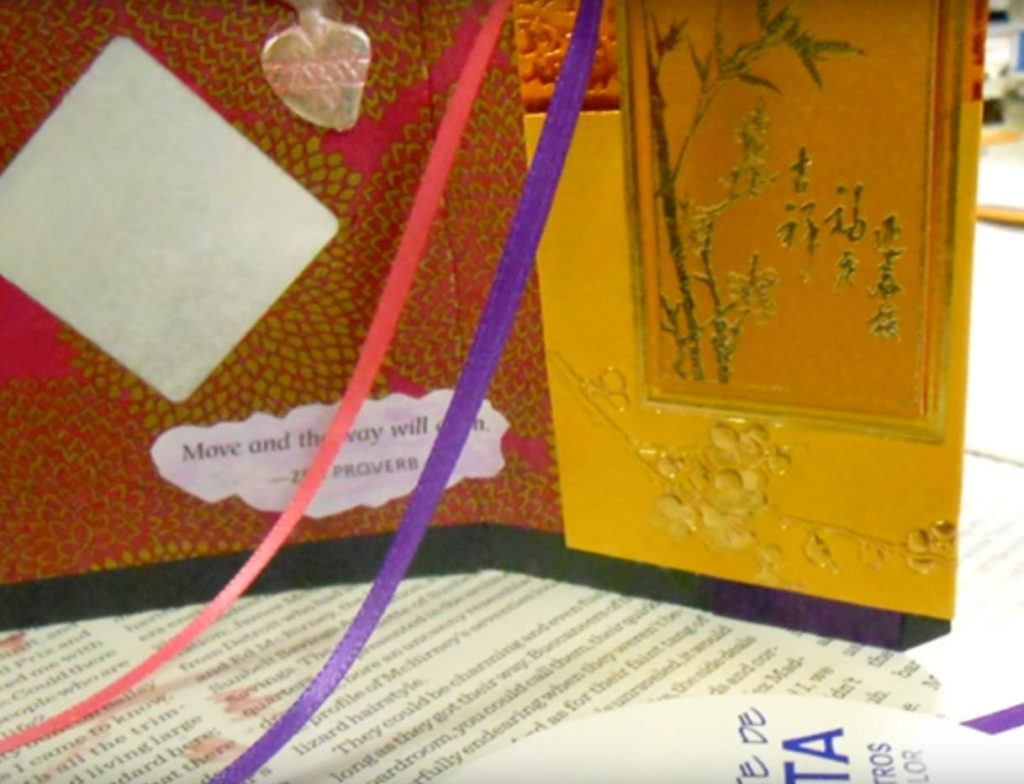
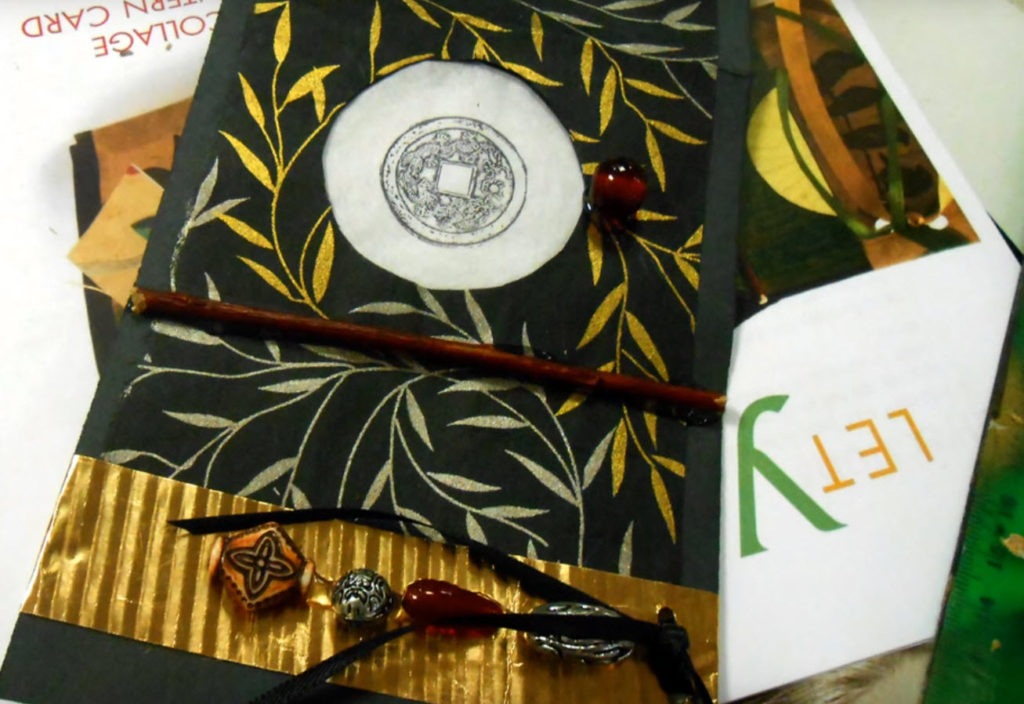
Here are a few examples – some of these are image transfers on fabric, some are what I call “fusion patches,” and some are handmade or found objects.

The images that I choose incorporate on these “patches” reflect my personal themes: neo-santos, shards, paradoxical connections, lost children, myth and mystery. Your images will be different just as your story is different.

Once you start working this way, creating small components that will ultimately go together as a larger picture, you’ll discover all kids of possibilities and combinations. It’s great composition practice, but more than that, it’s a lesson in how one element affects another.

Assorted combinations of fusion patches and transfers to fabric – are there stories here? Can they be rearranged to tell a different narrative?

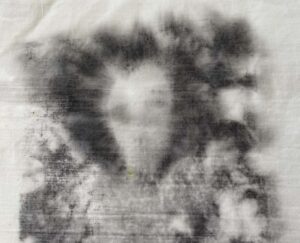
It really is so much fun to lose yourself in this task. And it’s equally as much fun to actually create the patches using all kinds of experimental methods. Even when something doesn’t work, it’s a good lesson. Jane Dunnewold makes Citrasolv transfer look so easy – when I first tried it, I got blobs. But at least they were mysterious blobs.

A Mysterious Blob

I’m filming a lot of these experiences for a new online workshop called The Pilgrim’s Scroll: Stories in Paper and Cloth which should be ready in a couple of weeks.Ā  In the meantime, it sure is great to have my blob – er, I mean, BLOG, back!

Thanks, Jude and George and all the people that help us stay connected and inspired!


Fiber Art Reconsidered

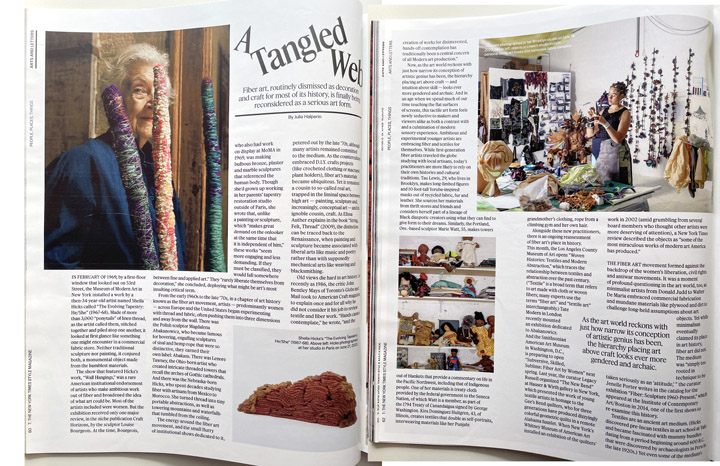
At least half a dozen friends have sent me the eye-opening article from the New York Times called “ A Tangled Webā€œ and its premise that Fiber Art is finally, again, being reconsidered as a true art form.Julia Halperin, the author, writes, “. . . . in an age when we spend much of our time touching the flat surfaces of screens, this tactile art form feels newly seductive to makers and viewers alike as both a contrast with and a culmination of modern sensory experience.ā€

I hope you will read the article and discover the same reverence that I did for artists like Sheila Hicks and Lenore Tawney, innovators in fiber art.

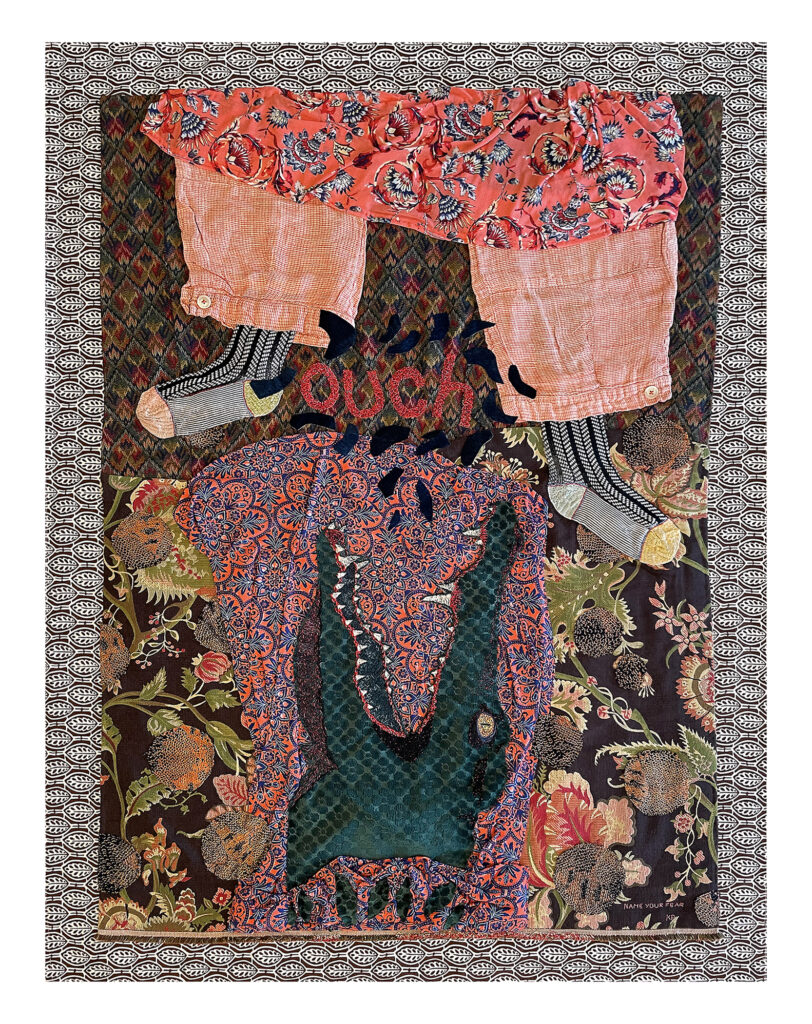
For a look a an eclectic survey of contemporary fiber art closer to home (for San Antonians), visit TEXtiles: A Celebration of Texas Fiber Art, the annual juried Fiber Artists of San Antonio Art Exhibition will be held September 10 through October 20, 2023, at the Kelso Art Center, University of Incarnate Word, San Antonio, TX.

Kim Paxon, Name Your Fear, 1st Place, FASA TEXtiles exhibit


The theme of the exhibition showcases the innovation and diversity of Texas artists who create and communicate with fiber. Through art quilts, framed fiber art, sculptural pieces, vessels/basketry, paper art forms, art-to-wear garments or accessories, art dolls, woven textiles, mixed media work, jewelry and adornment, and conceptual work that defies categorization, Texas fiber artists are bringing textiles and fibers of every definition into new contexts and exploring social and conceptual implications of their usage.

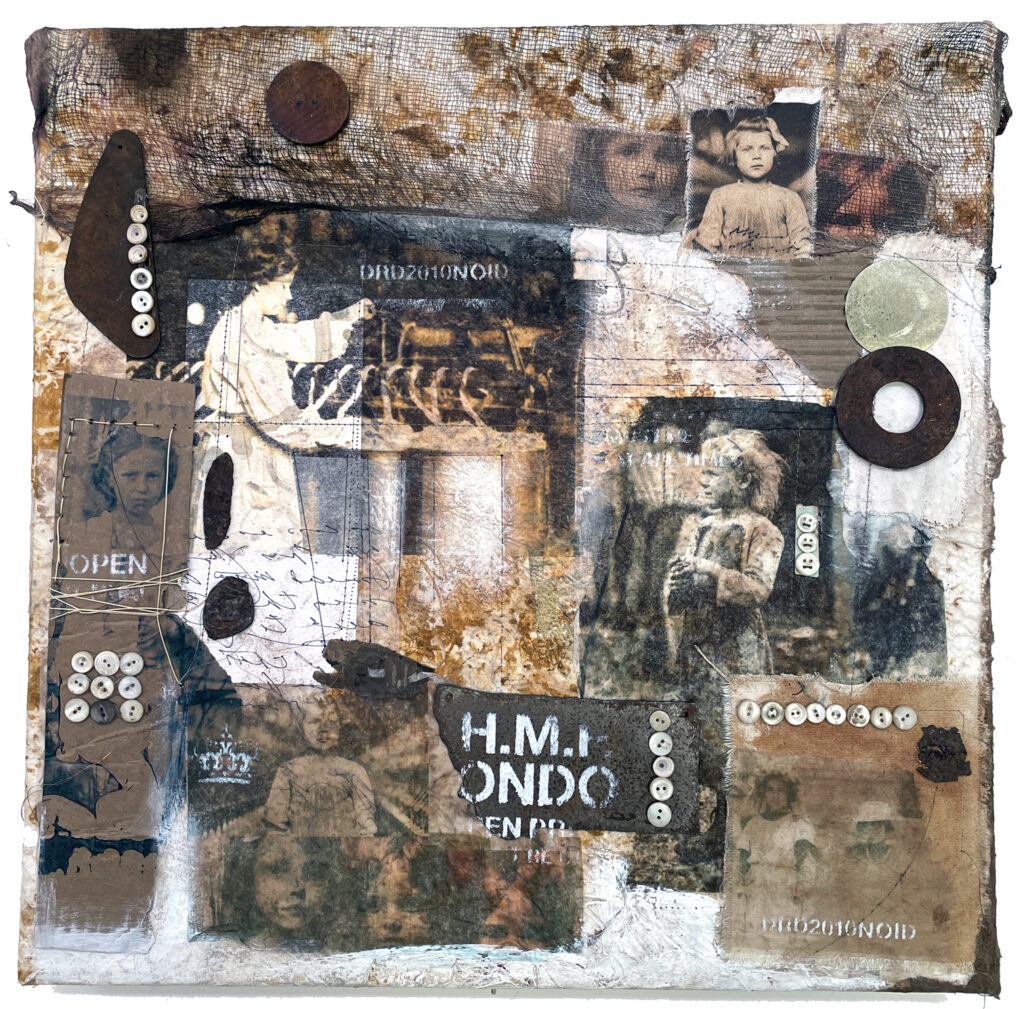
My piece called Ghost Factory, won the Third Place award, which surprised me because I don’t consider myself in same category of fiber excellence as many of the others in the show, but I worked the fiber like a collage, which is my natural approach to almost any medium. This piece is based on photos taken by Lewis Hine in the 1920’s of child laborers in the textile industry.

You can see a video of the works in the exhibit by visiting the FASA Website.

If you have not used fiber and fabric as a collage medium, it may surprise you! Just collect fabric and ribbon scraps and tear, cur, and arrange them as you might with paper. If you use a glue stick, you can iron over your finished piece to fuse the whole thing together (put some parchment paper over the top first). then add stitching!!

My new workshop called The Composed Collage: Sisters shows and example of that technique, but you don’t need to get the workshop to give it a try.

Have fun with it – fiber is good for you!

Broken Shards repaired — and Ireland Paper

For longer than I care to remember, SHARDS has been down for a technical glitch that I could not, for the life of me, figure out. But I finally dug out some rusty old tech-brain solutions and found the broken setting. Whew! Like Kintsugi (金ē¶™ćŽ, “golden joinery”), the cracks are finally stuck back together . . . after several frustrating months.

So many cool things happened during SHARDS’ down time – major things, like Shannon Weber‘s workshop, the Wax & Wildflowers Exhibit with the IEA here in San Antonio, and the amazing experience of teaching in Ireland with Michelle Belto. I will eventually work backwards to talk about all this good stuff, starting with Ireland. Today I’m giving you a link to a video showing a technique that I taught in Mulranny – read on.

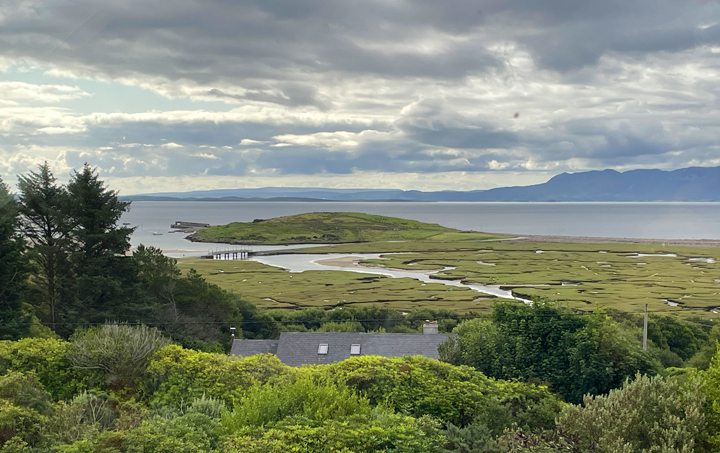
The amazing Lora Murphy of Painting with Fire had invited us to teach at an Art Retreat at the Essence of Mulranny., on the wild West Coast of Ireland during the last week in July. The place is indescribably beautiful – sky, sea, cliffs, sheep – Celtic fairy tale stuff.

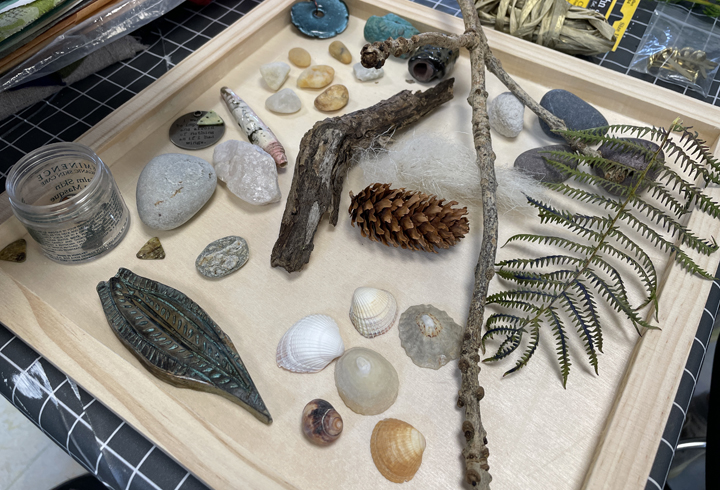
My part of the workshop involved creating a figurative representation of the Irish Goddess Aine. We collected objects and made collage paper as part of the preparation.

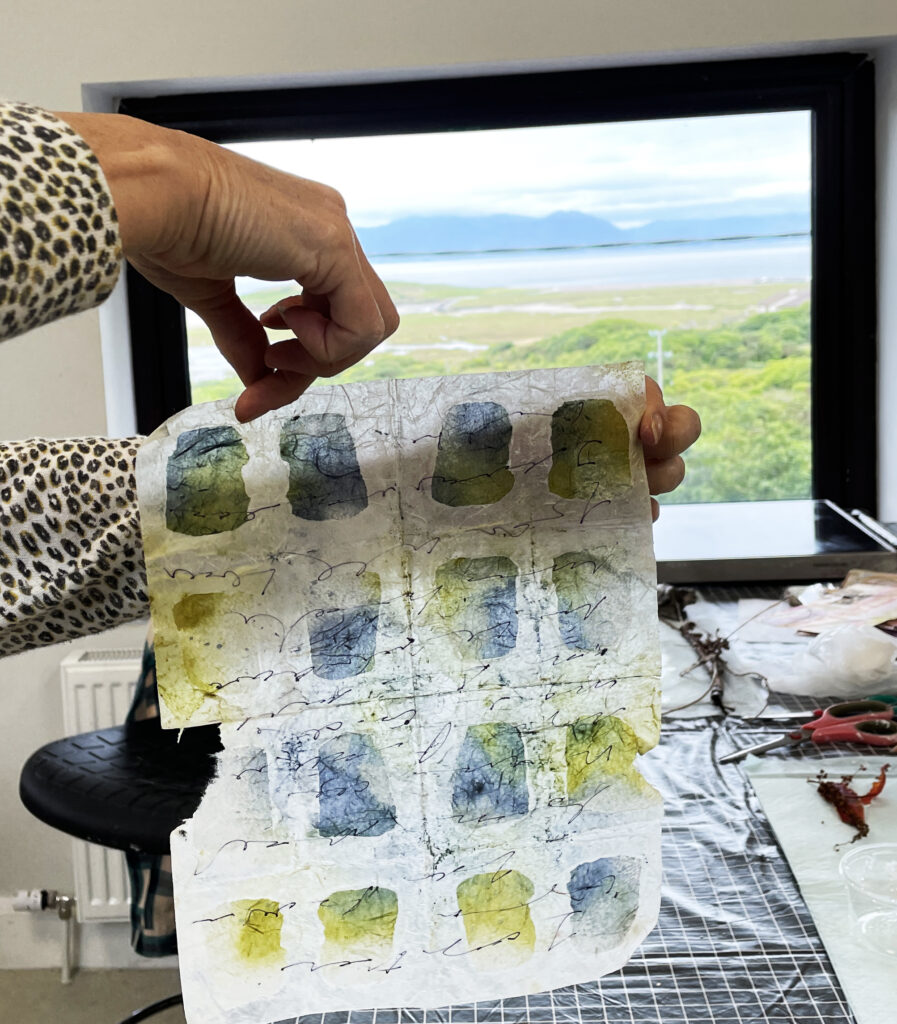
I called this collage paper “Ireland Paper” because it reflected the beautiful colors of the Irish countryside which you can see, below, out the studio window..

Lots of people have asked about how we created this effect, so I made a video for you yesterday on how we did this Ireland Paper. And this will be a reminder for those of you who went along with us to Ireland. The technique does involve hot wax, so if you haven’t worked with encaustic before, do your homework on encaustic safety if you decide to try it.

How to make Ireland Paper

But wait – there’s more! Below is a link to a video showing more of the creative things we did in the workshop to construct our figurative sculptures – wish you could have been there!:

VIDEO: Offerings to Aine: a Workshop in Mulranny, Ireland (Lyn Belisle)

It’s nice to be back – thanks for reading SHARDS!!


A free workshop on Teachable – Spread the Word

The events of the past two weeks have been unsettling and rocky, and perhaps that is necessary in order to prioritize some important discussions that are long overdue. I can’t presume to speak with any sense of understanding, but I can listen and encourage the discussion through art. You can, too. Read on to see how you can sign up for a free workshop.

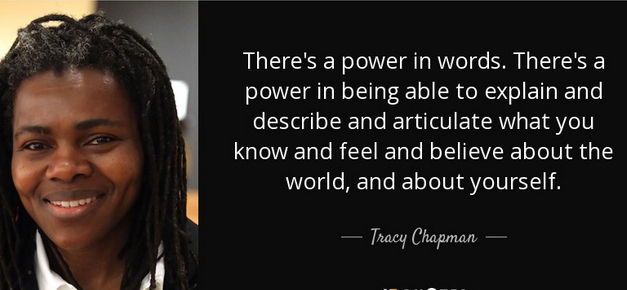
It occurred to me that WORDS are potent agents of change in difficult times.

And that reminded me of a project I did a long time ago with my high school art students which elevated meaningful words to artwork. It involved choosing a “mantra” word as the basis for a symbolic collage.Ā  This can encourage a lot of good discussions about personal values. Here’s a digital example of that project using the word “Justice.”

We’ve seen a lot of that word lately:

One thing I CAN do to participate in the discussion is teach about how we can communicate with artso over the past week, I’ve created an absolutely free workshop on Teachable called “Spread The Word.”Ā  The idea, based on my lesson with students, is to choose a word that has meaning and making it into art to share.

I worked this project myself before I started filming the lessons on how to do it. I chose the word “breathe.” Breath is life and must be honored and protected. Here is my finished artwork:

This piece is made from several kinds of cut paper. It’s 11 x 14″ and putting it together was really an easy process. You can do this with almost any word. How about using the word “Dad” for a Father’s Day art collage?

This workshop, as I said, is absolutely free. You can take it just for the experience without any agenda at all.

It’s an engaging and easy technique that everyone loves. You can make a word collage of your own name or a friend’s name. You may, like I did, choose a word that helps you reflect on how we treat each other in this incredibly difficult time – a word like “unity” or “love.” Whatever you like. No experience or special materials required.

If you want some inspiration, here is a good post on words about social justice on the site Astronomy in Color. Some of them I hadn’t hard of, but I know about them now.

The free workshop, Spread The Word, opens today on my Teachable site and will be up until the 4th of July. You just need to sign up at the link below.

SPREAD THE WORD

If you’d like to share the word art that you create, I’d love to post it on my website in the Spread The Word Gallery page. Just email me a photo of your work before July 4th.

Spread the word. We’re all in this together.


Two Pamelas and me, scumbling and waxing to our hearts’ content

Wednesday’s Votive Candle Screen get-together was a de-light – I was joined in the studio by Pam B. and Pam F.Ā  and the three of us spent a relaxing afternoon experimenting with surface design on paper for a candle screen project.Ā  I’ve taught workshops on this topic before, but this session had a more intensive focus on hand-enhanced decorative papers.

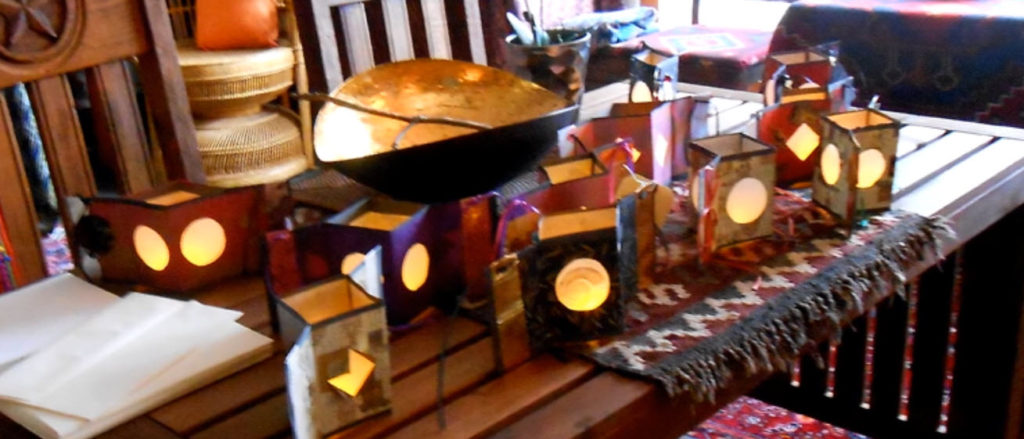
This project is perfect for the holidays. Paper is folded and slit in a way that allows it to open in the middle for a little battery candle to fit inside. I wrote and article about this for Cloth Paper Scissors magazine a few years ago.

Alas, the magazine is no longer around, but I still have the article. Here’s an example of the folded paper votive screen:

We spent more time working on surface design than we did on decorating the finished votive screens.

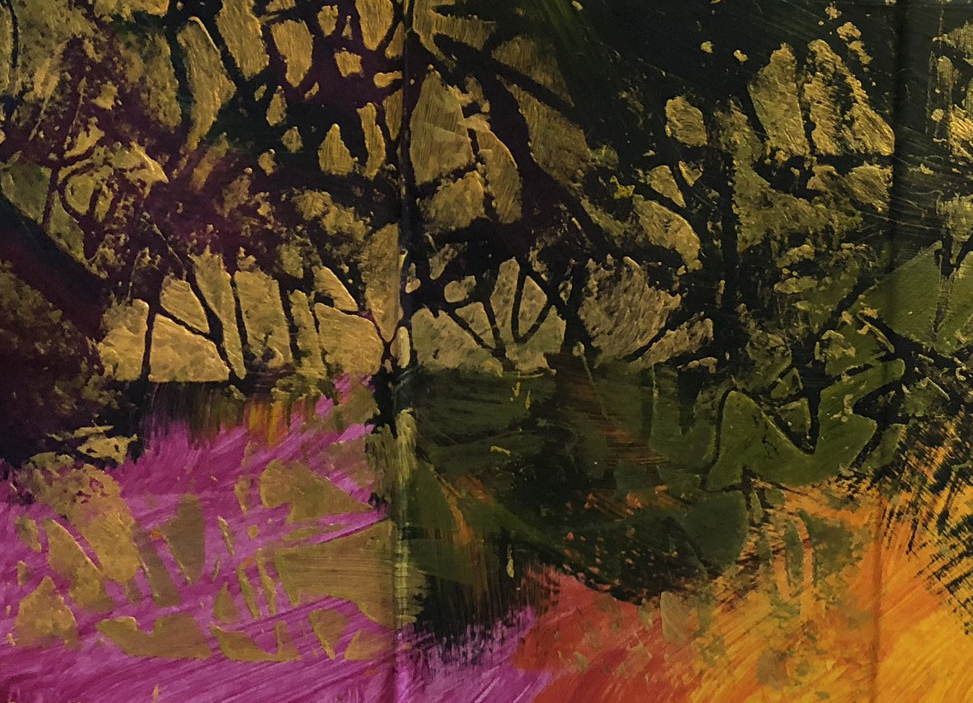
First experiment – we covered a sheet of 9×12″ lightweight watercolor paper with three colors of acrylic paint, dry-brushing and “scumbling” the colors together. After that first layer dried, we stenciled over it with gold acrylic paint – here’s what that looked like:

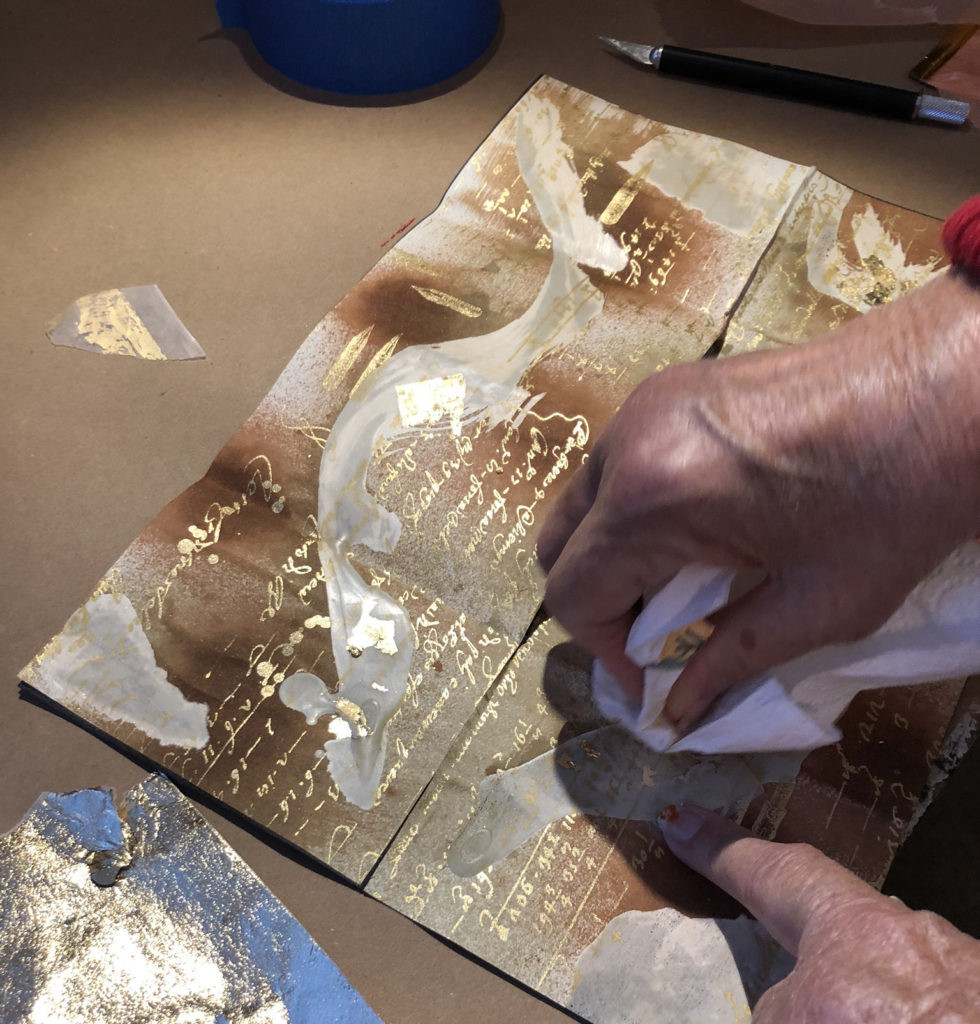
Our next experiment involved Italian decorative paper with gold writing on it. We made loose brushstrokes of melted beeswax over the paper, then sprayed it with various hues of walnut ink. Here’s one of the Pamelas rubbing off some of the walnut ink from the cooled wax:

This paper folded beautifully into the votive screen shape:

Here are some more photos of various stages of the process of assembling the votive screens. I honestly don’t know which treatment I liked better – the scumble and stencil, or the beeswax and walnut ink.

The votive screens turned out well, but all of us decided that the hand-decorated paper surfaces were the real winners. Both of the techniques we used – scumble and stencil and beeswax and walnut ink –Ā  would lend themselves beautifully to abstract painting, which will be my next workshop coming up in February of 2020.

Thanks to the two Pamelas for experimenting with me!

Here’s the list of materials if you want to try this on your own:

Votive Candle Cards Materials

  • 9×12 construction paper or other medium weight crafting paper
  • Two 4.5×11 pieces of decorative paper
  • 4 2.5ā€ square pieces of translucent vellum or translucent rice paper
  • Two Ā½ā€ bands of contrasting paper for side trim
  • Compass or large round hole punch
  • Craft glue or double sided tape
  • Stamps, stickers, metallic pens ā€“ whatever ā€œde-lightsā€ your heart
  • Small twigs, reeds or sticks
  • A battery votive tea light

As a special gift to you, I’m sharing the original article that I wrote for Cloth Paper Scissors with all of the directions and how-to photos for making your own mixed-media votive candle screens. I hope you enjoy it! How about making one for every person at your holiday dinner table?

VotiveArticleCPS

Happy Holidays, and thanks for reading SHARDS!

Photo by Food Photographer | Jennifer Pallian on Unsplash

Ā 


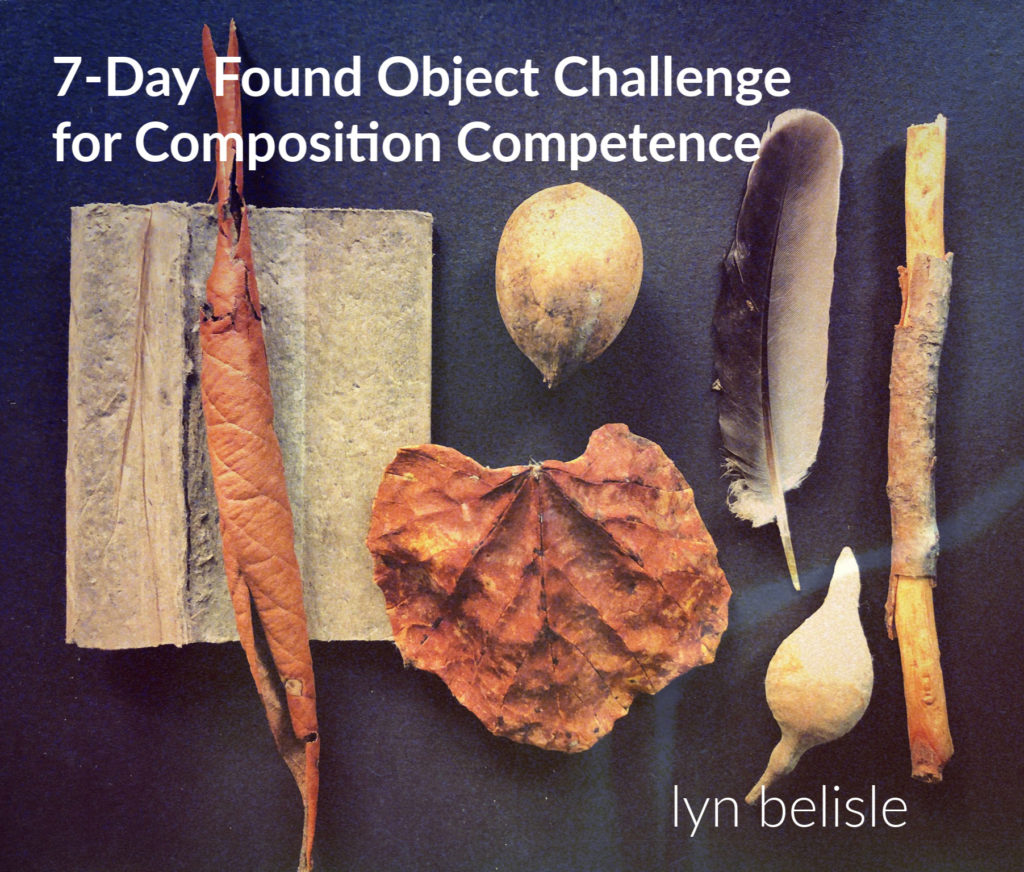
TRY IT! 7-Day Found Object Challenge for Composition Competence

Say THAT three times fast – anyway, this is fun! And it takes practically no time at all each day. It will sharpen your observation skills and boost your composition fluency.

HOW THIS STARTED (you probably do the same sort of thing):

So, I take walks every morning and most afternoons and often find a small object along the wayĀ  – like a rock or dried leaf –Ā  that intrigues me. Sometime I put it in my pocket, sometimes I just look at it and leave it.

Last week, I challenged myself to choose one found object a day, bring it home, and see how the daily objects might fit together at the end of the week.

There’s a table inside my front door where I often drop stuff, and here was where I put the first object. (You’ll need a designated spot, too, for your daily objects.)

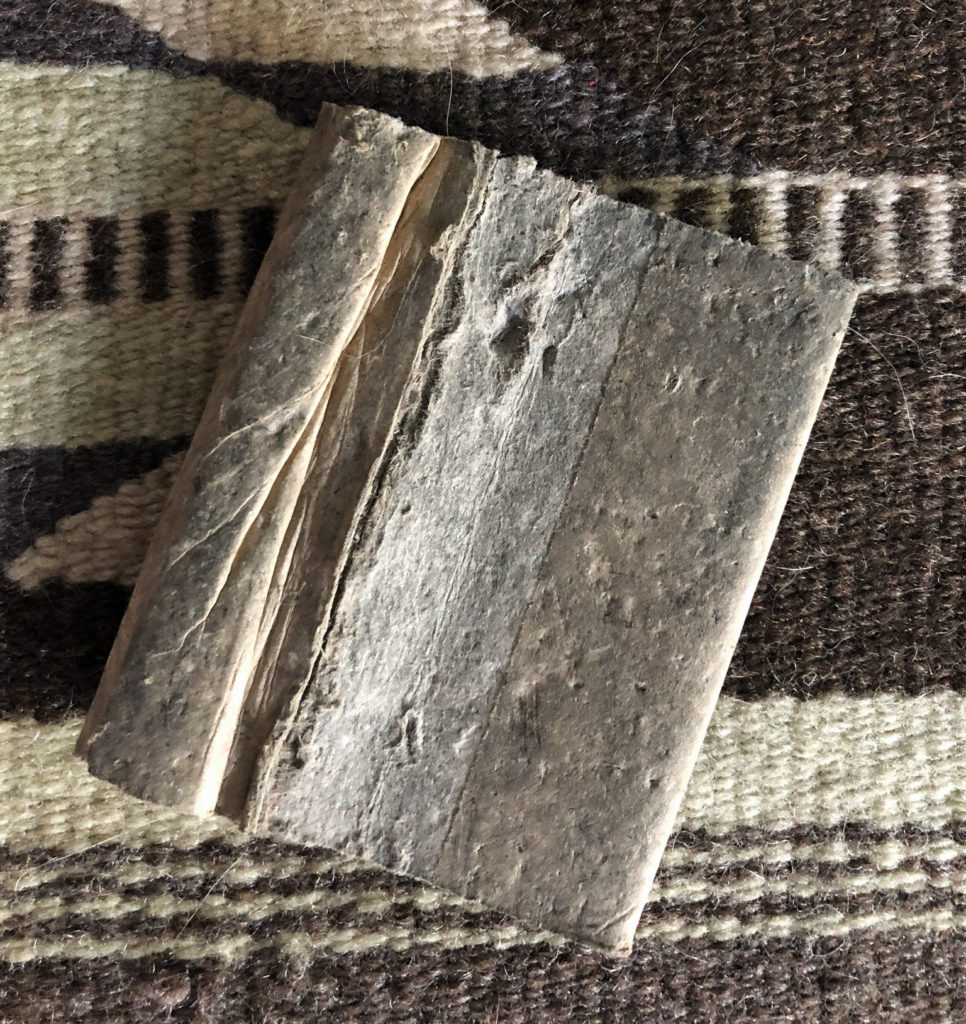
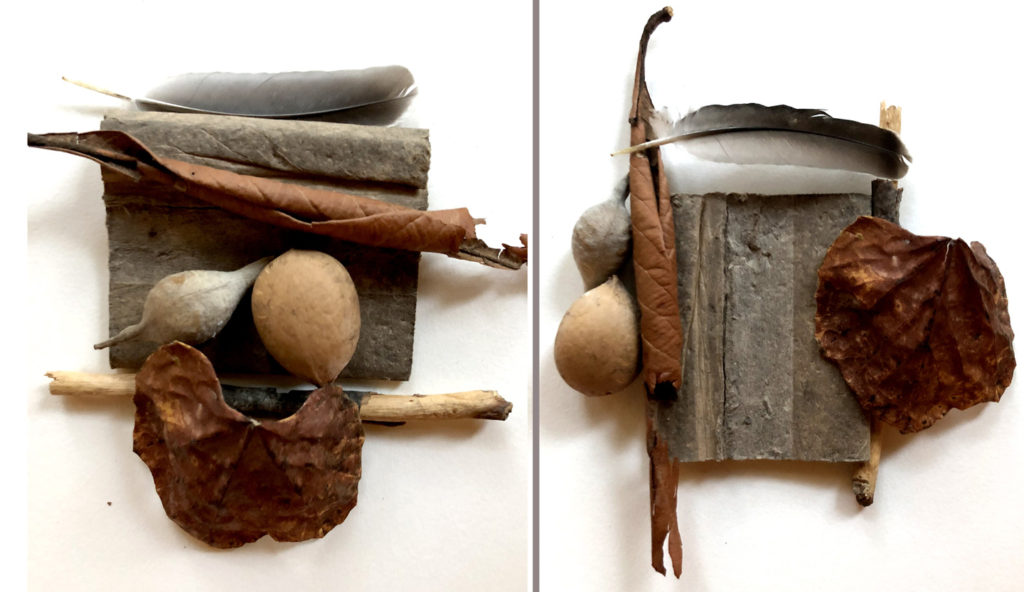
Monday’s object was a piece of thick layered cardboard, which I first thought was a little book. I found it in the street by my sidewalk and it had been run over a few times and flattened nicely.

Monday – flattened cardboard fragment

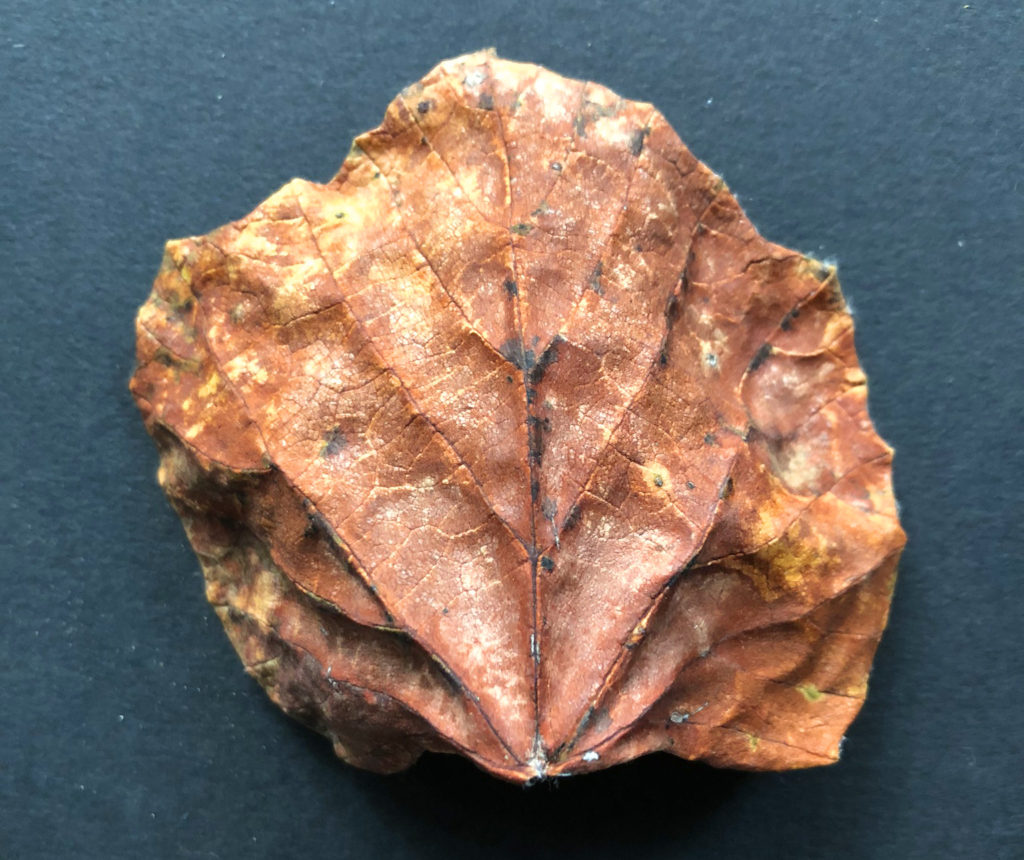
Tuesday’s object was a dried leaf that had the most gorgeous rust-patina colors and was curved like an umbrella.

Tuesday – interesting dried leaf

On Wednesday, I thought I had found a bird’s egg by the driveway of a neighbor’s house, but it turned out to be a seed pod of some kind. I brought it home to add to the collection.

Thursday’s find was a slightly grubby bird feather, which is always a nice touch.

Thursday – bird feather, probably a dove?

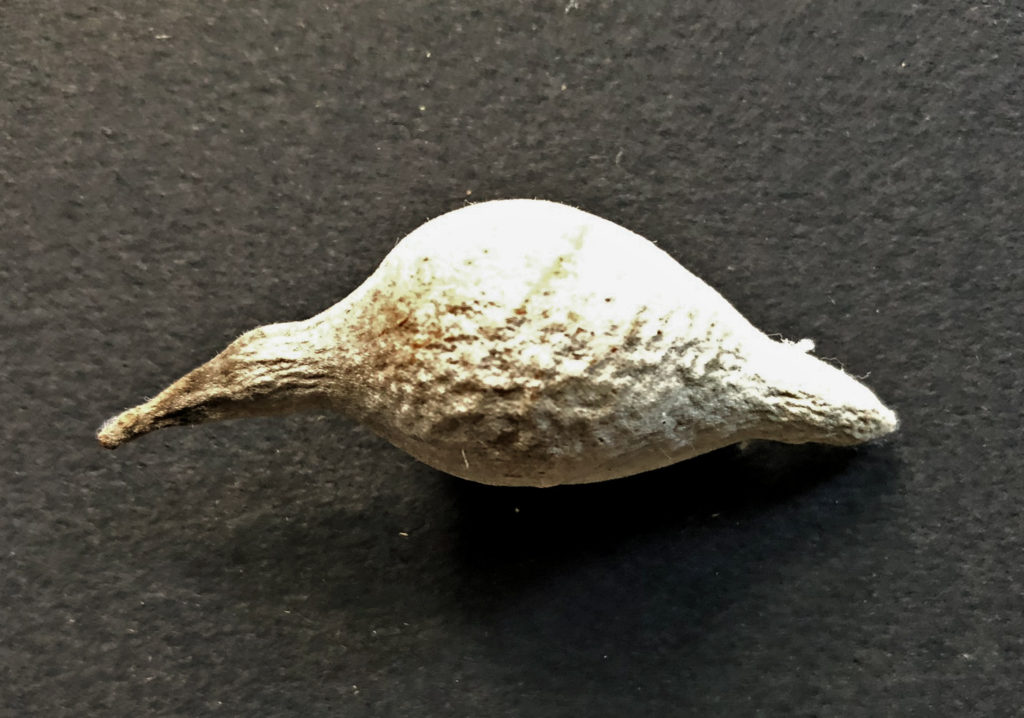
On Friday, I brought home another seed pod thingy – this one look kind of like a bird.

Seed pod, probably Magnolia

Saturday’s and Sunday’s finds were rather similar for no particular reason – a rolled leaf, and a stick with no bark on either end.

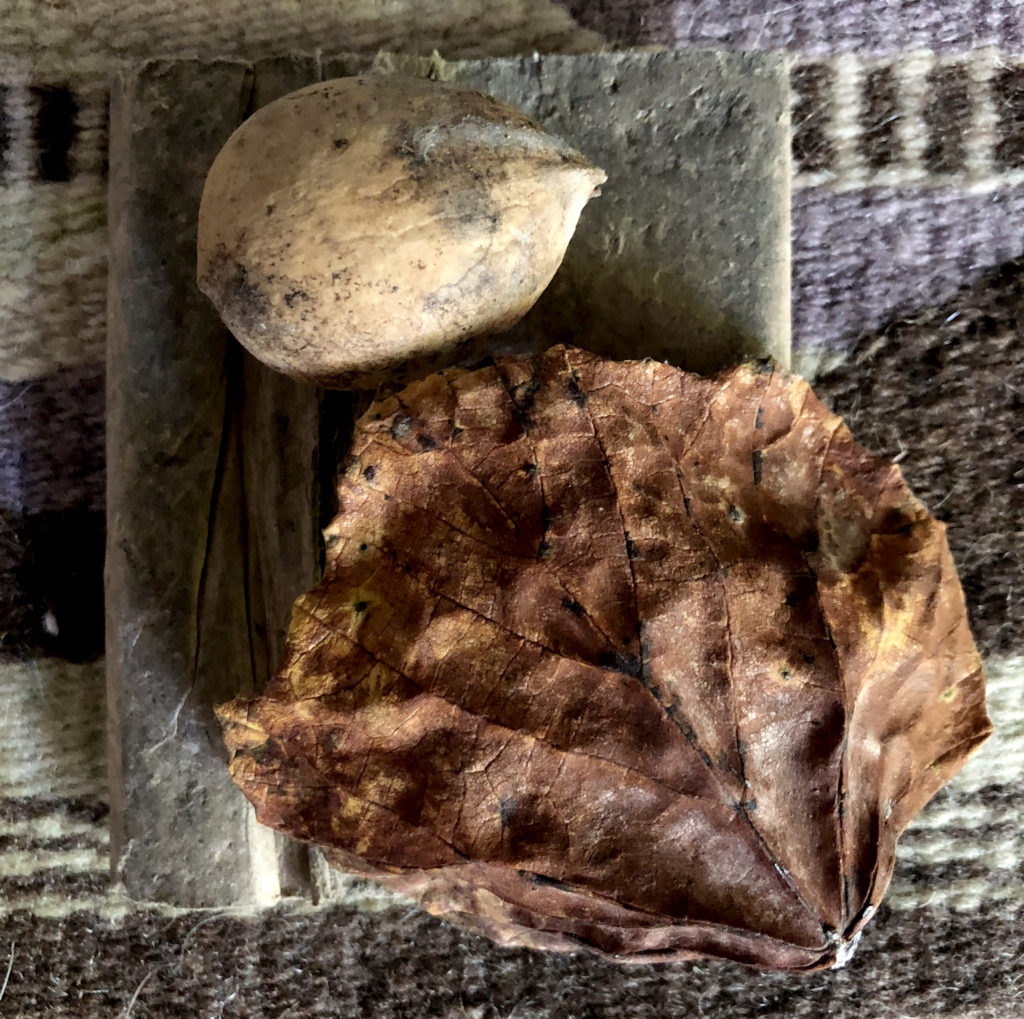
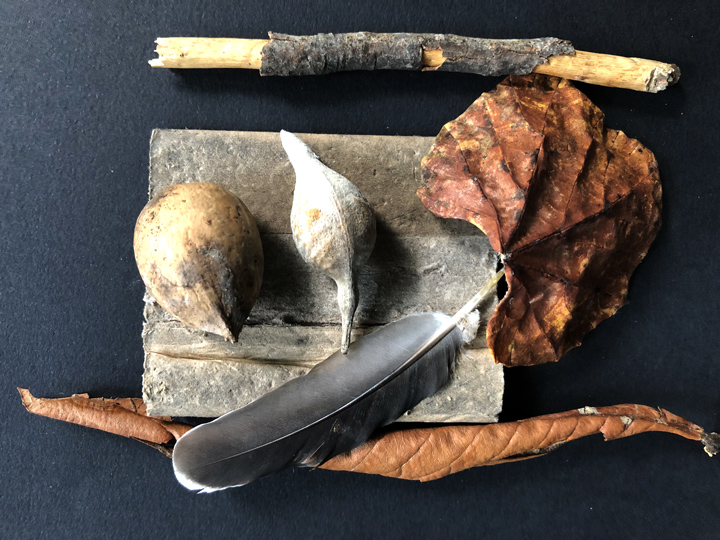
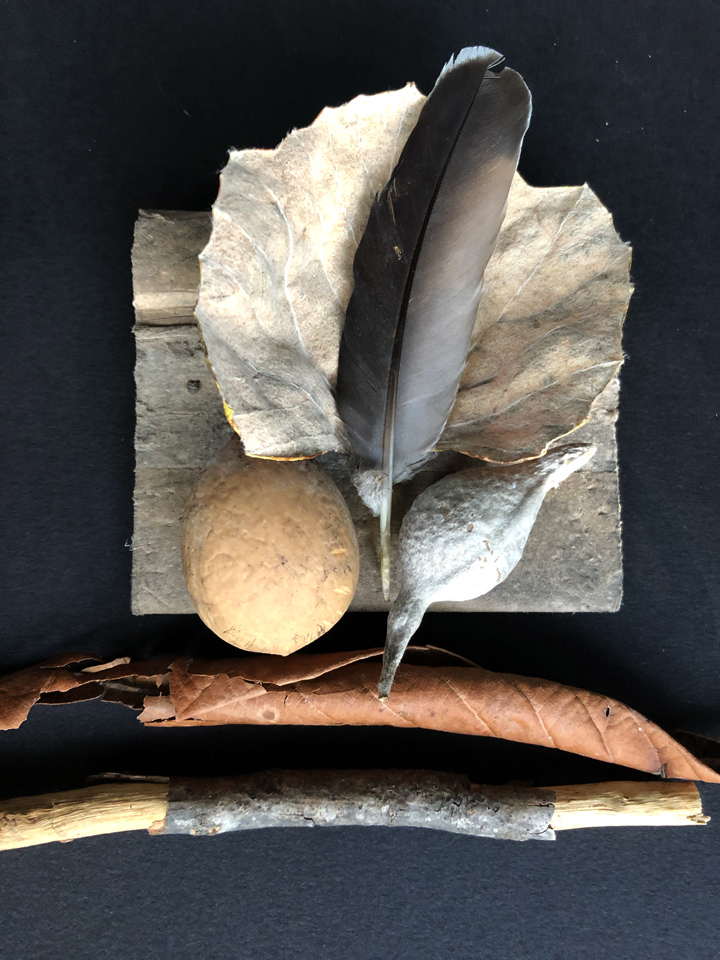
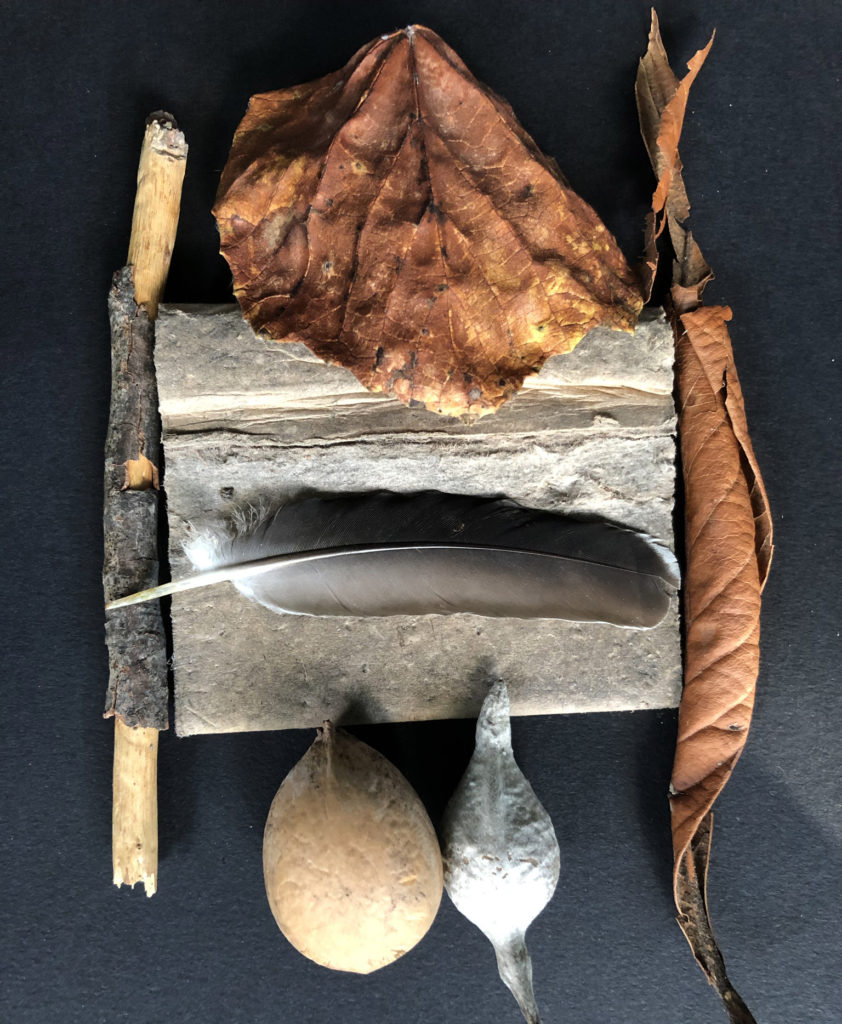
Then came Sunday, which was Composition Practice Day – IĀ  started arranging the seven objects in different configurations on a black piece of paper, then photographing the experimental arrangements with my phone camera.

Important point – there is more than one right answer! This is the great fun of solving art problems versus math problems!

This one may have been my favorite, but that could change depending on how the composition was going to be used:

I also tried the objects on a white background.

It’s instructive to note what works for you balance? Scale? Horizontal versus vertical? symmetrical versus asymmetrical? Stacked versus separate?

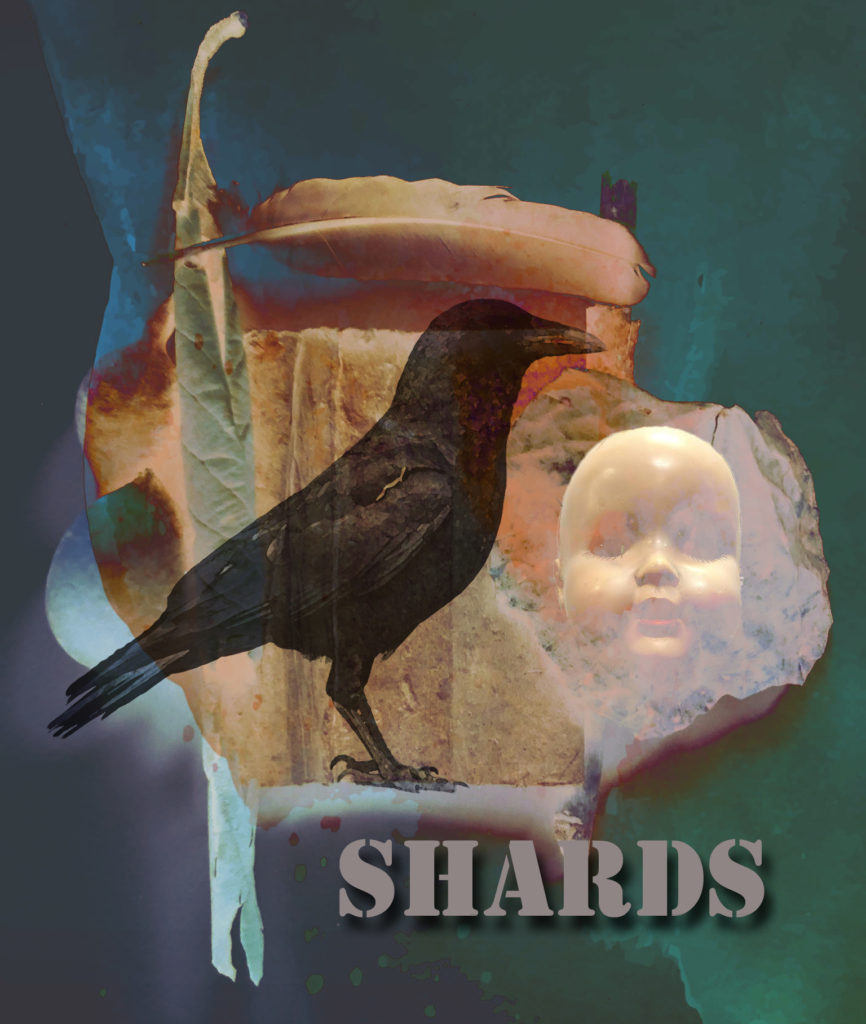
You can save your favorite photographs and use them as inspiration for paintings (you already know that the composition works!) or as backgrounds for digital art – here’s one example that I did from the photo on the right, above.

I would love to see examples from all of you who want to play with this idea.

You don’t have to wait until a Monday to start! You just need to choose one object a day without thinking about how it will go with anything else. Choose it just because you like it. When you start your arrangements, document them with photos, and send your favorites to me.

Go to my website (CLICK BELOW) to submit photos of your own 7-Day Found Object Challenge for Composition Competence. I’ll put together an online gallery on September 1st.

FOUND OBJECTS CHALLENGE LINK

I can’t wait to see what you find!


Holiday freebie for you – faux turquoise technique tutorial!

I may not have time to give workshops right now (the next one will be in January), but I can still teach you a few things! Here’s a lesson freebie – a cool Faux-Turquoise technique.

While working on a commissioned assemblage, I realized how often I use the painted faux-turquoise finish that I developed several years ago. It works on almost all my mixed-media surfaces – clay, paper, cradle board, canvas.

Here’s your step-by-step tutorial on how I do this finish. Feel free to change it up and experiment with your own variations. There’s no secret here, just simple materials and techniques that give good results in an uncomplicated way. It’s super fun, too.

Step One: Assemble Materials

Rarely do I specify specific brands, but in this case, these three acrylic paints work best in combination of all the ones I’ve tried for this particular technique.

You will also need a wide-ish flat brush (about 1″), a graphite pencil, a terrycloth washrag or studio rag, a white colored pencil (optional), and something to paint on. For this demonstration, I choseĀ  4×6″ piece of archival mat board. You’ll need a water container to clean your brush, too.
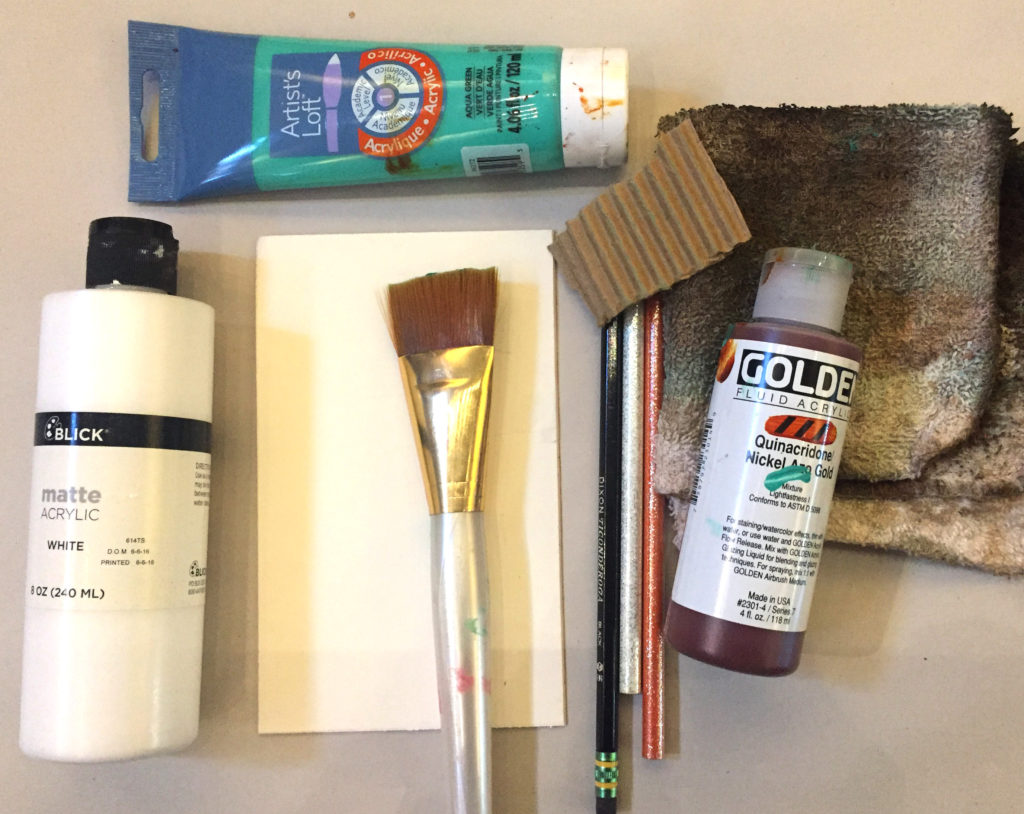
You don’t need a lot of complicated materials for this

Step Two: Make you mark

I often have my workshop participants open up to their work by doing some scribbling on the substrate – you can always gesso over it, but it keeps them from being intimidated by a white surface. If they don’t know what to scribble, I ask them to scribble what they had for breakfast! In the demo below, I just did some random markmaking with a graphite pencil. It added a bit of subtle texture to the surface, too.
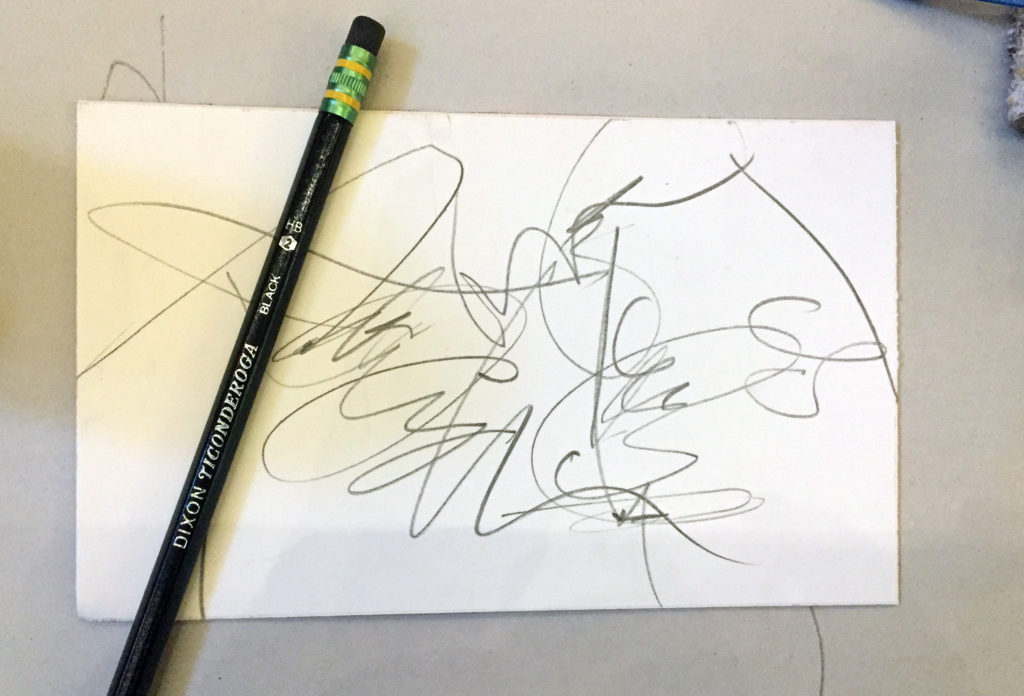
Make the space yours by claiming it with markmaking

Step Three: Slap on the base coat

Paint right over those marks you made with a coat of Aqua Green acrylic, being generous. Use random strokes, x-strokes in every direction. You don’t want to leave thick texture, but yo do want some slightly raised areas.
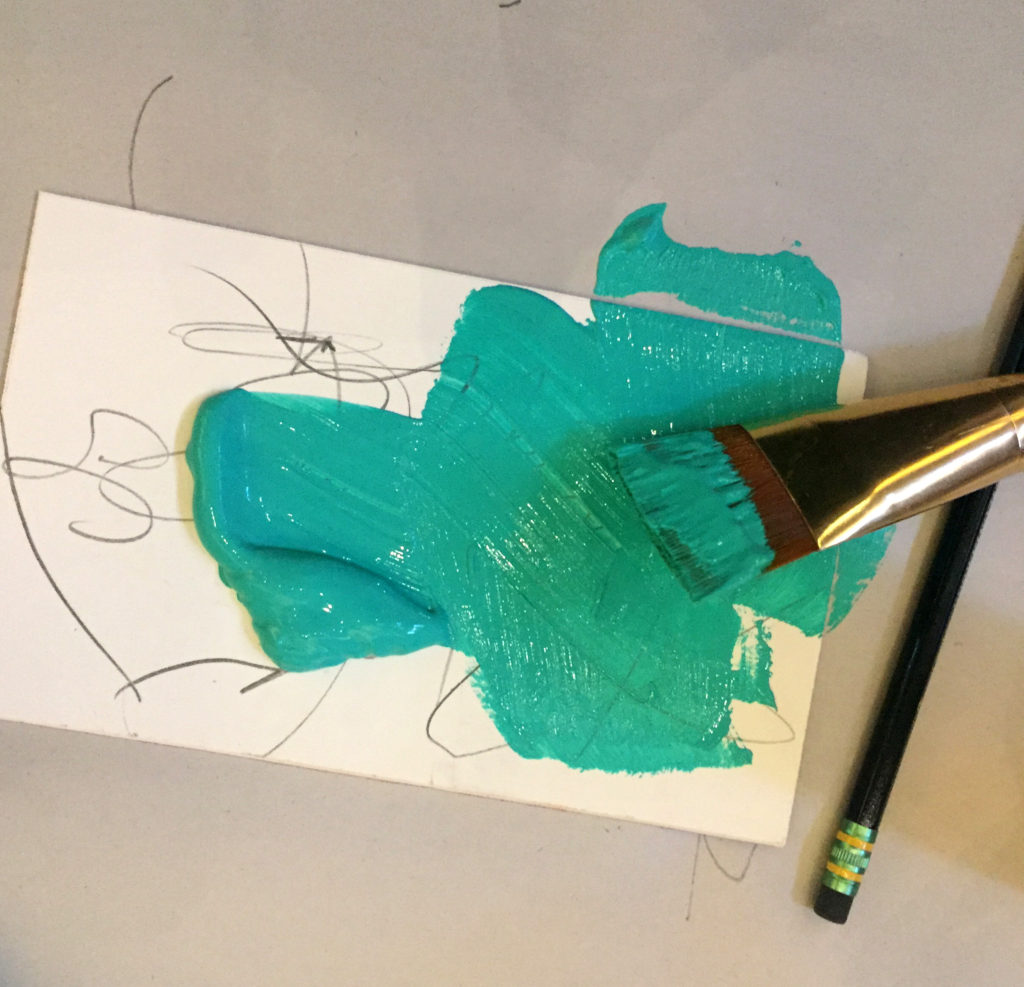
A nice coat of aqua green painted randomly on the matboard

Step Four: More marks

Let this coat sit until it is sticky but not dry, then go back in with your graphite pencil and make more light marks on the surface.
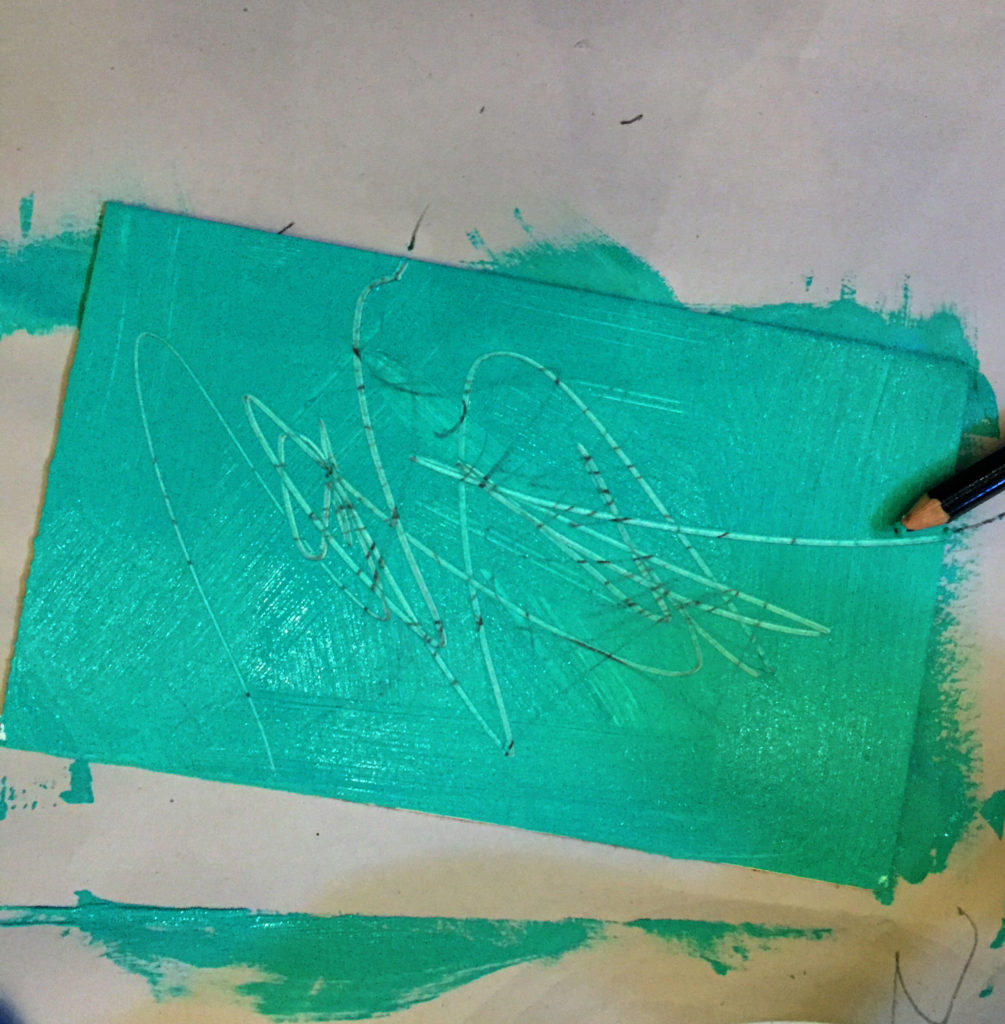
Step Five: Lighten it up

Add some of the Matte White acrylic to the Aqua Green to make a paler tint of turquoise. Brush it randomly over about one-third of the surface. Play with the proportions.
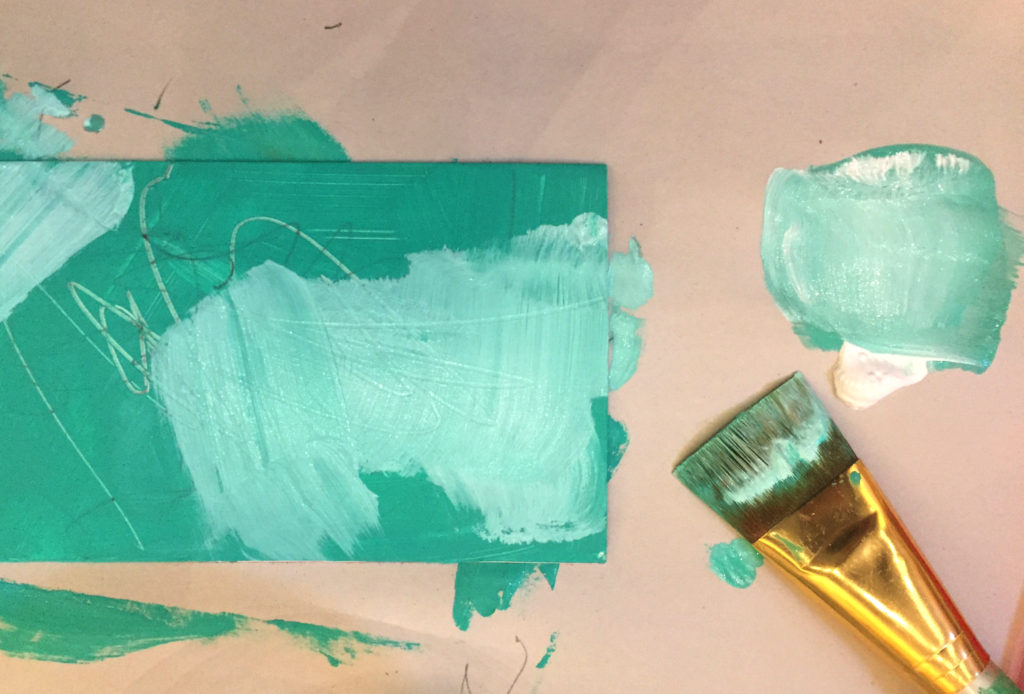
Matte White with a bit of Aqua Green

Step Six: Press and Lift

While the lighter tint is still wet, Press your terrycloth rag straight down onto the surface to lift some of the lighter tint in areas. This leaves very stone-like patches of light and dark.

Press the cloth straight down, then lift.

Step Seven: Adding the Azo Gold

Take your bottle of Quinacridone Nickle Azo Gold and drop several blobs of paint on the surface. It will look very dark and slightly gross, but don’t worry – Quin Gold is extremely transparent and will make a lovely glaze in the next step.
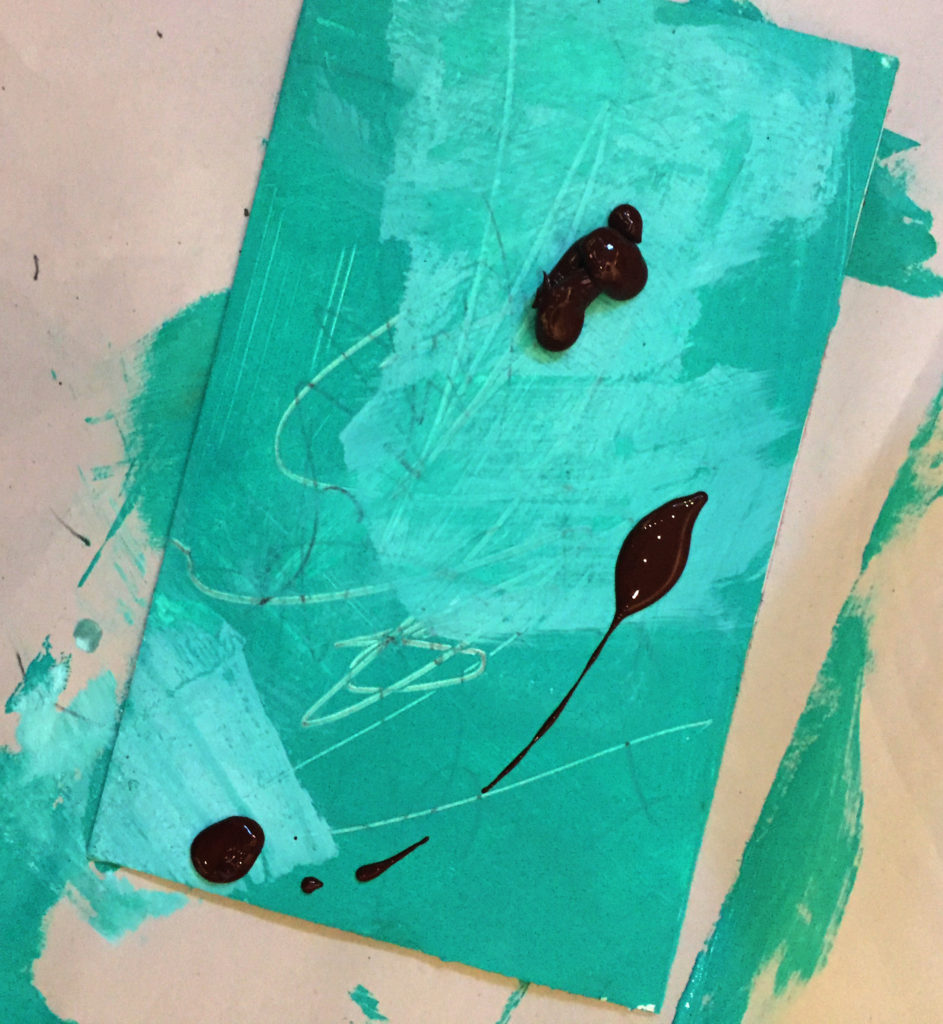
Blobs of Quin Gold dropped on the surface

Step Eight: Blob-dabbing

Using the same terrycloth rag (which will never be the same again), dab the blobs firmly to spread them and create texture.

Dabbed-out blobs of Quin Gold

Step Nine: Light blending and marking

Continue to add light marks, and do a bit of blending with the rag, but use a light touch.

More scratches and marks

Step Ten: Finish with dry-brushing

To veil and push back all of the color variations and textures, dry-brush a final coat of aqua green over the surface. You can see here that the right half has been dry-brushed and the left half has not yet been brushed. If you build up this layer slowly, you can control what is revealed and what is concealed. “Dry-brushing” means just that – adding a little bit of paint to a dry brush and stroke it lightly over the surface. After this step, let the whole thing dry. And go wash your brush!

Final dry-brush coat

Step Eleven: Tah-Dah!

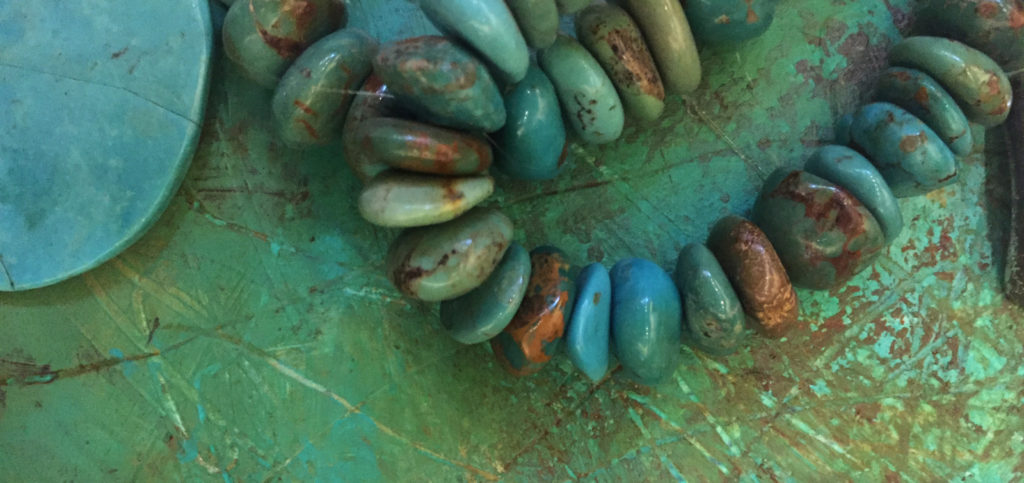
You can see in the close-up how the painted finished mimics the real stuff in texture and color. As I said, this surface is archival mat board, but you can try this technique on anything acrylic paint works with.

I can see it on a mirror frame, for example, with copper nailheads all around it, or perhaps covering the top of a wooden box. Or how about a turquoise ornament for a Christmas tree, Southwestern style?

Here are a couple more photos of the faux-turquoise mat board cut up into smaller sections, and also a small adornment with copper tape for a collage or pin.
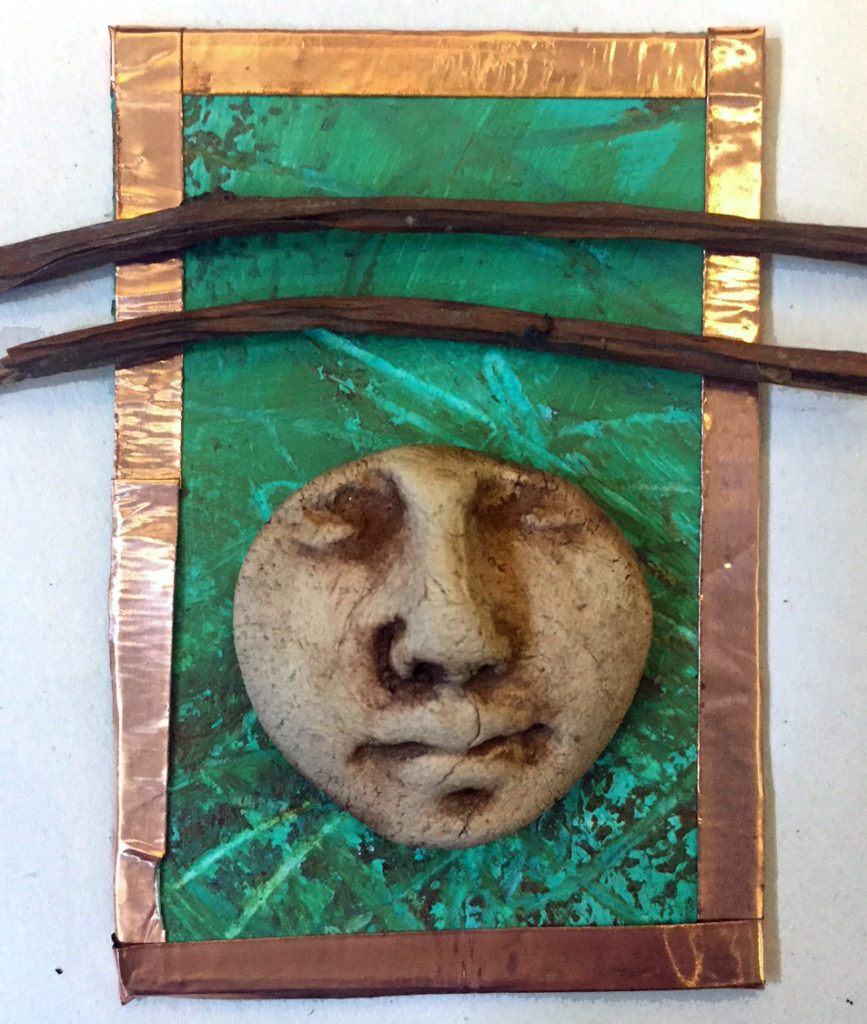
collage adornment
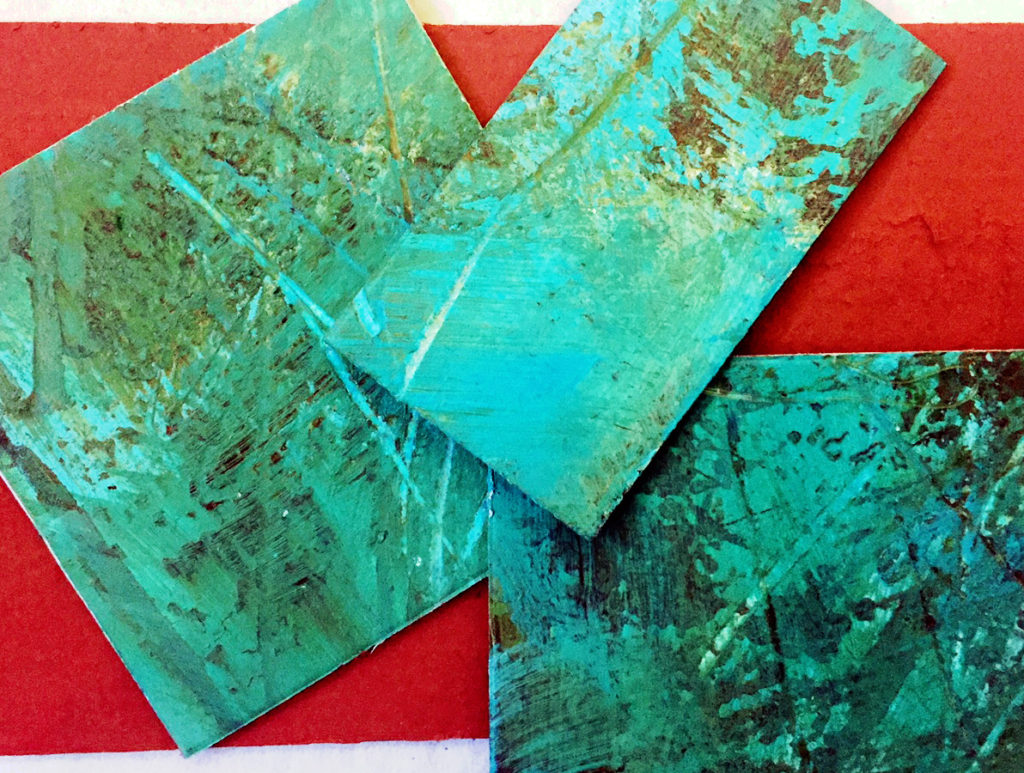
Cut sections of faux-turquoise matboard for mixed media

I hope you enjoy this technique. If you try it, let me know how you use it!

And thanks, as always, for reading SHARDS!


Workshop: light a candle

Sometimes it seems as if the world gets scarier and scarier, and it’s awfully hard not to get discouraged. We just have to keep focused on creative ways to keep ourselves centered so we can continue adding a little beauty to life’s journey.

That’s not exactly the way I intended to talk about this upcoming workshop, but it seems fitting. I’ll be teaching once again at the San Antonio Art League studio on King William, and we’ll be lighting things up with a votive candle collage project. The date is Sunday, October 29th and the time is 2-5 PM.

I wrote about this project for Cloth Paper Scissors magazine a couple of years ago, but now I’ve added the idea of personal collage to the basic structure.

We’ll spend a relaxing three hours talking about art and life while we create these collage votive cards. I’ll provide all materials, including the little switch-on candles.

You’ll add your personal touches through the collage elements and the colors you choose.

There are four spaces left at this writing, and you can sign up here on my website.
A portion of the tuition will benefit the San Antonio Art League & Museum.

Let’s shine some light together. I am so grateful for you all —

Save

Critters for Marta

Marta Stafford

One of the nicest surprises of the summer came from the amazing Marta Stafford, who invited me to be a part of her hugely popular gallery, Marta Stafford Fine Art, in Marble Falls.

This is a dream come true – I loved Marta’s gallery from the first moment I saw it six or seven years ago.She has the absolute best in mixed media, sculpture, contemporary and traditional painting, and more. Marta will represent me and my work (woohoo), and I’ll be featured in the exhibit that opens Friday, October 6th.

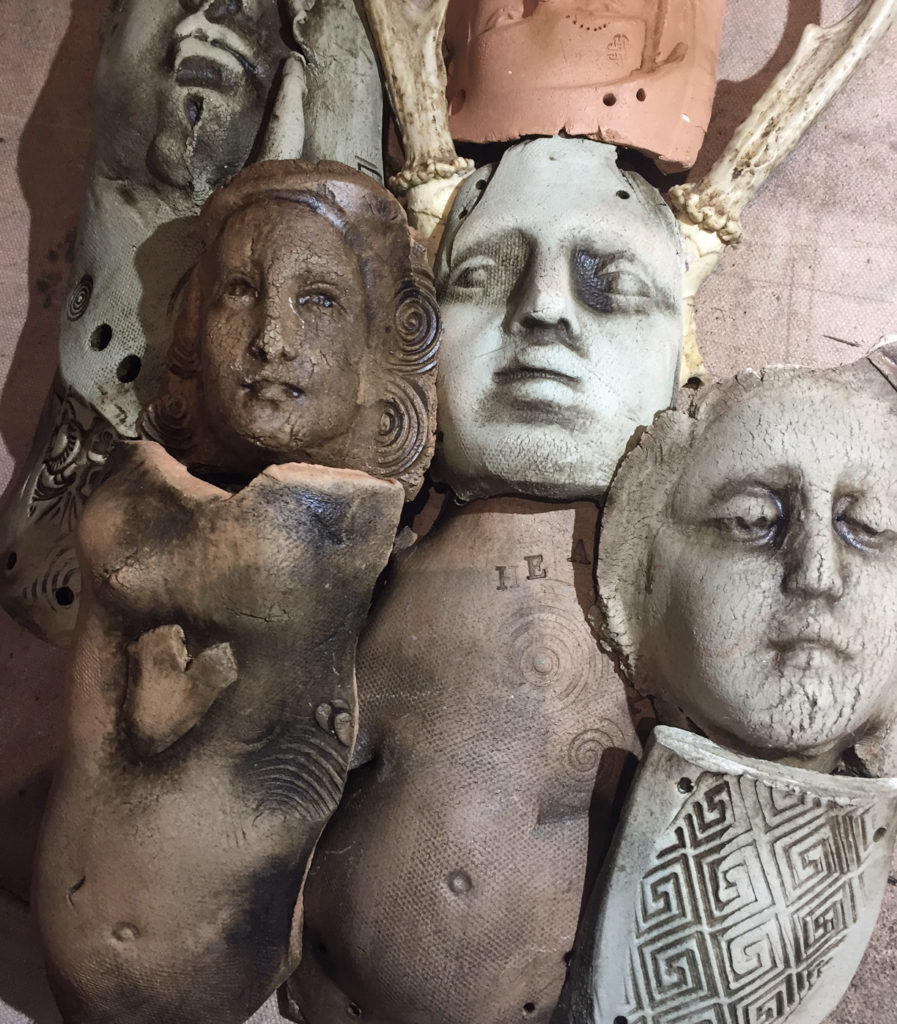
I need to create some nifty new work for this show, especially imaginative assemblages, so I started digging around for earthenware body parts! Heh, heh.

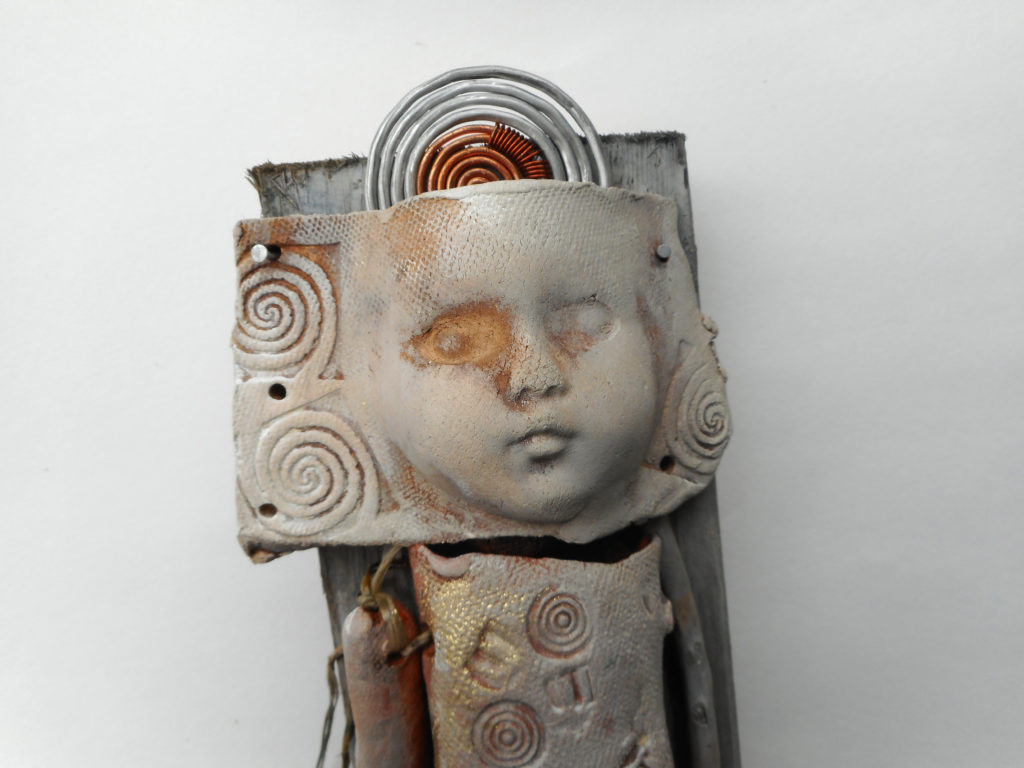
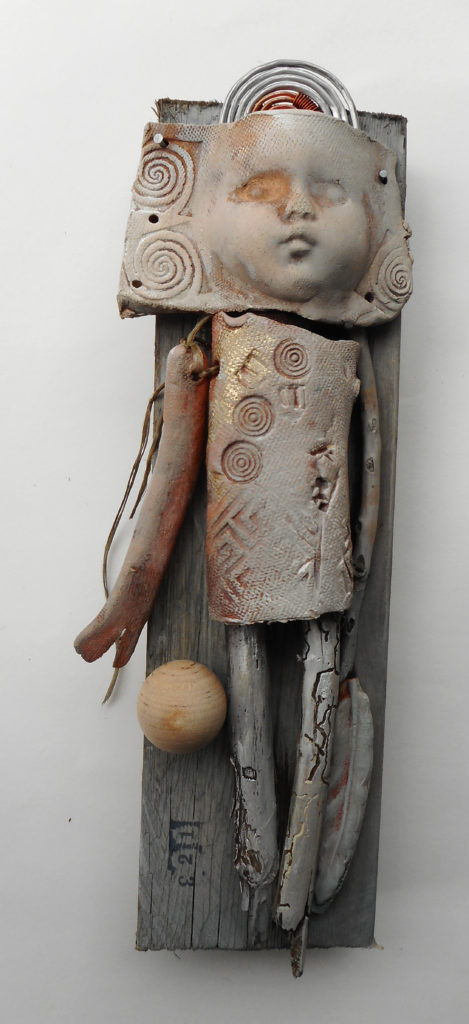
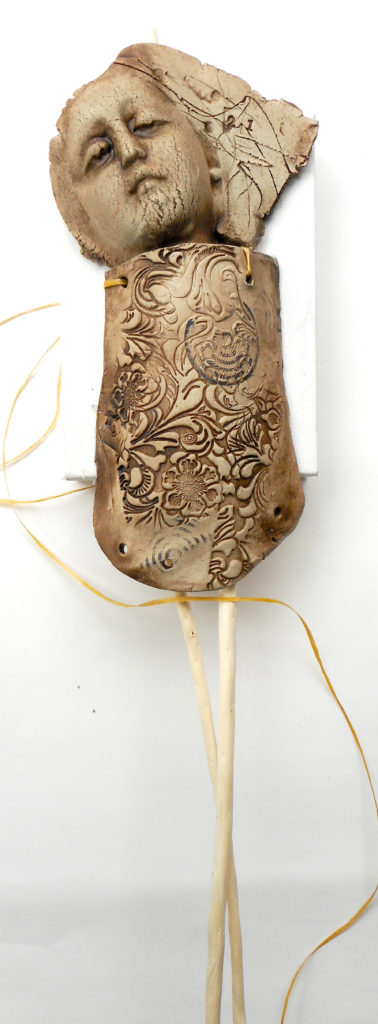
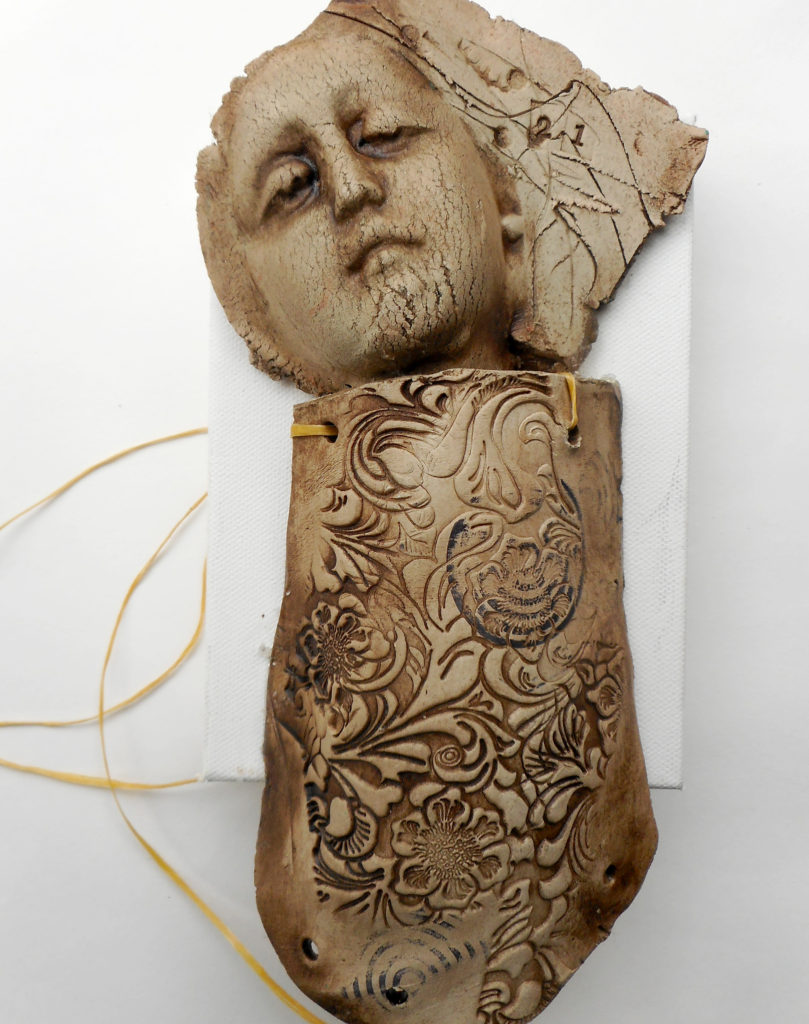
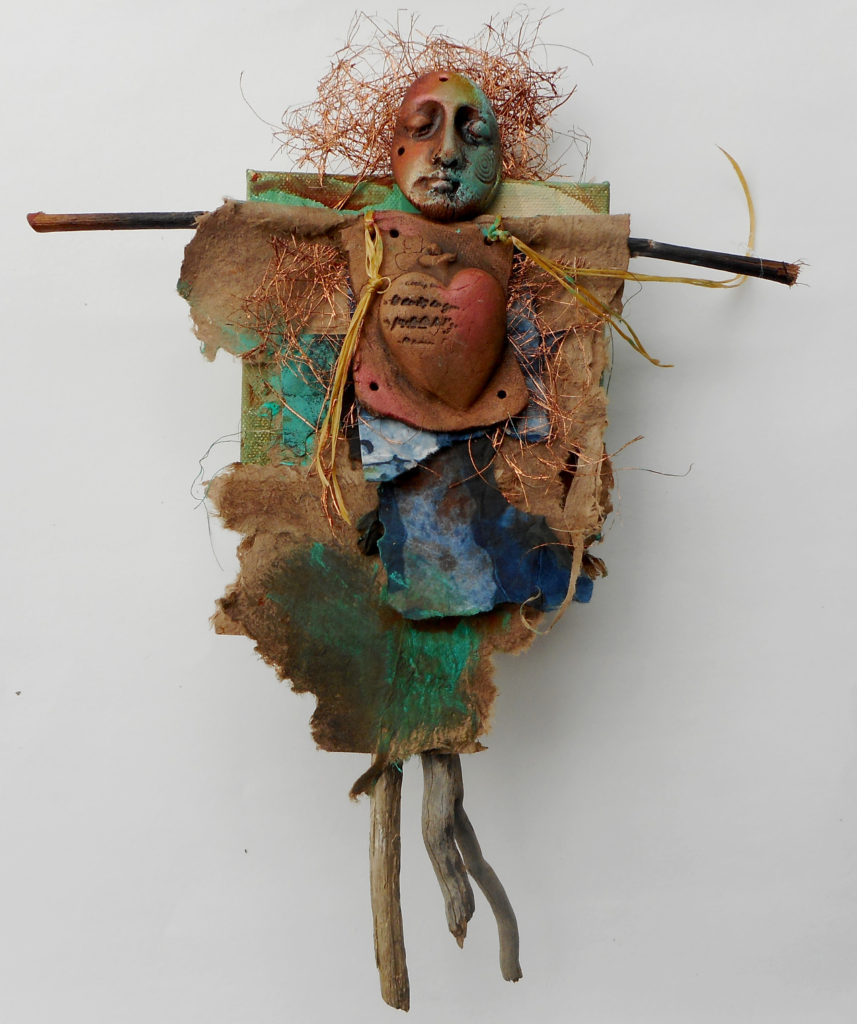
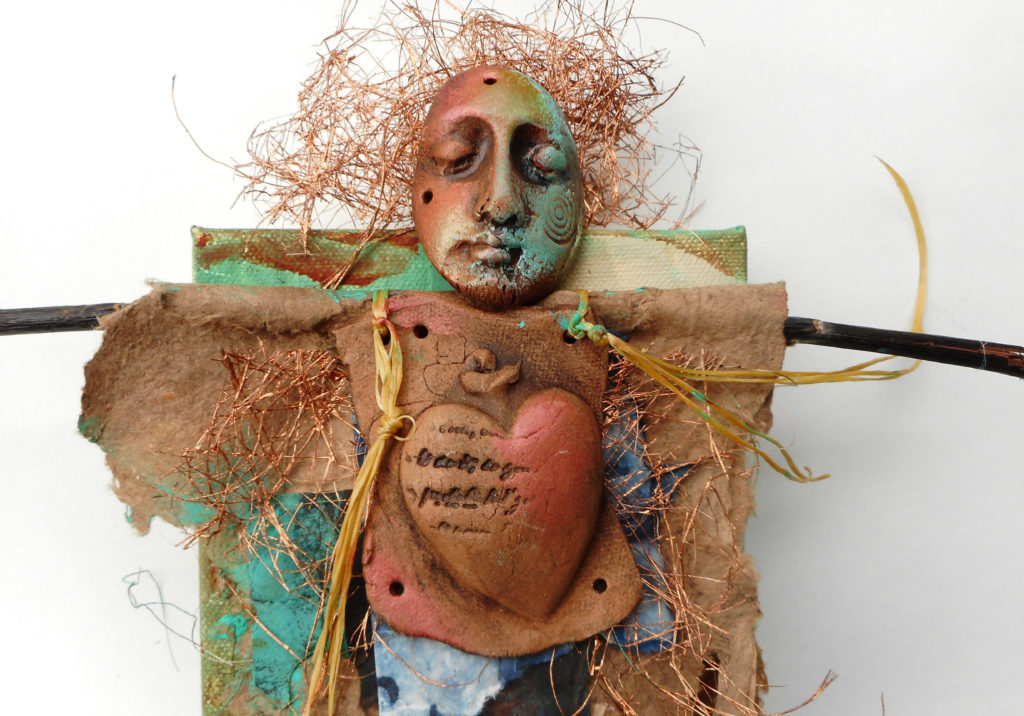
It’s so much fun putting my clay shards together with found objects and watching new critters emerge. Here’s the progress so far – some are not finished, as you can see – perhaps you can see where they are going? One never knows, do one?

This is a details of a piece I really like

There is actually another face underneath the one you see. Her arm moves in a sweet, spooky way – she’s about 12″ tall.

Save

Save

Save

The one below is just started, but I like the simple elegance so far.

When finished, this piece will be about 18-20″ tall

Shades of spirit dolls! This construction, below, has some hand-dyed and rusted mulberry paper.

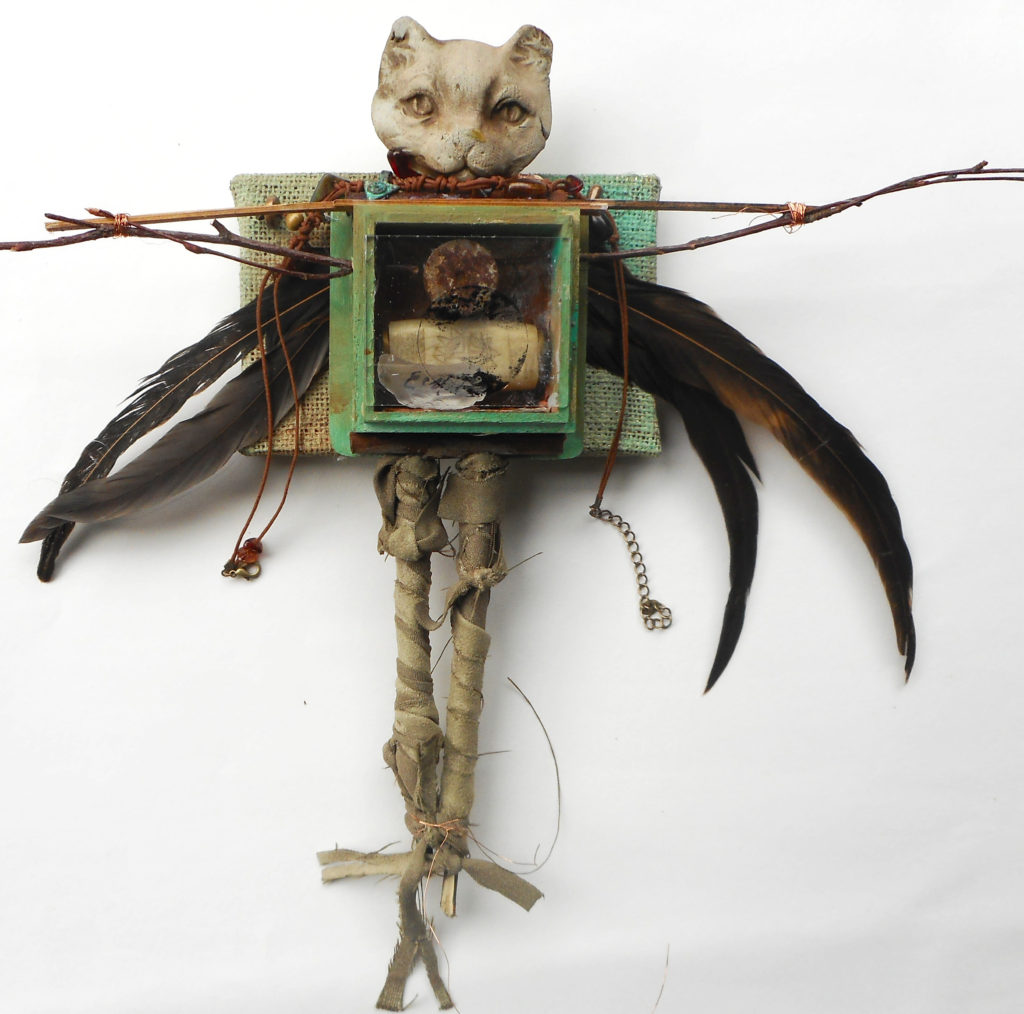
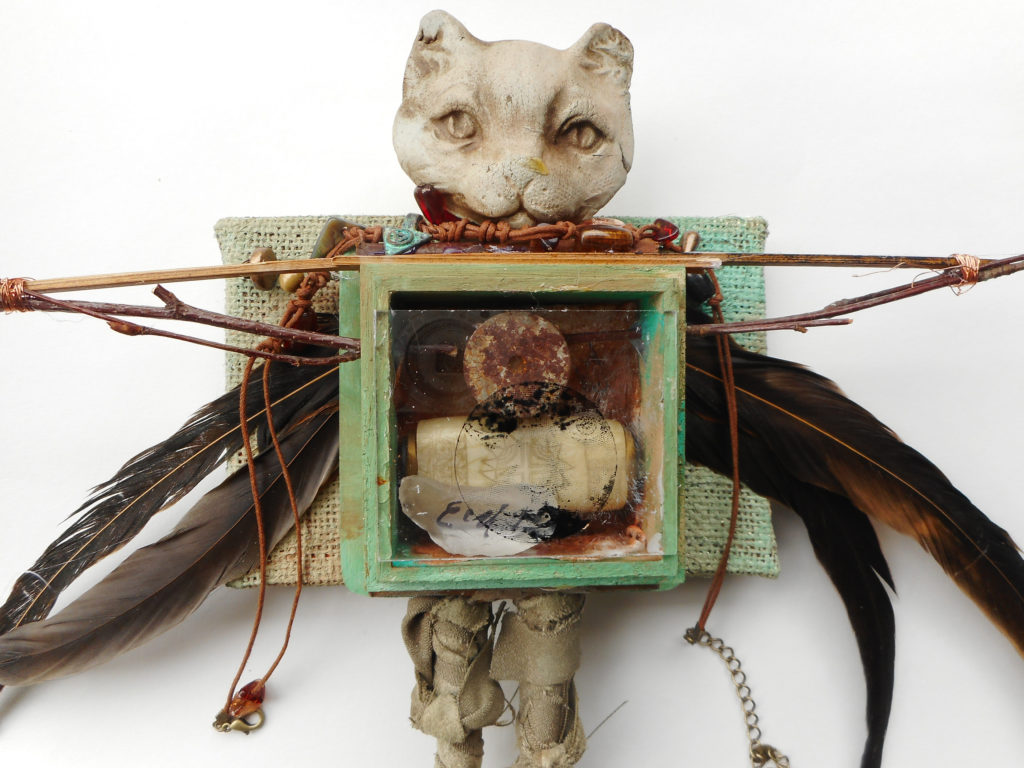
And while I was looking for clay body parts, I found this cat head! It’s now a new Cat Shaman.

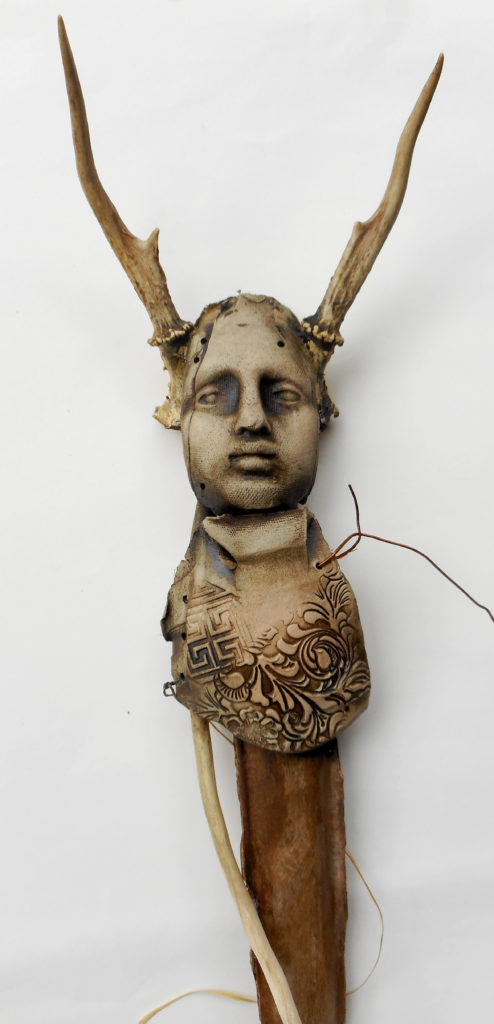
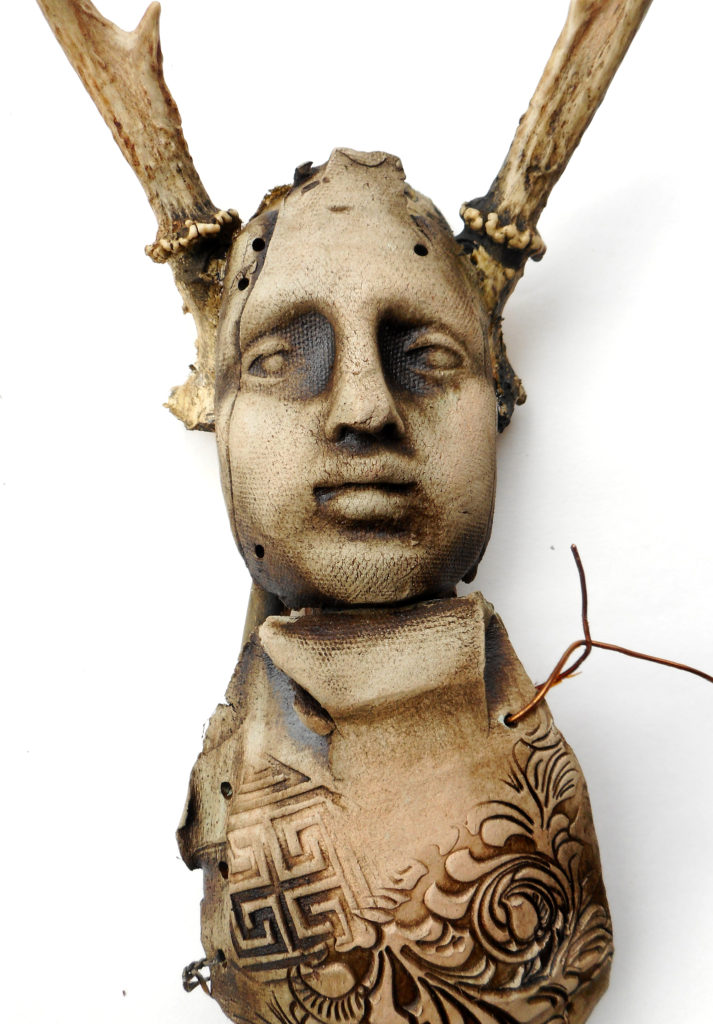
Finally, here’s one I started a couple of weeks ago and it’s finally starting to come together. It looks like some sort of ancient goddess staff.

So far, every piece is different from every other one interesting.

I plan to have a number of these assemblages as well as some paintings and collages for Marta’s opening on Friday, October 6th at the Marta Stafford Fine Arts in Marble Falls.

Thanks, Marta, for the invitation – prepare for a critter invasion! ā™„

Save

Save

Save