
I didn’t have a chance to demo this technique at Show and Tell last Saturday, so here’s a quick how-to. I’m showing this technique on watercolor paper in this tutorial, but it works even better on dampened white cotton fabric. (Because the wax-paper transfer is just ink-jet ink, it will need to be sealed if it’s on fabric or it will wash out.) Here are the steps – click on the pictures below to enlarge, and feel free to share.
-
- Decide on the picture you want to transfer, locate it in your files, and open a MS Word blank document
-
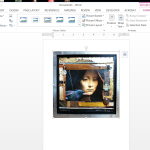
- Insert the image into the Word document – you can change the size by dragging the corners
-
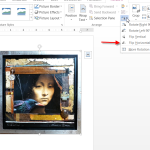
- You will need to flip the image since it will be reversed in the transfer
-
- When the image has been reversed, leave it up on your computer screen and prepare your work surface and the wax paper
-
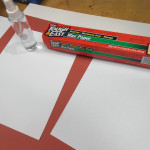
- You’ll need a plain piece of printer paper to support teh wax paper and a surface to transfer it to – this (left) is watercolor paper
-
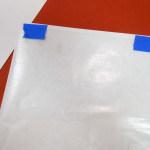
- Cut a sheet of wax paper to fit teh printer paper and lightly tape it to the top – you will run it through your inkjet print with the wax paper side down
-
- Just before you print your image, lightly dampen the watercolor paper – don’t use too much, or the image will smear
-
- Immediately after printing, make the transfer. The ink should not dry. Place the wax paper, printed side down, on the dampened watercolor paper
-
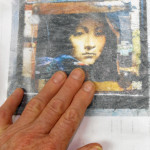
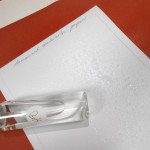
- Lightly rub with your fingers – this is a little tricky because if you move the paper, the ink will run and smear, but it’s easy to get the feel of it once you try it
-

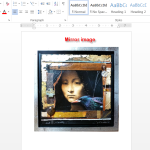
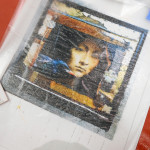
- Here’s the transfer – you can see that the grain of the paper makes it a bit textured and distressed, which is rather nice
-

- And here is the transfer in a mixed media work – this method is so easy and cheap and fast – that’s a rare combination!