Wax Paper Inkjet Transfer Tutorial

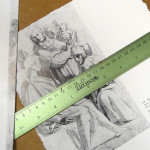
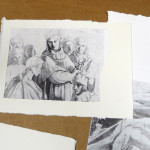
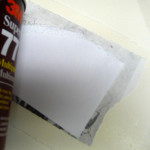
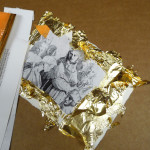
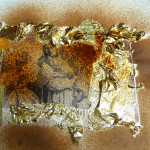
I didn’t have a chance to demo this technique at Show and Tell last Saturday, so here’s a quick how-to. I’m showing this technique on watercolor paper in this tutorial, but it works even better on dampened white cotton fabric. (Because the wax-paper transfer is just ink-jet ink, it will need to be sealed if it’s on fabric or it will wash out.) Here are the steps – click on the pictures below to enlarge, and feel free to share.


Guest artsts show their faces

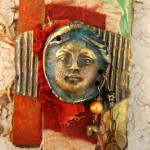
One of the most enjoyable aspects of offering workshops, particularly on how to make face shards, is to see how they are used by the artists who attend. I’ve already posted photos of Spirit Dolls and jewelry – now here are some new ideas.

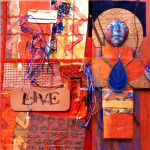
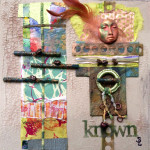
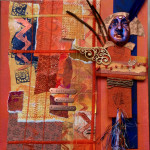
These are by Sheri Lenora from Austin, who took a class at the Studio recently on building earthenware faces – she’s used them in her beautiful mixed-media hangings – spectacular rich color and texture:

The nebookxt example (left) is the cover of a small book created by Zinnia Galliher, founder of Roses On My Table and a student in my online Making Faces class! I have a already warned her that I’m stealing her idea – it’s wonderful, and the air-dry clay is easier and lighter to work with than earthenware would be for adding to artisan paper constructions.

Don’t forget that there’s a workshop this Sunday at the Studio on making faces with air-dry clay with all kinds of beautiful finishes. Here’s the info, and here’s where to sign up.


Surface treatment

So I joined the Fiber Artists of San Antonio in March under false pretenses – the only fiber I knew anything about came in my granola. But I am learning so much from this talented group – it started when I met Sherrill Kahn at the first meeting I attended.

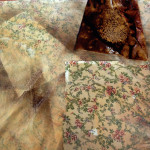
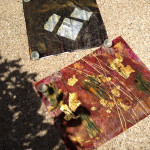
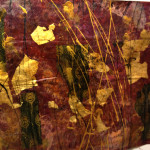
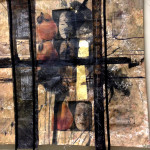
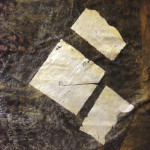
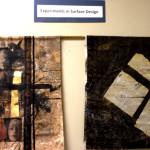
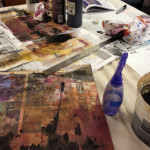
Today I took the plunge and worked a bit with surface design on fabric. It was amazing! And fun! After about four hours steady work in the Studio, I completed three pieces (well, the surface part, anyway). I even had time to do some sewing on one piece. The materials I used were Gesso, acrylic paint, India ink (that may have been a mistake – it’s very intense and unforgiving – live and learn), pattern stamps, and gold leaf sealed with acrylic medium. I also tried a digital heat transfer on one of the pieces. Here are the results. i don’t know where I’m going from here, but I do know that I’m hooked on working with fabric and fiber. Look out, FASA 🙂.
Friday Freebie – Threads of Blessing

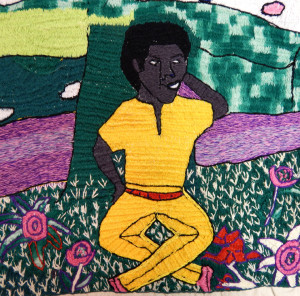
When the Sathreads1cred Ground exhibit opened at Cathedral House Gallery in late May, I met a woman named Helen Schnelzer who sponsors a wonderful program called Threads of Blessing, an annual needlework workshop for the women of Uganda. These workshops are designed to encourage women to gather as a community, learn organizational skills, and help develop personal esteem. I purchased five of the embroidered tapestries and wanted to share one with a SHARDS subscriber as a Friday Freebie. This one was embroidered by Abby Thorciba, who writes in her statement, “I have orphans I care for . . .the Lord has given me this to feed, clothe and care for them and myself.” Look at the great expression on this face!
threads2

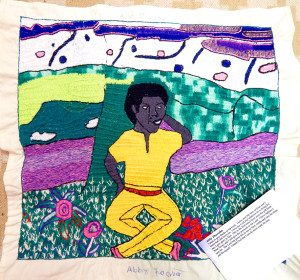
Here is the full tapestry – it’s about 18×18″ on unbleached muslin and could be stretched to frame or sewn into a hanging or a pillow. It’s signed by Abby Thorciba. I’ll wait until Sunday to do the Friday Freebie drawing but will let you know who the winner is Sunday night. All subscribers will have a chance to win, and I thank you so much for reading my blog.

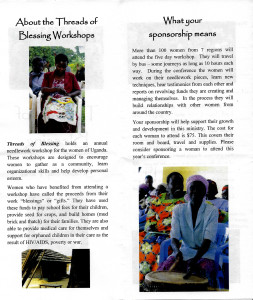
And here’s the brochure – click on it to read it, and if you’d like to donate, you can write to The Episcopal Diocese of West Texas, Attn: Threads of Blessing, PO Box 6885, San Antonio, TX 78209 (or just email me and I can give you more information – I’m not affiliated with the program, but I definitely support its philosophy and will continue to threads3purchase these unique works).


3-PART ART #1

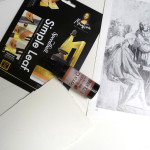
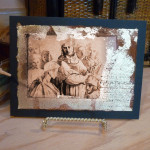
So I was thinking about new workshops and such, and I thought it would be fun to share some quick and easy techniques that you can do with just three “ingredients” (there are a bunch of cookbooks like that*). The first of these is a Reanissance-esque little collage on watercolor paper that can you can use as a card or a cover on a box or – whatever you can think of. Here are the three ingredients (yep, they include my favorites):

  • Walnut Ink (made by Tsukineko, available at Michael’s and Jo-Ann’s or online)
  • Fake gold leaf (ditto)
  • A black and white page from an old art catalog or art book from Half-Price Books or wherever you can find pages to recycle

Here are the steps:

Idea – if you have an art “ingredient” that you bought and don’t know what to do with, tell me what it is and I’ll see if I can figure a three-ingredient project to use it with. Hey, and don’t forget about the Sacred Ground show today!

*PS If you want my favorite three-ingredient food-type recipe, click here 🙂

Workshop video – we learned so much

It’s astonishing how much happened in two short days. Here’s the complete video of our weekend workshop at the Studio. Michelle Belto’s spiritual and physical energy took us on an unforgettable journey of artistic discovery!


Pieces of clay

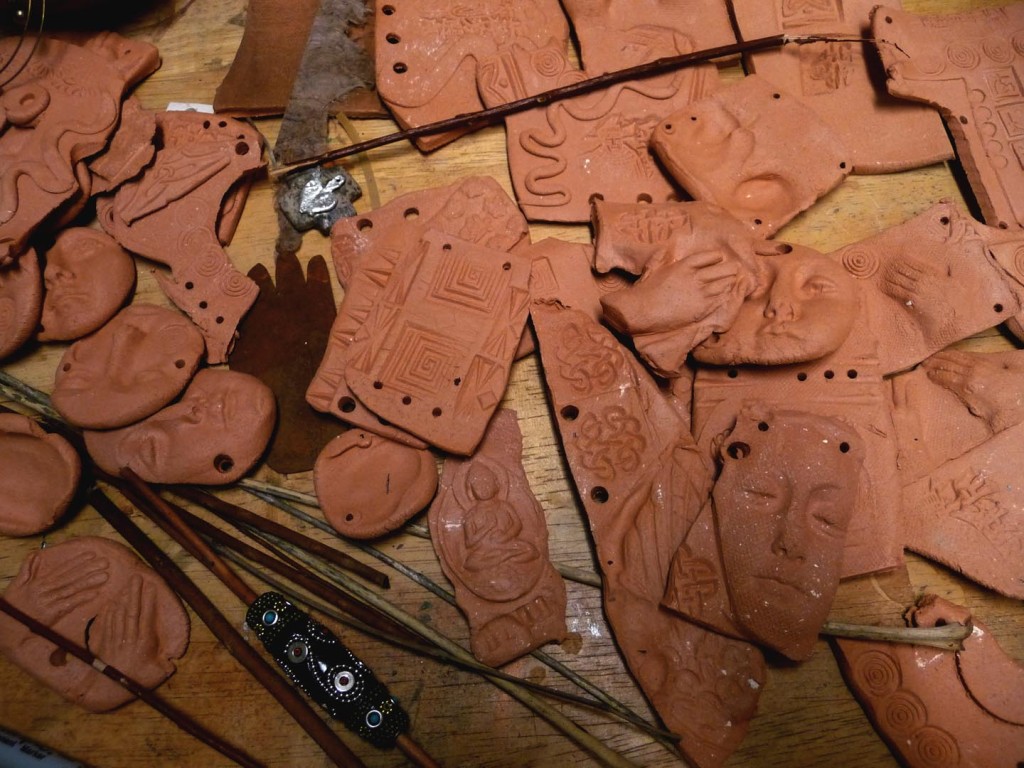
I unloaded the kiln yesterday and took out lots of little puzzle pieces. The new Guardian series of mixed media constructions is getting assembled for a show at Cathedral House in mid-May, and I need to get these little guys completed. I hope they are not too pagan-esque for the venue! The fun part is matching the right face with the right bodies. Somehow, they know who goes with what. Here’s a picture of the just-unloaded earthenware tiles and shards:

pieces of the puzzle

pieces of the puzzle

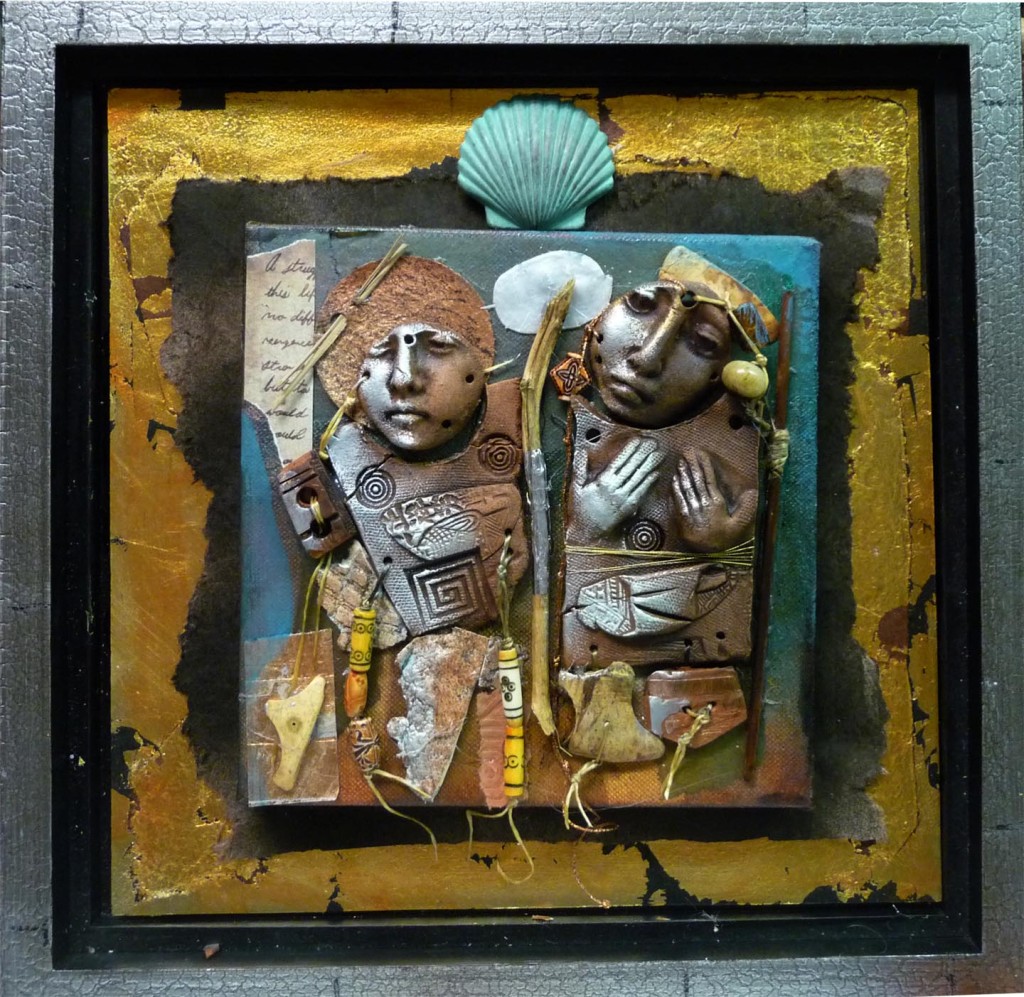
And here’s the first yet-unnamed Guardian piece assembled:

Untitled (so far) Guardianassemblage

Untitled (so far) Guardian construction


Friday Freebie – little spring cards

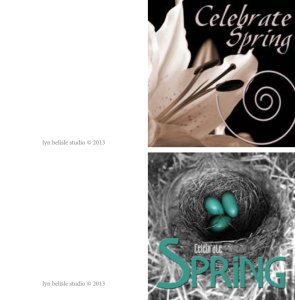
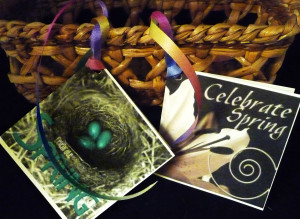
I saw the most amazing redbud tree yesterday on my way to Trinity, and all of the ornamental pears are loaded with white blossoms – spring is definitely coming out all over. Here are some little cards to tie on baskets or bouquets. You can print them out, cut and fold them, and attach them to Something Nice for Someone.

springcards2springpic


Mac Fonts 101

By special request, here’s the Mac version of my last post:

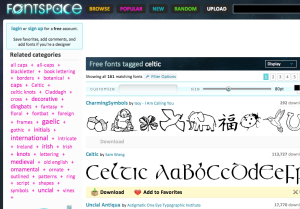
Finding new fonts to use on your Mac is just as easy as it is with Windows computers, just a little different. Again, I start with Fontspace just because I can usually find something I like there.

Screen Shot 2013-03-19 at 11.36.35 AMI found one that I want called “Celtic.” I clicked on the Download button directly below the font.

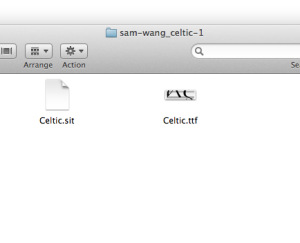
Screen Shot 2013-03-19 at 11.37.12 AMMy download window opens and I double-click in the folder that has the name of the font.

Screen Shot 2013-03-19 at 11.37.42 AMWhen the folder opens, I double click on the font itself, the file that ends in .ttf (true type font)

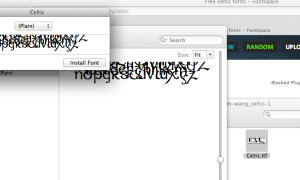
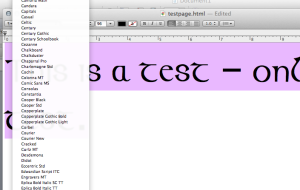
Screen Shot 2013-03-19 at 11.38.39 AMI click on the Install Font button and  – voila – the next time I open a word editing program or any other application that uses fonts, it’s there (see below).

Screen Shot 2013-03-19 at 11.42.20 AM


Sunday Wrap-up

Today’s Mala and Spirit Flag Workshop felt like playing – wonder if there’s such a thing as a Playshop? It was like summer outside where we splattered our prayer flags with paint. We didn’t get much more done with the flags because sitting around the table stringing mala beads and talking was a lot more relaxing. One of the things we discussed was creating with intention, which seems to elevate and enrich any project.

Congratulations to Barbara Weitbrecht, the winner of the Mala meditation bracelet. Barbara, email me and let me know if there’s a favorite color you’d like me to use for the tassel. I’m still far from perfect at making these little wrist Malas, but it will be made with much love.

Here’s a video from today’s workshop – you can see what the parking lot around the Studio looks like! It was deserted on a Sunday afternoon so no one ran over our prayer flags. Yay!