Postcards to Myself – take a second look at a mess

So my next big project is called “Postcard to Myself” and it’s an expansion of a workshop I taught several years ago, this time in eBook form with eight or ten fun instructional videos embedded in the pages.

The idea is that we all have artwork that we make along our journey as artists, and every time we create, we learn something worth remembering. Not everything is worth saving and storing as a finished piece, obviously, but experiments can be saved in postcard size 5×7″ format with notes on the back about the process – what worked, what didn’t, and what were the profound surprises. These are the “postcards to myself.”

It’s kind of a different way to art journal, I guess. Every piece is an inspiration and a reminder of where we’ve been and what we’d like to remember. I should be finished with the eBook and videos by the end of June and will be asking some of you for reviews before it goes up for sale (cheap) on my website.

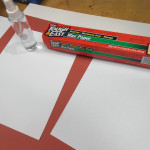
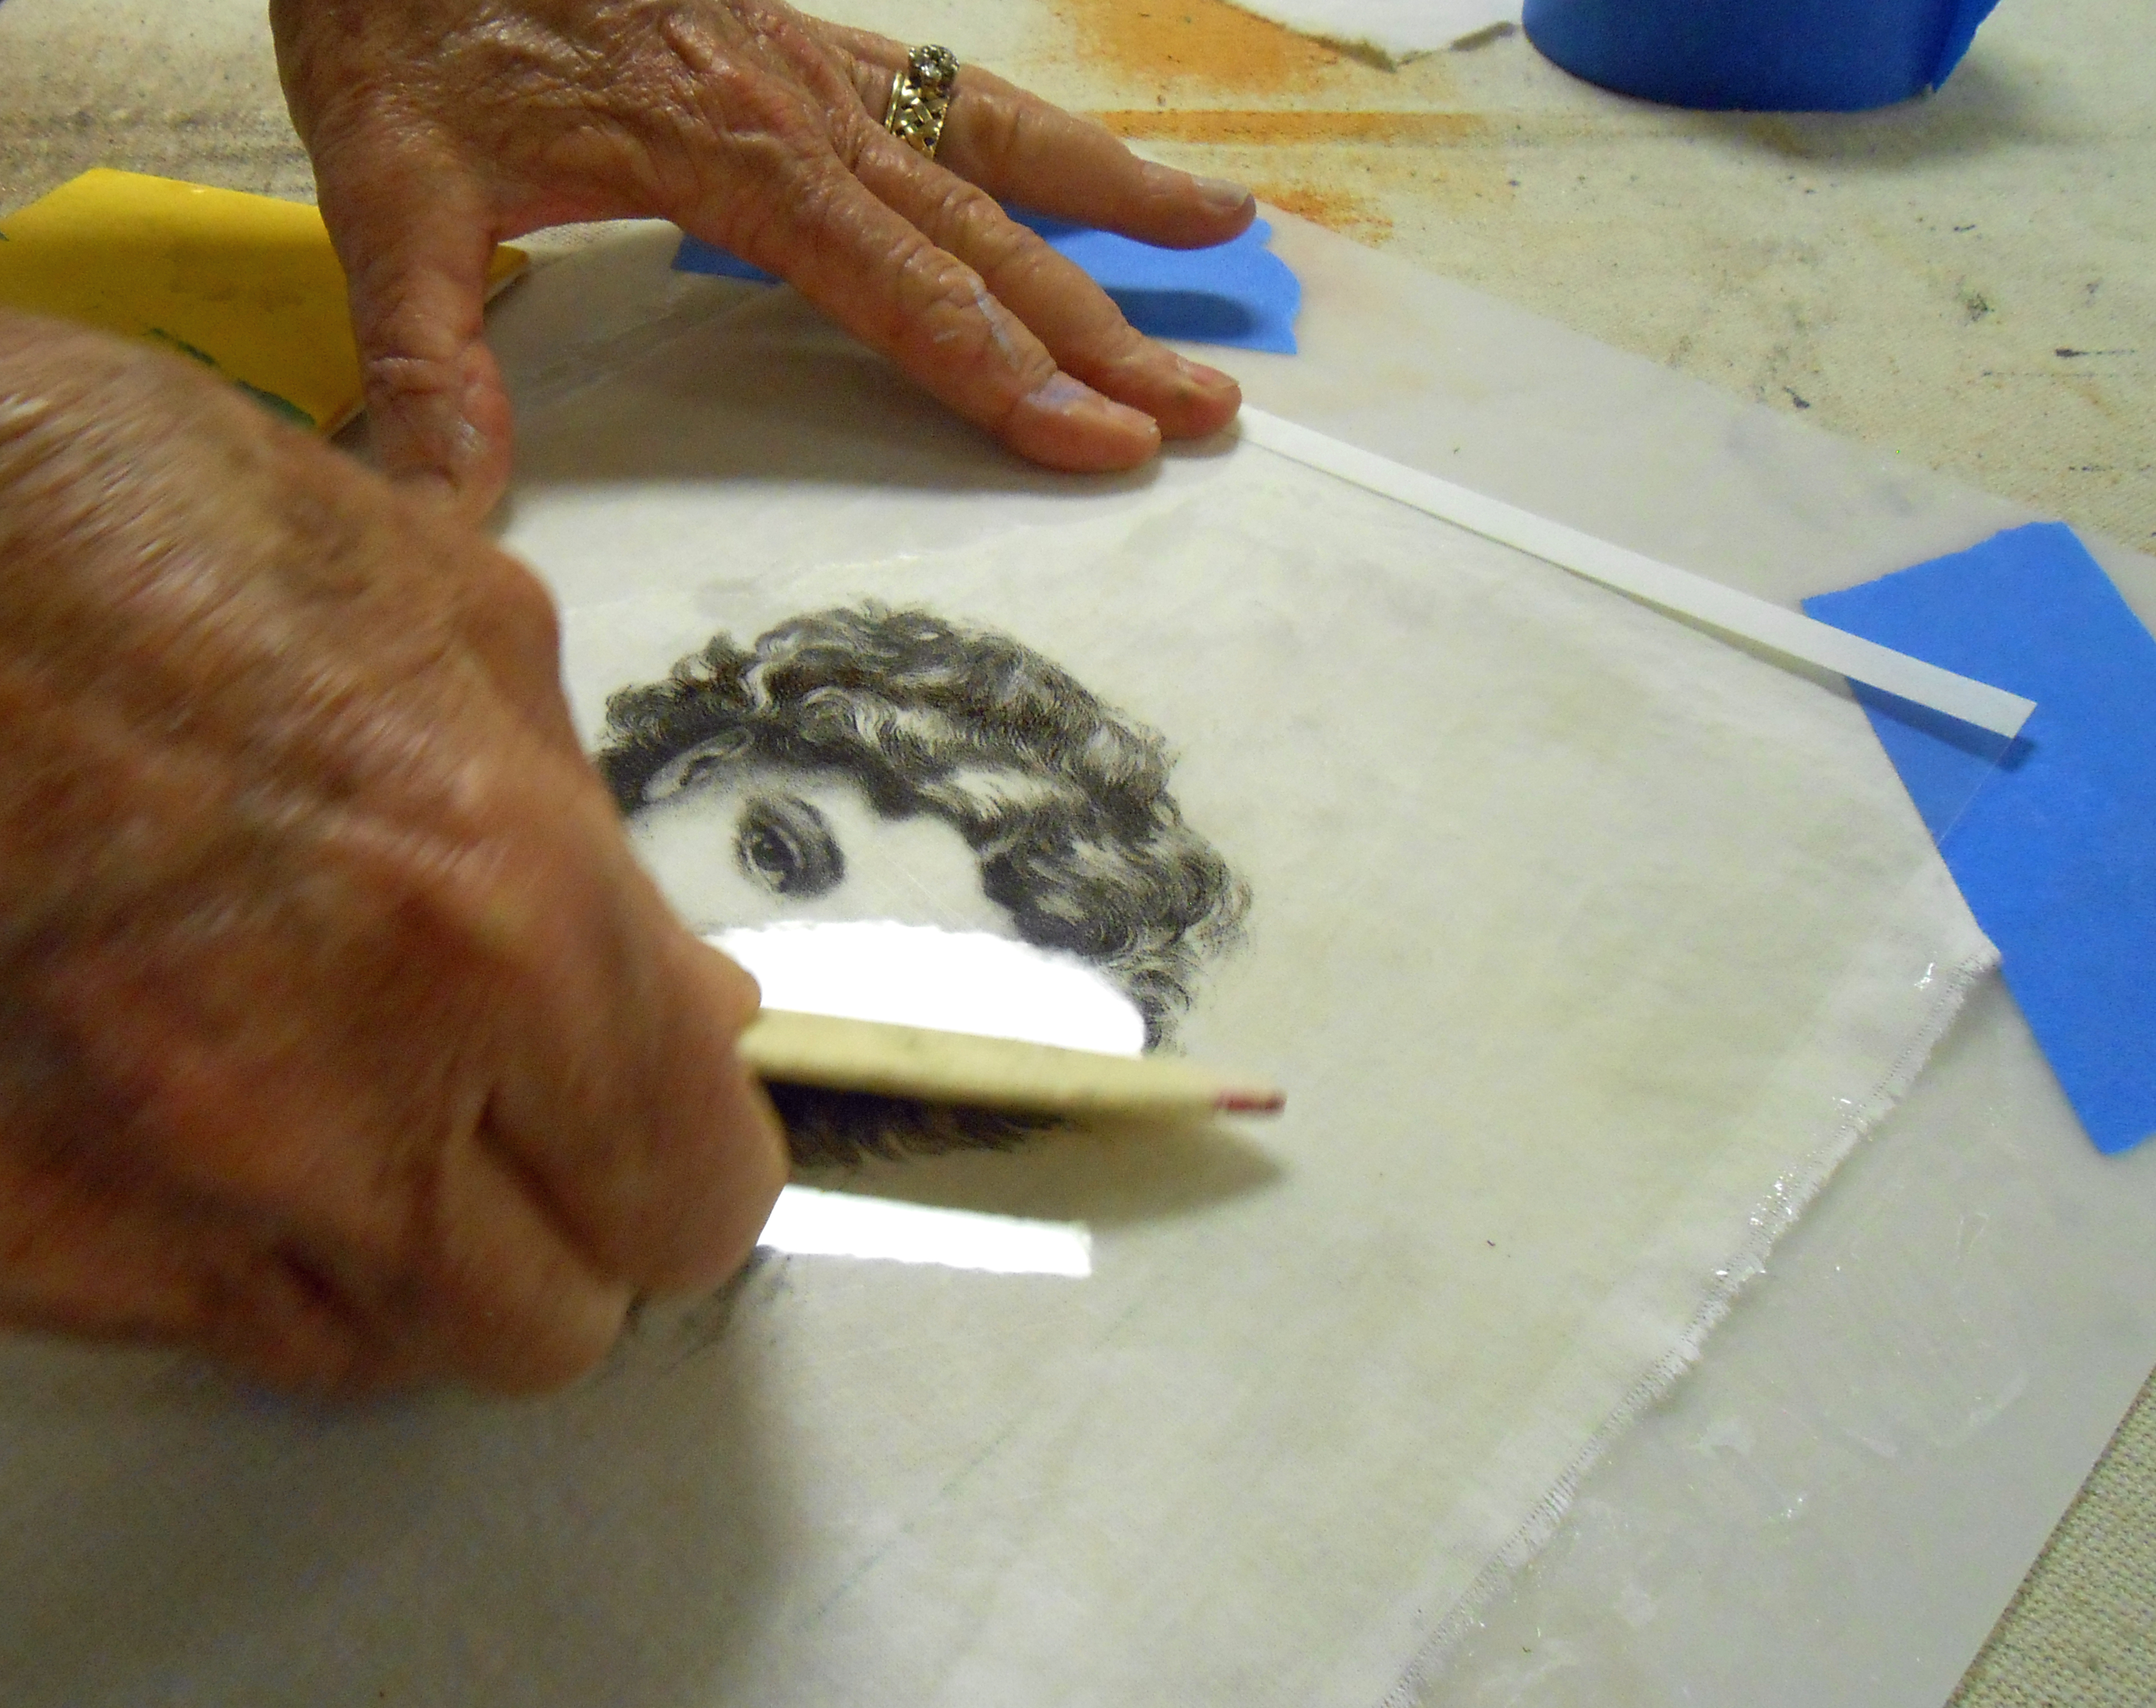
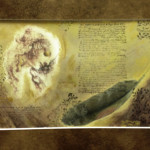
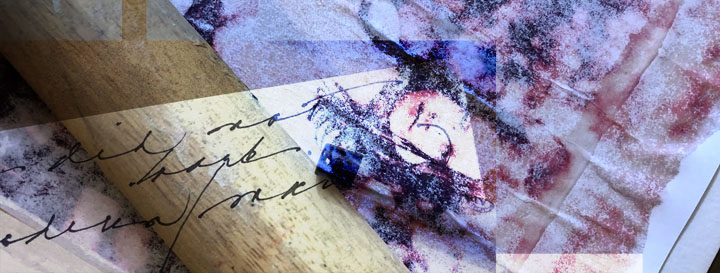
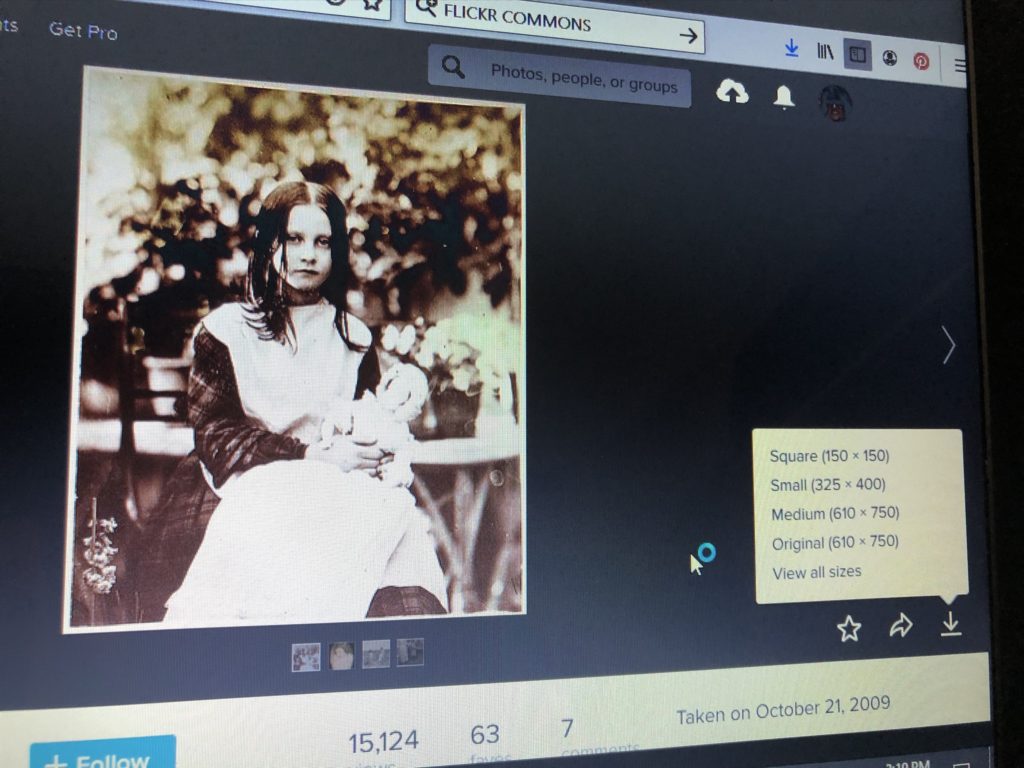
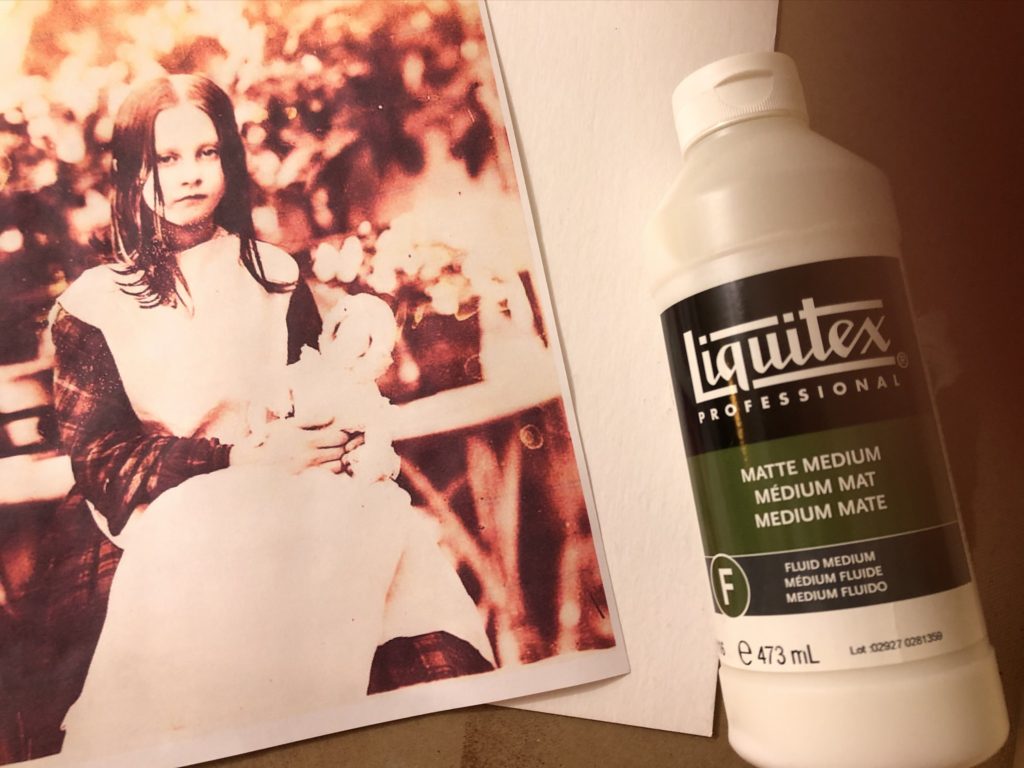
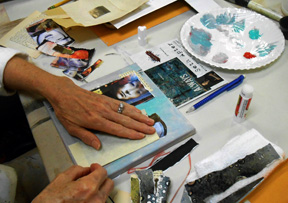
Anyway, part of the process besides writing the book is the experimenting and note taking. Yesterday, I was playing with an ink-jet transfer technique using matte medium. Here’s the image I found on Flickr Commons that I wanted to use.

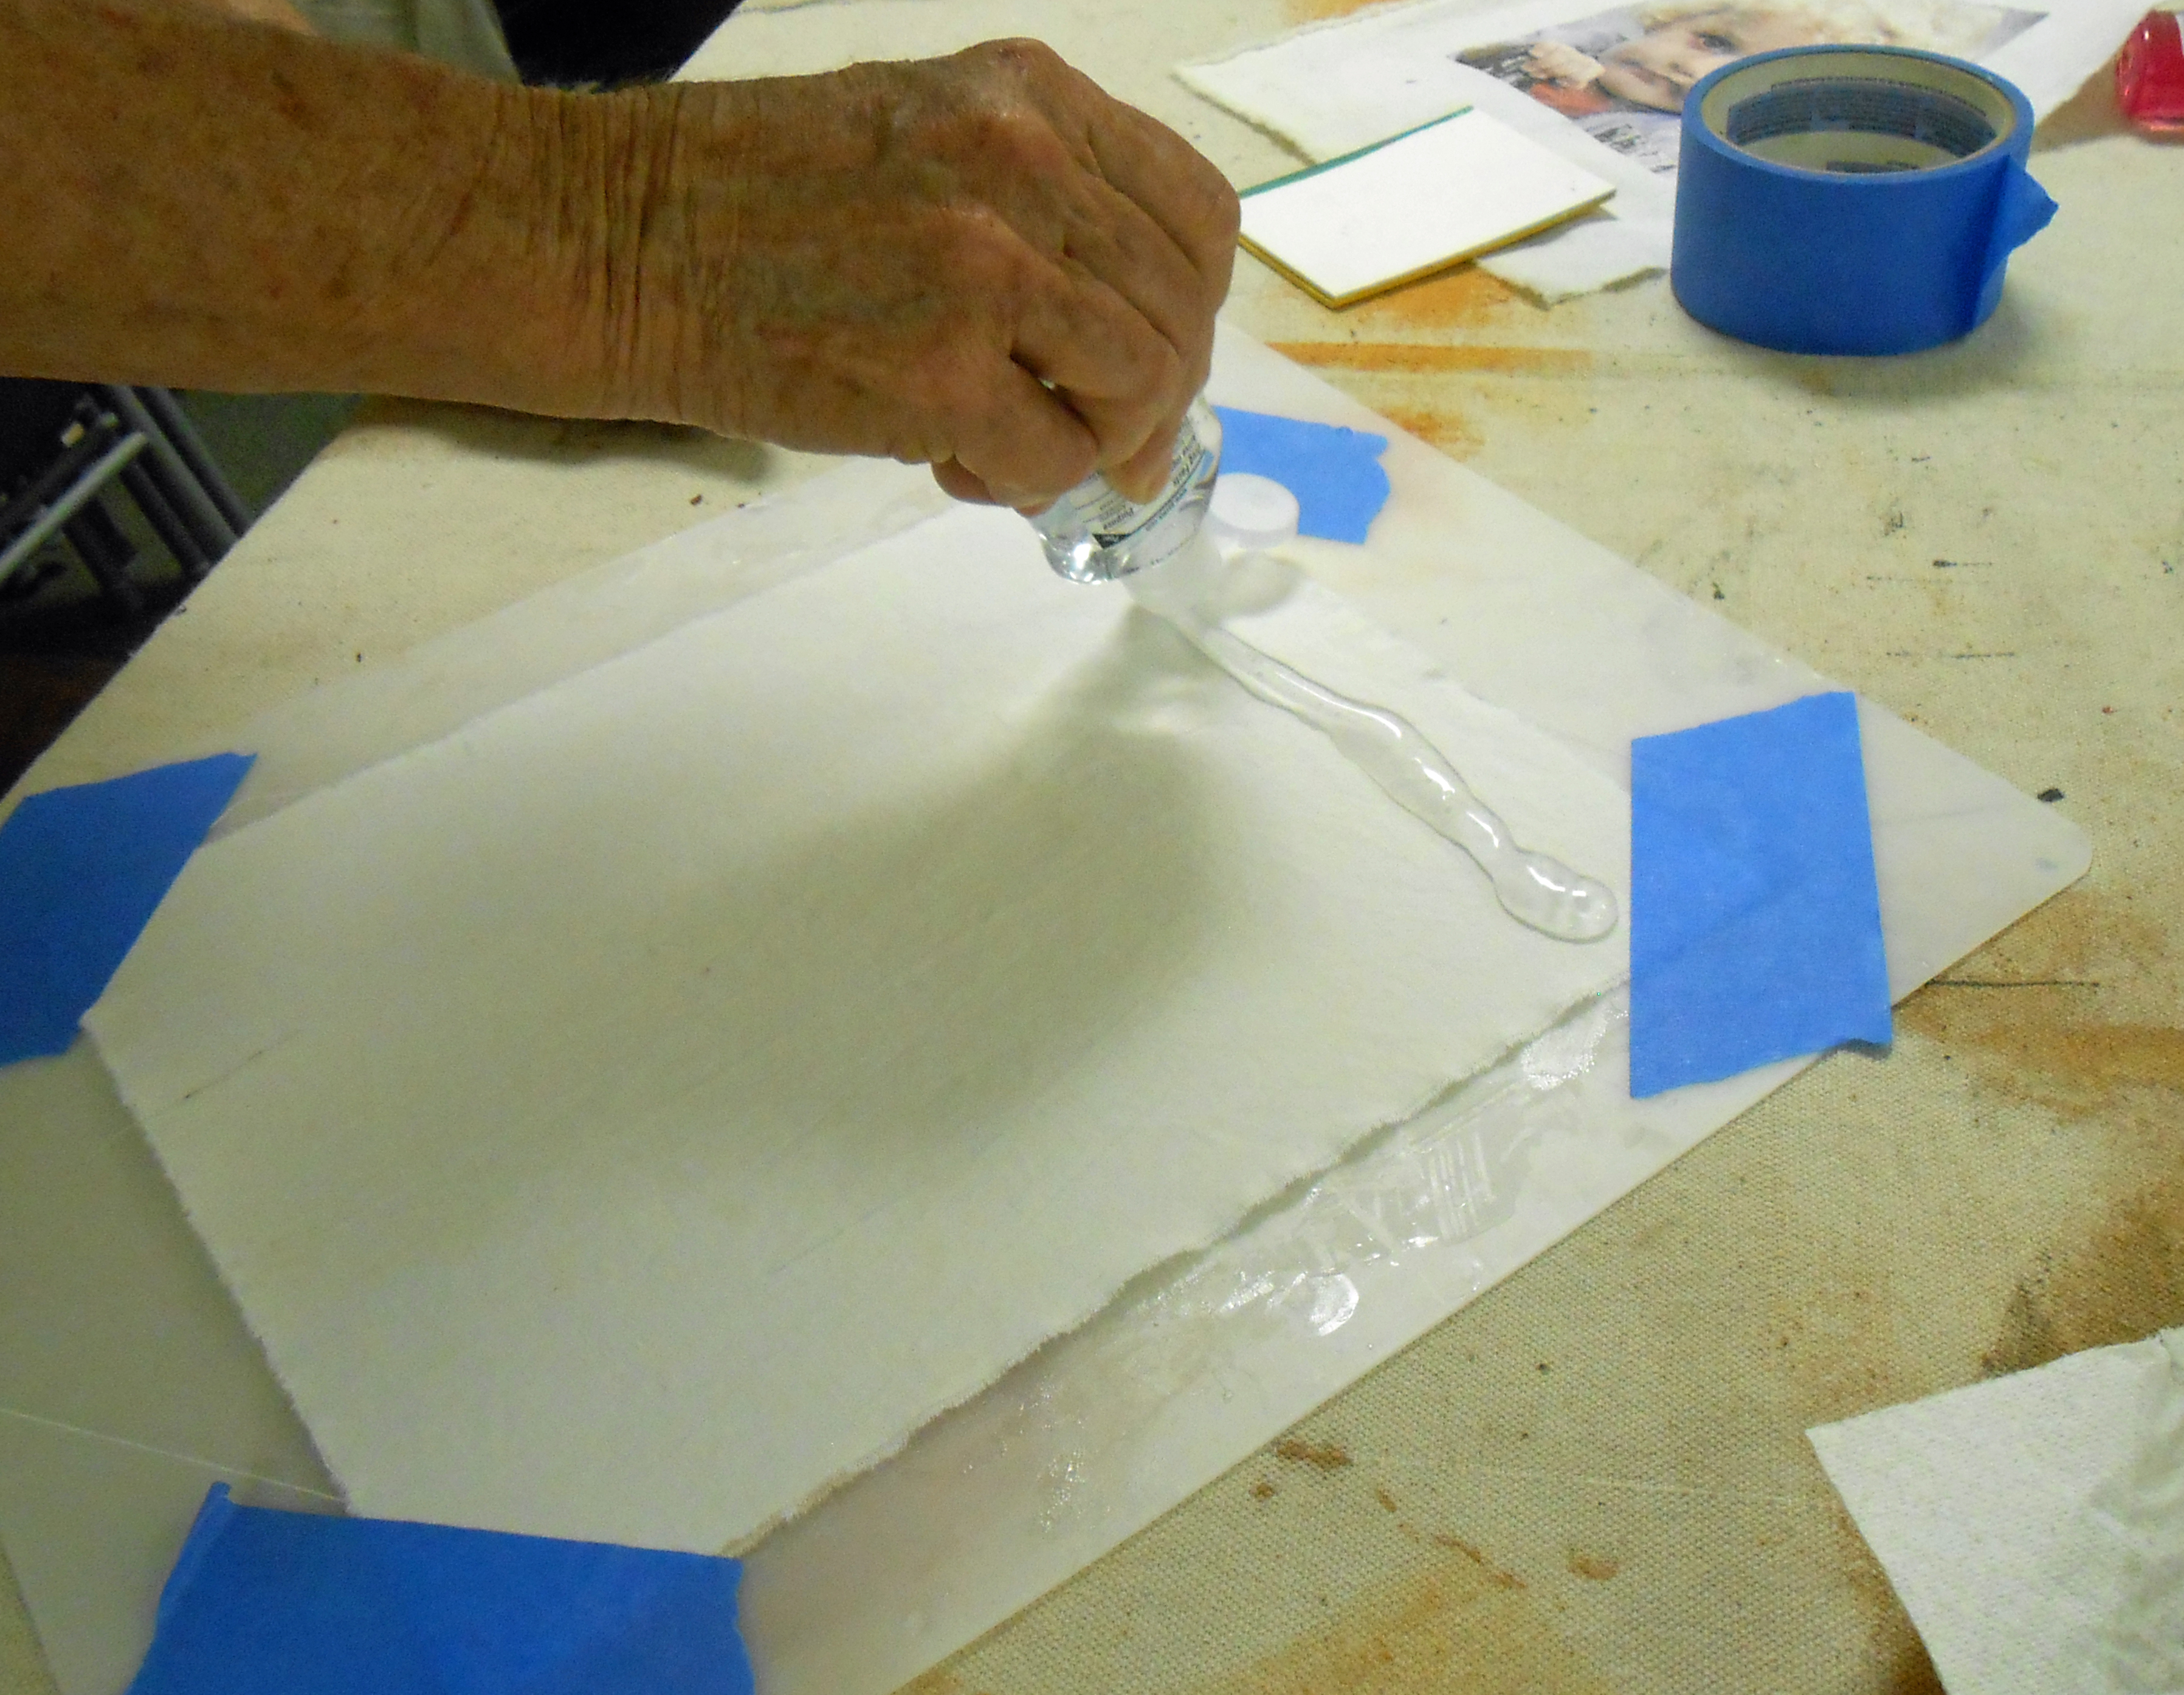
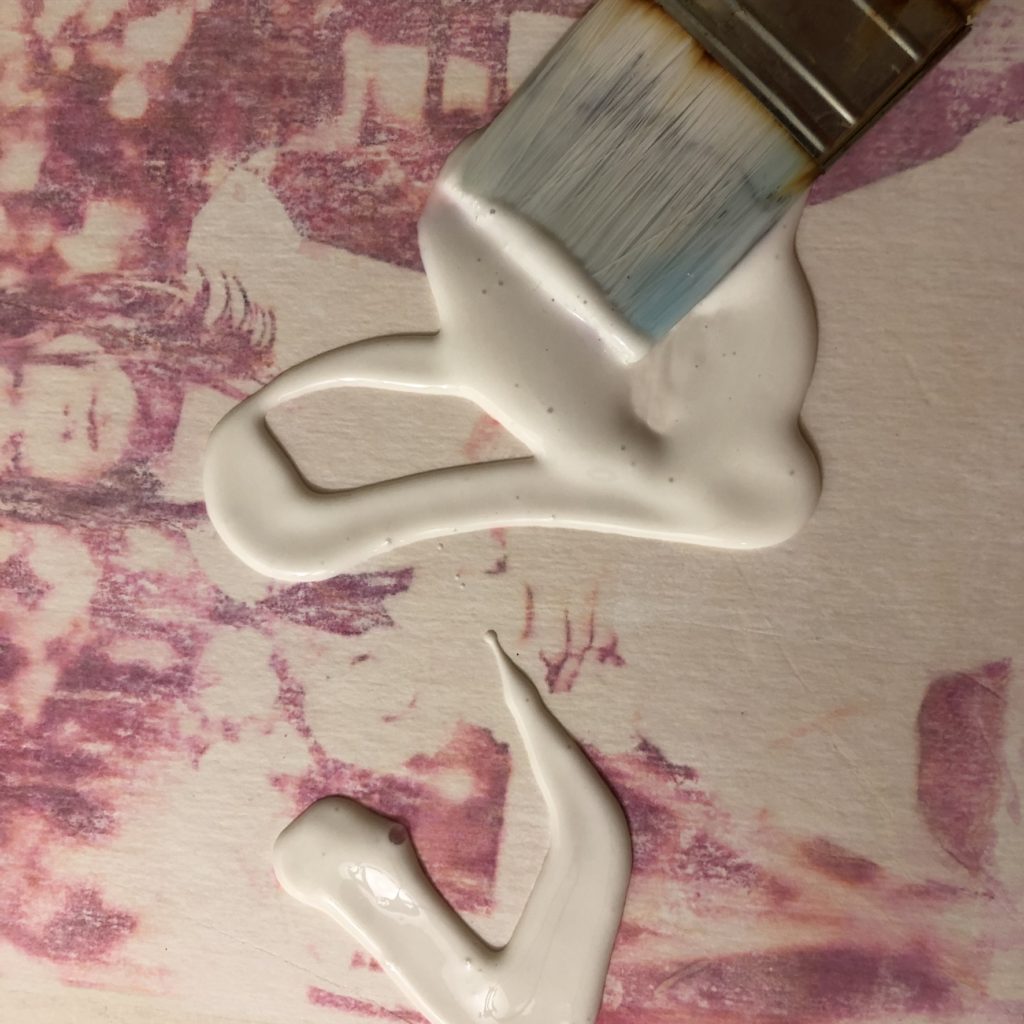
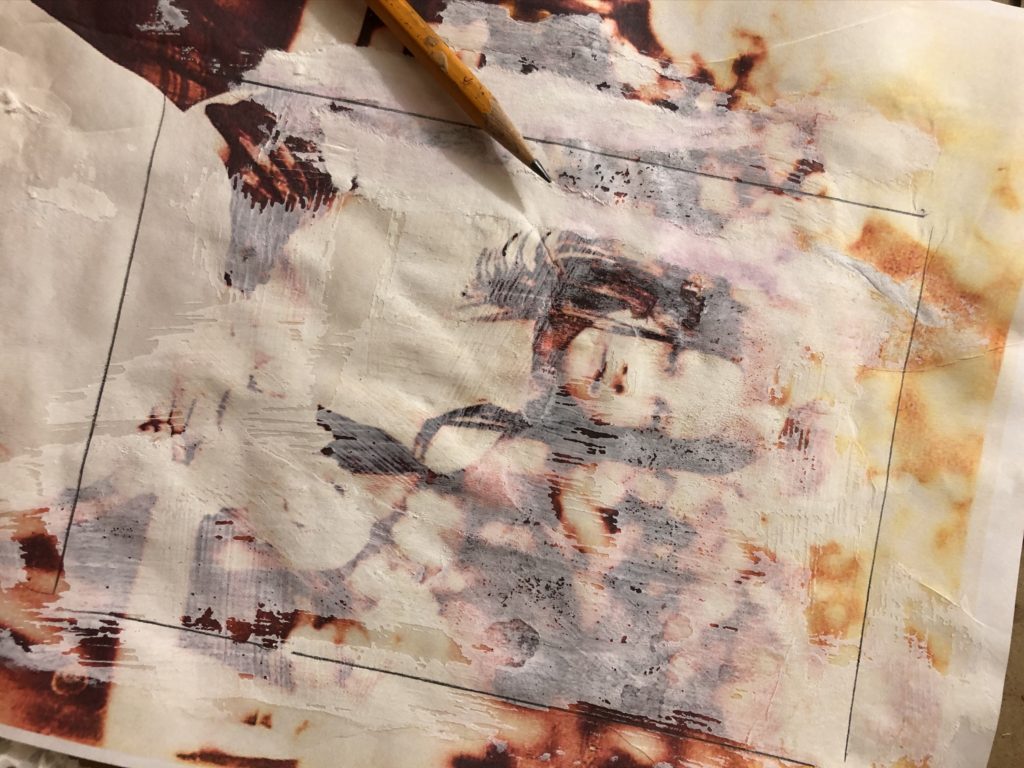
I got the “bright” idea to undercoat the surface with white tempera paint before I did the acrylic medium transfer.

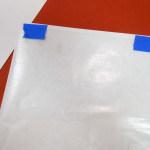
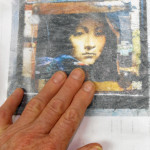
Well, duh. The tempera paint just kind of glopped into the gel and it was a big mess when I tried to peel of the transfer image.

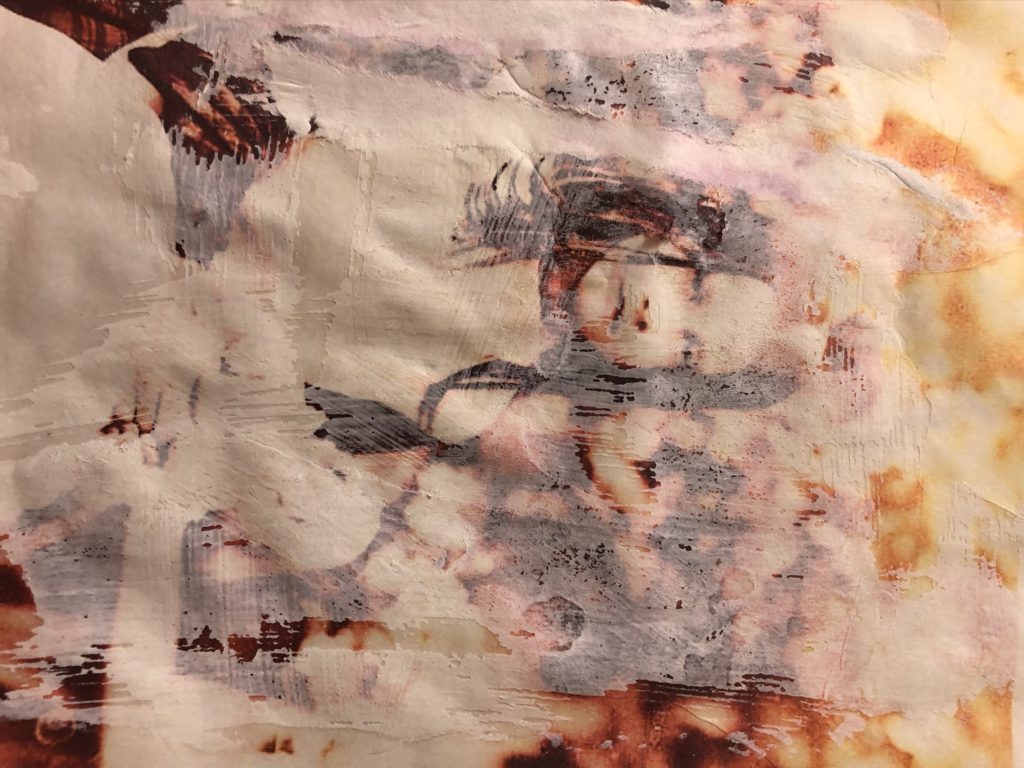
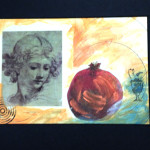
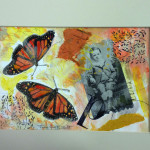
Oh, well — there was a big fat failure. Until . . . .as the gloppy paper dried, the figure with its veil of tempera started to emerge a bit. I smoothed it out and gave it another look.

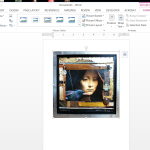
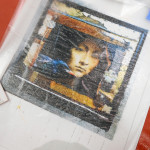
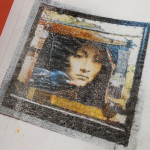
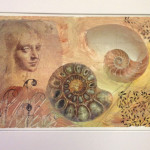
What if I cropped it and enhanced it just a bit with a wash of Quinacridone Azo Gold acrylic (aka “Secret Sauce“)?

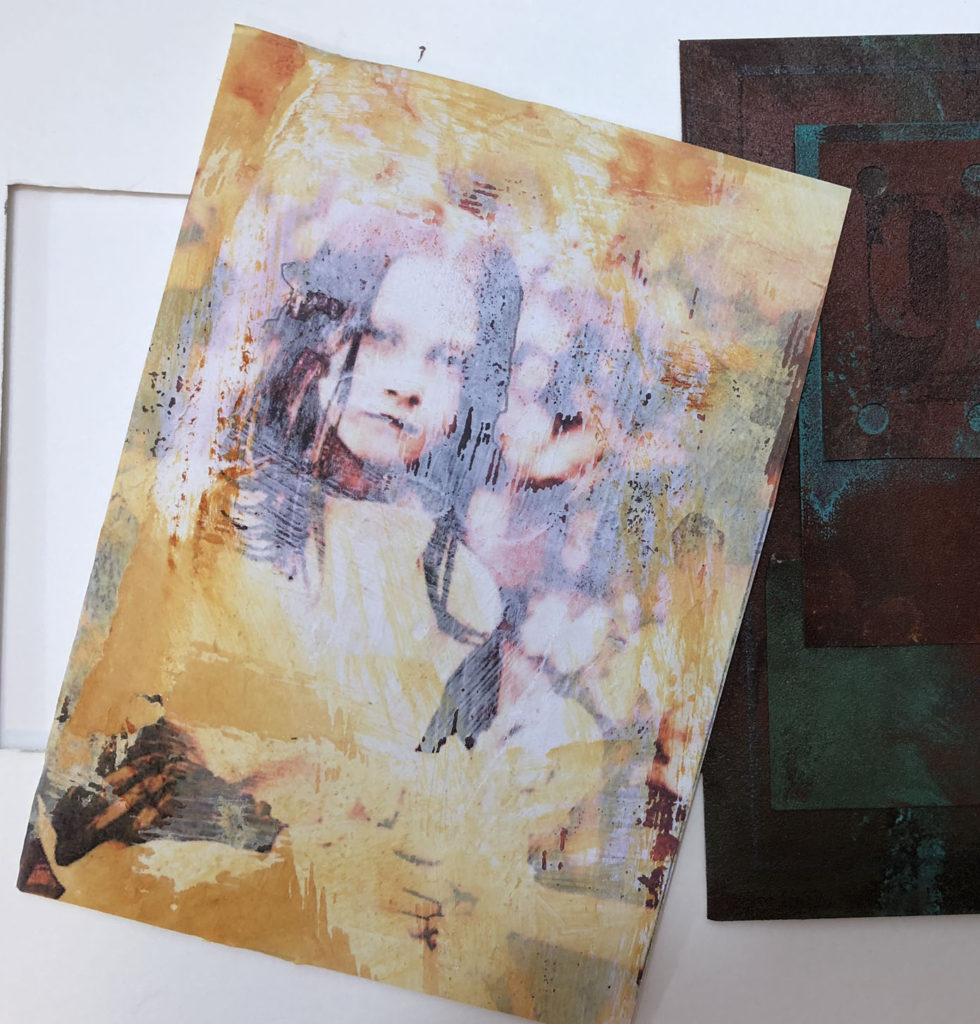
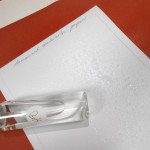
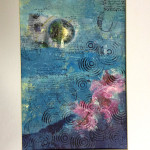
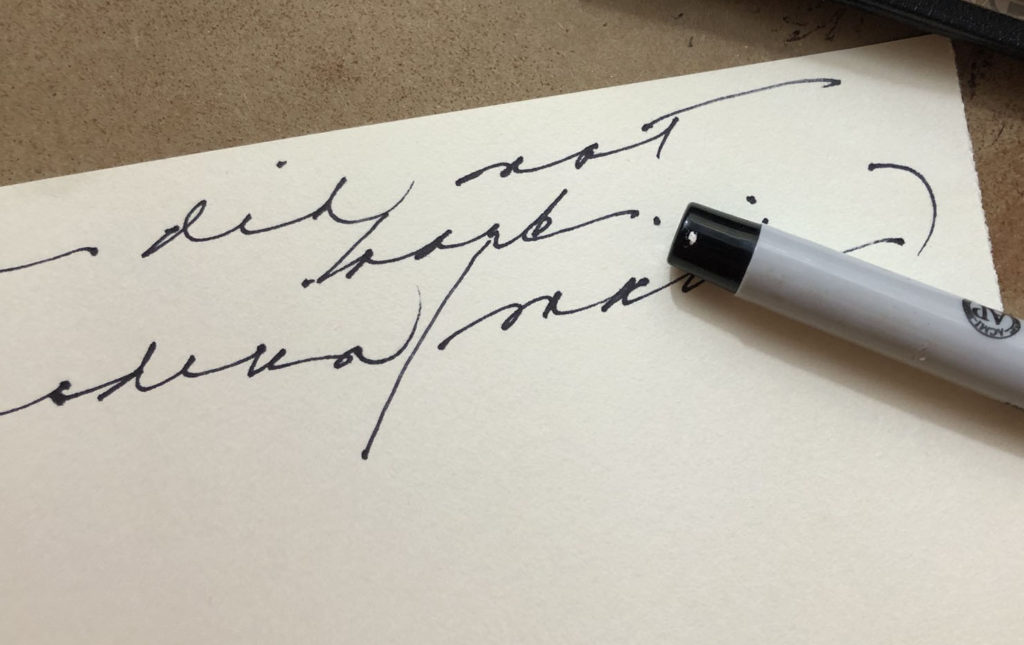
This is the result – not a masterpiece by any means, but a 5×7 “postcard to myself” about an accidental process that has possibilities. I took notes to remind myself how this happened to attach to the back of the work.

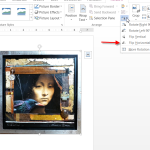
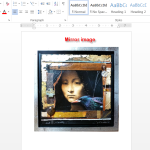
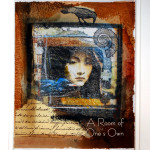
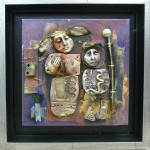
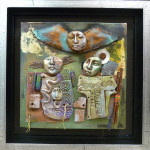
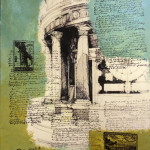
Here’s the piece in a mat. I always encourage you to view your work this way when you can in order to isolate it, elevate its status, and give yourself a new perspective on possibilities.

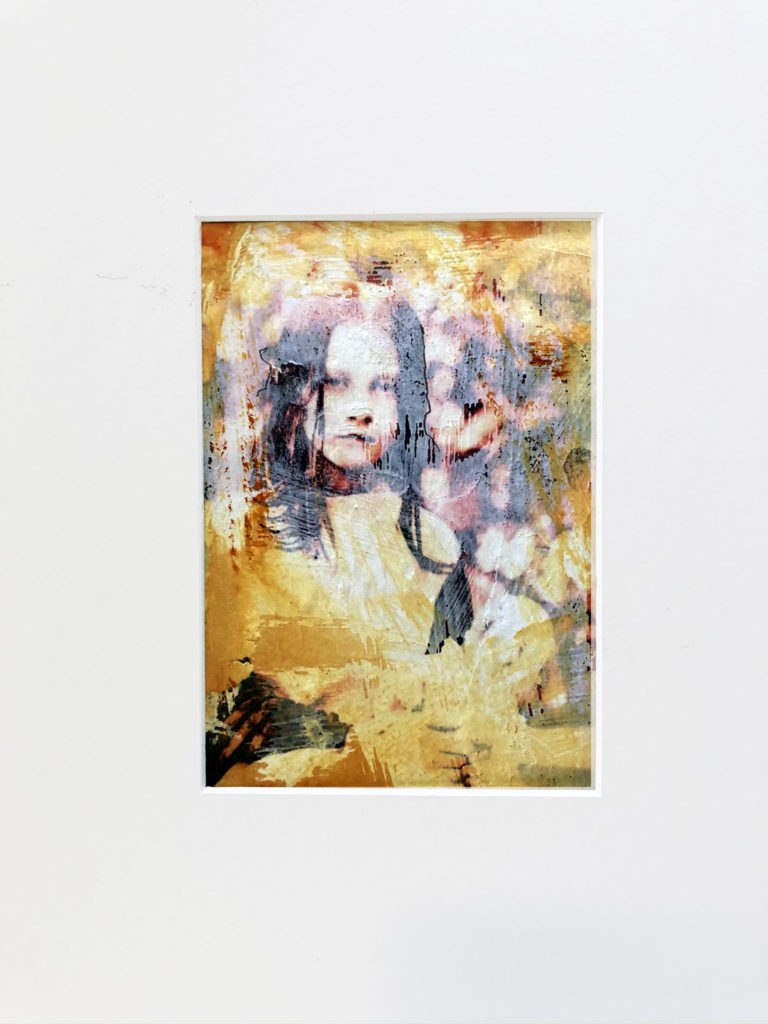
So that’s an example of how a “postcard” might be useful when you’re working out of your comfort zone. And if it doesn’t work, you don’t have to let anybody know – although you can still make a note.

I’m going to end this post with a video about image transfer that I did back in the Old Studio days. The process uses matte medium and actually seems to be successful most of the time – here it is:

Video Link

Stay safe, stay in touch!


A two-day encounter of the art-full kind

wsWhat was I thinking? Two full-day workshops at the Studio back-to-back? A weekend of hanging out, creating, eating and talking with eight other like-minded souls?  How would all of that look? It looked FANTASTIC!

Saturday was Belisle’s Collage Extravaganza and Composition Challenge. We worked on two major pieces – a collage on canvas with extreme emphasis on composition (the AB3s) and a collage on cradle board with image transfers and encaustic wax. The intrepid participants gave it their all, and we were very tired but happy at the end of the day. Here’s the video – see if you can detect the AB3s of composition at work in the finished pieces.

But wait – there’s more! On Sunday, Lesta Frank and I team-taught a very non-traditional mixed media journaling class. Everyone designed their own pages and created a loose-leaf portfolio to collect and show their experimental surface finishes, including one really interesting Profile Page. This was Lesta’s idea and consisted of an actual dimensional profile cutout with descriptions of a personal profile as part of the composition. Very nice! Watch for it in the video, below.

In the critiques and discussions, all agreed that the two-day experience was great, both for those who came both days and those who came on one day of choice. We had eight participants each day, half of whom were there for both days. Nicely balanced! I will plan another weekend experience in the early part of 2016. I should be recovered by then!

Monday morning roundup

fabricGoddesses were out in force at the Goddess Banner workshop yesterday. It was a gorgeous afternoon for drying colorful, glittery fabric on the rack outside the Studio. Among the participants were Monika Astara (my favorite fashion designer) and Lisa Stamper Meyer from Roadhouse Arts, as well as several talented FASA members who specialize in surface design. So, even though we used the some of the same images, the results were totally diverse and eclectically spectacular. Take a look at the video, and then I’ll tell you about some of the techniques.

Aren’t those wonderful? We did a combination of Small Space Dyeing that Rosemary Uchniat teaches in her workshop and digital image transfer that’s done with hand sanitizer (yep!). I learned about this technique from an artist in Rehoboth, Delaware, and it works great on fabric. Basically, you print your image on an inkjet overhead transparency, spread a layer of hand sanitizer gel on your fabric, place the image face down, pat gently and leave for 15 minutes. You’ll get different results based on how much gel is on the fabric, but it works great. We protected the digital transfer by taping freezer paper on the back.

And speaking of Rosemary Uchniat, guess who won the Friday Freebie Mermaid Shard? Yep, Rosemary – congrats – it was totally random. Now she’ll have to make a mermaid!

Have a great Monday, y’all – I’m headed to NYC and Boston for a few days to see the family. Will send art reports along the way!


Wax Paper Inkjet Transfer Tutorial

I didn’t have a chance to demo this technique at Show and Tell last Saturday, so here’s a quick how-to. I’m showing this technique on watercolor paper in this tutorial, but it works even better on dampened white cotton fabric. (Because the wax-paper transfer is just ink-jet ink, it will need to be sealed if it’s on fabric or it will wash out.) Here are the steps – click on the pictures below to enlarge, and feel free to share.


Shhhhh . . fabric and hand sanitizer transfer secret for Shards subscribers only

OK, so I’m not posting this to FaceBook or any other site – just to you blog subscribers (yay for you!). Here’s how the hand sanitizer transfer process works. This technique and a bunch of other cool ones will be featured in my Collage on Canvas class at Artful Gathering this summer. (Hint hint).

You’ll need some inkjet transparency sheets (be sure to get inkjet, not laser) and a color inkjet printer. Here’s a source for some very affordable ones at Amazon. Print your image onto the transparency using the grainy textured side as the printing surface (usually face down in the tray). Set it aside while you cut or tear a piece of white cotton sheeting to approximately the size of the transparency. Tape the fabric piece down to one of those flexible chopping boards boards at all four corners, stretching it taut but not overly tight.

So now you need a small bottle of clear hand sanitizer. I used one of the little travel sizes that I got for 89 cents at Walgreens. Run a strip of the stuff across the top of the fabric, and pull it down evenly with an old credit card 6or small piece of mat board. Once the fabric has been smoothly coated, place your printed transparency, ink side down, on the fabric and rub it in to adhere it. You can use the other side of the old credit card or mat board to do this. Set it aside for ten minutes or so, then rub it again before testing a corner by pulling it up. It should have transferred the ink from the transparency to the sheeting. Optional – take a hair dryer and slip it between the fabric and the cutting board to dry the fabric before you peel the film off – this will set it and hopefully keep it from smearing (although I have never had a problem with the ink smearing). Peel off the transparency film. That’s it! let me know how it works. Even if it doesn’t work perfectly, you’ll be germ free – LOL.

4

Working weekend (and winner)

Congrats to Dani Wildason, the winner of the Threads of Blessing embroidery – Dani’s been a SHARDS subscriber for almost a year, and she’s a wonderful creator of Spirit Dolls. More Friday Freebies to come.
It was a working weekend in the Studio – I’m getting ready for my show opening at La Vida on the 6th of December and just finished a new triptych (actually, they stand as individual pieces, too):

These small earthenware constructions always remind me of the Canterbury Tales! It would be fun to do a series based on Chaucer’s stories. Hmmm, note to self….

I also had a workshop at the Studio yesterday on Image Transfer, and it confrimed what we all know – digital transfer is unpredictable! Conclusion: The two most reliable products that we used were TAP paper with inkjet prints and TonerAide spray for laser prints. Oh, yeah, and Celine discovered that T-Shirt transfers work great on leather! It was fun, and educational, for sure.

Transfer and acrylic workshop report

Workshop Report Card Grade is A+++! New workshops are tricky, and this one especially so because we were using a heat transfer on paper and then working with acrylics, which were unfamiliar to some of the participants – but should I have worried? Nah! Great results, great times, lots of learning and laughing. If you’d like to see the process itself, I demonstrate it here on YouTube, and if you’d like to see the participants’ spectacular results, just look at the photos (which, taken on my phone cause I forgot my cool new camera, don’t begin to justify the work). I also did a tutorial on another process we tried using Golden Fluid Acrylic Medium for transfers, here.