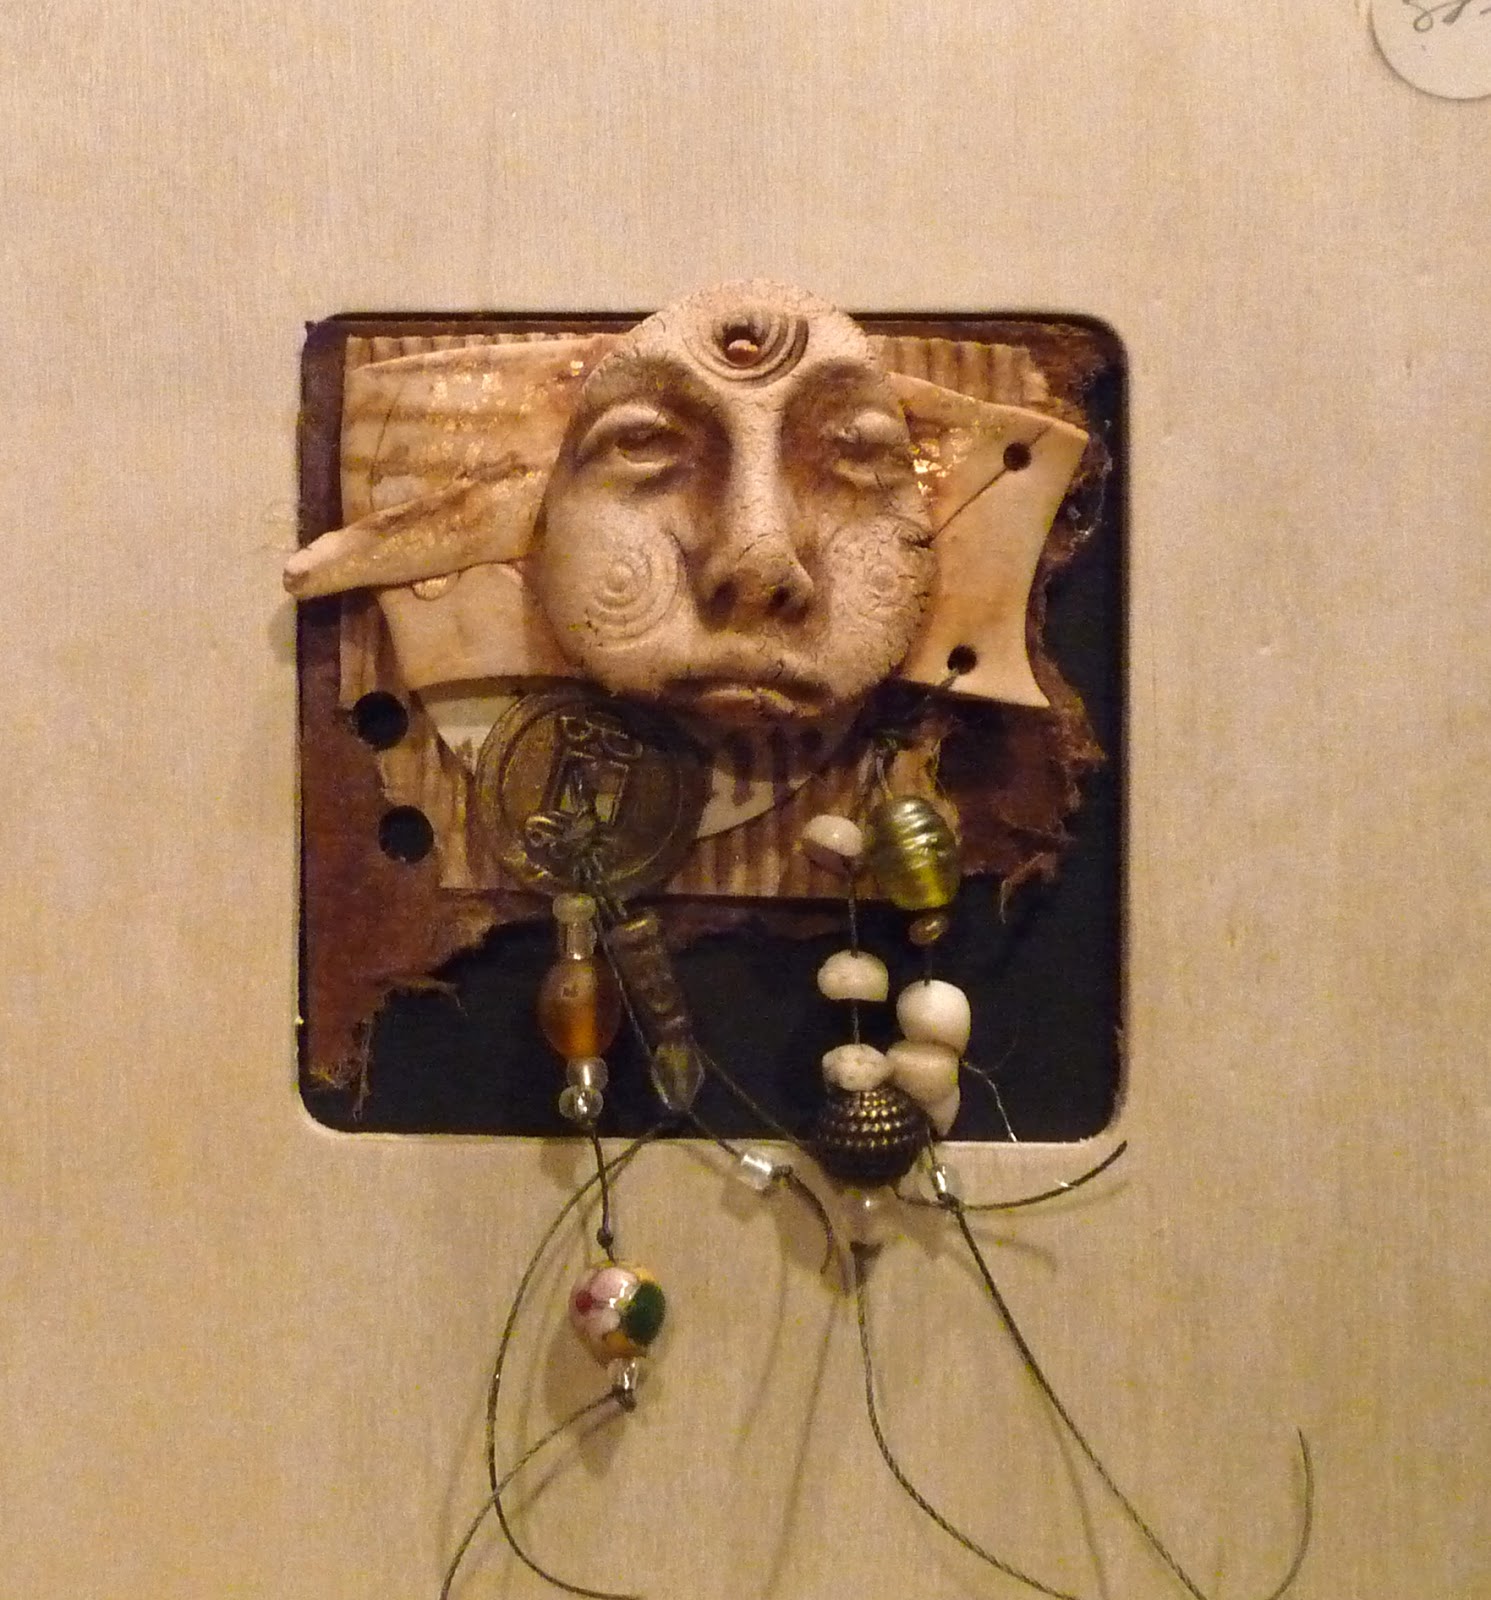
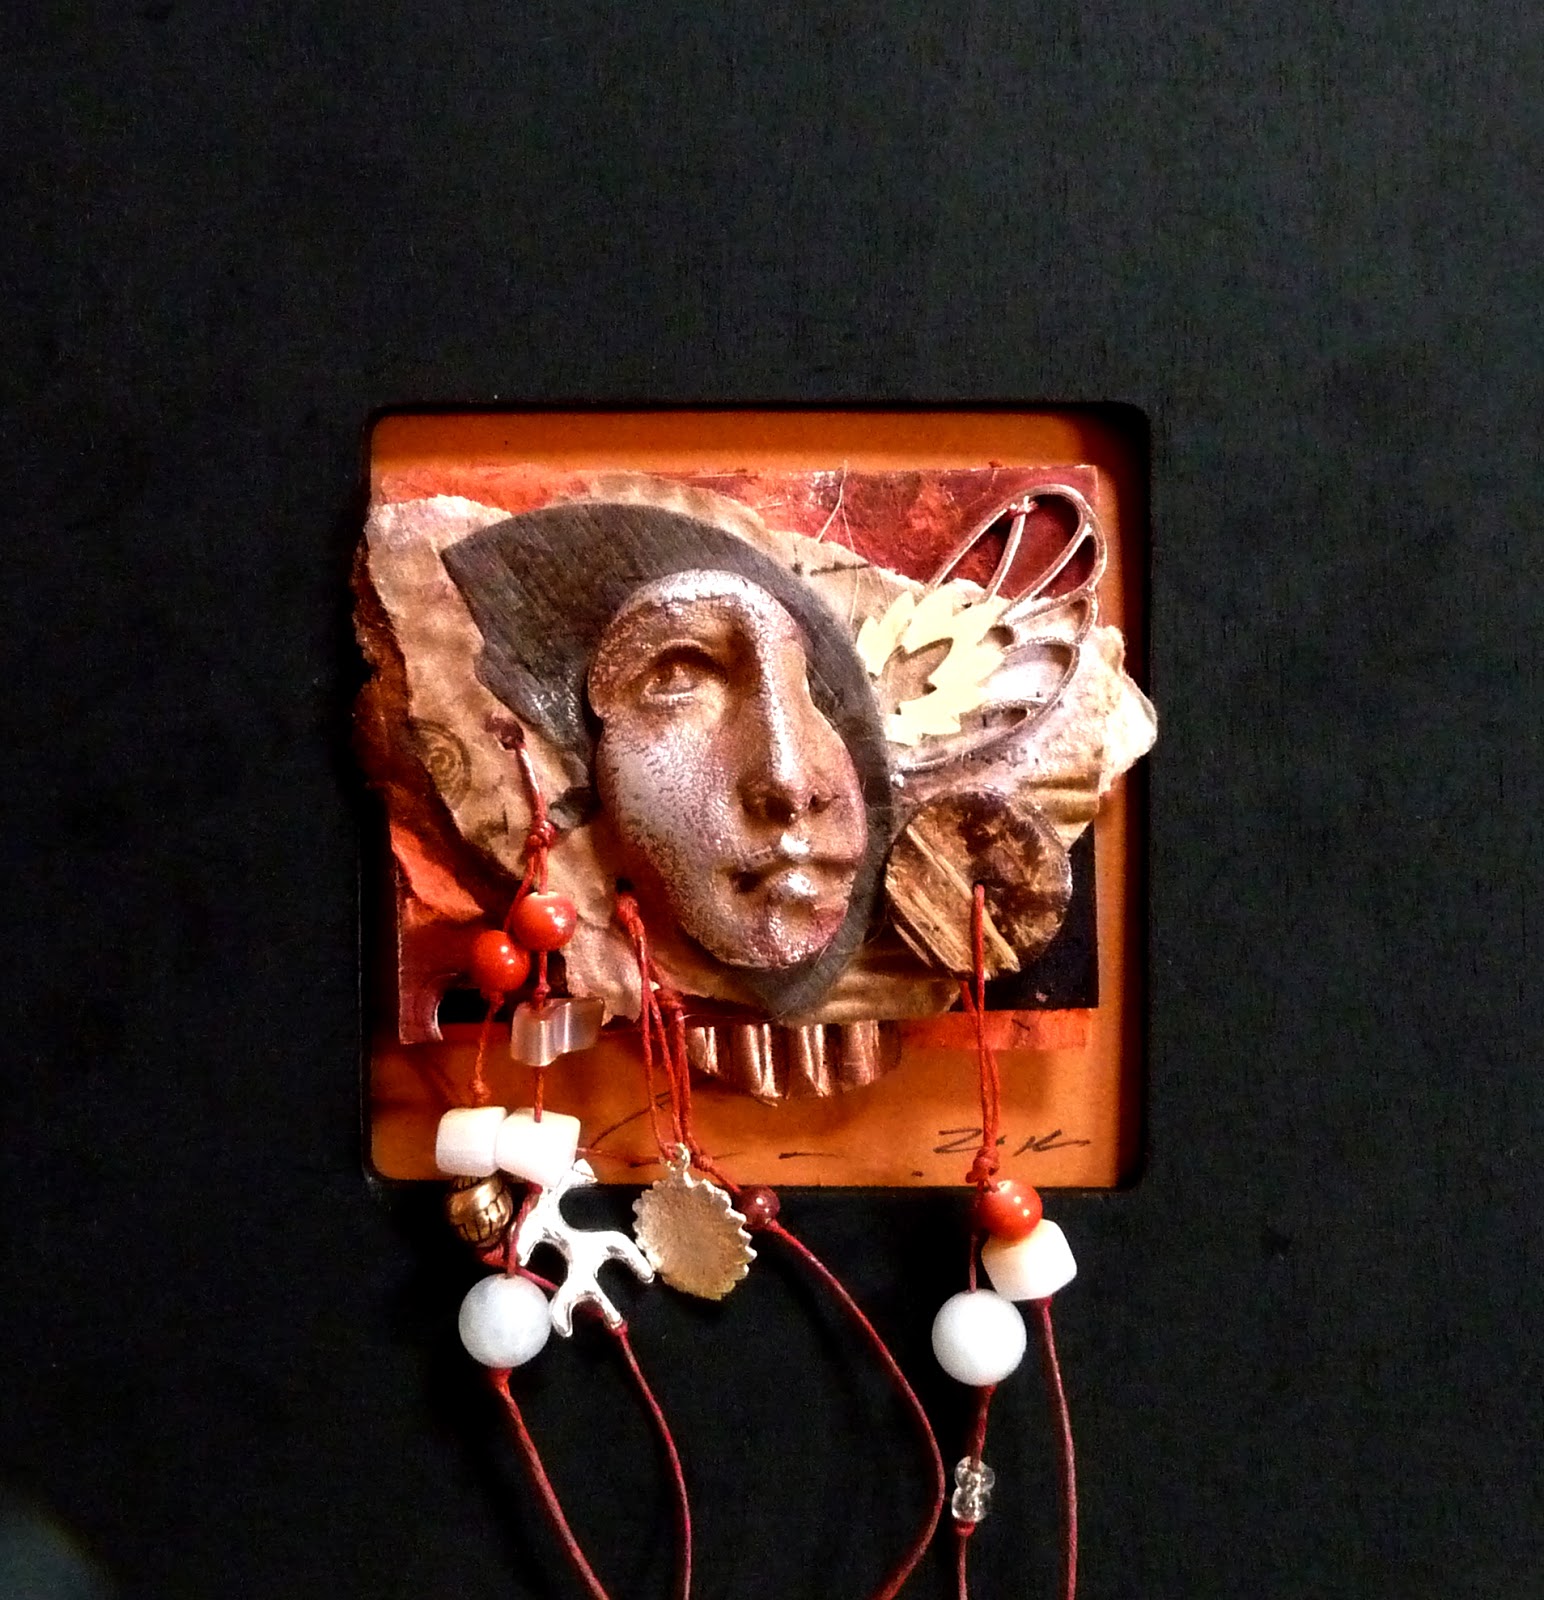
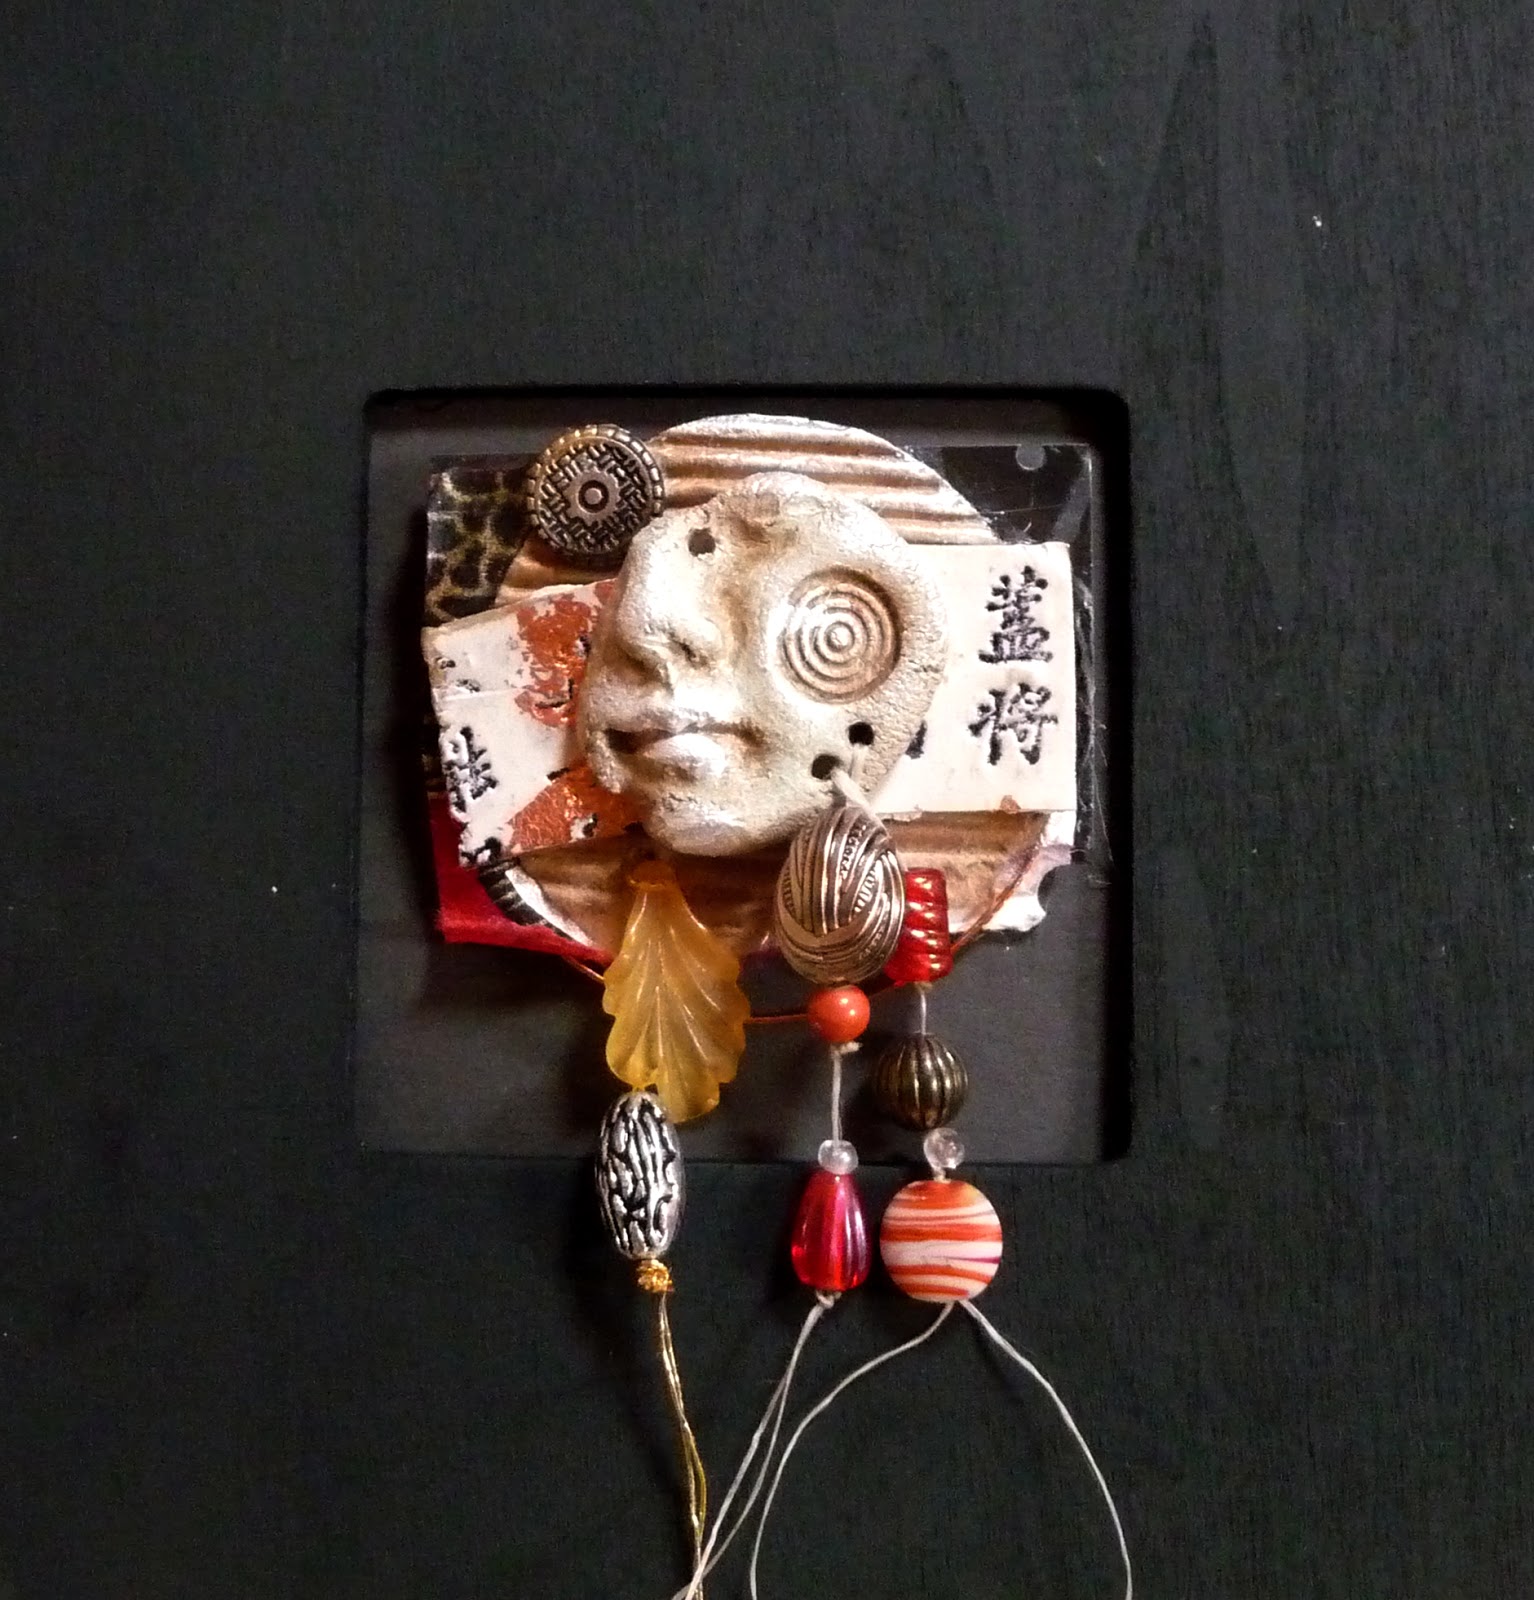
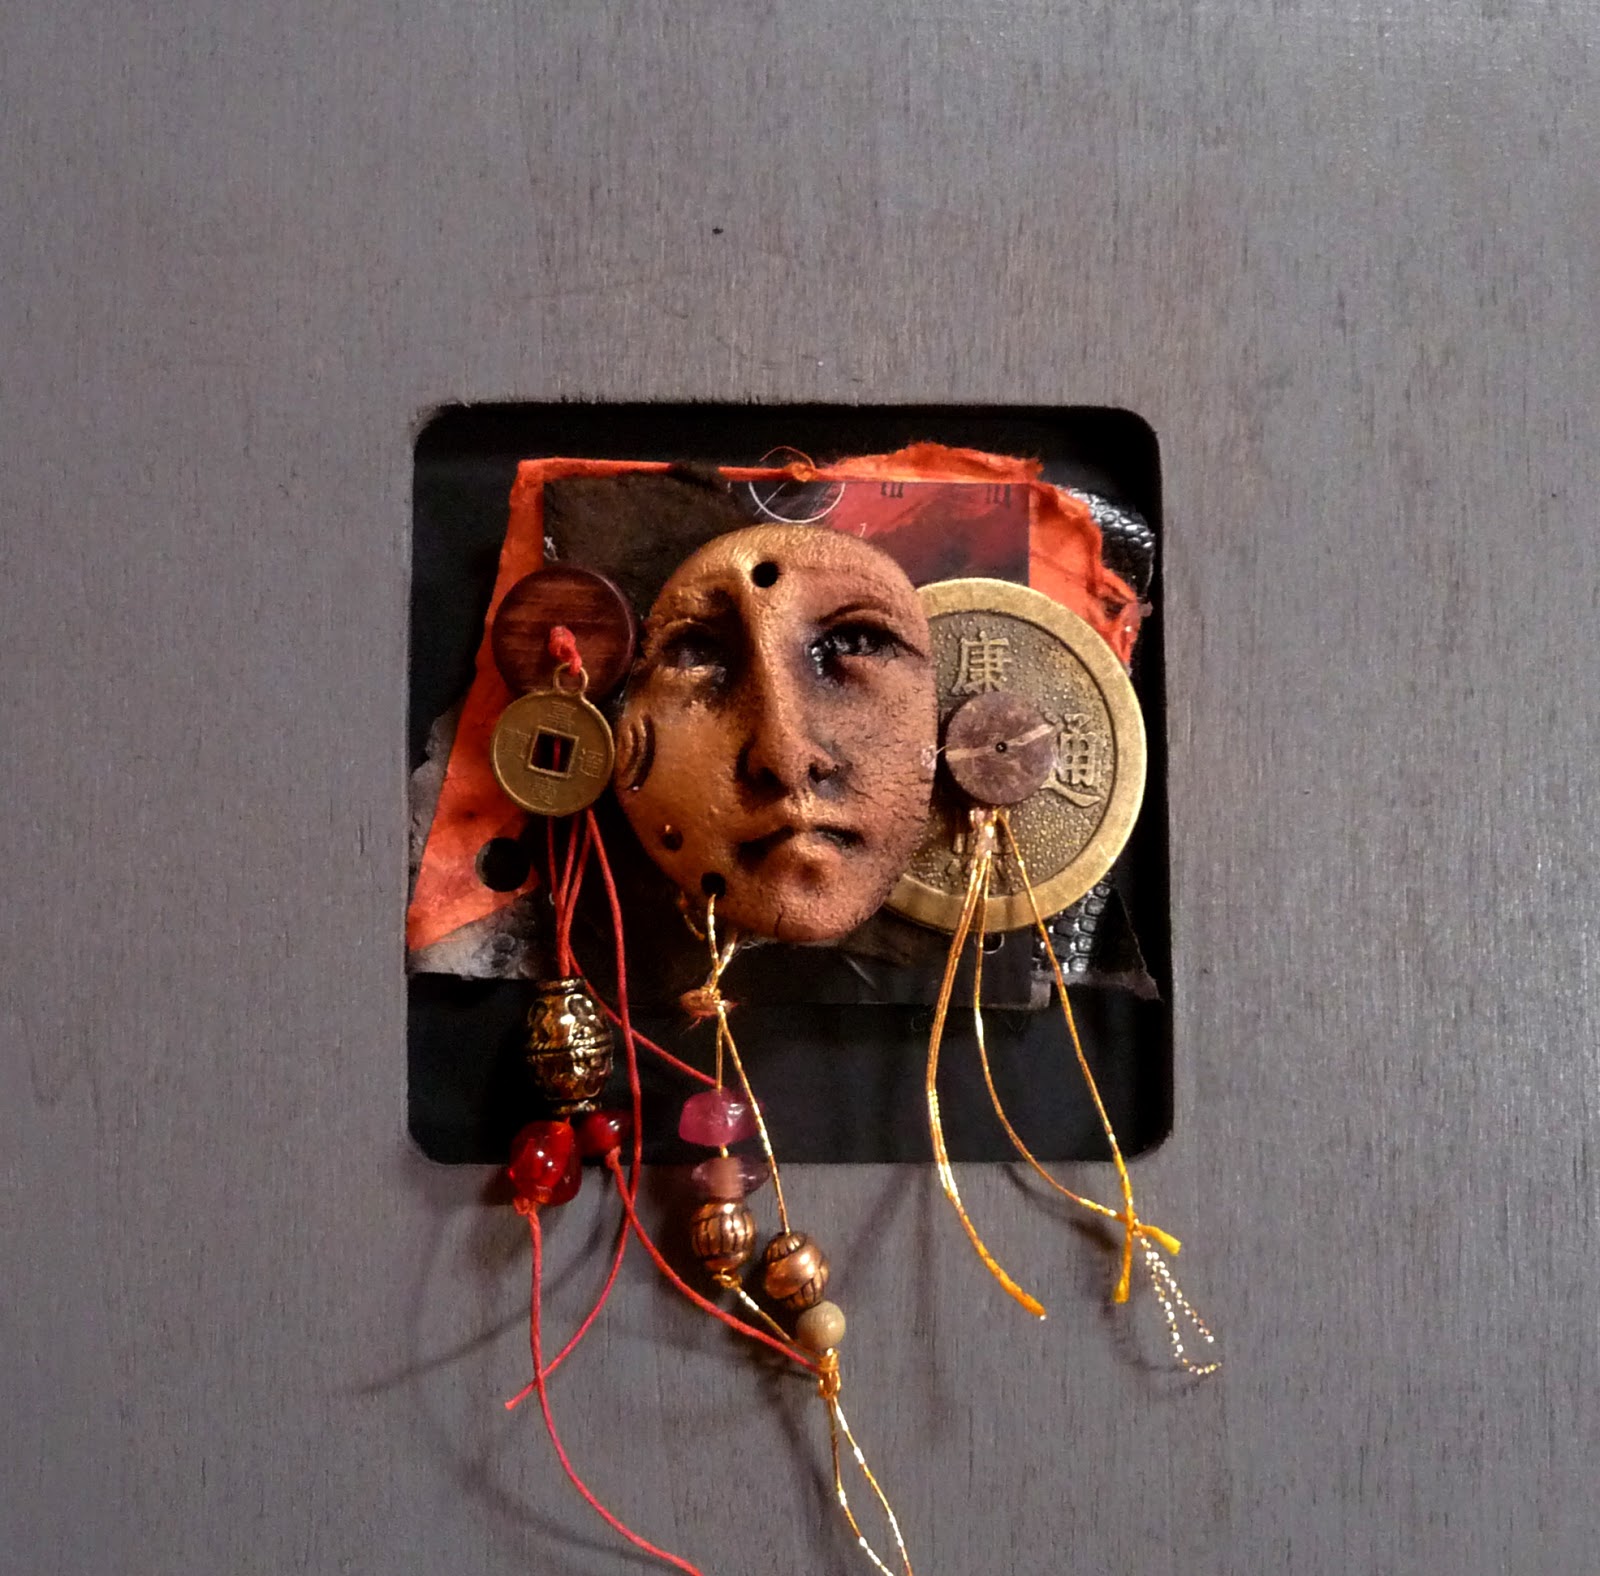
I love seeing how other artisans use my shard faces in their work. These are some photos posted by Dos Manos Mosaics with a note to me from Connie Stout, the force behind Dos Manos. She’s doing some amazing and inspired work.

I love seeing how other artisans use my shard faces in their work. These are some photos posted by Dos Manos Mosaics with a note to me from Connie Stout, the force behind Dos Manos. She’s doing some amazing and inspired work.


Tonight I finished the 22nd painting in the 30 Shades of Twilight series. That’s good, but even better is that I like them all, some better than others, of course. But for the first time, I laid them out together in some sort of order, and they made a good, strong visual statement. So, whew! Eight more to go but those will happen at a more relaxed pace. Here are three that are current favorites, although that changes. Dang, thirty paintings is a lot.


Do you ever commit to a great idea, then realize how close it’s getting? Well, here I go again – it’s open studio time, and I’ll have lots of new ScentShards, SprigShards, spirit pins, shard faces, journals, votive screens – at least that’s the plan! If nothing else, there will be lots of food with Chef Mike in charge of the cooking.
Please plan to drop by – I know there are a zillion things going on in December (like the King William Home Tour on this same day) but we would like to wish you a happy holiday. Whether you go home with some artsy gifts or just a full tummy, we’d love to see you.
But wait! There’s more – if you subscribe to my new blog, Shards, (see form on right) I’ll put your name in a drawing for a custom magnetic shard adornment pin. You don’t need to be there to win – I will get someone to do the drawing during the event and email you.

At the Trinity Alumni Artisan Show yesterday, my friend Bonnie Flake requested three new journals for her grandchildren – what a delightful task! It had been a while since I worked in “journal mode” but I put one together in the studio last night. It reminded me how much fun they are. They are like little stories in themselves. The title of this one is Claire Luna and is is a 5×7″ collage cover on an existing bound plain lined journal base.


I’ve just switched from my old blog on Blogger to a new site – my blog is now on my own domain site, EarthShards.com!
This is always an enjoyable event – it’s not a particularly good “buying” group, but seeing former grads at the lovely Holt Center gardens is fun. Here’s a short video of the show. It lasted just two hours and was held in conjunction with the Alumni Picnic. Some of my favorites from other artisans were Tina Barajas’ clay Whistkulls and Cathy Geib’s giant cow done in pastels.
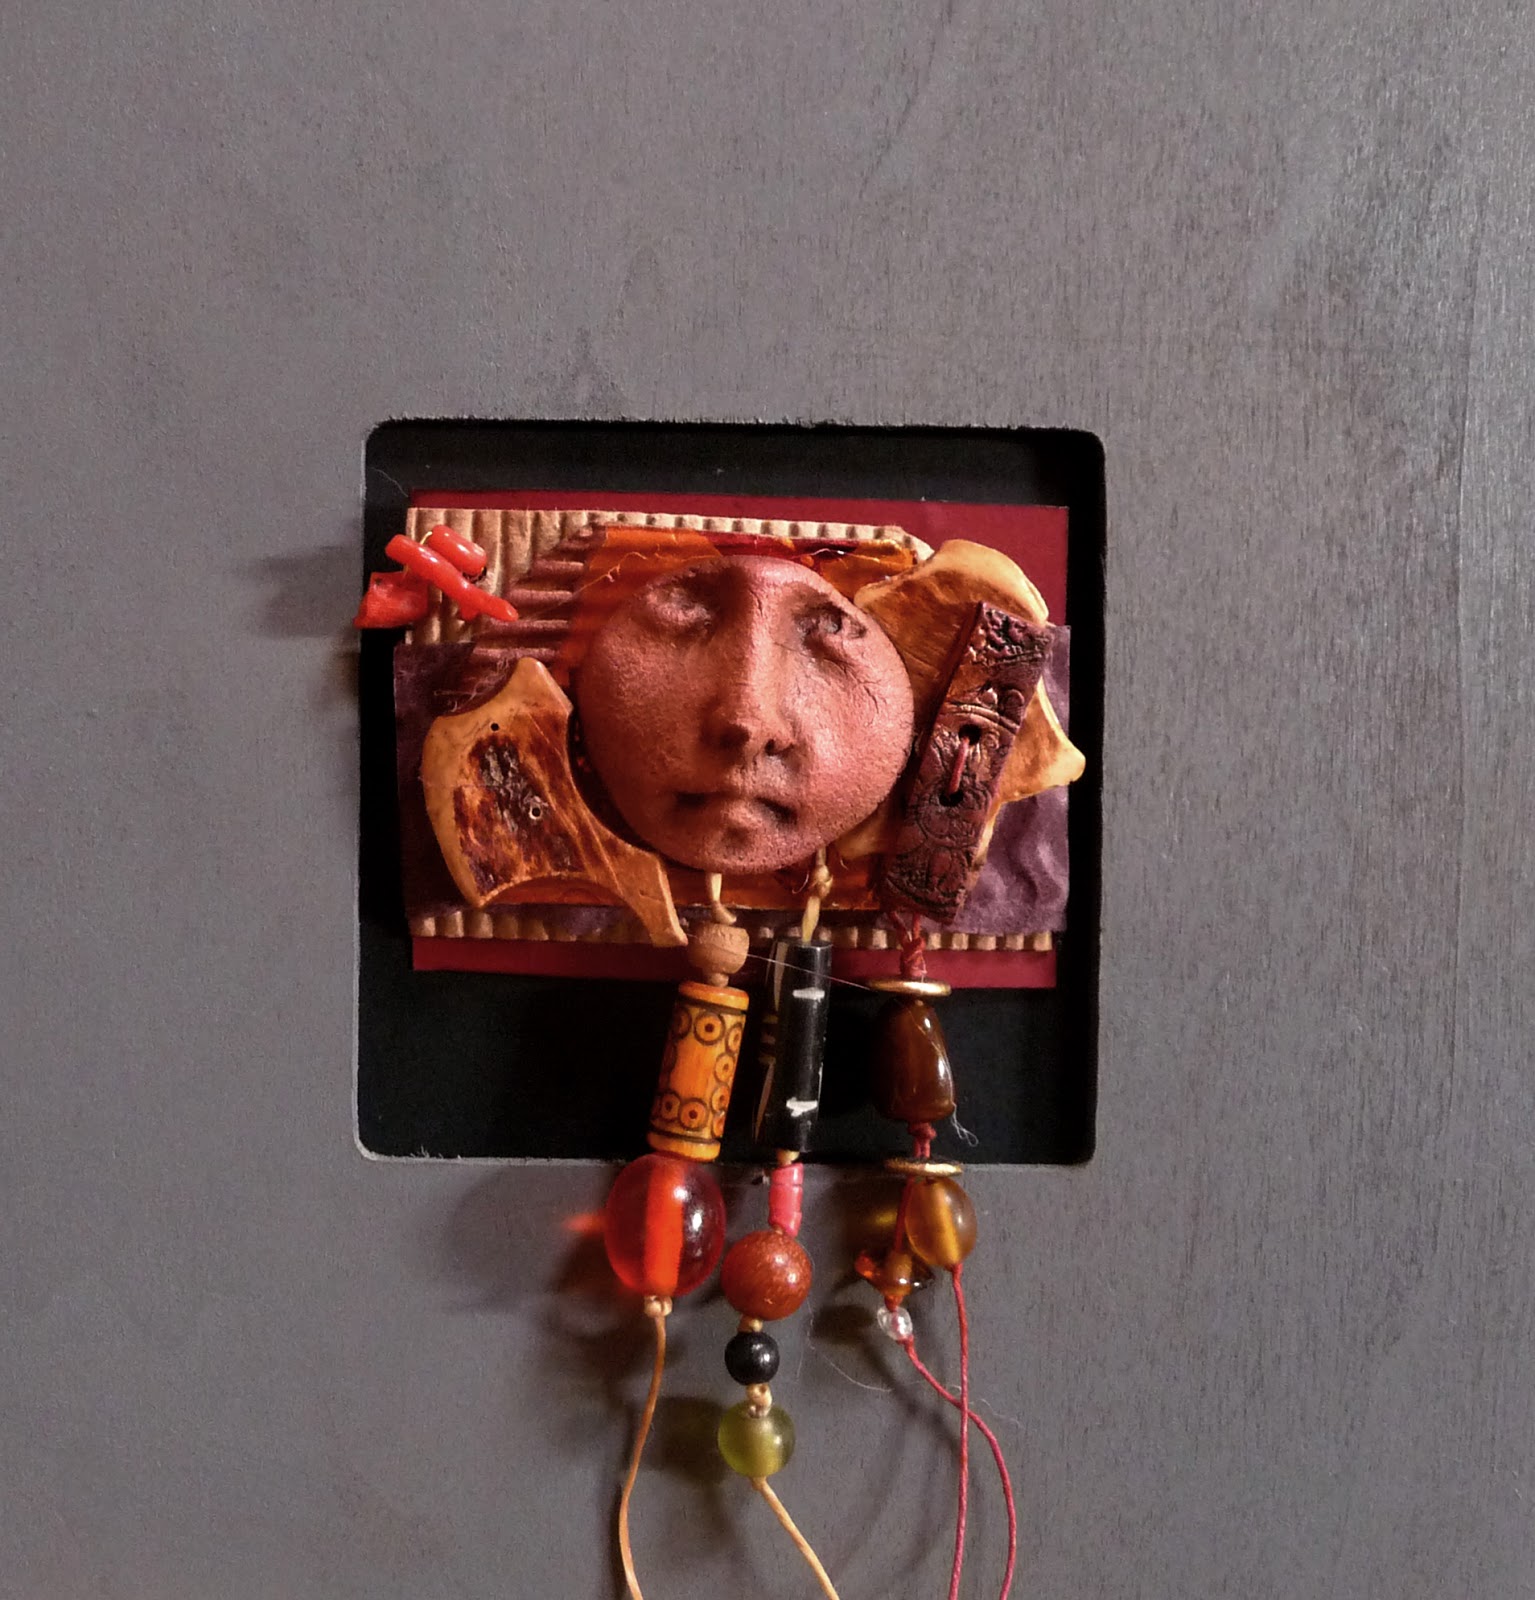
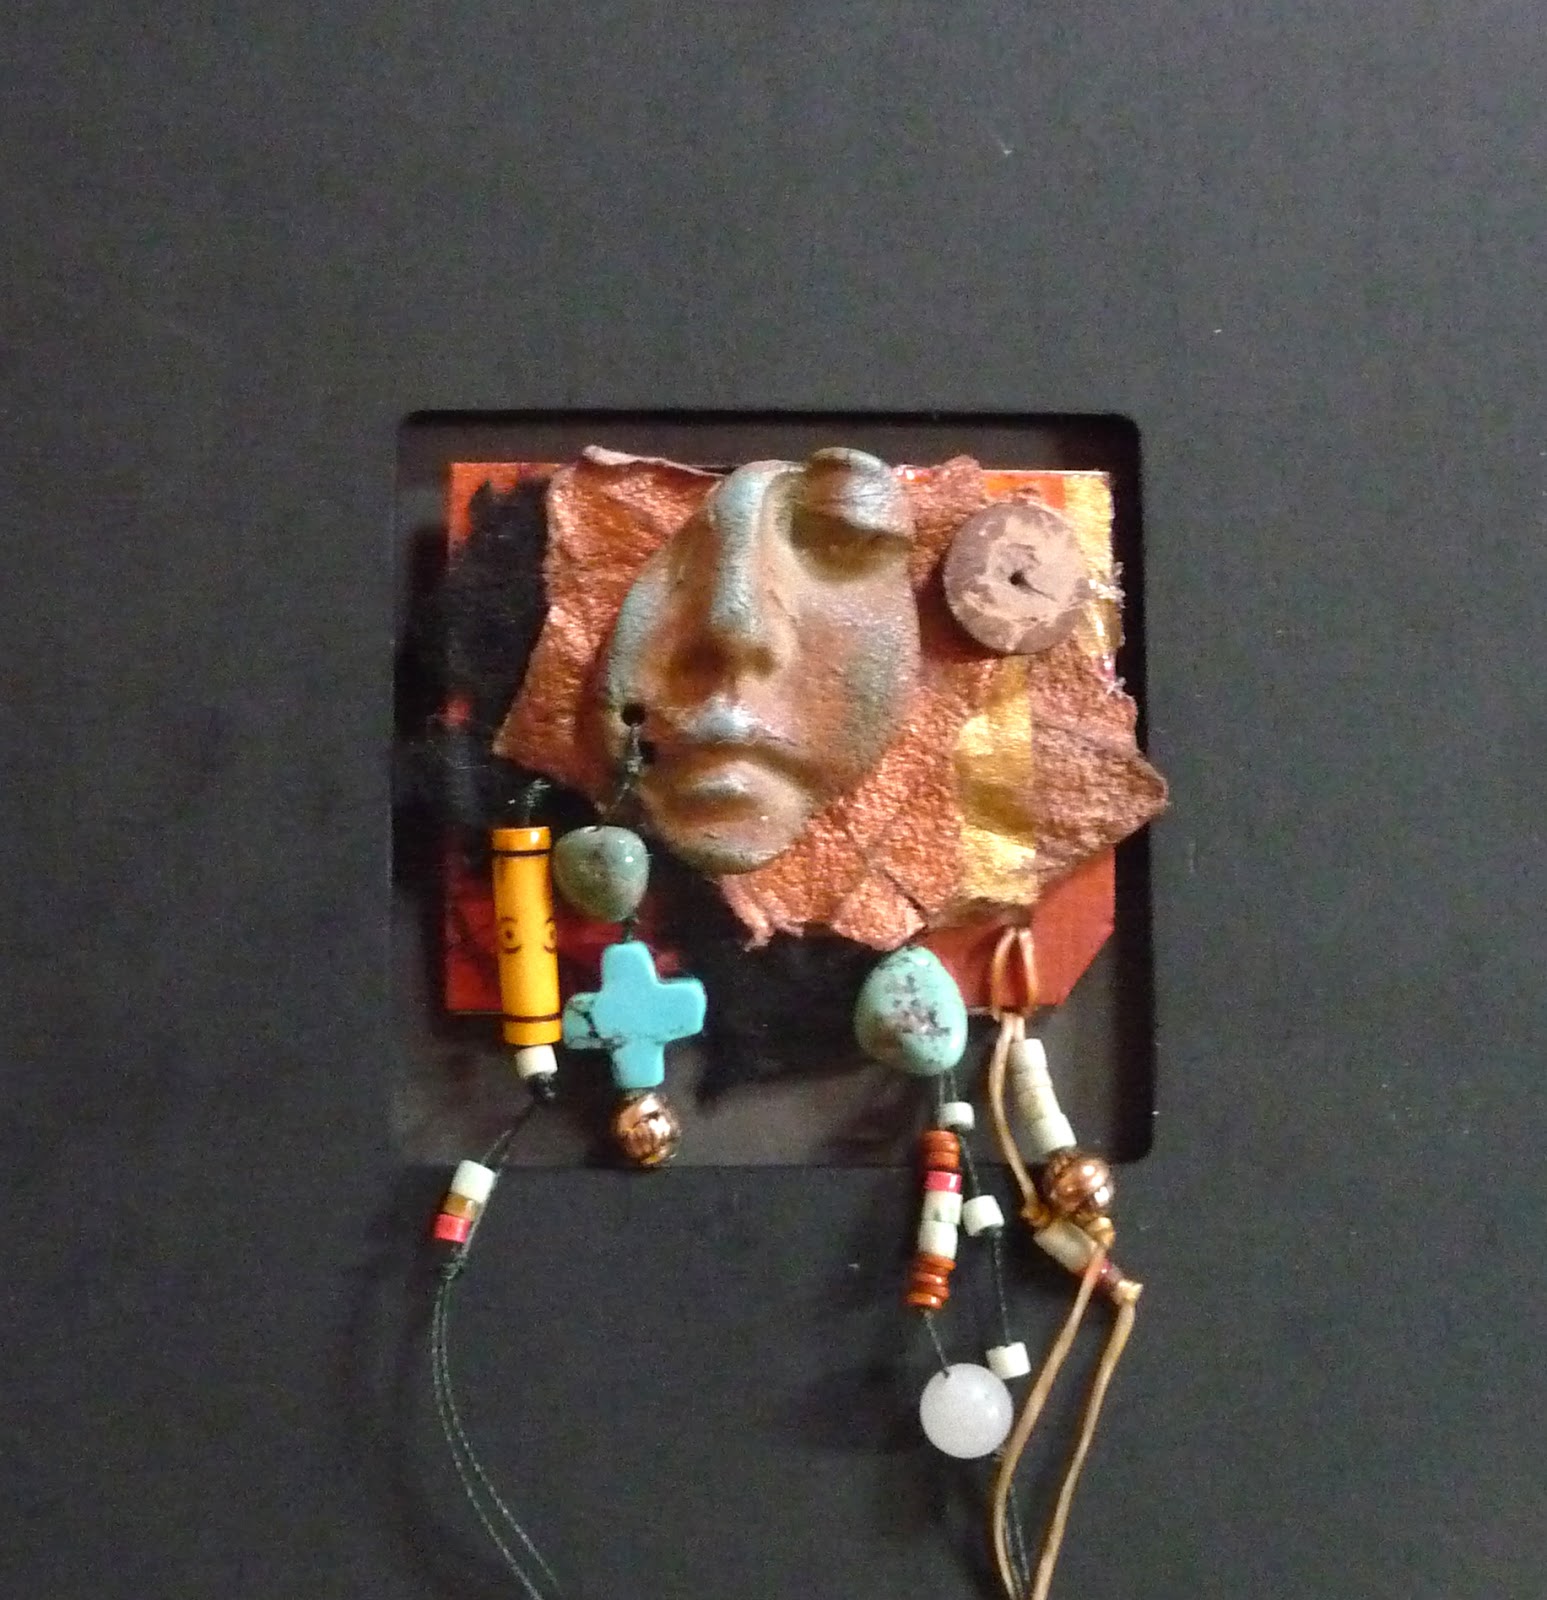
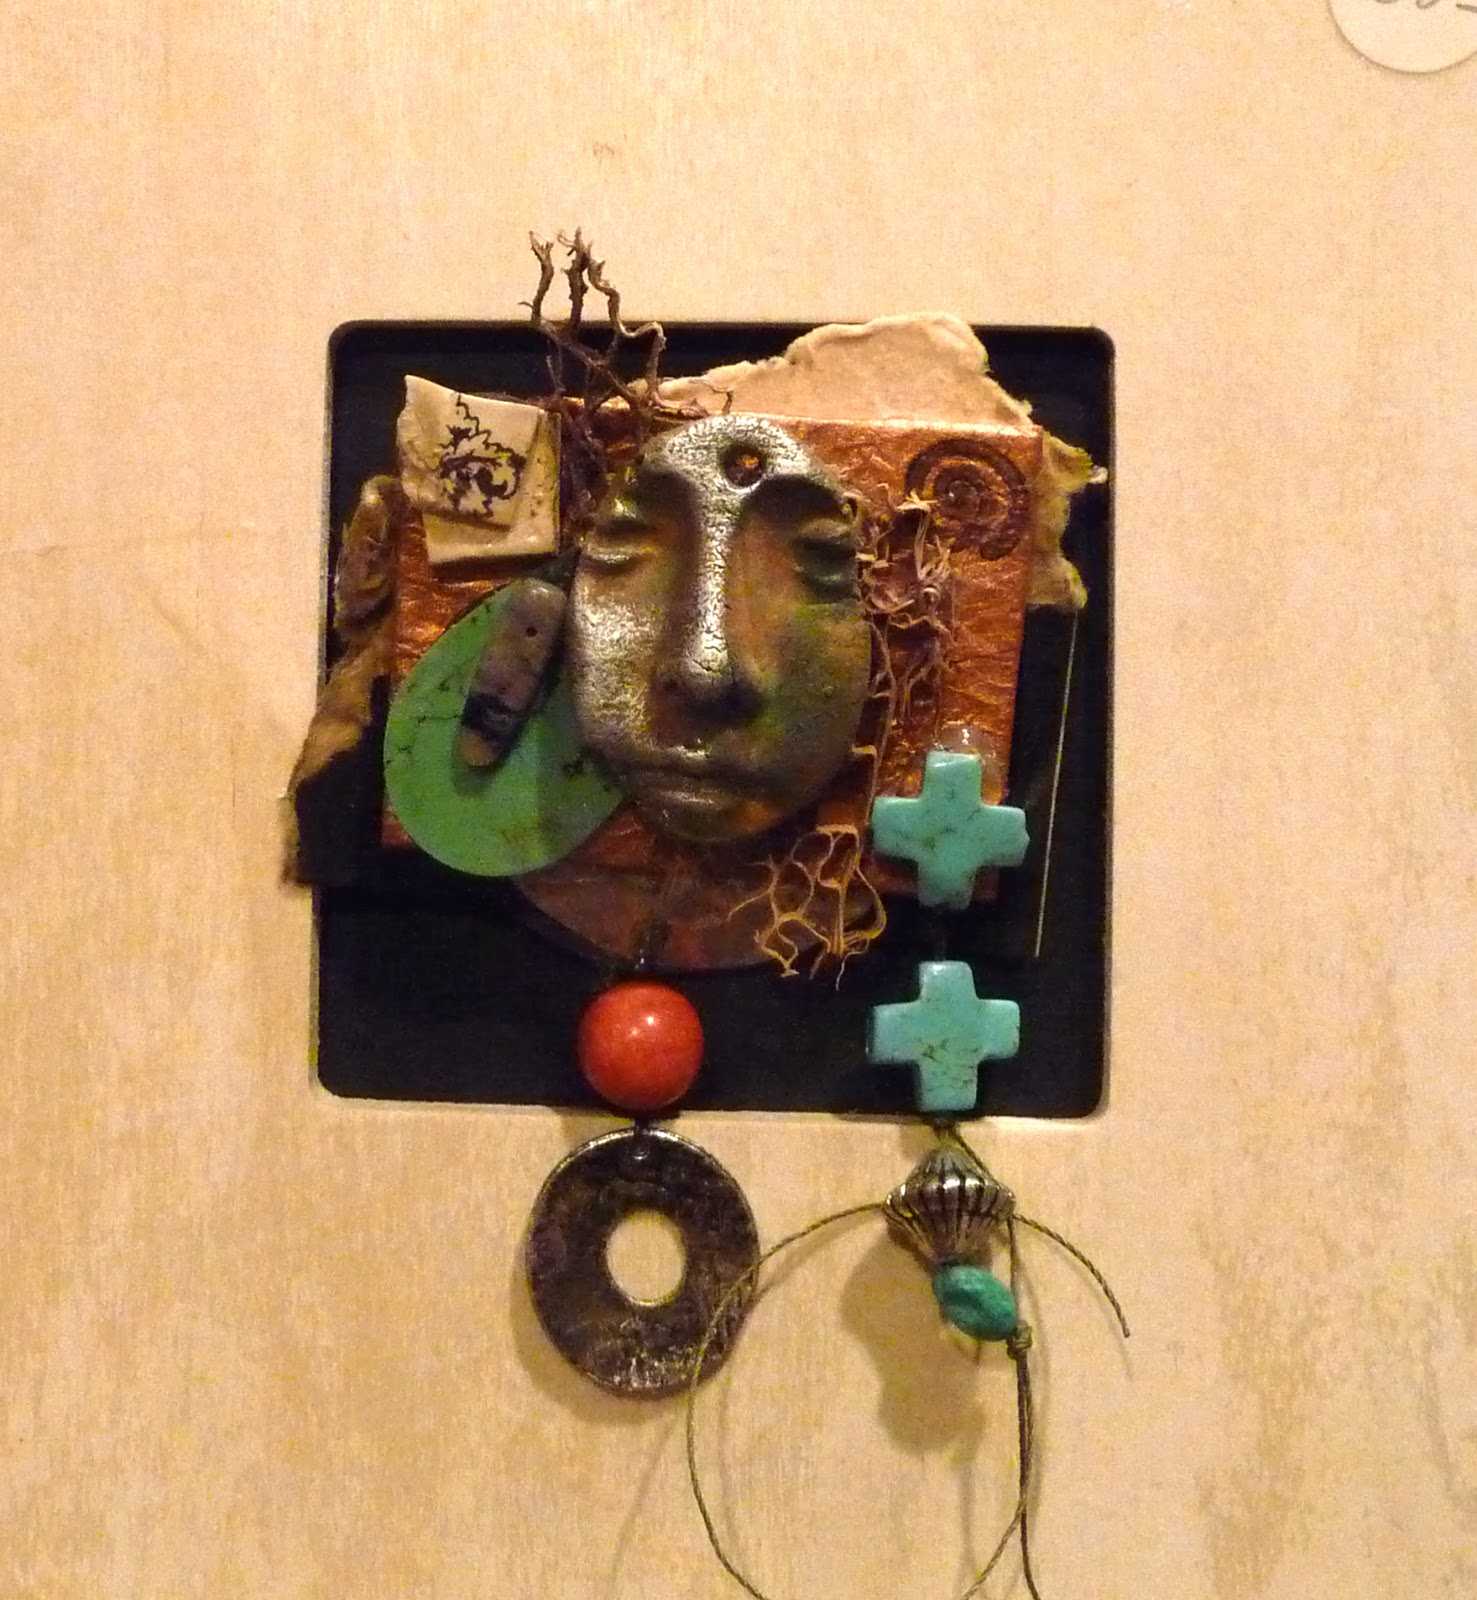
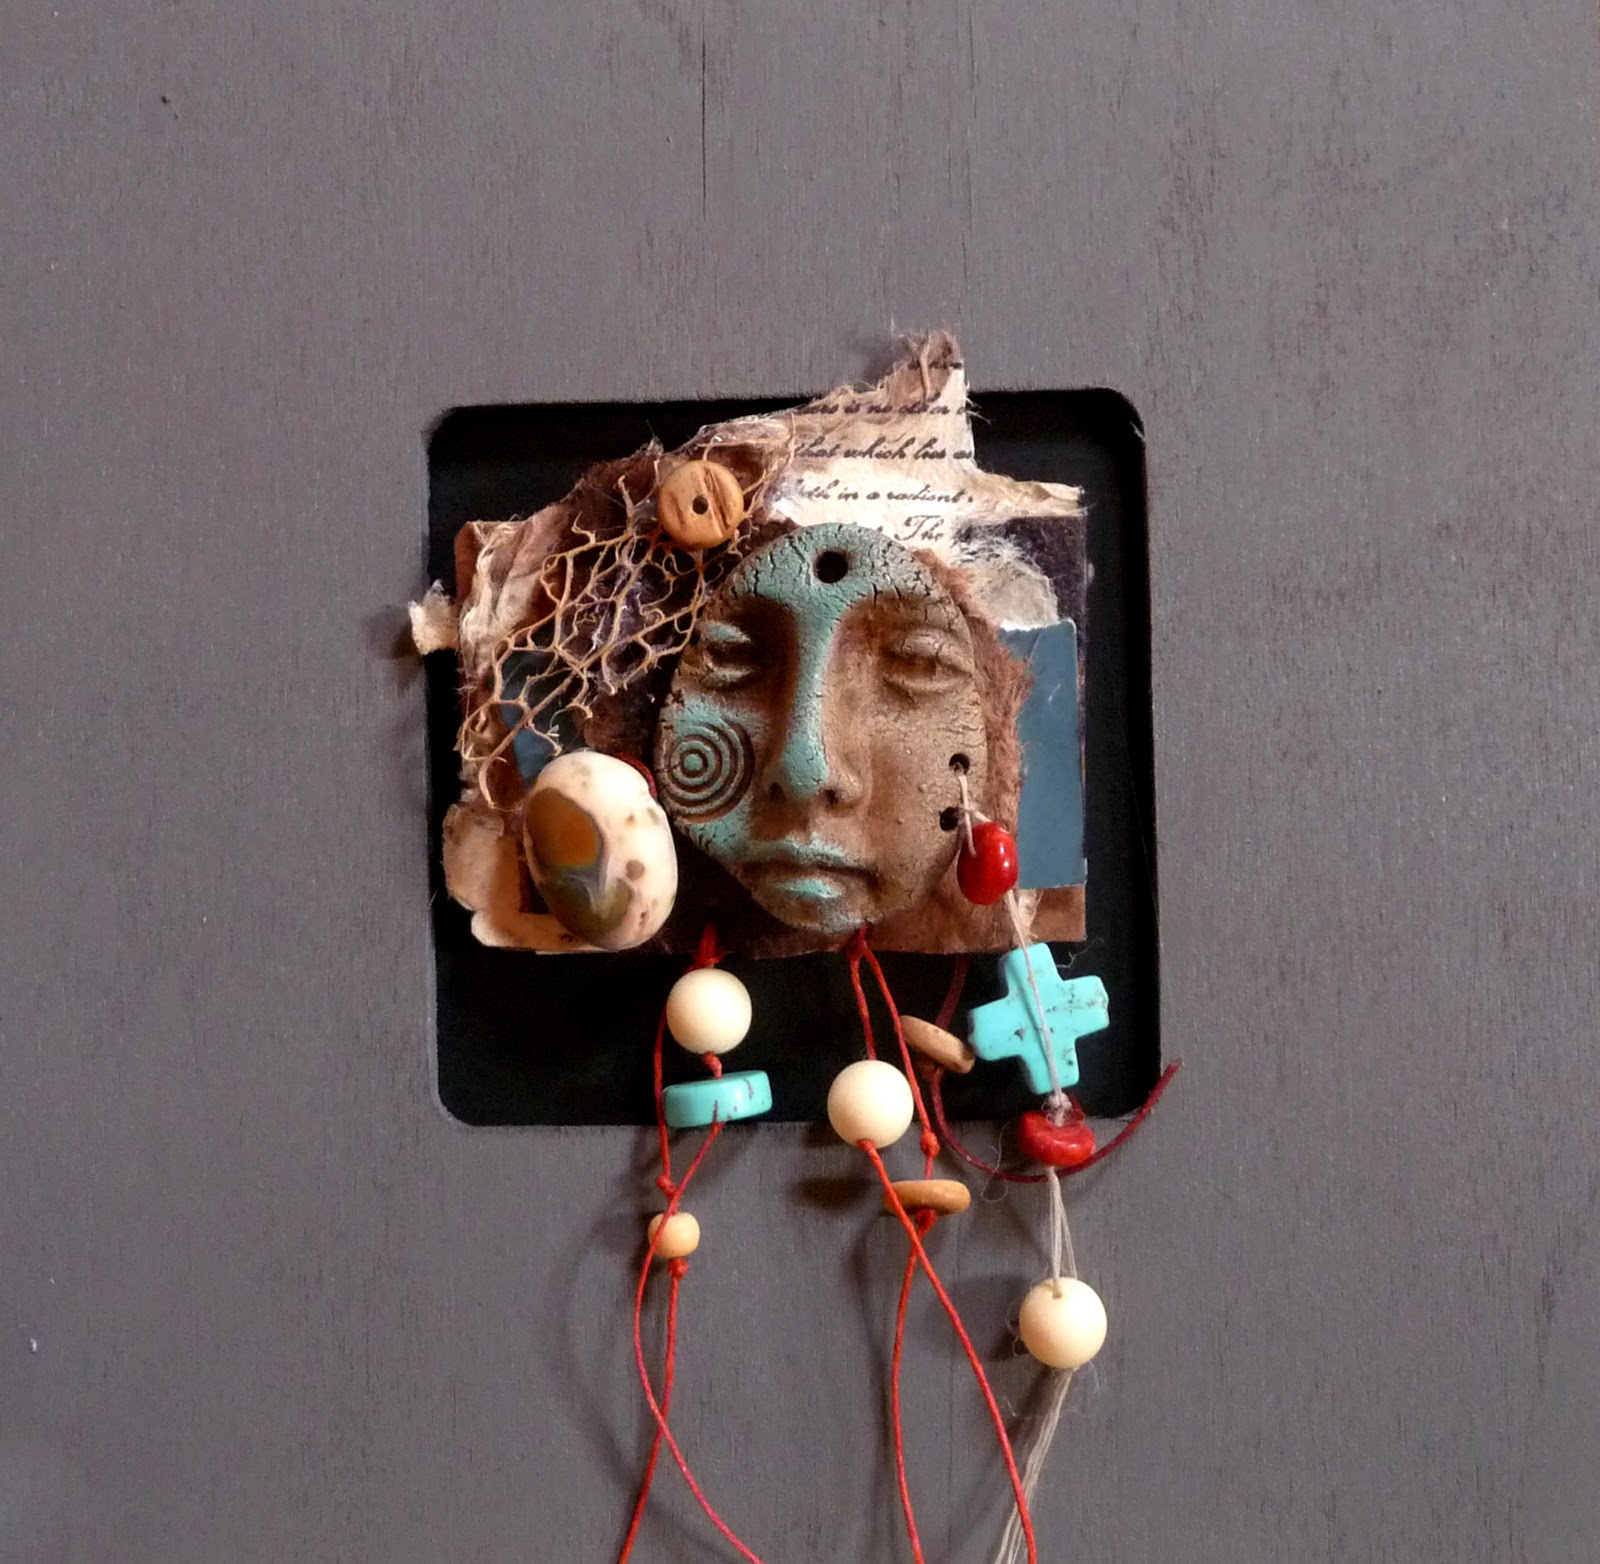
It’s been a while since I’ve done these little shard pin collages- I love working in this format. Here are ten new ones from the studio. They will go with me tomorrow to the Trinity Alumni Artisan Show. If you haven’t seen these before, they are clipped to the frame interior matboard with a strong bar magnet so they can be taken off and worn as a pin. There is also a clear straw “channel” on the back that a cord can go through so the construction can be worn as a pendant. They also look cool on a hat – or a lampshade 🙂 I’ll have more of these at my December 1st Open House/Open Studio event. Invitations will go out next week and everyone is invited!


I
The studio positively glowed with creative energy today – six art teachers and artisans from south of San Antonio drove in for the Collage on Canvas workshop. I had met Becky and Sharon at Sandy Oaks Olive Orchard when I taught a journal workshop there earlier in the year, and they brought their friends and colleagues today to play. What a fun, talented group! Every workshop is limited to six people and that seems to be the perfect number to collaborate and share ideas. We definitely borrowed and developed tips and techniques from each other. Everyone was so generous sharing their materials – I received some wonderful tablecloth remnants and some old keys and feathers and cactus-pad skeletons – cool. When you see their work, you’ll be as impressed as I was – thanks for a great afternoon, everyone!
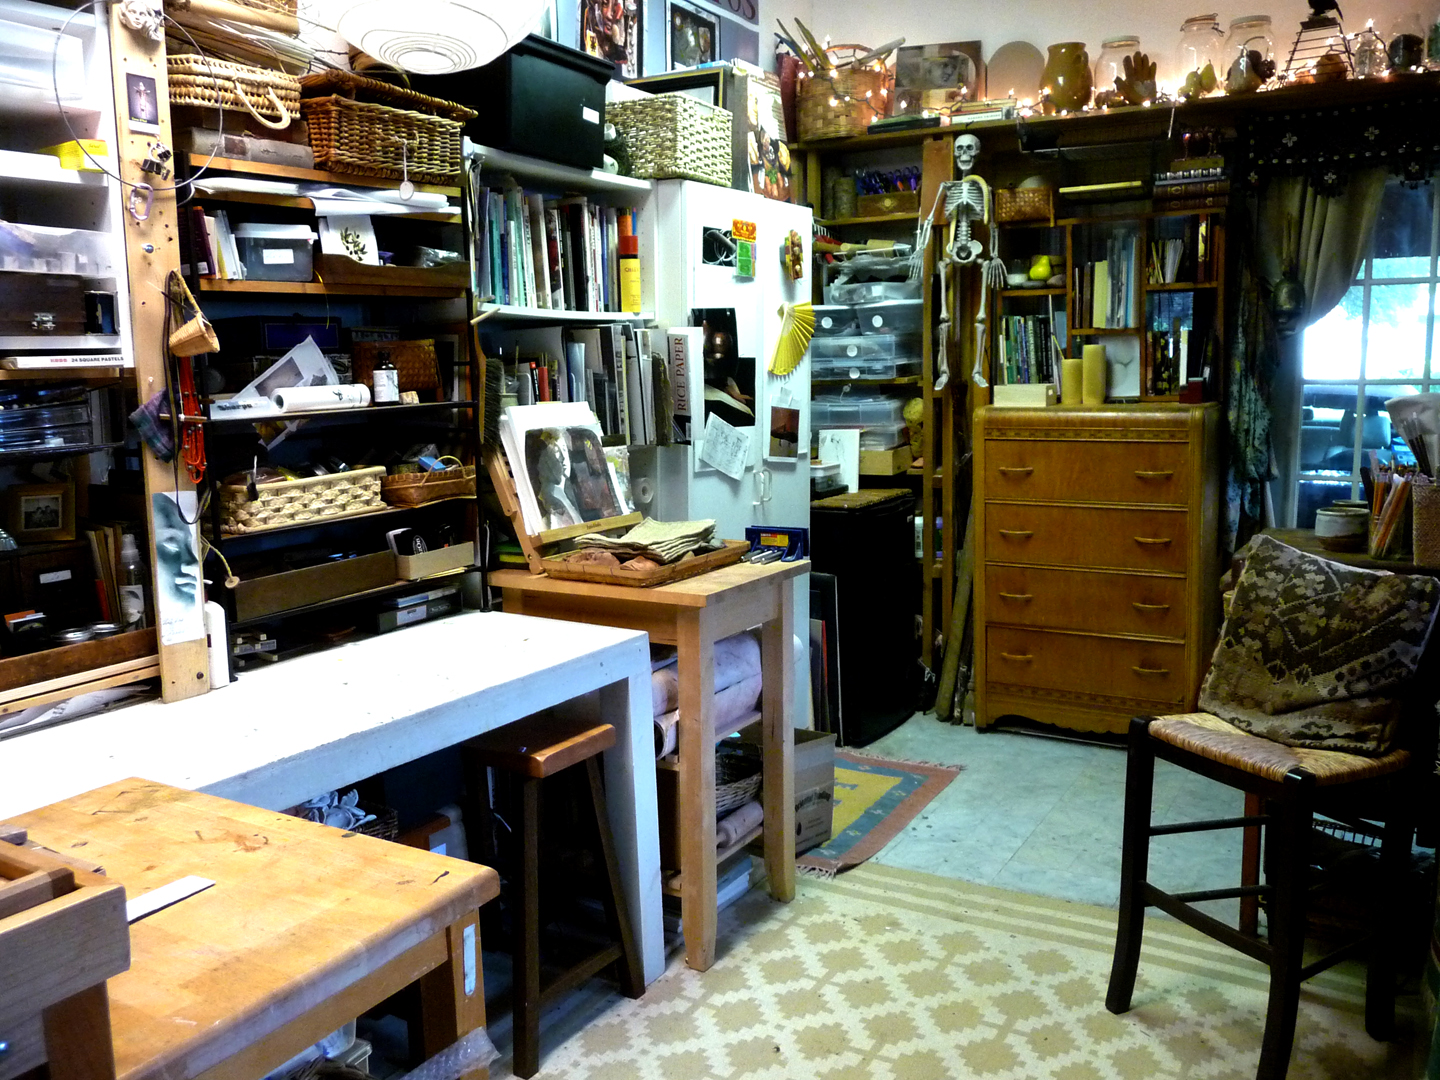
It’s a clean studio (in relative studio terms). It took a few hours, but I’m ready for tomorrow’s workshop. Among the things I found were my lost bee stamp, my lost favorite face mold, a bunch of assorted beads, chopsticks, and a plastic elephant. And tons of clay dust and paper scraps. Switching from collage to clay really is a challenge! But I’m ready for my Collage on Canvas class tomorrow – yay! Here’s the unvarnished photographic record of spotlessness . . . well, maybe not “spotlessness” – but improvement, nevertheless.

It’s always a little scary to open the kiln when it’s fired during the night – once it over-fired, once things were way too wet and there was breakage, but most of the time, it’s a thrill to see all of the pieces intact and transformed. I loaded the latest edition of shards yesterday afternoon late (1st photo) and this morning at 5:00, the kiln sitter had tripped off, and while the pieces were still hot, they looked fine. I never can wait until daylight, always have to get out the flashlight and check on them. They are still too hot to handle but I can unload the kiln in a hour or so. These pieces fired at Cone 05 (about 1800+F), as do most of the earthenware pieces I make. Thanks to the kiln gods!