. . .that’s when I knew her name

One of my favorite poets and people, Pamela Ferguson, contacted me recently to see if I’d teach a Wax and Talisman workshop for her small group, and I said “Of course!”. Pamela had taken the Small Worlds workshop last March and I wrote about her work here in an earlier post.

Teaching this talisman workshop is so rewarding – it’s the subject of my latest ebook, and one of the most personal workshops that I offer. So I was excited to be teaching it “live,” especially when I found out that Pamela’s granddaughter Caitlyn would be in the group. It’s fun to see how different generations respond to an art challenge.

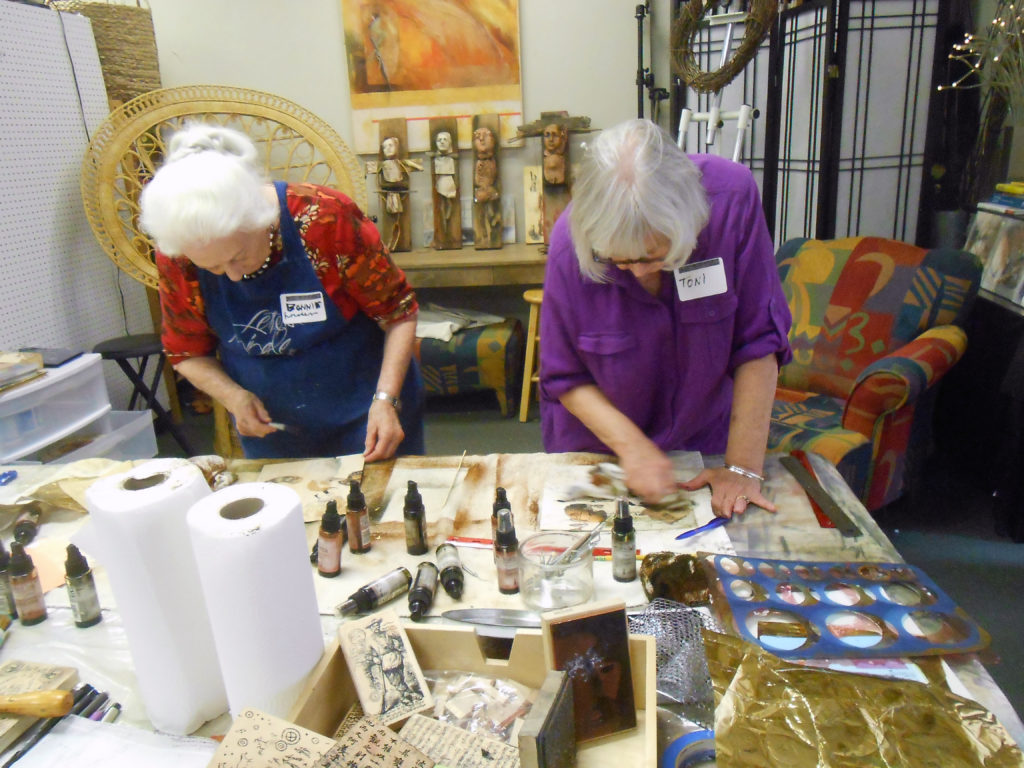
Pamela’s group came to the studio yesterday and we had a thoroughly enjoyable afternoon. The workshop has three components:

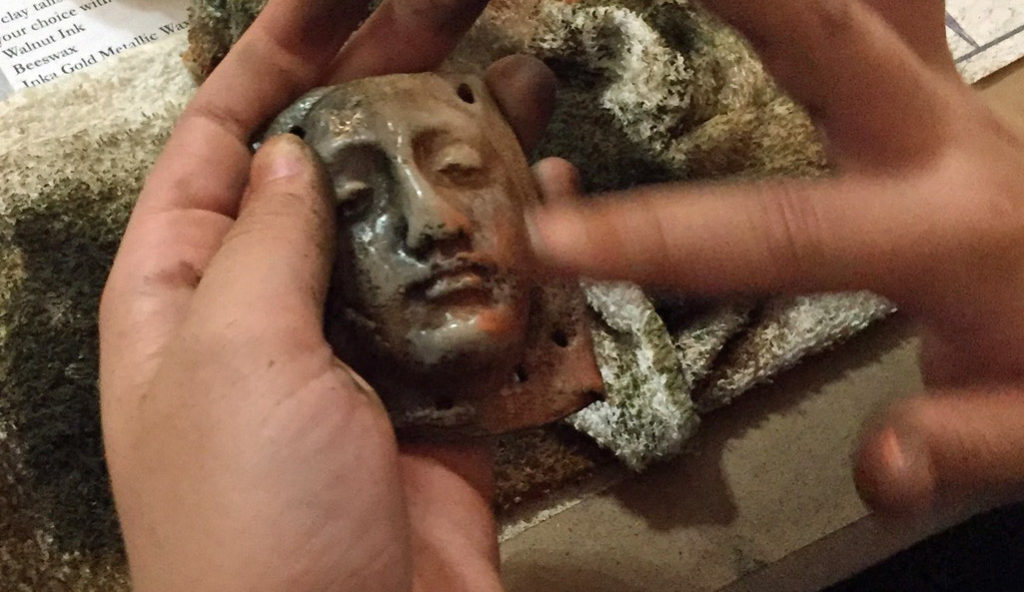
  • Personalizing the earthenware face piece and painting melted beeswax wax on the surface
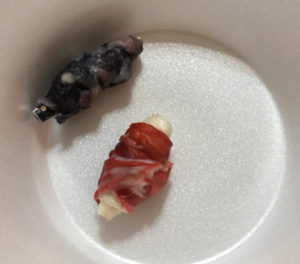
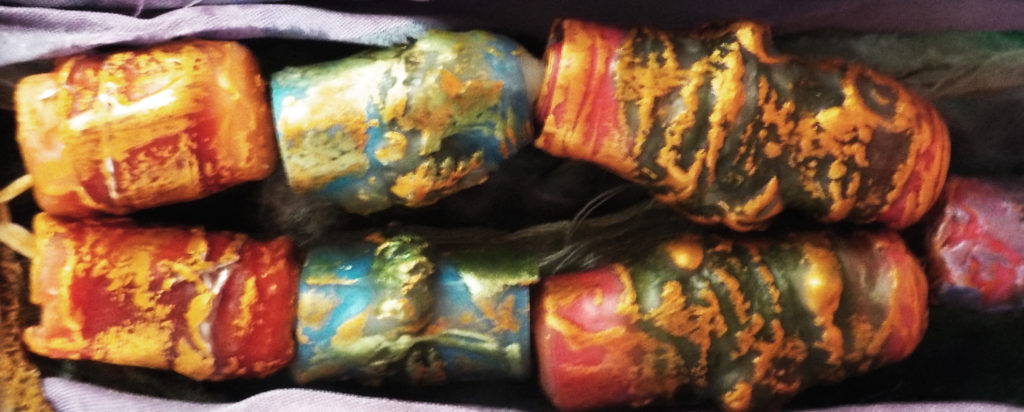
  • Making rolled paper “blessing beads” and adding texture, beeswax, and metallic enhancements
  • Tying symbolic ribbons and cord to the focal piece and stringing the beads

Every step has meaning and intention. I asked the students to let their intuition lead them and to see what would happen. I also asked them to name their pieces when we finished.

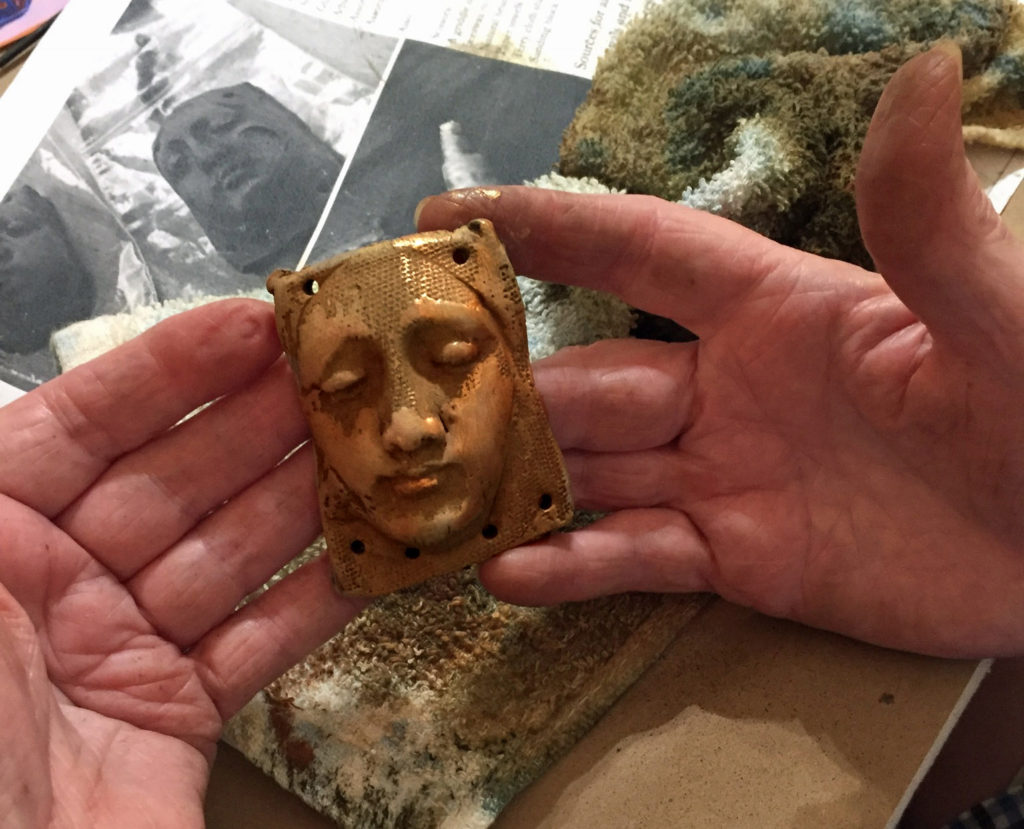
This is Caitlyn’s piece – she is a senior in high school and very perceptive about herself and others. She adores her grandmother, Pamela.

Her blessing beads are beautiful, and I like the way she has grouped them at the bottom edge of the face. During discussion time, I asked Caitlyn what she had named her talisman. She said the name kept shifting as she got deeper and deeper into the process, but it had ended up as “Venus” – not what she’d expected. We all understood what she meant !

This morning, I got an email from Pamela saying how much they had enjoyed the workshop. Then she told me that Caitlyn had started talking about her talisman as they were driving home. Her words were almost an impromptu poem, which Pamela wrote down.

Read Caitlyn’s poem and look at the talisman she created which inspired it – lovely.

Talisman
by Caitlyn
Venus is her name –
    the two sides of her face
    the two sides of love
 
The light side has golden glow
The ribbons are bright, peachy,
      lots of strands, beads, charms.
 
The other side is dark –
the walnut stain soaked deeply.
The copper tear by her eye was accidental
      but love can cause pain.
That’s when I knew her name –
      the tear, the dark side.
And those ribbons are thin, stringy –
black, gray – sadder somehow.
 
I didn’t mean for her to be Venus
      the goddess of love
but that’s how she came out.

It’s all about trusting the process – letting go of what we expect and letting the intuitive take over. I’m very glad that Caitlyn’s work and poetry expresses this so perfectly – she didn’t mean for her to be Venus, the goddess of love, but that’s how she came out!

But wait, there’s more! Pamela, a published poet, had her own insight about the process. She sent me her poem this morning, as well – it’s titled “Paper Bead,” but it’s about much, much more.

Paper Bead

     by Pamela Ferguson


Cut a strip of paper,

long

narrow

Write a secret word,

a power word

a sacred one –

a promise – a passion –

a vision word.


Glue the strip

almost end to end

side to side.

Coat your word

with protection.


Lay a skewer on the almost end –

roll the strip onto the tiny dowel

until your word is cocooned within –

held by the power of your hands

the dowel

the glue.


Bedeck the roll with ribbon

or string or yarn-

chain or silk or sinew.


Seal in place with that most

basic of adherents –

pure, warm beeswax.

Coat the cocoon.

Seal your word

in the unique world you make

and remake each day.

Add its shape and your word

to your memory’s bliss.


Then do another.


Don’t you love the way the creative process works with work and words? I especially like Pamela’s last line, “Then do another.” It means that we can do this any time, this expressing our best thoughts through our art and our poetry. It’s so comforting and liberating.
Thanks, Pamela and Caitlyn, grandmother and granddaughter, for sharing your artwork and your poetry.
PS I’m always happy to arrange a small group workshop for you – you don’t even have to be an artist or a poet!


Save

Save

Save

Save

Save

Tissue techniques and encaustic exploration

15We had a full house for yesterday’s Wax and Tissue workshop. Everyone was particularly interested in how to print images on delicate tissue paper. If you do an Internet search, you’ll find all kinds of methods to do this.

Most of the methods involve taping or tacking the tissue on all four sides to a sheet of regular copy paper. I just cut the paper slightly smaller than the copy paper, put two pieces of clear tape at the top, and run that sucker through the printer. So far, so good – I printed about 25 sheets for the workshop and had only two of them crunch up in the printer. Not bad odds considering how thin tissue paper is.

In my example below, you can see how the bird image, printed on tissue paper, becomes translucent when wax is applied over it. It’s always interesting to see how unpredictable the translucent images appear when wax is applied over them. Different kinds of tissue yield different results. I use just plain old wrapping tissue and I iron it first to get the creases out. Works like a charm.

eliz

Lyn Belisle, demonstration piece done during wax and tissue workshop

You can see in my demo piece, above, that the bird image, which was printed on plain white tissue, has a translucency that conceals and reveals elements of the collage above and below it. In the workshop, we started with two opaque “anchor” images and then added layers of wax and tissue to build up our narratives. It was a thoroughly enjoyable experience – everyone was experimenting and developing the best stories as the process evolved. Here’s the video – what do you think? Pretty cool, right?

If you’d like to see what the supply list looks like, you can go to Roses on my Table, a site developed by the fantastic Zinnia from Artful Gathering. Michelle Belto and I have an online class there on Wax and Tissue, but you don’t have to register for the class to get the supply list. You can just click on the Material and Supply List link to see both sources and “ingredients” for this project.

Encaustic Month at Lyn Belisle Studio ended on a high note! And mark your calendar for next Saturday’s Show and Tell from 2-4 pm. Happy Monday!

Save

Save

Wax and Words – no worries, everything worked!

After a month away from teaching workshops, I was a little fearful about starting off the new sessions with something I hadn’t done before, a class called Words and Wax. It was inspired by some of Nancy Crawfords beautiful Love and Gratitude encaustic series pieces.

Nancy Crawford, 4x4", Even More Love and Gratitude

Nancy Crawford, 4×4″, Even More Love and Gratitude

I wanted to emphasize the mark-making within the words, so I designed a four-layer process that involved ink, stencils, graphite and stamping as the initial approach,followed by the addition of beeswax, and incising into that. The results were wonderful, thoughtful, accidental but purposeful. Please see what the students did in the video below.

I’m happy to share with you the general outline of the class in case you want to play around with this idea. You can find the steps here.


Postscript:

Ironically, just as I was writing this post about words, I received some sad news about the death of an old friend and consummate man of words, Professor John Igo. John was a San Antonio educator, writer, artist, photographer, producer, and critic. He kept us all on the straight and narrow path with our word usage in his delightful radio program called Grammar Gripes.

John leaves a legacy that is wide and deep across the arts and letters community – he will be greatly missed.

John Igo

Save