Marfa – and wax on black exploration

In the 1970s, minimalist artist Donald Judd moved to Marfa, Texas, where he created giant works of art beneath vast desert skies

I’m back from a week in West Texas and the beautiful Davis Mountains. One of the best parts of the trip was visiting Marfa and connecting with minimalist artist Donald Judd’s vision. There’s a great NPR article about this – click here. I love the quote by sculptor Campbell Bosworth“You just come out here and you feel like, I want to make something; I want to do something!”

Maybe it’s the minimalist influence, but it must be true. The Marfa getaway ignited my creative curiosity, and as soon as I got back, I went into the studio and started working in black and white on an experiment with black substrates and beeswax.

I wondered what would happen to the translucent layers of beeswax when they were applied over a dark background.

I used an absorbent black paper and added some white markings with different kinds of media – crayon, stamps, paint:

I added a layer of beeswax – it made it kind of glossy, and did penetrate into the paper, which had been a concern. You don’t want it to just sit on the surface of the substrate:

More experiments – black and white (and a bit of walnut ink):

Like all experiments, some of the techniques worked well, and some were definitely “learning opportunities.” But there is a certain potential for interesting effects that are both chalk-like and smokey. I am going to push these ideas a little further and see what develops (like old black and white film).

Now that I’ve been “Marfa-ized” and infected with some new ideas, it looks like I may be spending more time at the studio, perhaps even developing a wax on black workshop!


Workshop time: WAX & WORDS

A quick note . . Just wanted to let SHARDS readers know that I’m offering a workshop on Sunday, June 24th at the newly refurbished Semmes Studio on the grounds of the San Antonio Art League & Museum. I’m so excited to be teaching again, especially since this will be the first workshop since the new studio has been upgraded with a skylight and bathroom!

You can read about the workshop, WAX & WORDS, by clicking on the image, below. It’s a great way for beginners to learn about mark-making and encaustic techniques.

Hopefully, this will be the first of many creative workshops there. Here’s another link for details.

A portion of the tuition will go to the Art League – it’s a 501(c)(3) – and by the way, it’s membership time if you’d like to join. Art League members always get discounts in my workshops! Join here.

PS – and yes, the Semmes Studio is air-conditioned!

Wednesday all-day workshop with NEISD art teachers

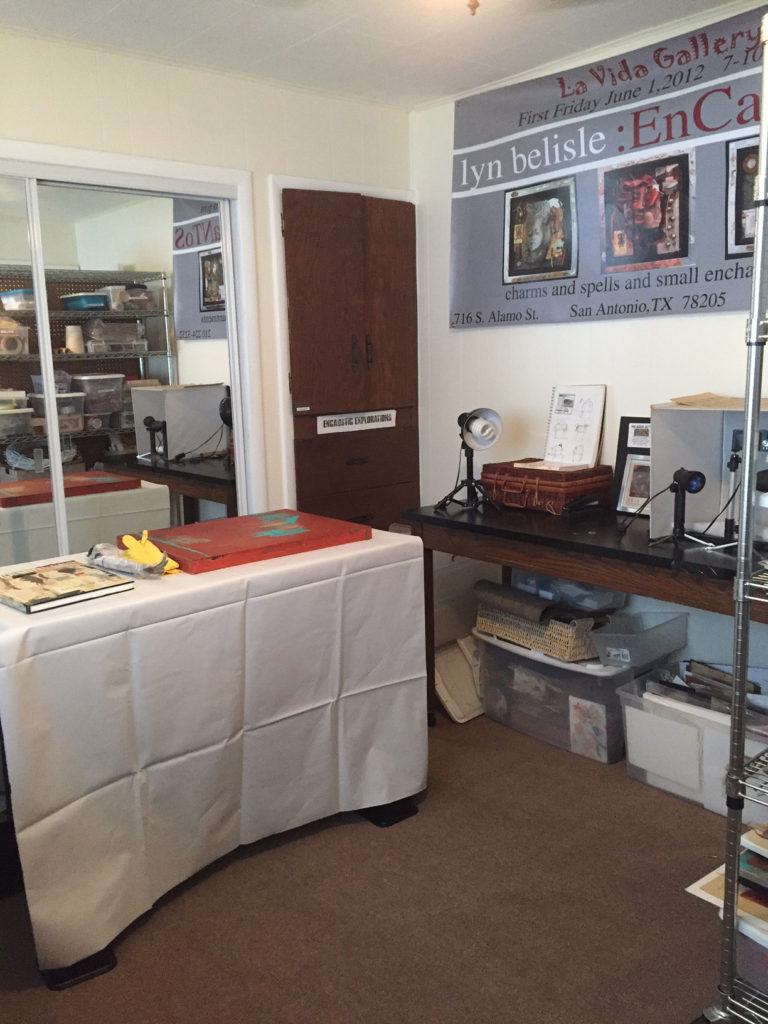
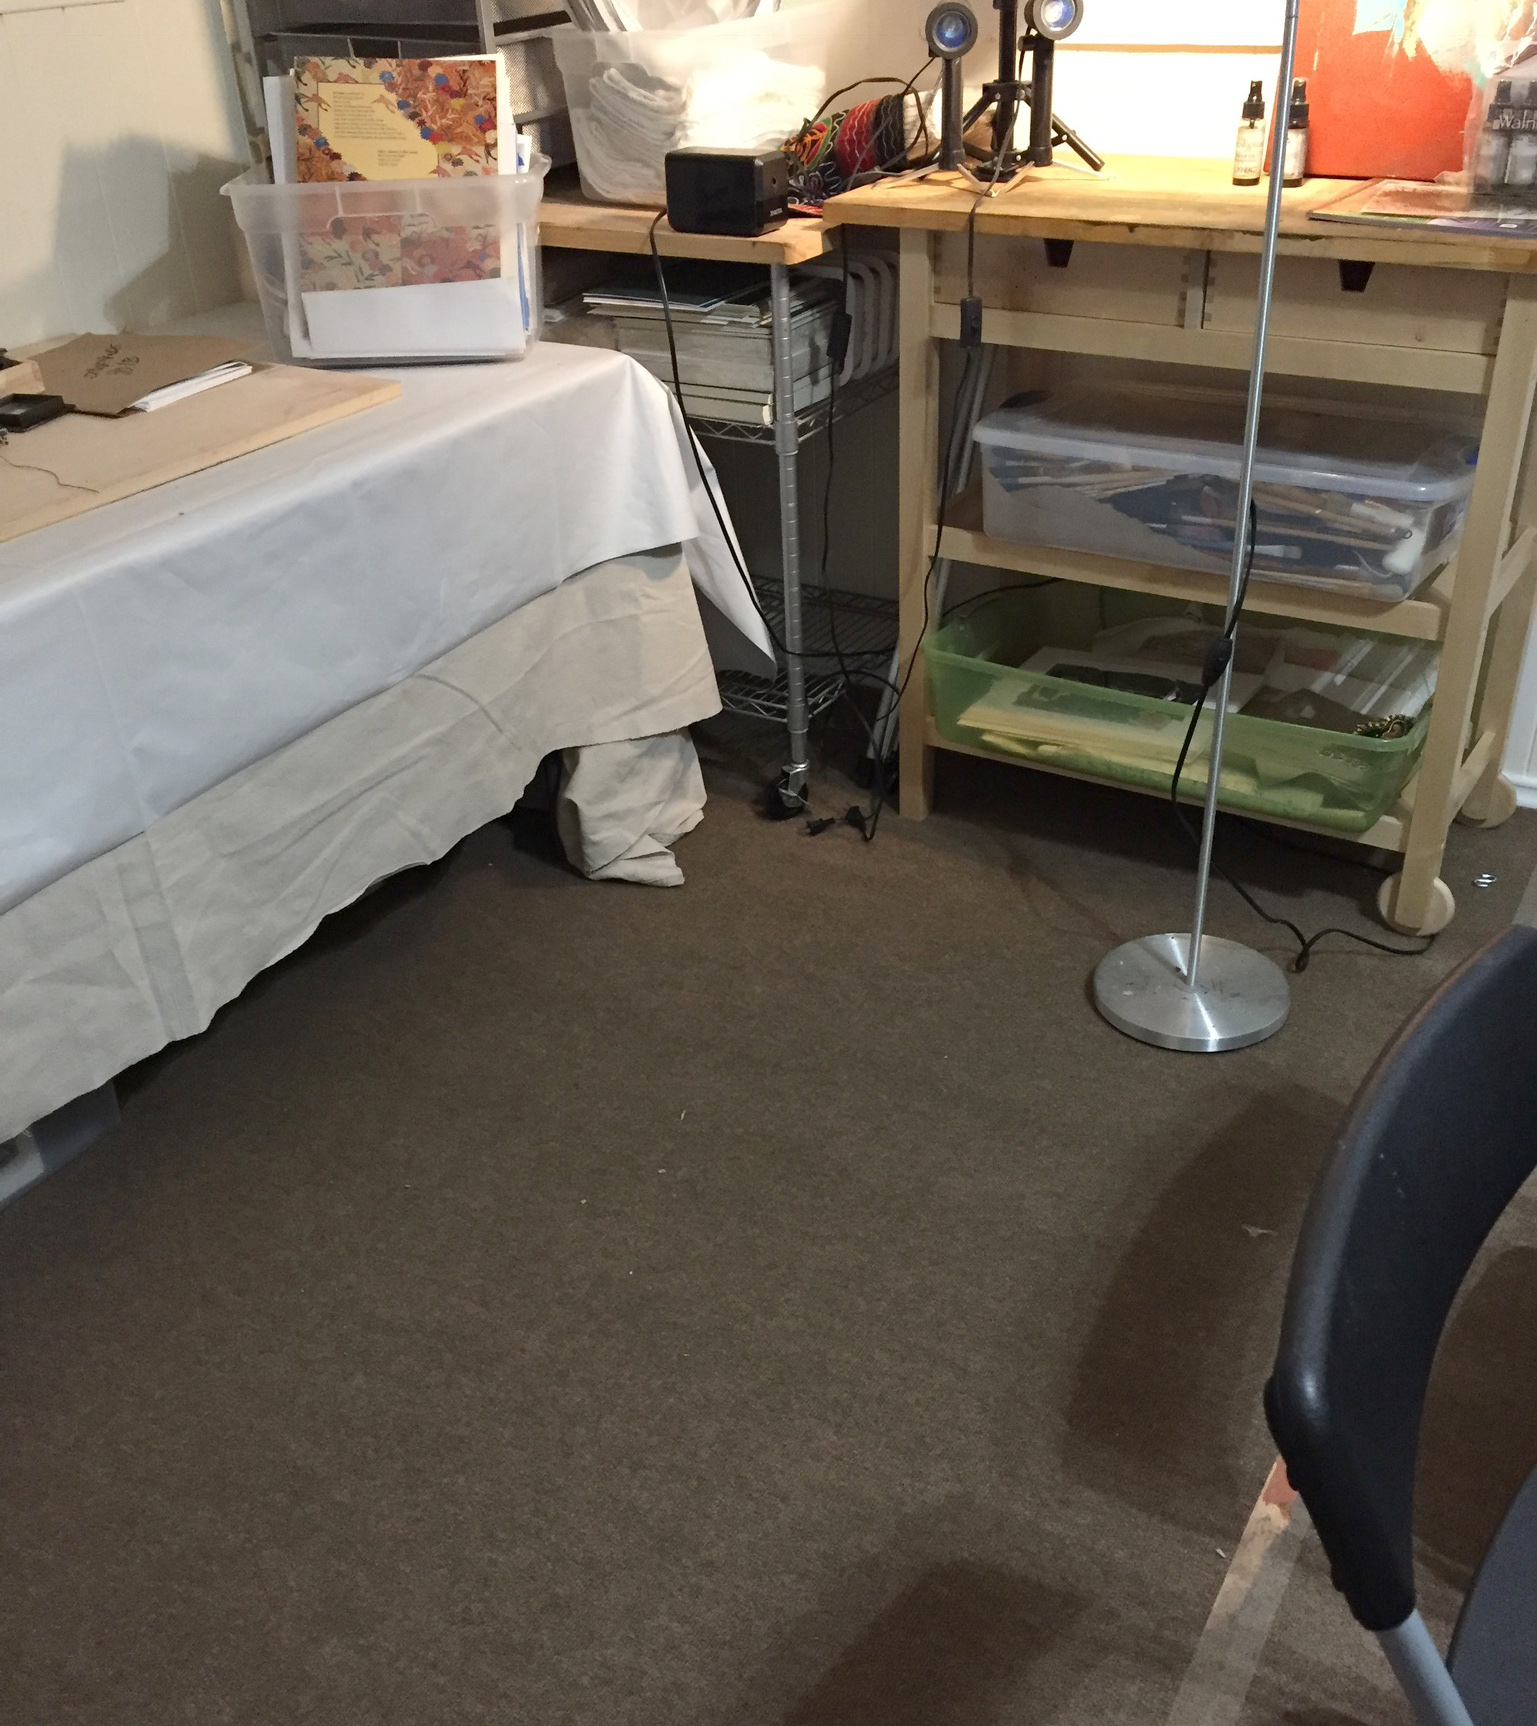
The workshop schedule/format at my studio has changed for a number of reasons – smaller space, my increased responsibility as president of the San Antonio Art League, and just general life changes – but I’m always happy to accommodate special groups like yesterday’s art teachers from North East ISD.

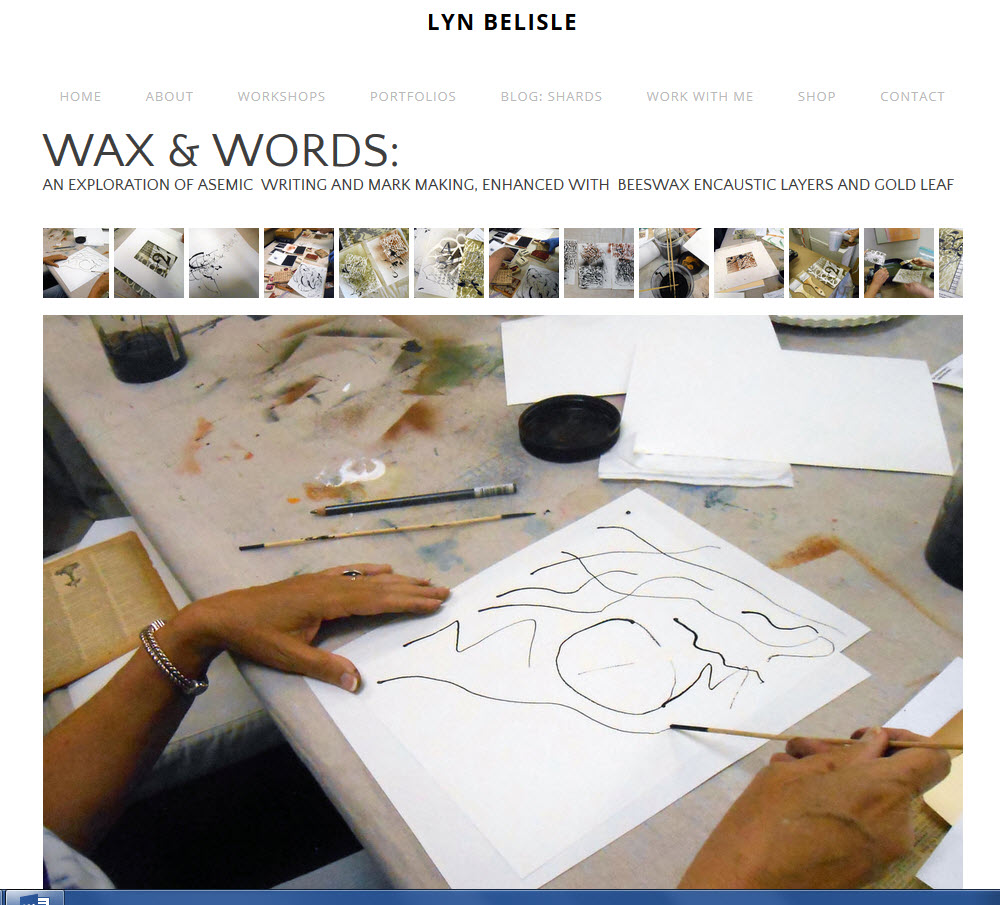
They had requested an all-day session that would give them six hours of CEU credit and jump start their school year with some new ideas for themselves and their students. We decided on a workshop that was similar to the one I taught in Provincetown. It has a little bit of everything – composition, storytelling, photo manipulation, mark-making, encaustic and collage.

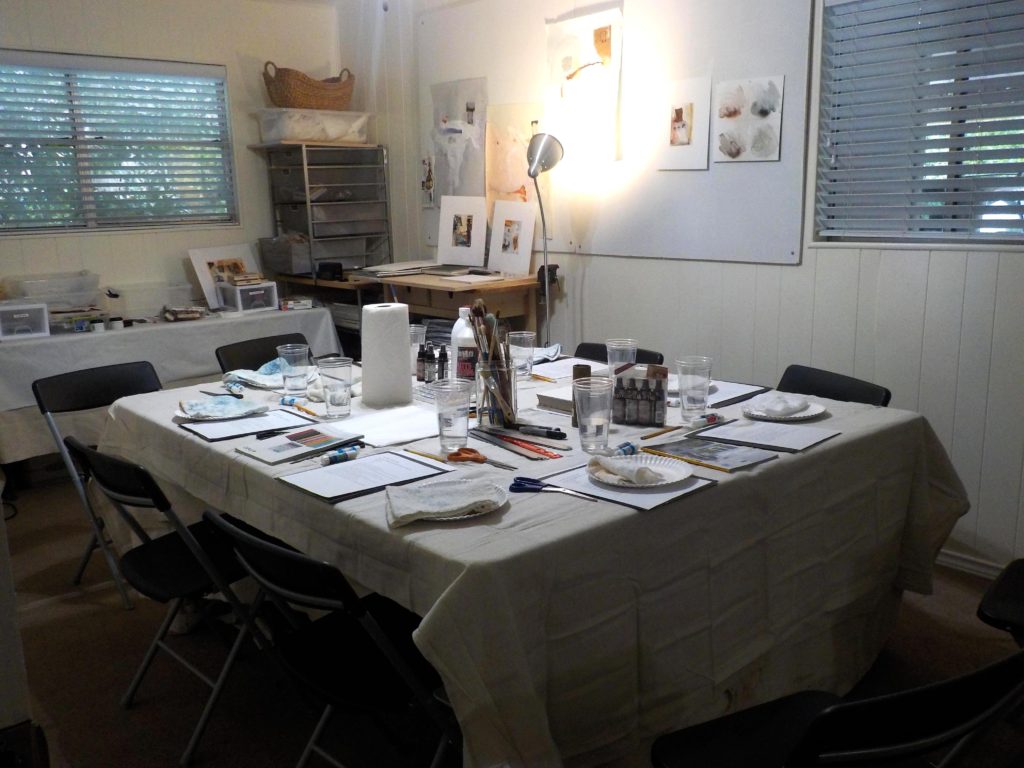
We worked hard from 10-4 in the studio, and each participant created a beautiful portfolio of four five mixed media works, one of which was chosen to be matted. Want to see photos from the day’s workshop? Start scrollin’ down and see it step-by-step!

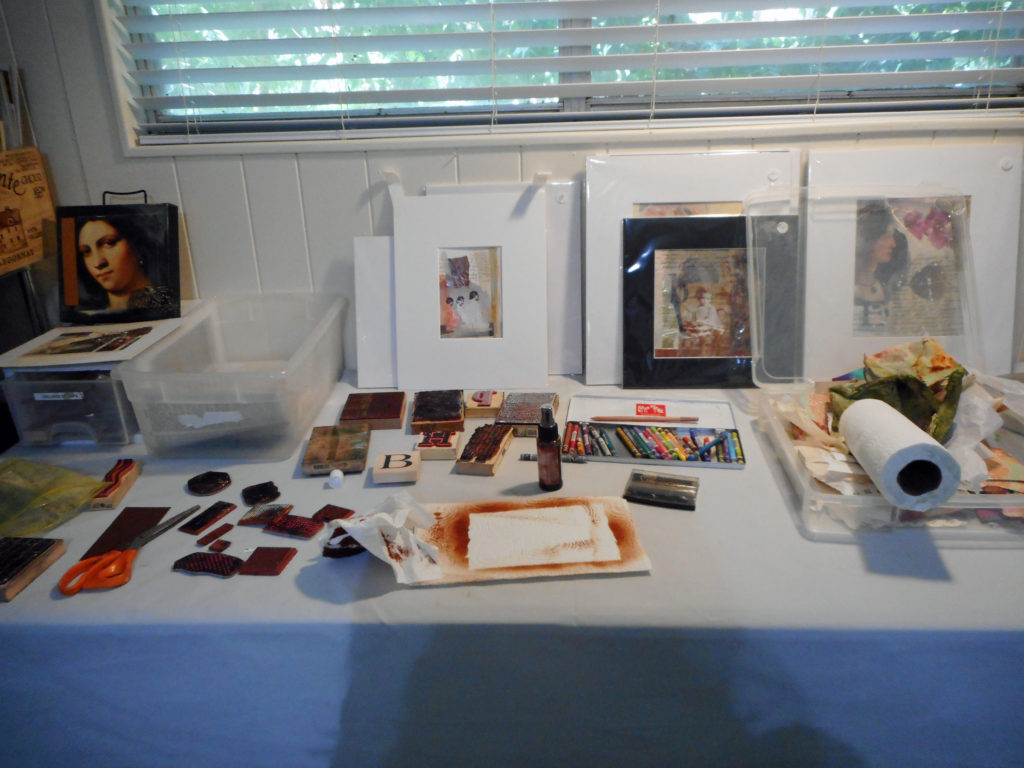
Mixed media stash ready!

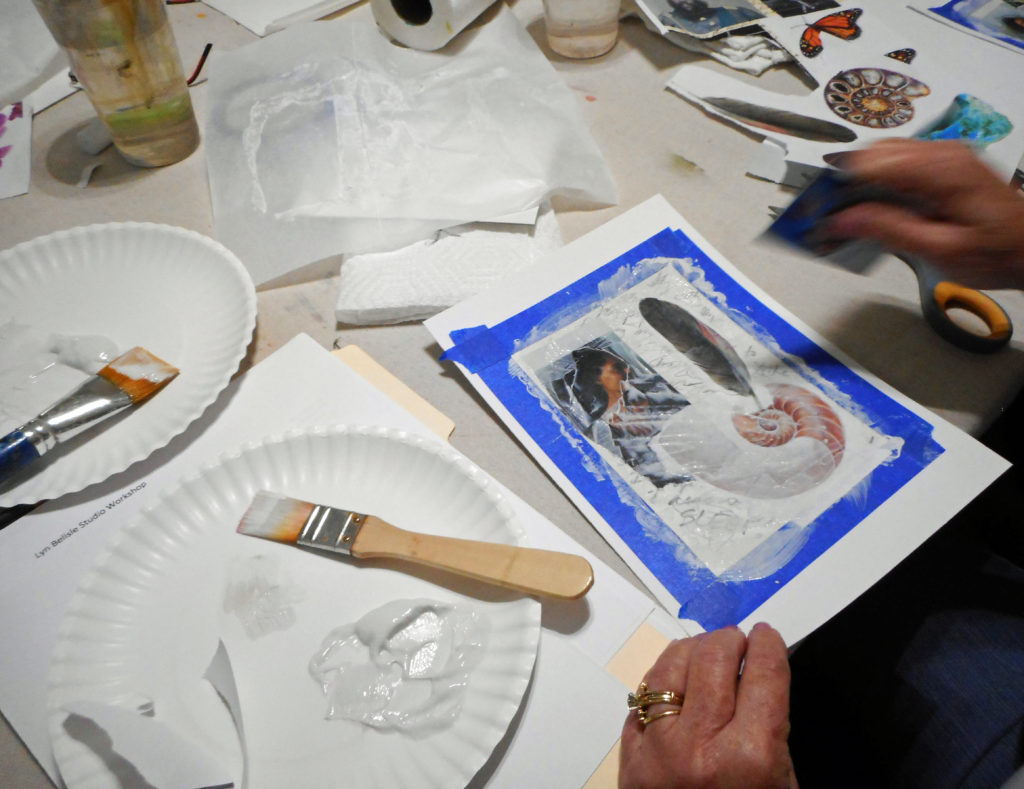
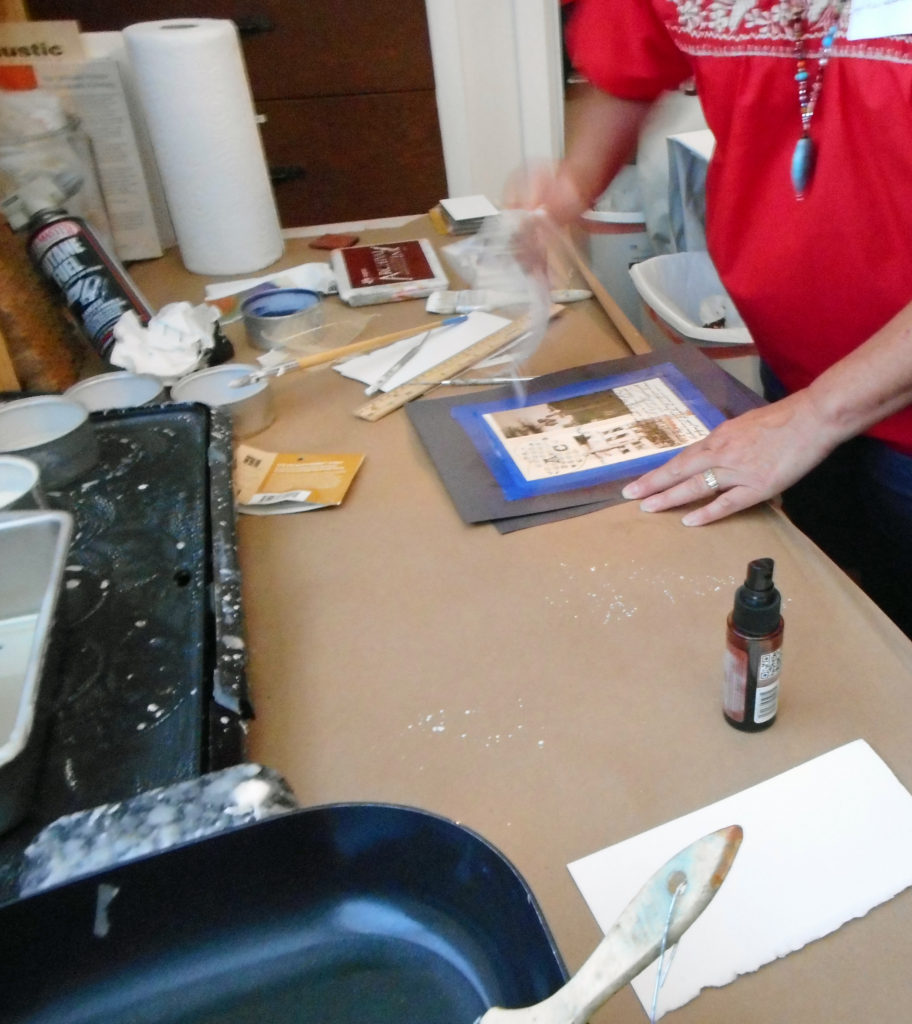
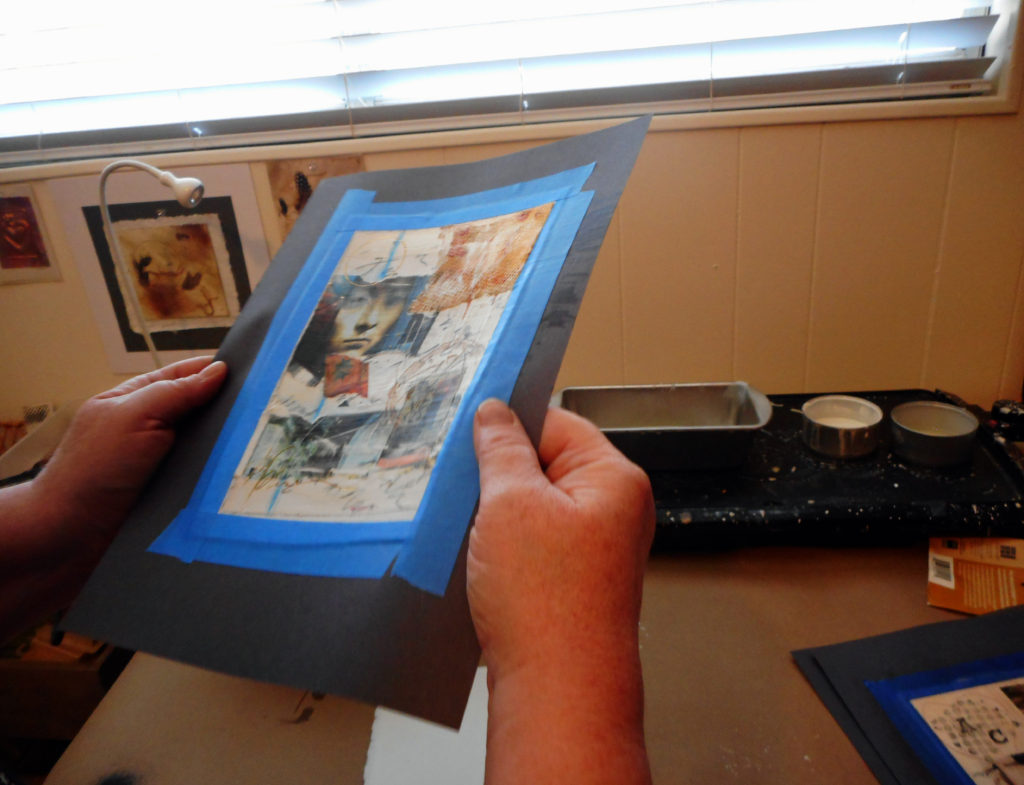
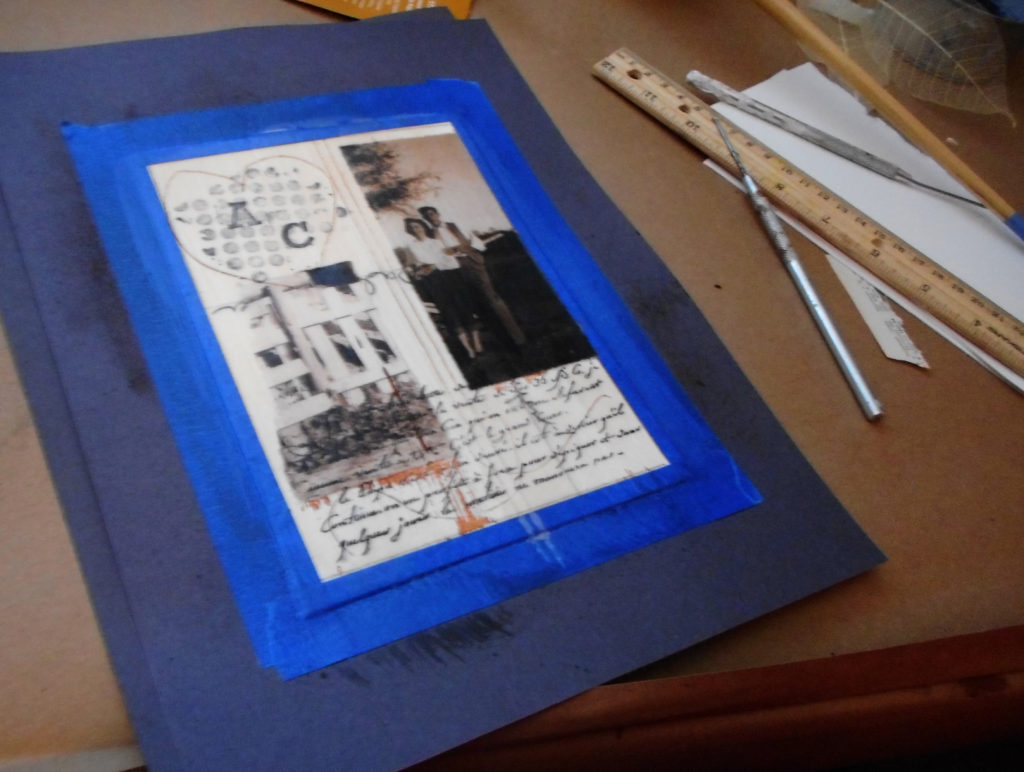
We prepare the substrate by taping the edges with blue painters’ tape for a clean border

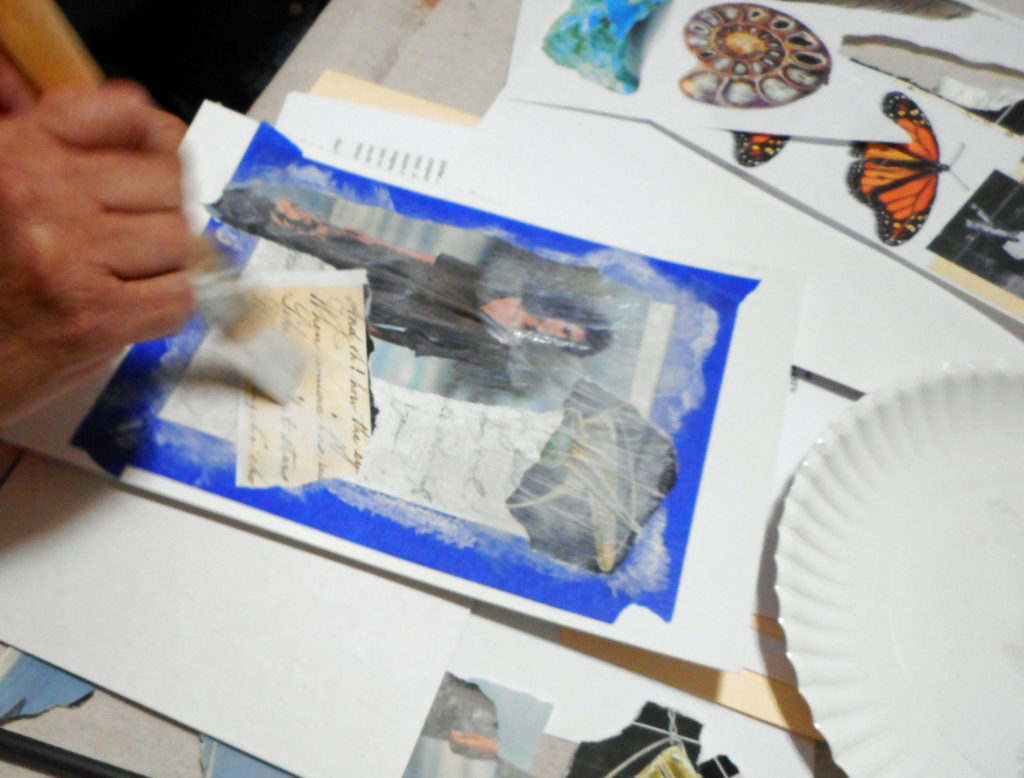
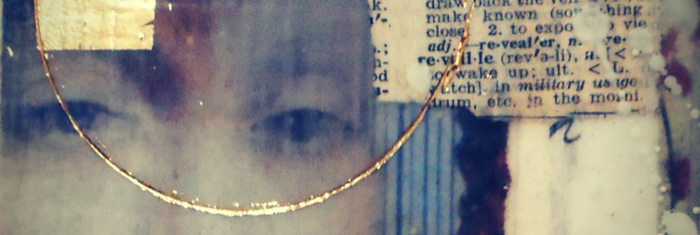
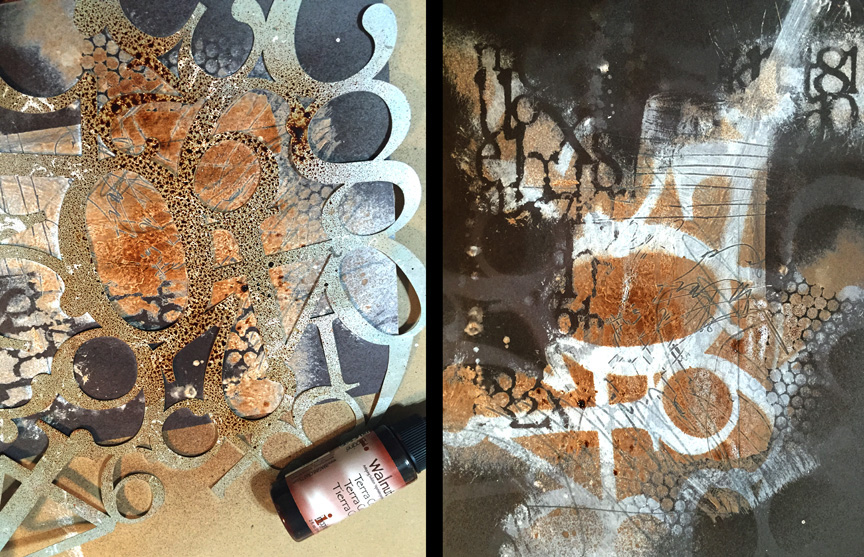
Once the composition is in place, we veil with white paint

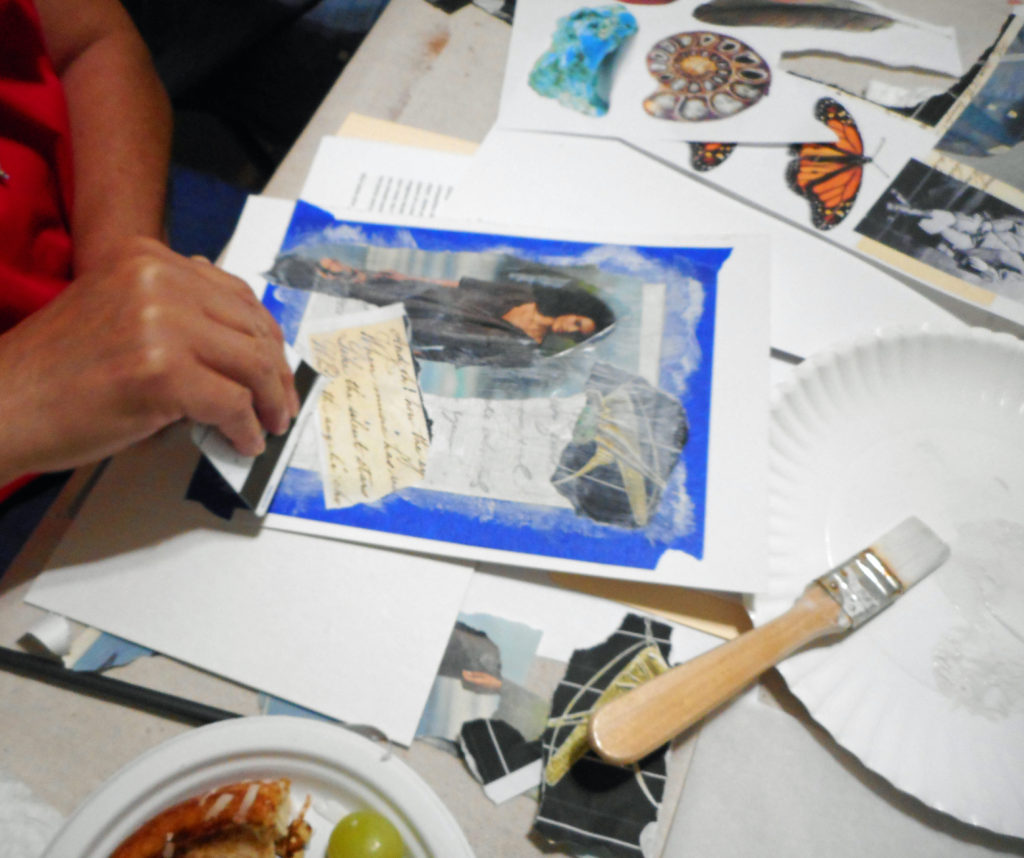
. . .and then use an old credit card to scrape off and reveal chosen sections

Notice how the placement of the objects makes a unified composition

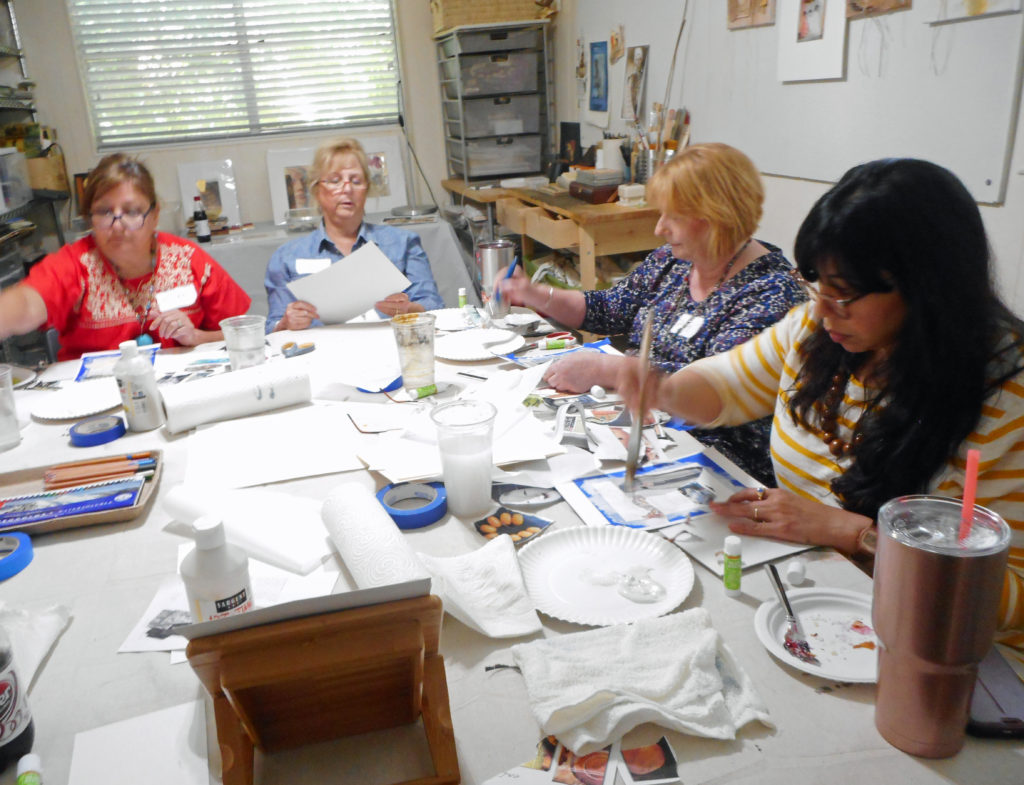
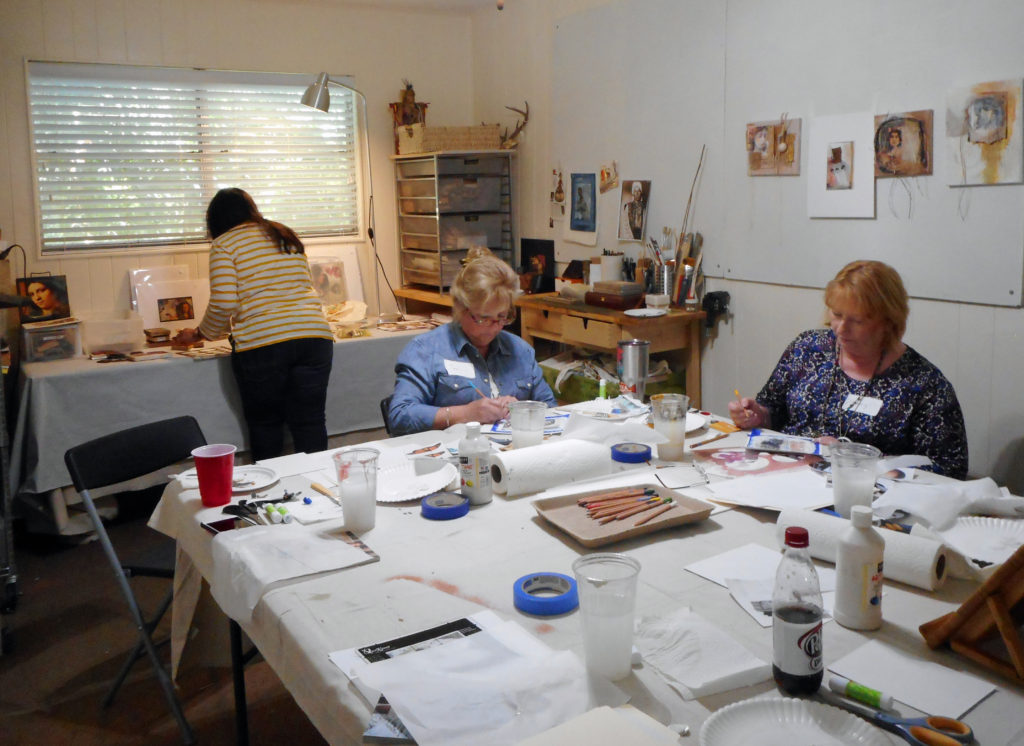
Some quiet work time —

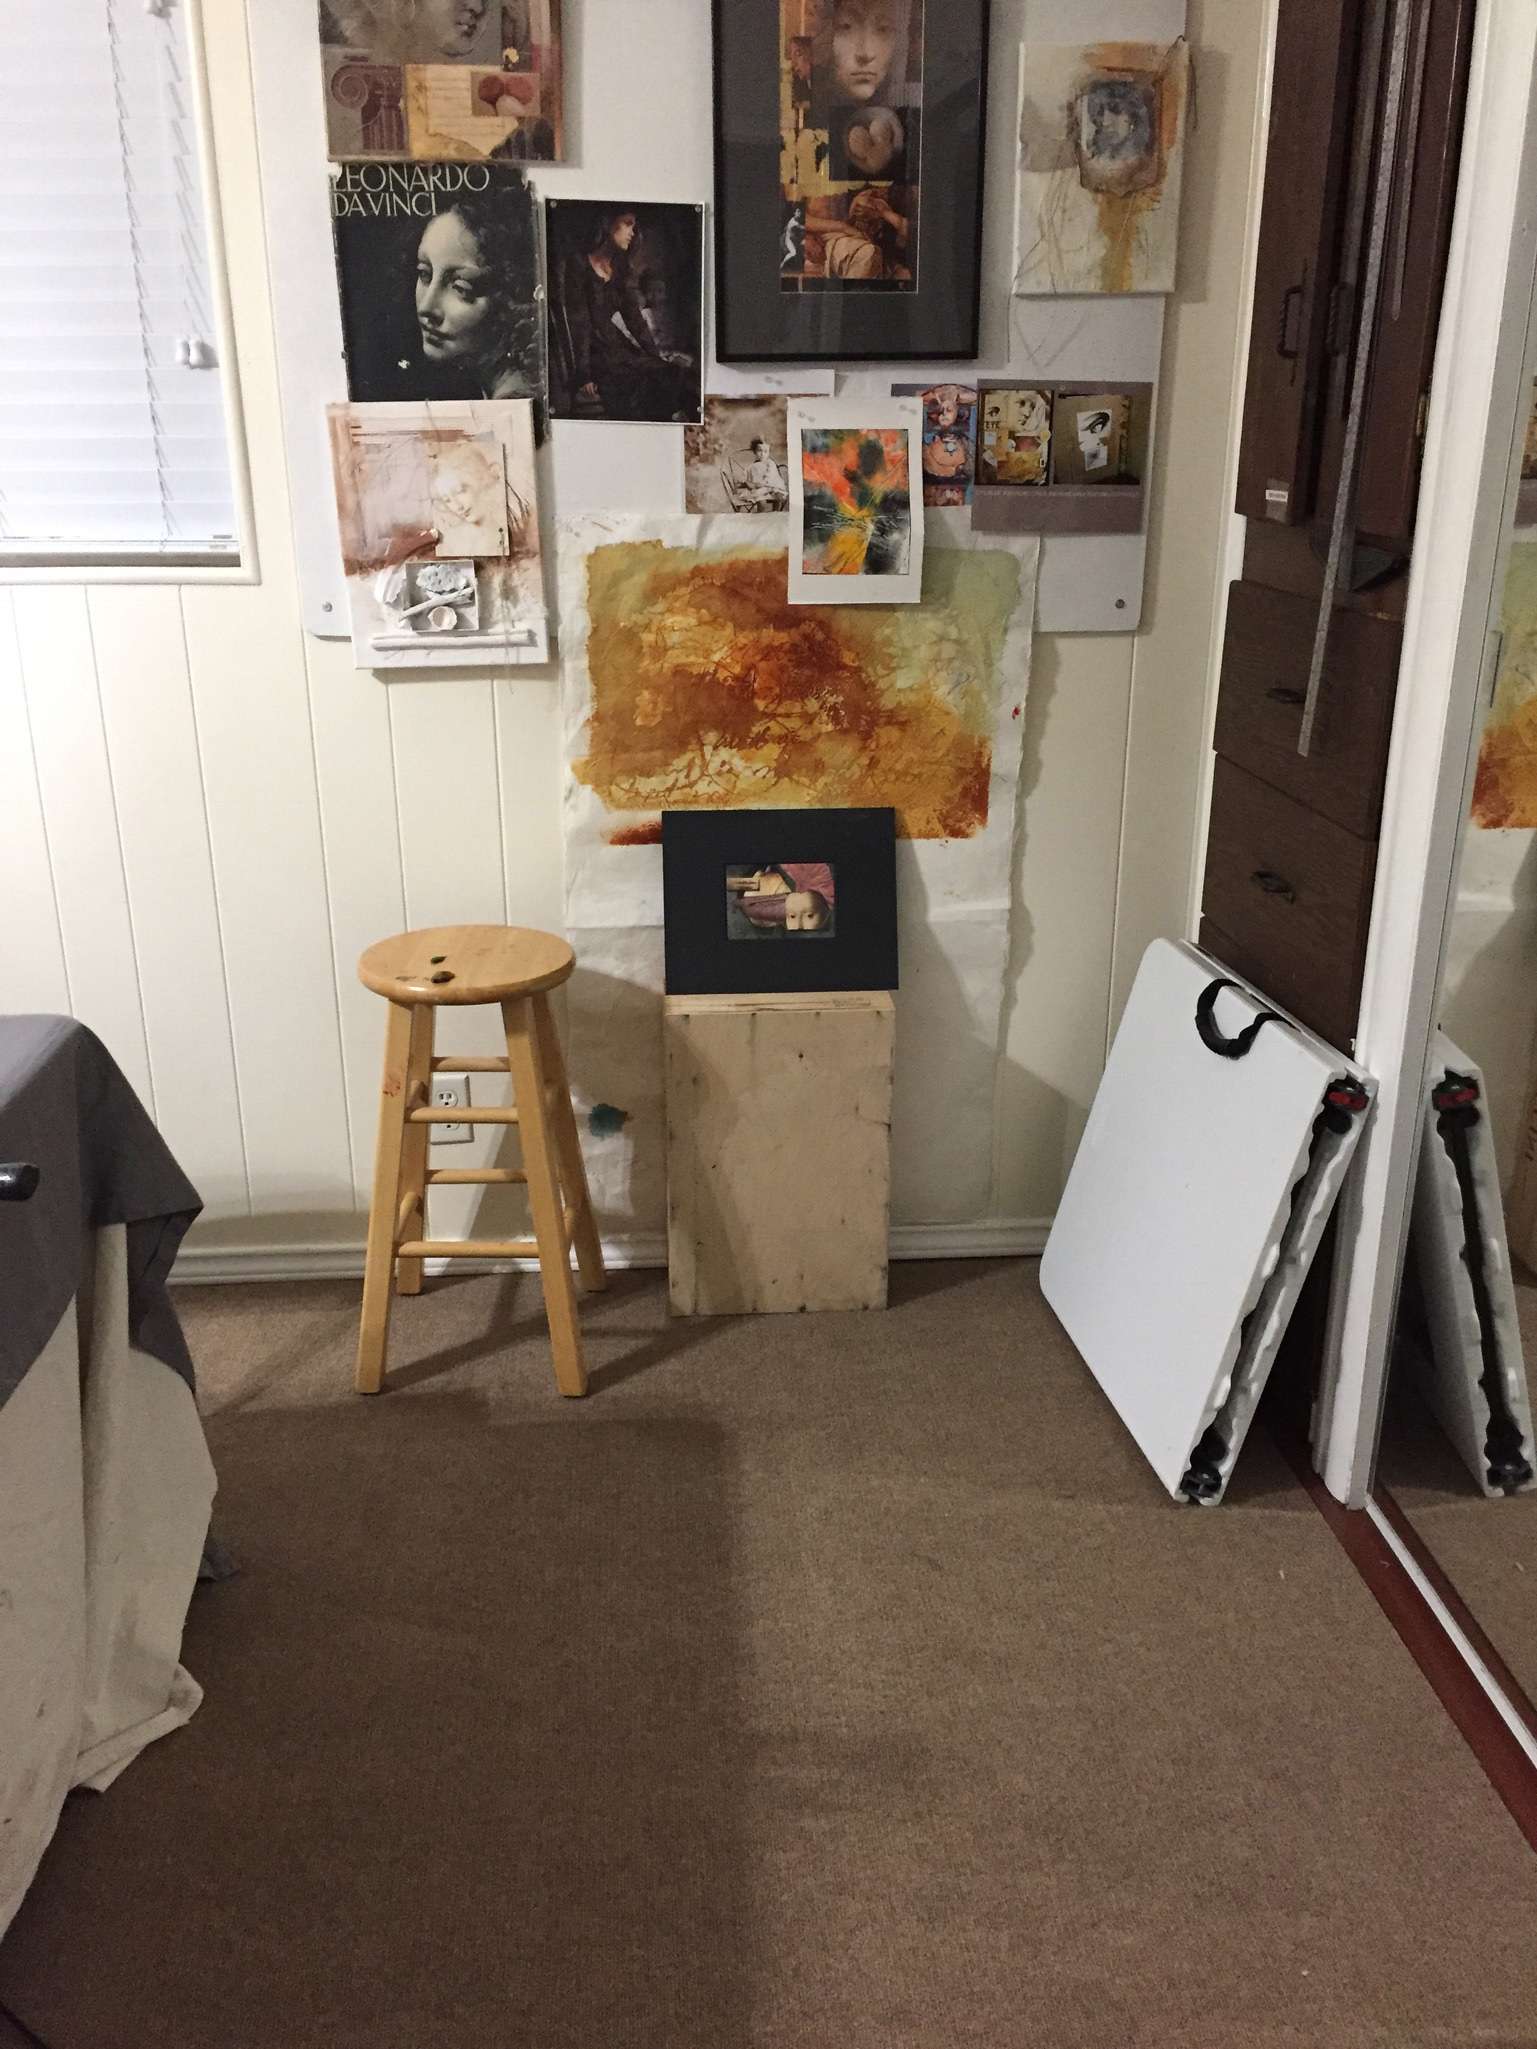
First works are pinned up to the wall for discussion – lookin’ good!

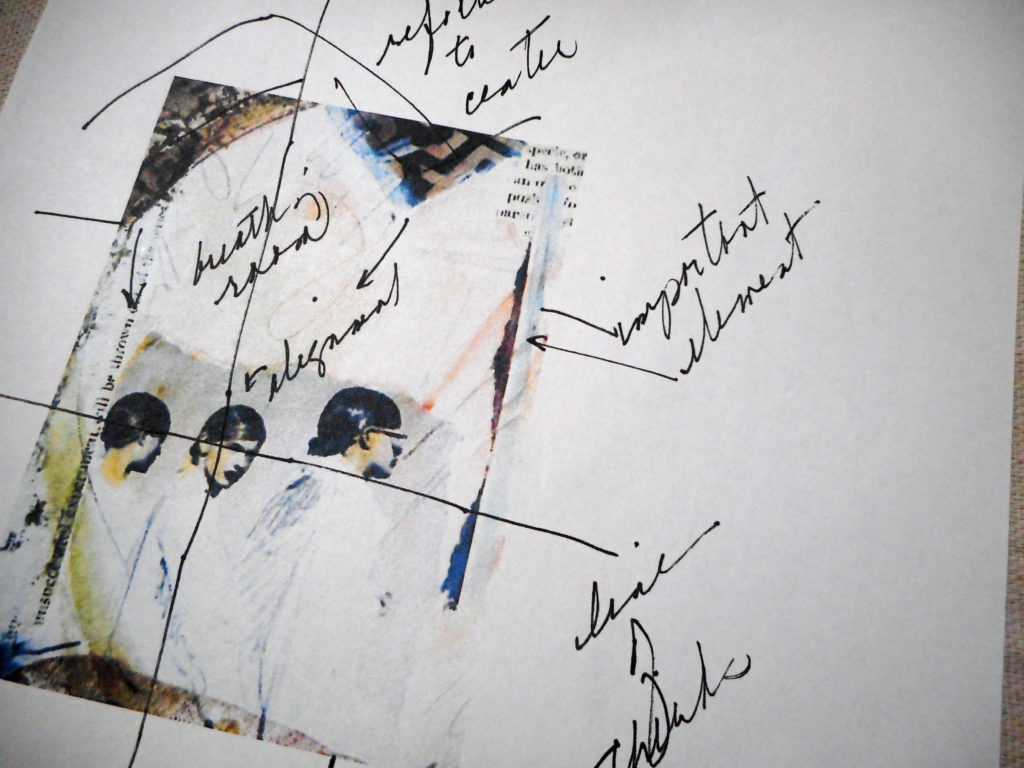
Suggestions are marked up on one of the example handouts

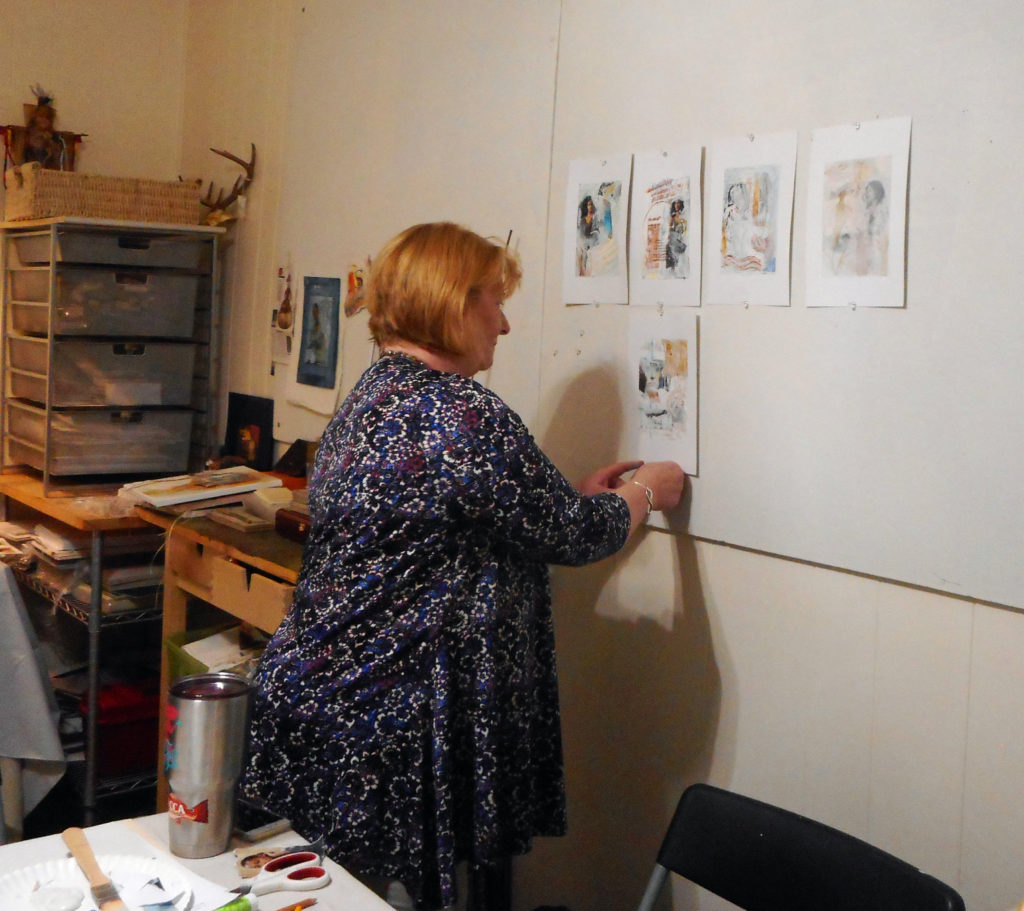
Melissa adds her work to the critique wall

There’s a lot of good image alteration in this one

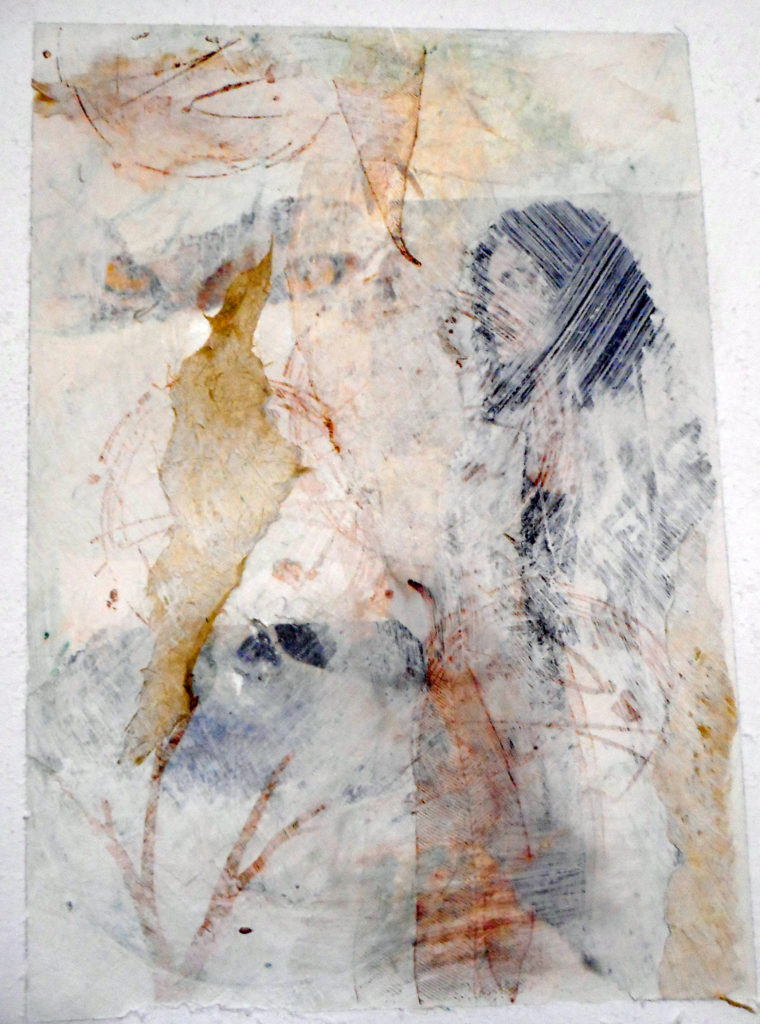
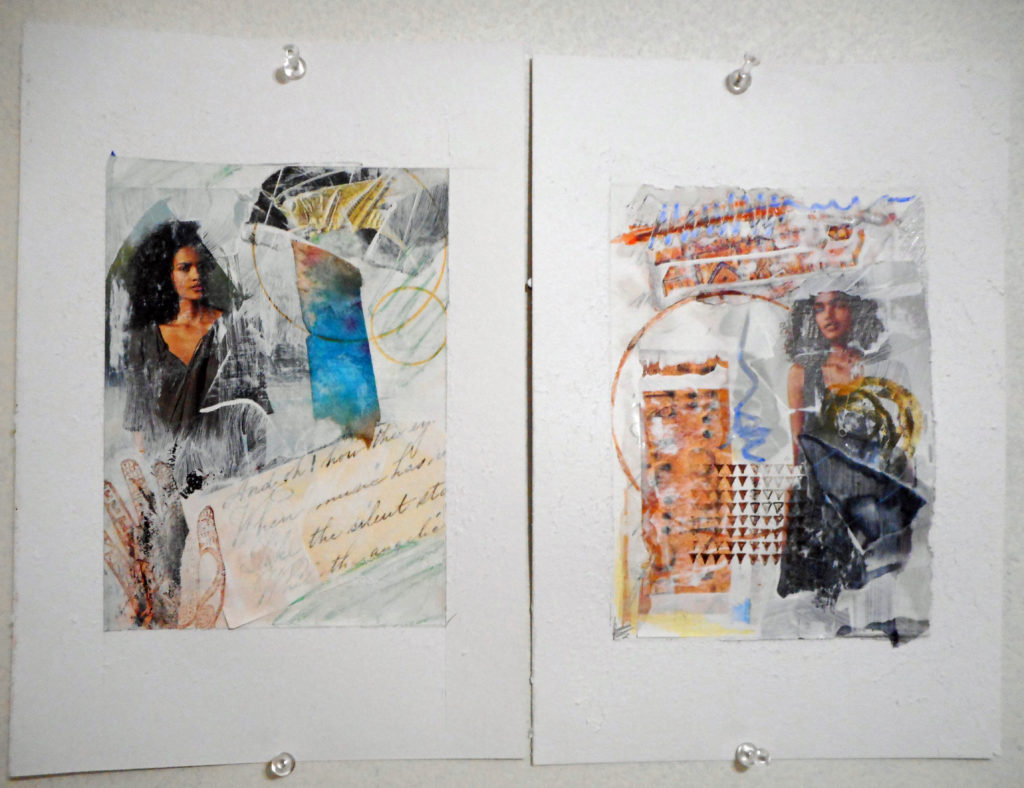
One of my favorites – subtle and painterly

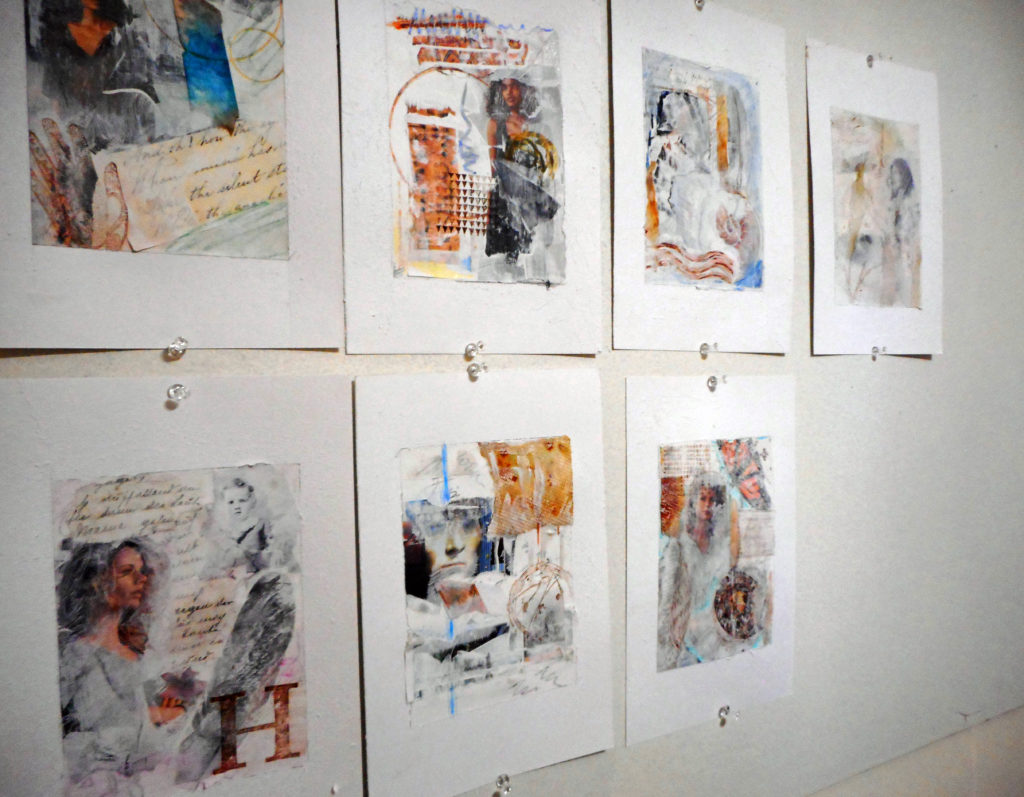
Although these pieces are studies rather than finished works, they are quite lovely

After lunch, we start working with beeswax, incorporating some simple encaustic techniques

Book foil is a bright addition to the wax layer

Remember this piece from the morning session? It’s layered with beeswax.

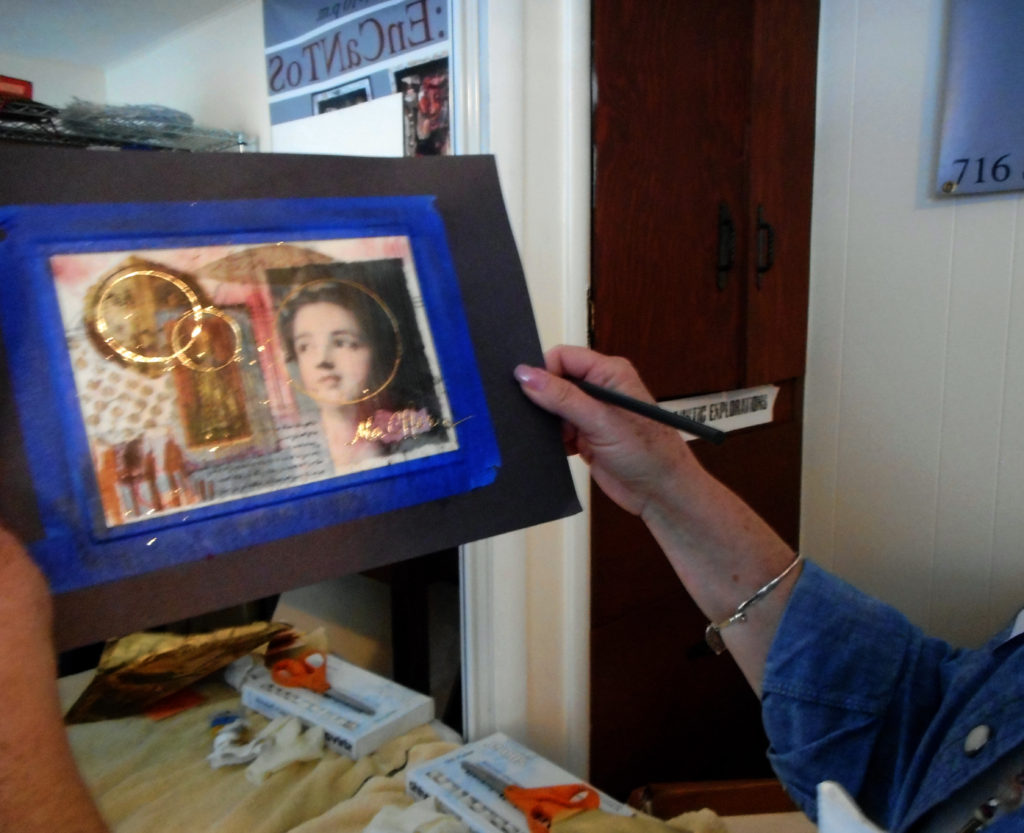
This mixed-media collage uses family photos and letters enhanced by beeswax

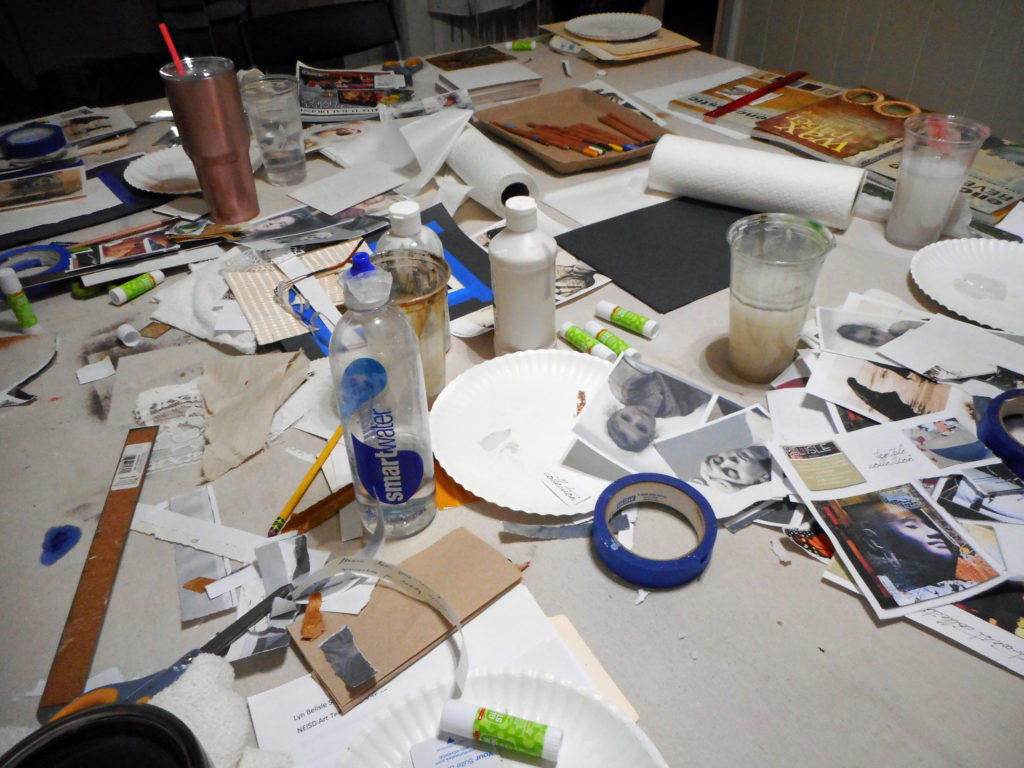
You can’t make an omelette without breaking a few eggs, and you can make art without messing up a studio!

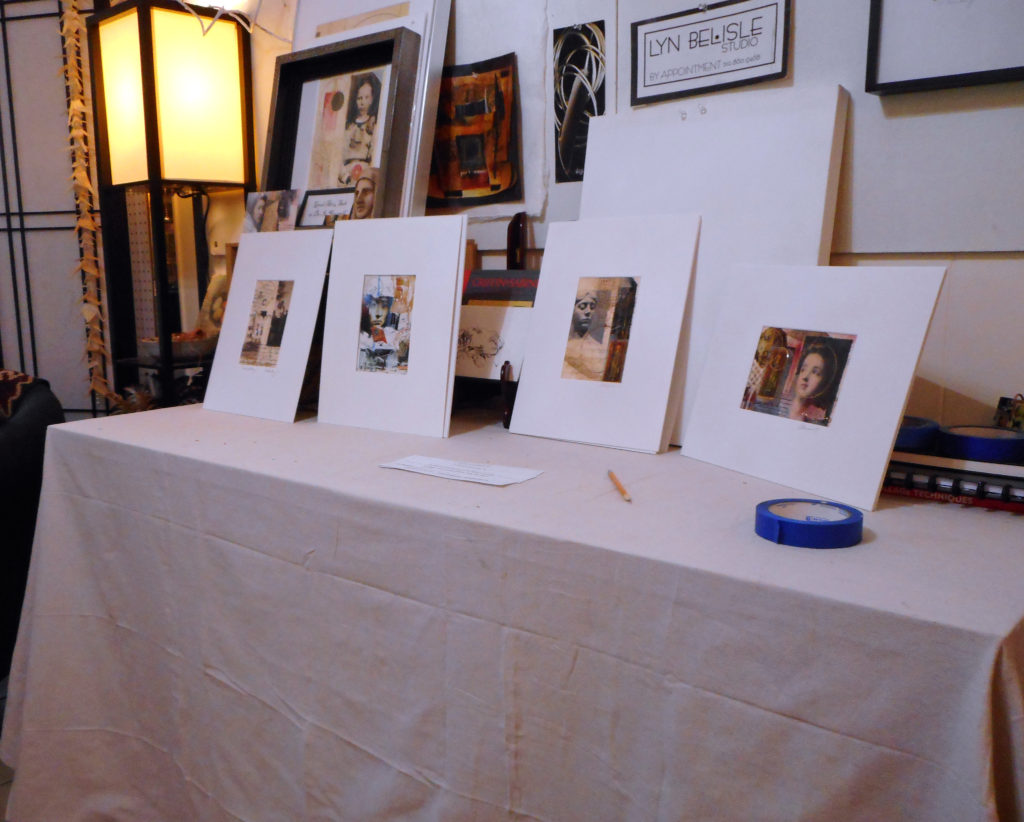
Each person chose one piece to may and display at the end-of-class critique

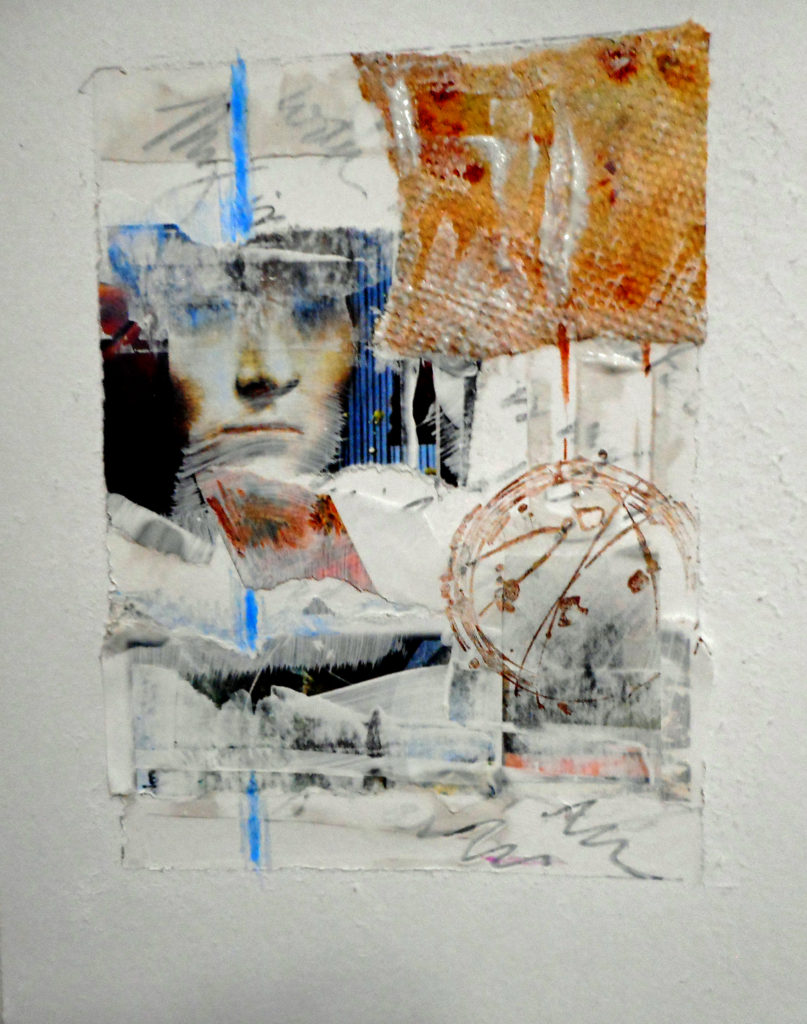
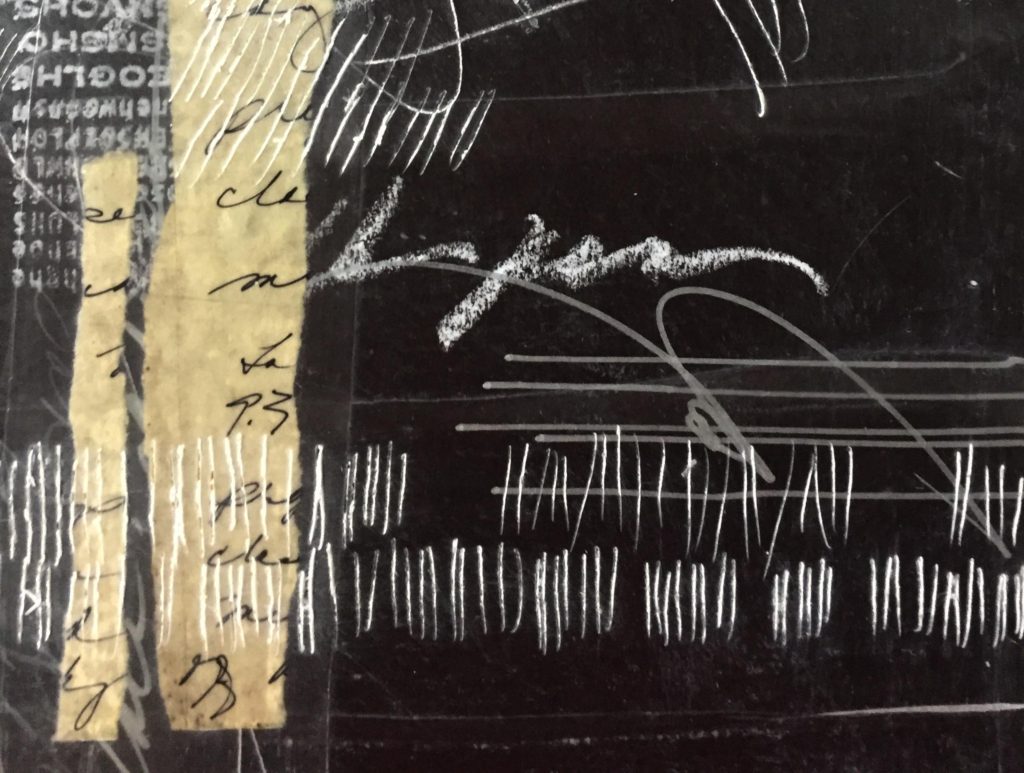
This is Melissa’s strong work that you saw earlier, this time with beeswax added – notice the vertical blue line and the fantastic marks

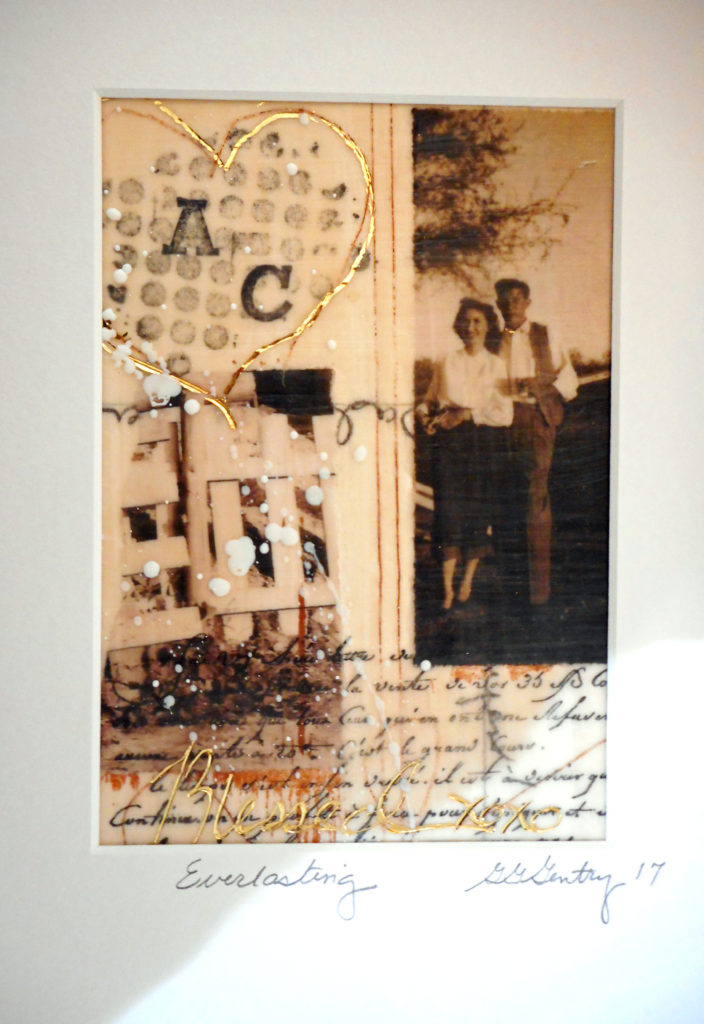
Grizelda pulled together a lovely collage of vintage family photos and memories

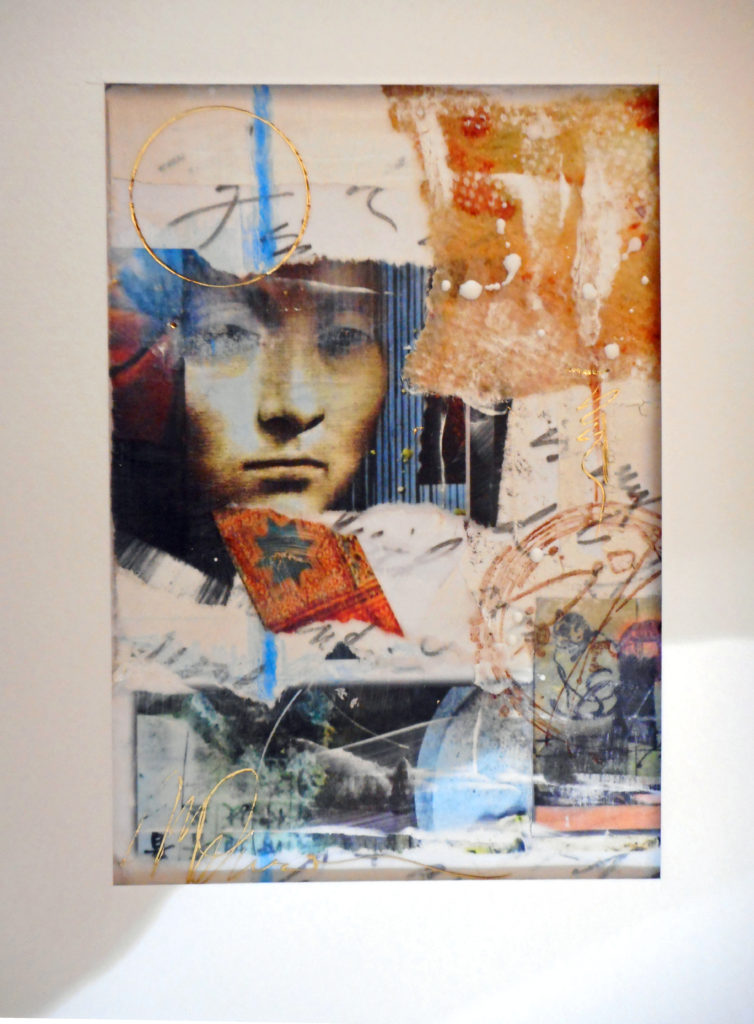
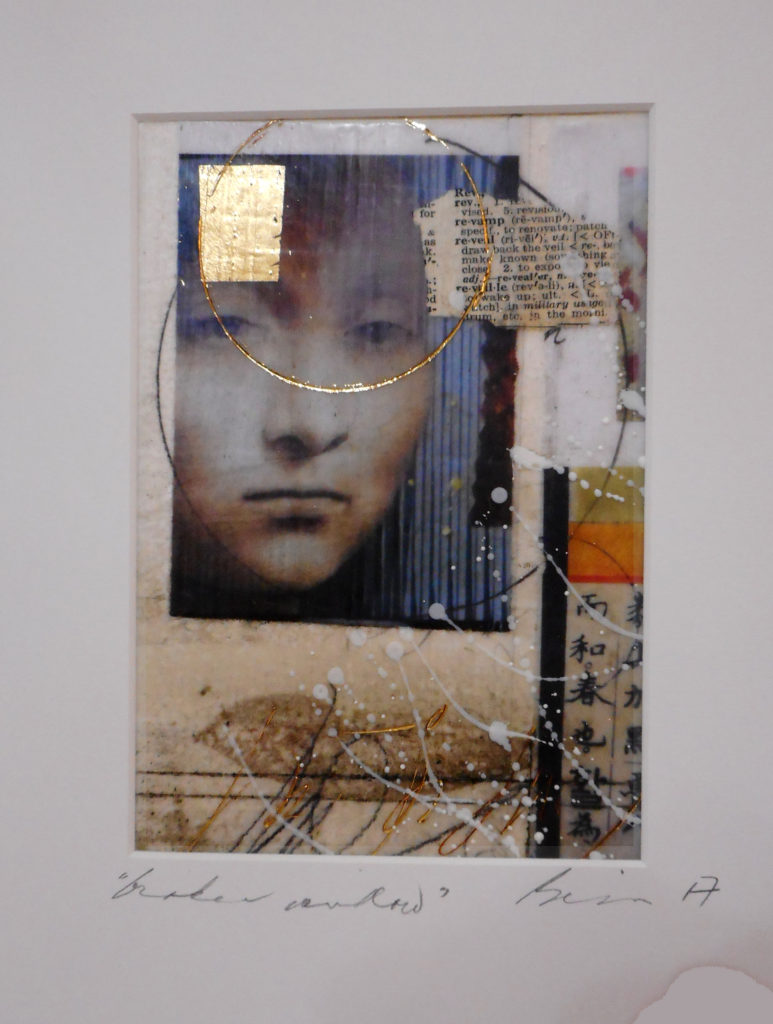
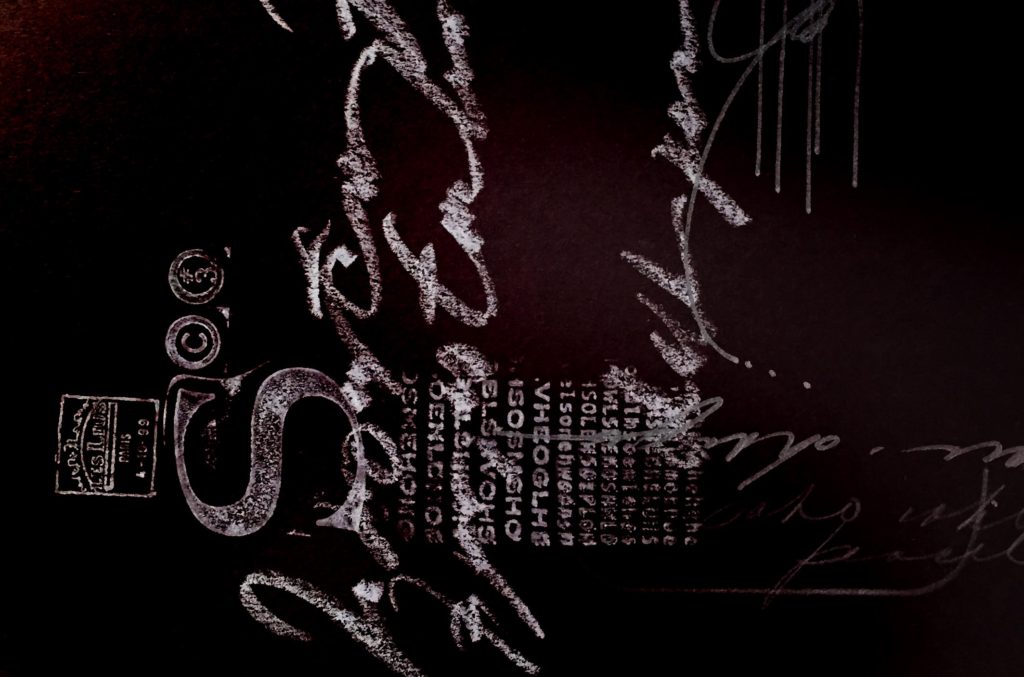
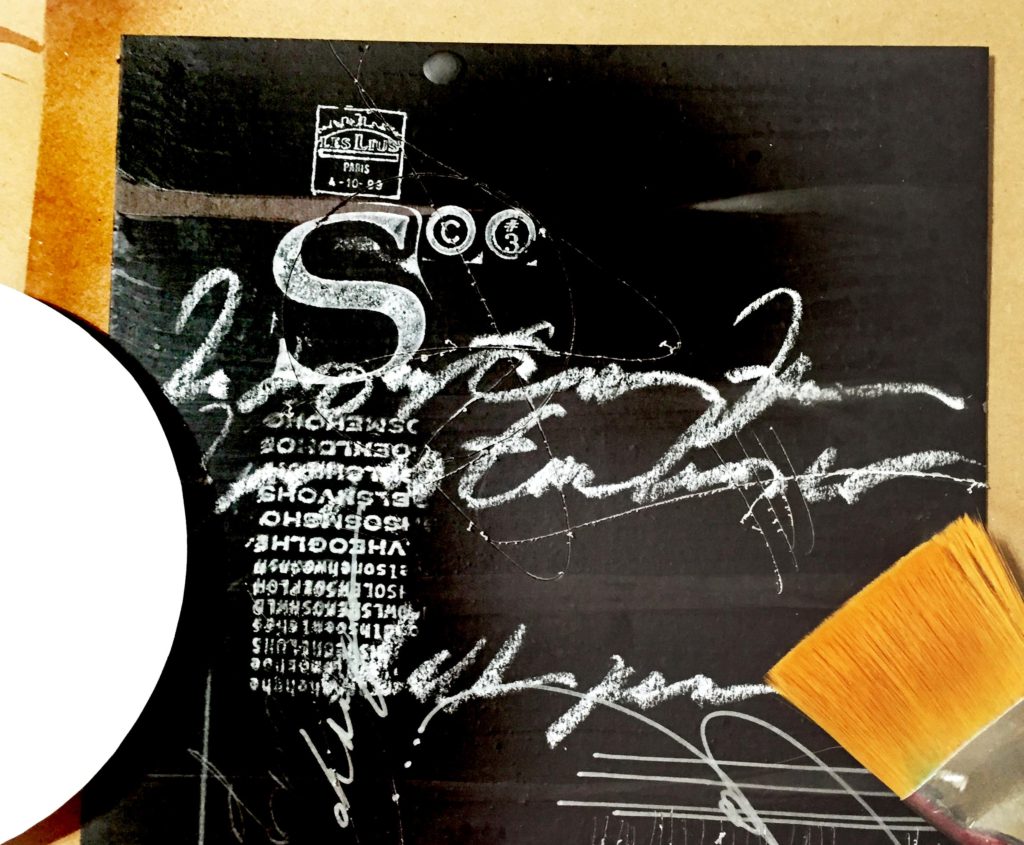
S’lena’s work is perfectly balanced between image and pattern – the faint writing in the background is a secret layer of history that only she knows

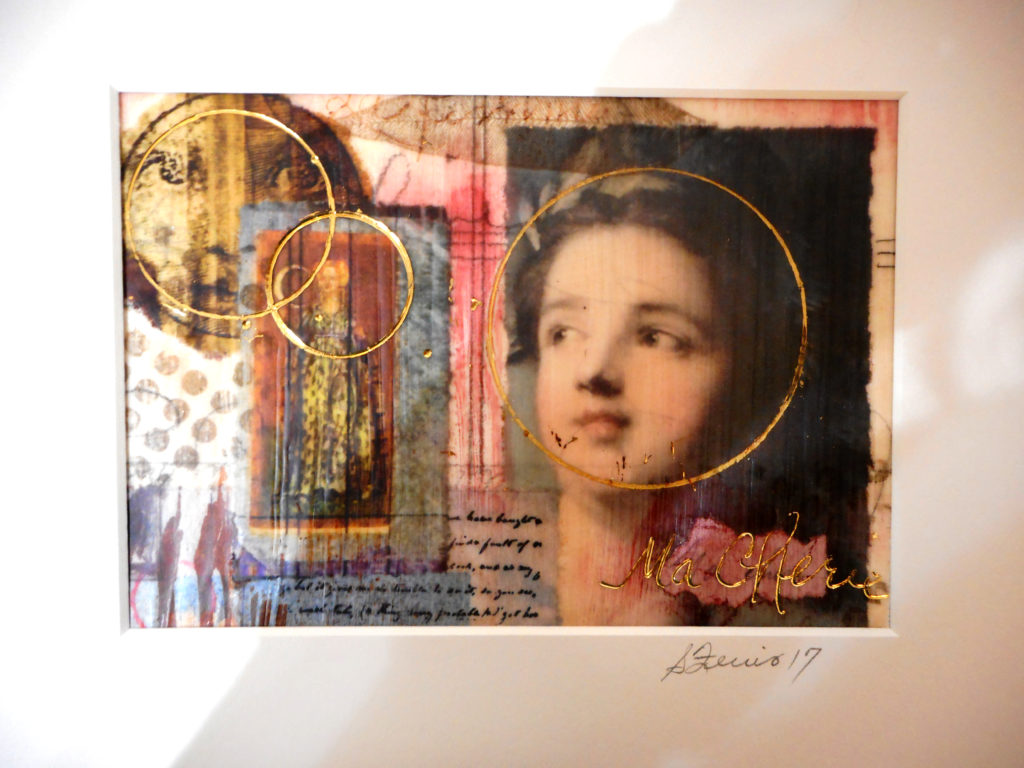
Susan’s work evokes Renaissance themes . . . it’s horizontal rather than vertical

This piece is mine, and is the demo piece I did as I worked along with the others

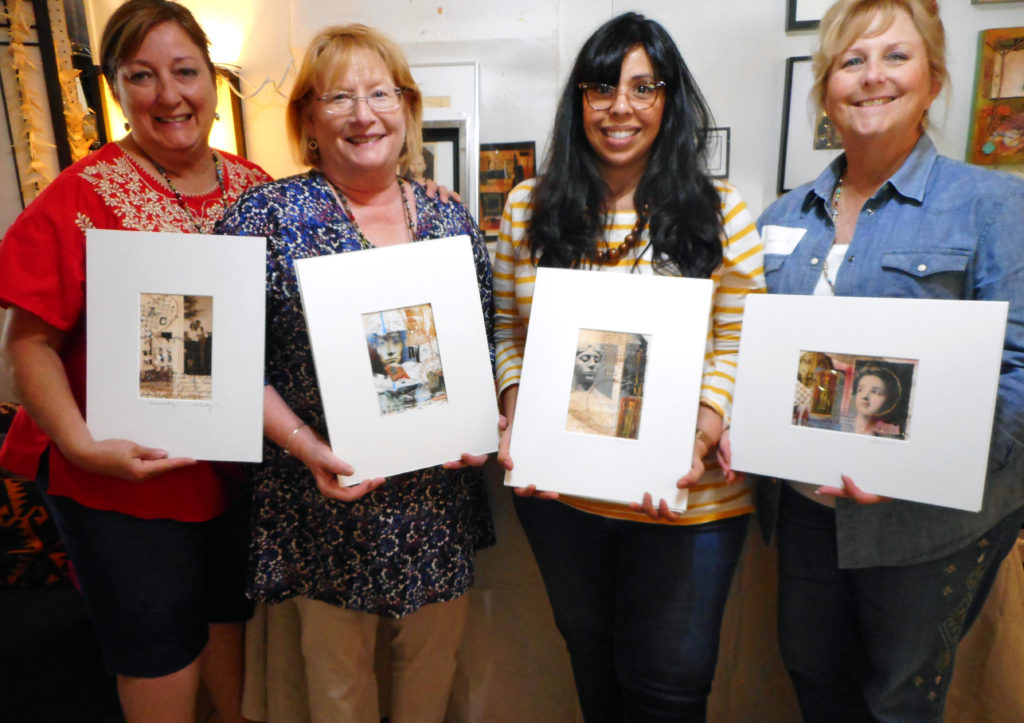
Happy art teachers, beautiful work, and proud teacher –

I think this workshop format is perfect, at least it was for us. It worked because:

  • We had all day to really explore and immerse ourselves – we even ate lunch at the work table and discussed the process
  • Four to five people is the right number for this space – good dynamics, intimate atmosphere
  • The workshop topic had lots of structure, but also lots of room for exploration with many techniques that could be extended into individual work

This may be the new workshop model at Lyn Belisle Studio. Let me know if you have a small group who might like to spend a day with me making art.

In the meantime, I’ll be teaching a “Postcards to Myself” workshop at the San Antonio Art League on Sunday, August 29th as a fundraiser and introduction to the Art League. I’ll put the details up this weekend and post it on Monday.

Special thanks to all of the teachers who worked with me yesterday – art education is in good hands with you to guide and mentor creative kids!

Save

First time’s a charm. . .yay!

Yesterday was the first workshop at the new studio. I am so grateful to everyone who helped me test-drive the space as a workshop venue (Lesta, Peggy, Claire, Mary, Rosemary, Mary Beth, Silvia, Cecelia). Not only did they give me great suggestions about workshop logistics in the new space, they also did some fantastic collage work!

The workshop itself  was called Intuitive Photocollage. We created mixed media collages using images, paint and other very simple elements to enhance our art practice through visual storytelling. The main goal was to examine how our intuitive choices influenced the process and to understand why we chose certain placements or values.

It was totally cool to see the differences in each person’s work, even when they used exactly the same images and materials – check out the video.

The Process – tear images from magazines and arrange them using Lyn’s AB3s of composition as your guideline. Veil, conceal and reveal the images with loosely applied acrylic paint, stamps, stencils and other collage elements.

The Goal – achieve an intriguing balance of images and paint strokes enhance by mixed media techniques for both a finished work and as an extension into other art forms.

collage1

I gave everyone an A+ on both their helpful suggestions for the studio and on their intriguing artwork.

studio2
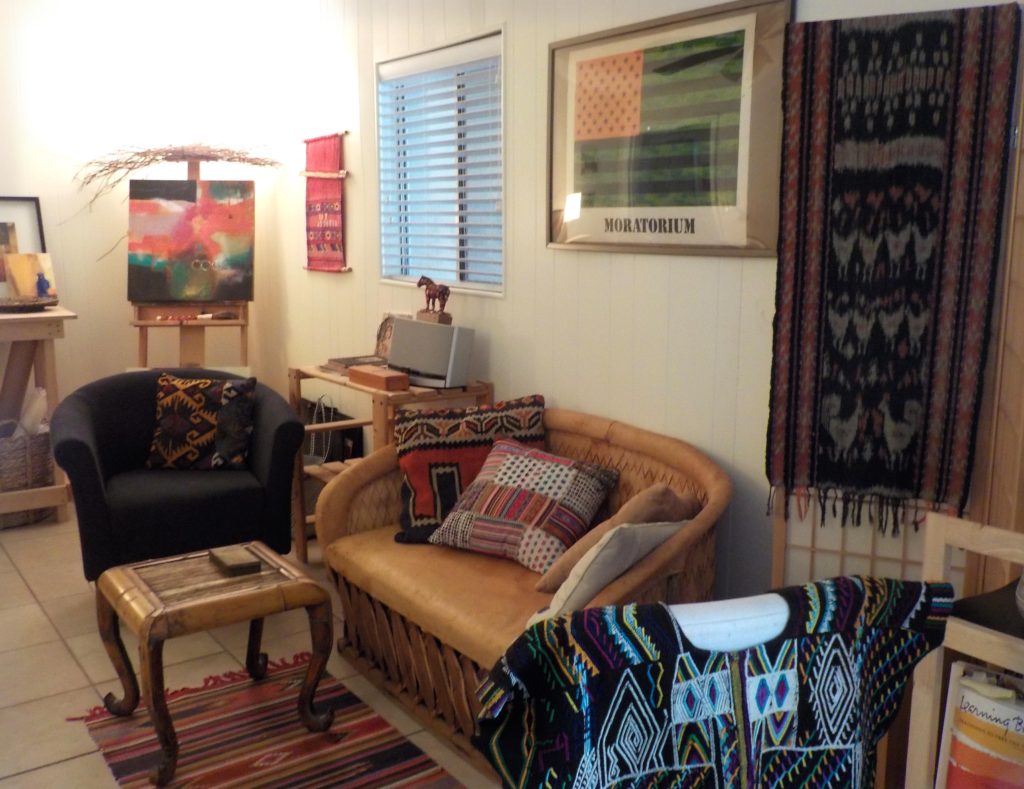
The new studio is an intimate space, more like a home that a storefront. The test-drive participants suggested that workshops be limited to six people, and I agreed. We had eight yesterday, and while everyone worked beautifully together, six is a better number for both getting around in the space and getting personal attention. It may make getting into a workshop a little harder, but we’ll be more comfortable!

studio-1

Other than that, most things will stay the same. The tuition fee is still $65 for three hours, and I plan to continue providing most, if not all, materials.

We’ll have plenty of room to work with encaustics as well as other mixed media projects, including air-dry clay and other 3-D media.  And I can’t wait to create paintings and collages in my very own studio room next to the workshop space!

07

So, yay! I’m looking forward to creating some interesting new workshops in 2017 that will help you in your art practice. The first one will be called Postcards to Myself.

That’s the Monday workshop report! In the meantime, you’re invited to the Carver Cultural Center this Thursday from 5-7 pm for the opening of a wonderful exhibit of magical realism works sponsored by GAGA (Gentileschi Aegis Gallery Association). I’m proud to be a part of it! Hope to see you there.

entrada


Save

Big problem, but I got it covered . . .

1

My nifty new ultra-cheap ultra-cool floor covering in the studio workshop room

So when I moved into the new Studio, two of the rooms had wood-grain floors that I was really afraid of messing up with paint and glue and art stuff. I tried a drop cloth, but kept tripping over it and saying bad words. I tried plastic sheets, and that was worse. Think Attack of the Saran Wrap Monster.

In desperation, I went to Home Depot and asked a nice guy named Dave what might work. He showed me this fantastic indoor/outdoor carpet that is a perfect solution!

I’m sharing this with you guys in case you need something cheap and durable for your workroom floor. It’s called Elevations Indoor/Outdoor carpeting, and it comes in 12″ and 6″ widths. They cut it for you with a giant machine to whatever length you want. I got enough to completely cover two big rooms for less than $100. I kid you not.  Cheaper than canvas drop cloths.

This is where I taped a seam together with clear packing tape - works great.

This is where I taped a seam together with clear packing tape – works great.

The sheets of carpet lie flat and are light enough that I could lay them down by myself – I moved half of the furniture to one side of the room, lined the carpet up and rolled it out part-way, moved the furniture back on that half, then – well, you get the picture. No glue, no tape – when you move out, you just roll it up!

3

You can see how nicely the edge of the carpet meets the door – it’s not glued down and it still lies flat.

4

It has a tightly-woven grain – not bad looking at all!

 This carpeting comes in four colors – I picked “Stone Beige”, of course – Neutrals ‘R’ Me – but they also had a pretty blue, a grassy green, and a nice gray. It’s worth the purchase just to see them cut the stuff with the 20′ long cutting machine. Rowwrr.

And that’s your Studio Tip for the Day, kids – by the way, don’t you just love the way Home Depot smells when you walk in? It makes you feel all strong, like you really want to buy a chain saw or a flat of Sheetrock. Yeah!!

Elevations at Home Depot – great for art studio floors – yay. Hmmm, wonder if they’ll give me a discount for this free advertising  . . .?

Save

Save

Save