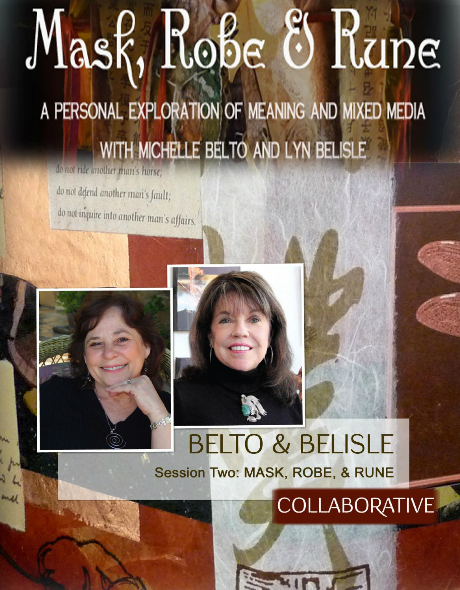
If the Saturday Show and Tell gets any bigger, I’m gonna need to rent out the Alamodome! More than 40 people came to the Studio on Saturday to share creative ideas, show recent projects, and brainstorm solutions to works in progress. Many thanks!
One of the favorite “shows” was David Chidgey and his amazingly informative presentation regarding his work in mosaics. He brought examples of his work in glass and tile and described his course of mosaic study in Chicago.


 David’s website, Art Glass Mosaics, is an excellent resource for information about his work and the art of mosaics in general. I was quick to ask him if he would consider doing a mosaic workshop for us at the Studio – and he said yes! We are working on a possible November date, so stay tuned.
Another fascinating share was from Lynn Maverick Denzer – she brought an oil painting she is restoring that was done by her grandmother, artist and conservationist Lucy Maverick.

Lynn teaches at Inspire Community Fine Arts Center, another great art education resource.
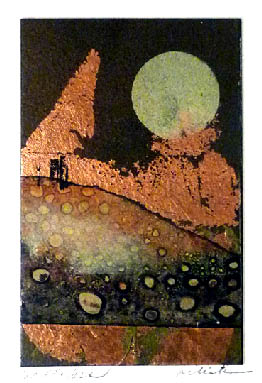
Other pres enters showed fiber art, including this mixed-media piece by Rosemary Uchniat (left). Questions and answers were flying around the table – lots of creative buzz going on. That’s why I love these Saturday Show and Tell get-togethers – there’s a wealth of talent in our community, and such generous people willing to share.
So I’m either going to buy more folding chairs or rent the Alamodome, because this informal Show and Tell event is a keeper! Hey, maybe next month we can expand out into the parking lot! Surely the first cool front will be here by then. Right?
Have a great week, everyone. And come to the next show and tell – date to be announced soon!
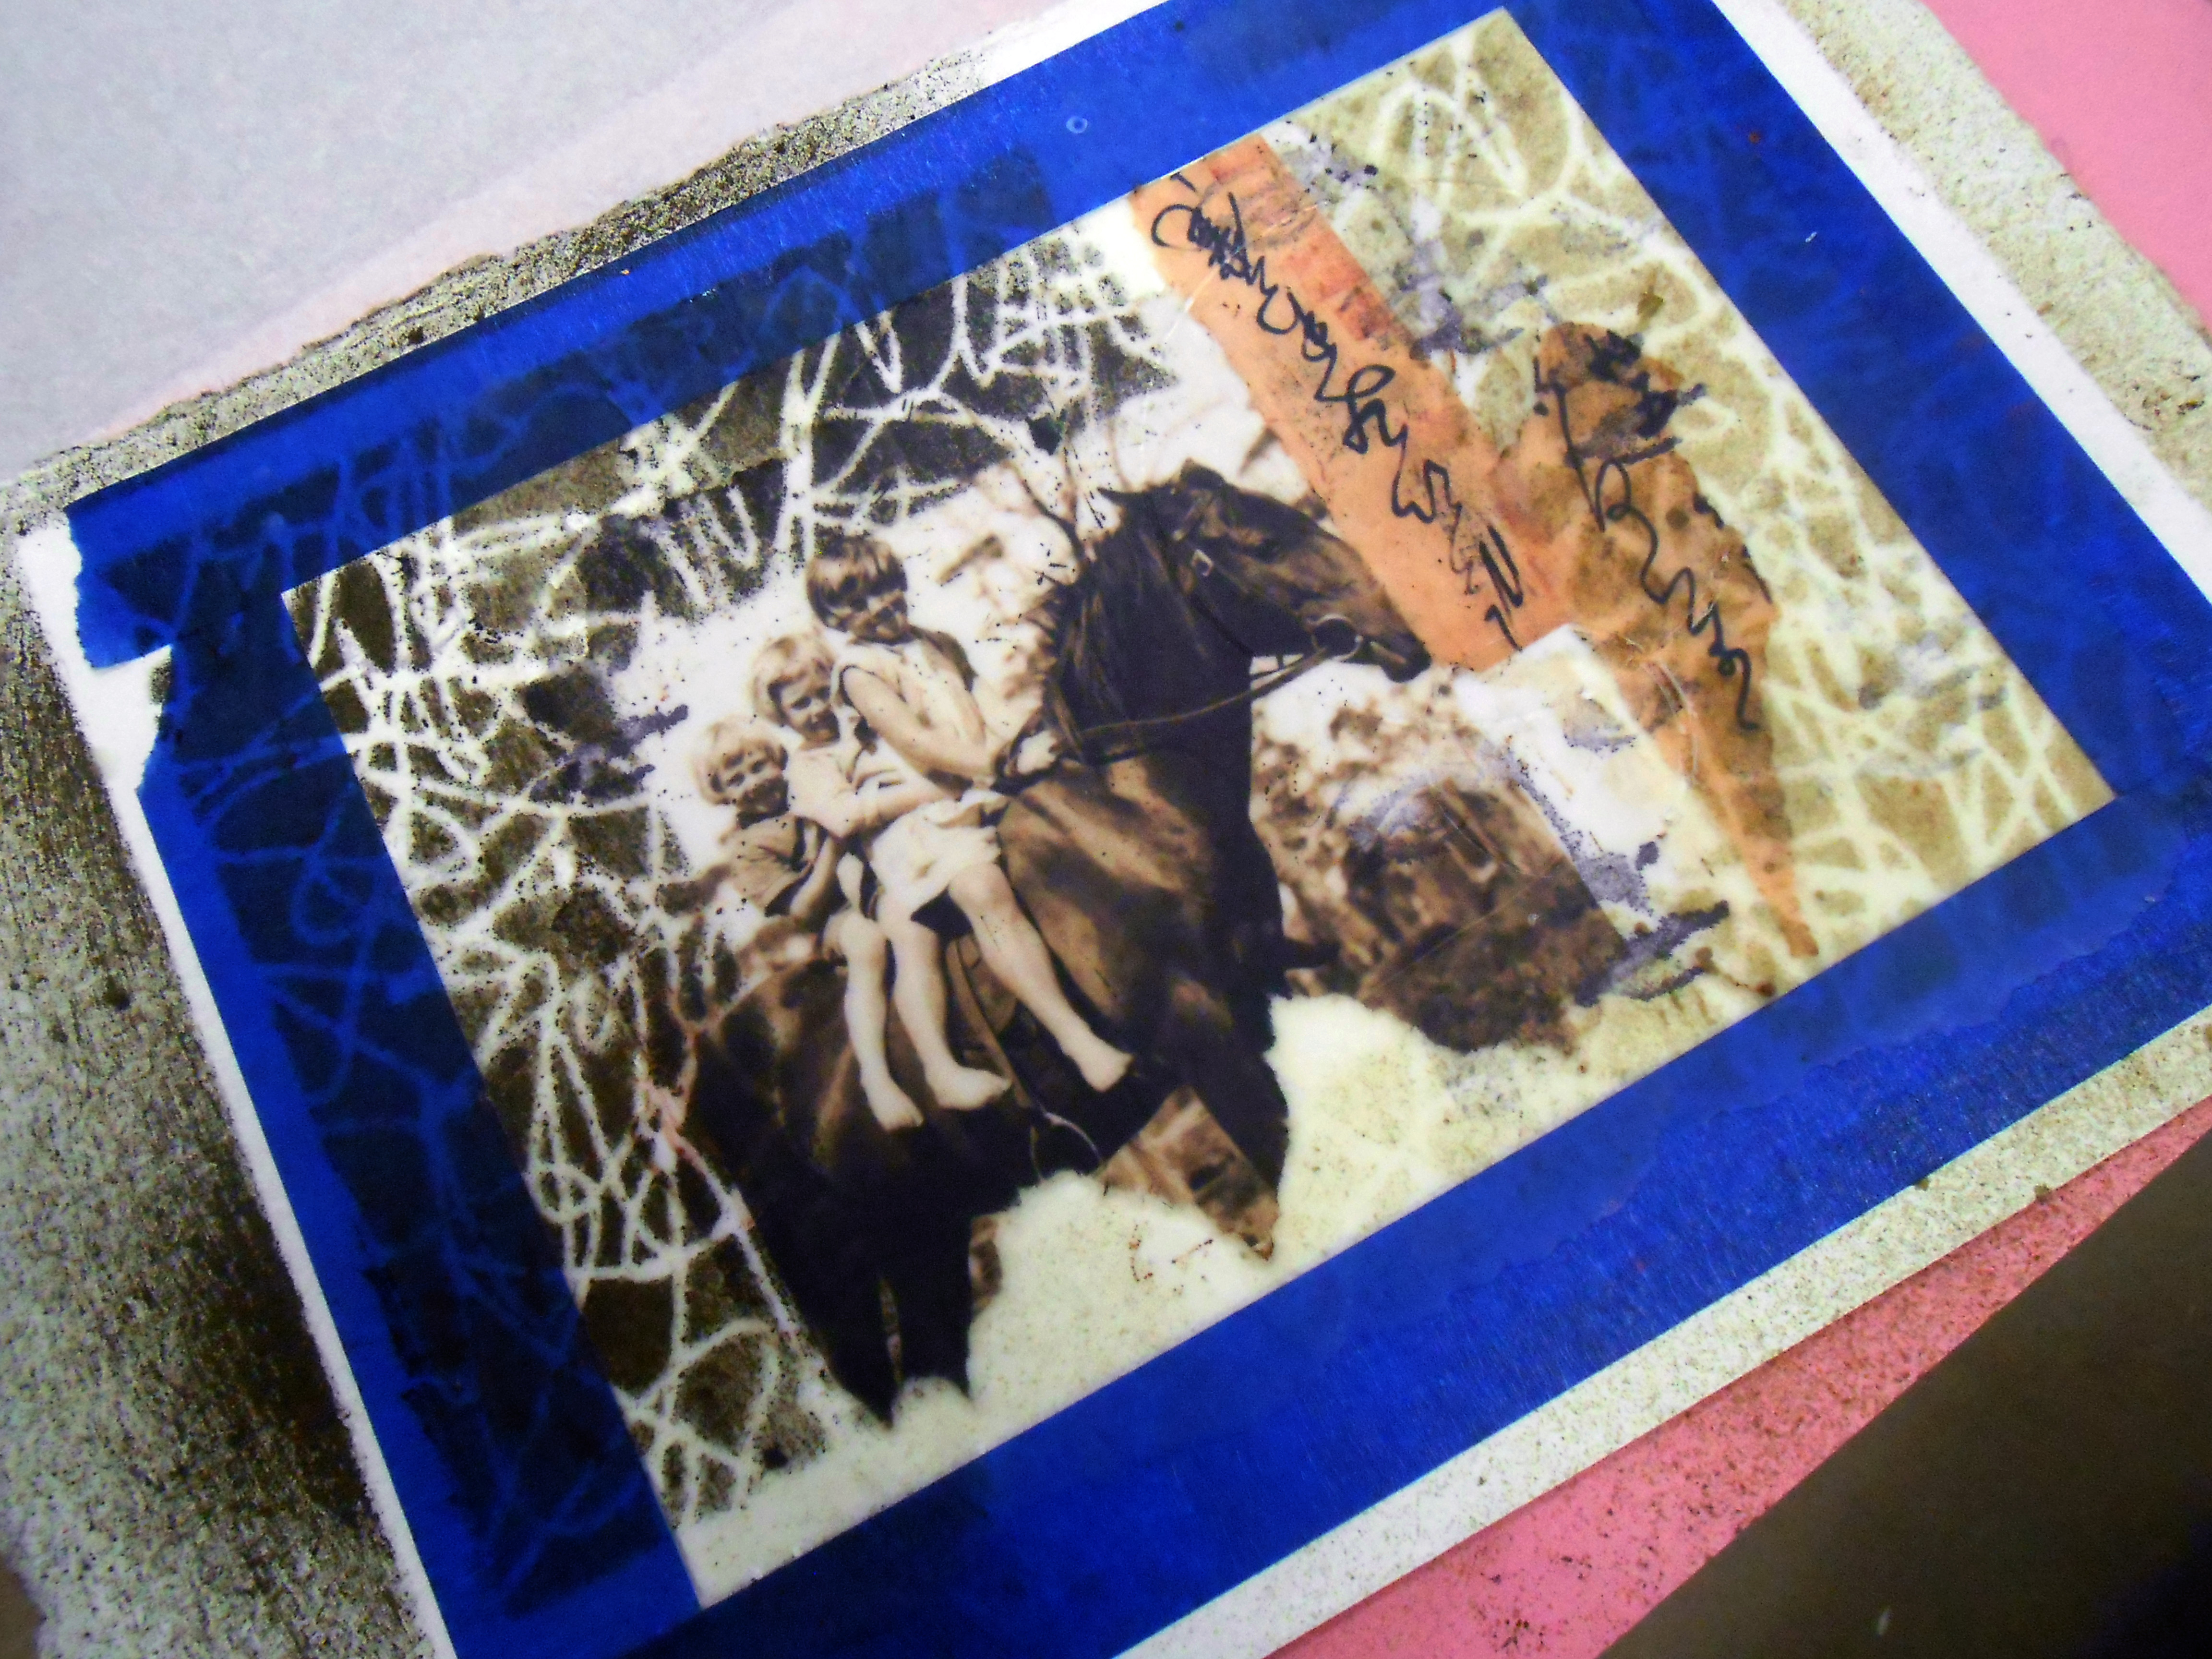
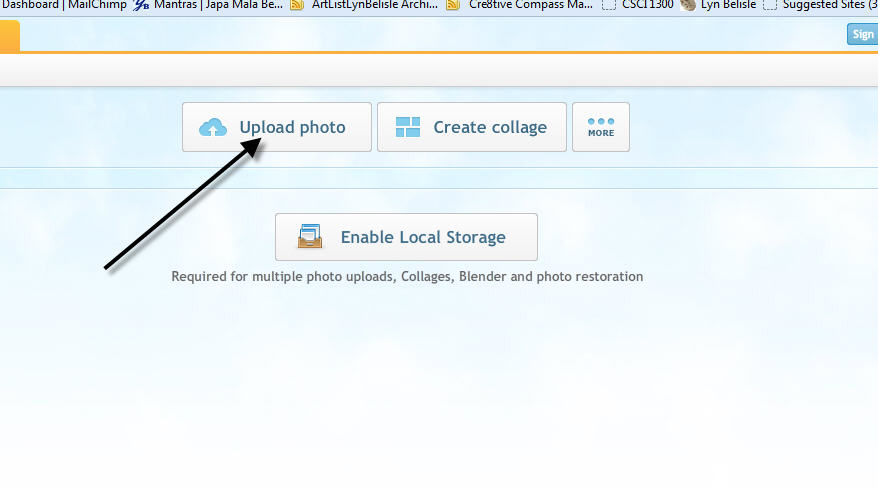
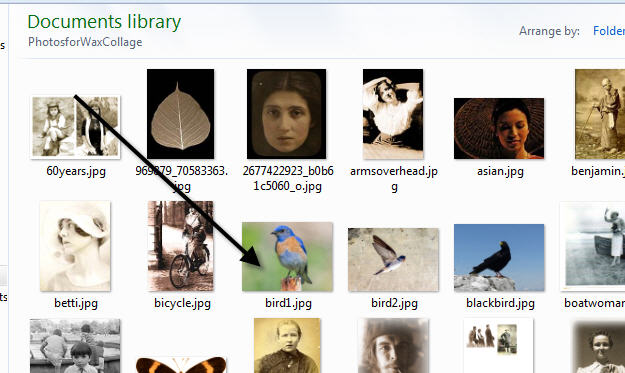
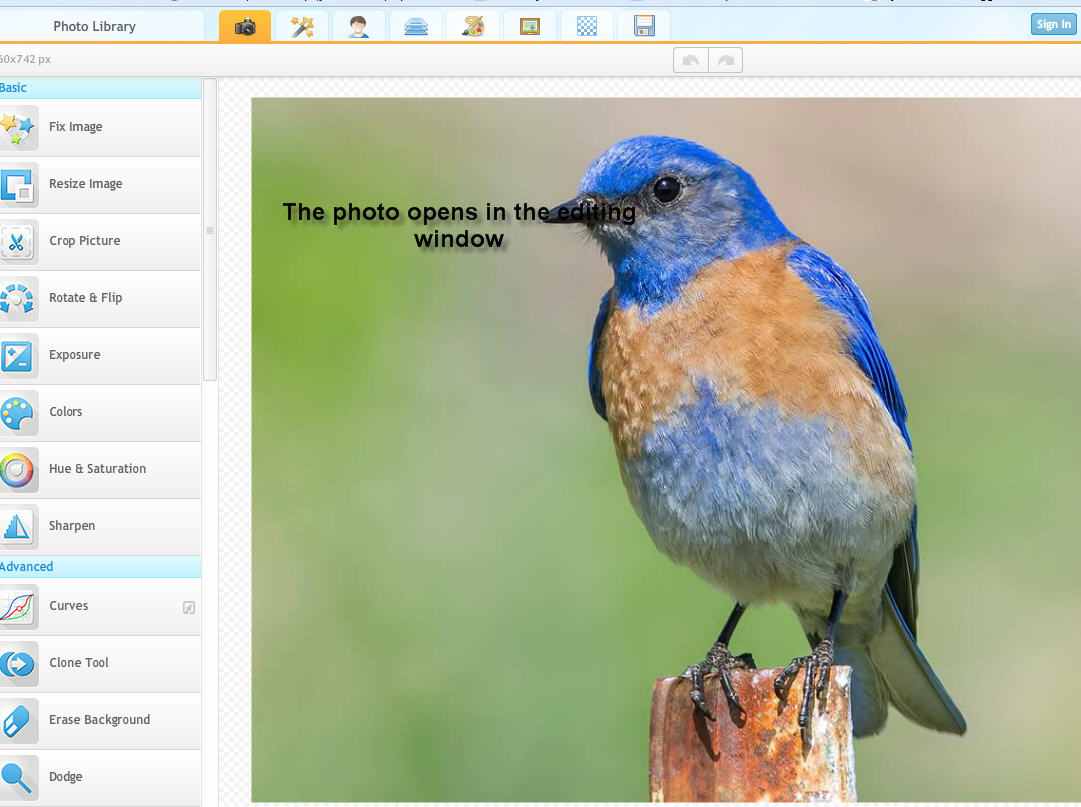
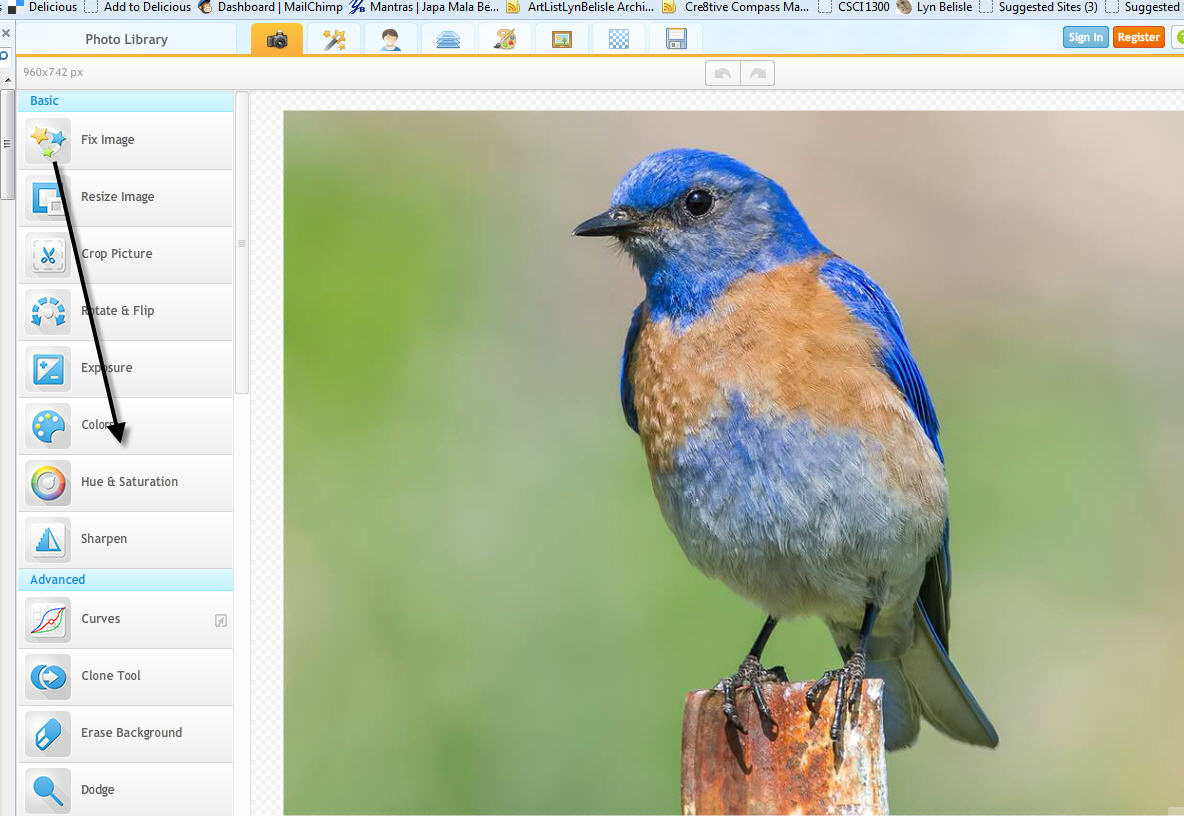
 You get two art reviews for the price of one (yeah, I know, they are all free) but still – I wanted to post Part Two of my Colorado Trip while it was still fresh in my mind, and I couldn’t wait to show you the video of yesterday’s Beeswax Collage workshop at my Studio (see the amazing video, below)!