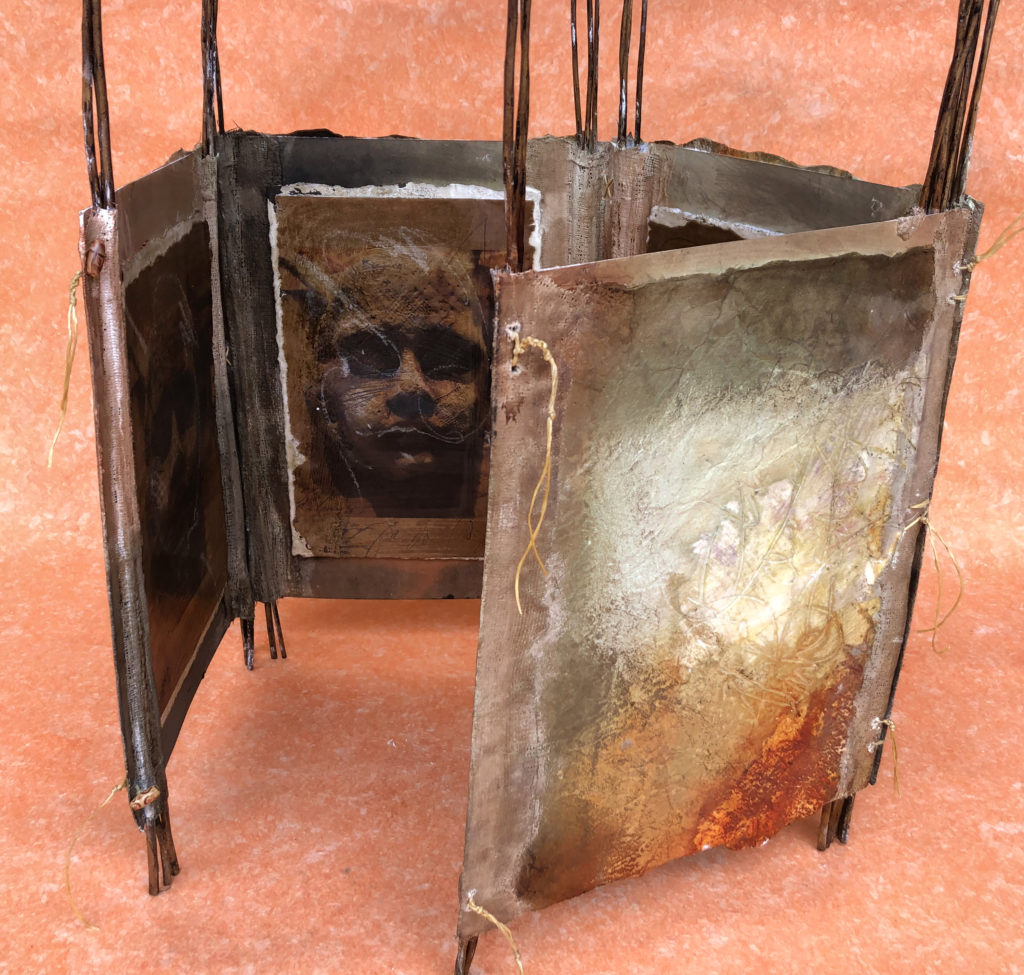
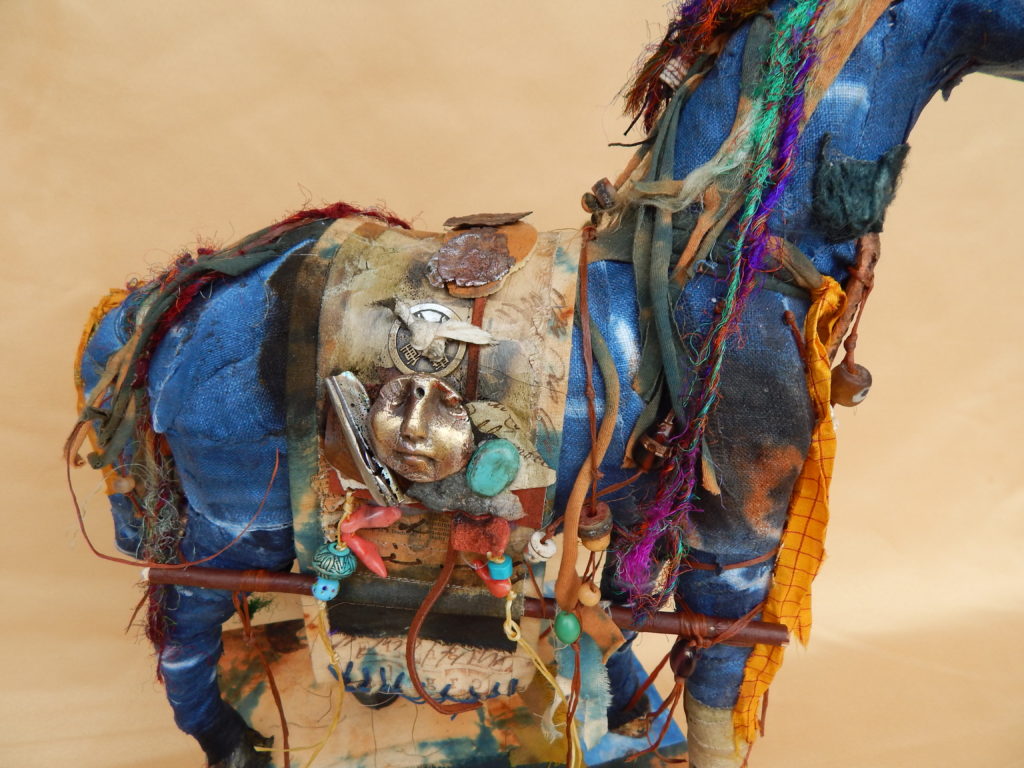
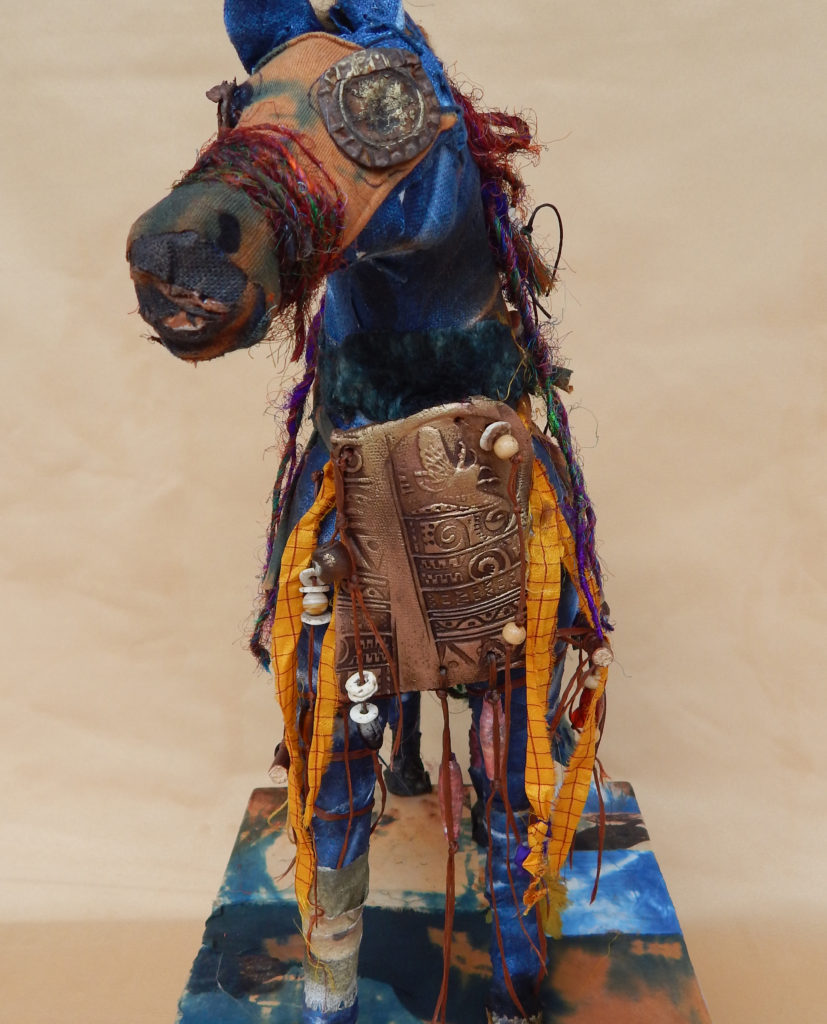
THE MYSTICAL CAT SHAMAN IS BACK!
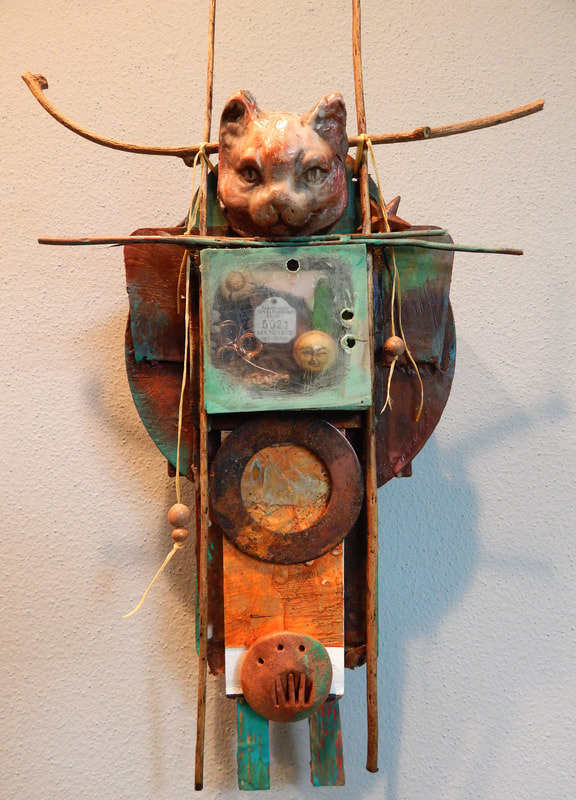
The Mystical Cat Shaman Workshop was first offered in 2016 as part of the Artful Gathering summer class program. When the Artful Gathering group scattered, I decided to bring this popular class back to a new audience.
The NEW Cat Shaman workshop will be available until August 1, 2020 for $39 tuition, which is about half of its previous cost. In this new version, I have updated the handouts and added to them. The videos, for the most part, are the original ones, almost three hours of detailed instruction.
You can read more about it on my website. There is a free lesson from the workshop available that might help you decide if you want to create some feline magic. Ask your cat if she wants to help. Yeah, right 🙂
Click here for the CAT SHAMAN WORKSHOP info.
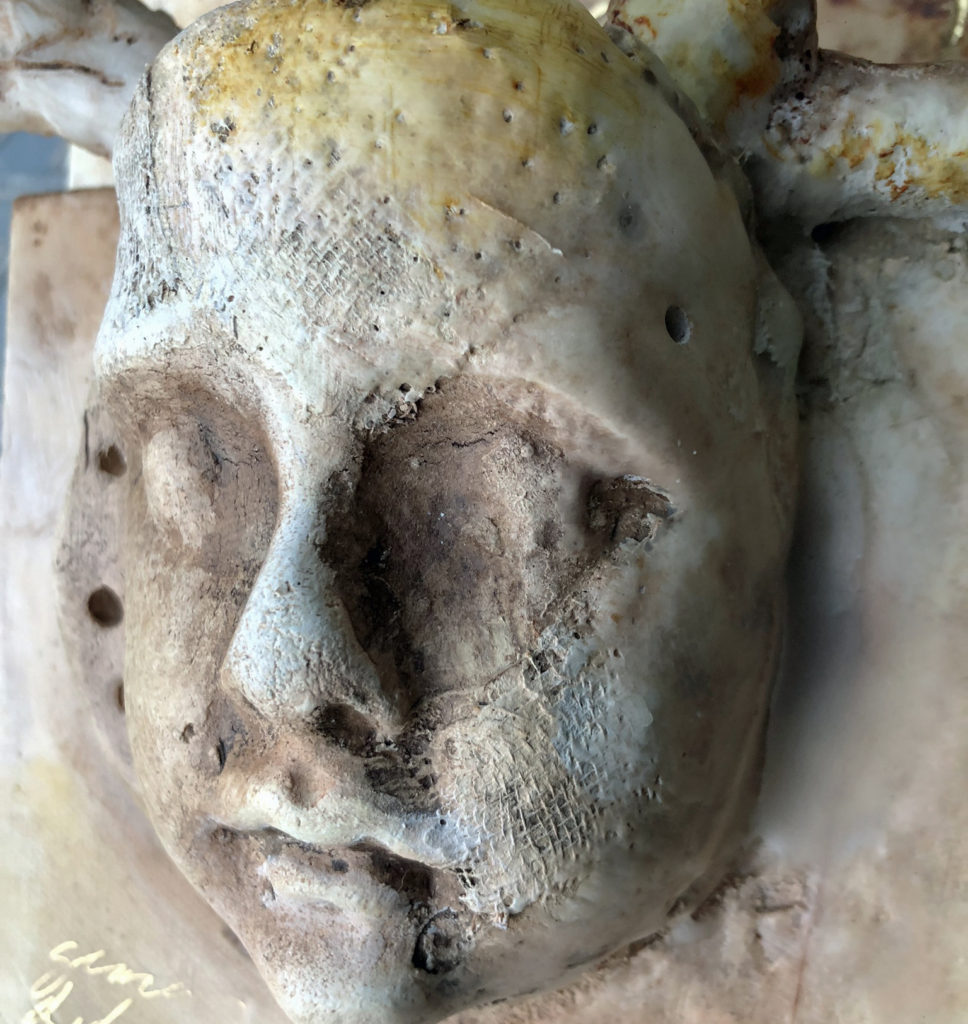
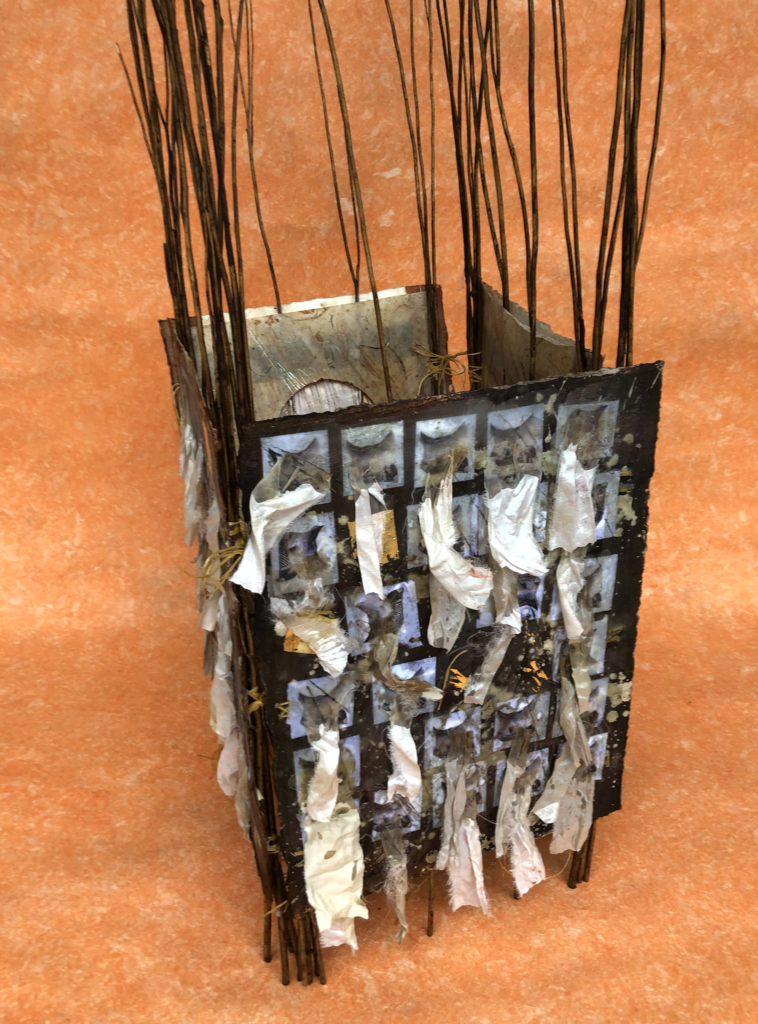
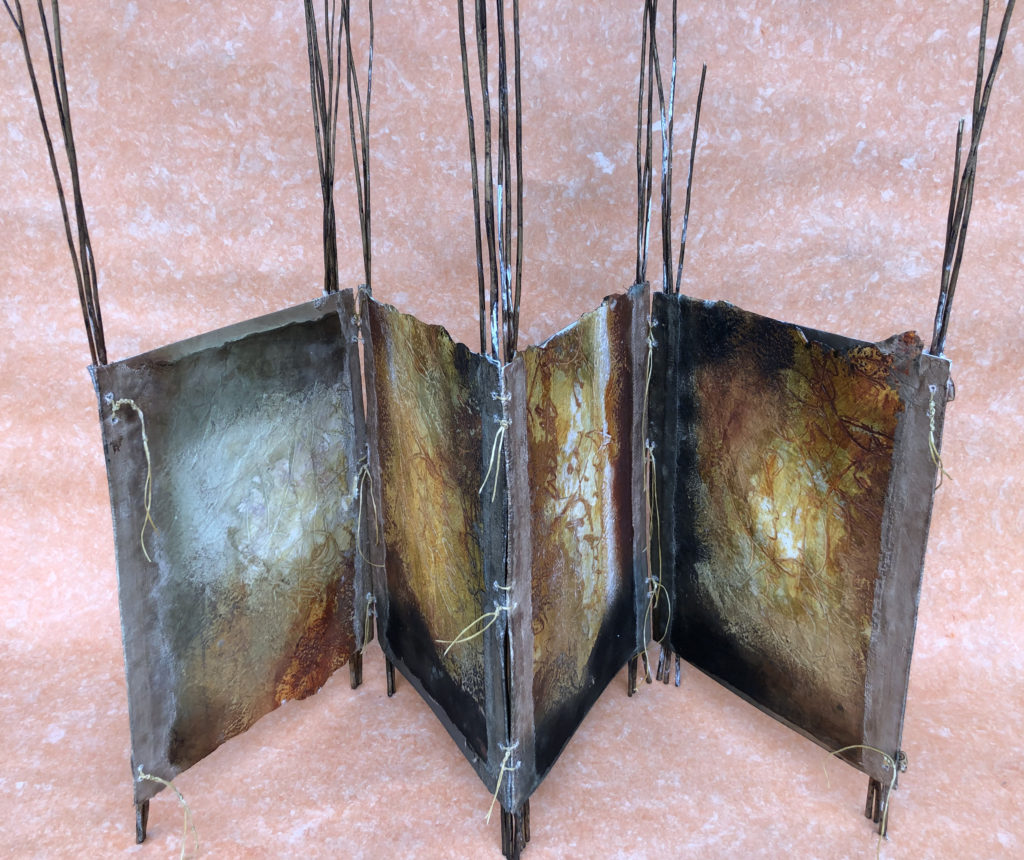
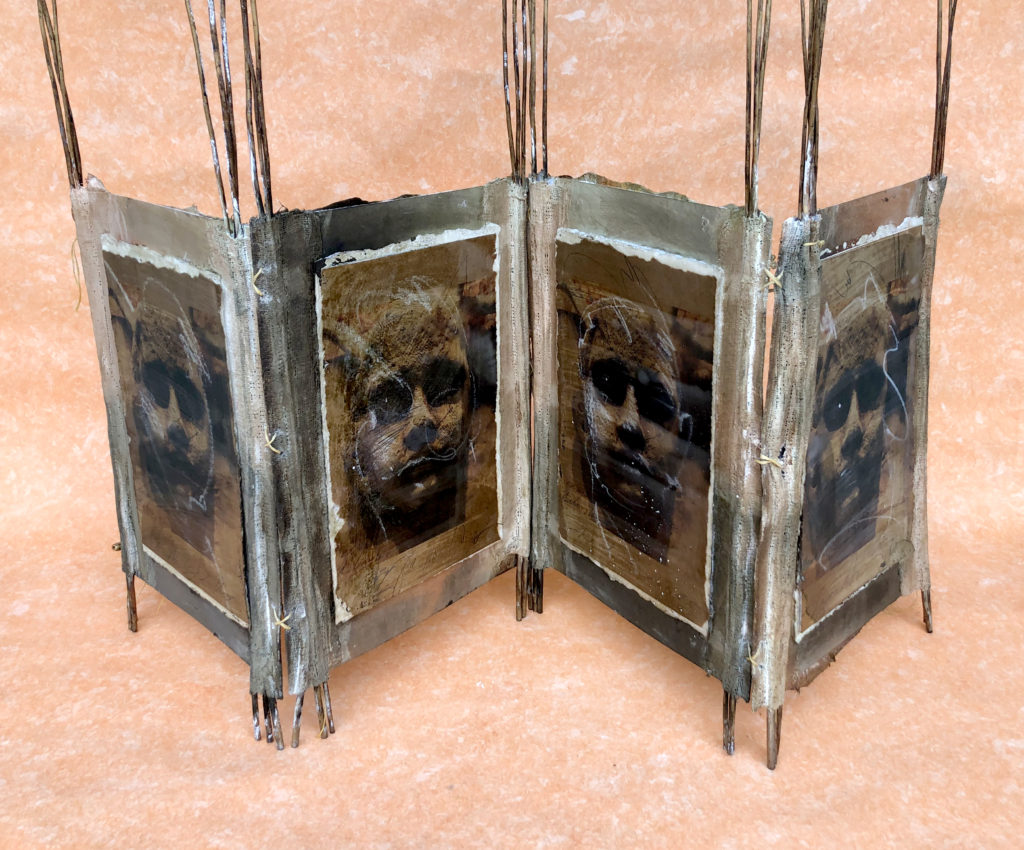
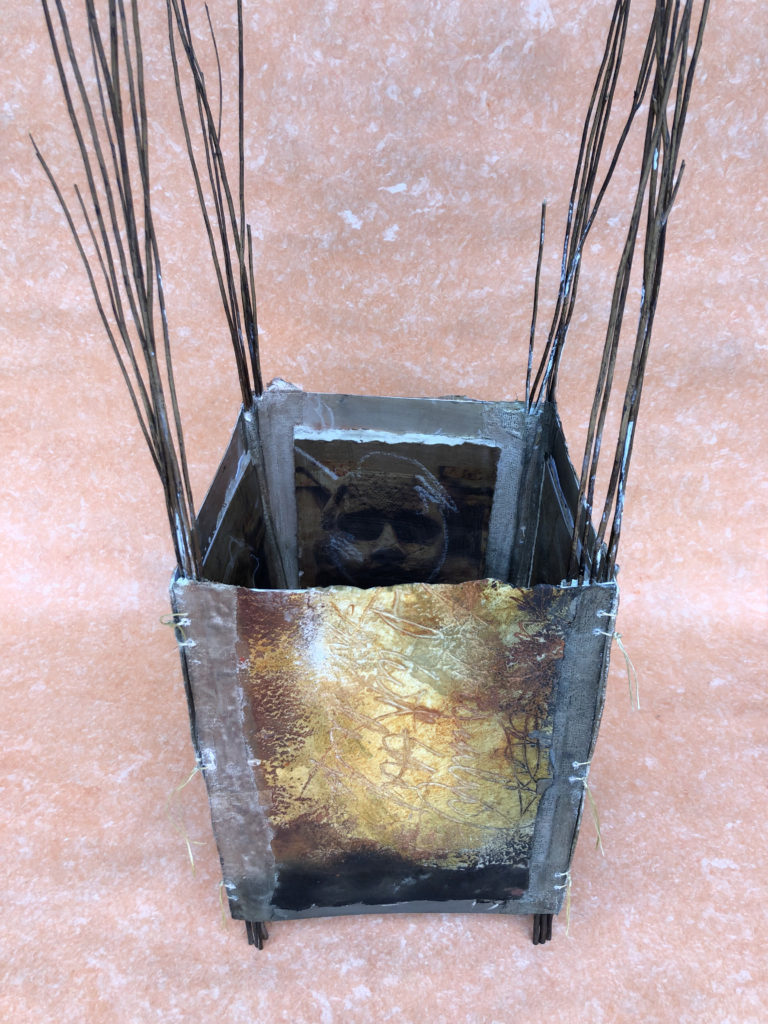
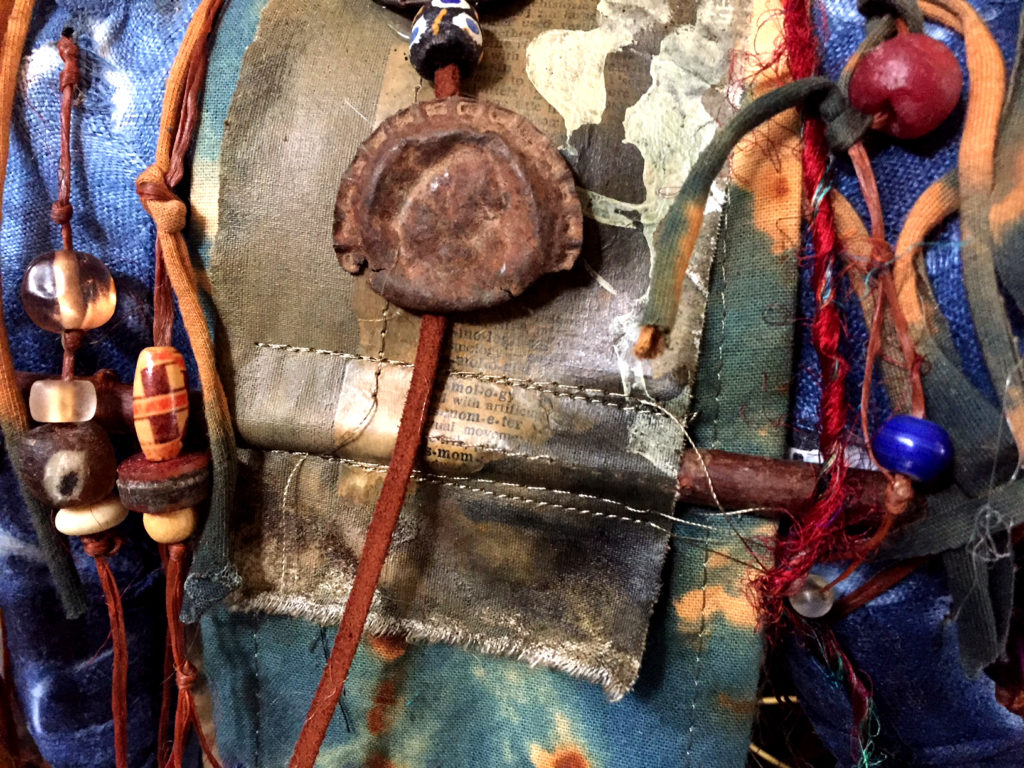
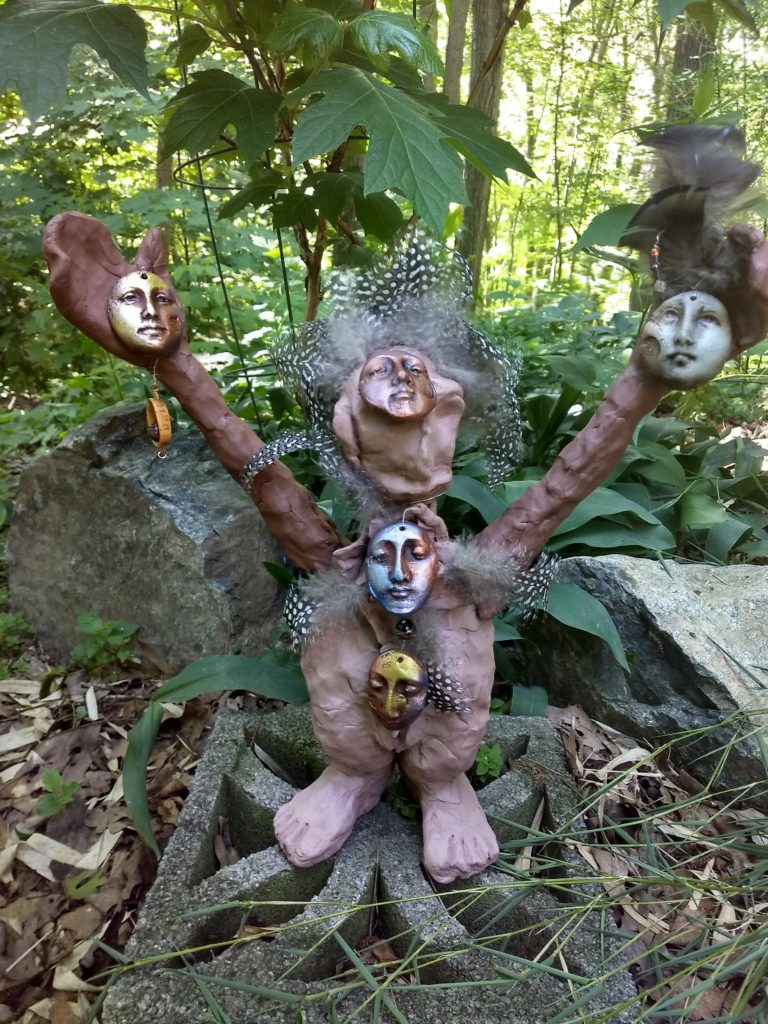
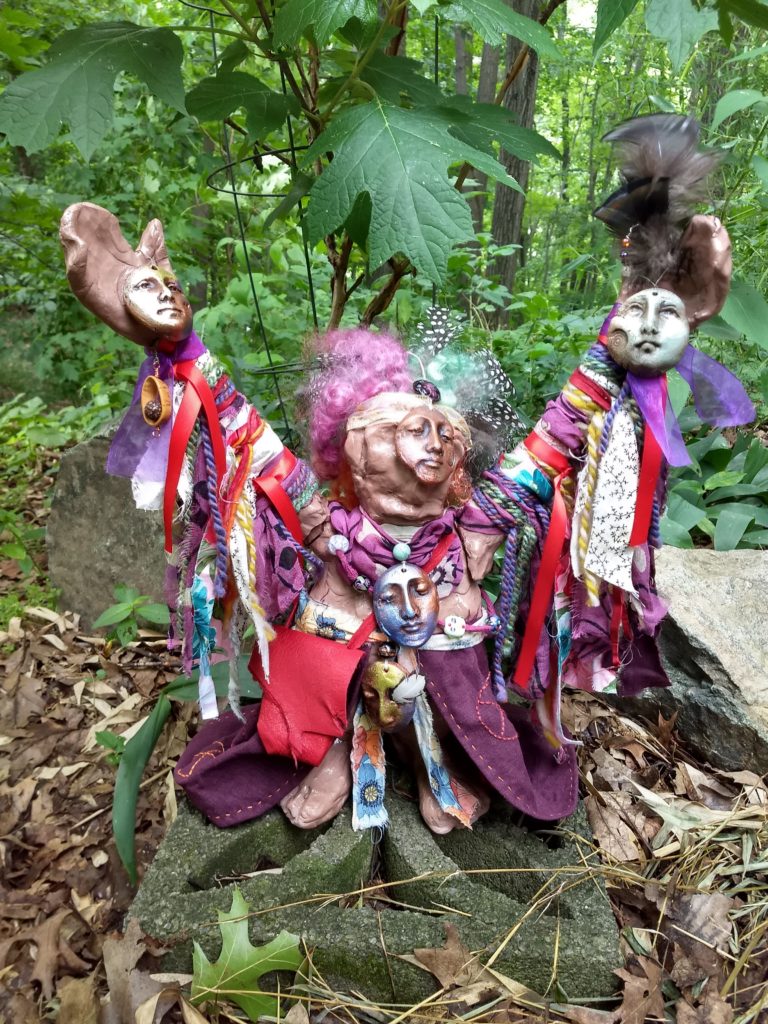
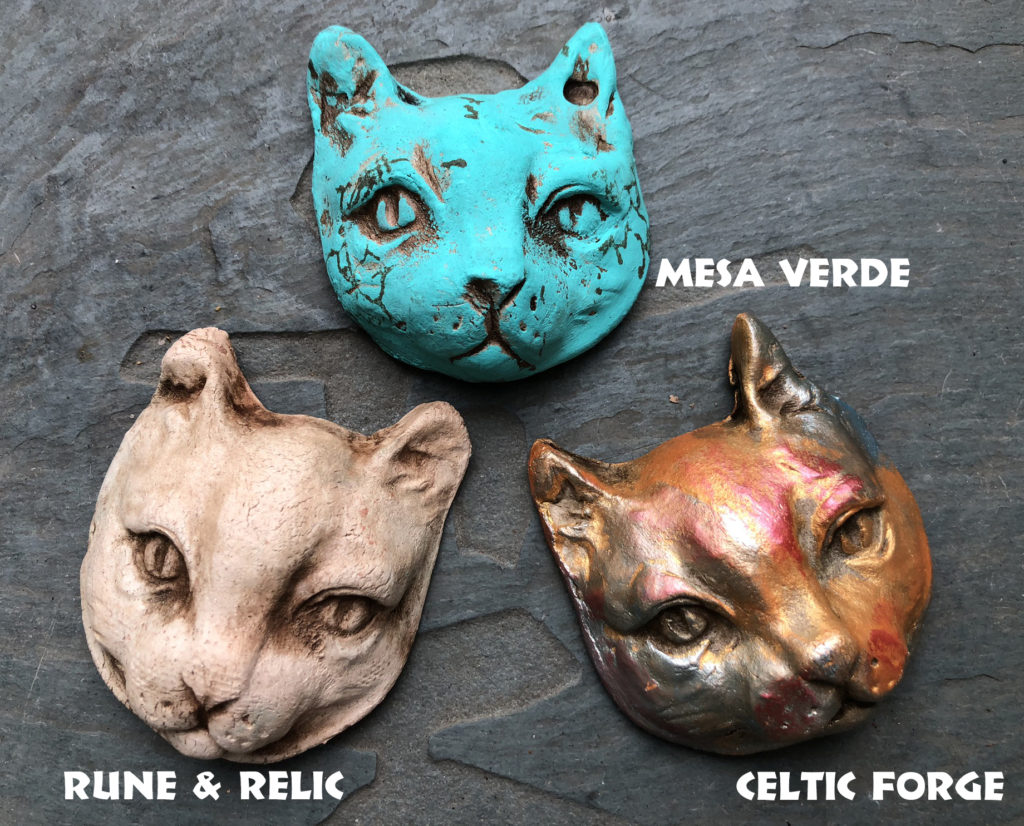
And there are new Cat Face Shards in my Etsy Shop!
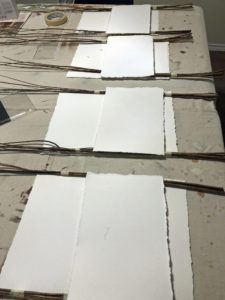
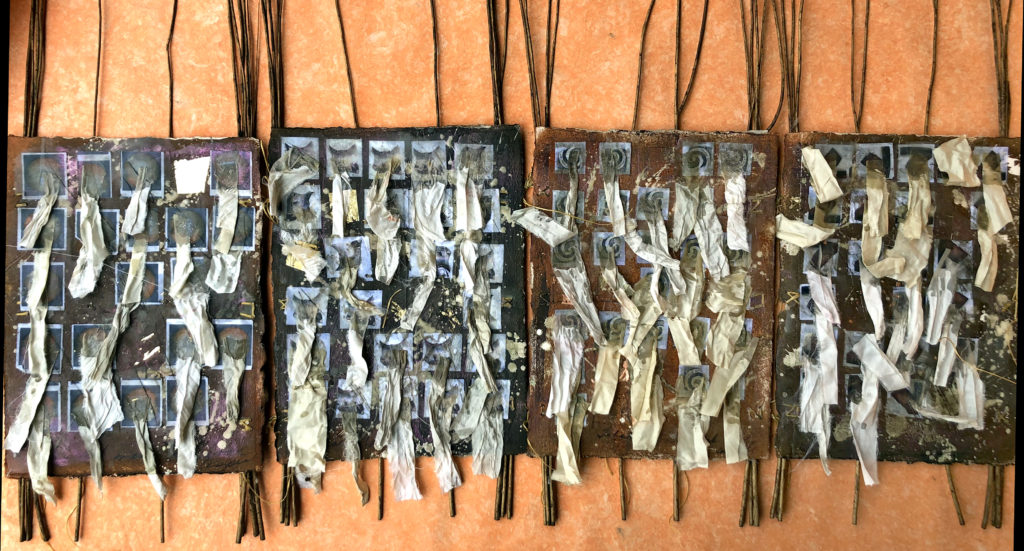
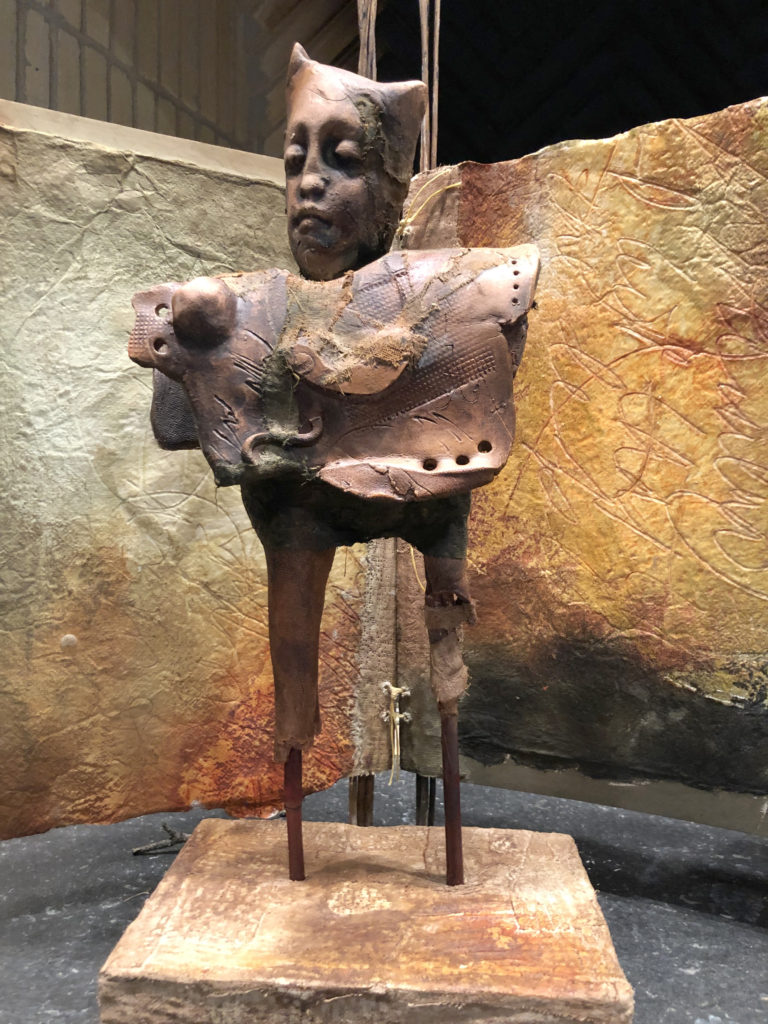
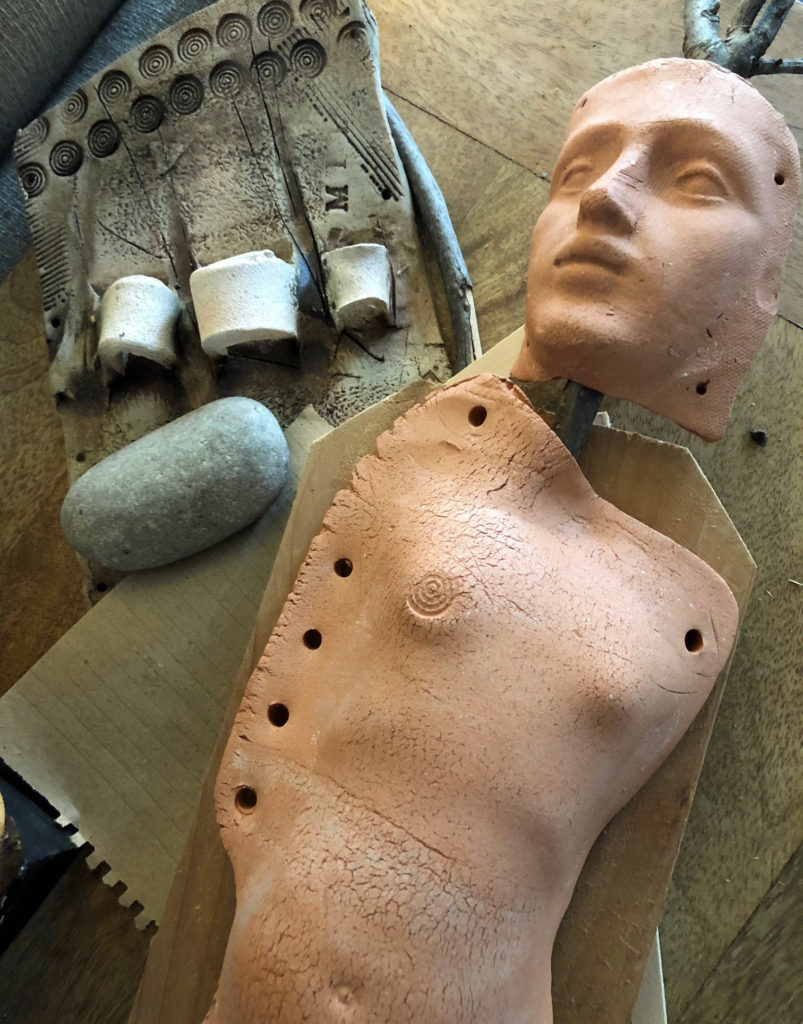
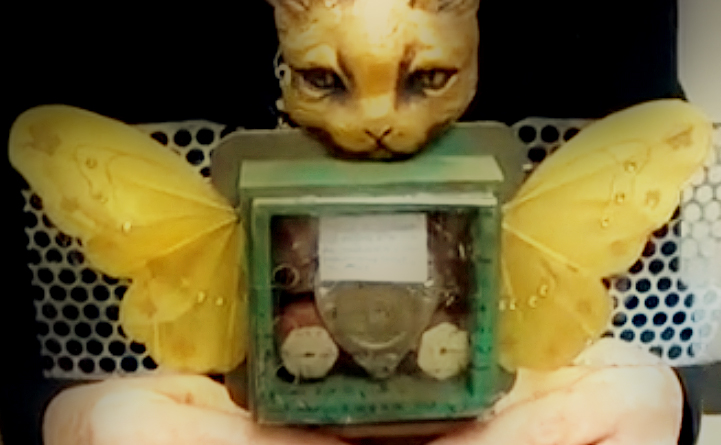
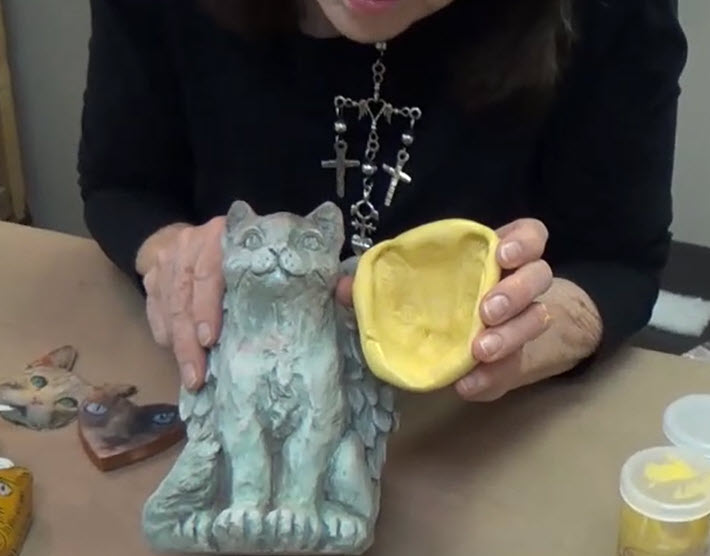
If you decide to take the workshop, I will show you how to make your own cat faces, step-by-step, using about four or five different techniques. That’s always the best way to do it, learning for yourself.
But if you want to purchase some Cat Shaman from my Etsy shop, great!
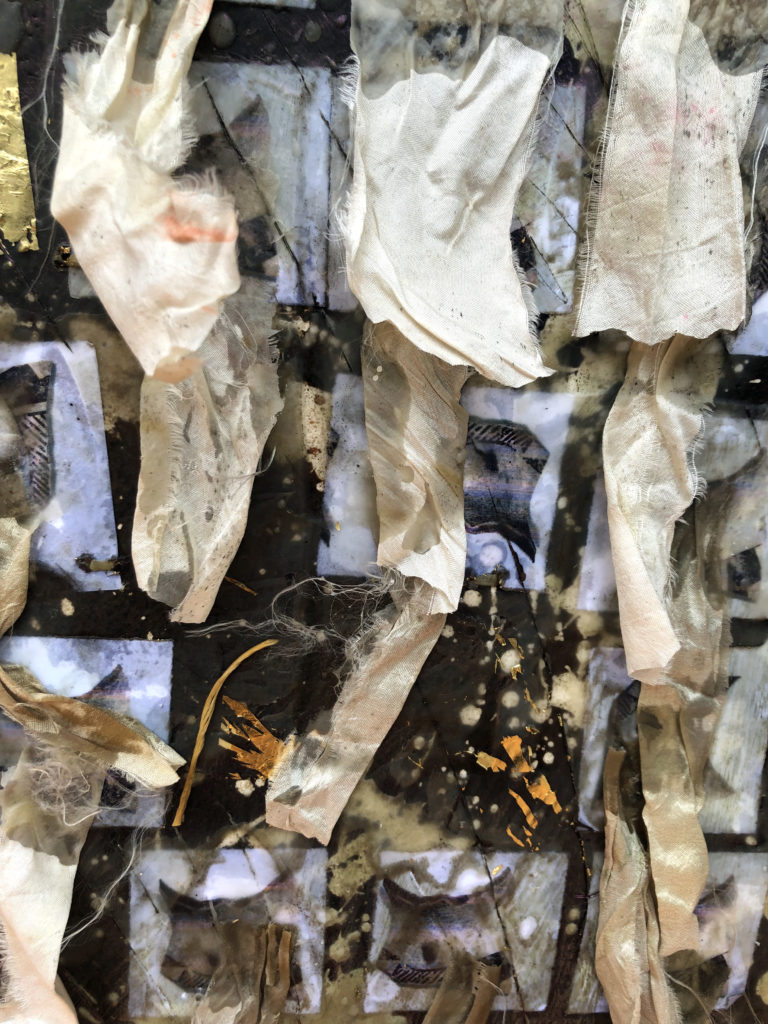
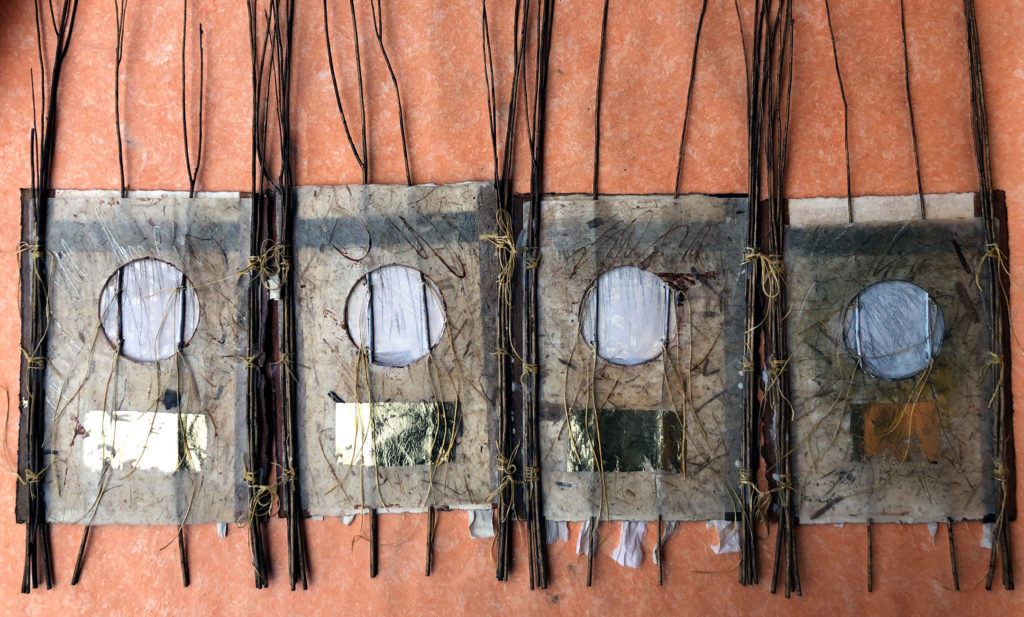
I’ve added some new cat faces using the mold I made in the the original workshop. They are kiln-fired earthenware and they come in three finishes. They’re $9 each and there is a limit of 2 (I have only 30 right now).
You may find that they are sold out when you go to the Etsy shop. I sent an advance notice to my private email list last night, and the cats are going like hotcakes. 🙂
However, I’m making more earthenware cat faces today and they should be fired and ready to go by Saturday. I’ll re-list them ASAP. (And if you’d like to be on my email list for previews and updates, you’re welcome to sign up).

Last note – I’m finally internalizing the reality of these times. Sigh. It’s going to be a long summer and fall without in-person interaction.
As a social creature and an artist who cherishes the company of my circle of friends and co-creators, I miss the times we could really look at each other’s work, touch the textures, laugh and hug in person.
But if there was ever a time to count our blessings, this is it. Be safe, trust yourself and trust the process, and take good care!