Art Walk Alchemy 2020 and The Enduring Kimono

Teaching online workshops is a joy. But preparation is time-consuming. So when Anne Marie Fowler asked me to develop a lesson for Art Walk Alchemy 2020, I almost said that I was too over-scheduled with my work at the Art League.

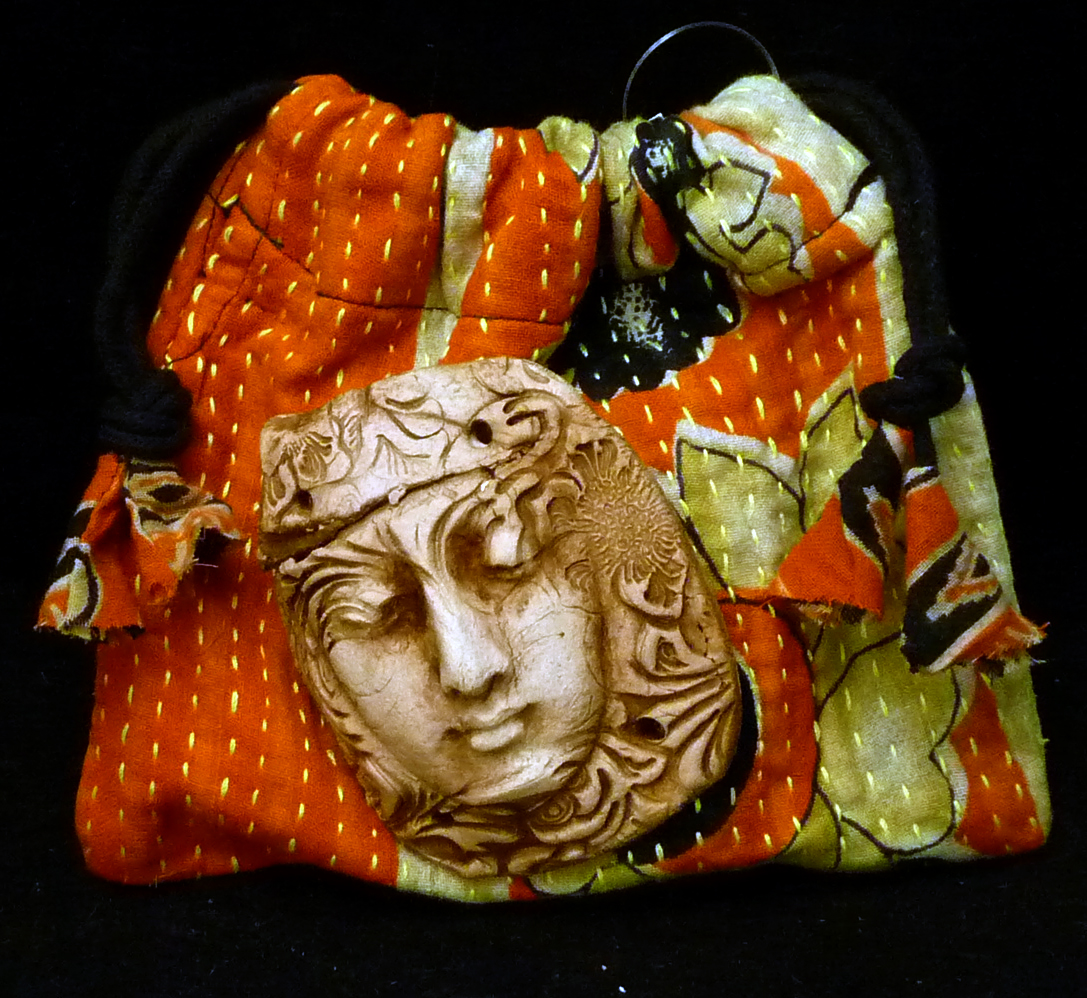
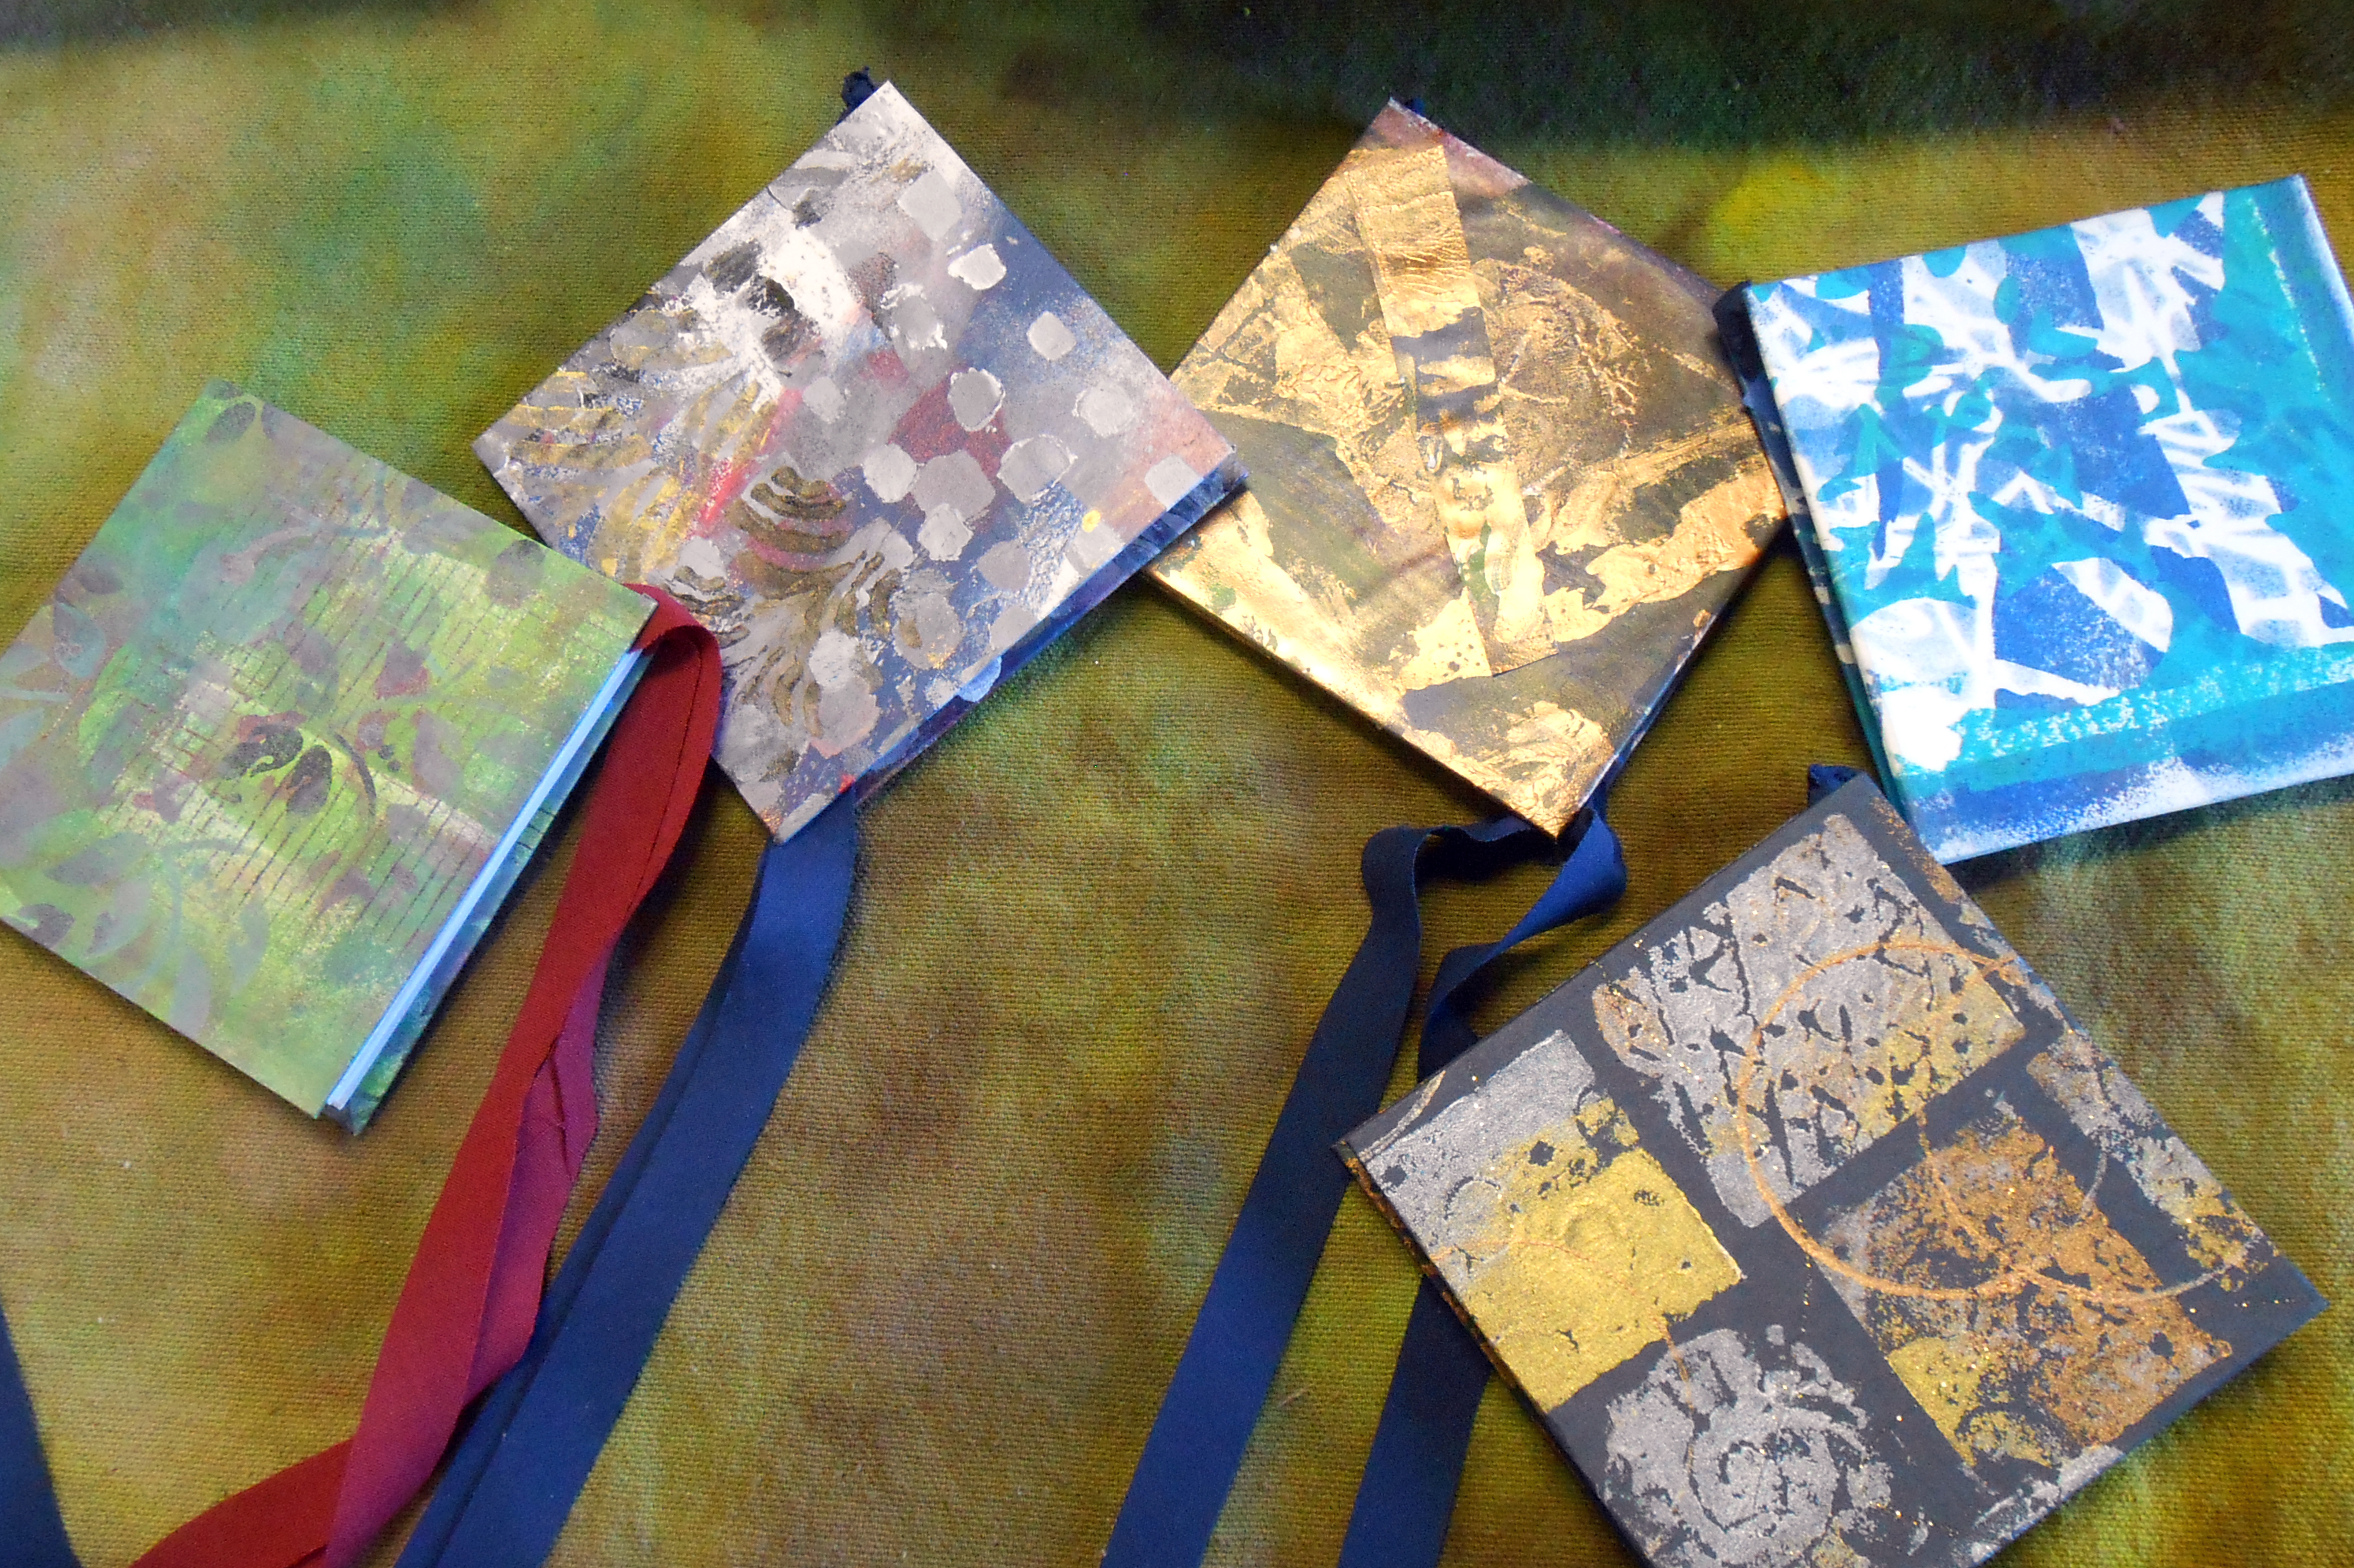
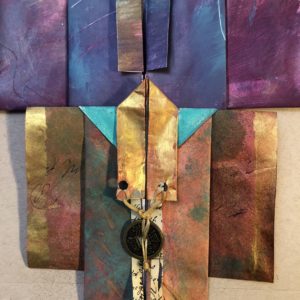
But then I remembered a project that had been a signature of my work in the 80’s and 90’s – the Origami Kimono!

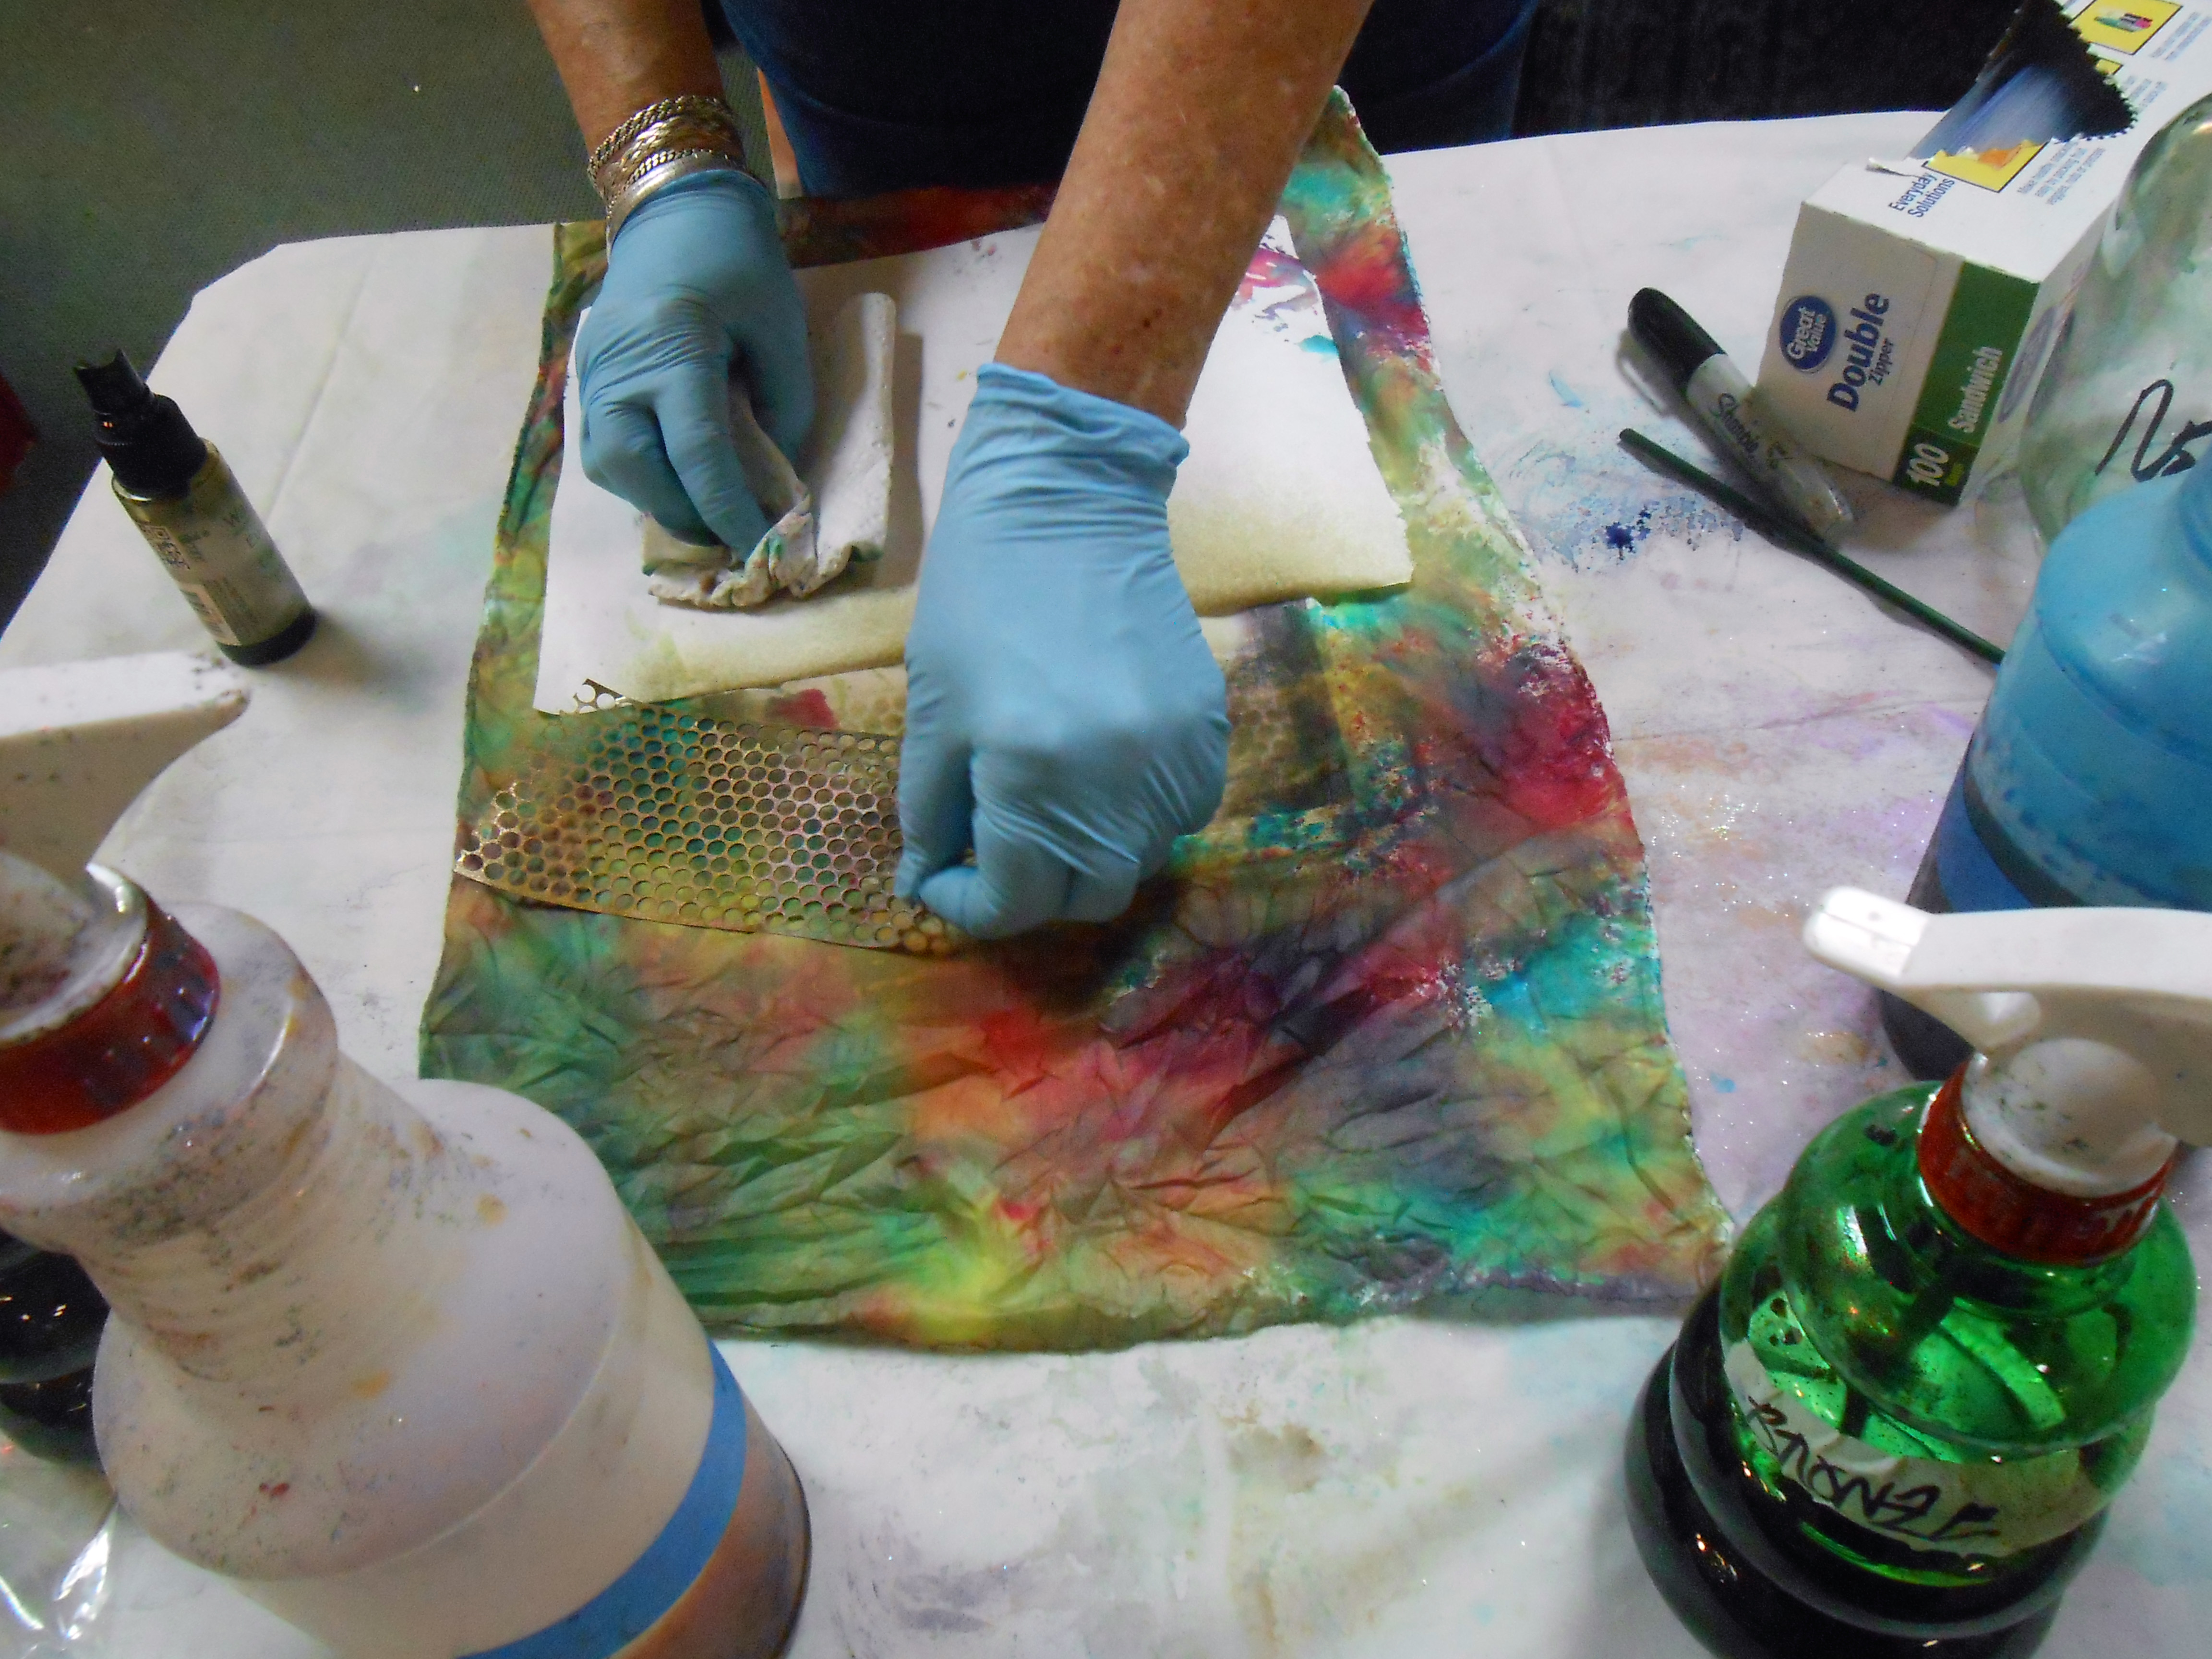
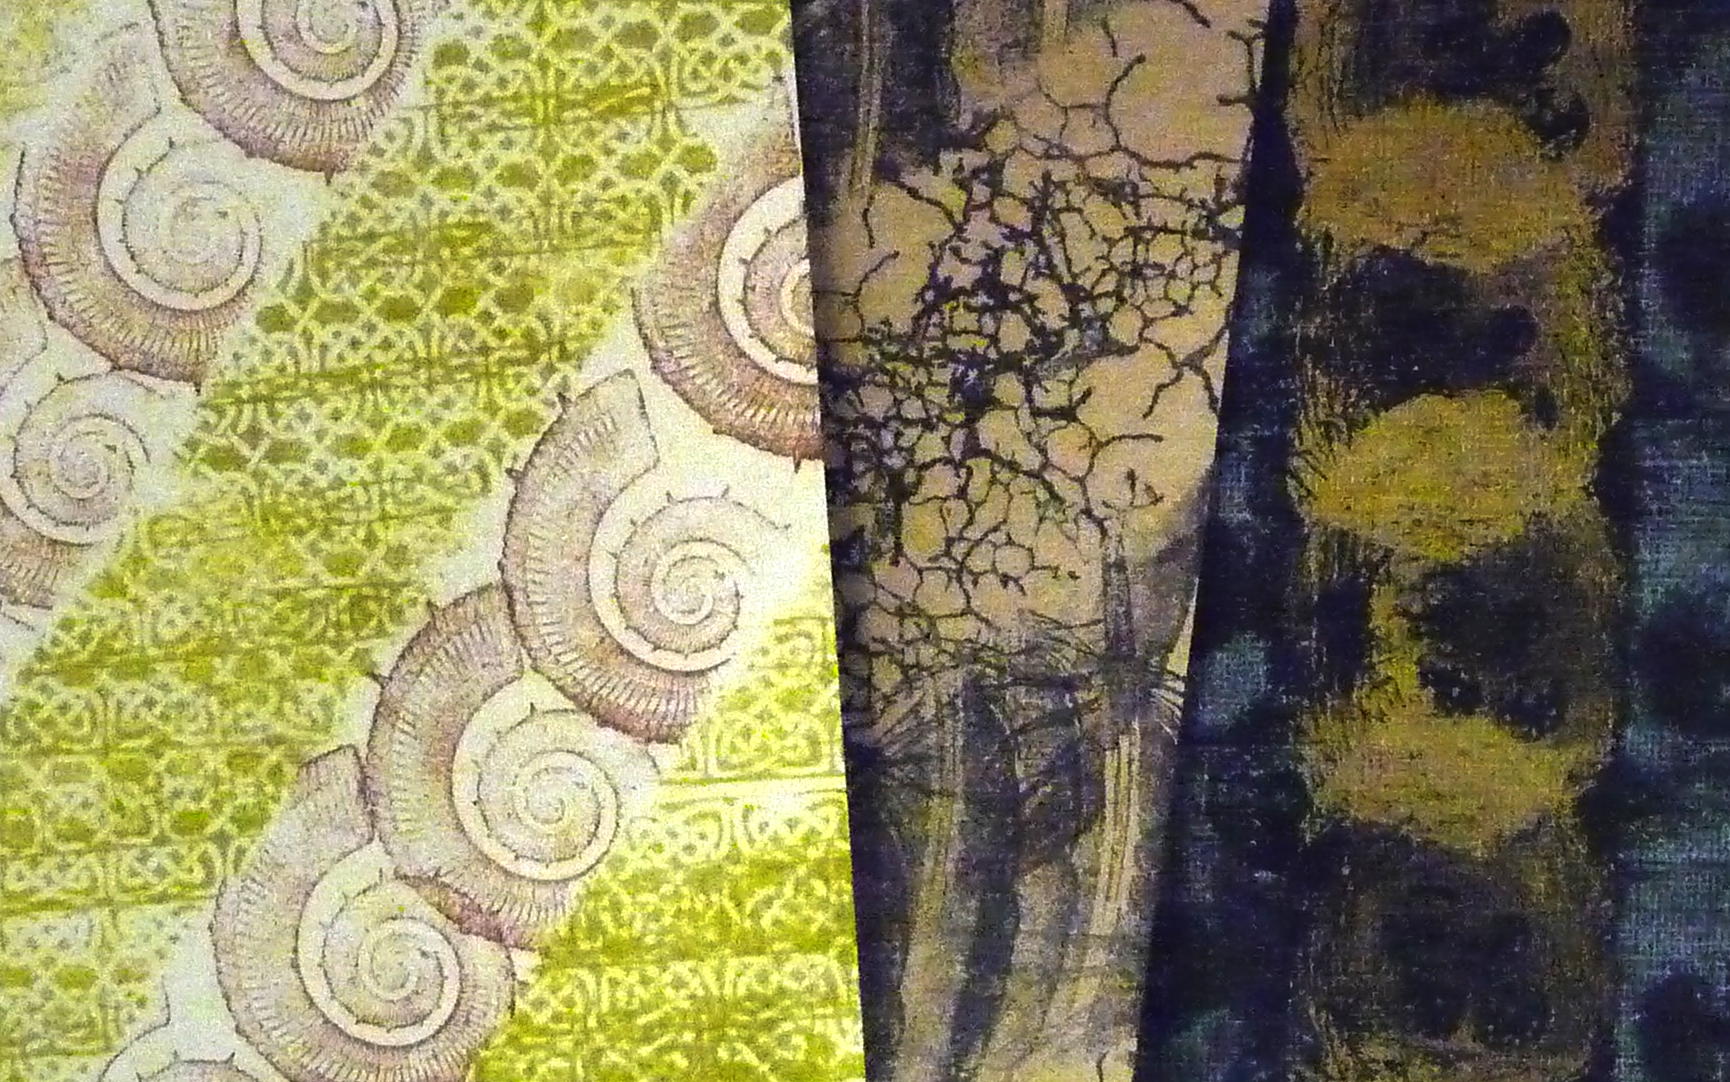
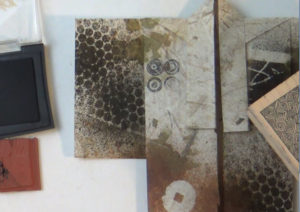
I had done a version of this for the Dallas Fiber Artists last year which was super fun. With some additional mixed media lessons and demos, like how to create your own scumble-painted paper, this could be a great online workshop lesson.

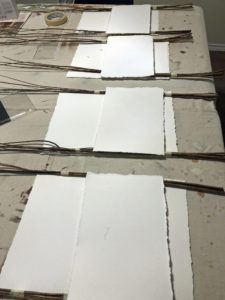
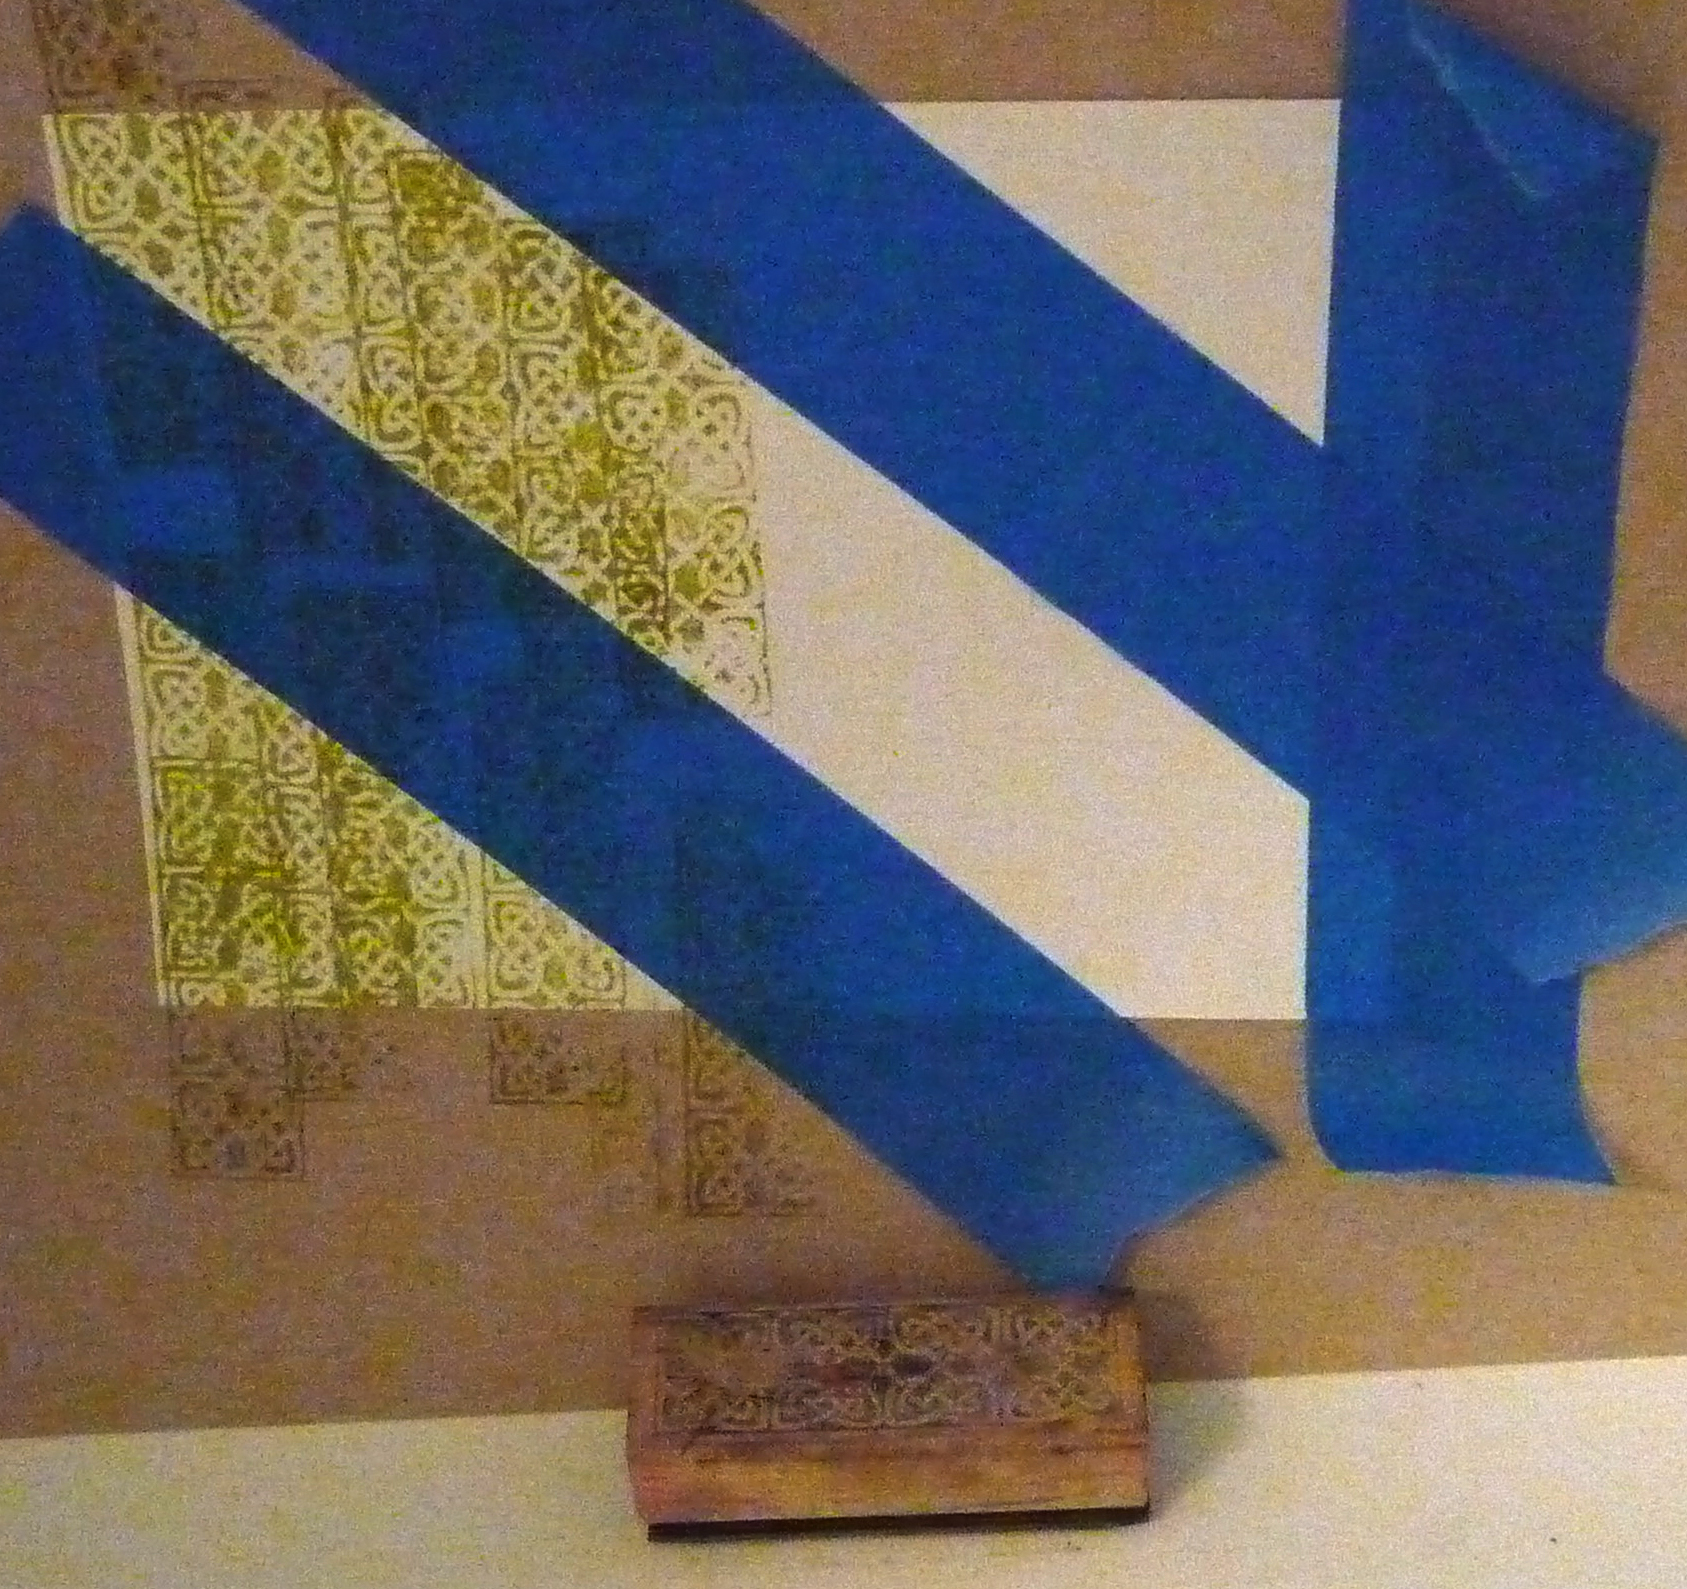
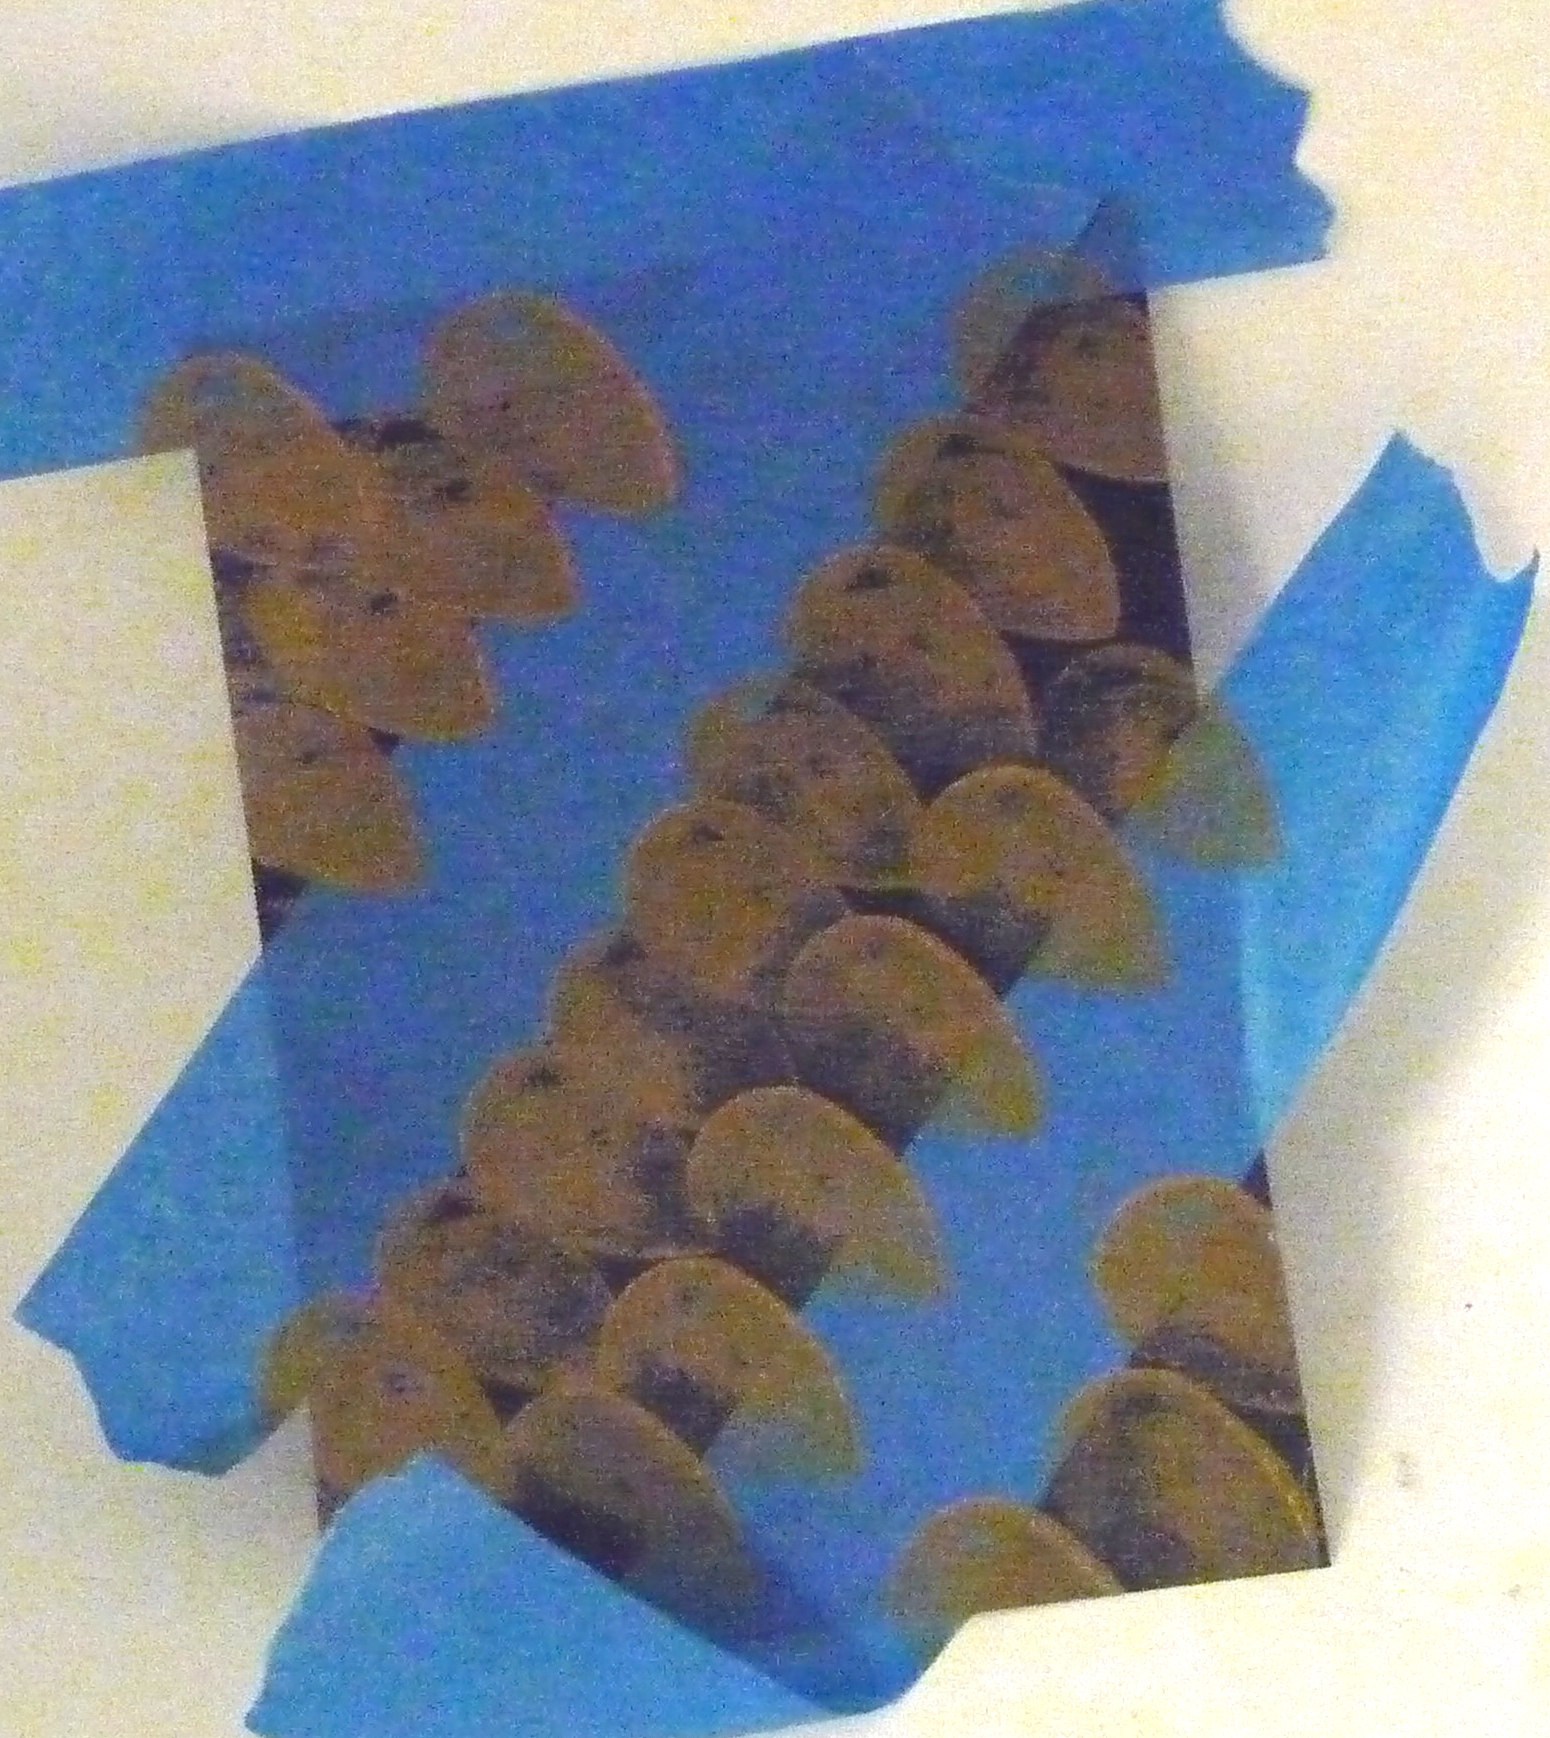
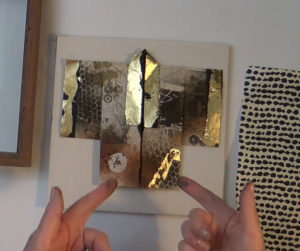
Here’s a “scumble sample” video from the lesson for painting a long paper strip that is then folded into a kimono:

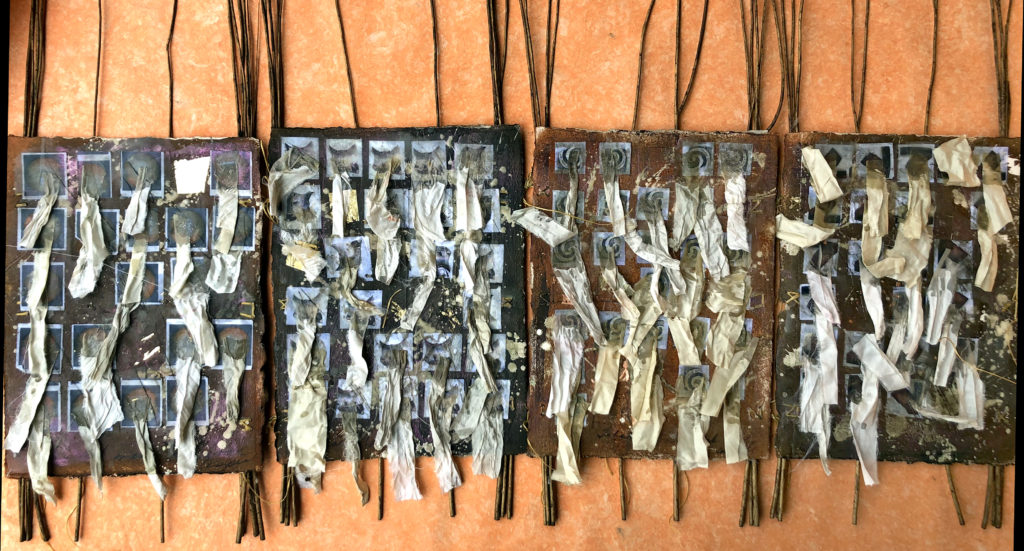
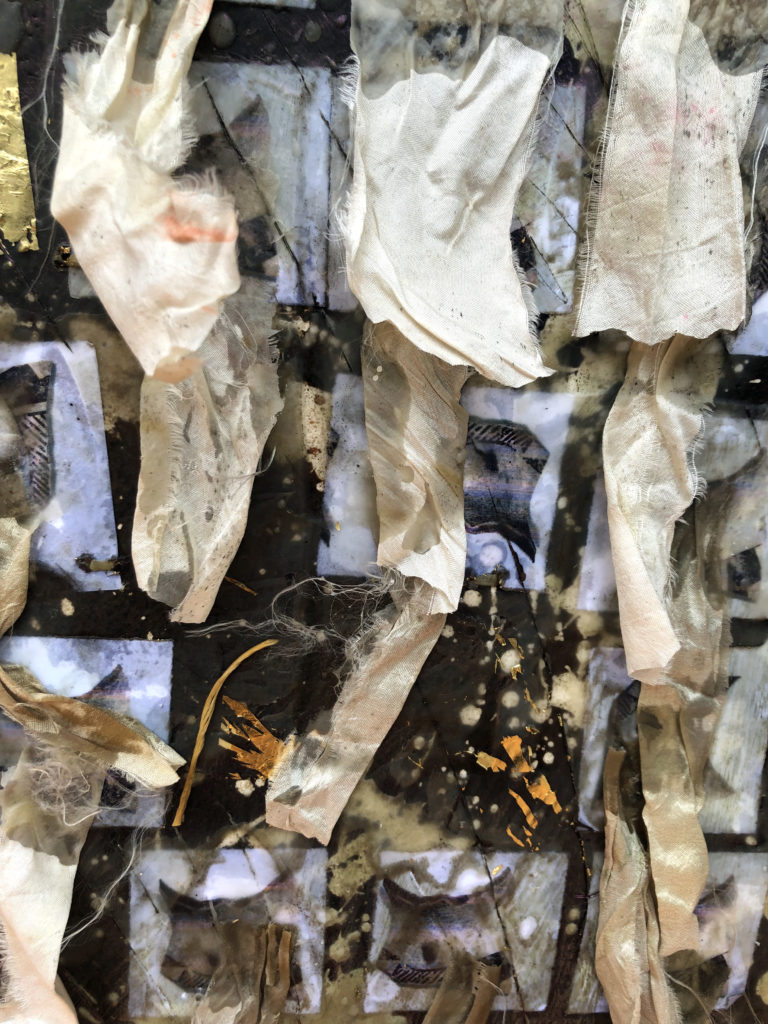
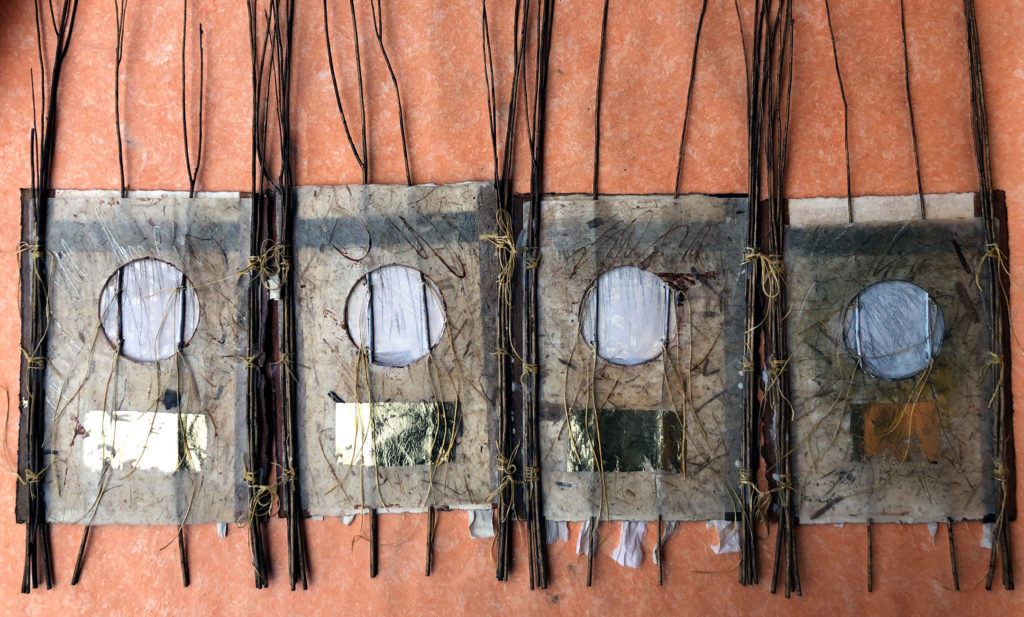
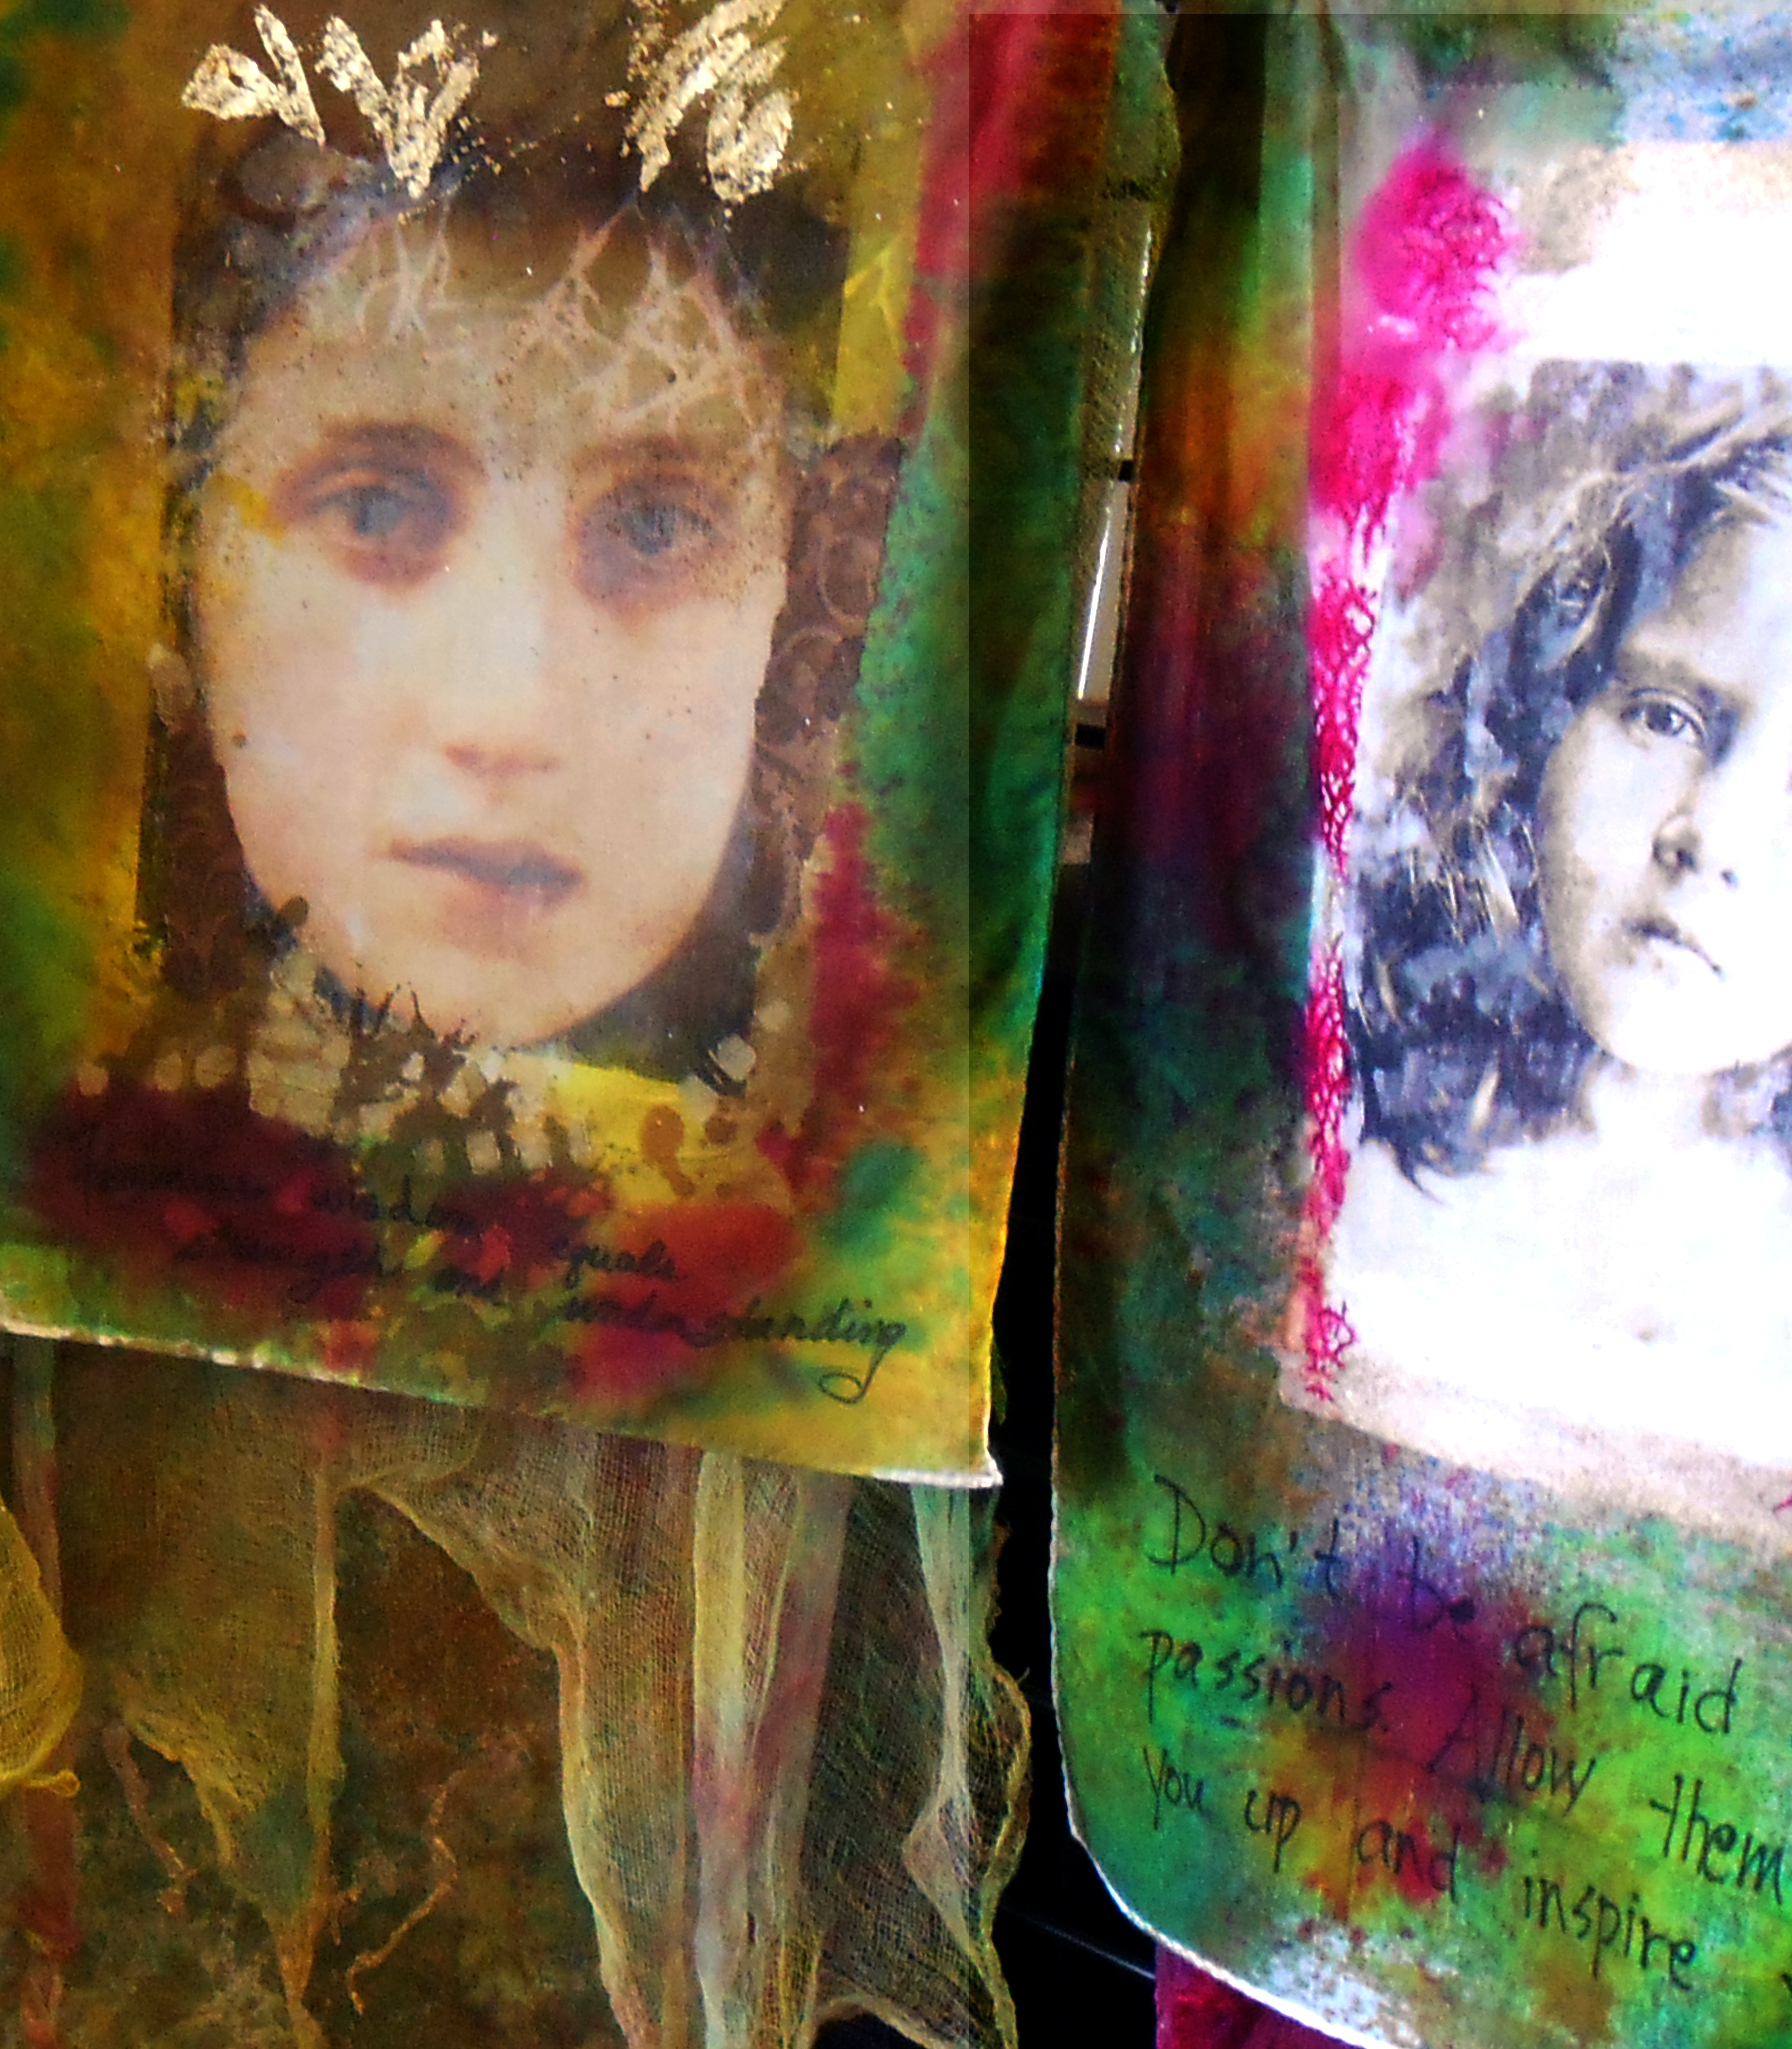
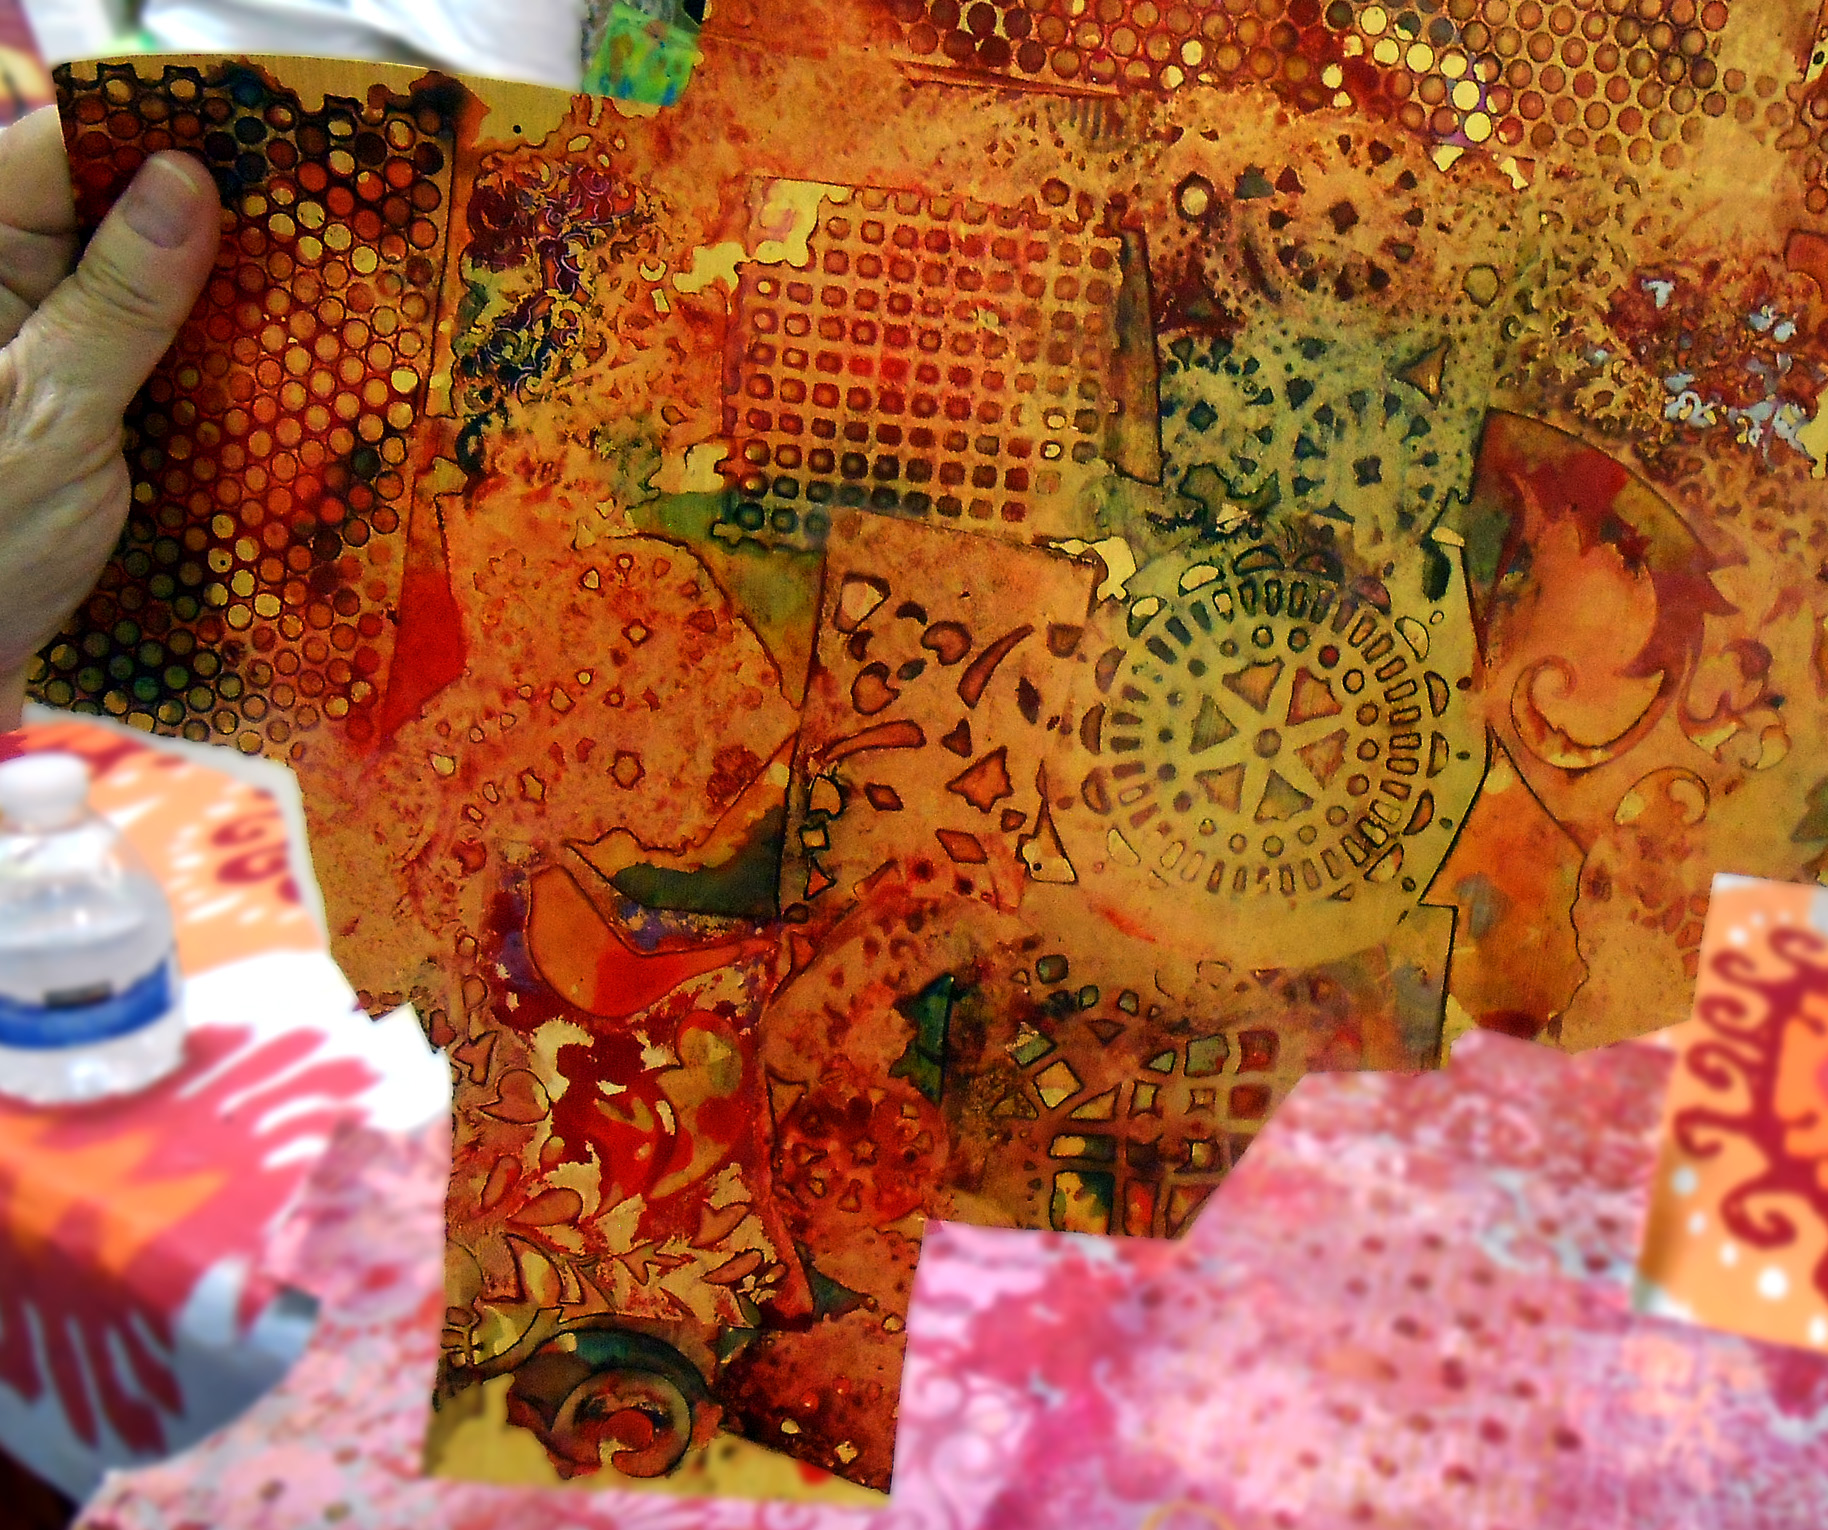
There are a ton of other mixed-media techniques in this lesson, including new ways to use gold leaf, walnut ink, and stamps in your work.

I’d never done a lesson like this that is part of a year’s worth of workshops, but it’s neat because you get tons of other lessons from many other really excellent teachers from Art Walk Alchemy. Check out the project highlights!

Woodland Dreams-Art Walk Alchemy 2020 from Mystic Spring Studios on Vimeo.

Registration for Art Walk Alchemy is open right now – including a fantastic four-video lesson on The Enduring Kimono by you-know-who. Take a look at the offerings – 🙂

Screens and shelters as art

archaeological excavation shelter

screen panels of heavy paper and sticks

As part of my work with the “Unearthed” series, I’ve been working with panels of paper, wax, sticks and silk to construct three-dimensional sculptural objects that can be configured in different ways.

This has become a very exciting project for me, informed and inspired by shelters and screens for archaeological excavations as well as the idea of versatile art panels that can be viewed from many perspectives to conceal and reveal.

Here’s one that is almost finished. It is large, about four feet long and two feet high.

Lyn Belisle, Shelter Screen #1, 48″ x 36″ Paper, wax, silk, pigment, and sticks

This is a close-up of the surface of one of the panels – torn silk is adhered with beeswax to squares of archeological symbols printed on paper. It’s multilayered and complex. The surface is meant to suggest ancient shards and scraps that have been collected and stuck to experimental surfaces for further study.

Detail, “Shelter Screen #2”

Another great thing about working with these kinds of panels is that each panel has two sides. Here is the reverse side of that piece.

“Shelter Screen #2”, reverse side

The artwork can be displayed on a wall as a four-panel work, or it can be configured on a pedestal or table as a three-dimensional object.

Here is another Shelter Screen in the series that also has two different-sided surfaces. This one is slightly smaller, about 3.5′ long.

Lyn Belisle, “Shelter Screen #3”, Paper, wax, sticks, acrylic, pigment

The back of this screen features photos of one of my earthenware face shards in a series of altered photographs.

“Shelter Screen #3”, reverse side

And it can be hung, or folded or tied into a square with either side out!

Because I have very limited studio time these days with all of the Art League duties, I find that working with these shelter panels is like meditation. Each one that I construct is slightly different, and when they are stitched or hinged together, their possibilities are endless.

I love the way this process grounds me back to the basics of building. And the fact that they are inspired by archeological screen and shelters gives them a deeper meaning.

Here is my second “Unearthed” sculpture displayed in front of a Shelter Screen – they were obviously meant to be together!

It’s as if the past is reaching out into the present, giving me guidance. Maybe “Nine Antlers” has a hand in all of this!

“I held my breath as we do sometimes to stop time when something wonderful has touched us…” ~ Mary Oliver

RIP


Glittering banner celebration on Mothers Day

“Everything in nature bespeaks the mother. The sun is the mother of earth and gives it its nourishment of heart; it never leaves the universe at night until it has put the earth to sleep to the song of the sea and the hymn of birds and brooks.” ~Kahlil Gibran

Yesterday’s Goddess Banner/Prayer Flag workshop was a different kind of Mothers Day celebration. We created personal statements in fiber with dyeing, surface design, phototransfer, handwritten quotes and personal iconography. It was a celebration of the idea of nurturing the spirit of Mother Earth – and we had a really fantastic time!

OK, so I don’t usually use glitter in my workshopstoo darn frivolous, right?not this time! We glittered our banners, our gloves, our faces (inadvertently) – it looked like a Tinkerbell convention. And every single work was beautiful and heartfelt.

Even though some of us had kids who were far away, the Studio was a real place of creative belonging yesterday. What an experience! Take a look at our video:

Indigo Wednesday

blue

I’ve scheduled a few Wednesday afternoon workshops this spring at the Studio  and it’s working out well. Yesterday’s Indigo session was kind of a “test drive” of the three hour format – the second Indigo workshop is on Sunday, and there is another special request group on Monday, so the Studio will be blue for almost a week.

Wednesday’s participants had some excellent suggestions about how to keep the dyeing process flowing during the short three hours. It was a rainy day, so our drying was done inside or on the bench under the awning. Everything clicked, the indigo did its magic, and we had a fantastic time.

I’ll be wrapping up the indigo experiences next week and will give you some tips and resources on how you can do this at home or in your own studio. One of the most-repeated comments from yesterday’s students was , “This is sooooo much easier than I thought it would be!” And it is!

6 2 3 1


A pretty colorful weekend at Lyn Belisle Studio

32The Studio was awash in dye this weekend, first with Rosemary Uchniat’s fantastic half-day Small Space Dyeing workshop on Saturday, and then my Goddess Banner workshop on Sunday afternoon. Everyone was caught red-handed having fun – and blue-handed, and green-handed . . .take a look at the video!

Both classes will be repeated in case you want to join in. Rosemary’s second Small-Space Dyeing class is October 17th from 1-5. The first one sold out instantly. And my next Goddess Banner workshop is coming right up on Sunday, August 16th from 2-5.

banNow about those Goddess Banners, this was a special small class that was scheduled for a guest from Houston who wanted to take both Rosemary’s class and mine the same weekend. There were four of us, and it was great to be able to work alongside the participants. I had a blast! We transferred images, dyed cheesecloth, created symbols and words of inspiration, and put it all together in the most remarkable way! I just love this project – and it’s three hours, start to finish.

One of my favorite fiber artists, Linda Rael, was in our group – that made it even more fun. She has a great idea for a series of banners, but I’ll let her tell you about it if she actually does it. Hope so! Take a look at the video, and then consider signing up for the workshop on August 16th – you won’t regret it! It’s to dye for. Sorry.

Goddess Banners – wishes on the wind

Goddess banner surface design in process during workshop

Goddess banner surface design in process during workshop

In my last post, I said that I was excited about the upcoming Goddess Banner Workshop because it was something new for me. The idea was a combination of influences – Joanna Powell Colbert’s Gaian Soul Retreat, of course, and also the small-space dyeing techniques that Rosemary Uchniat teaches. And personally, I’ve felt an urge to explore the healing aspects of iconic feminine energy and consciousness, aka just plain ol’ being kind and being nurturing, both to ourselves and the planet we live on. Soooo – it was a joy to work with the eight women who participated in yesterday’s Goddess Banner workshop.

Before you look at the video, you should know that every person worked with the exact same image, an anonymous early 20th century photograph (1915) from the Flickr Commons archives. But each face look very different in the individual completed banners. We all remarked on this – each of us brings ourselves into the process and transforms our images unconsciously and almost magically. I’ll be offering this workshop again soon. Thanks to the participants who helped me bring this idea to reality in yesterday’s class. Wonderful banners all!!

Lesta and Lyn, spooky spots, and Friday Freebie winner

Lesta Frank and I did a repeat of our Surface Design on Paper half-day workshop this past Sunday at the Studio. It’s totally amazing to watch eight creative people take the same concept and make an astonishing assortment of gorgeous one-of-a-kind artisan papers. We used the enhanced paper to cover small Lotus Books, each one a work of art in themselves. Wanna see?

 On Saturday, the day before our workshop, I did some video footage in the Olmos Dam Basin for an upcoming Artful Gathering online class – I can’t tell you much about the class yet, but it involves Spirits! That’s big hint.

DSC00267You can read an interesting article about Olmos Basin, and about author Whitley Streiber, here in the archives of Texas Monthly – kinda spooky. The author said he made contact with strange beings here. But my online class will not be scary, honest (although it may deal with strange beings). Stay tuned for details, and visit Artful Gathering for info about Early Bird Registration for all of their cool classes.

Kantha Cloth Bag with Florentine Shard Face

Kantha Cloth Bag with Florentine Shard Face

Last, but definitely not least, congrats to lucky subscriber #86, Joanne Desmond, who won the Friday Freebie in the random number drawing – Joanne, contact me and I’ll get your freebie to you ASAP.

Have a good day, everyone – and watch out for strange beings.


Lyn and Lesta and paper surface design (and a fine afternoon was had by all)

29Lesta Frank and I have known each other since high school, and we finally got together to collaborate as teachers for a half-day workshop at the Studio on Sunday. I learned a lot from Lesta about paper surface designs – she’s pretty fearless with stencils and rollers! And I taught everyone how to do stamping on-the-cheap with a foam plate and black construction paper, and then how to showcase our designs on the cover of an origami Lotus book.

We know that once you see this video, you’ll wish you were there 🙂, so we’re gonna do a second session early in the new year. Check it out! And thanks, Lesta, for the inspiration!

Lesta and Lyn – a half-day workshop exploring mixed-media surface design

paper1

Finally! Lesta Frank, my much-revered artist pal, is coming to the Studio to pair up with me for a half-day workshop on Sunday, November 9th. It’s called Exploring Paper Surface Design, and it’s going to be amazing. We’ve been talking about doing this forever and now it’s really gonna happen.

Lesta and I go back a looo-ooong way (like, high school). She’s a popular teacher as well as a well-known watercolorist  – funny and innovative, as those of you who’ve seen her at the Show and Tell Saturdays already know. Here’s a very short sneak preview from one of those sessions – I love the part when Lesta says, “If you don’t like it, just keep adding stuff”! There are four spots left for the workshop at the moment if you’d like to join us. Have a great day and thanks for following SHARDS!

Stamps R OK – sometimes

   stamp4I’ve always been slightly rubber-stamp-phobic about using them as a “fine art” tool, and still get a bit twitchy about it. But after seeing some of the beautiful repeat pattern fiber art in the FASA show, I’m coming to realize that stamping can be a great way to explore the kinds of designs found in traditional batik and shibori-like kimono patterns. Therefore, I’ve resurrected those little cat stamps and calligraphy stamps and pattern stamps and am making a little surface design sampler of stamp fragment patterns on paper. It’s simple – just stamp2mask off areas of 5×7″ paper with blue tape (stick it on your jeans first to lint it up for easy removal).

Then stamp portions of a design repeatedly, alternating images. You can do a couple in five minutes and then collect them in a folder with notes on the back about what stamps and inks you used. I’m going to do a series of small paper kimonos soon and will use my favorite pattern for those. Stamping is not rocket science but it’s a lot of fun if you view it as pattern exploration and surface design. Click on the images below to see the detail – it’s pretty interesting and dead-easy.

stamp3 stamp1