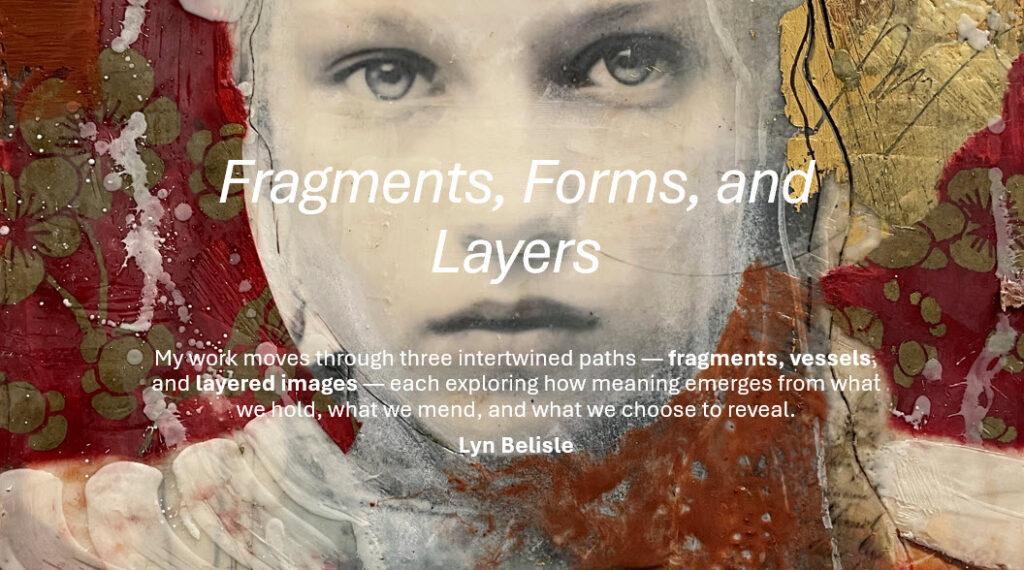
Series Introduction
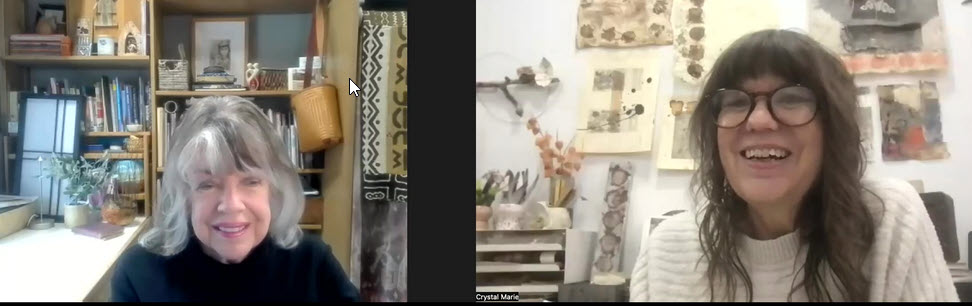
This week, the remarkable artist and teacher Crystal Marie Neubauer invited me to talk with her online group about my work. It was an honor — Crystal’s influence on my creative life goes back years — but it also presented a surprising challenge. How do you describe an art practice that moves through so many materials and forms? Encaustic, collage, fiber, clay, found objects… I’ve never been a one-medium artist, and trying to explain everything at once felt impossible.
Then I realized that my work isn’t united by medium at all. It’s united by object and intention — by the forms that keep reappearing no matter what materials I’m using. And when I stepped back, three clear paths emerged:
-
Santos & Shards — guardians, icons, and the stories held in fragments
-
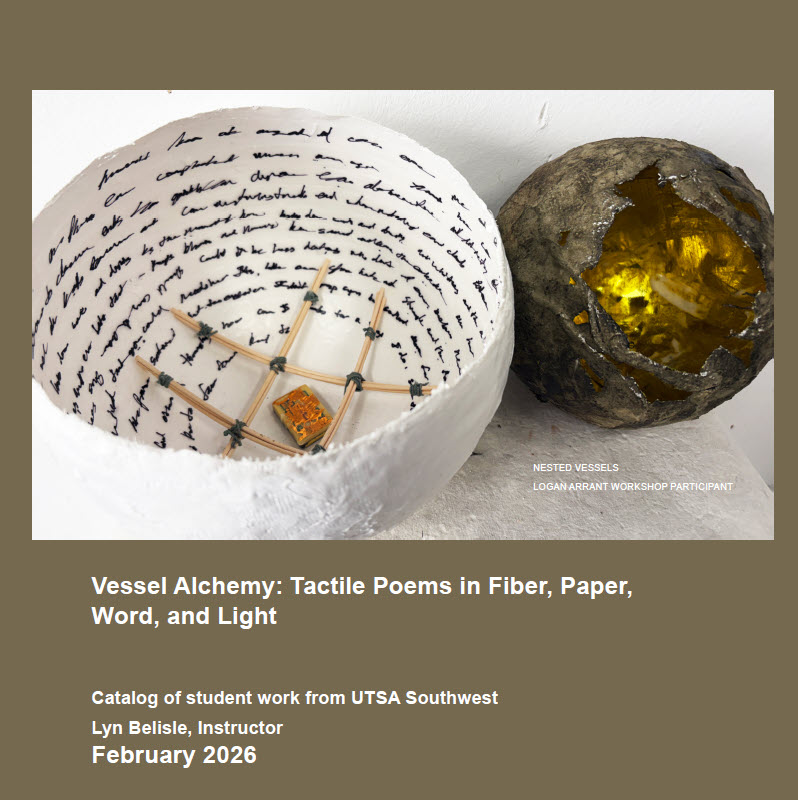
Vessels — boats, bowls, pods, and the metaphor of holding
-
Layered Images — collage, wax, and the quiet revelations inside transparency
These three paths intertwine across everything I make. They shape how I think about narrative, memory, devotion, protection, and the unseen layers beneath the surface.
This three-part blog series grows out of that conversation with Crystal and her community — an invitation to look more closely at where my work comes from, how it evolves, and how other artists might find echoes of their own practice in these structures.
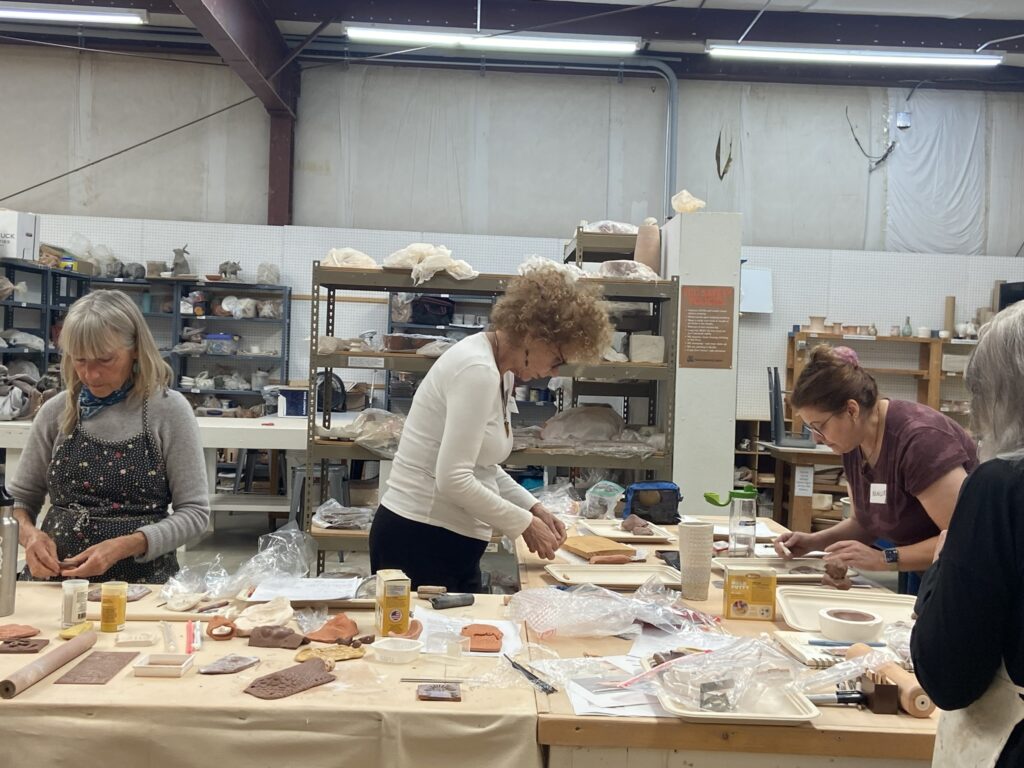
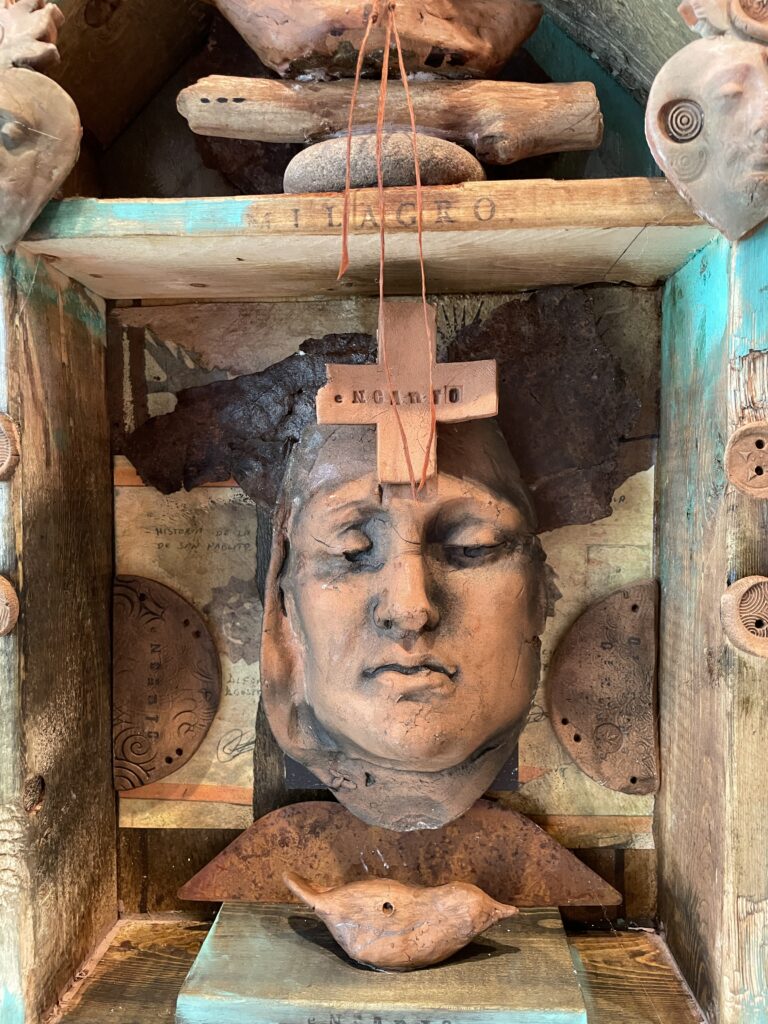
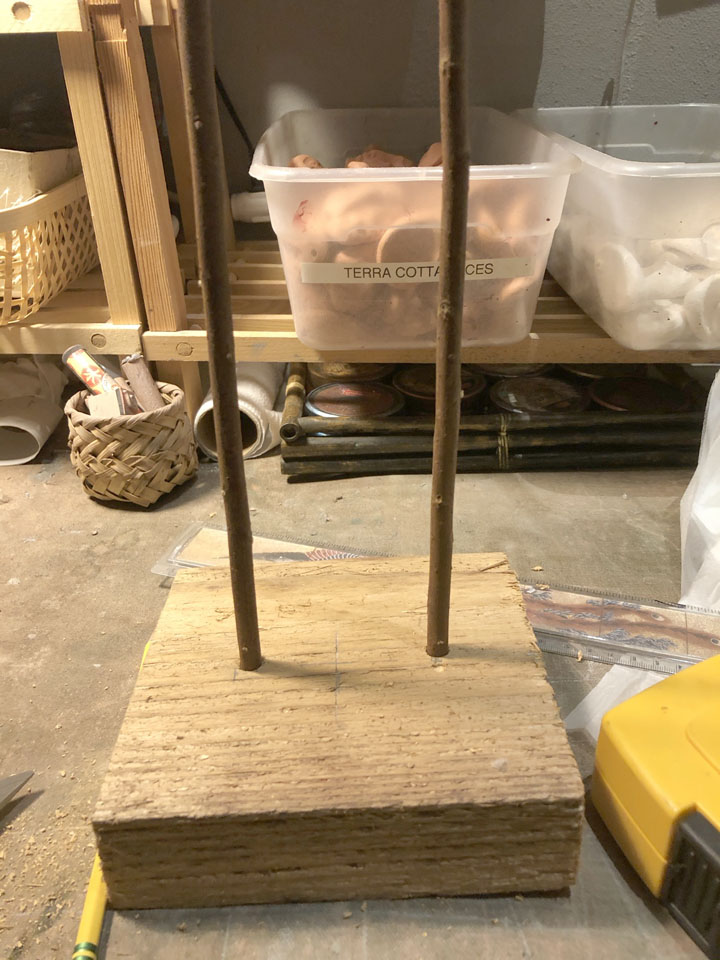
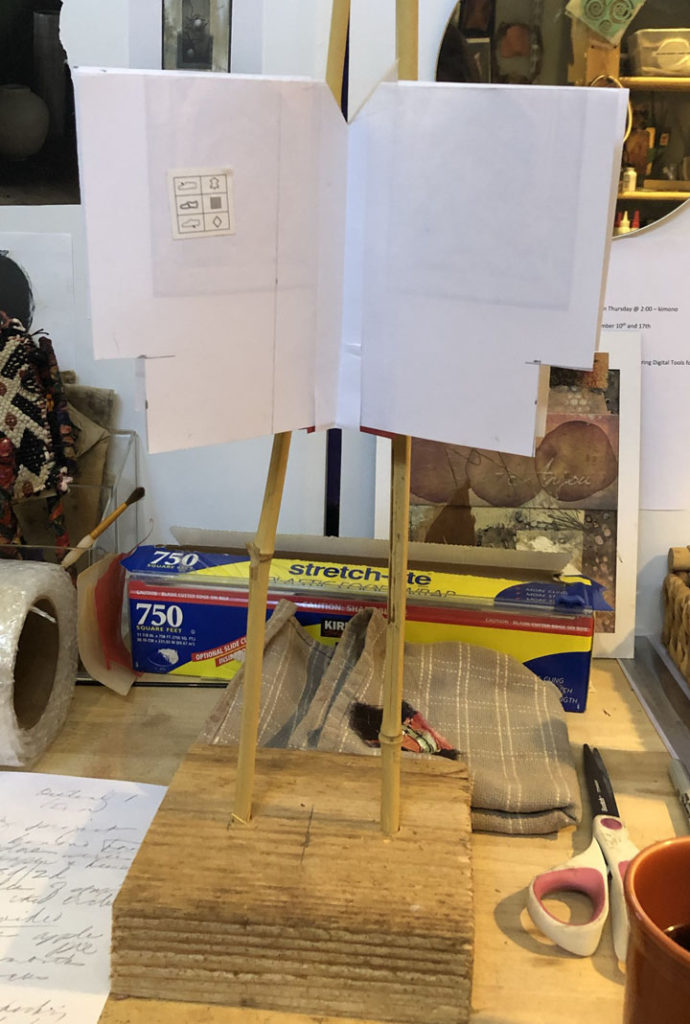
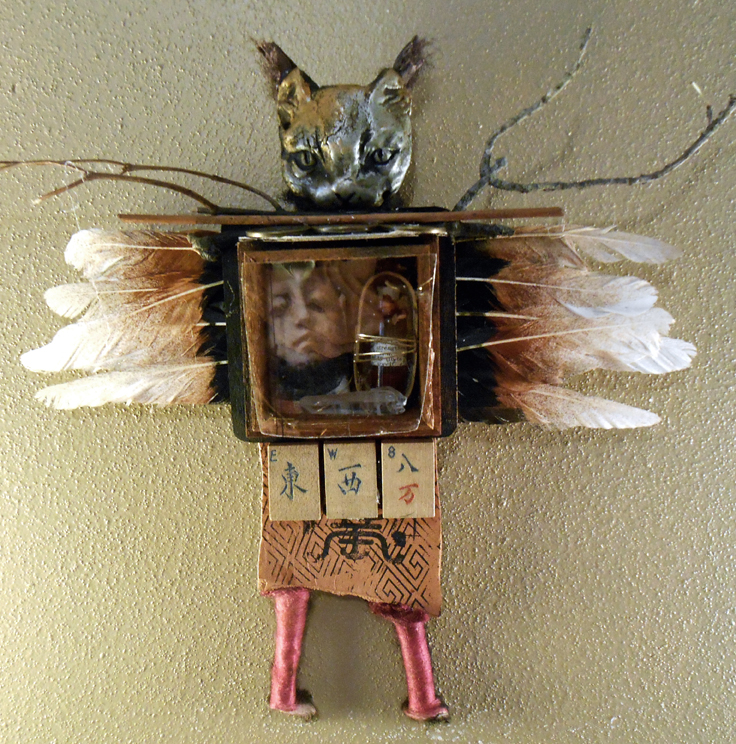
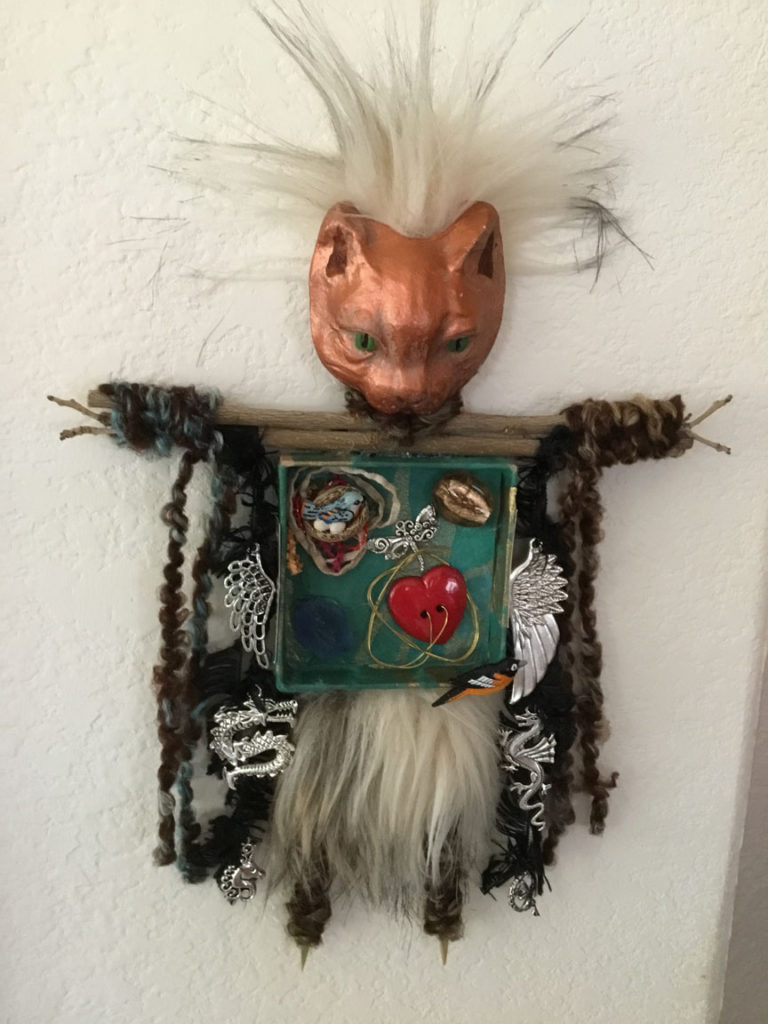
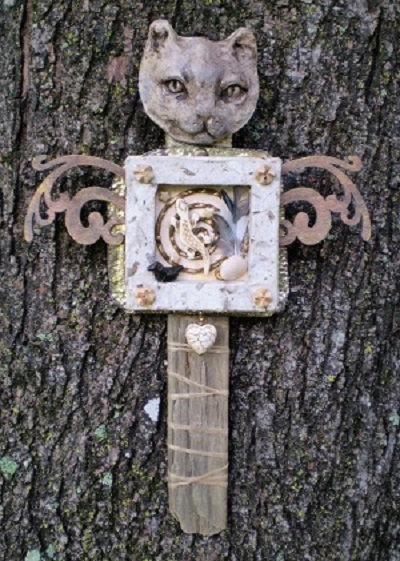
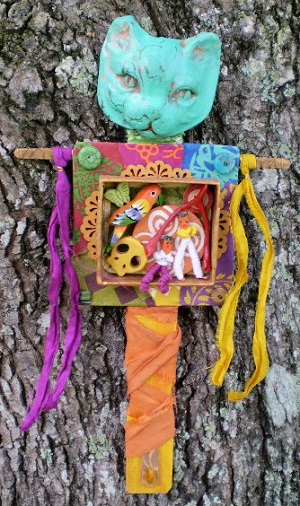
Taos Ceramic Center Workshop – Shards and Santos
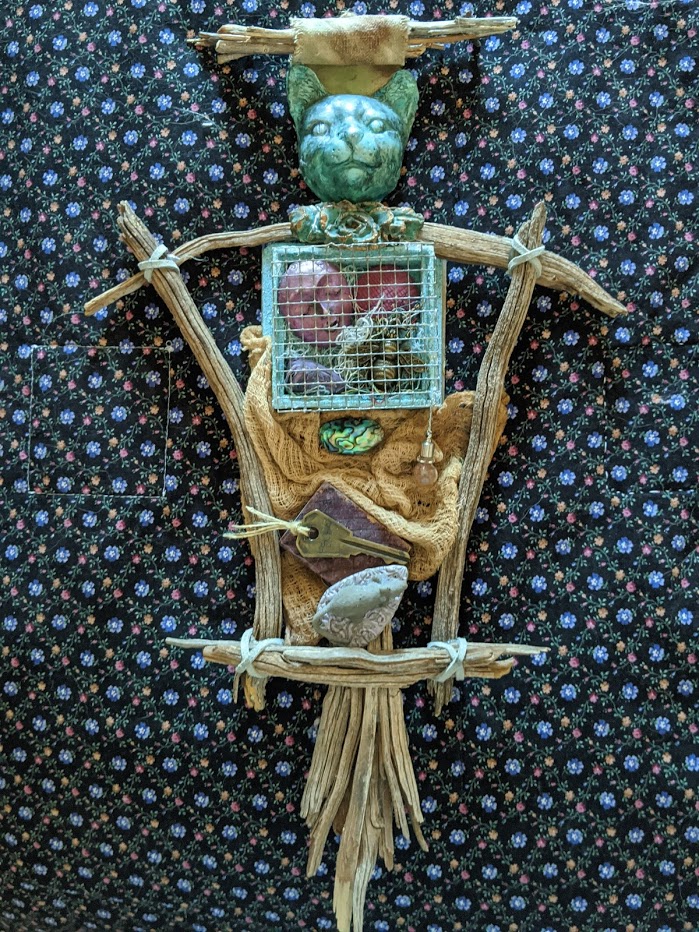
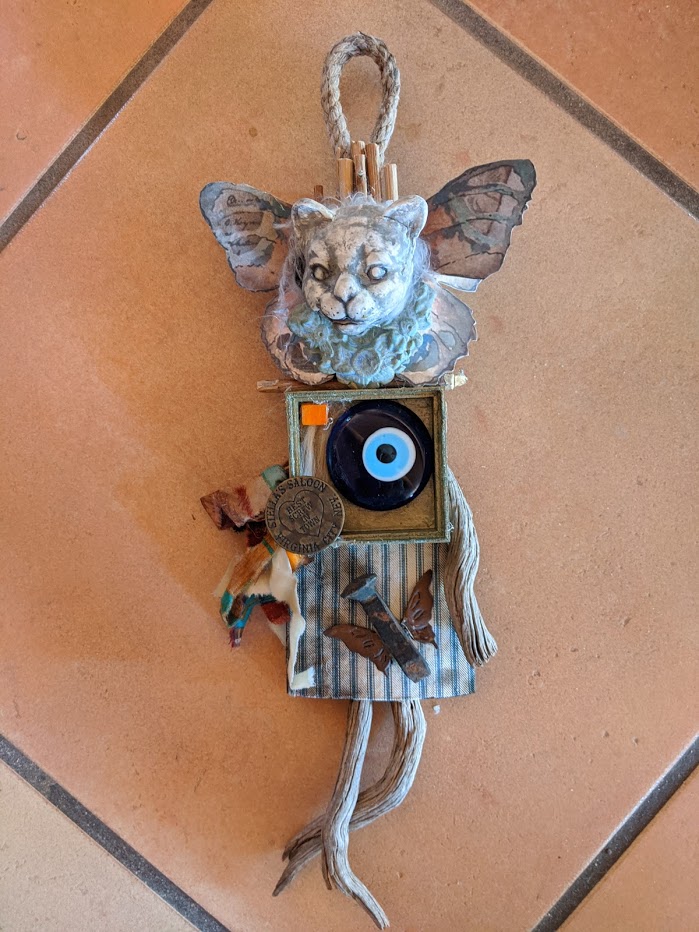
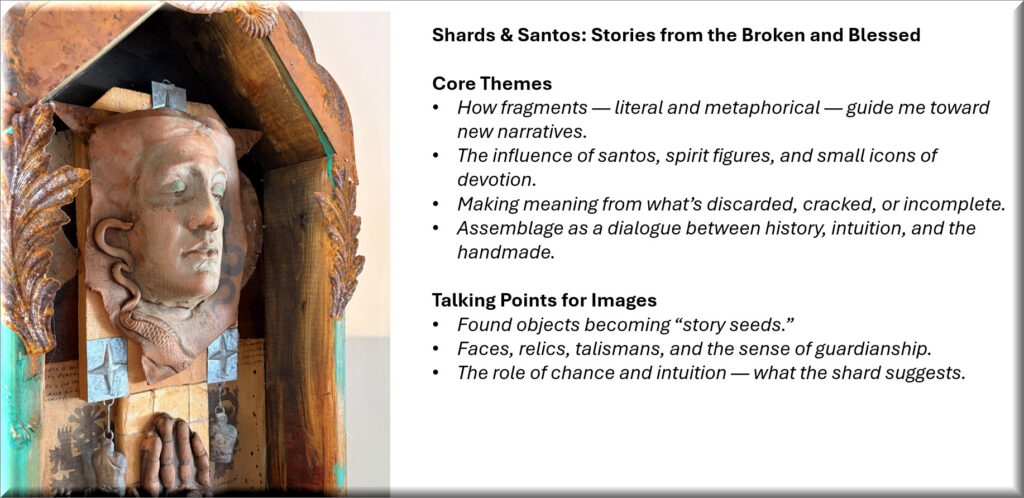
Part 1: Shards & Santos — Stories from the Broken and Blessed
A three-part series on Fragments, Vessels & Layers
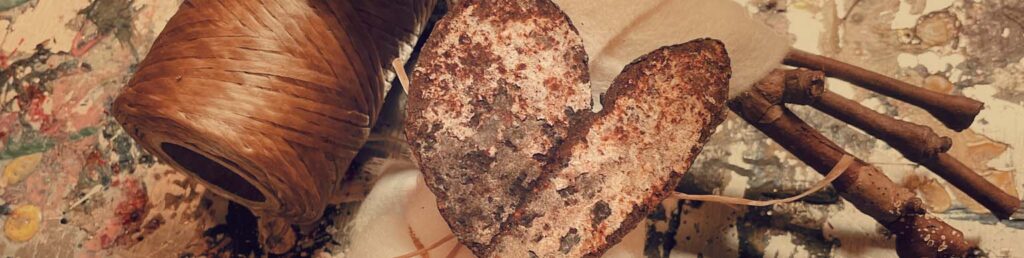
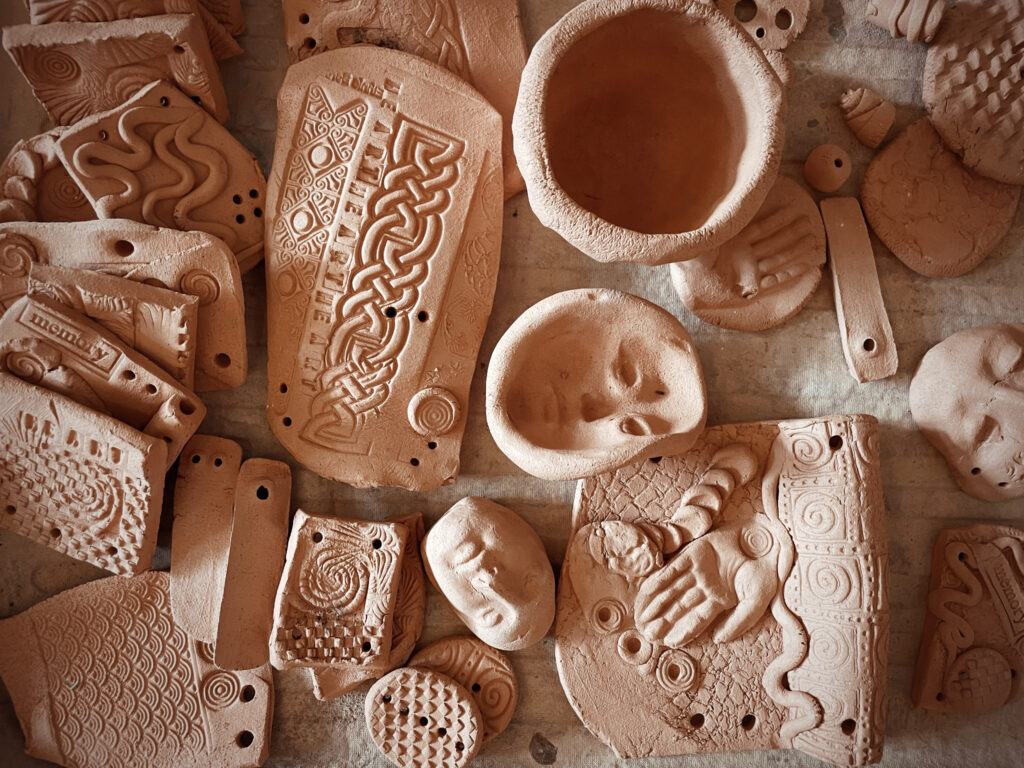
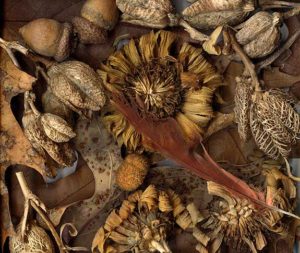
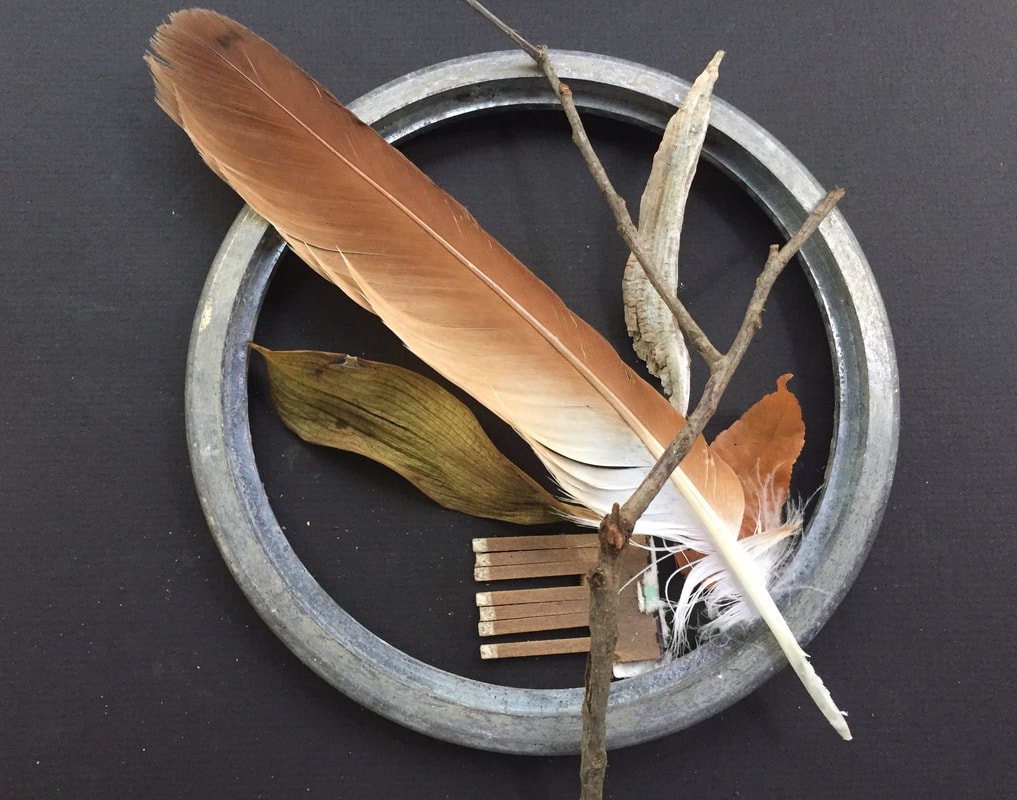
We rarely begin with a whole story. More often, meaning appears in pieces — a scrap of paper, a chipped relic, a bit of fabric softened by time. Over the years, I’ve learned that these fragments are not the leftovers; they’re the invitations.
This first post in my three-part series returns to the roots of an idea that has shaped much of my work — and shaped the work of many artists I’ve taught, especially during my Shards & Santos workshop in Taos. That circle of students helped me see just how universal the language of fragments can be.

How Shards Become Stories
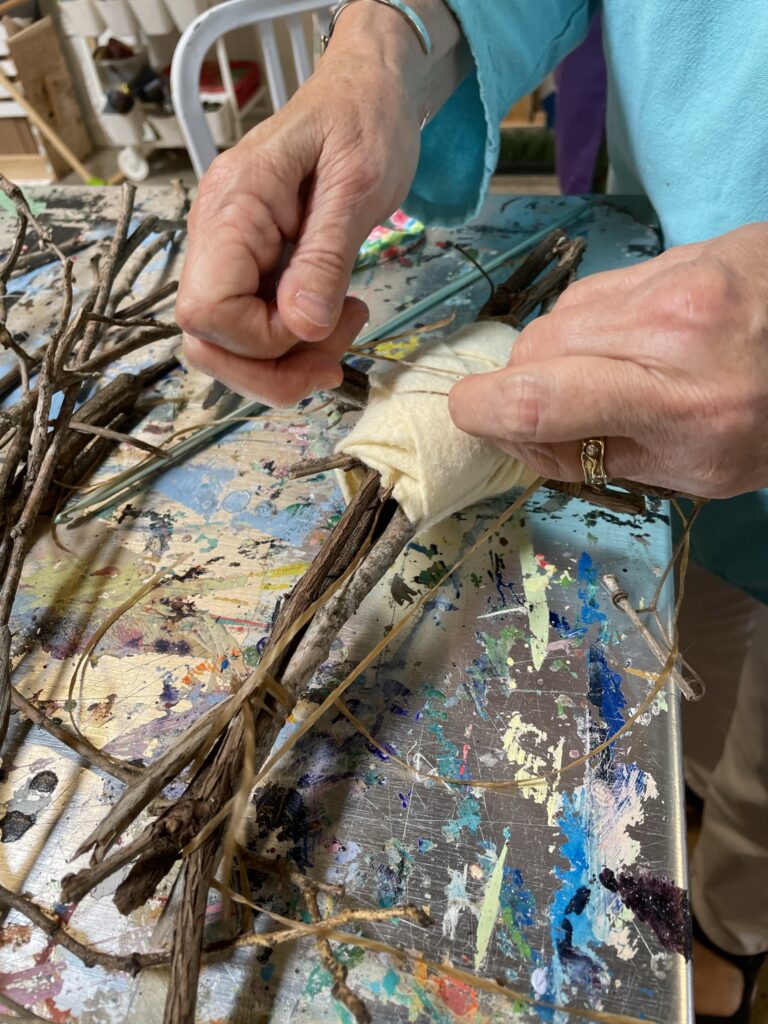
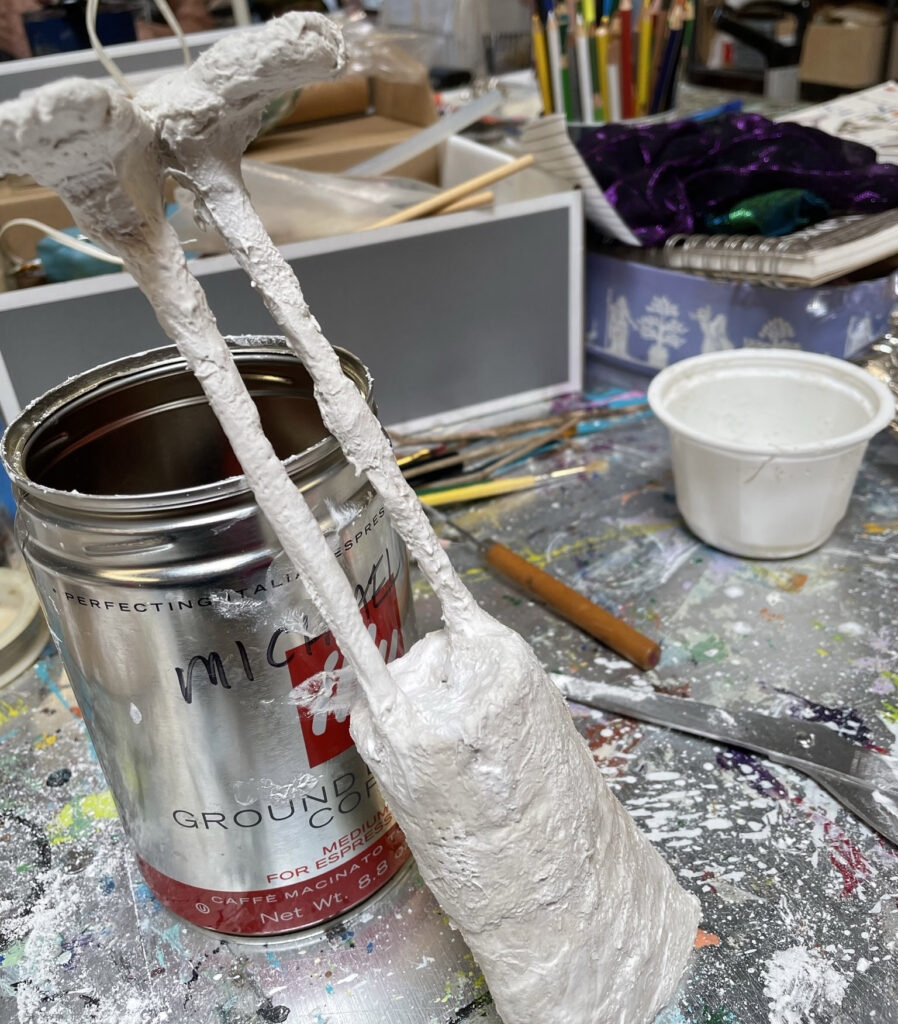
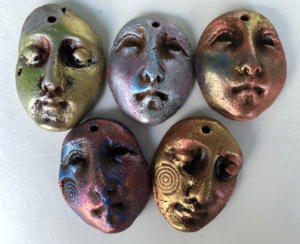
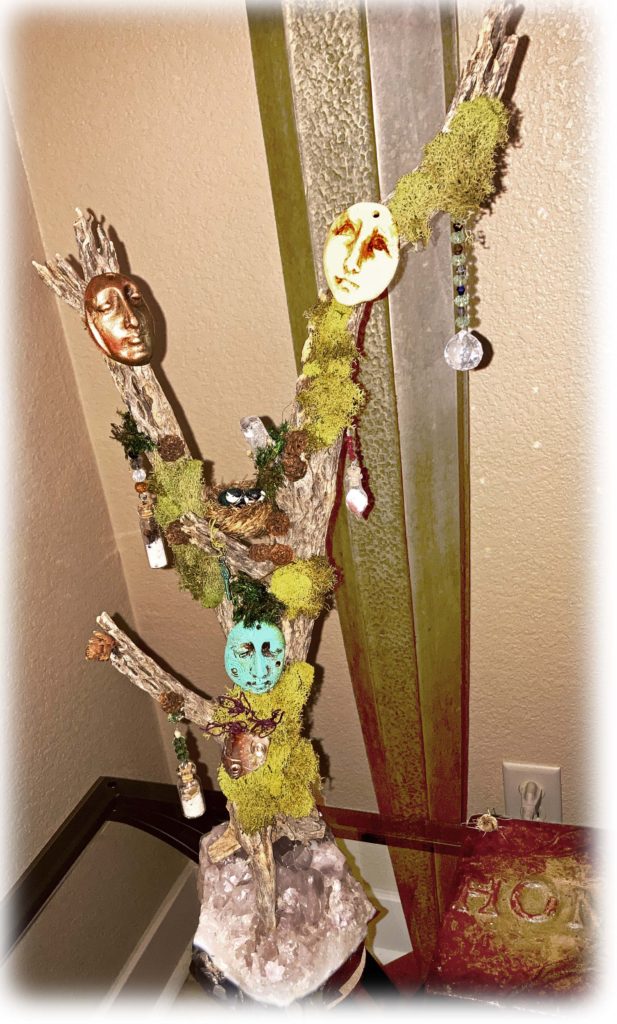
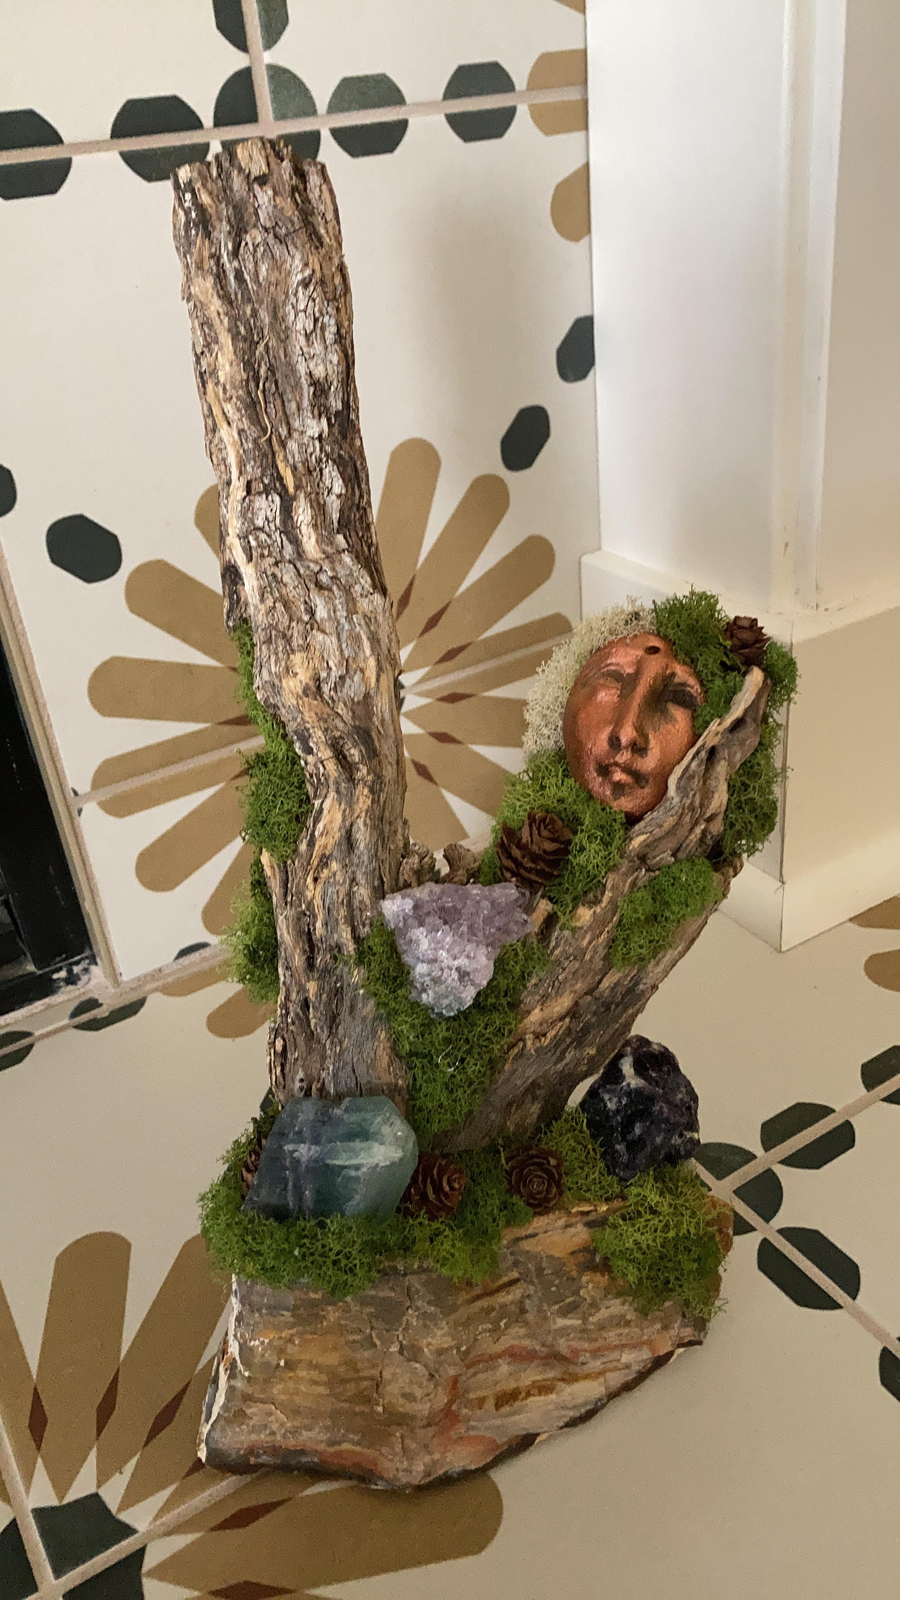
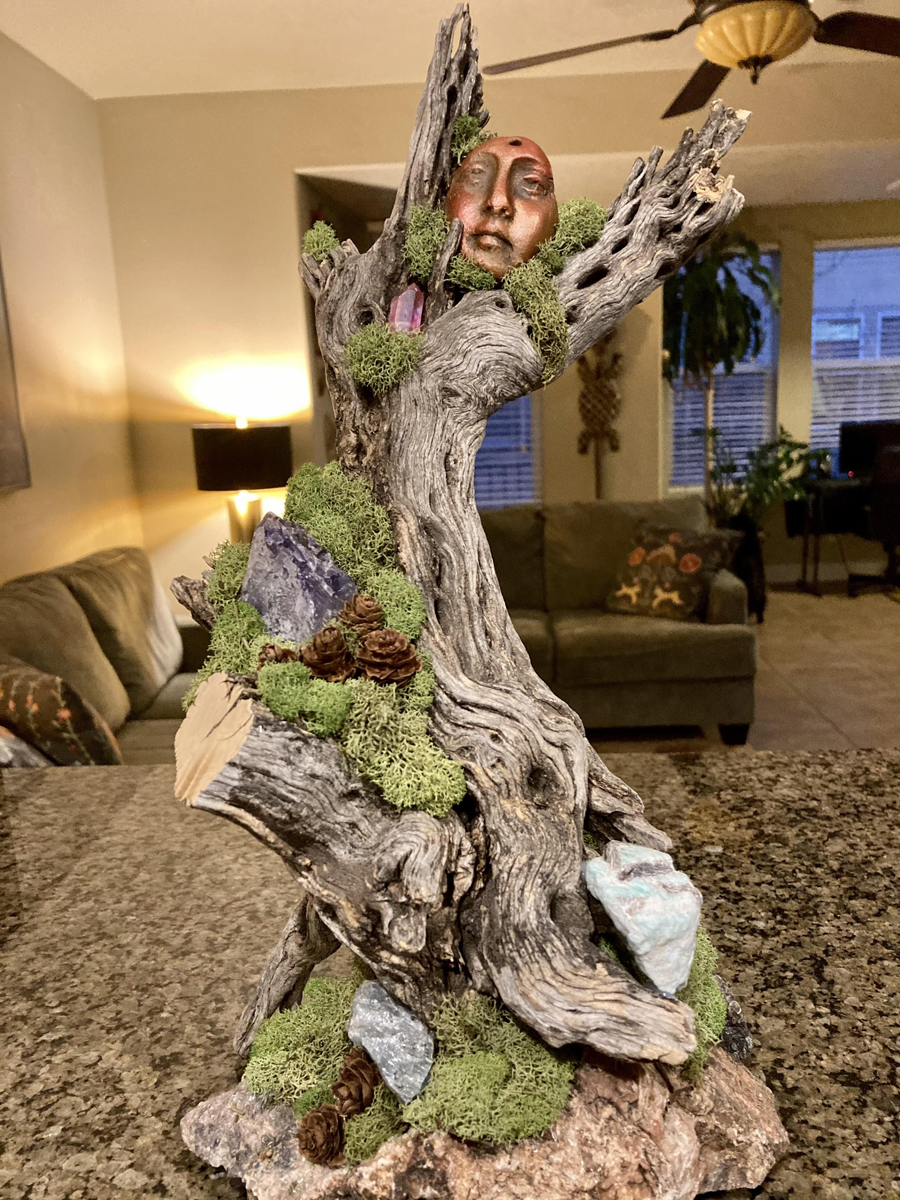
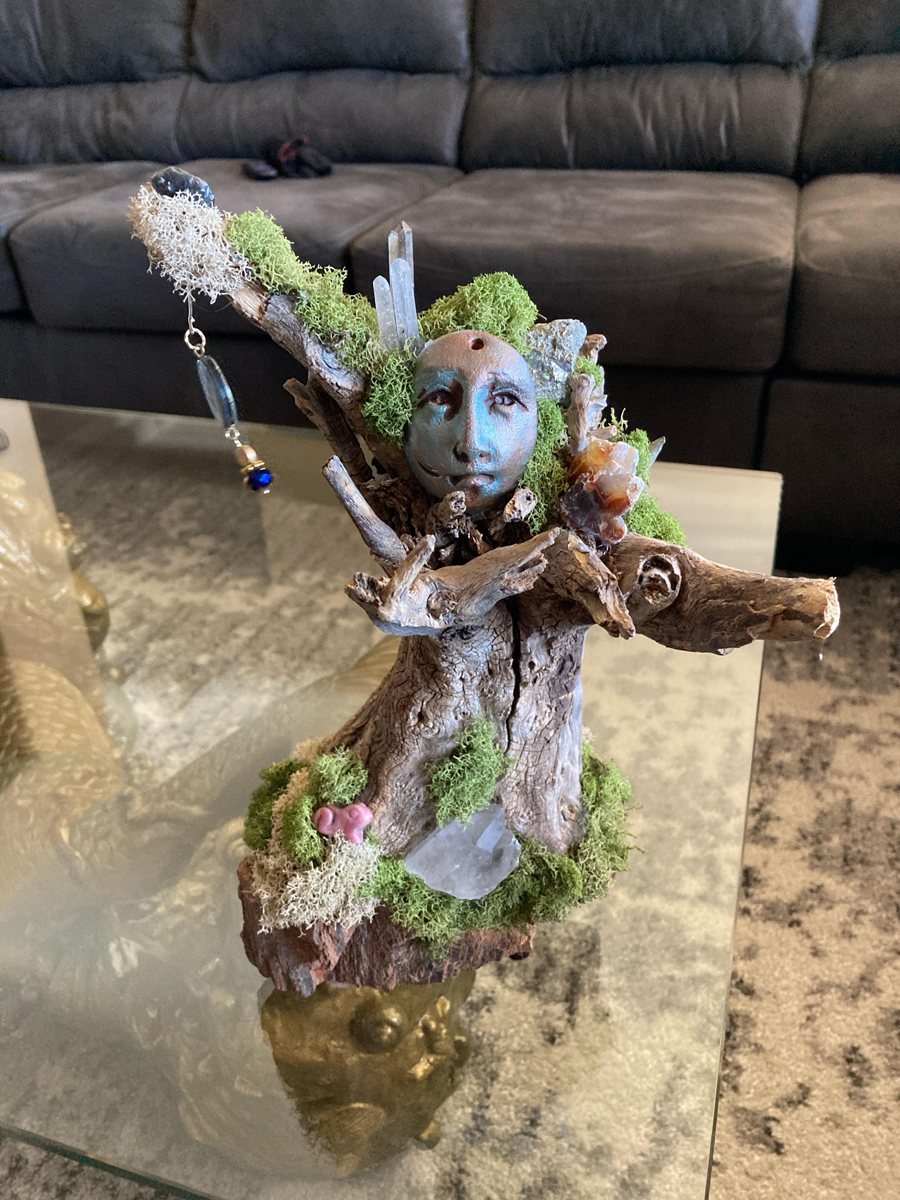
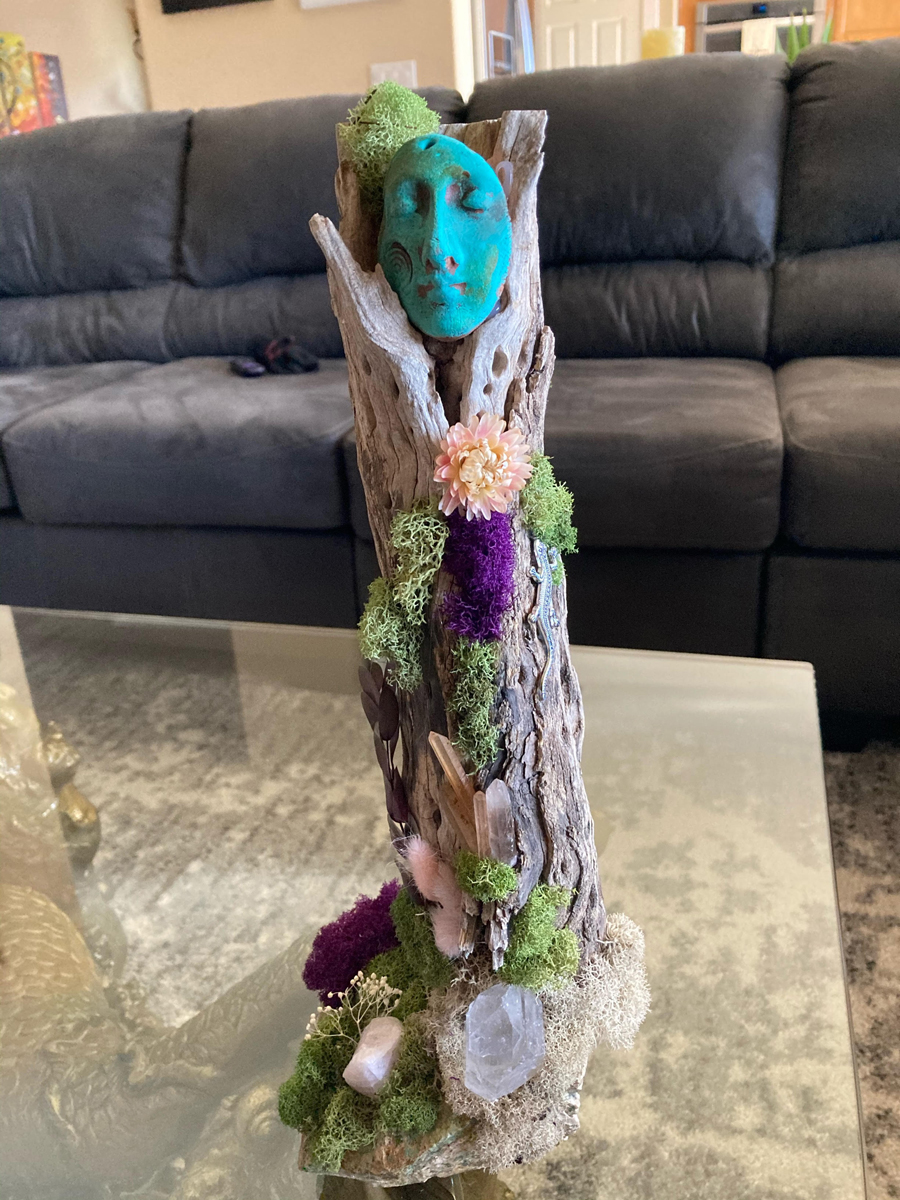
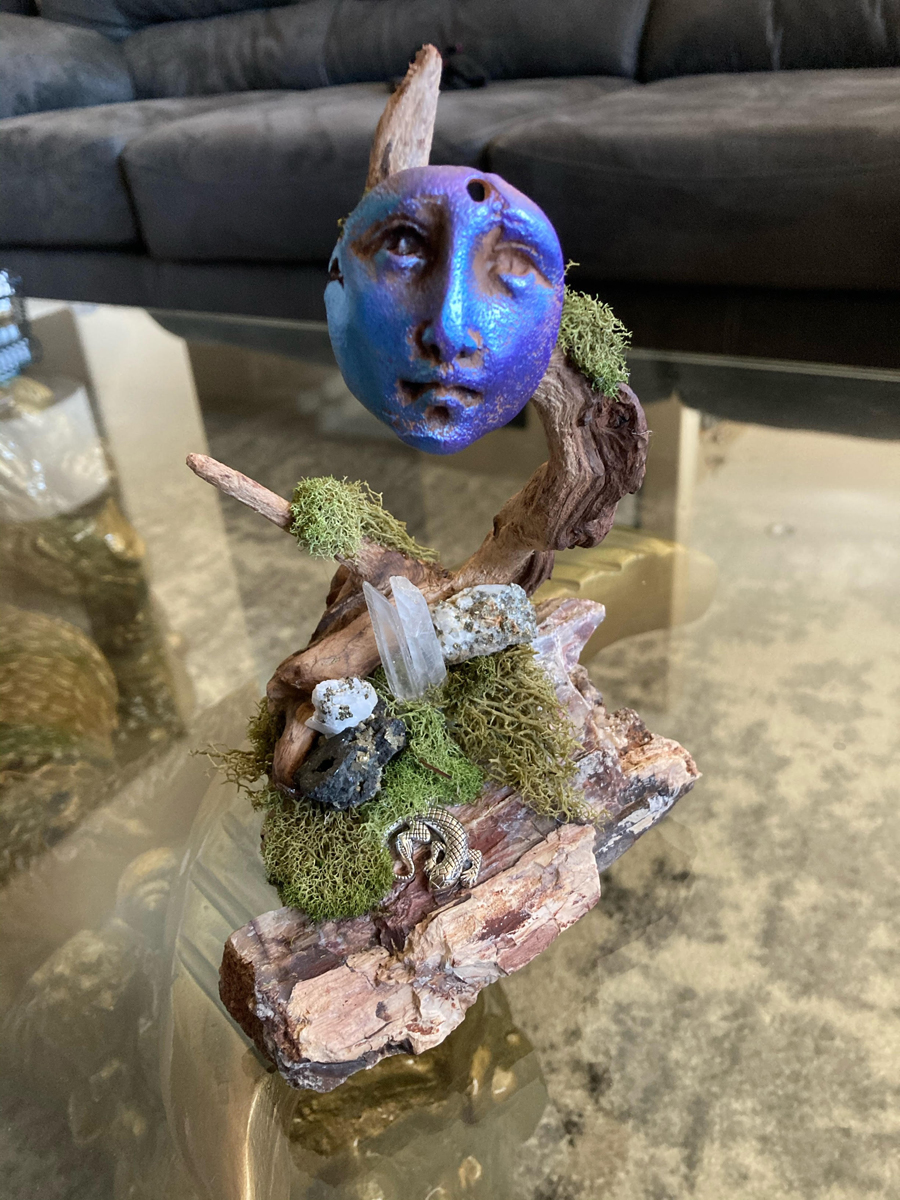
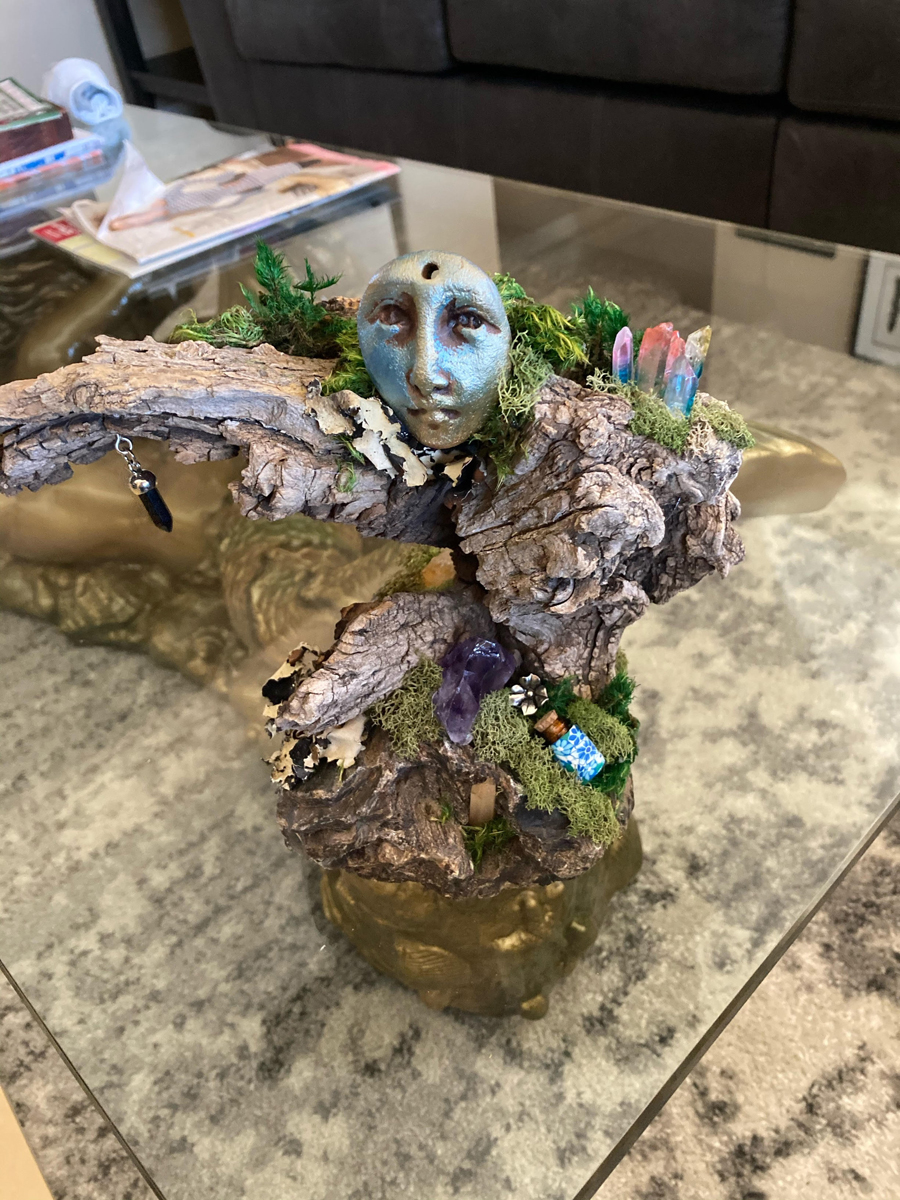
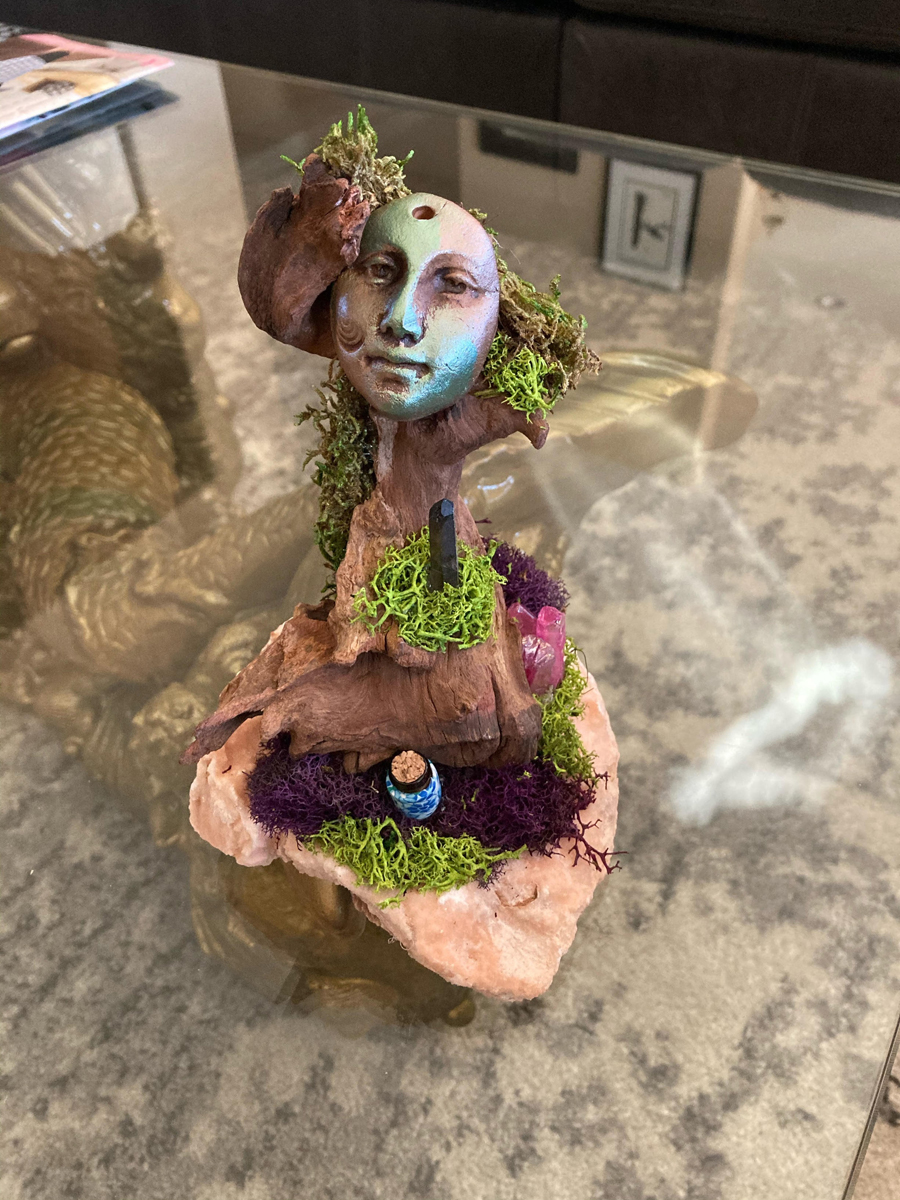
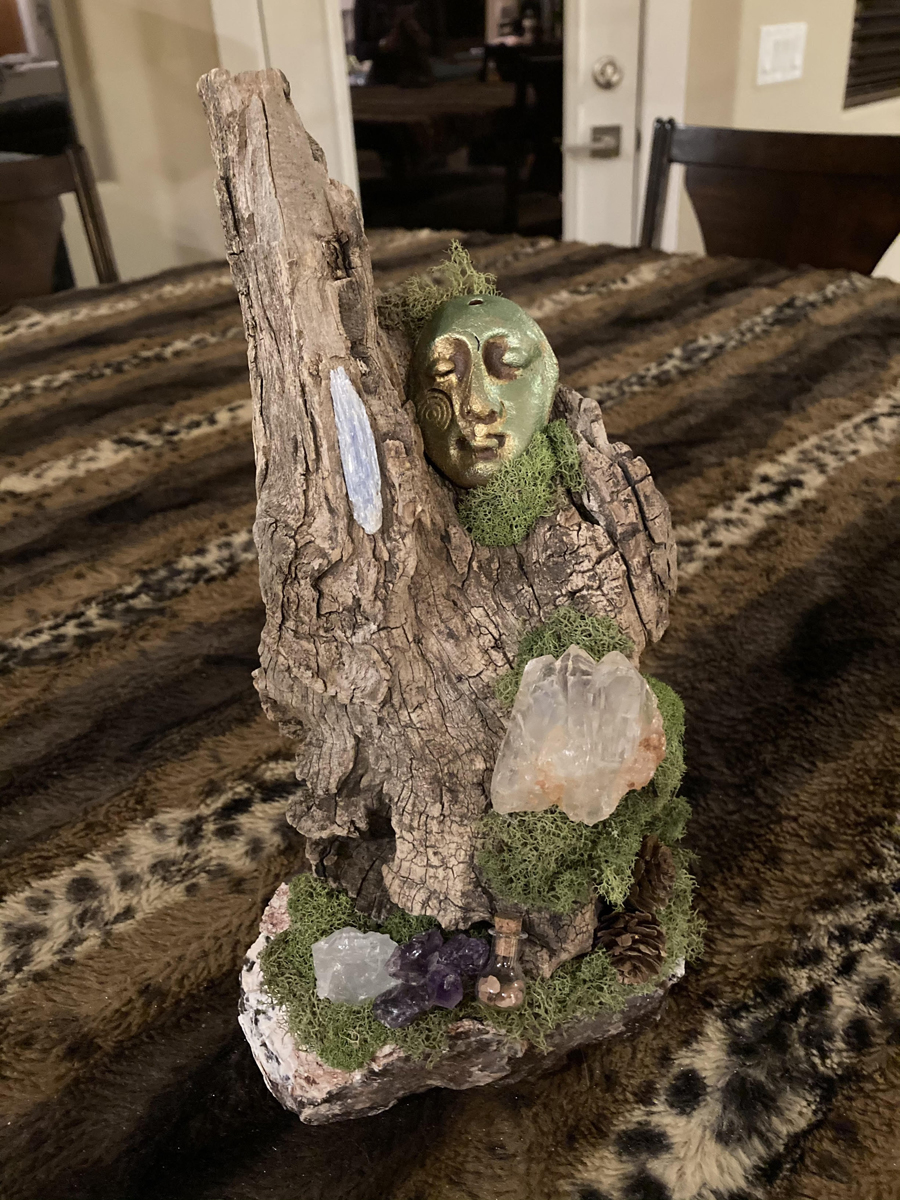
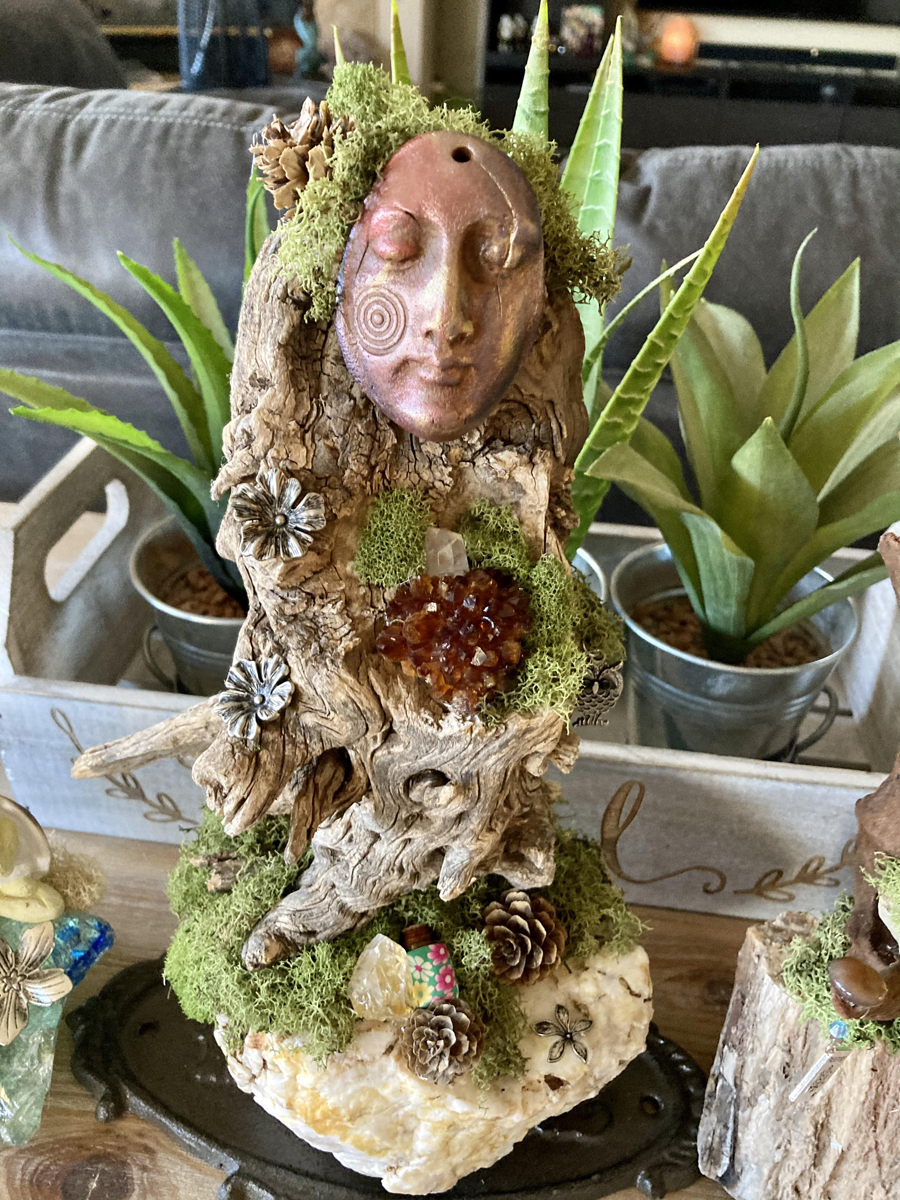
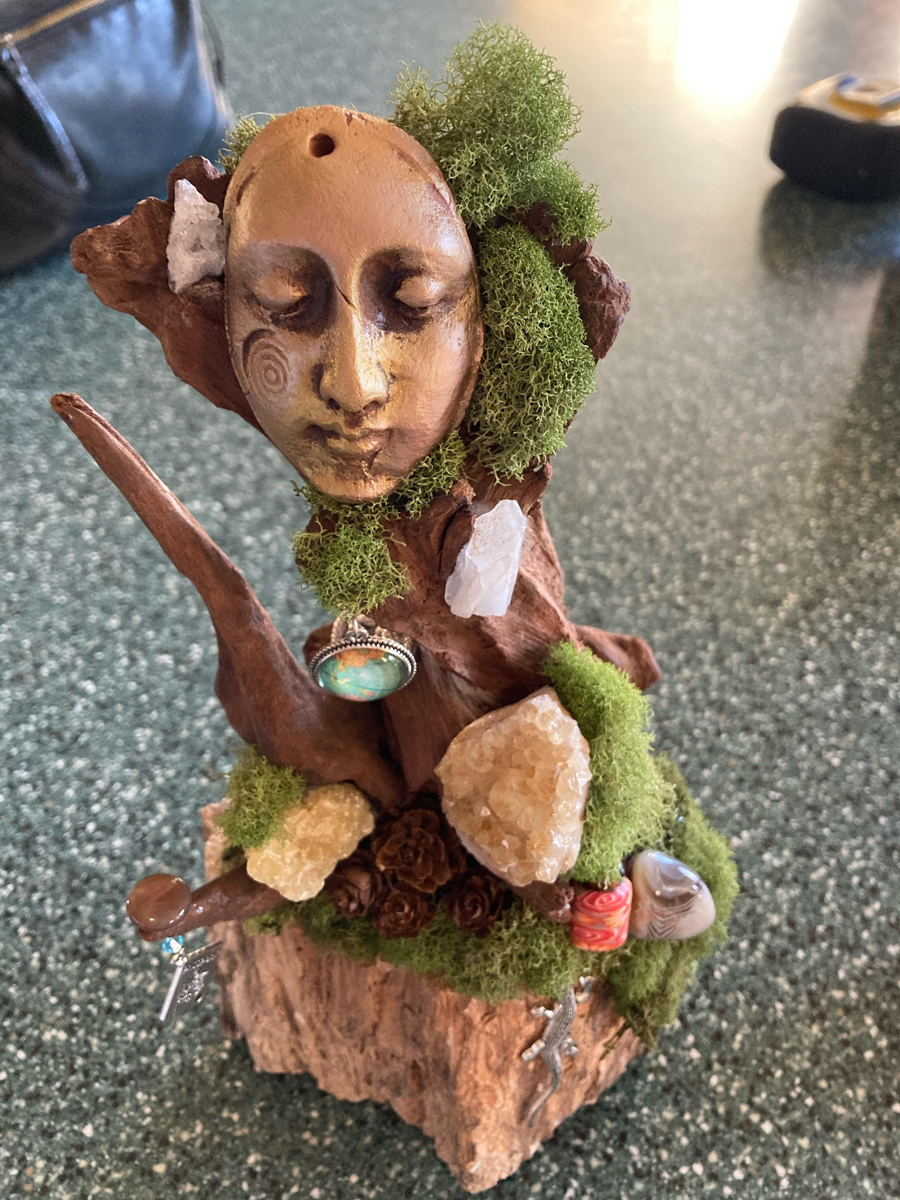
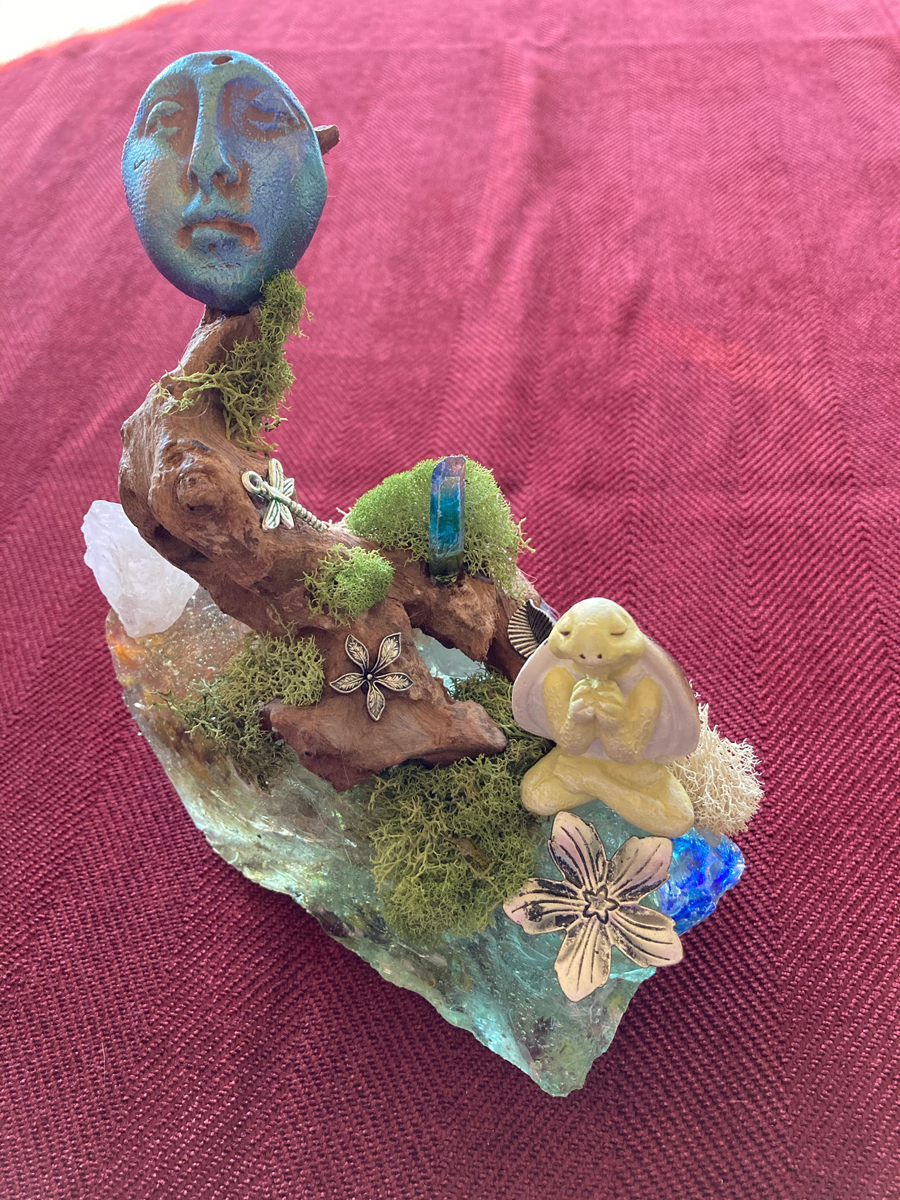
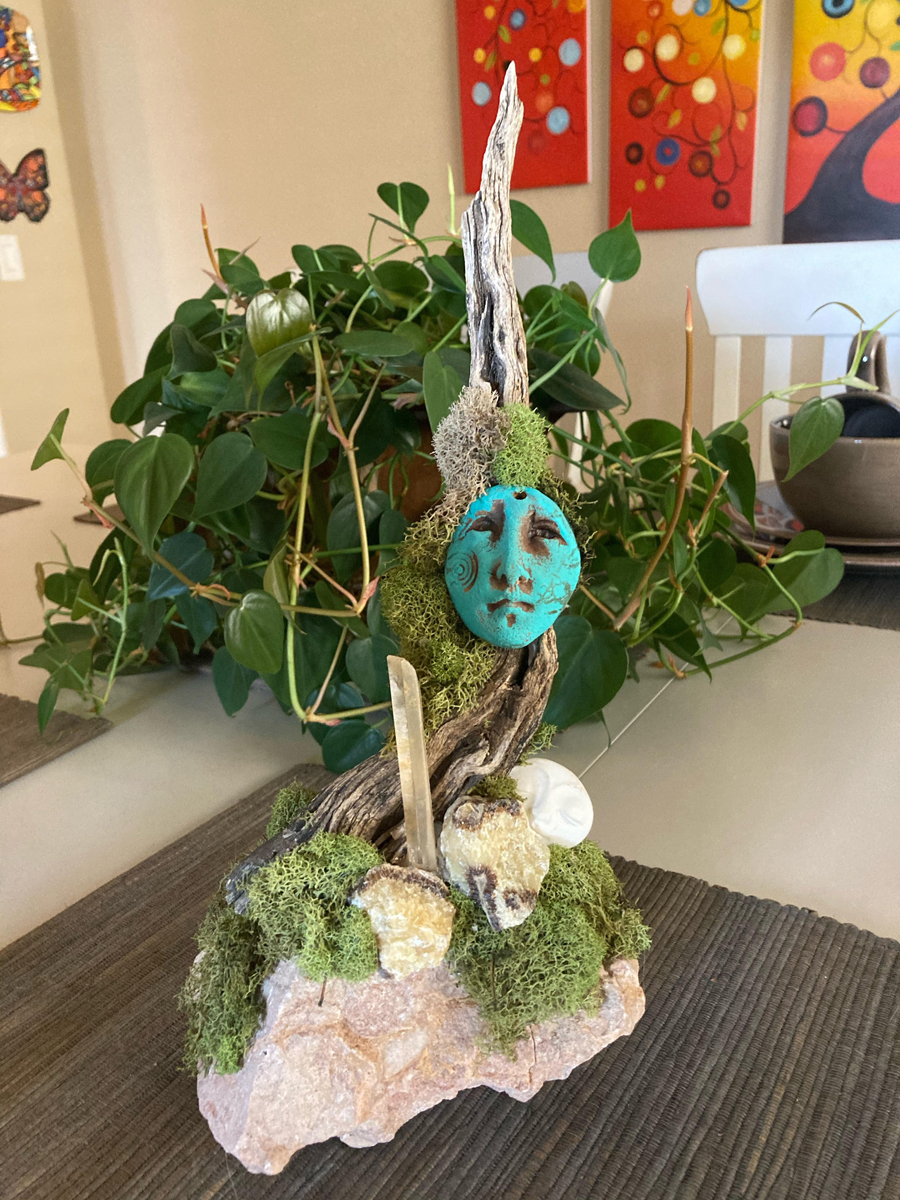
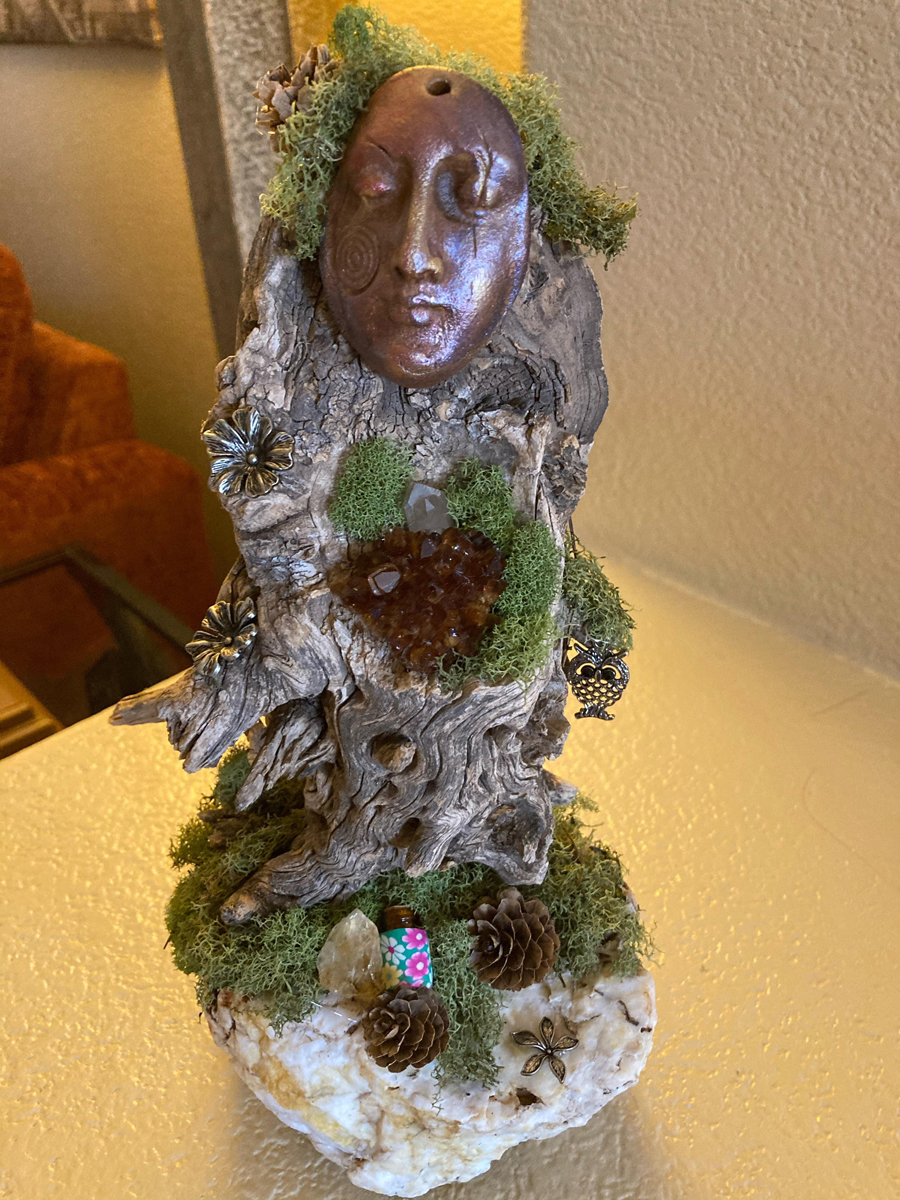
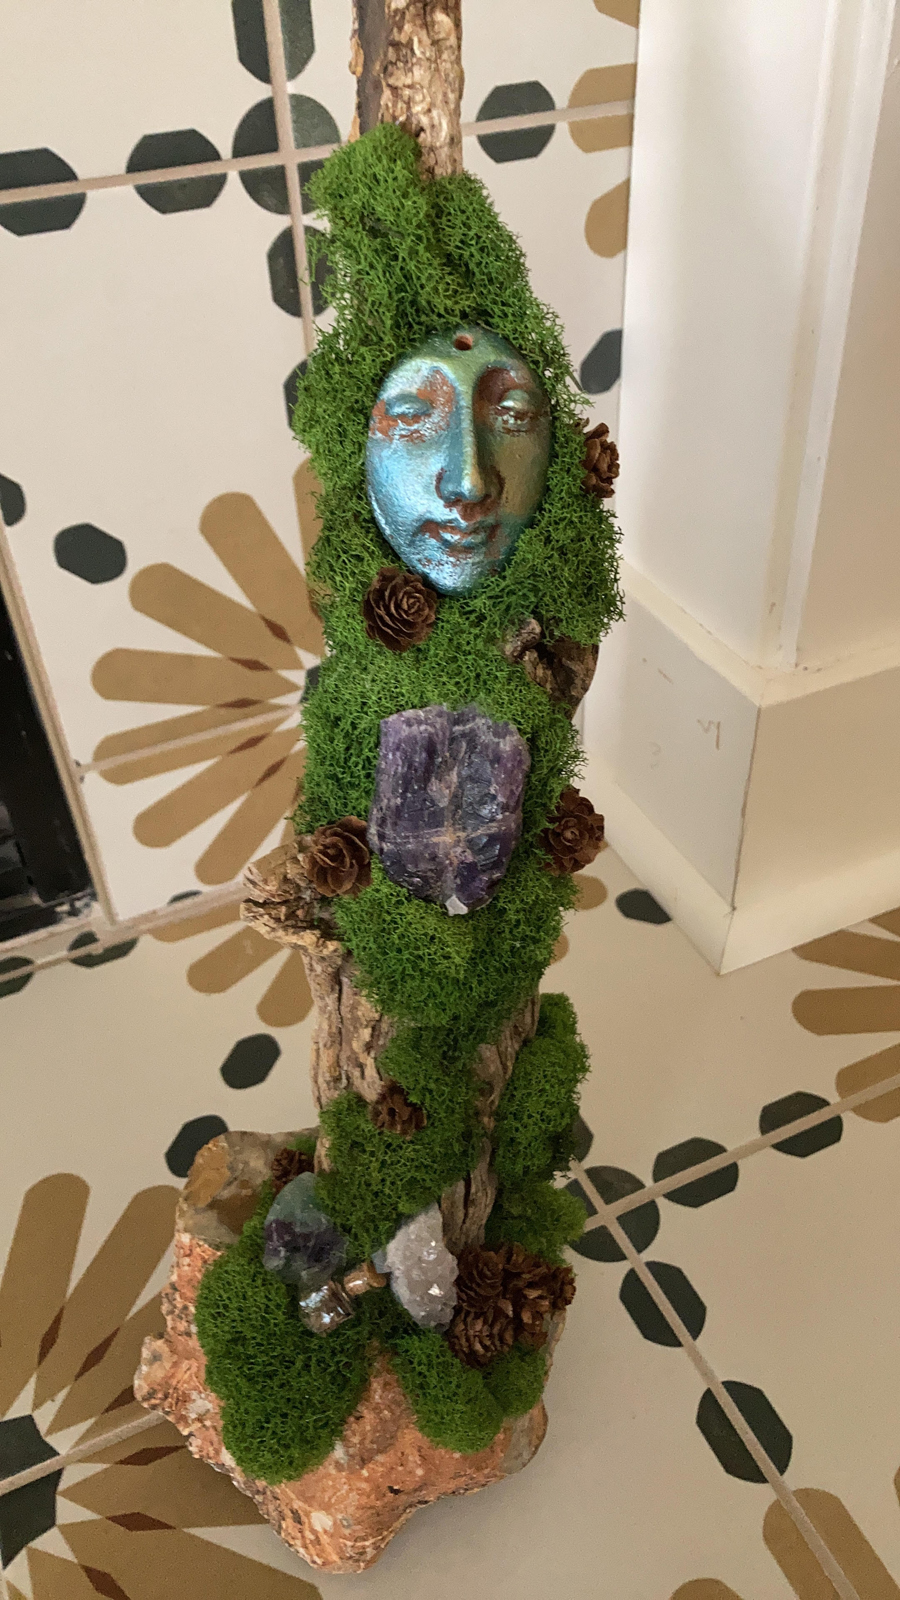
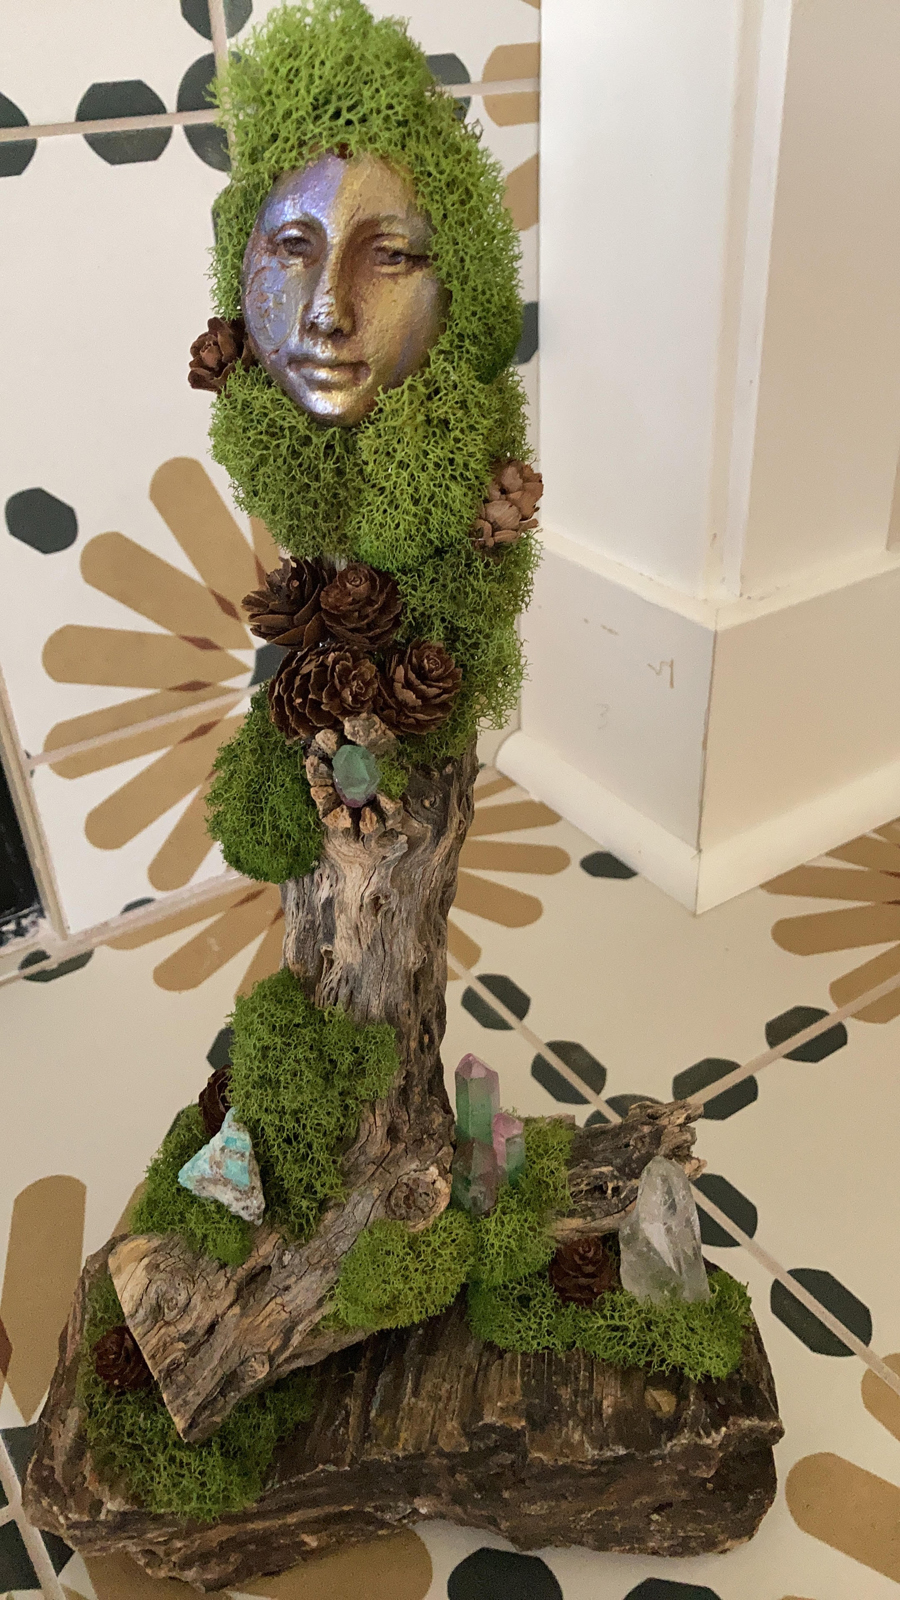
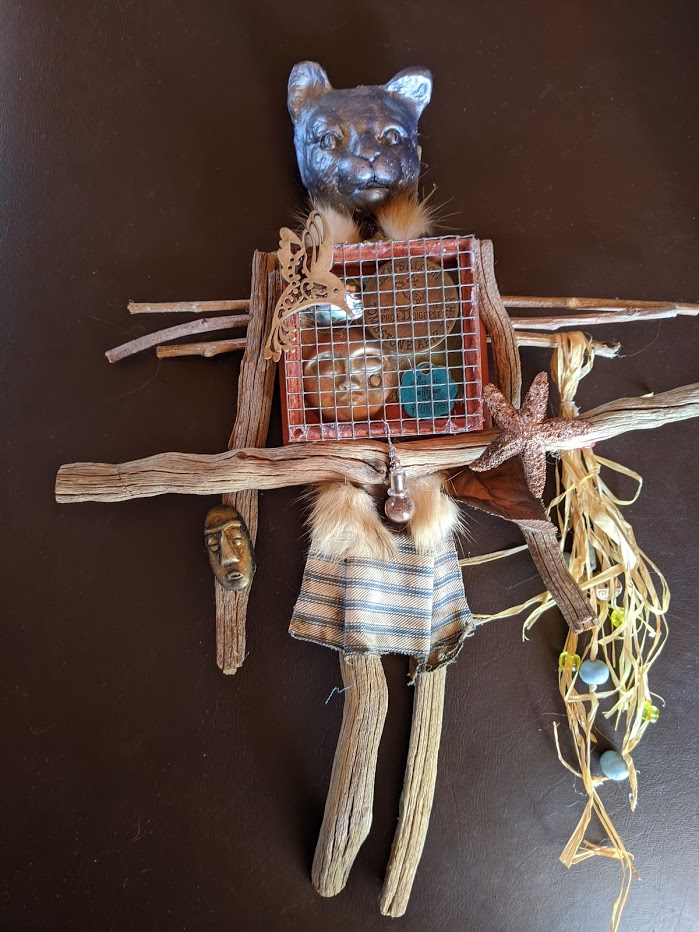
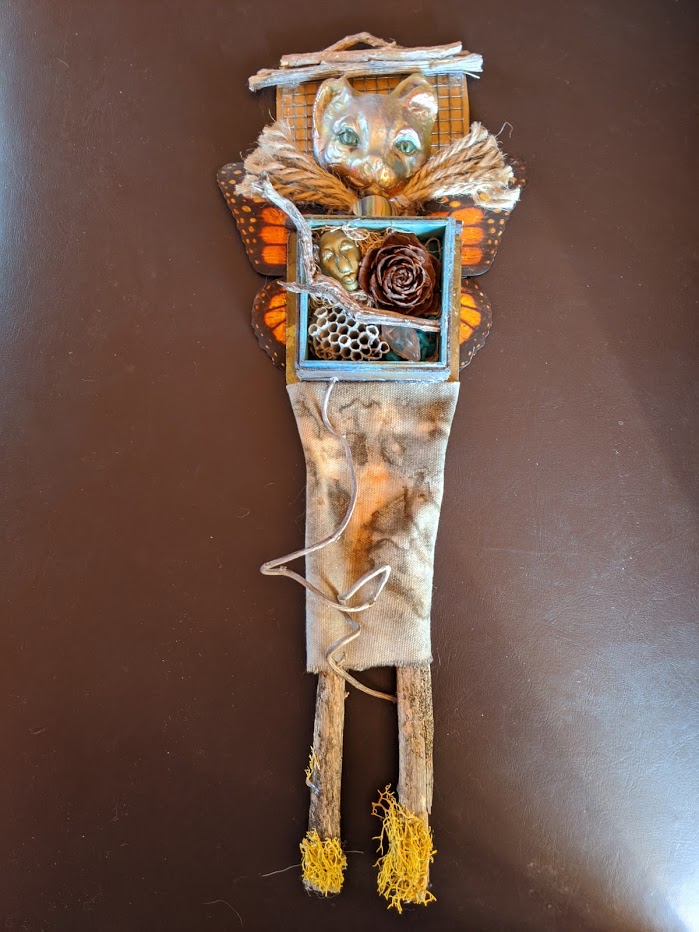
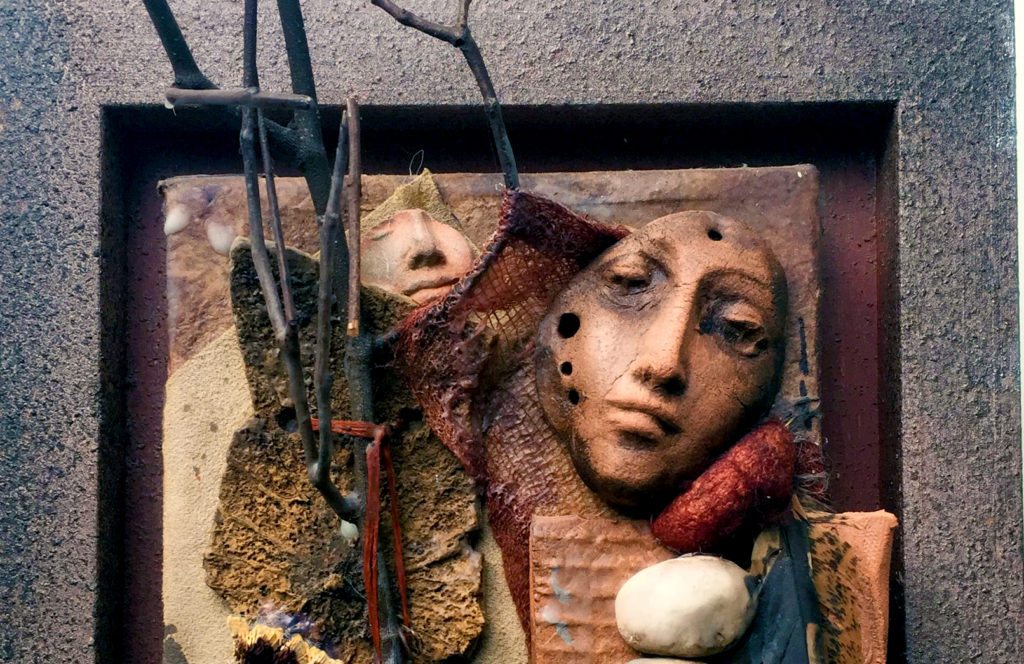
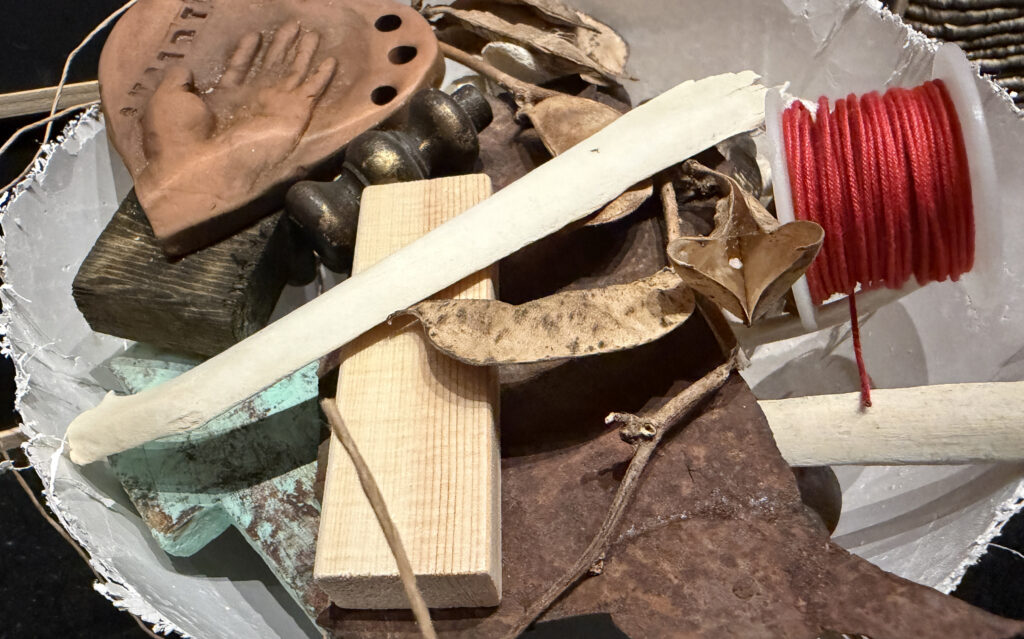
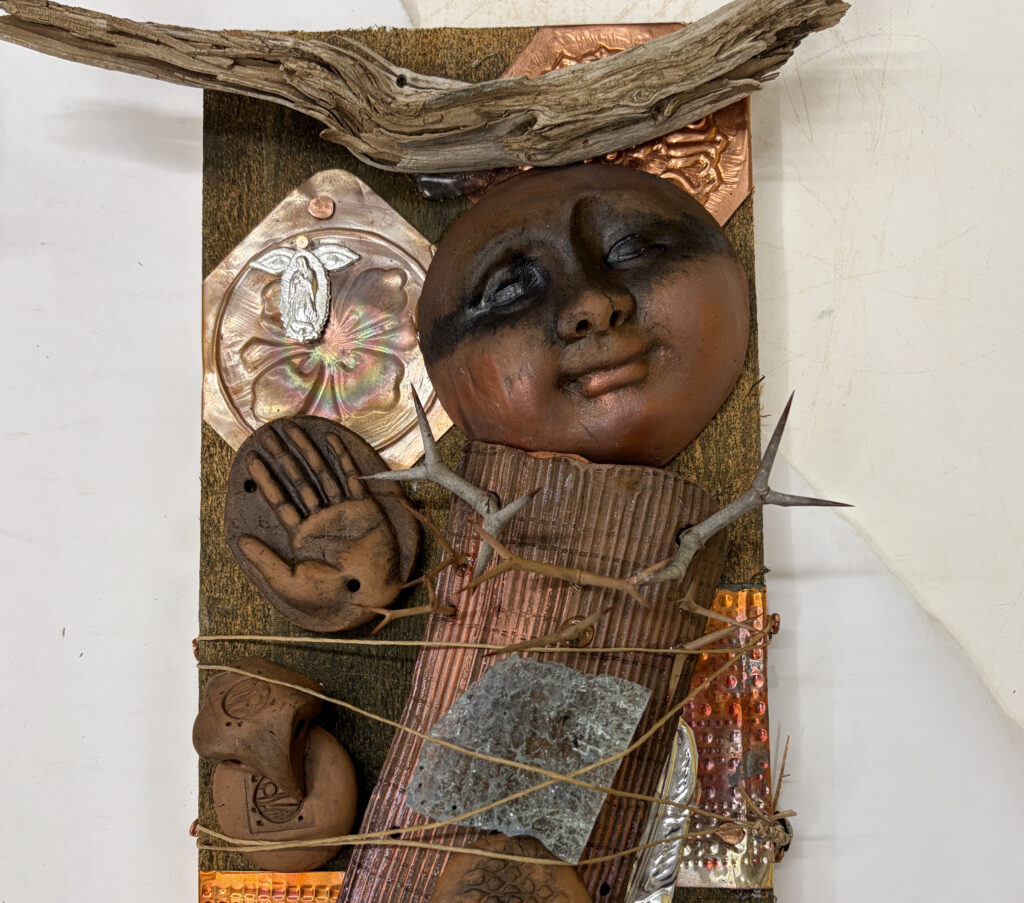
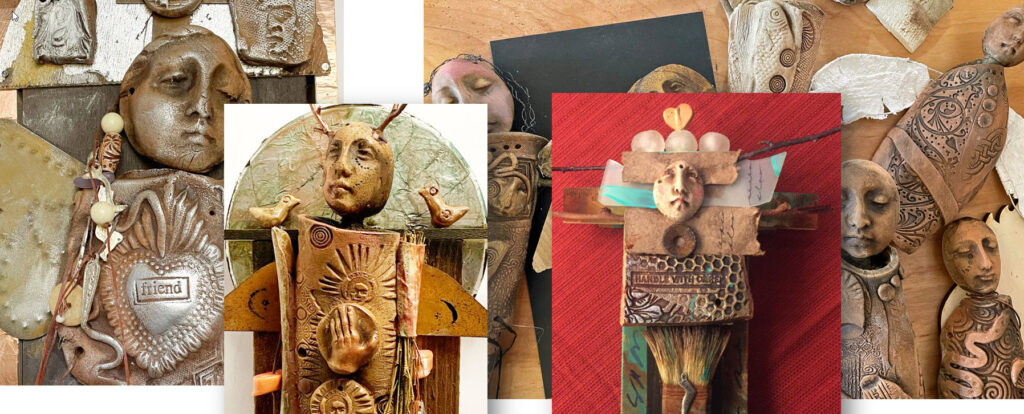
In my own practice, fragments arrive like clues: a small clay face, a scrap of rusted tin, a wooden bit that once held something together. But in Taos, I watched my students discover that same moment of recognition — the instant a found object becomes a story seed.
One student picked up a cracked porcelain doll arm and immediately said, “She’s reaching for something… I don’t know what yet.” Another wound red thread around a bundle of broken twigs, transforming it into a line of healing. Someone else combined milagros and fabric scraps into a small guardian who looked both ancient and brand new.

Their work reminded me that the power of fragments isn’t personal to me — it’s common to all of us who rely on intuition, accident, and memory to guide the creative process.
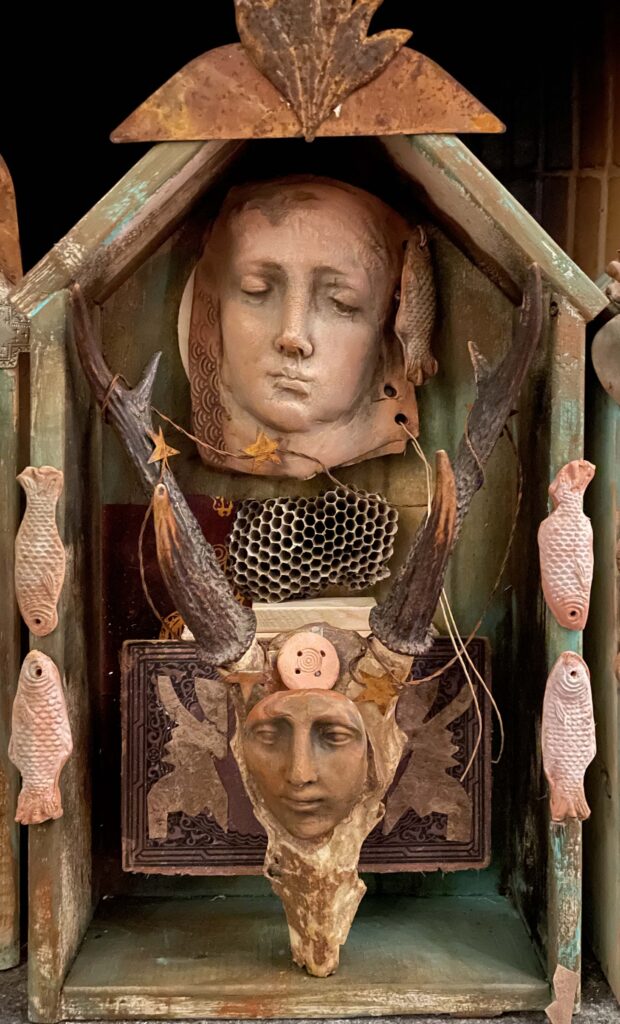
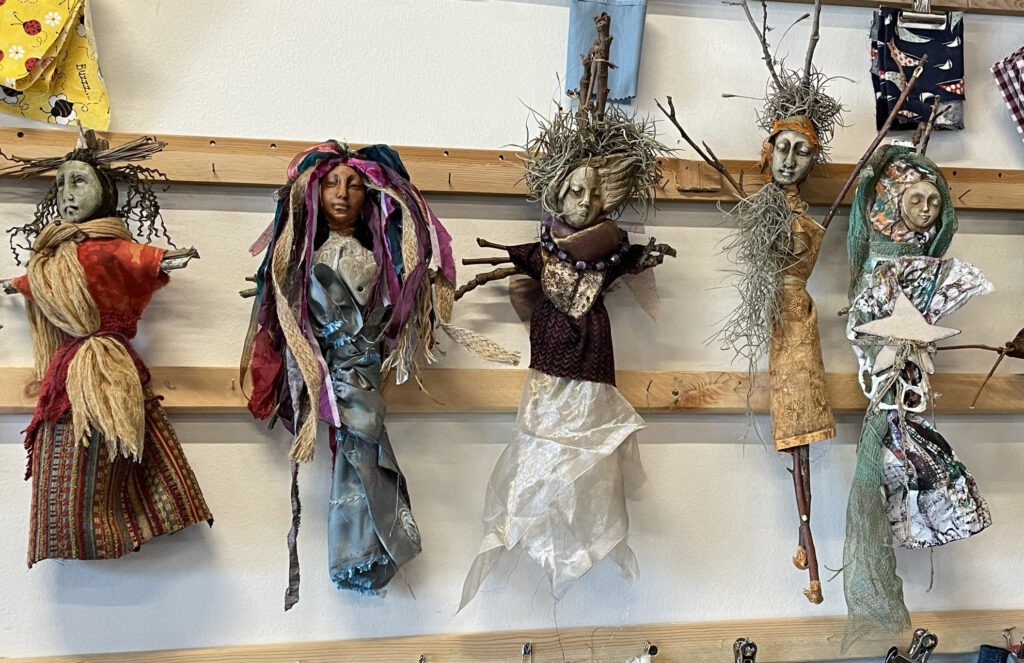
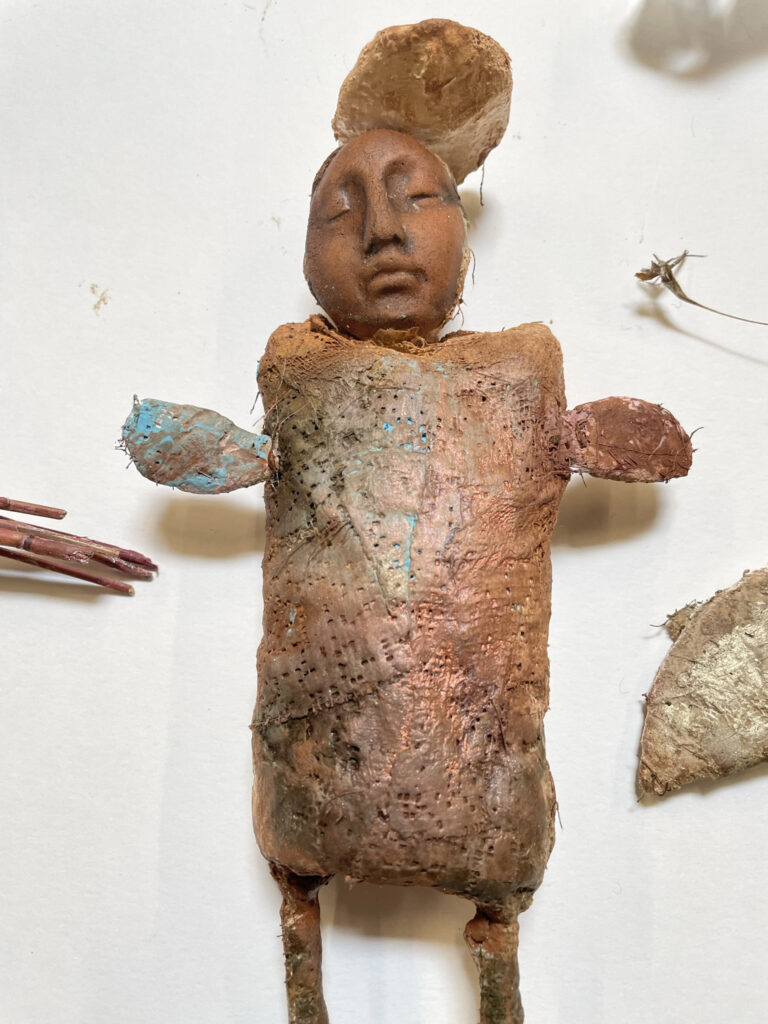
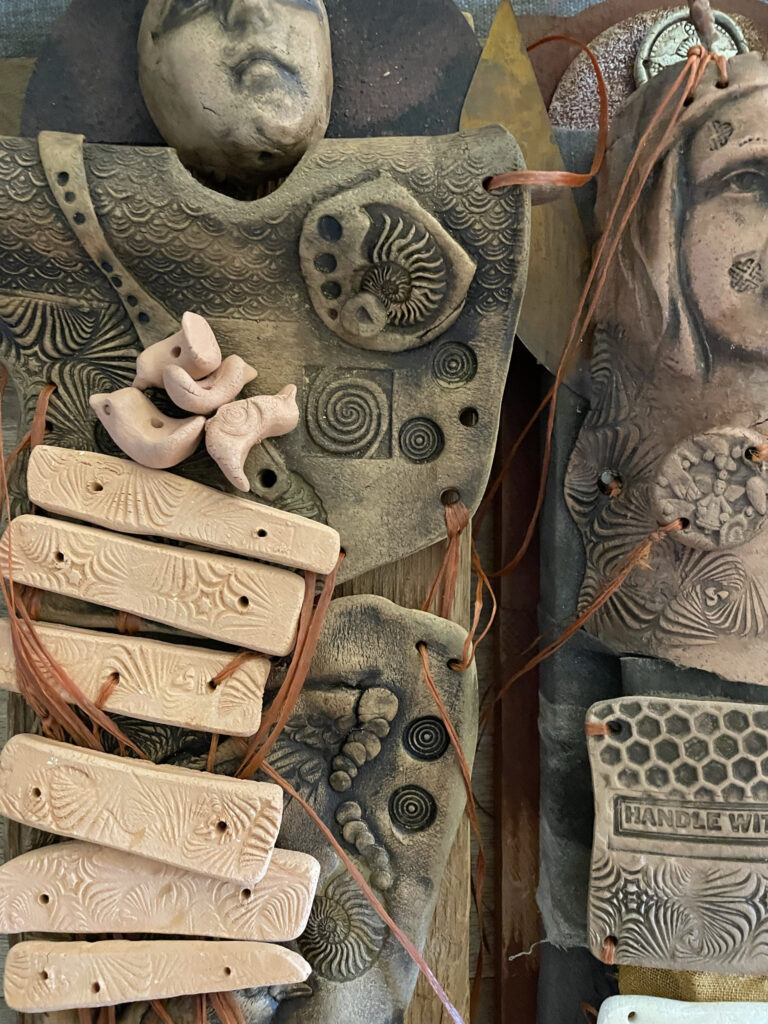
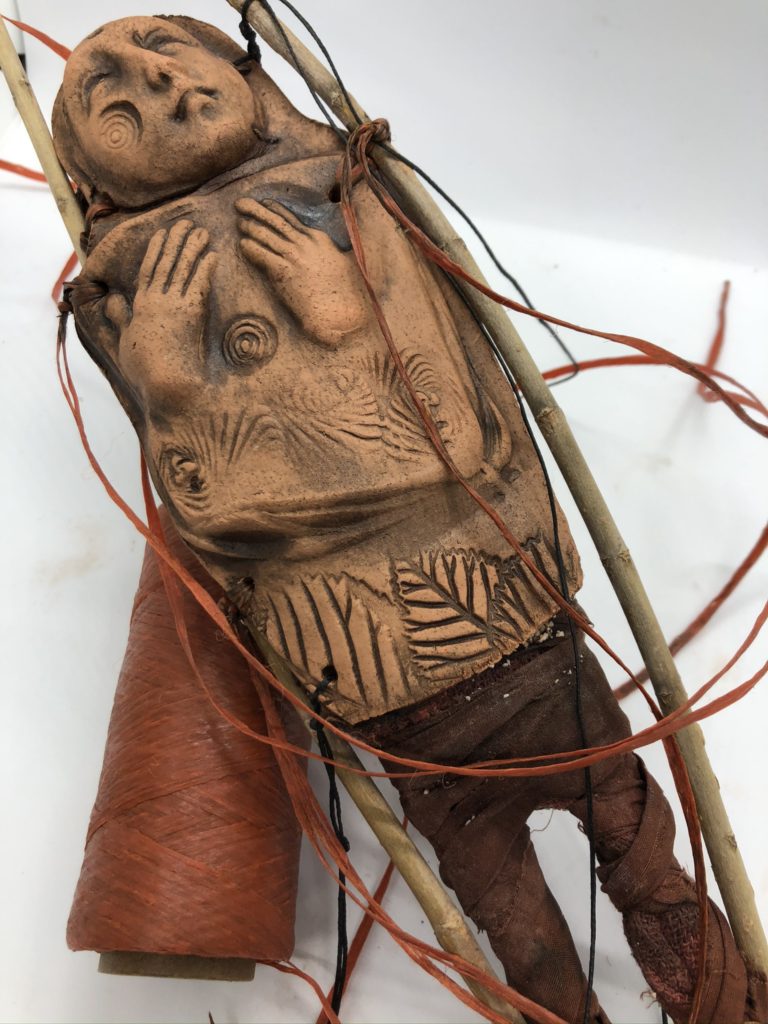
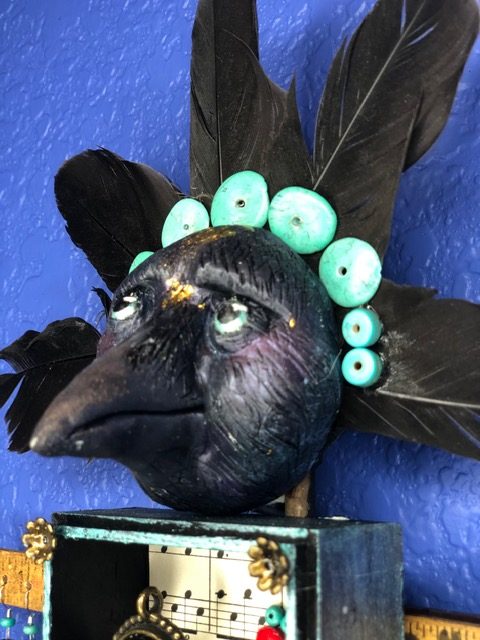
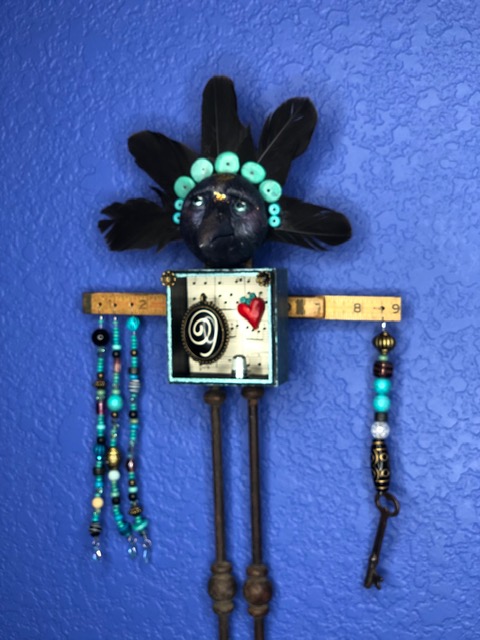
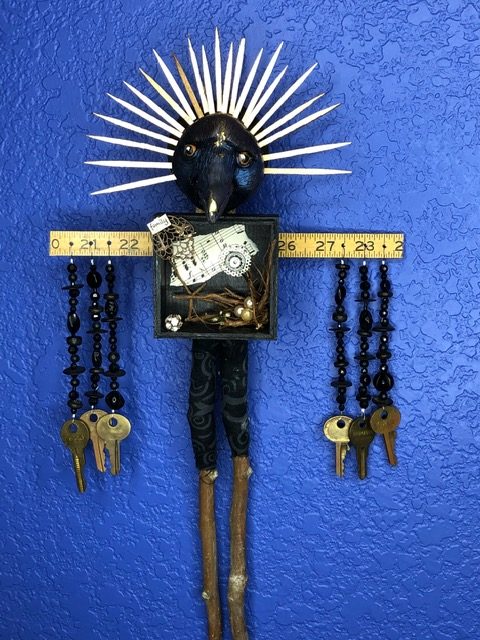
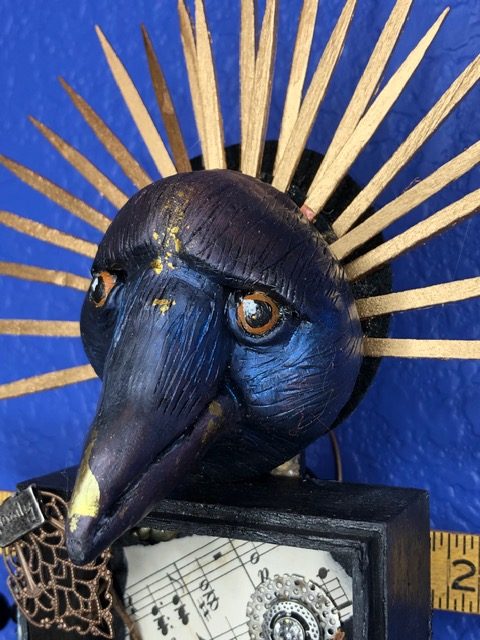
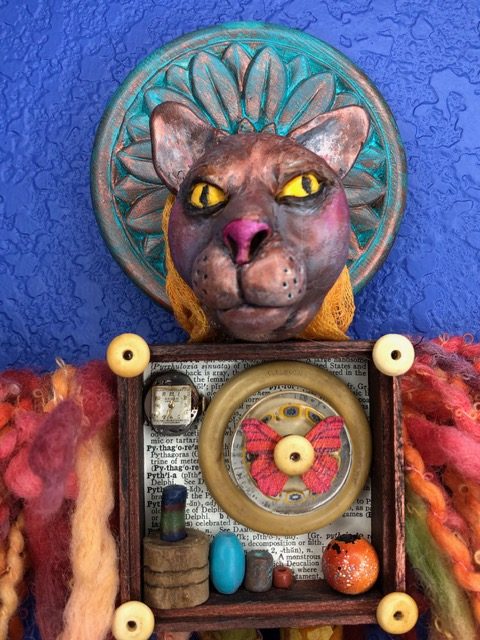
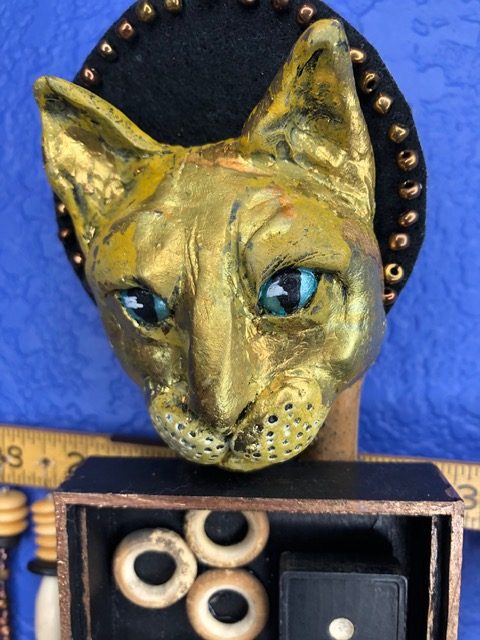
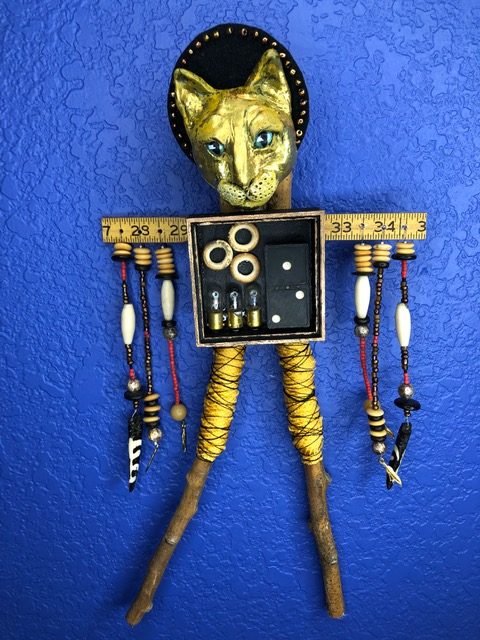
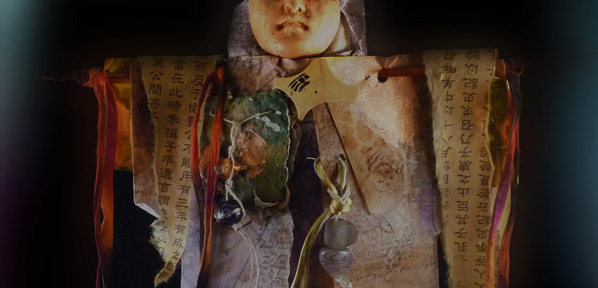
Santos, Spirit Figures & the Art of Devotion
My own santos and spirit figures grew from this love of broken, found, and humble materials. They echo the devotional folk traditions of the Southwest and northern New Mexico, where handmade imperfection is embraced as a sign of humanity.
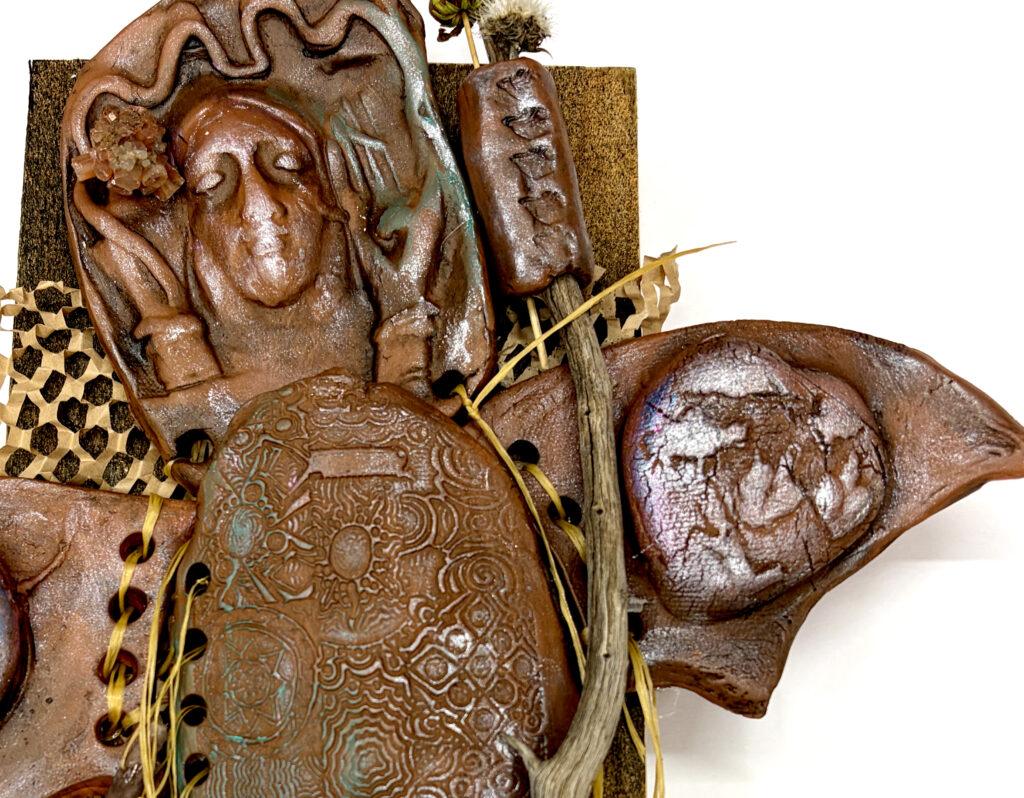
In Taos, my students instinctively reached for the same archetypes — watchers, keepers, protectors. Their figures weren’t copies of mine; they were something deeper: their own histories embodied in small forms. Some appeared fierce. Some gentle. Some humorous and unexpected. But each one performed an act of trust and devotion: taking what is overlooked and turning it into things that matters.
Teaching in Taos: A Circle of Making and Mending
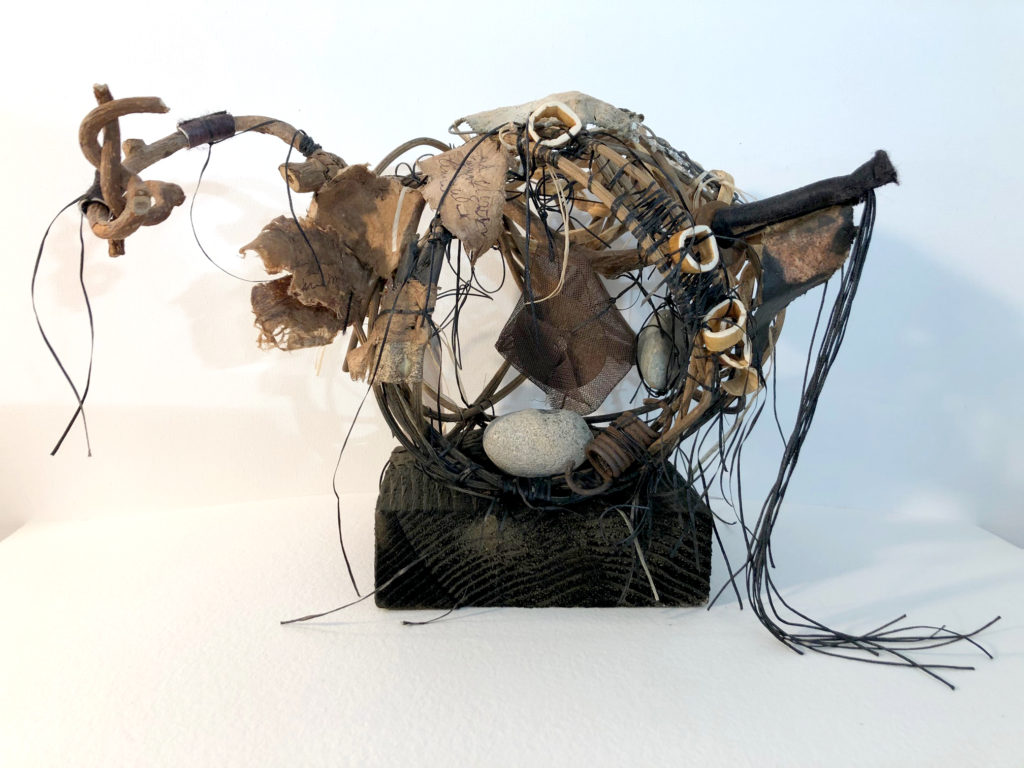
The workshop gave me a front-row seat to the creative courage required to work with fragments. No one started with a clear plan. Everyone started with pieces.
And I saw how quickly the shards guided them:
-
An animal bone became the spine of a tiny santo.
-
A found seed pod became a symbol of protection.
-
A scrap of handwritten ledger paper held the echo of an unknown voice.
These transformations reminded me that assemblage is not just a technique — it’s a way of mending meaning.
Inviting You Into the Studio Conversation
Even if you weren’t in that room in Taos, these ideas belong to you too. Artists everywhere — no matter the medium — work with fragments. Sometimes they are literal (material scraps, failed starts, bits of old work). Sometimes they are emotional or intuitive (memories, glimpses, unfinished thoughts).
From the presentation to Crystal’s Group
So here are some invitations for your own practice:
-
What three fragments are asking for your attention right now? Do they go together or are they separate stories – a series, perhaps?
-
What part of something incomplete could become the beginning of something new?
-
How might you create your own guardian figure — a studio santo — from the materials around you?
The beauty of working with shards and fragments is that nothing has to be whole to be meaningful. The “broken” thing is already full of story. Your job — our job — is simply to listen and find its true companions.
Looking Ahead
Next week, in Part Two, I’ll share the second path in this creative trio: Vessels — how boats, bowls, pods, and containers have shaped my work and helped me think about what we hold, carry, and protect.