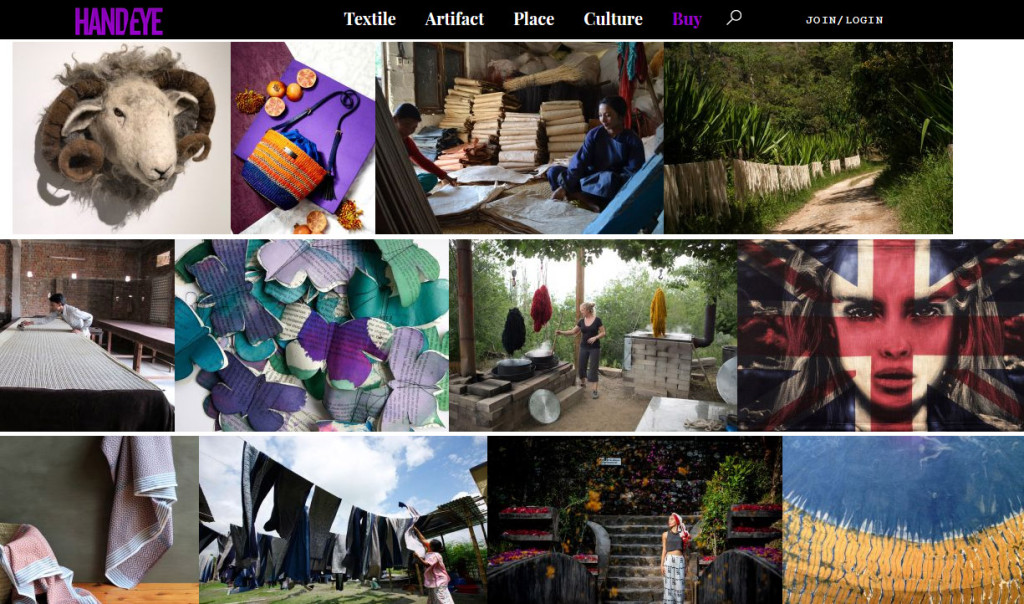
Wow. Just wow. I can’t believe I’ve lived this long without knowing about HAND/EYE online magazine (it comes in a print edition, too). I’ve just created an account (free) and am browsing through gallery after gallery of textiles, artifacts, fine crafts, indigenous processes, and so much more.

Maria Constanza Cardenas – Plumage choker, Orinoco collection. This piece portrays the power of the colors, textures, shapes and movement of the tropics.
The online site is divided into sections and the emphasis is on celebrating cultural creativity and sustainability.
HAND/EYE also features events such as England’s Woolfest as well as unusual products from small commercial designers such as 502 Home’s huipil-inspired ceramics.
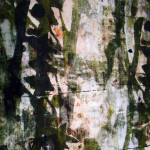
A personal favorite is an article written by India Flint in 2010 called Desert Country: Contemporary Aboriginal Artists Take on the Land.
One of the most wonderful features of the HAND/EYE site is the treasure-trove of archived articles and galleries like that one written by India Flint with beautiful photographs – and they are organized beautifully to allow maximum accessibility.

From the article Desert Country in HandEye Magazine, 2010
They also have a Facebook page if you just want a sneak preview!
I commend this publication for its vision. HAND/EYE Magazine bridges the worlds of art, design, craft, philanthropy, retailing, and socio-environmental sustainability.
That’s my Show and Tell for the week!
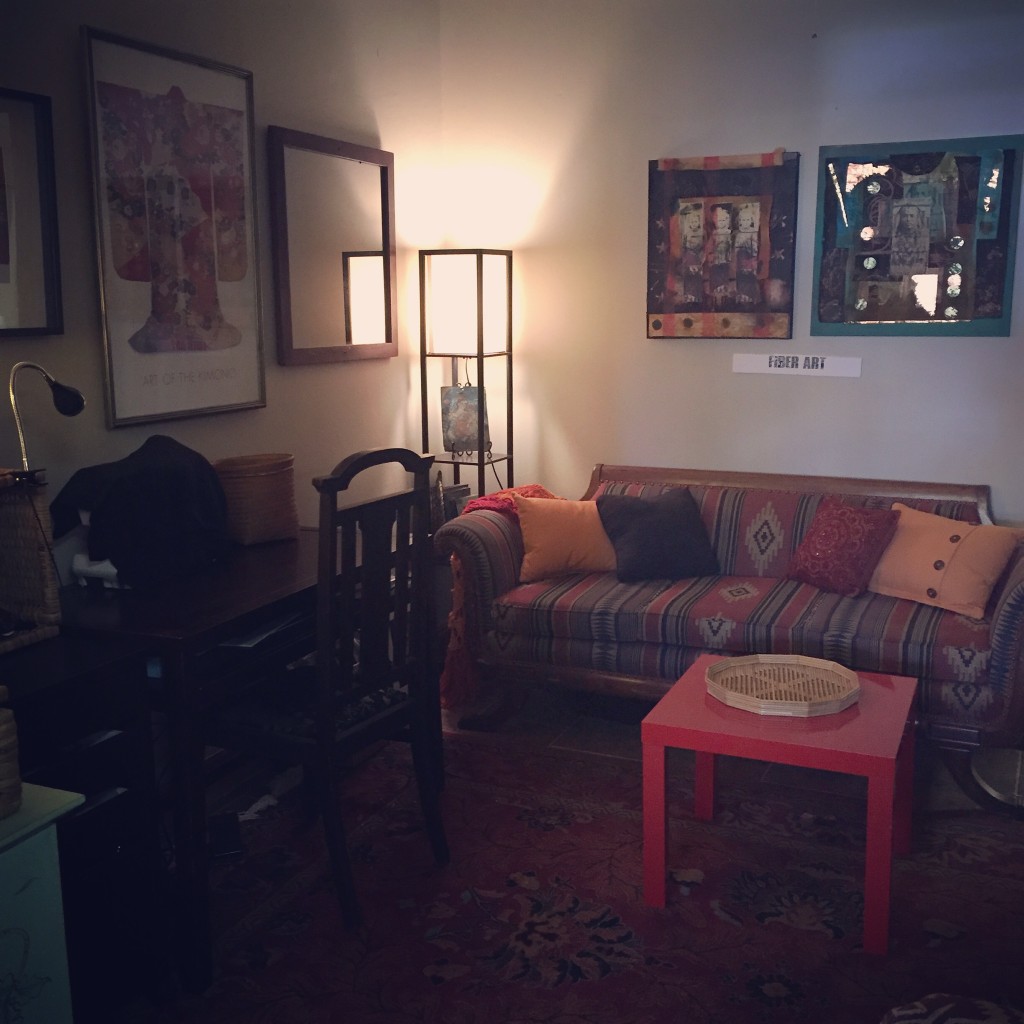
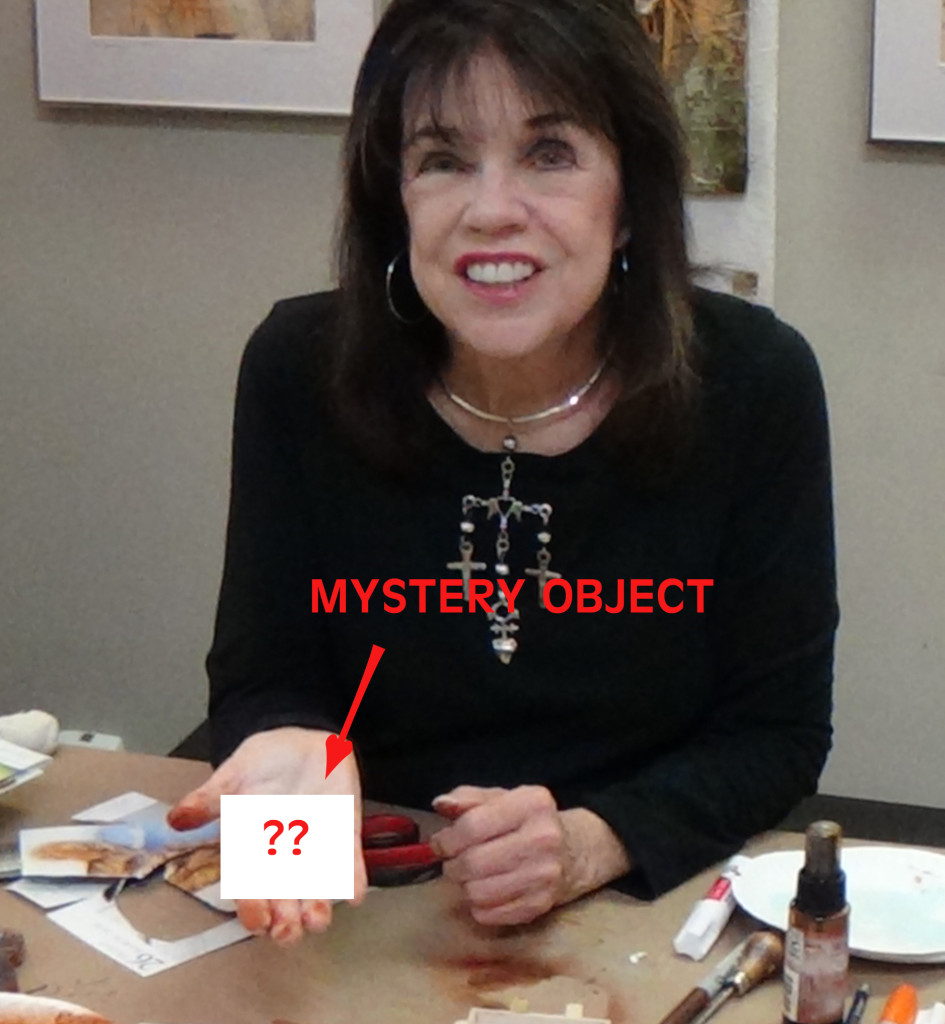
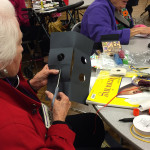
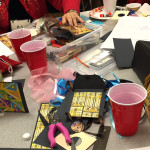
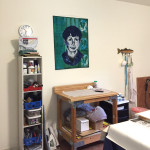
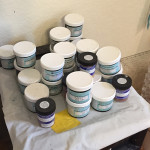
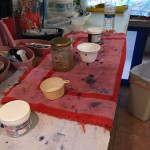
Don’t forget that there will be an in-person Show and Tell at the Studio this Saturday from 2-4. I just cleaned up my fiber art room and it looks great, so show up and don’t make me do this clean-up for nothin’ – :). Check it out (below) – it may be the last time you ever see it this organized.

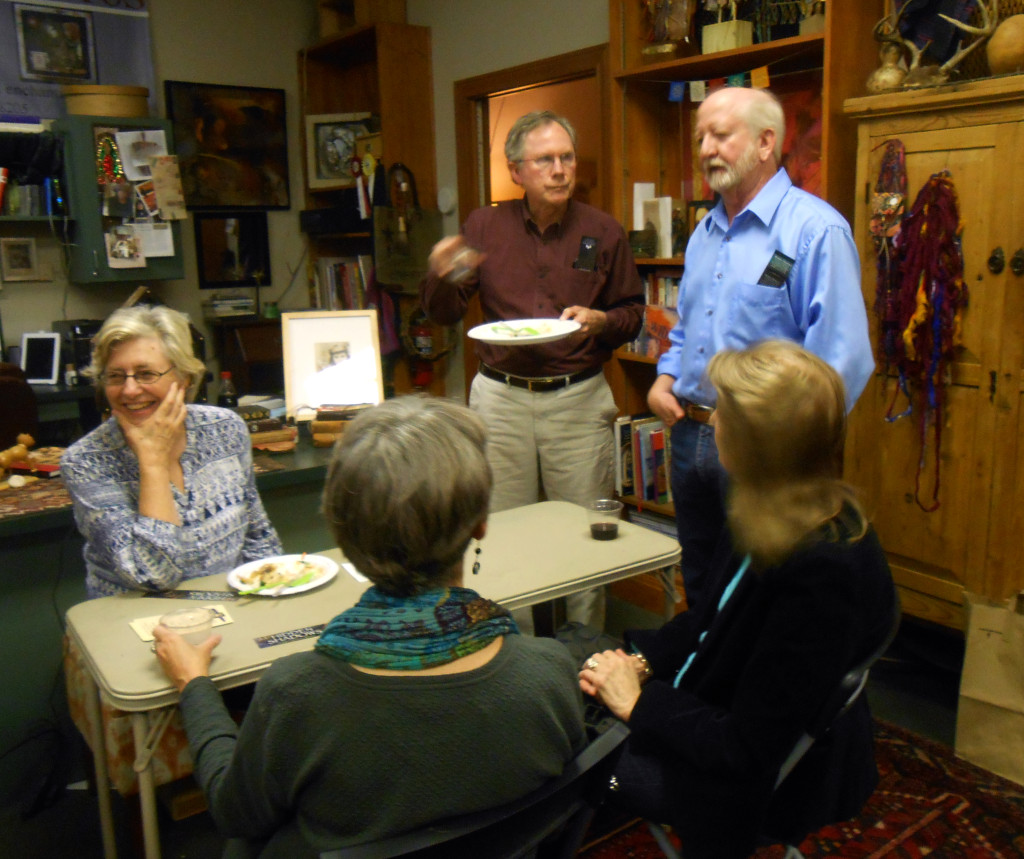
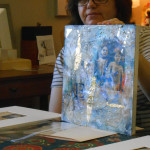


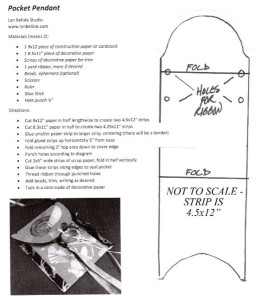
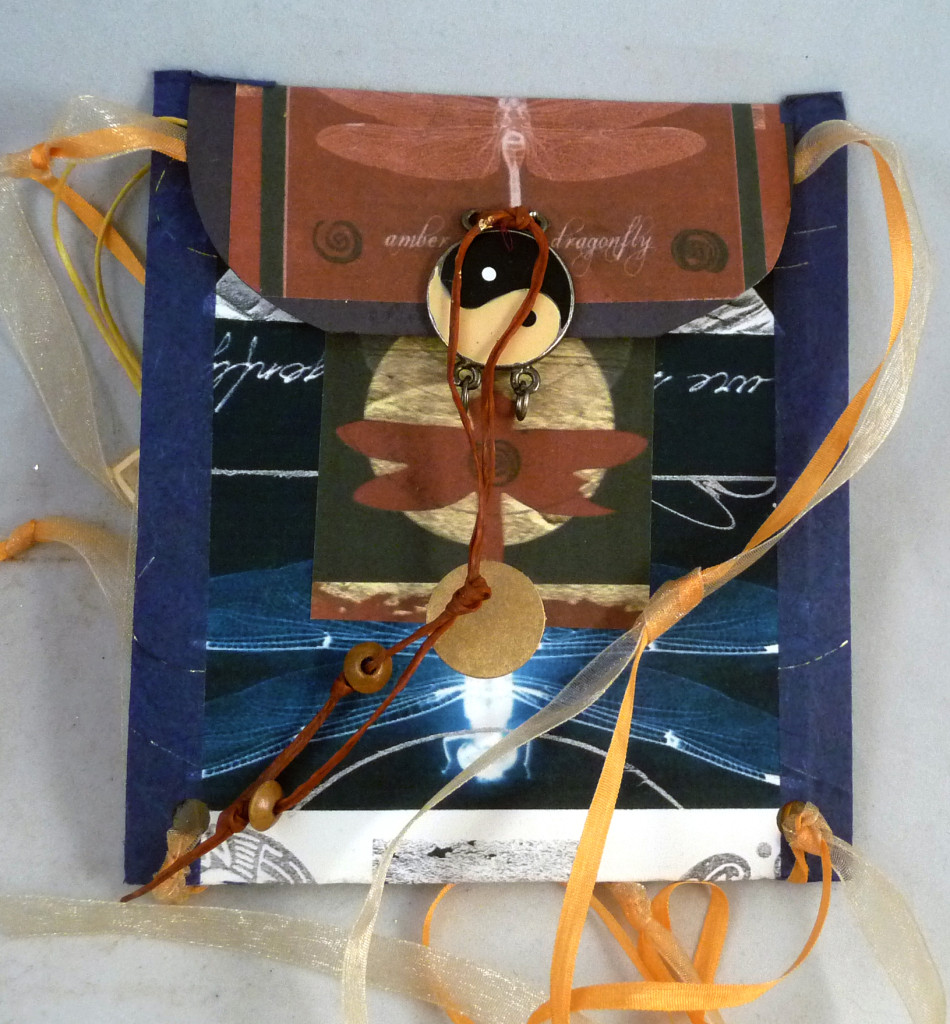
 Last night, I visited the
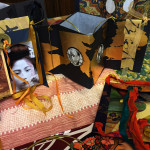
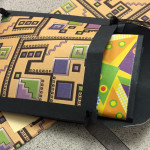
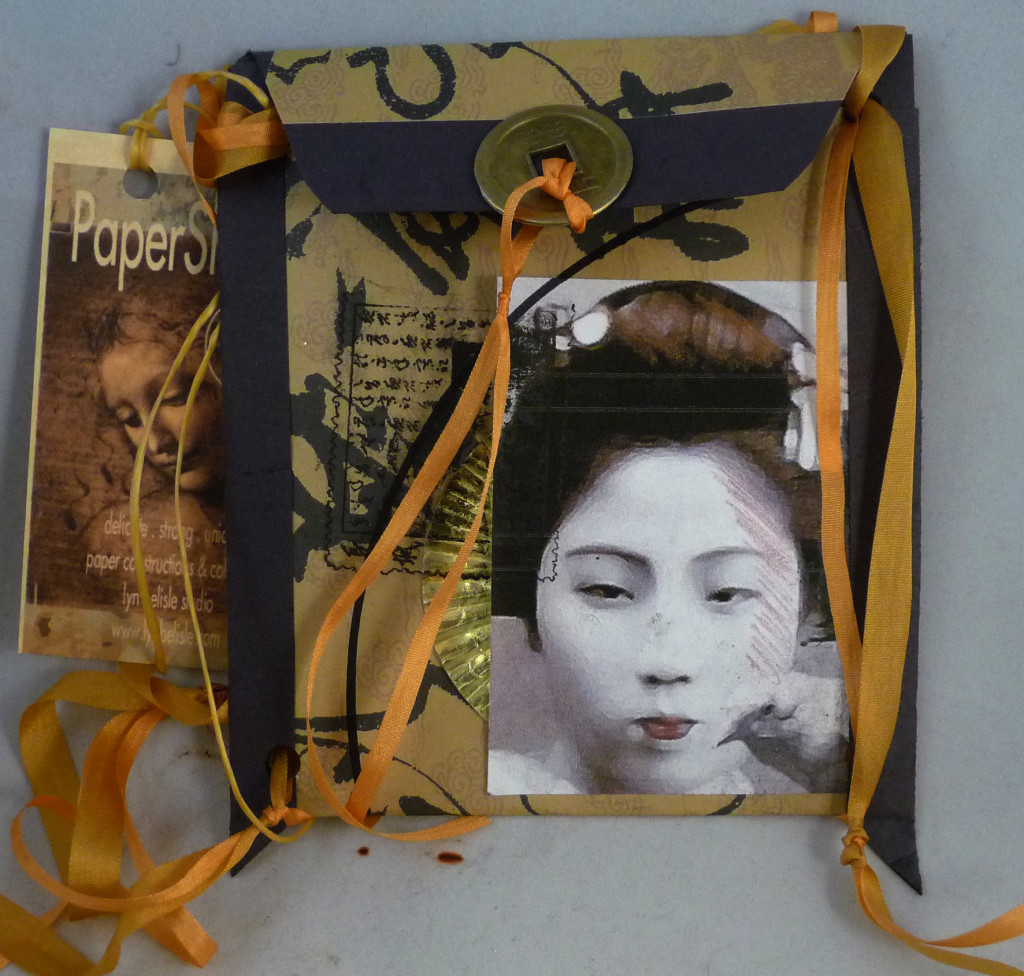

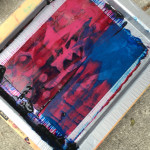

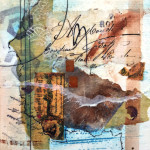
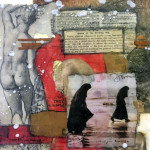
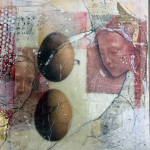
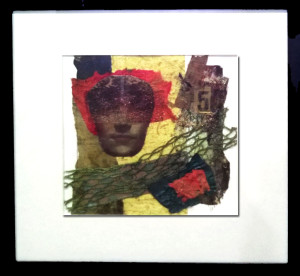
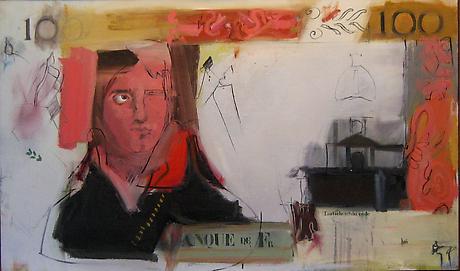
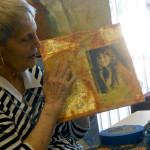
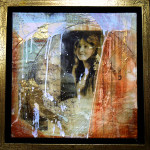
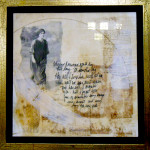
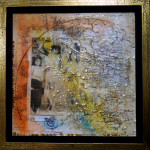
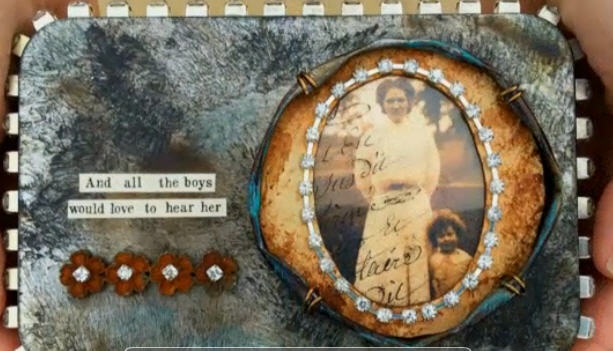
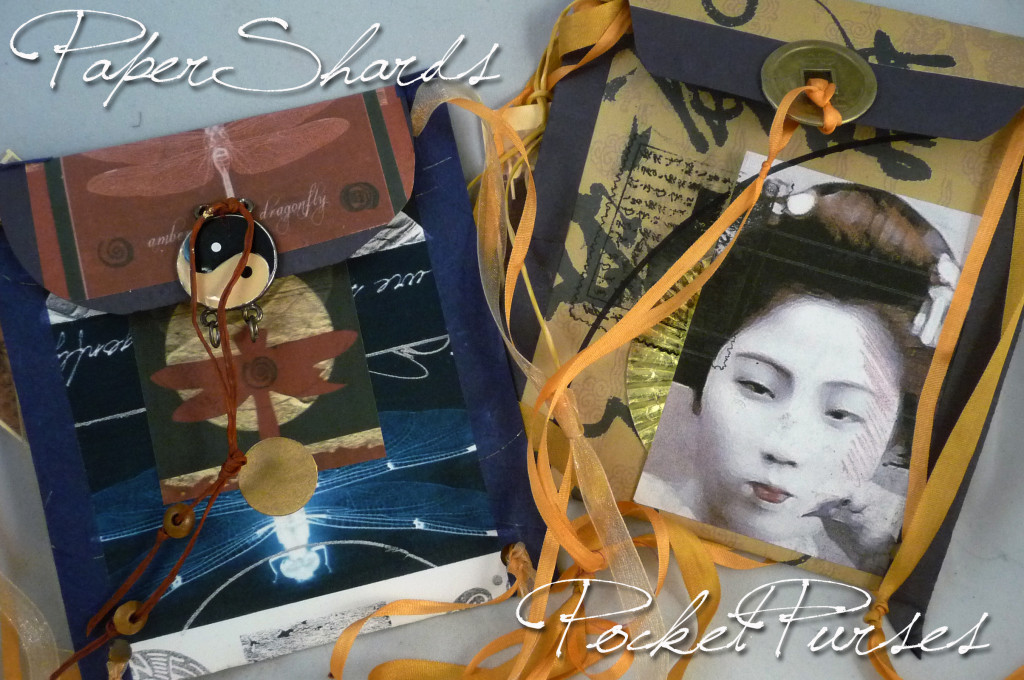
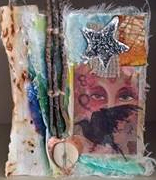 Toni Curtis from LA also sent in her wonderful collage which morphed into a journal cover – nice, Toni! Check out Toni’s