Here’s to YOU, Old Chap . . .

Sorry about the corny title, but I wanted to share a little tutorial with you about how to make a chapbook journal.

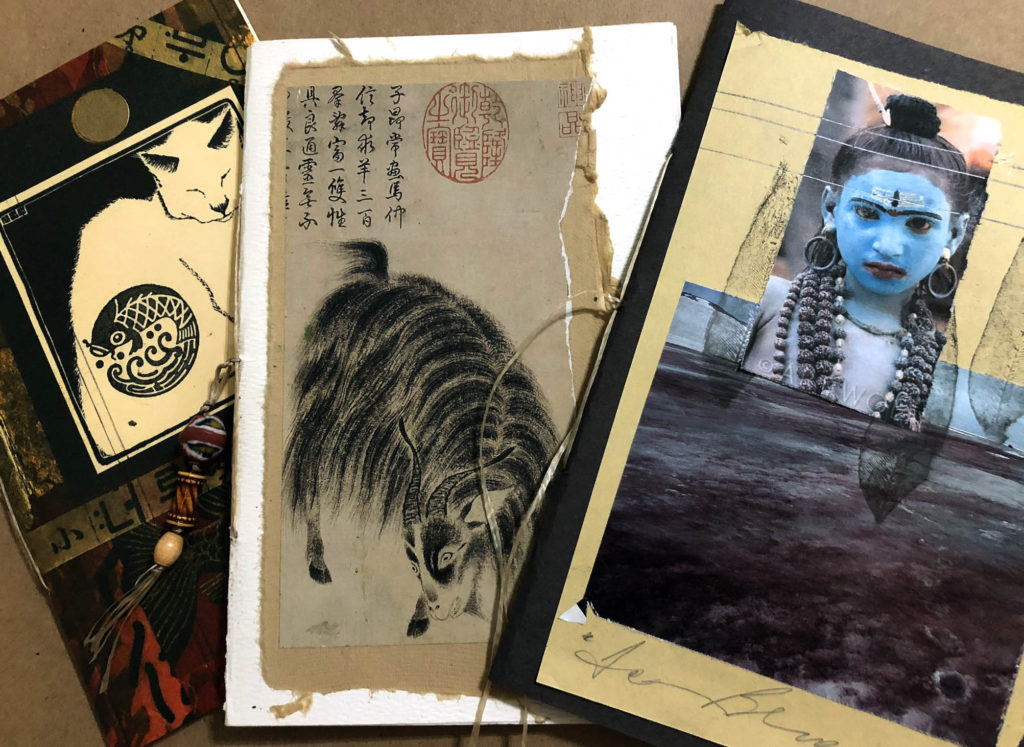
Chapbooks by Lyn

I made the video for my friend Alexandria van de Kamp, Executive Director of Gemini Ink, San Antonio’s Literary Arts Center. She loved it and thought it might be a fun project for poets and writers. I thought that most artists could always use another small journal, too.

This one requires nothing more than 20 minutes and uses materials that you have already: paper, string, scissors, a glue stick, magazines or other collage stuff.

Here’s how to do it, Old Chap:

Video Link

And if you missed it on Facebook, here’s another helpful video (OK, so it’s a commercial for my eBook, Wax & Words) that will give you some composition tips that you can use on the cover of your chapbook.

Video Link

As I say in the chapbook tutorial, these little journals are so easy to make for yourself and for friends. Make several and record your cheery thoughts about quarantine, plague. . . . .oh, wait, never mind. We are artists! We create joy!

HERE ARE SOME QUOTES TO INSPIRE YOUR CHAPBOOK MUSINGS:

  • “Because most artists are ‘sensitive’ in every sense of the word, if you don’t take charge, negative emotion can ruin you.” (Gaye Adams)
  • “I am an optimist. It does not seem too much use being anything else.” (Winston Churchill)
  • “When asked if my cup is half-full or half-empty my only response is that I am thankful I have a cup.” (Sam Lefkowitz)

Stay safe, everyone – hope to see you soon! And dare I say, “May the Fourth be with you” ? ♥♥♥

Another gift of artistic diversion for you – Collage on Canvas

There’s a helplessness in knowing this situation going to get worse before it gets better. My thoughts are with all of you as we circle the wagons and wait.

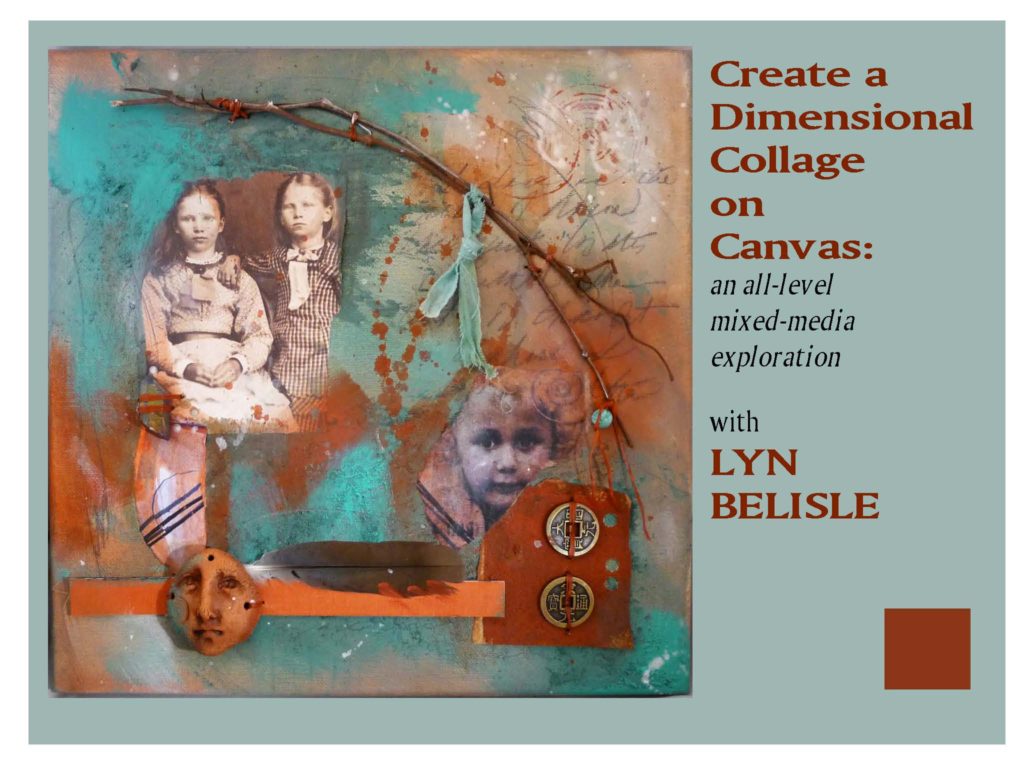
Just for inspiration, I’m giving you another little downloadable book about one of my most popular workshops called Creating a Dimensional Collage on Canvas.  It’s an illustrated step-by-step guide to composing a personal art collage that includes three-dimensional objects as well as images and textures.

It’s available for purchase as a Kindle book, but I’m giving you the PDF version which you can easily download and explore for free. You’ll find the access link a bit further down.

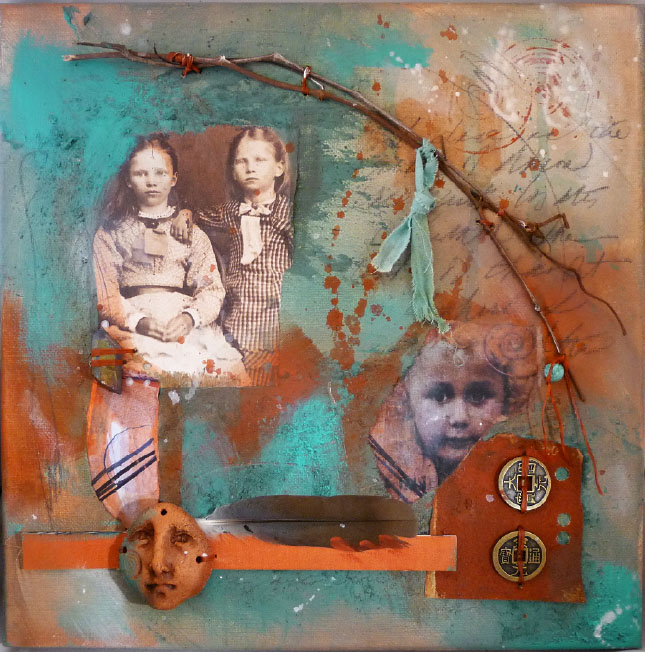
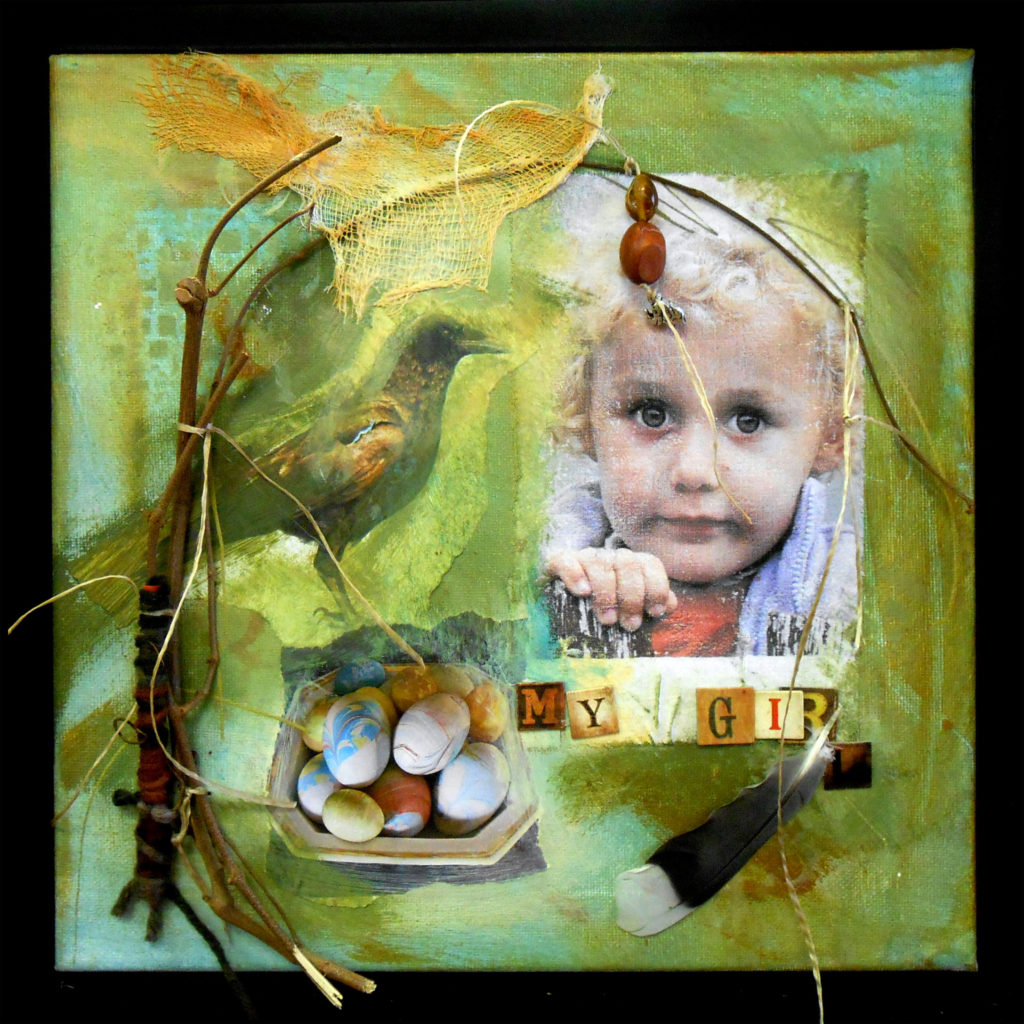
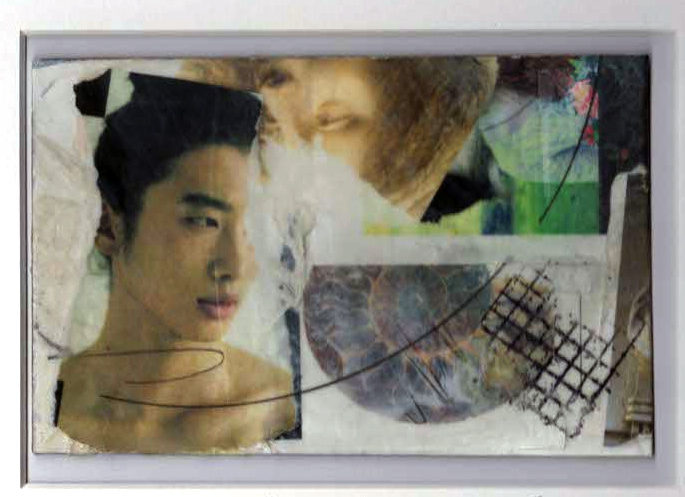
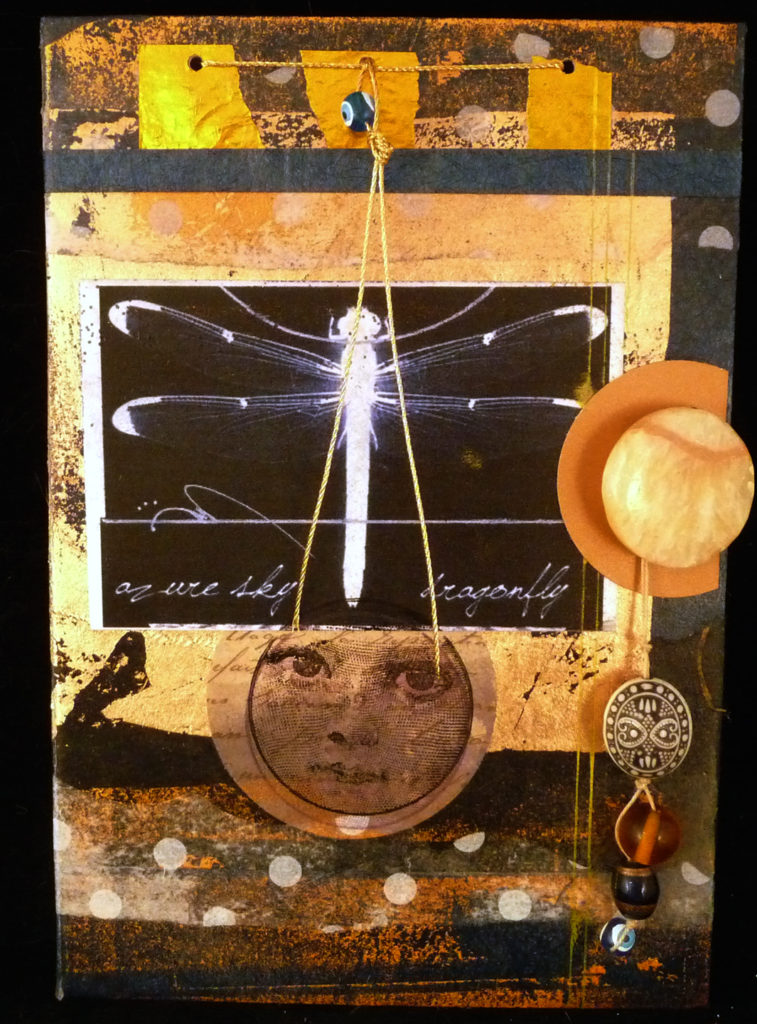
Here’s a full version of the collage example on the cover, along with another example using the one of the same faces with a different approach and emphasis.

You can see that there are all kinds of little items connected to the canvas that add symbolic and textural complexity to the compositions.

I hope you try it – it’s really fun, especially if you have some meaningful photos that you can print out.

CLICK BELOW ON THE DOWNLOAD LINK FOR THE BOOK (the file is compressed so it won’t be too big for you to get it to your computer)

Collage on Canvas – Lyn Belisle_compressed

NOTE: This project was especially designed for the wonderful women of the Gaian Soul Retreat at Aldermarsh on Whidbey Island led by my beloved friend Joanna Colbert Powell in 2015. “Creating a Dimensional Collage on Canvas” unites the visual, the spiritual, and the joyful aspects of the creative process. You may substitute your own “ingredients” from the Materials List on page three in the book.

Even if you don’t decide to do the project itself, it may give you some ideas for digging through family photos in this unexpectedly quiet time. You can also take inventory of your own collage materials. Inevitably, this always leads me to new ideas and happy distractions.

If you want to see the project in action, this video shows one of my first Collage on Canvas workshops, which was held in 2012 at my kitchen table even before I had my big studio on Nacogdoches Road.

I think you’ll especially like the personal photographs that the participants used with many different materials and techniques.


Know that I miss seeing you all, but one of the lessons we are learning through all of this is that it is a luxury to be with friends in person at a gathering of like minds – I hope I never take it for granted again! Stay safe in your creative confinement 🙂


Photoshop Elements Texture Quickie

This morning I started putting together a post about jurying art competitions, coming soon. Yesterday I was the Juror for the Canyon Lake Art Guild‘s new exhibition. It’s always an honor – and a learning experience! Stay tuned to see the winners – and see if you agree with me!

In the meantime, I got distracted by a topic on Pinterest that’s worth sharing (I have the attention span of a gnat).  Even if you’ve used Photoshop Elements, you may not know how easy it is to work with textures and overlays using your own photos.It’s also very addictive.

This very short video (you can skip the ad in 5 seconds) by Nicole Young is one of the best I’ve seen. (She uses a Mac, so if you’re using a PC, just replace the “Command” with “Control.”)

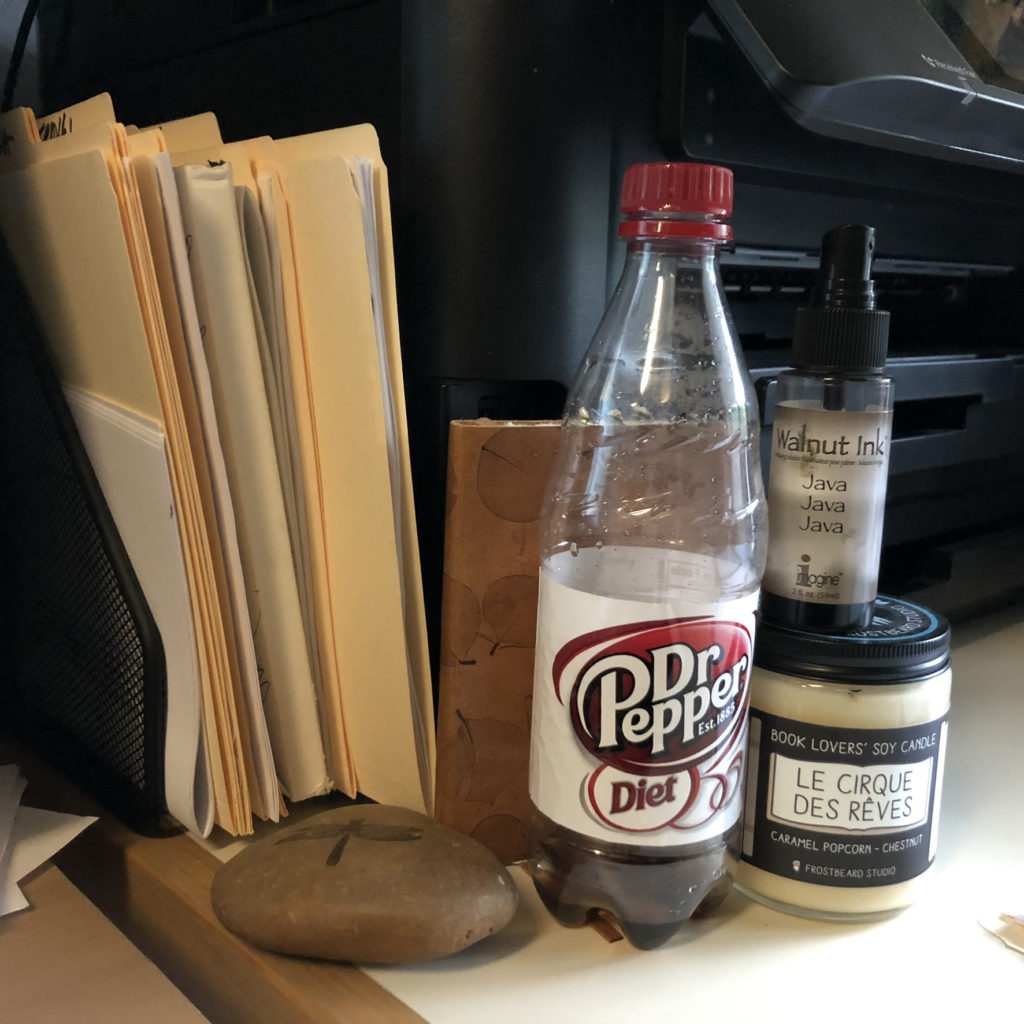
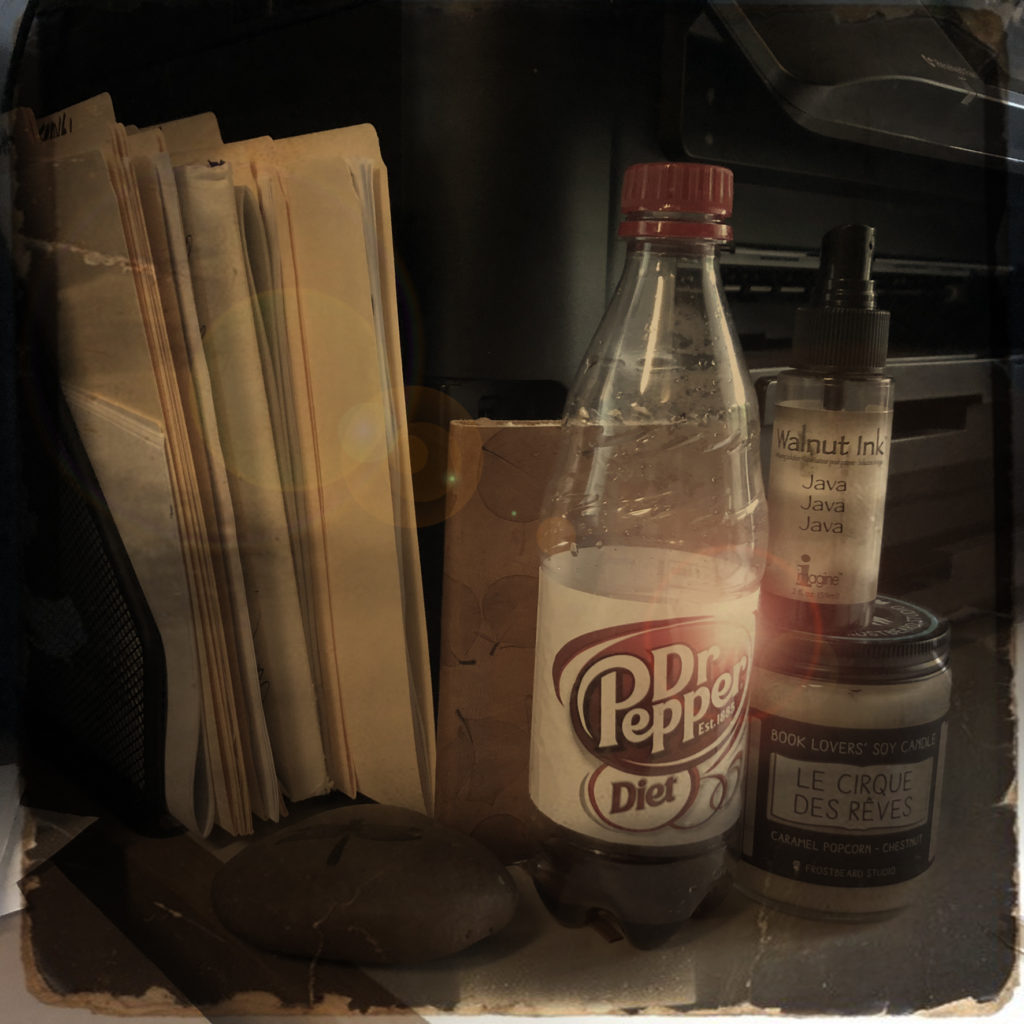
So here’s my masterpiece to use as an example. I call it “Morning Desk with Almost-Empty Diet Dr Pepper.” This is the original photo, taken just minutes ago:

Here is is with a texture overlay that I snagged from Free Stock Textures:

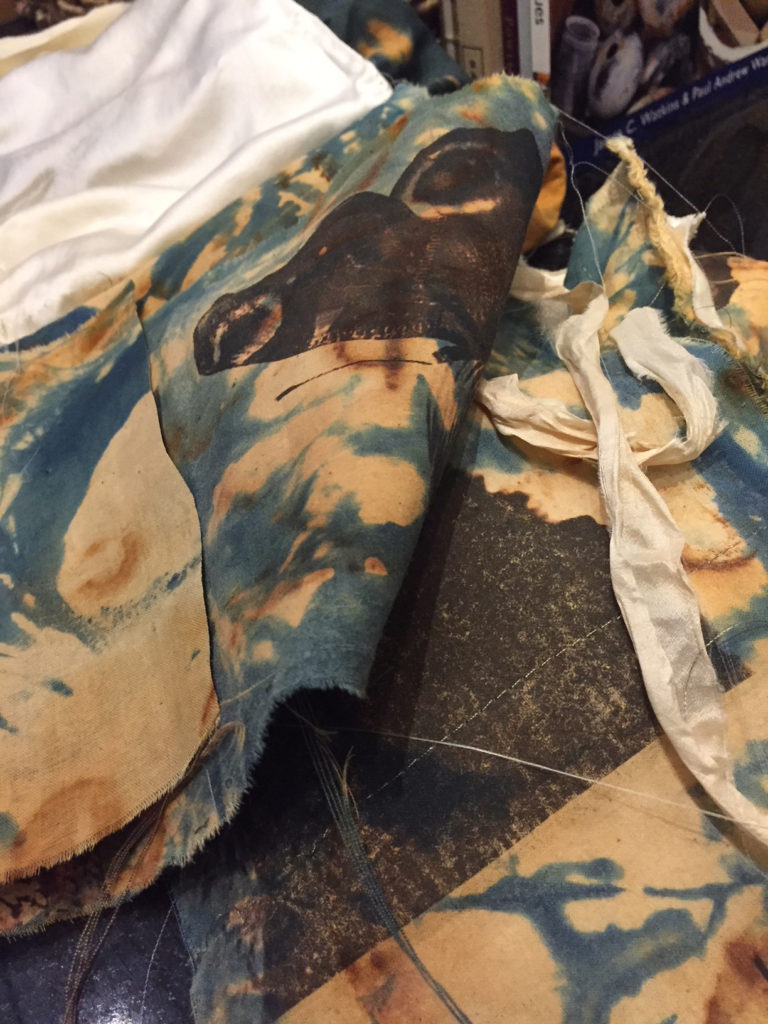
You can even use your own photos as textures. Here’s a photo I took when I was dyeing fabric for my Boro Horse:

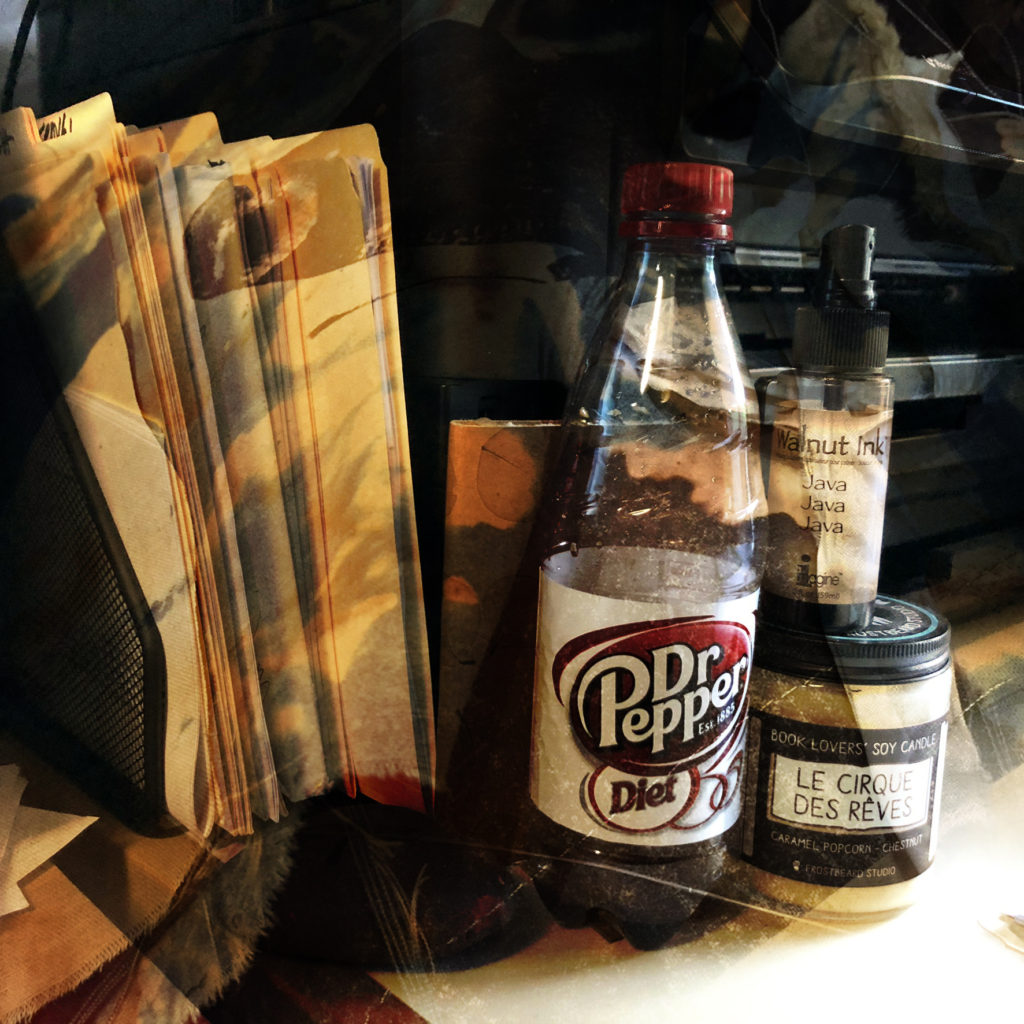
And here’s what it looks like combined with the amazing Diet Dr Pepper masterpiece:

As I said, working with textures and blending modes is addictive – you have been warned!

A last word – last night I had an email conversation with my Austin-based designer friend Monika Astara about digital art as ART. (She’s doing some wonderful digital collage work and incorporating it into a new line of one-of-a-kind T-Shirts, soon to be available!)

We talked about digital art vs traditional studio-based art. If you ever thought that digital art is not “real” art, read this article for a different perspective.

Facts and Myths about Digital Art

And if you want to see more digital art tutorials by Nicole Young, check out her website!

Resolving to sell more of your art this year? How about Etsy?

“Earthshards,” my Etsy shop for small earthenware faces, reached a milestone in 2018.

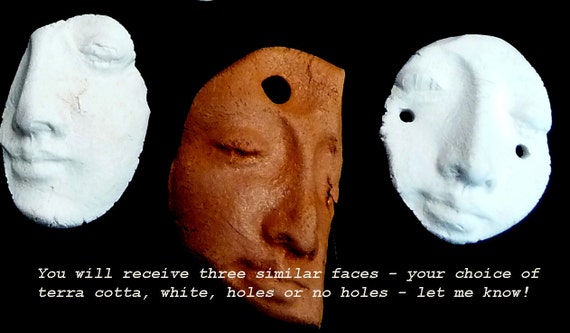
I opened the shop in February of 2012 and made my first sale at 08:52 p.m. on Saturday, March 31st, 2012 to Andrea Veldhoff in Newark, Ohio – thanks, Andrea! (This is what she ordered – they are definitely “shards,” not complete faces.)

By December of 2012, I had sold 83 orders and earned $1500. That was so exciting!

Six years later, there’s even more exciting news – for the first time, in 2018, my annual Etsy revenue exceeded $10,000. Woohoo! Honestly, I didn’t set out with that goal in mind, but it’s a proud moment.

Last year I sold 466 orders to people all over the world and earned $10,239.74! That’s not exactly a living wage, but it’s a lot of little faces – and I am grateful to every buyer for finding me. I’m also grateful to Etsy for keeping all the stats on every order. They really make it easy and fun to track sales.

For example, here’s where some of those faces went:

Plus, I get fantastic pictures from buyers showing me how they use the faces – they inspire me!

Spirit doll photo from a creative buyer

Reaching this milestone just kind of crept up on me. Filling Etsy orders has become such a part of my routine that I don’t think about it much. I spend one or two days a month making a hundred or so faces and firing them, and then I custom-finish them as the orders come in.

I’ve learned what buyers like (full faces, open eyes, holes at the top) and I’ve learned to wrap the orders attractively and stamp the mailers with my logo. While I don’t really advertise, word of mouth and persistence has paid off.

So what?? This isn’t just patting myself on the back – it’s mostly to say that if your New Year’s Resolutions include getting your art out there in the new year, opening an Etsy shop is one way to do that.

Some tips:

Find a niche that relates to your own art style.

I was lucky. There were no other sellers making the small clay faces which I was also using in my own work. Now there are lots of small faces, but most of the sellers are using polymer or air dry clay and commercial molds.

Show how the buyer might use the artwork.

I was able to post photos of the faces being used in my Spirit Doll workshops so buyers could see how the faces might work for them. I also showed them as pendants and talismans.

Think about how you will ship your work

If you can come up with artworks that are variations of pieces that are all about the same size and weight, it’s a lot easier than trying to figure out how to wrap and ship a bunch of different sized pieces. For example, if you are making Day of the Dead milagro-embedded candles, keep them all the same size, but use different scents and colors. (Etsy creates downloadable shipping labels for you, so that part is easy).

Make sure you like doing it!

If you can’t stand scented oils that go into candles, don’t make those Day of the Dead candles even if you’re selling like crazy. You’ll start to hate it.

Be specific/original in your approach

Let’s say you’re a fiber artist who does needle felting – don’t open a needle-felted whatever shop. Narrow it down to small needle-felted pouches for your grandkids’ baby teeth. Well, maybe not THAT specific, but you get the idea.

Here are some good articles if you’re interested in thinking more about this . . .

The Most Successful Art-Related Etsy Shops – with advice

Tips from Three Successful Artists about Selling on Etsy

And finally, the Etsy site has great guides to opening your own shop!

The Etsy Seller’s Handbook

Thanks for reading SHARDS, and Happy (and prosperous) New Year!!


20-minute tune-up kit for busy artists

Have you ever felt guilty about not doing any art for a while? Do you buy cool art materials and never seen to have time to actually open and use them? Do you get all sorts of ideas from Pinterest, then think about all the stuff it would take, so you just forget it?

Auntie Lyn has a solution!  Put together a little creativity tune-up kit with simple materials and pre-cut 5×7″ substrates for mixed-media collages to kick-start your ideas and quell the non-productive guilt – you’ll have some finished artwork in 20 minutes.

There’s something magic about a 5×7″ blank surface – not too big to be intimidating, not too small to be insignificant. And you can do so much with work this size (see the journal cover video, below). Plus, you can put together a pretty cool collage in about 20 minutes, including getting out the stuff out and putting it back.

Here’s what’s in your 20- Minute Tune-up kit (and it fits in one box):

IMPORTANT – SET A TIMER FOR 20 MINUTES

You don’t have to limit yourself to 20 minutes (or force yourself to work for 20 minutes if you want to stop before that), but you’ll be surprised at what you can accomplish if you set  a 20-minute deadline and go for it.

My process:

I keep a stack of 5×7″ archival mat board handy for my own personal kick-start “meditations.”  I grab one, find a central image from a magazine that I like, tear or cut it out, see what it tells me to add, then just build quickly and intuitively using glue stick to adhere.

I sometimes add white paint to veil and coalesce the images, and sometimes add matte medium to seal the surface. I scribble with graphite, make lines with Sharpie, and often add a bit of color with the water-soluble oil pastels. DING!! (that’s the timer going off).

Example of 20-minute 5×7″ collage

So now I’ll share a personal story about how I know this works. When I started teaching in the Computer Science Department at Trinity University fifteen years ago, it was an impossibly steep learning curve for me and I had no time for anything, much less art. After three or four years, I started making “therapeutic” 5×7″ collages in a very limited time just to save my sanity.

These morphed into journal covers, which morphed into my first Etsy shop. I sold over 200 hand-made journals in that shop, some with rather weird custom requests! Making those small collages turned things around for me as an artist and gave me a much-needed tune-up and kick start.

Here is a video of 200 of those 5×7″ covers from that first Etsy shop. From that small-format beginning, I learned about composition, about marketing, and about how much you can get done in 20-minute segments, even if you have a challenging life. Click on the image below to see the video.

Now gather your 20-Minute Tune Up kit together and get busy – a cold front is coming and you can certainly find 20 minutes to hunker down and create!

Thanks, as always, for reading SHARDS.


Quick Kitchen Counter Photo Trick

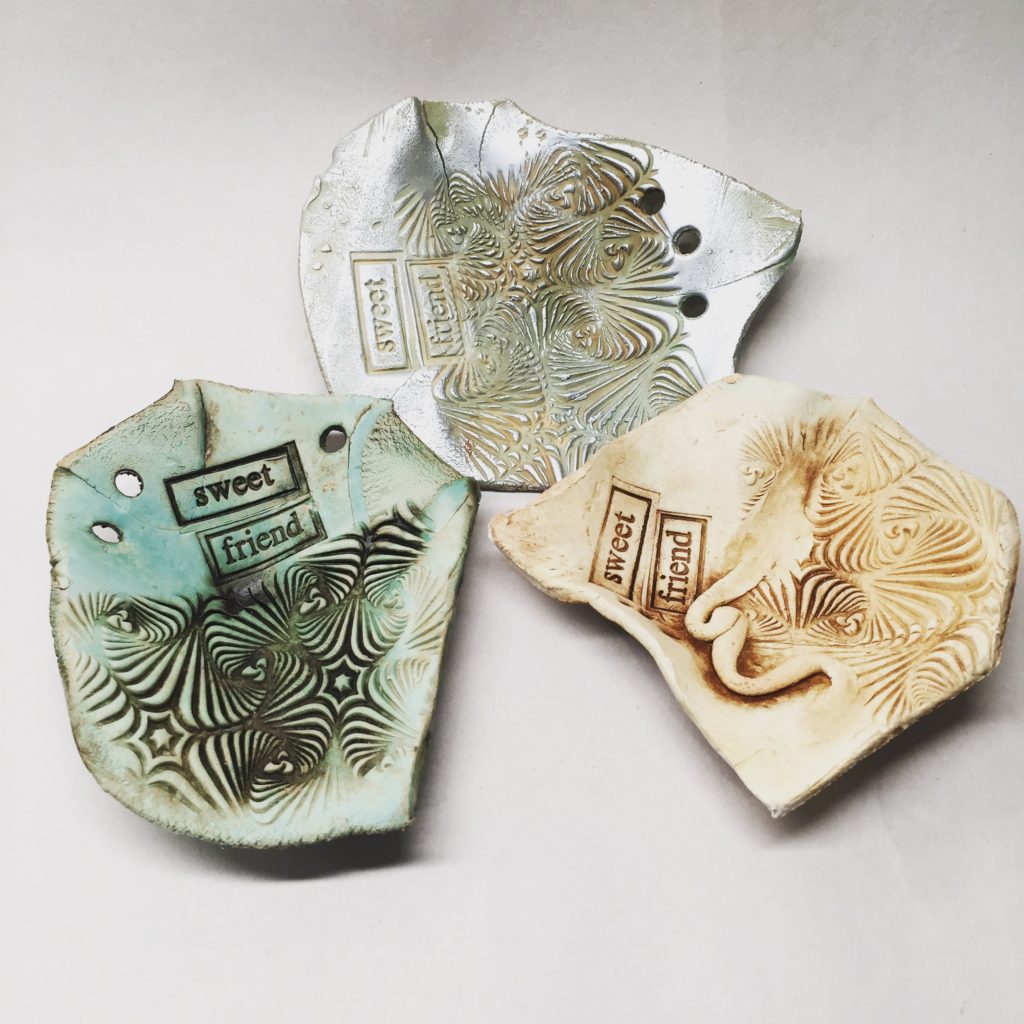
Sample pieces of paper-infused porcelain clay

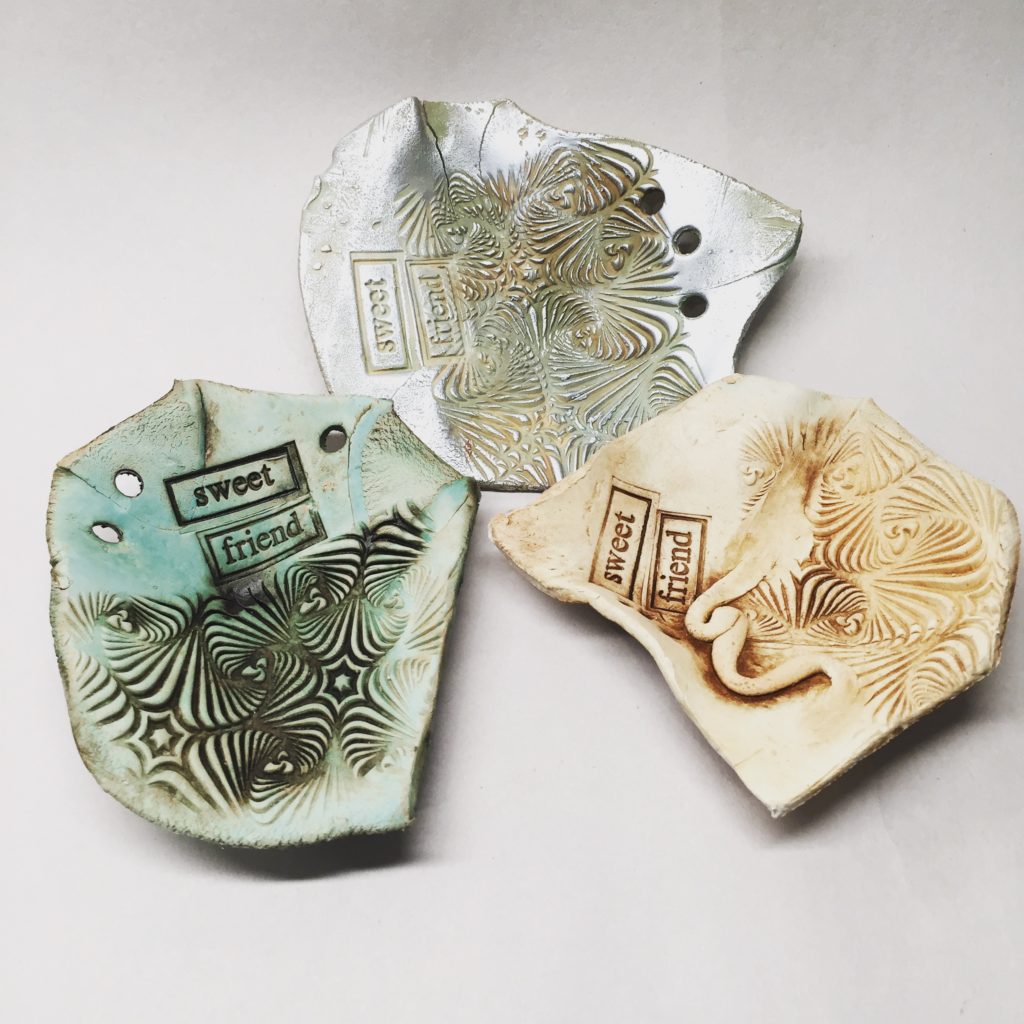
I took that fairly impressive photo, above, on my kitchen counter this morning with my iPhone.

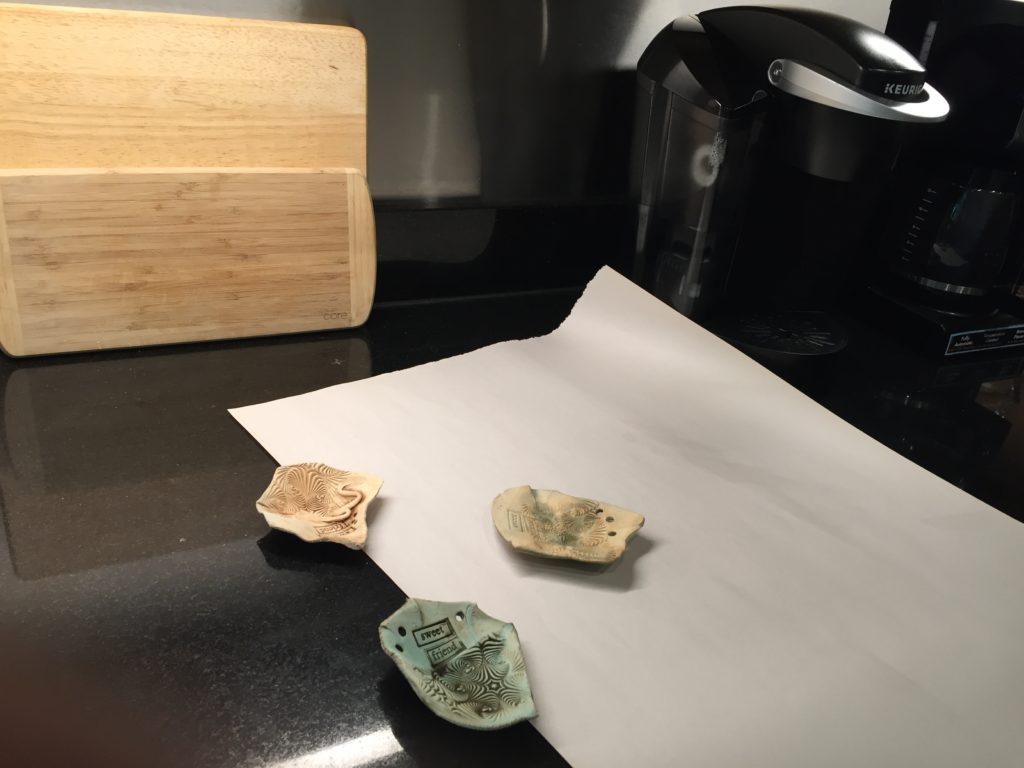
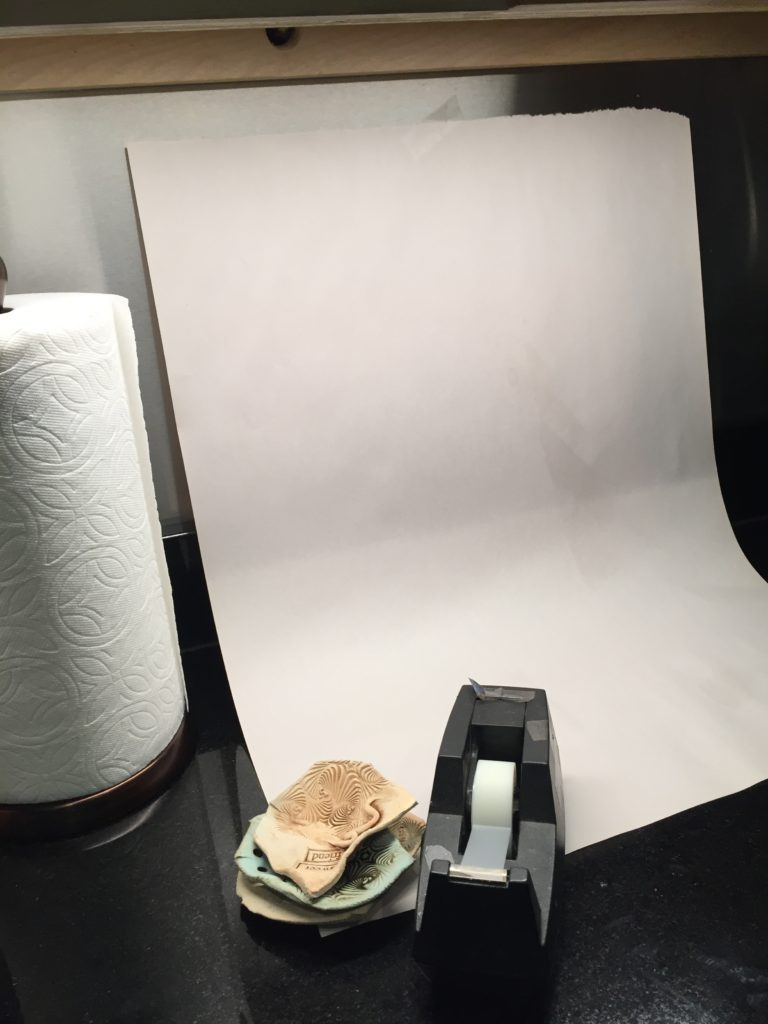
Want to see how you can get the same photo-studio effect? All you need is some Scotch tape and  large piece of drawing paper. It helps if you have a light under your kitchen cabinet that shines on the counter.

So here’s my lighted kitchen counter with the little clay pieces sitting on it. I taped an 18″ x 24″ piece of newsprint against the back wall of the counter and let it curve loosely down on the counter surface.

Then I arranged the three small pieces in the center of the paper so it looked as if they were “floating.” I snapped three or four photos with my iPhone and chose the best one.

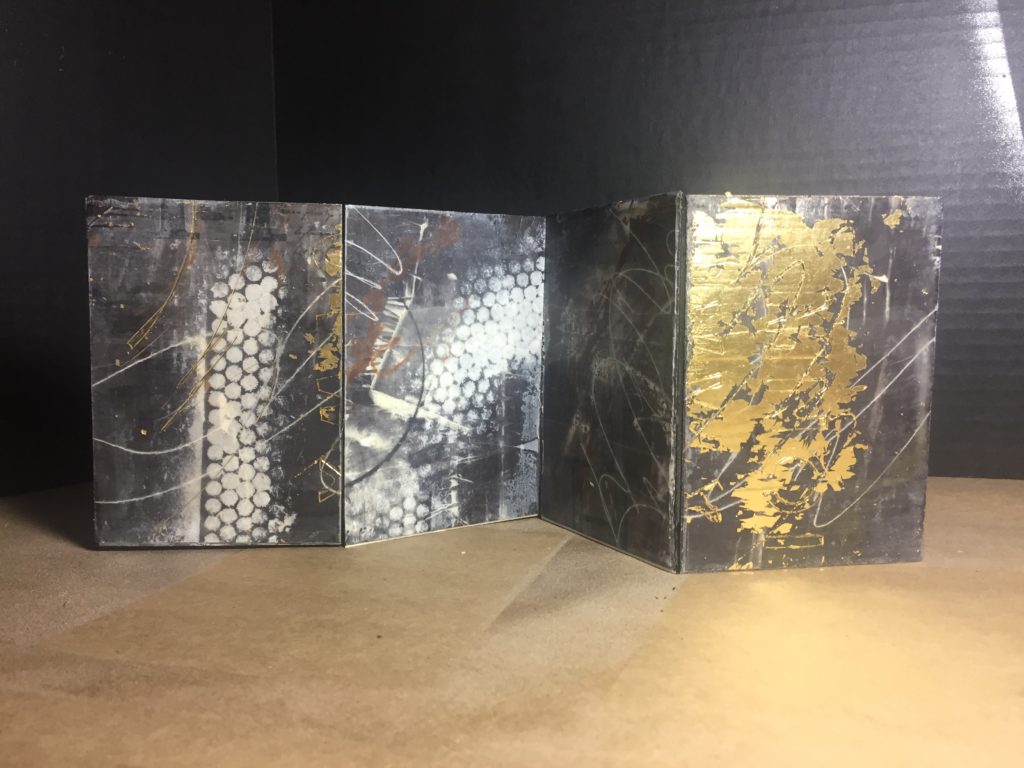
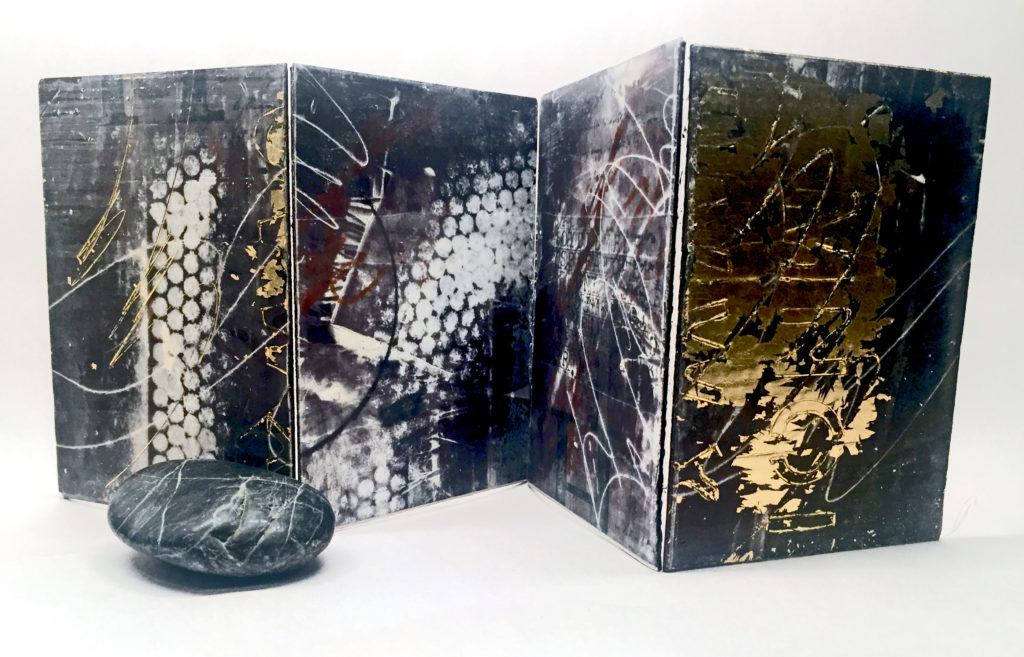
Later, I needed a good photo of a project I just finished for my Wax & Words eBook. It’s a little standing screen made with encaustic panels covered with marks and letters. Waxed surfaces are hard to reproduce in photos. This is what it looked like when I took the photo on the table in my studio. Kinda blah.

So I brought the little project home and tried my kitchen counter photo studio technique. I added an interesting rock and arranged the everything on the taped-up sheet of drawing paper.  Check it out!

Here’s how the pros do it – no cheap drawing paper or scotch tape for them.

But isn’t it amazing what a seamless background can do for a photo, even an iPhone photo? And nobody has to know that you took it on your kitchen counter.


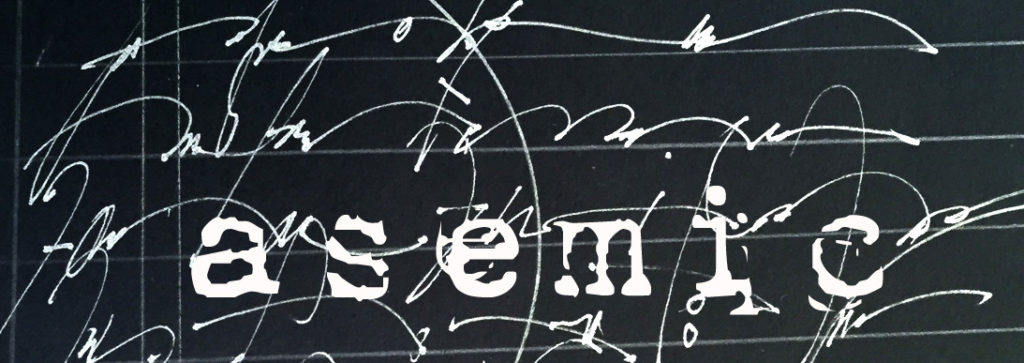
It looks like writing, but we can’t quite read it – – –

What does it say in the background??!!

I’m baaaaa-aack.

The last two weeks have been filled with family visitors, young and old, hailing from near and far. In the course of hosting, we got to play tourist, and have – over the last ten days – visited the San Antonio Zoo, the DoSeum, The Witte Museum, the Briscoe Museum of Western Art (fantastic exhibit of Warhol and Schenk), the San Antonio Art League and Museum (yay!), the downtown Public Library and its BookCellar, the Twig Bookshop and the Pearl, and the Nimitz/Pacific War Museum in Fredericksburg.

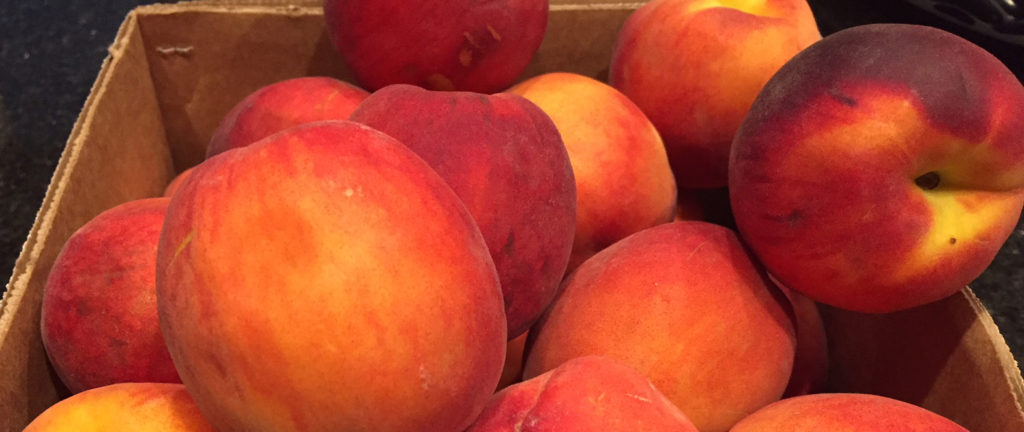
We stopped for Fredericksburg peaches during our Hill Country excursion – yum.

Lucky us to have families that love art and books!I Oh, yeah, and food – here’s a shout-out to Twin Sisters where we ate breakfast every morning this past week!

And now it’s time for a new art diversion.

This afternoon I got back to the studio, and in preparation for my Wax & Words workshop this Sunday and Monday, I did a little video tutorial on Asemic Writing that I thought you might enjoy. It’s a fun exercise in line and design and even though I’m a lefty, I think you can get the idea…

Asemic writing for collage and design from Lyn Belisle on Vimeo.

I plan to do my next eBook on calligraphic markmaking and stamped and stenciled lettering in combination with beeswax layers – stay tuned. And thanks for reading SHARDS.

Working (and RE-working) in a series – five tips!

I lied.

The last time I posted, I said that the Artful Gathering “Southwest Stripe” project using the four elements as inspiration was “totally foolproof”. Actually, nothing is. In this little clip from one of the workshop videos, you can see that sometimes you have to rethink and redo.

Sneak Preview from the Four-Hour Class, Southwestern Stripes: Serapes & Sunsets from Lyn Belisle on Vimeo.

The point here is that you start to think outside the box about what works and what doesn’t. It’s all about context. Everything you create has merit, truly. You may not think it is successful because it doesn’t do what you wanted it to, but remember to trust the process. Every one of your creations is worthy in itself, even if’s not right for the moment. Perhaps it works as a learning experiment, or perhaps it’s a step to something even better that you intended.

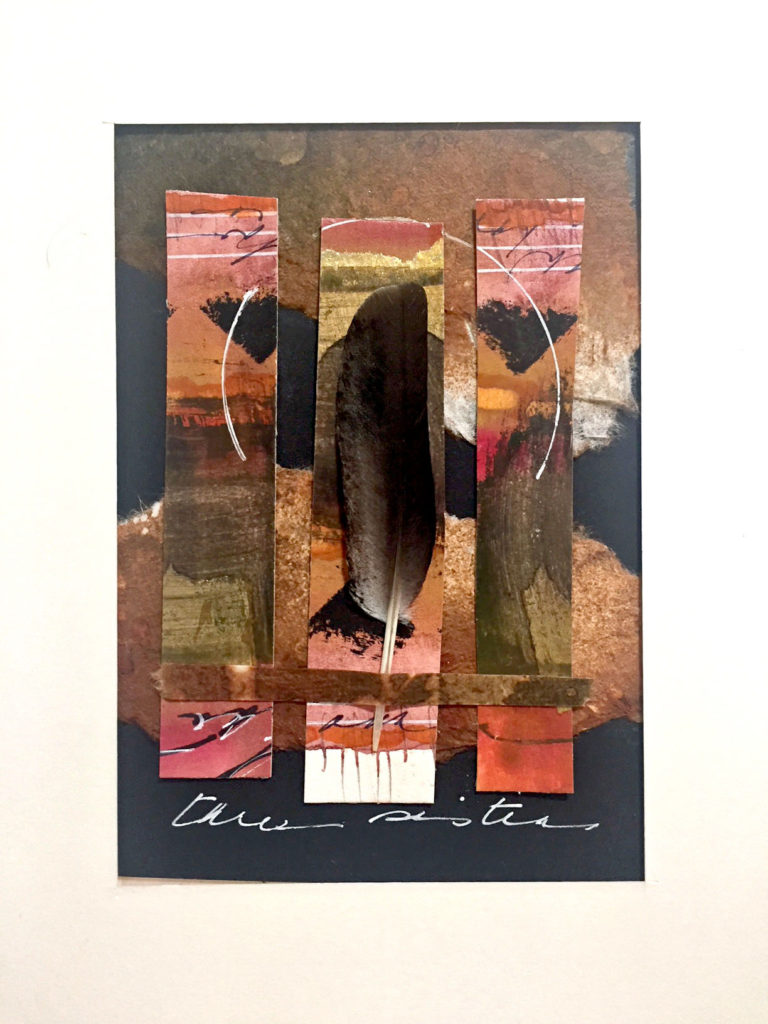
In the video above, you saw that piece that was a “failure” as part of the Four Elements  series, but look what happened later in the video when I took the scissors to it, boldly sliced it into three strips, then collaged the strips over another background that I had put in the “to-be-reworked” pile:

Lyn Belisle, “Three Sisters” 5×7″ Mixed Media Collage

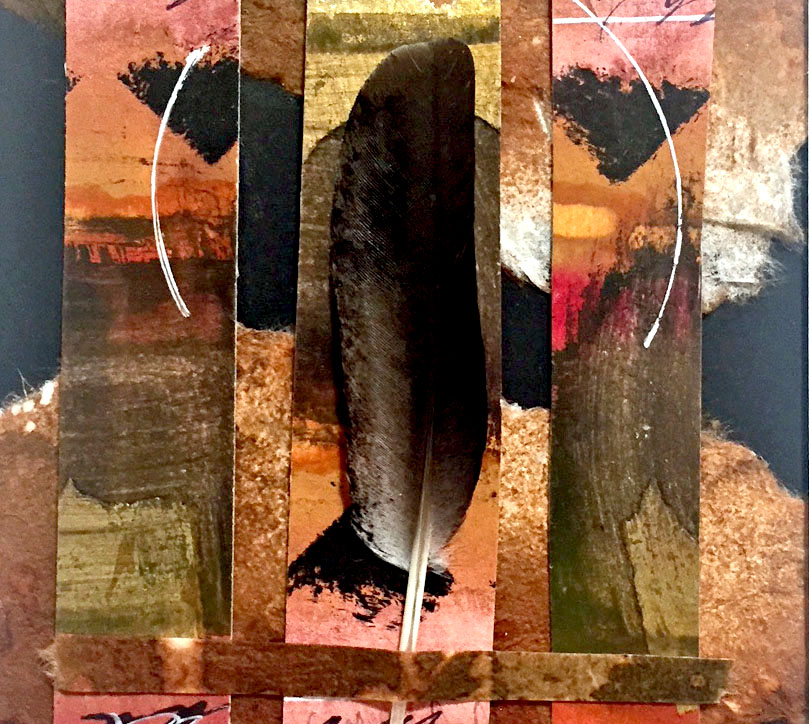
“Three Sisters” (detail)

I titled it “Three Sisters” and I love it as a stand-alone mixed media collage! I turned the strips upside down and changed the order – voila!

SO . . . . . .Here are FIVE TIPS that might help you re-imagine something you’re working on that just isn’t working:

1. Hold the work up to a mirror. This give you a whole new perspective on the composition and may suggest a clue for a new direction.

2. Take a photo of the work with your phone. This visual reduction minimizes the details you’ve been fussing over. Email the photo to yourself and play with it online with PicMonkey or another free photo-editing site.

3.  Take a mat that is smaller than your artwork and move it around on the surface until you find a great spot that really works – crop that section out. Save the rest for your “to be reworked” pile.

4. Put a piece of tissue paper or tracing paper over your work. Does it look better? If so, figure out why and what to do about it. You may want to just collage the tracing paper over the whole thing to soften it, or you may want to paint a translucent glaze on top.

5. Get out the scissors! Don’t be afraid to cut up the work into sections like I did with “Three Sisters”. But fold it first to see if you’re really going to like the sections before you actually do the deed.

Remember, everything you do is worthy because YOU created it and it brought it into existence. You certainly don’t have to save everything, but give “pieces” a chance!

Oh, yeah – and the Southwestern Stripes class is open if you want to join us in the workshop 🙂


Holiday freebie for you – faux turquoise technique tutorial!

I may not have time to give workshops right now (the next one will be in January), but I can still teach you a few things! Here’s a lesson freebie – a cool Faux-Turquoise technique.

While working on a commissioned assemblage, I realized how often I use the painted faux-turquoise finish that I developed several years ago. It works on almost all my mixed-media surfaces – clay, paper, cradle board, canvas.

Here’s your step-by-step tutorial on how I do this finish. Feel free to change it up and experiment with your own variations. There’s no secret here, just simple materials and techniques that give good results in an uncomplicated way. It’s super fun, too.

Step One: Assemble Materials

Rarely do I specify specific brands, but in this case, these three acrylic paints work best in combination of all the ones I’ve tried for this particular technique.

You will also need a wide-ish flat brush (about 1″), a graphite pencil, a terrycloth washrag or studio rag, a white colored pencil (optional), and something to paint on. For this demonstration, I chose  4×6″ piece of archival mat board. You’ll need a water container to clean your brush, too.
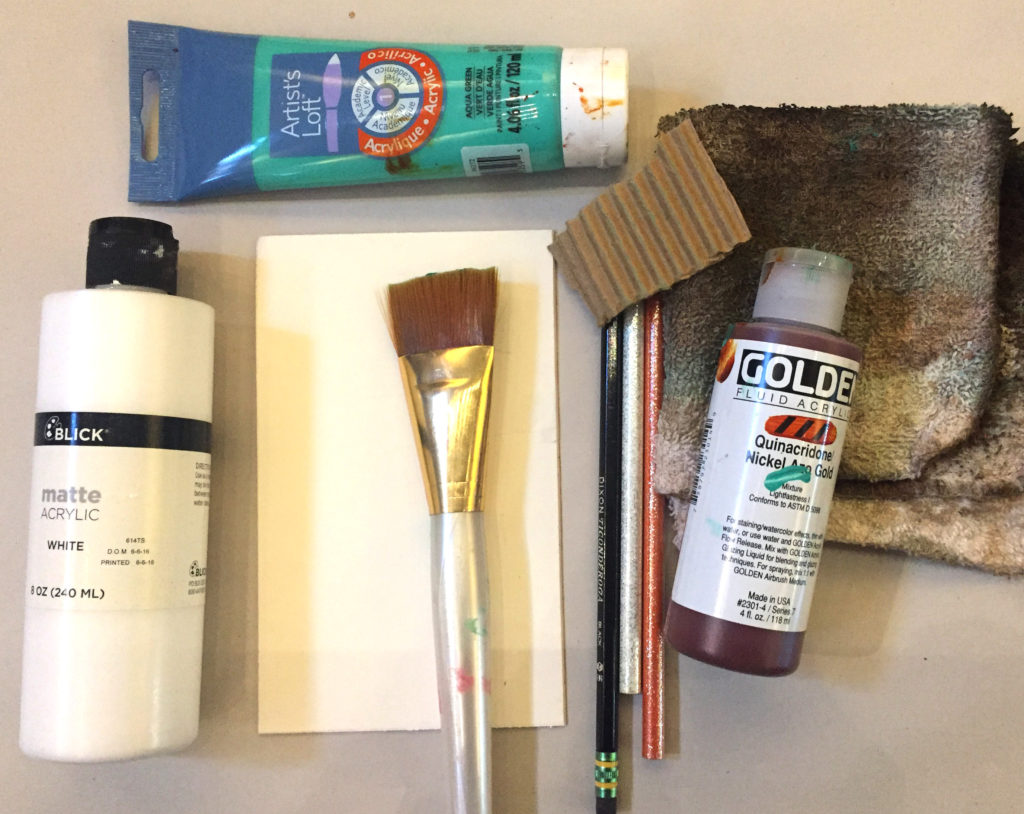
You don’t need a lot of complicated materials for this

Step Two: Make you mark

I often have my workshop participants open up to their work by doing some scribbling on the substrate – you can always gesso over it, but it keeps them from being intimidated by a white surface. If they don’t know what to scribble, I ask them to scribble what they had for breakfast! In the demo below, I just did some random markmaking with a graphite pencil. It added a bit of subtle texture to the surface, too.
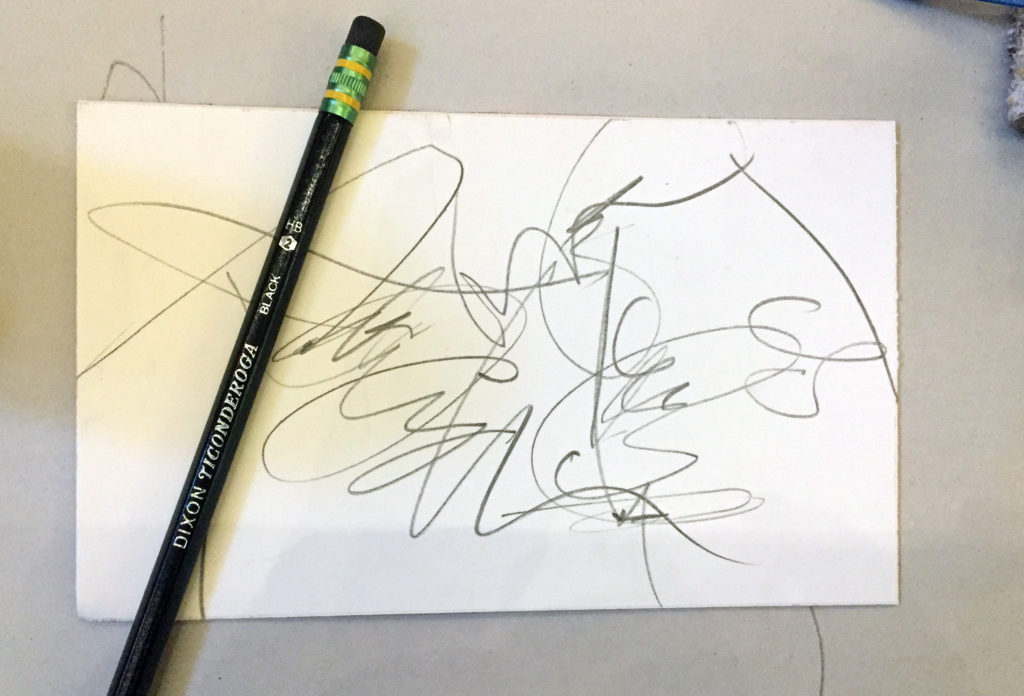
Make the space yours by claiming it with markmaking

Step Three: Slap on the base coat

Paint right over those marks you made with a coat of Aqua Green acrylic, being generous. Use random strokes, x-strokes in every direction. You don’t want to leave thick texture, but yo do want some slightly raised areas.
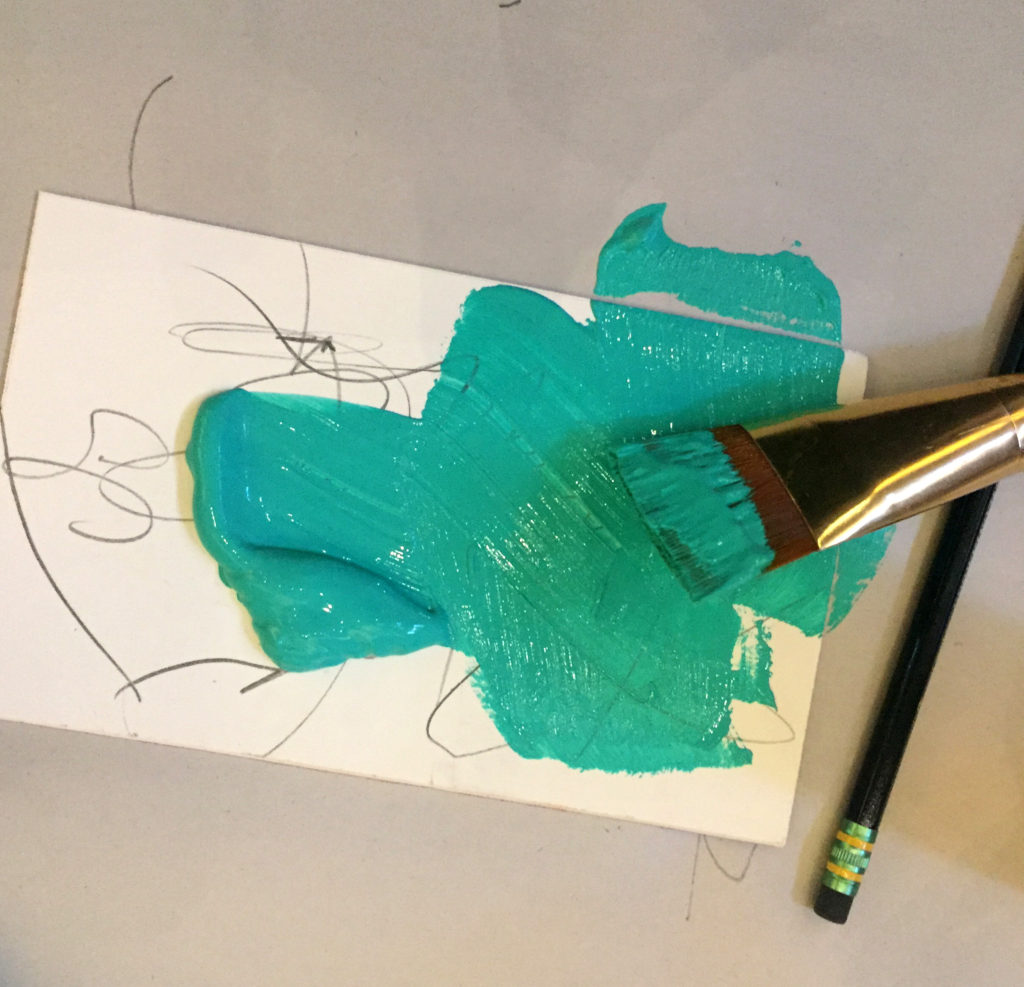
A nice coat of aqua green painted randomly on the matboard

Step Four: More marks

Let this coat sit until it is sticky but not dry, then go back in with your graphite pencil and make more light marks on the surface.
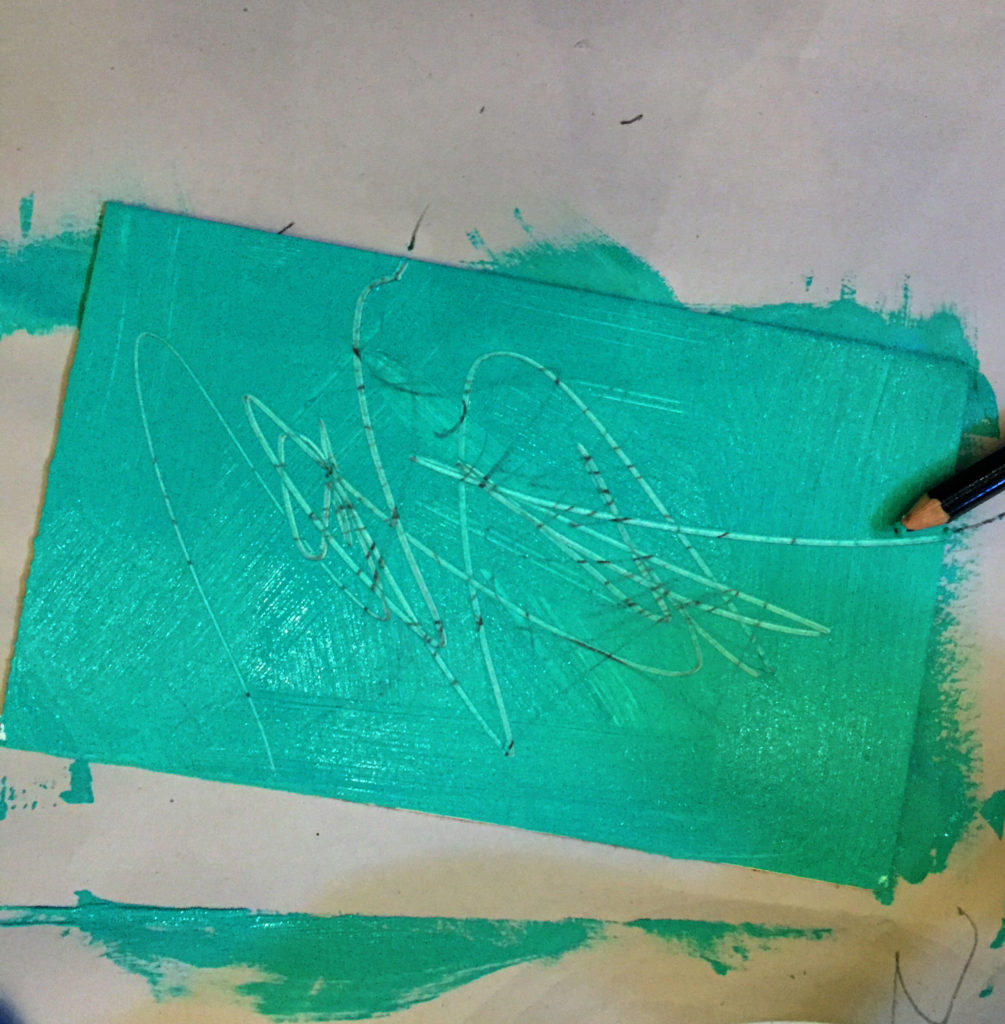
Step Five: Lighten it up

Add some of the Matte White acrylic to the Aqua Green to make a paler tint of turquoise. Brush it randomly over about one-third of the surface. Play with the proportions.
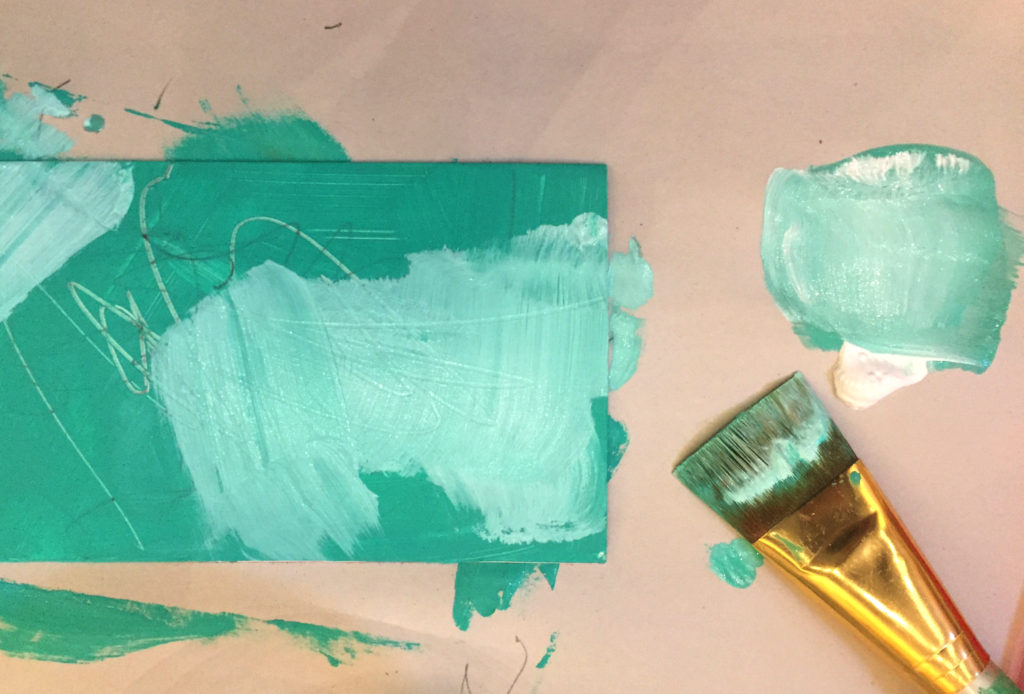
Matte White with a bit of Aqua Green

Step Six: Press and Lift

While the lighter tint is still wet, Press your terrycloth rag straight down onto the surface to lift some of the lighter tint in areas. This leaves very stone-like patches of light and dark.

Press the cloth straight down, then lift.

Step Seven: Adding the Azo Gold

Take your bottle of Quinacridone Nickle Azo Gold and drop several blobs of paint on the surface. It will look very dark and slightly gross, but don’t worry – Quin Gold is extremely transparent and will make a lovely glaze in the next step.
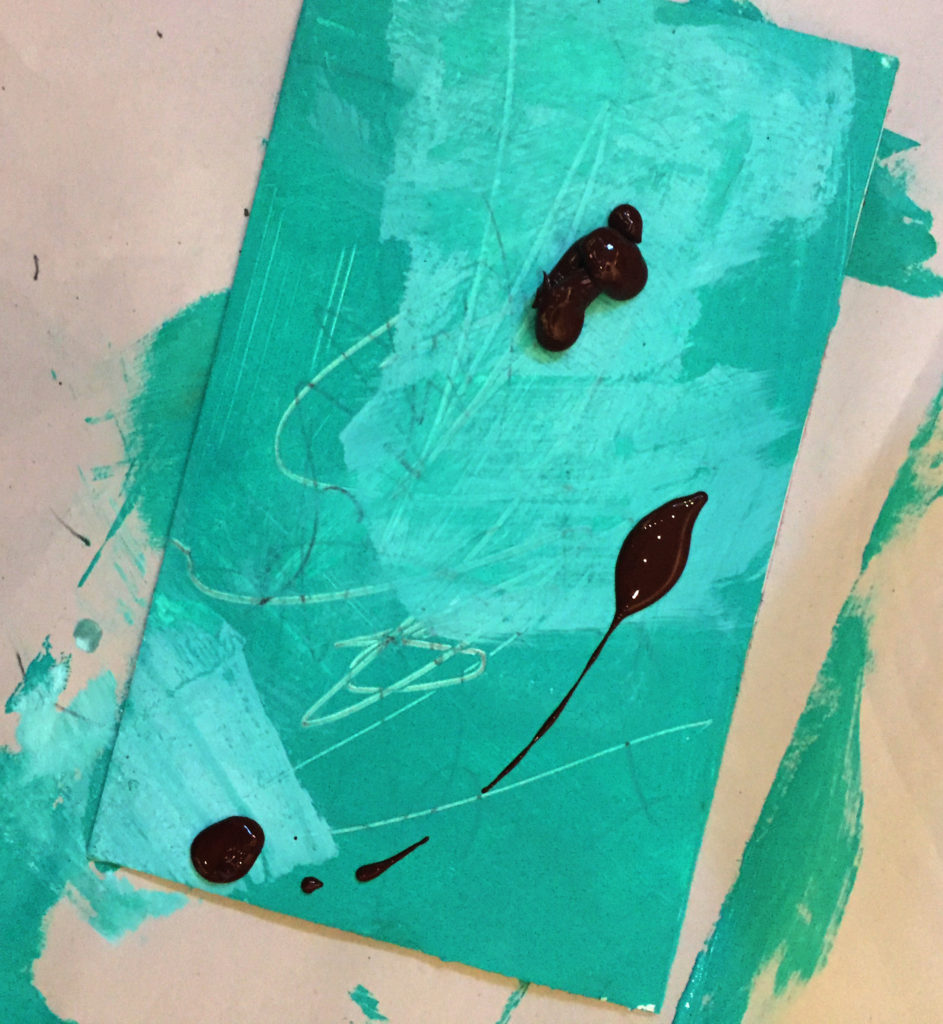
Blobs of Quin Gold dropped on the surface

Step Eight: Blob-dabbing

Using the same terrycloth rag (which will never be the same again), dab the blobs firmly to spread them and create texture.

Dabbed-out blobs of Quin Gold

Step Nine: Light blending and marking

Continue to add light marks, and do a bit of blending with the rag, but use a light touch.

More scratches and marks

Step Ten: Finish with dry-brushing

To veil and push back all of the color variations and textures, dry-brush a final coat of aqua green over the surface. You can see here that the right half has been dry-brushed and the left half has not yet been brushed. If you build up this layer slowly, you can control what is revealed and what is concealed. “Dry-brushing” means just that – adding a little bit of paint to a dry brush and stroke it lightly over the surface. After this step, let the whole thing dry. And go wash your brush!

Final dry-brush coat

Step Eleven: Tah-Dah!

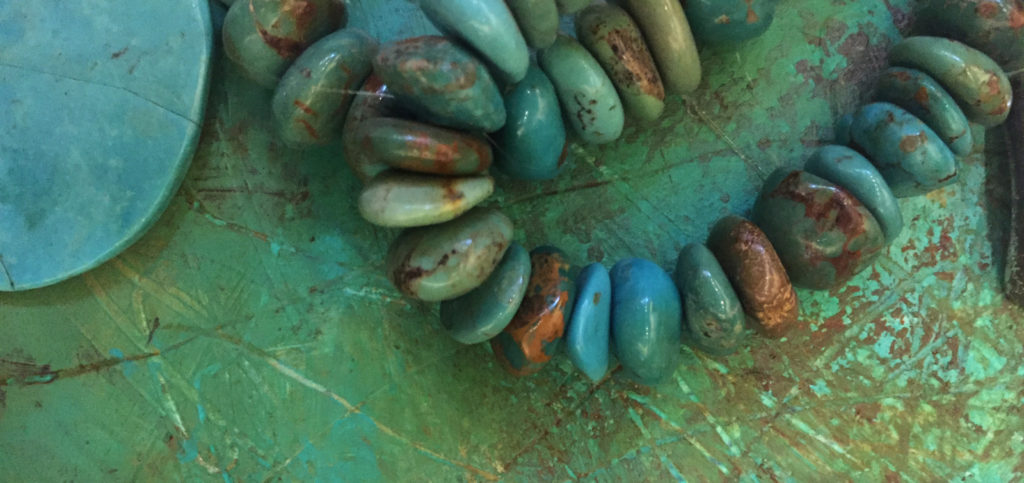
You can see in the close-up how the painted finished mimics the real stuff in texture and color. As I said, this surface is archival mat board, but you can try this technique on anything acrylic paint works with.

I can see it on a mirror frame, for example, with copper nailheads all around it, or perhaps covering the top of a wooden box. Or how about a turquoise ornament for a Christmas tree, Southwestern style?

Here are a couple more photos of the faux-turquoise mat board cut up into smaller sections, and also a small adornment with copper tape for a collage or pin.
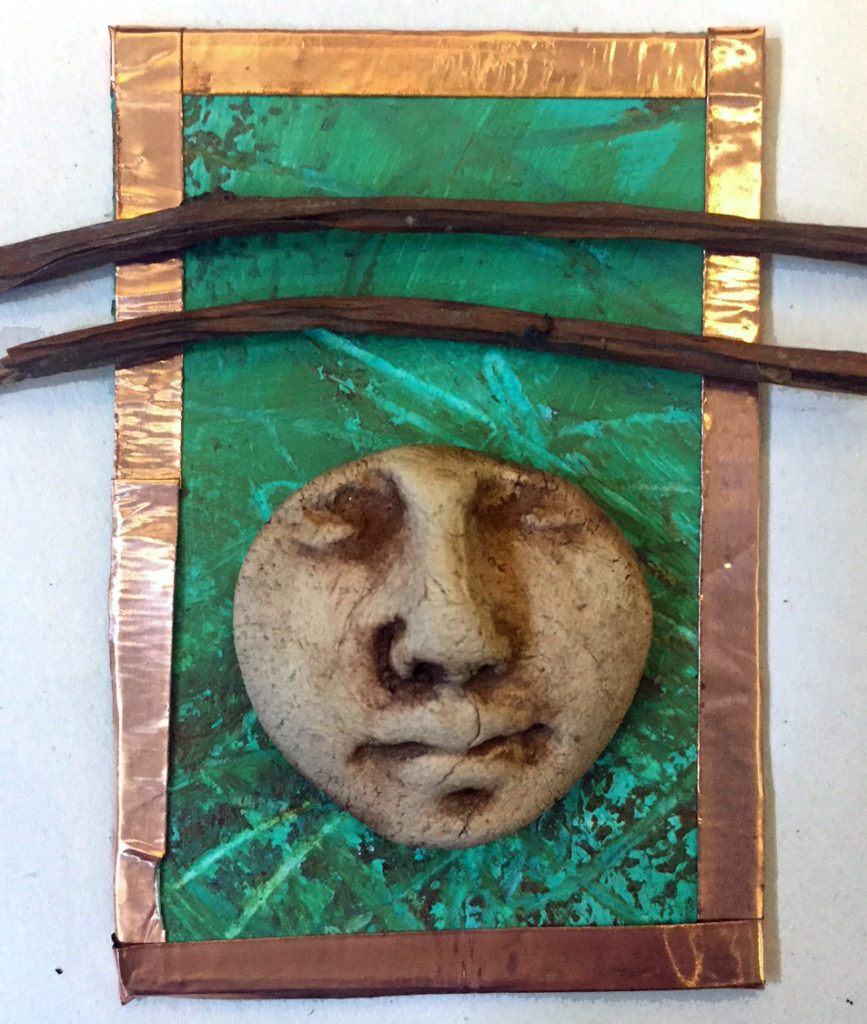
collage adornment
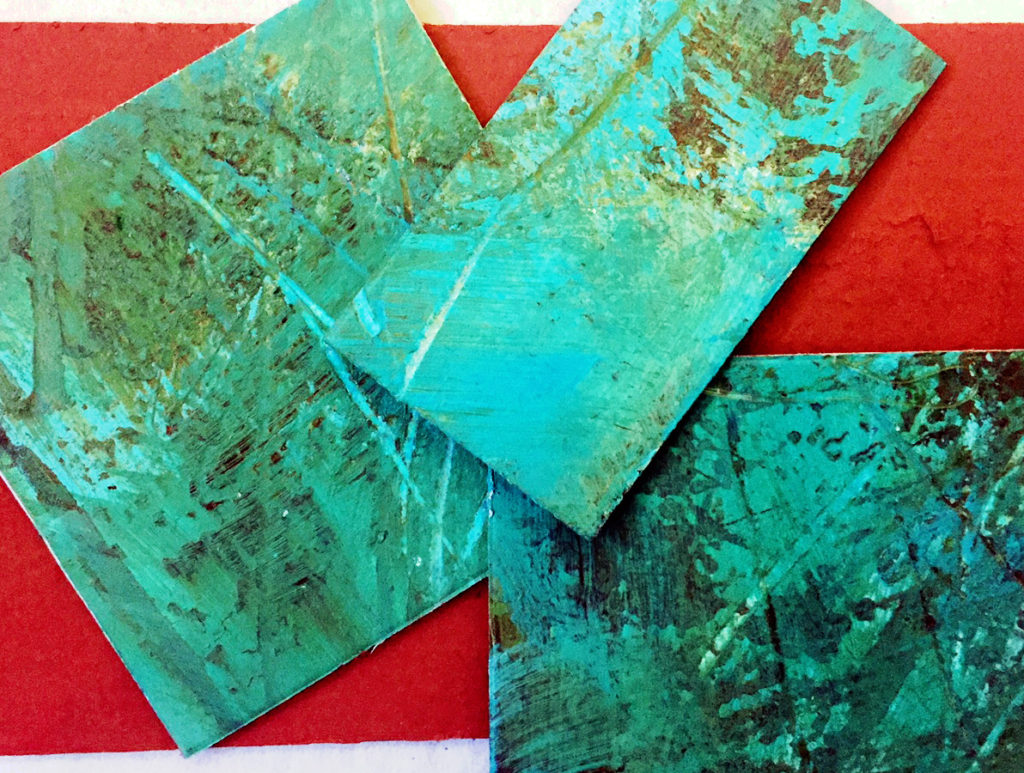
Cut sections of faux-turquoise matboard for mixed media

I hope you enjoy this technique. If you try it, let me know how you use it!

And thanks, as always, for reading SHARDS!


Assemblage assembly tricks – and a place to get inspired

Stick with me, Kid – I’m been furiously creating assemblages for the last month for Marta Stafford’s First Friday opening in Marble Falls – be there!

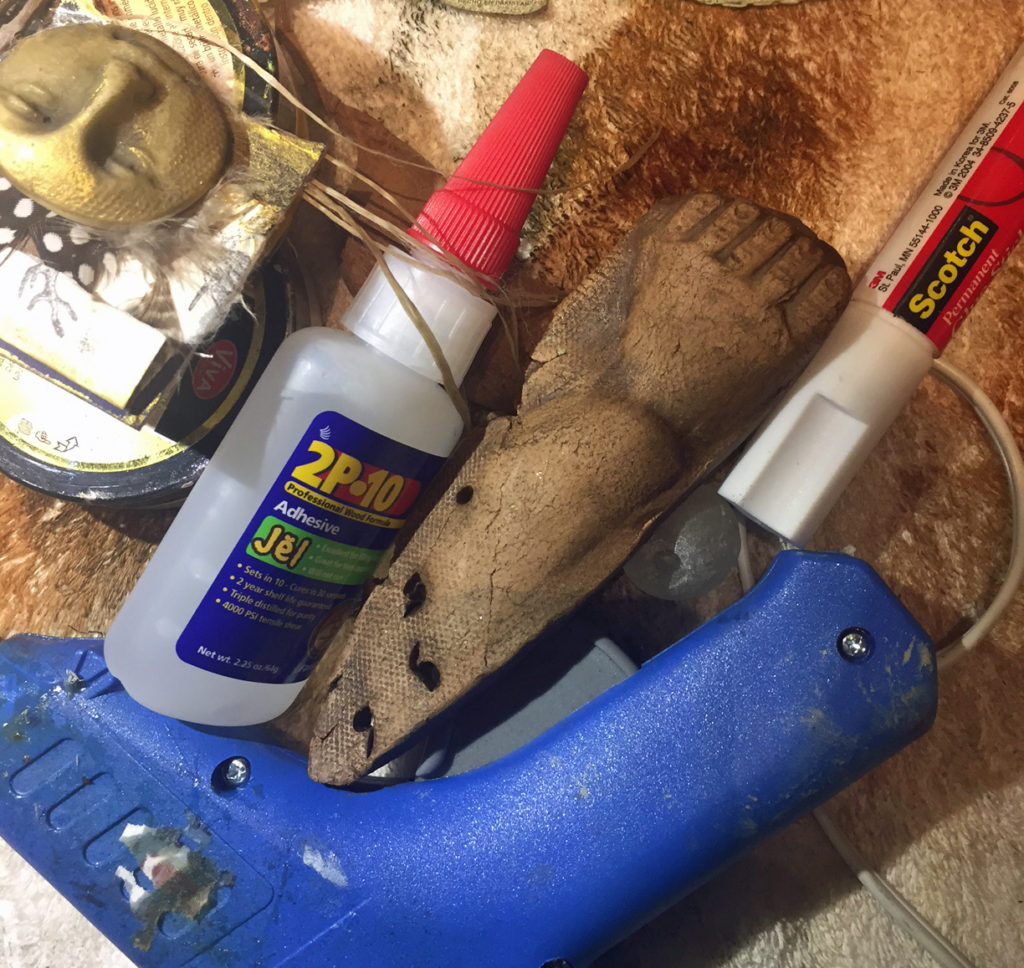
“Assemblages” by definition mean you have to stick stuff together, and I’ve learned more about attaching stuff to other stuff than I ever thought possible. Here’s a quick look at some adhesives and glues and how I use them.

GLUE STICKS:

I use these to tack layers of lightweight material to each other before attaching them to more permanent surfaces. In this photo, you can see that the layers of amate paper are stuck together to keep them from shifting. I’ll go over the surface with beeswax soon, but right now a glue stick is perfect to keep them from shifting. I like Scotch Permanent glue sticks, BTW.

E6000:

If you have two different materials, such as clay and wood (below) and can weight the pieces for several hours, E6000 is a great solution. The self-leveling formula forms a powerful bond with most any material and will remain flexible once cured. You just have to be patient (which sometimes doesn’t work for me).

HOT GLUE GUN:

This is the method I most often use in my workshops because you get an instant bond. You can work quickly and It is the most versatile adhesive you will find. I have had some pieces come loose after a few years, so I discovered a trick that I’ll share.

When you are ready to hot glue two objects together, such as a clay face to a piece of archival matboard, put a small dab of E6000 on the substrate and then hot glue the objects together right over the E6000. The hot glue will bond immediately, and the E6000 will cure gradually and provide a stronger bond. And you get instant gratification.

2P10:

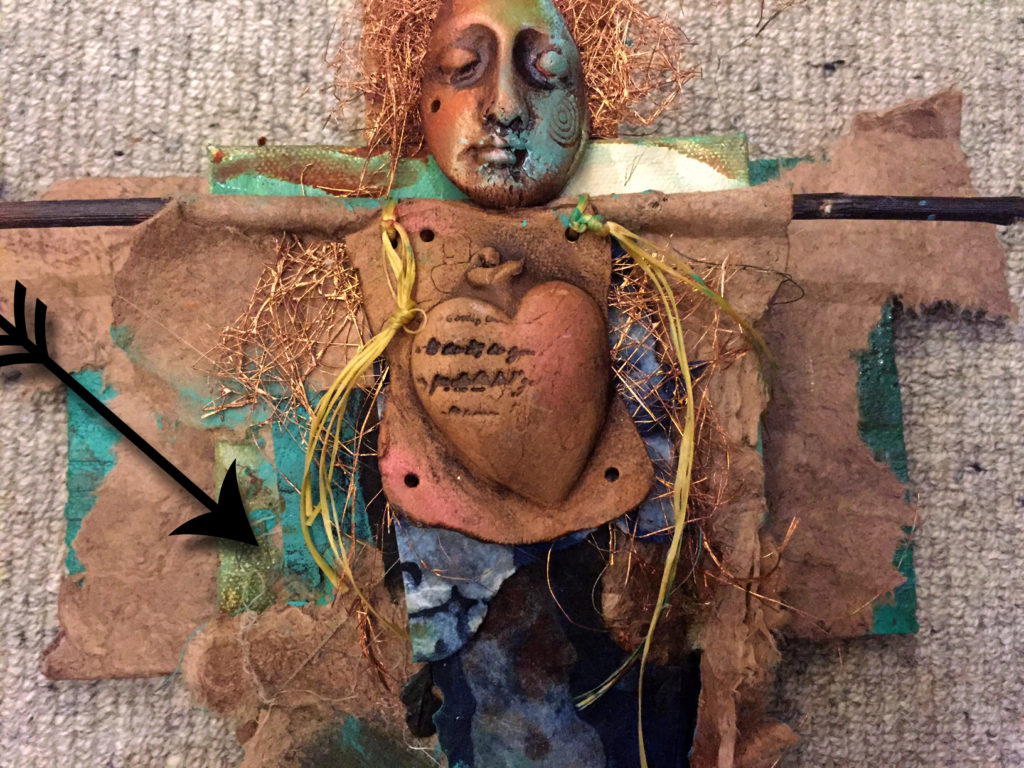
I have to thank my contractor for this tip – he told me about this stuff. Man, 2P10 is scary strong and scary fast! The piece below got its designed changed because I made a crooked bond, but it turned out great – happy accident.

You have to be absolutely ready to make the attachment and work quickly. I would advise you to practice with some scrap pieces before using the two-part system. Follow the cautions. But if you want to glue a Volkswagen to a tree, this is the stuff for you!

This piece has metal glued to paper glued to clay glued to wood glued to canvas – etc – but 2P10 works on almost all surfaces. Use with care.

Hope some of this helps you with your own assemblages.

BUT WAIT!! If you want to see some of the most beautiful assemblages in the universe, go to the Bijou Theater tonight at 6:00 for Celebration Circle’s Altar show!!

ONE PEOPLE, MANY PATHS: The Sacred Art of Altars 14th Annual Exhibit & Silent Auction is a must-see!

Tickets are just $15 and are available at this link.

Here’s a list of participating artists, and you can bet you’ll be inspired to get out there and glue stuff to other stuff after you’ve seen this spiritual altar assemblage exhibit!

Maria Alvarado, Zet Baer, Lyn Belisle, CeeJay Black, Bill Bonham, Pam Bryant, Susan Calkins, Sofia Dabalsa, Susan Damon, Steve Daniel, Lynn Denzer, Sandy Dunn, Jane Dunnewold, Dani Ferguson, Sarah Ford, Betty Franklin, Karl Franklin, Joan Frederick, David Anthony Garcia, Skip Gerson, Suzy Gonzalez, Martha Grant, Rudi Harst, James Hendricks, Jon Hinojosa, Dawn Horten, Jagwired Art, Julie Jarvis, Joy Jimenez, Stefani Job Spears, Amy Jones, Deborah Keller-Rihn, Mark Kohnitz, Kevin Lewis, Fontaine Maverick, Marcia Rae McCulley, Jeff McDaniel, Beverly Meyer, Kathy Miner, Jose Mojica, Susie Monday, Alexandra Nelipa, Ray Palmer, Cindy Palmer, Junanne Peck, Cynthia Phelps, Kathleen Pittman, Theresa Powers, Tomas Ramirez, Thom Ricks, Patsy Sasek, Ron Schumacher, Bill Simons, Chuck Squier, Jodi Stauffer, Melanie Strybos, Pamela Taylor, Dean Valibhai.