 I may not have time to give workshops right now (the next one will be in January), but I can still teach you a few things! Here’s a lesson freebie – a cool Faux-Turquoise technique.
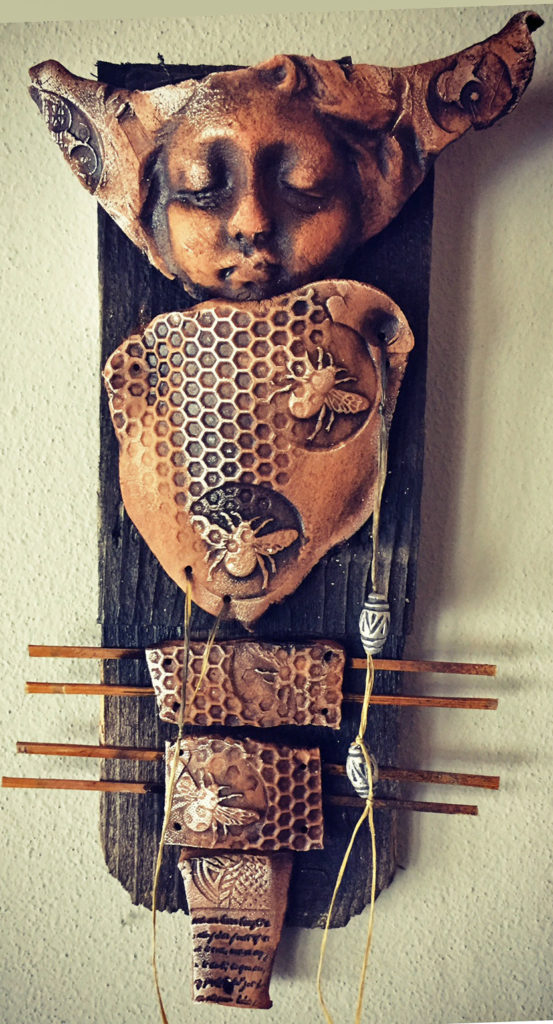
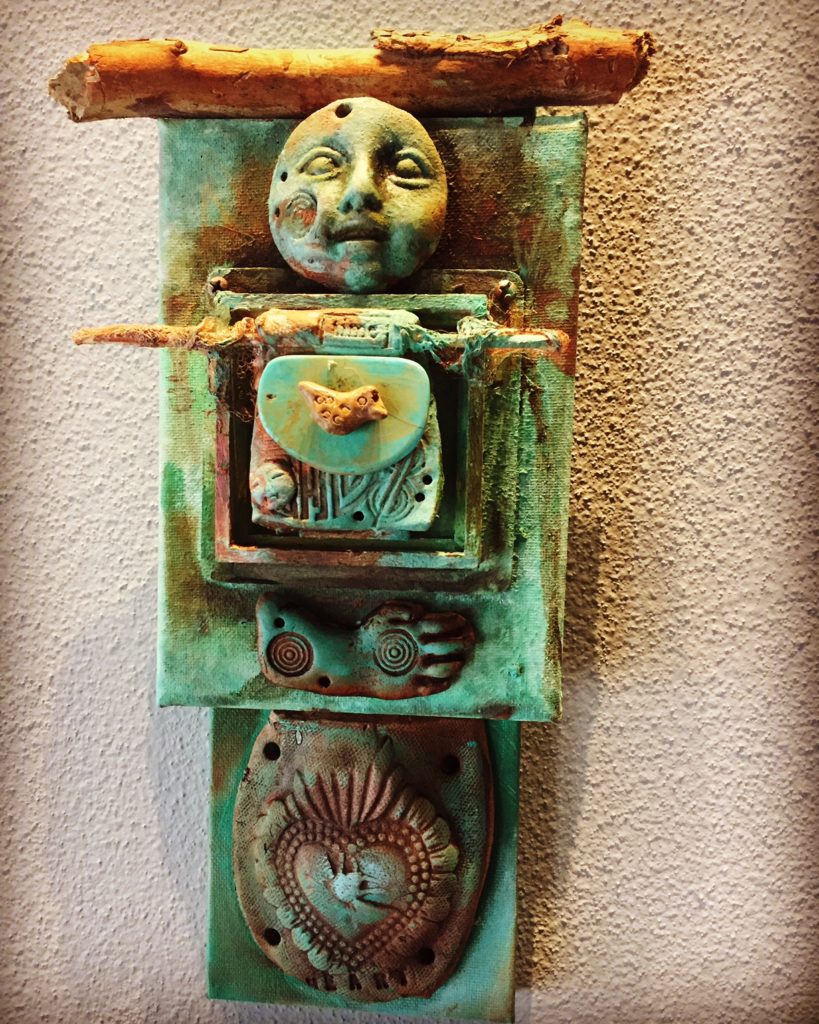
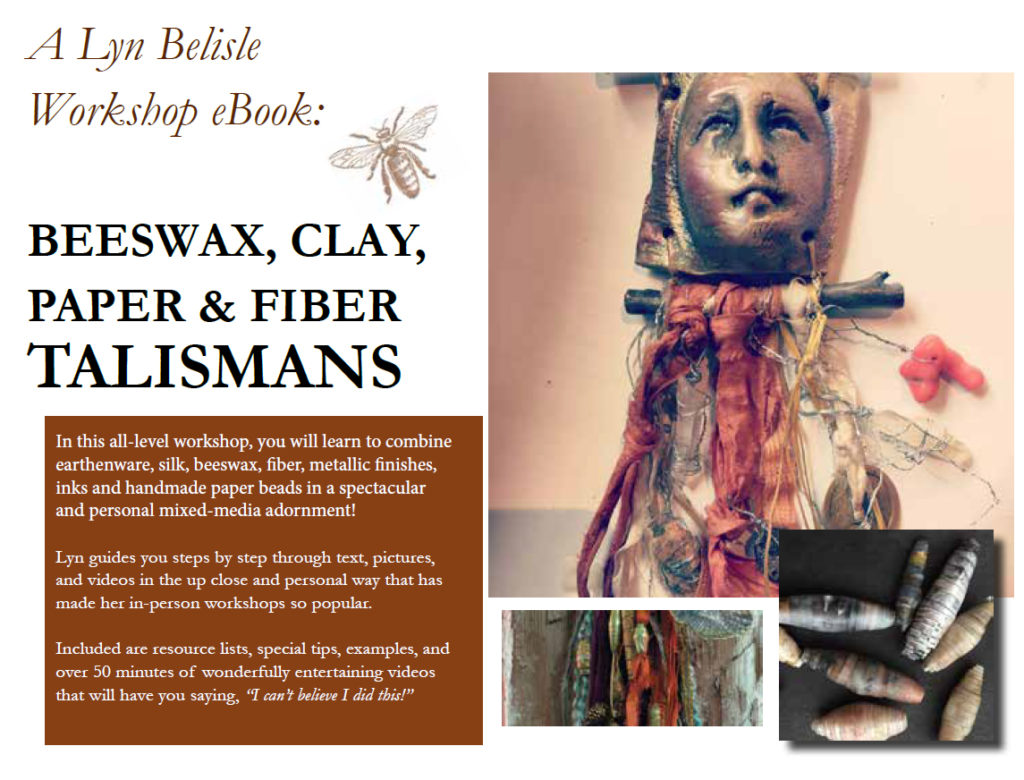
While working on a commissioned assemblage, I realized how often I use the painted faux-turquoise finish that I developed several years ago. It works on almost all my mixed-media surfaces – clay, paper, cradle board, canvas.
Here’s your step-by-step tutorial on how I do this finish. Feel free to change it up and experiment with your own variations. There’s no secret here, just simple materials and techniques that give good results in an uncomplicated way. It’s super fun, too.
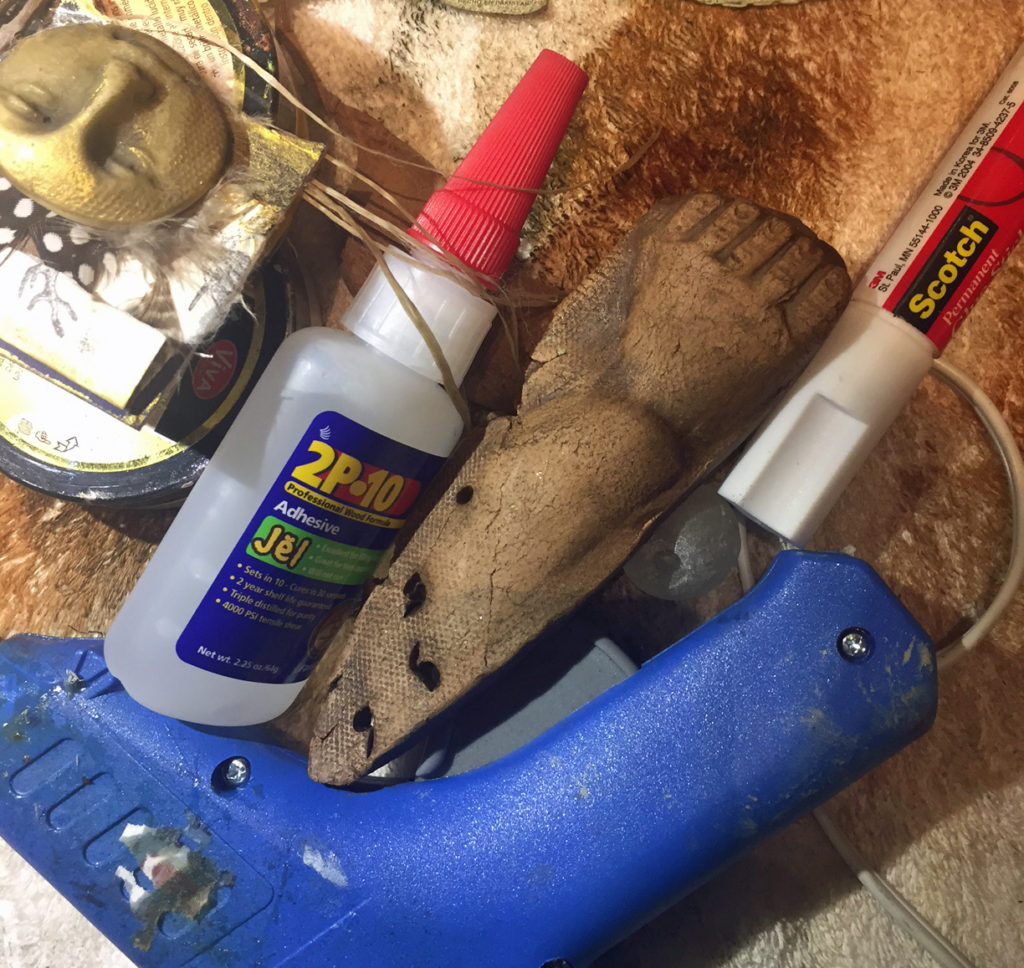
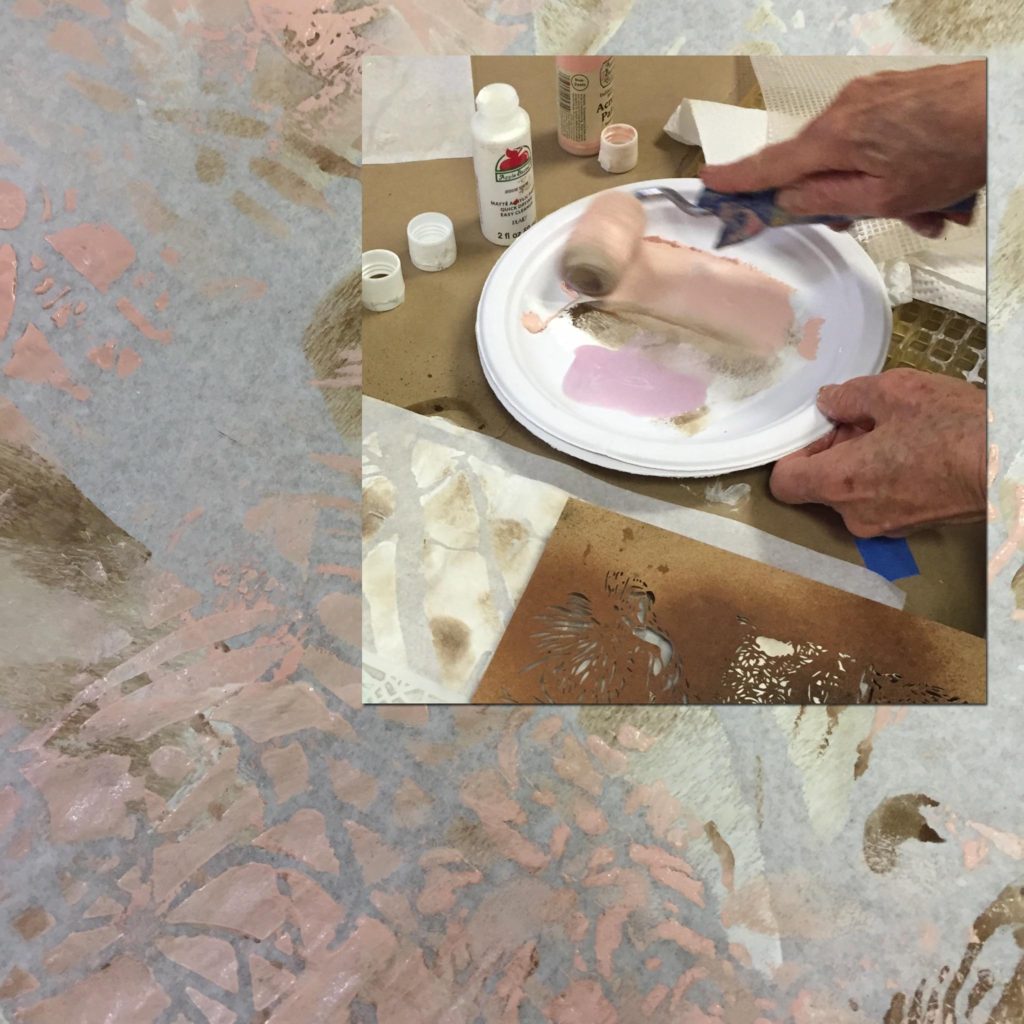
Step One: Assemble Materials
Rarely do I specify specific brands, but in this case, these three acrylic paints work best in combination of all the ones I’ve tried for this particular technique.
- Artists Loft Aqua Green, available at Michaels
- Golden Quinacridone Nickle Azo Gold available at Jerry’s Artarama and other art stores
- Dick Blick Matte White acrylic available at Dick Blick
You will also need a wide-ish flat brush (about 1″), a graphite pencil, a terrycloth washrag or studio rag, a white colored pencil (optional), and something to paint on. For this demonstration, I chose 4×6″ piece of archival mat board. You’ll need a water container to clean your brush, too.
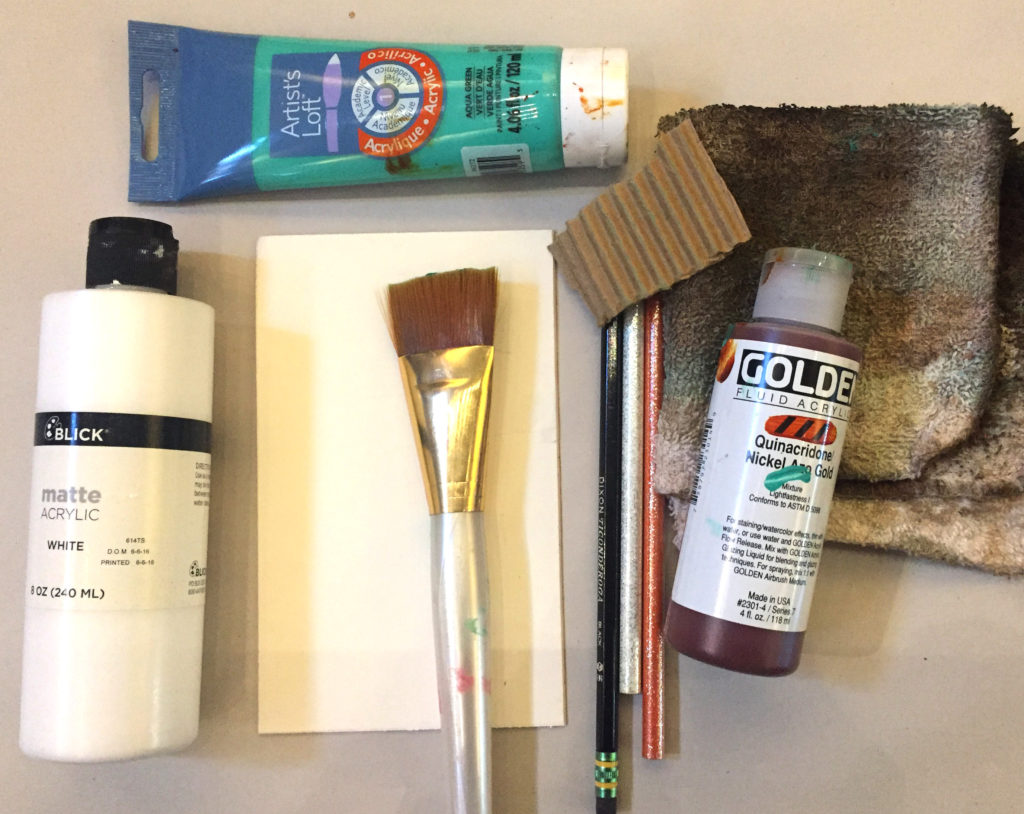
You don’t need a lot of complicated materials for this
Step Two: Make you mark
I often have my workshop participants open up to their work by doing some scribbling on the substrate – you can always gesso over it, but it keeps them from being intimidated by a white surface. If they don’t know what to scribble, I ask them to scribble what they had for breakfast! In the demo below, I just did some random markmaking with a graphite pencil. It added a bit of subtle texture to the surface, too.
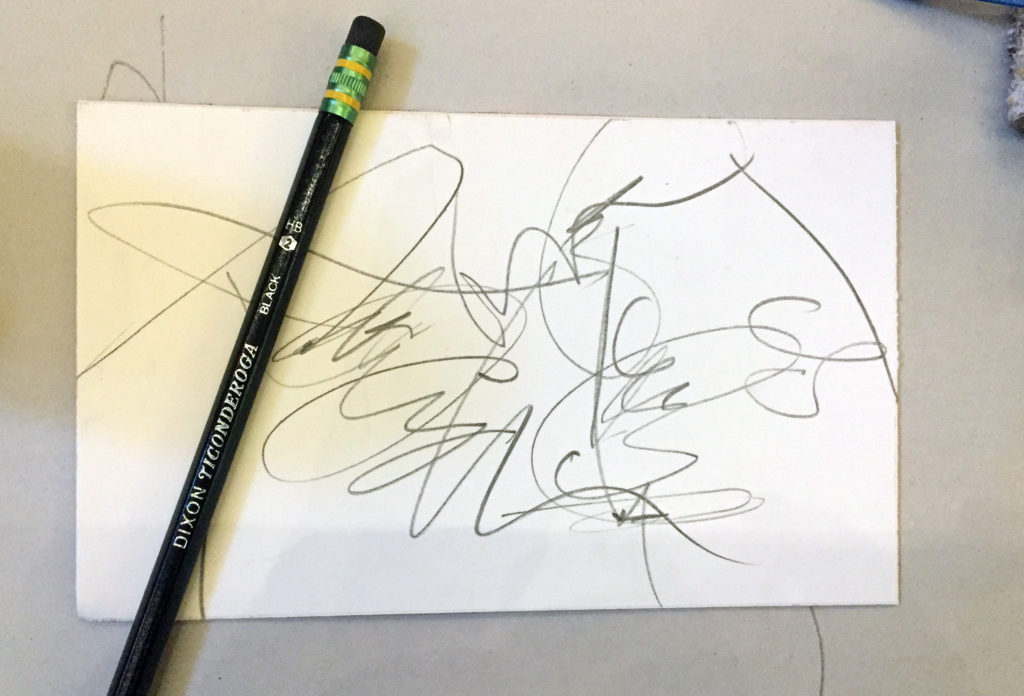
Make the space yours by claiming it with markmaking
Step Three: Slap on the base coat
Paint right over those marks you made with a coat of Aqua Green acrylic, being generous. Use random strokes, x-strokes in every direction. You don’t want to leave thick texture, but yo do want some slightly raised areas.
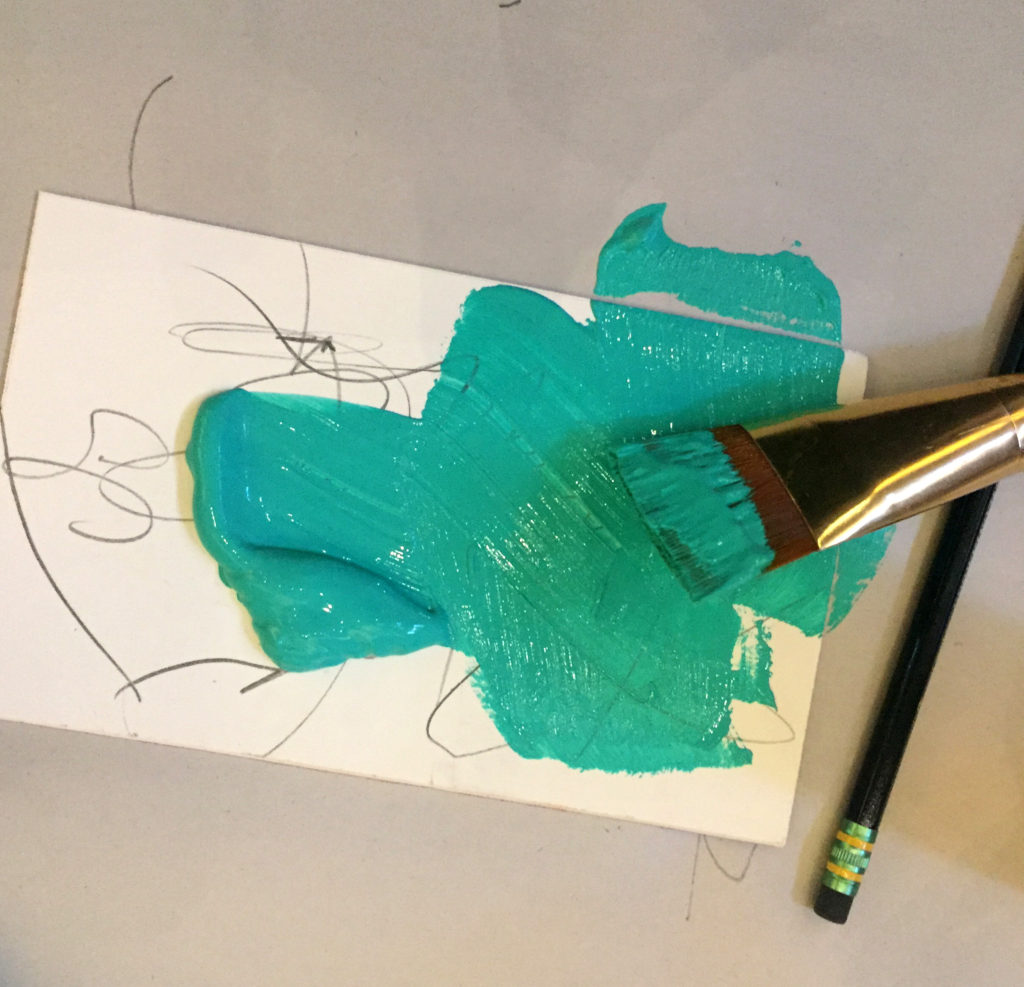
A nice coat of aqua green painted randomly on the matboard
Step Four: More marks
Let this coat sit until it is sticky but not dry, then go back in with your graphite pencil and make more light marks on the surface. 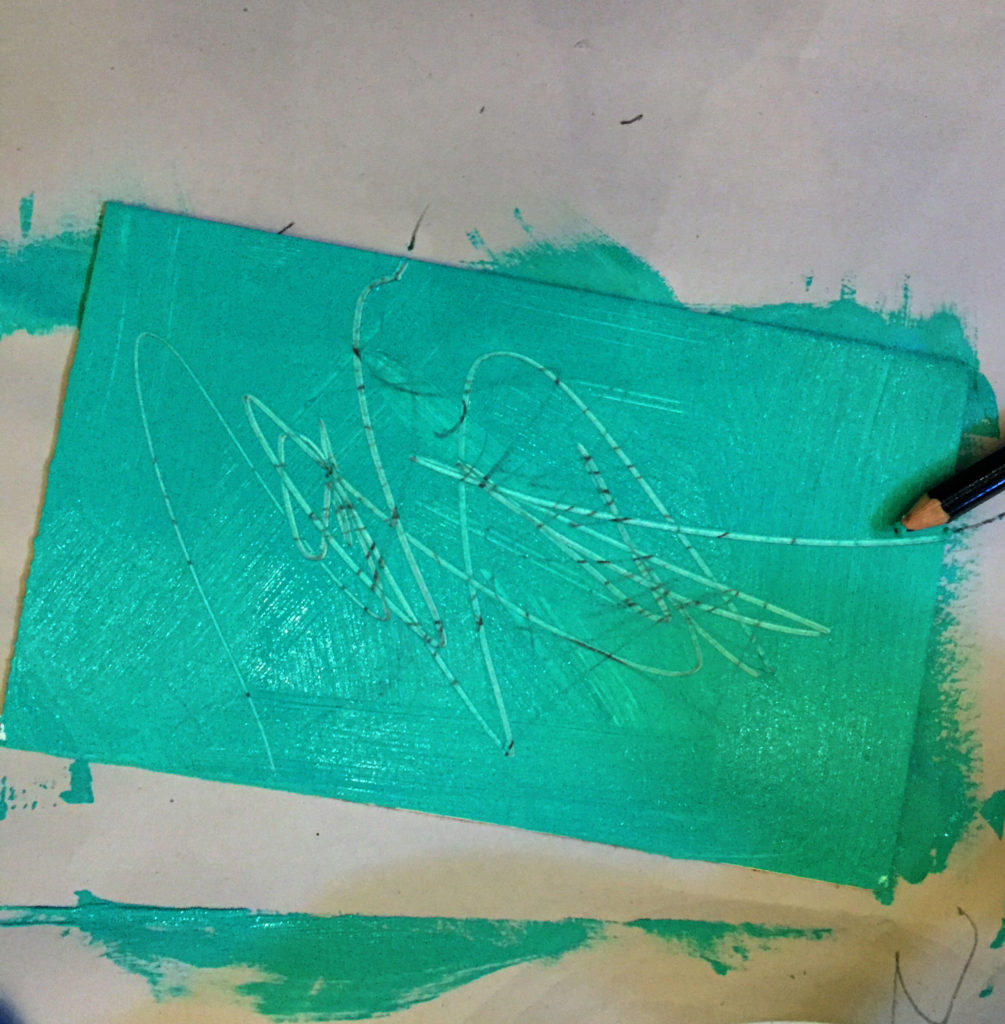
Step Five: Lighten it up
Add some of the Matte White acrylic to the Aqua Green to make a paler tint of turquoise. Brush it randomly over about one-third of the surface. Play with the proportions.
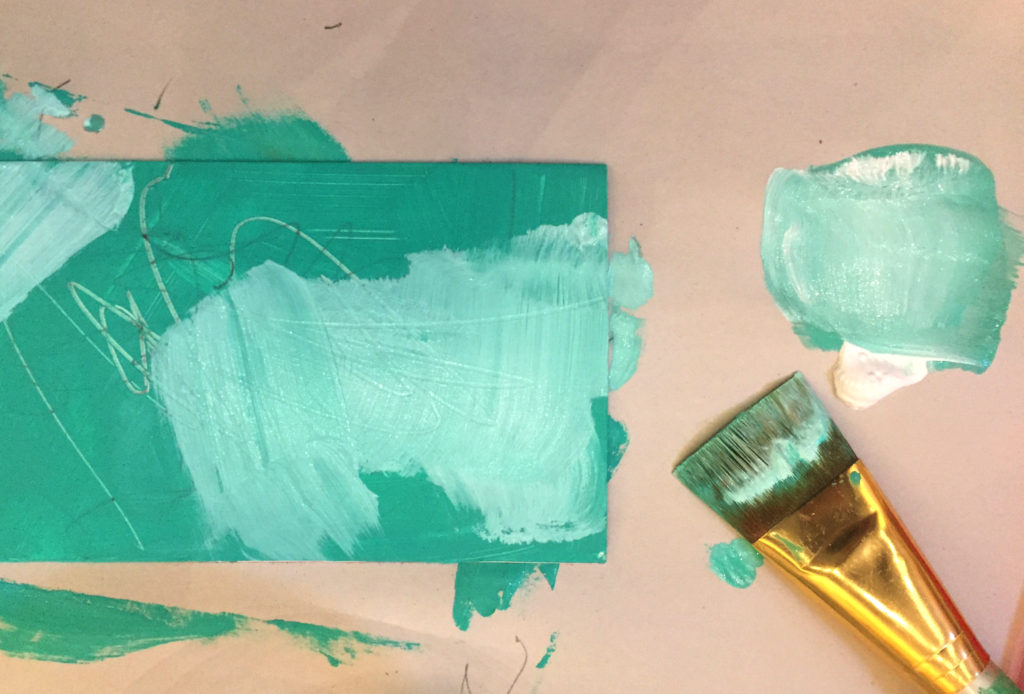
Matte White with a bit of Aqua Green
Step Six: Press and Lift
While the lighter tint is still wet, Press your terrycloth rag straight down onto the surface to lift some of the lighter tint in areas. This leaves very stone-like patches of light and dark.

Press the cloth straight down, then lift.
Step Seven: Adding the Azo Gold
Take your bottle of Quinacridone Nickle Azo Gold and drop several blobs of paint on the surface. It will look very dark and slightly gross, but don’t worry – Quin Gold is extremely transparent and will make a lovely glaze in the next step.
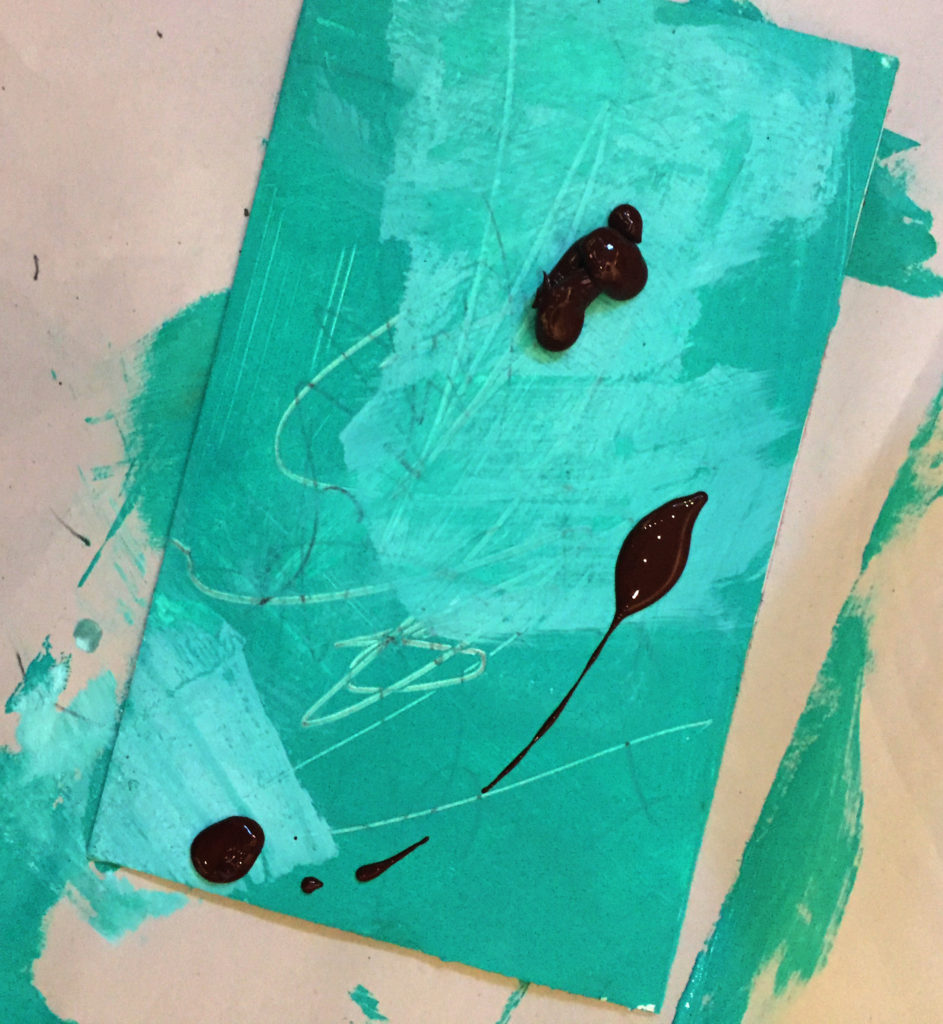
Blobs of Quin Gold dropped on the surface
Step Eight: Blob-dabbing
Using the same terrycloth rag (which will never be the same again), dab the blobs firmly to spread them and create texture.
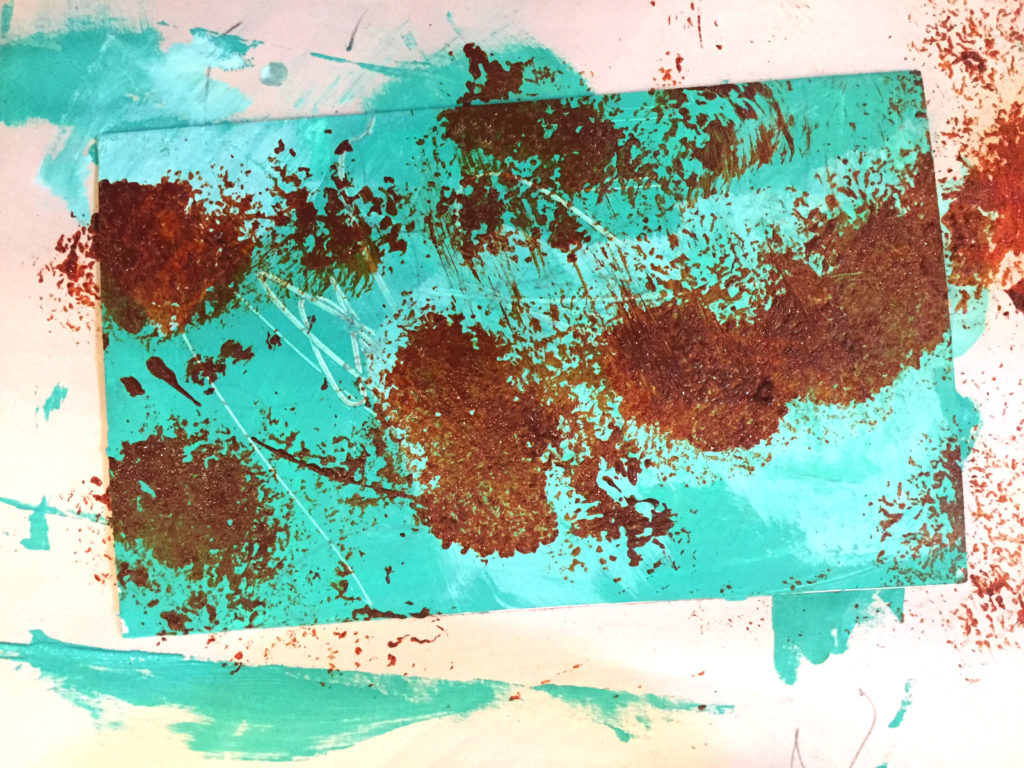
Dabbed-out blobs of Quin Gold
Step Nine: Light blending and marking
Continue to add light marks, and do a bit of blending with the rag, but use a light touch.
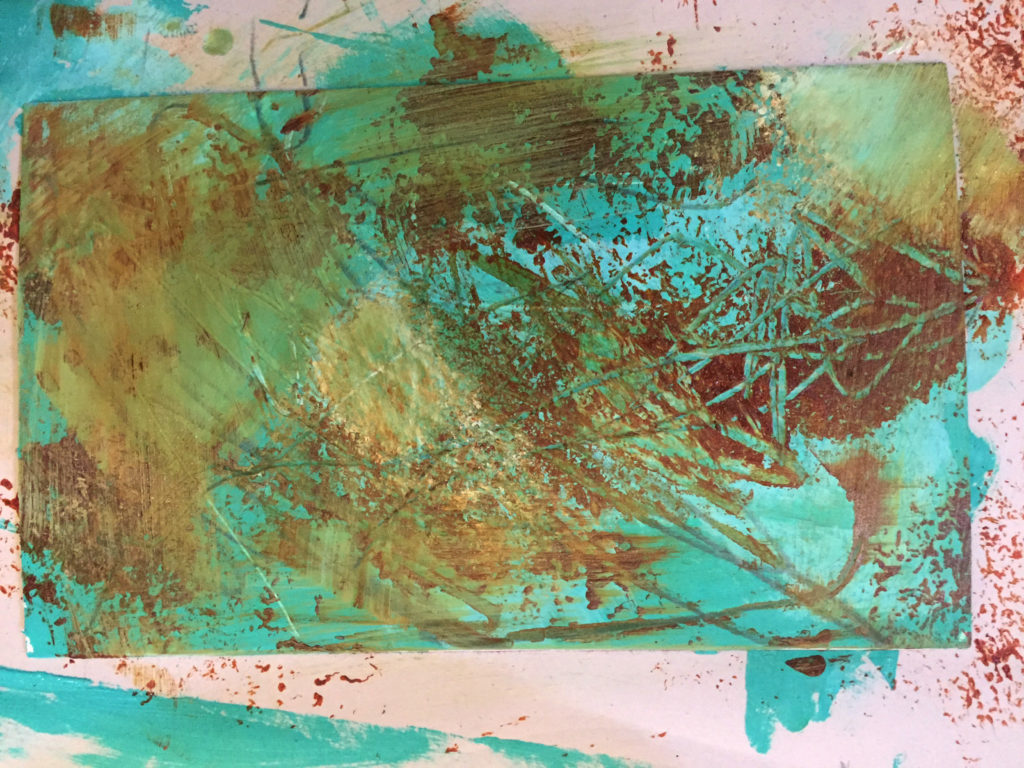
More scratches and marks
Step Ten: Finish with dry-brushing
To veil and push back all of the color variations and textures, dry-brush a final coat of aqua green over the surface. You can see here that the right half has been dry-brushed and the left half has not yet been brushed. If you build up this layer slowly, you can control what is revealed and what is concealed. “Dry-brushing” means just that – adding a little bit of paint to a dry brush and stroke it lightly over the surface. After this step, let the whole thing dry. And go wash your brush!
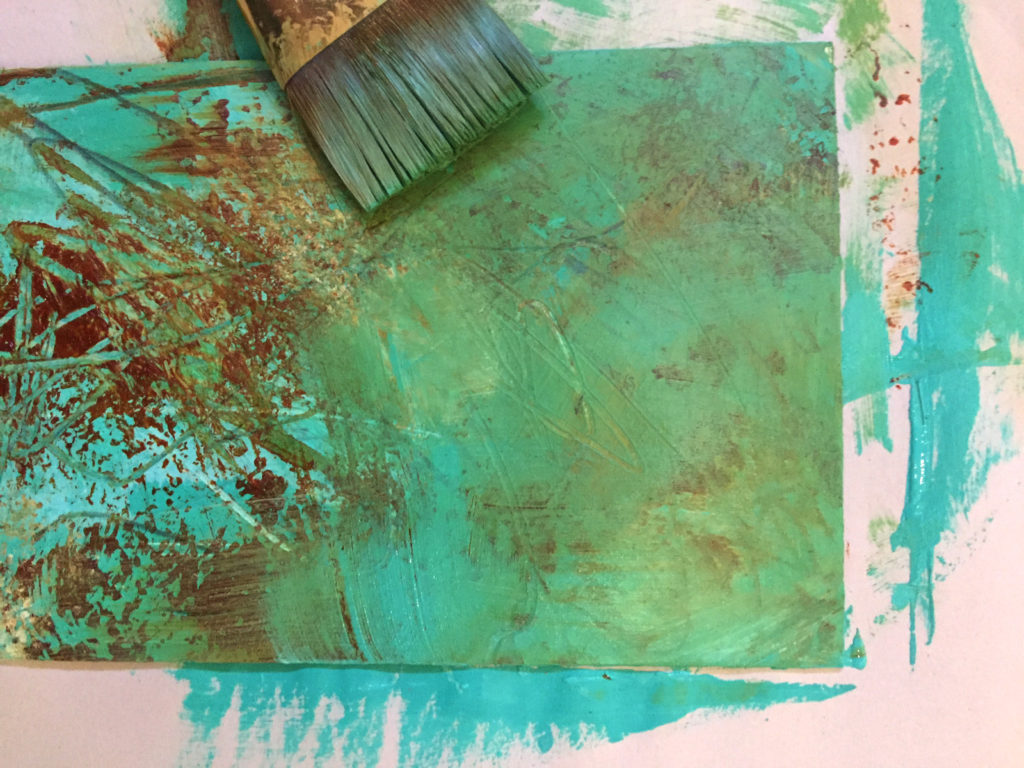
Final dry-brush coat
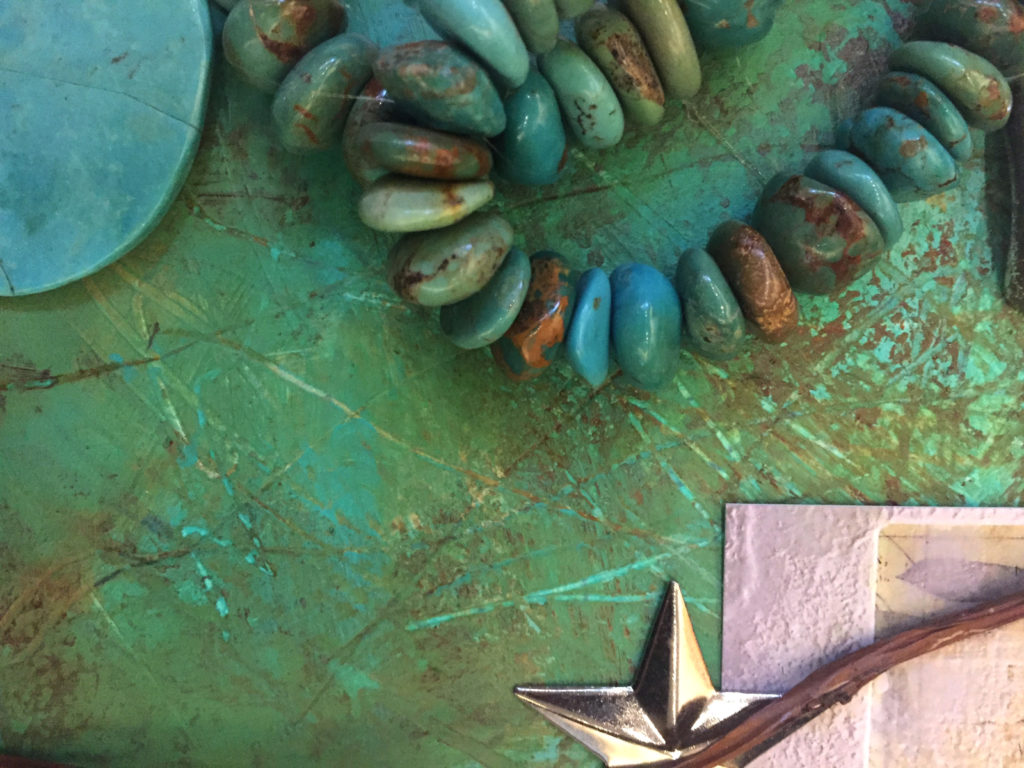
Step Eleven: Tah-Dah!
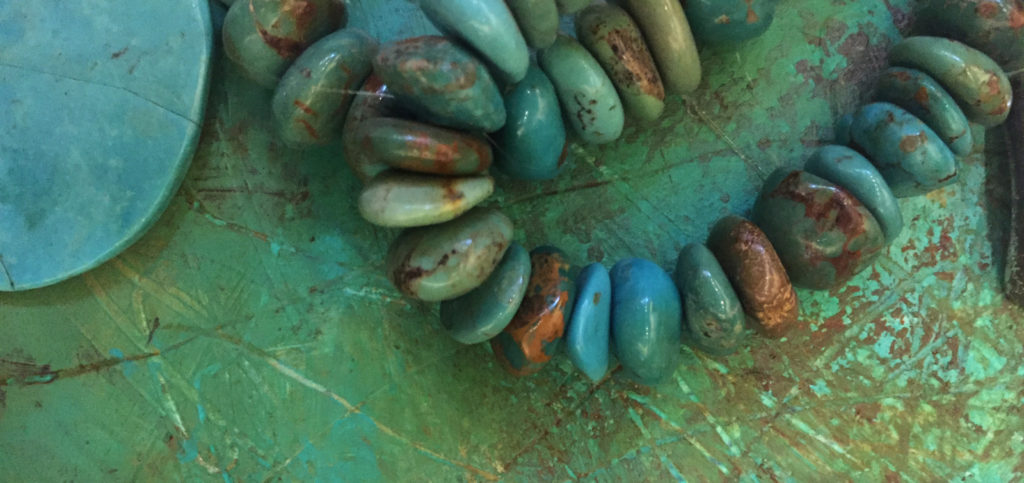
You can see in the close-up how the painted finished mimics the real stuff in texture and color. As I said, this surface is archival mat board, but you can try this technique on anything acrylic paint works with.
I can see it on a mirror frame, for example, with copper nailheads all around it, or perhaps covering the top of a wooden box. Or how about a turquoise ornament for a Christmas tree, Southwestern style?
Here are a couple more photos of the faux-turquoise mat board cut up into smaller sections, and also a small adornment with copper tape for a collage or pin.
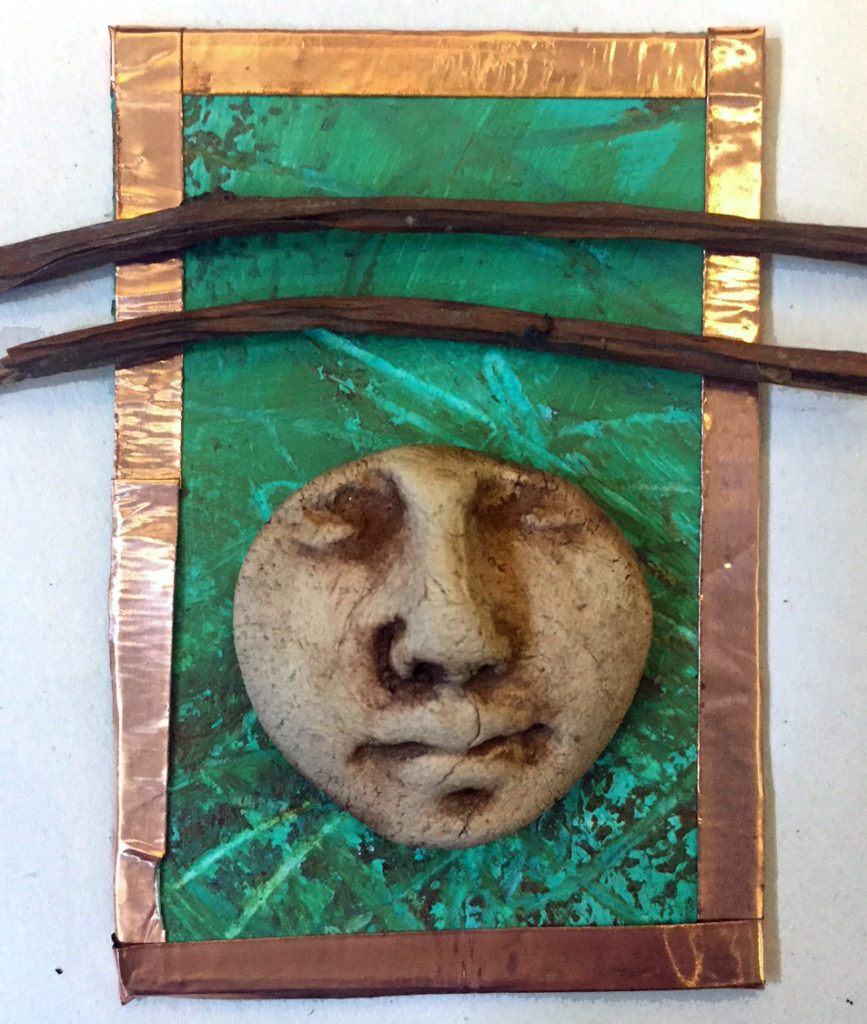
collage adornment
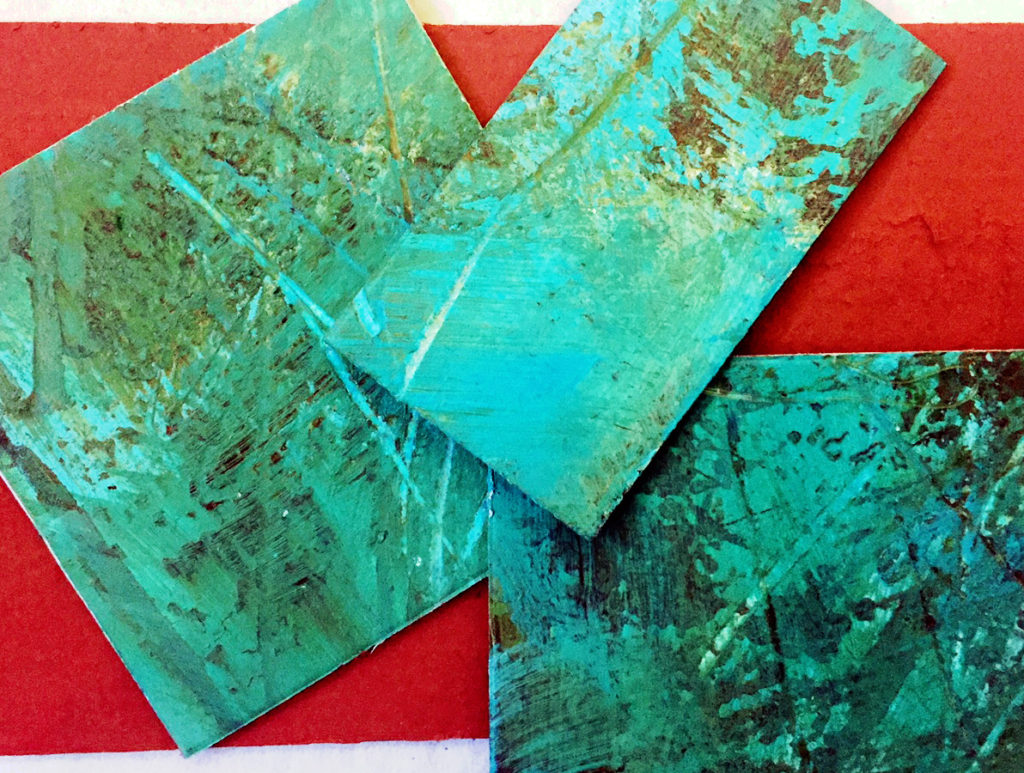
Cut sections of faux-turquoise matboard for mixed media
I hope you enjoy this technique. If you try it, let me know how you use it!
And thanks, as always, for reading SHARDS!

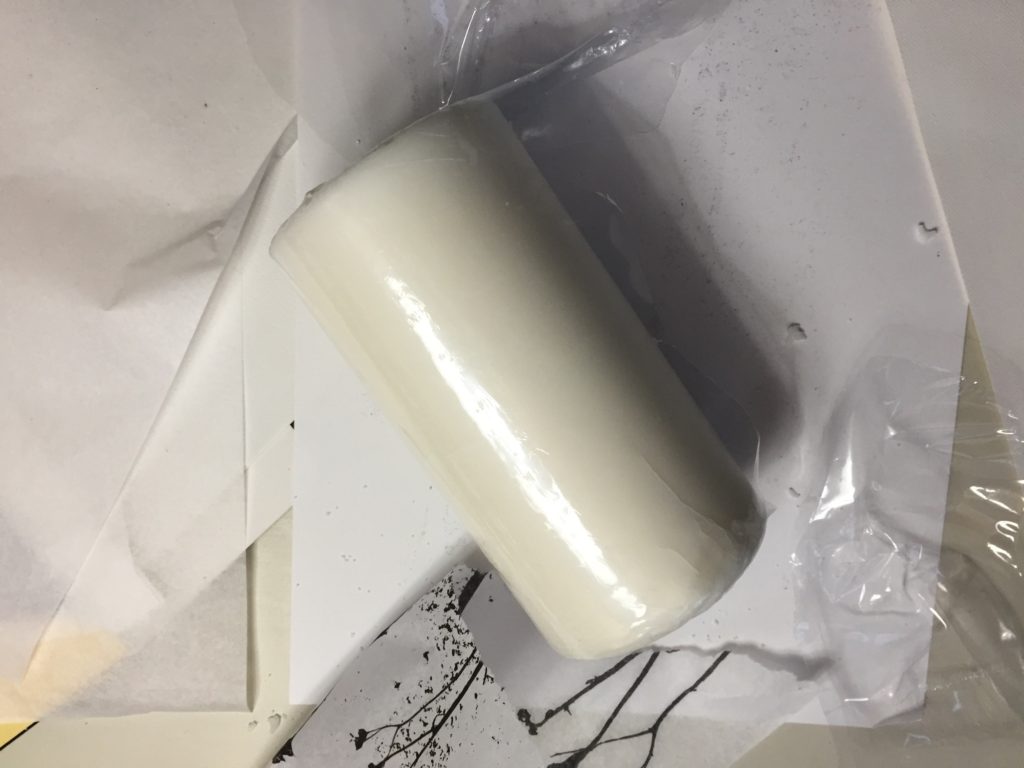
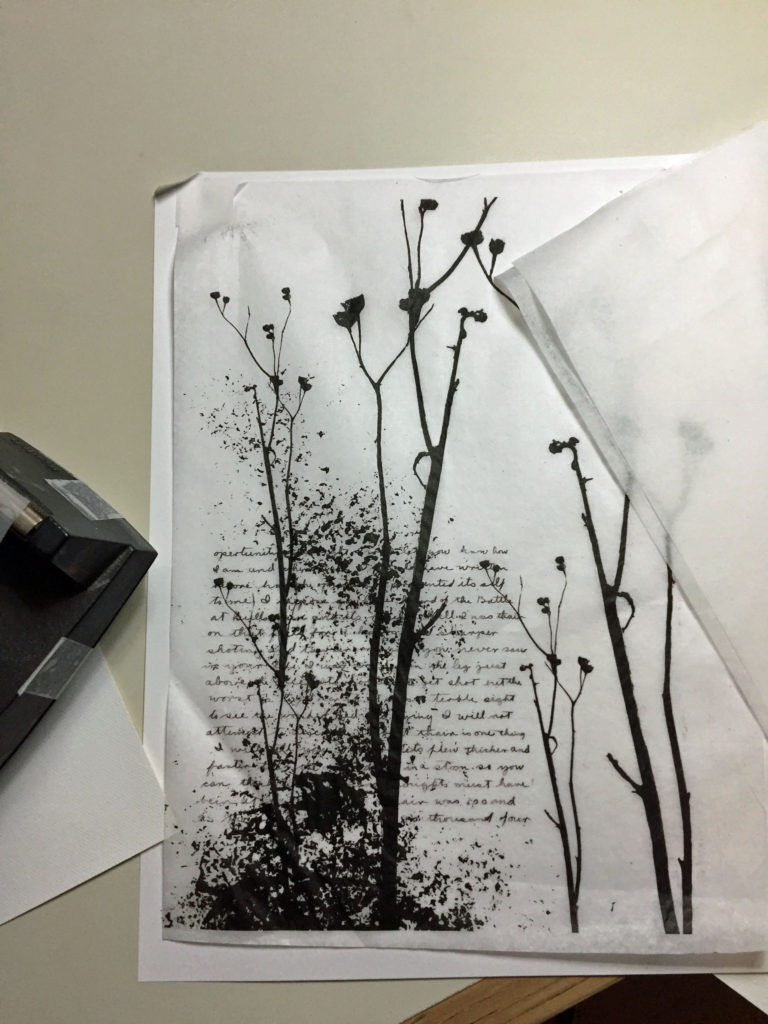
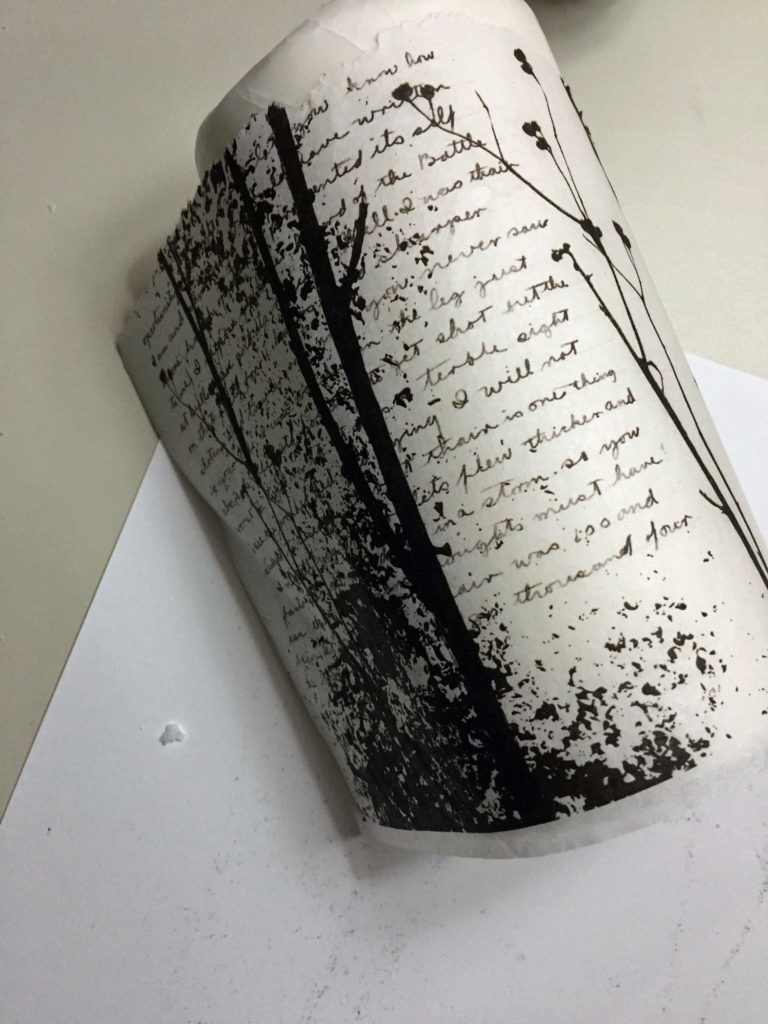
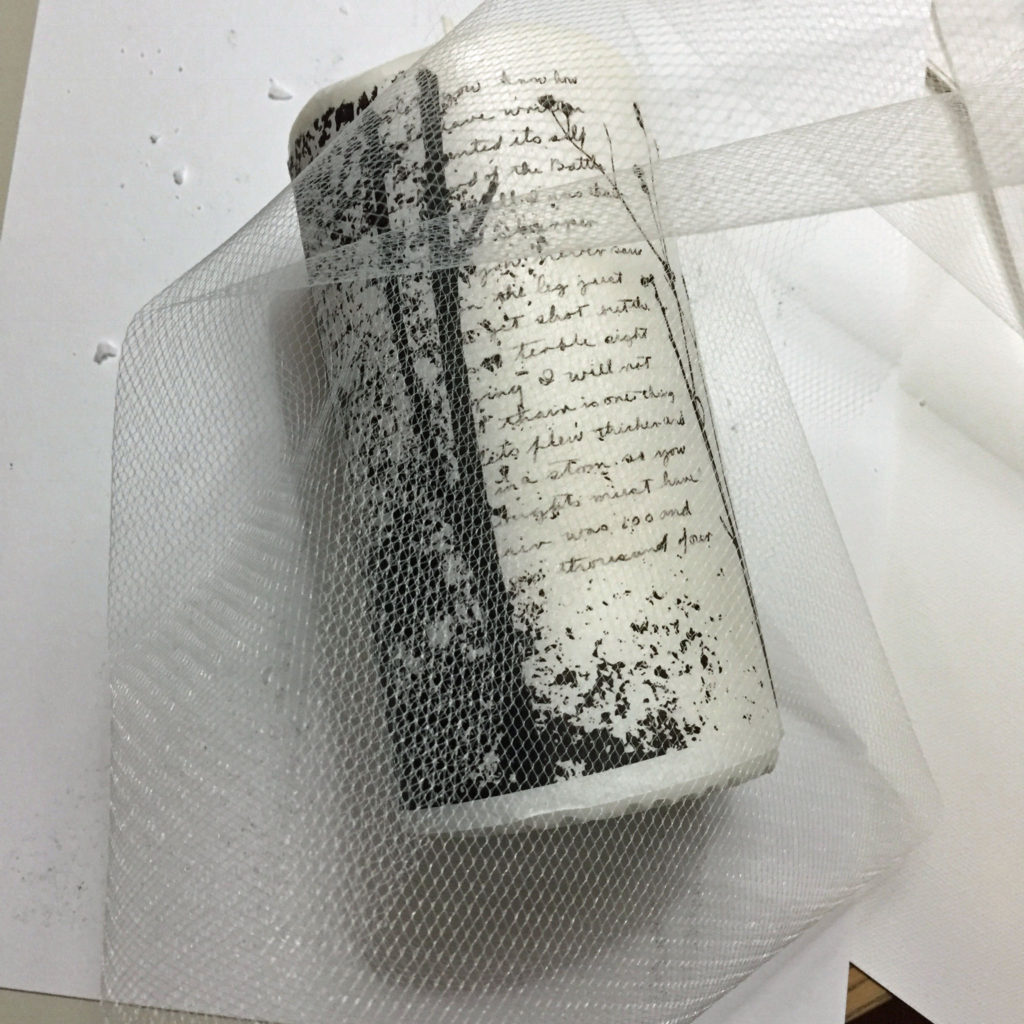
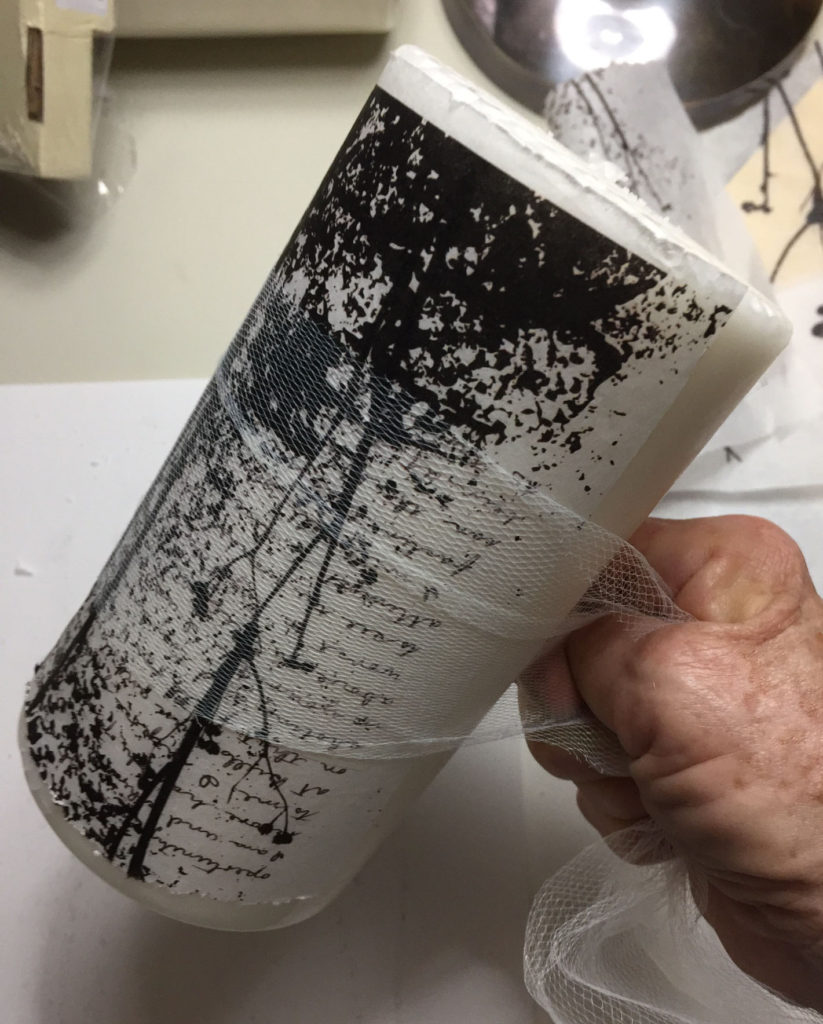
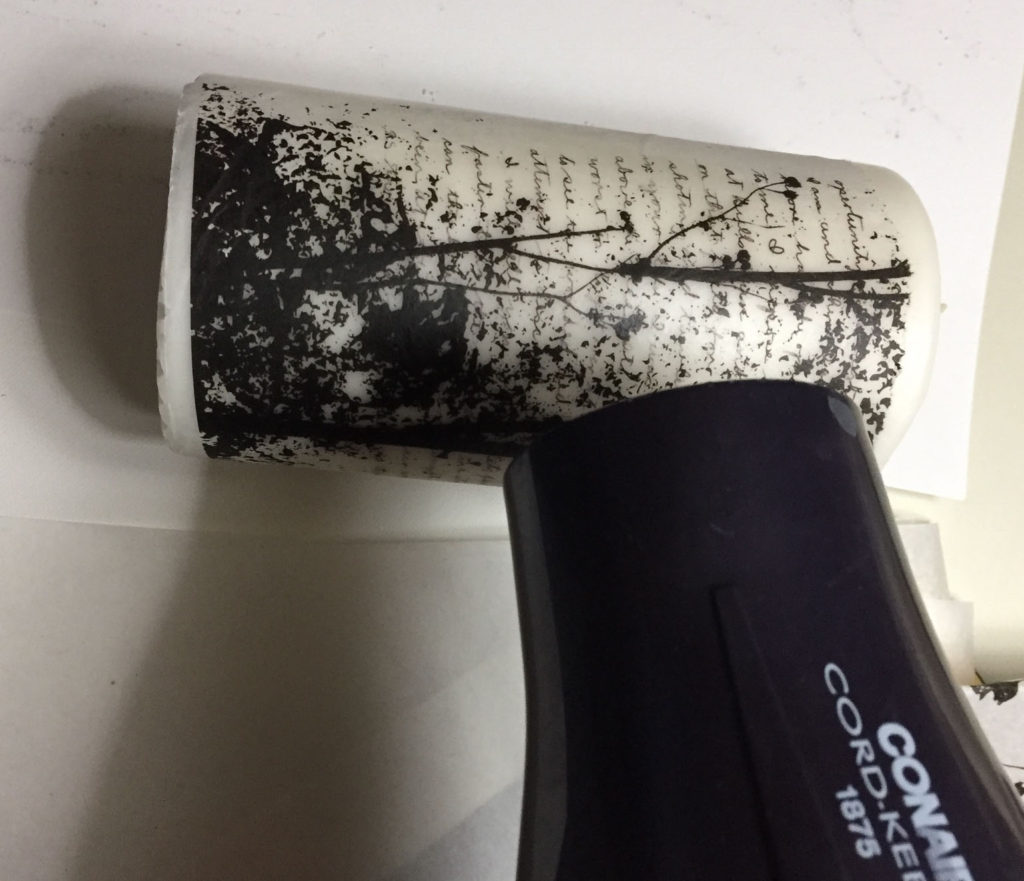
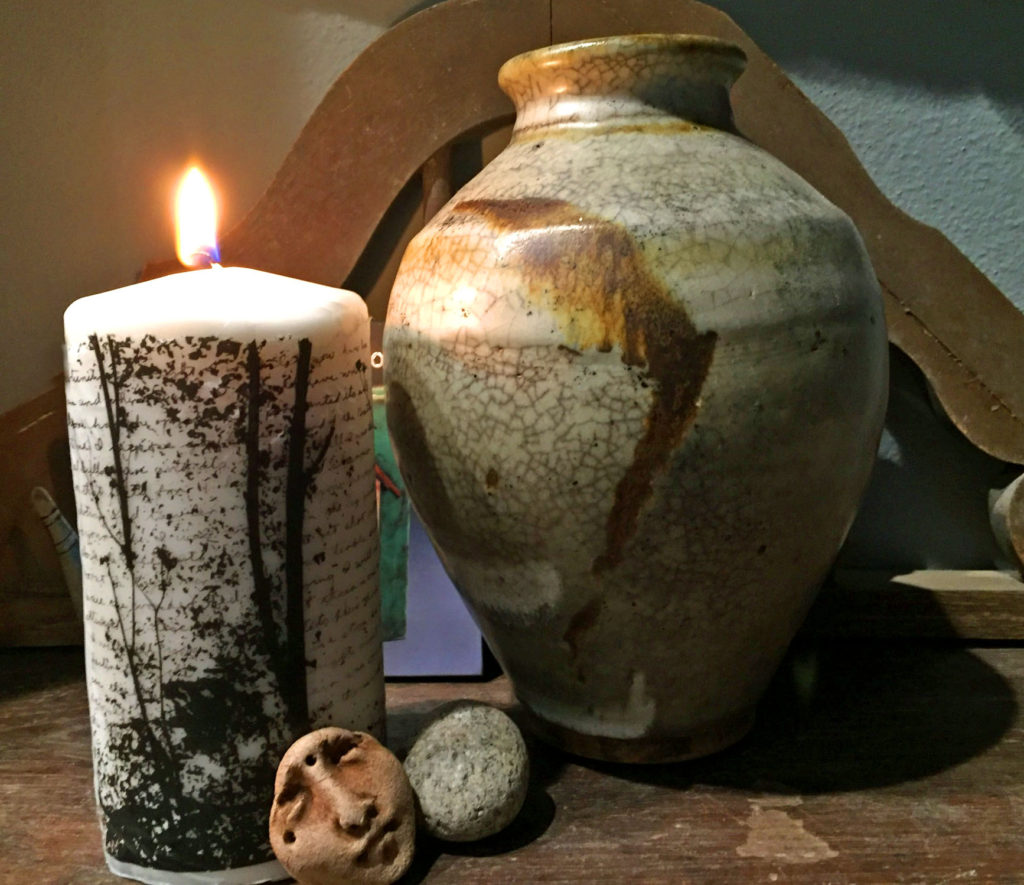


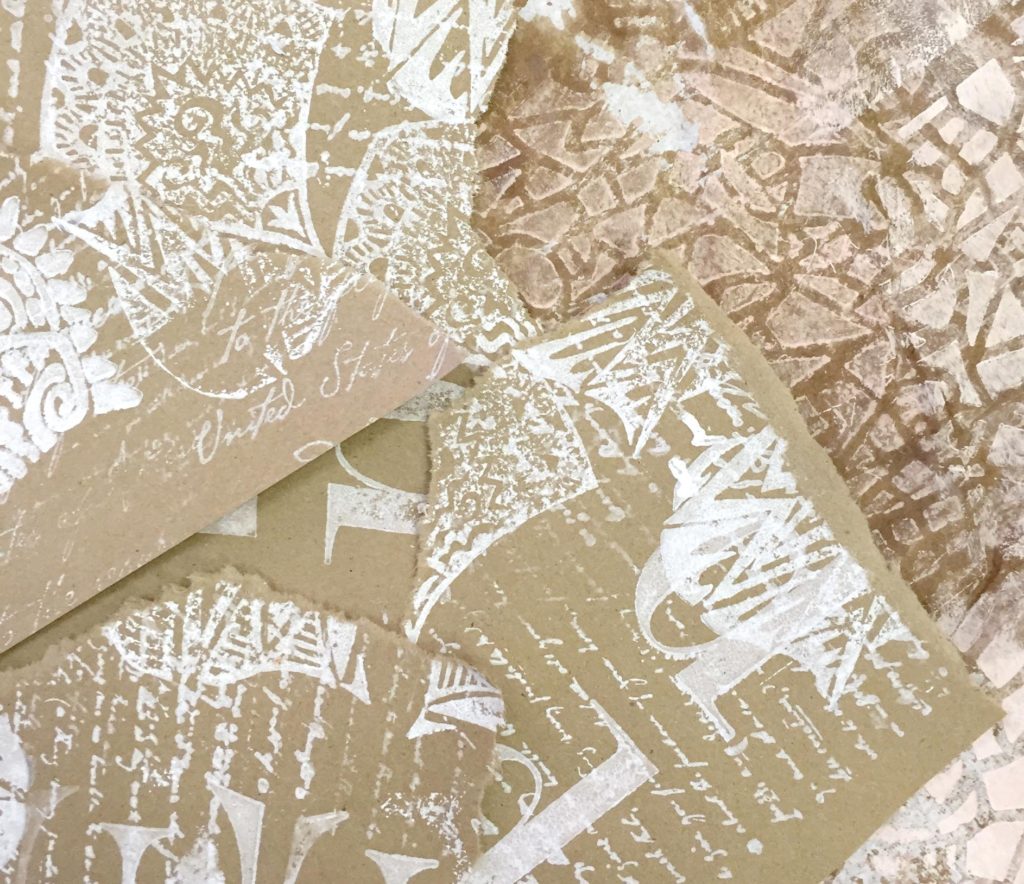
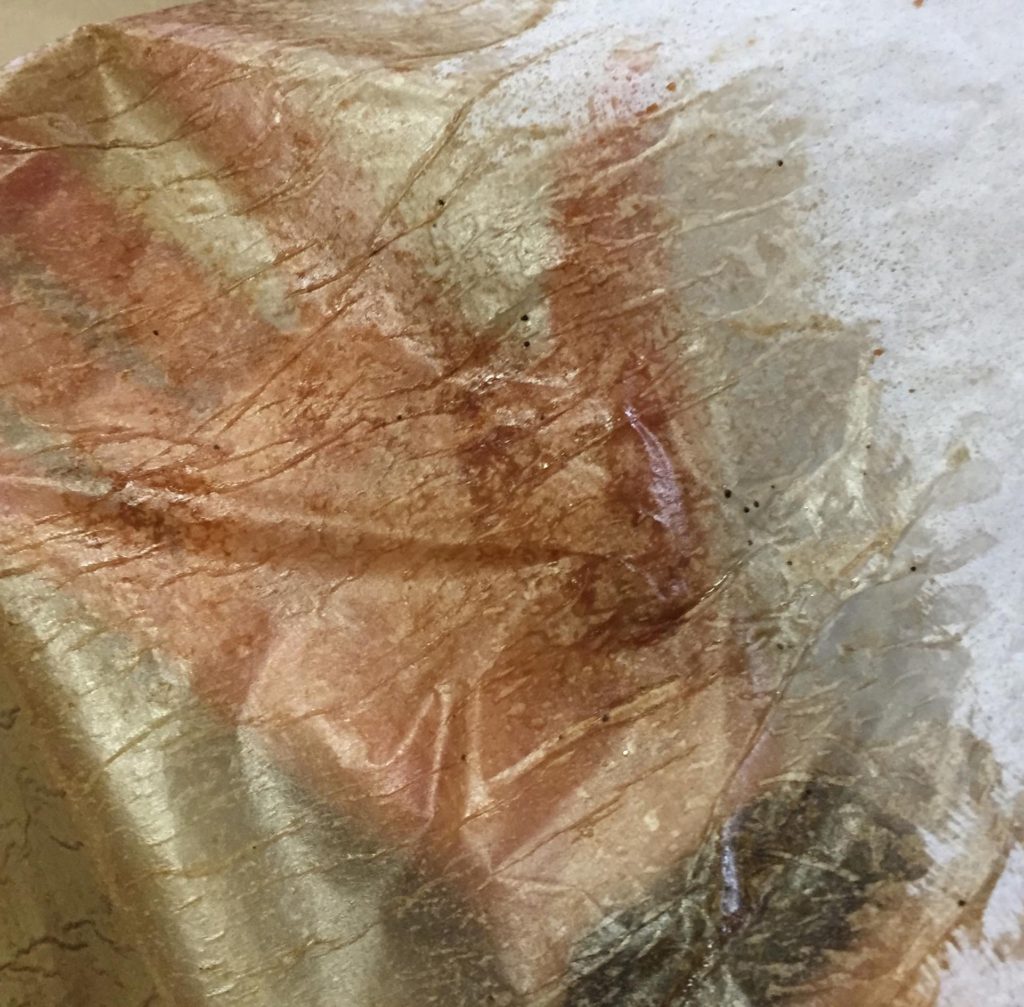
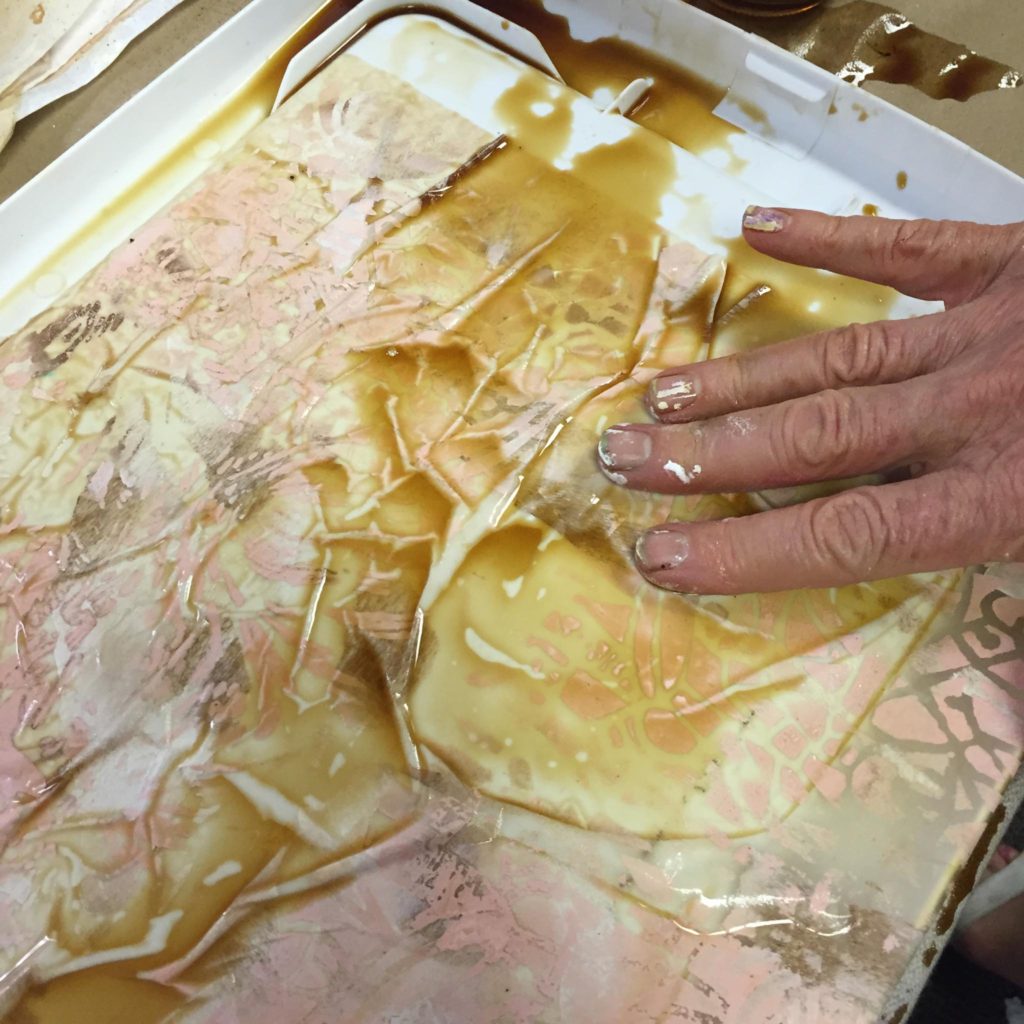
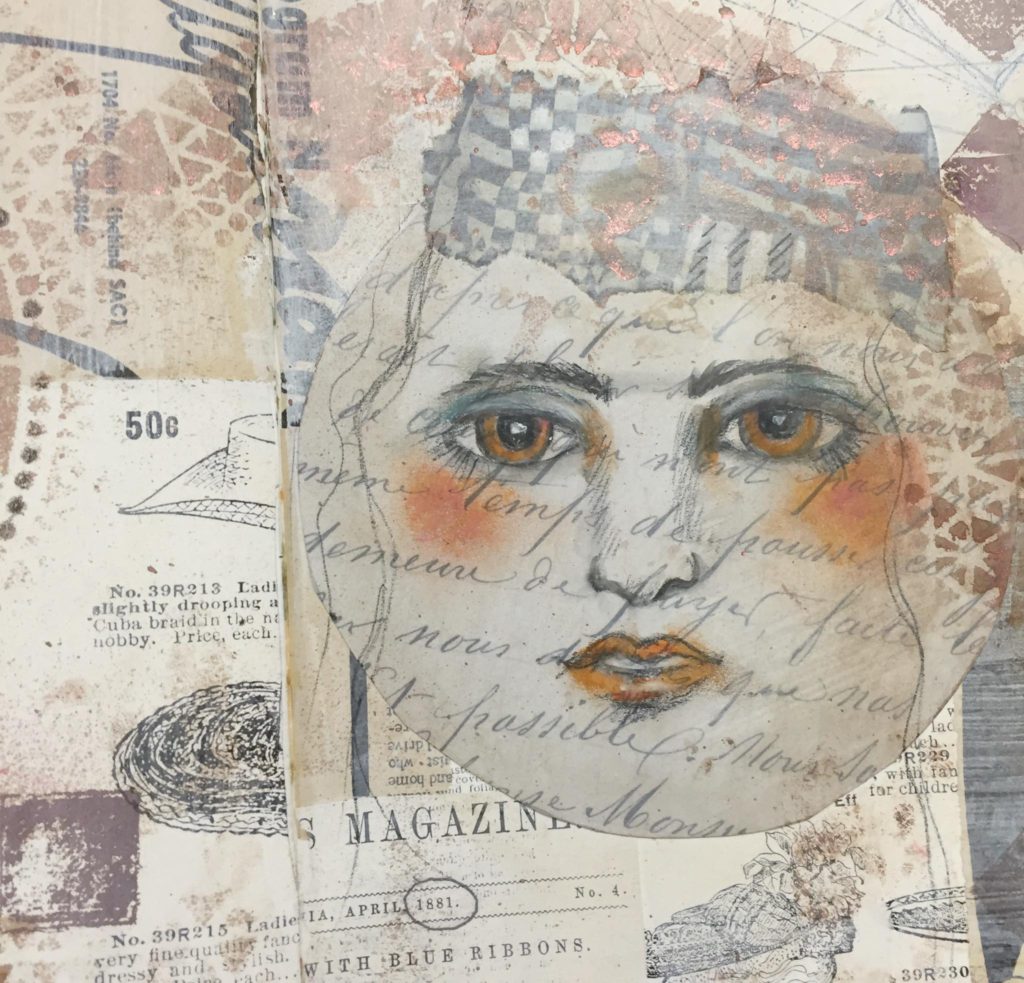
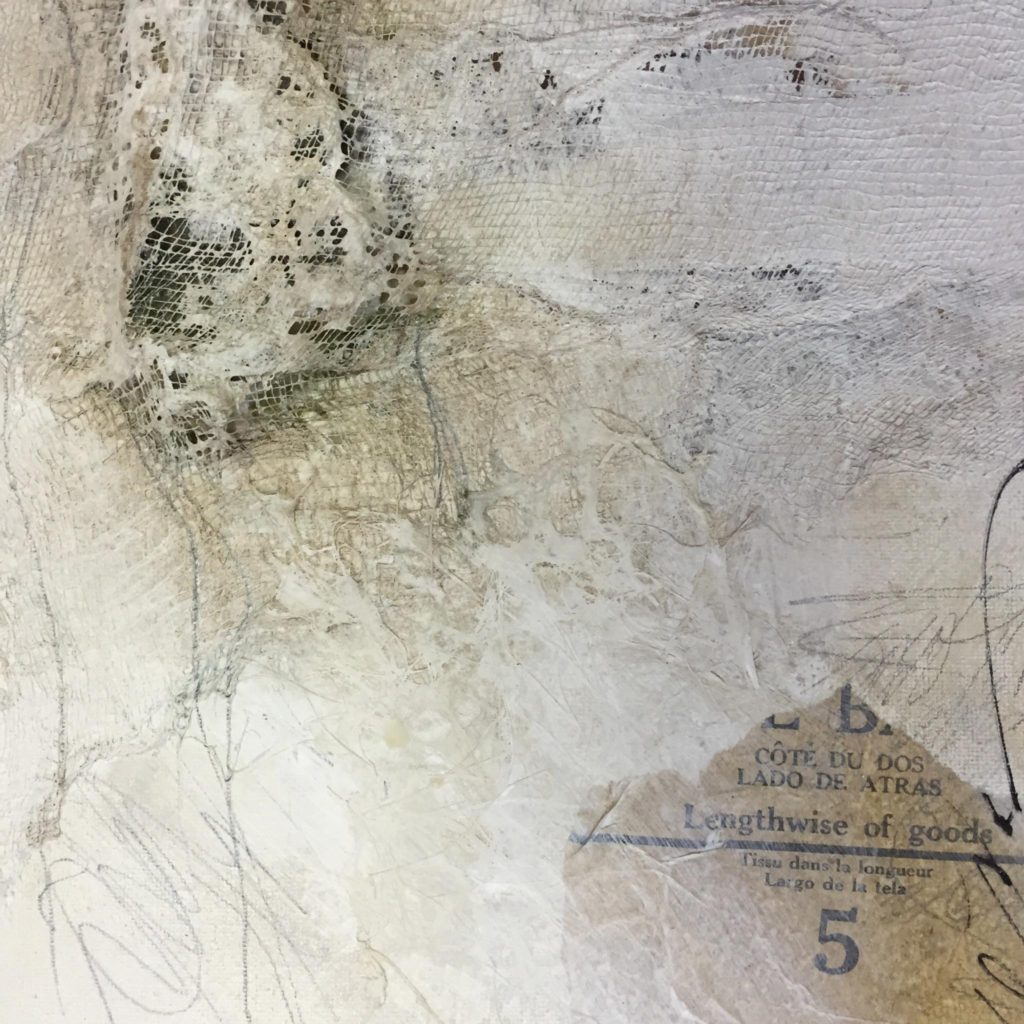
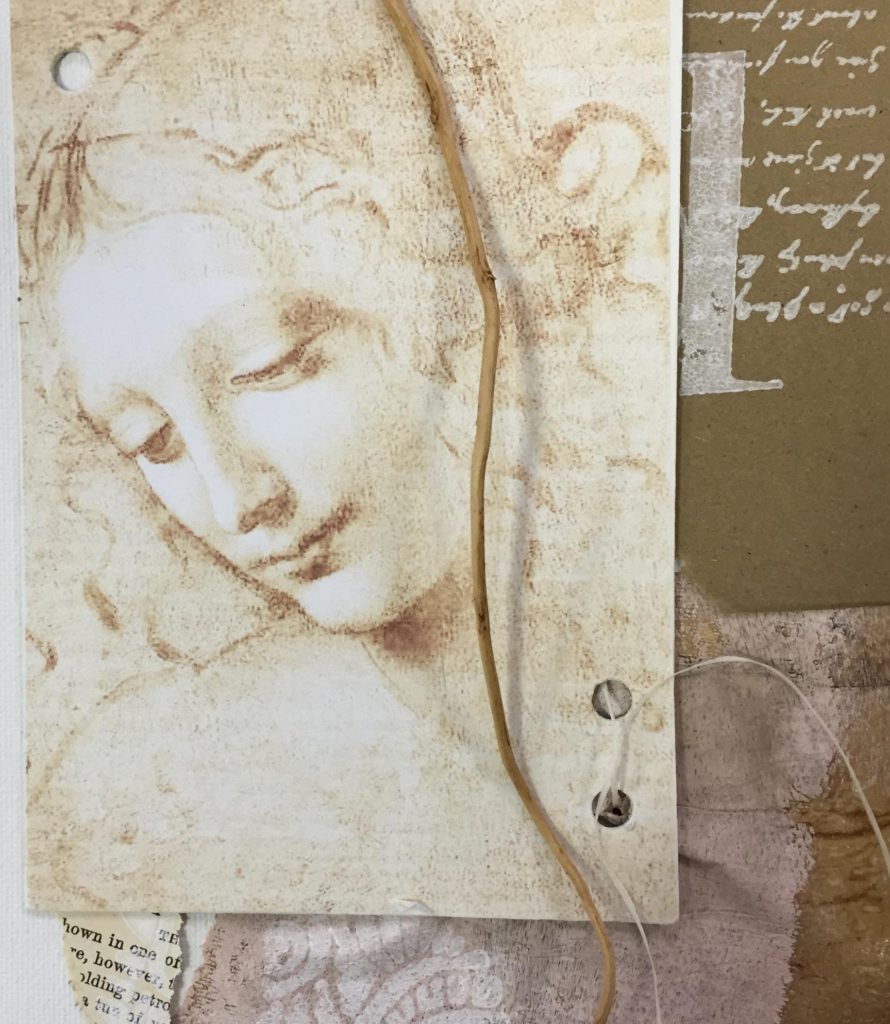
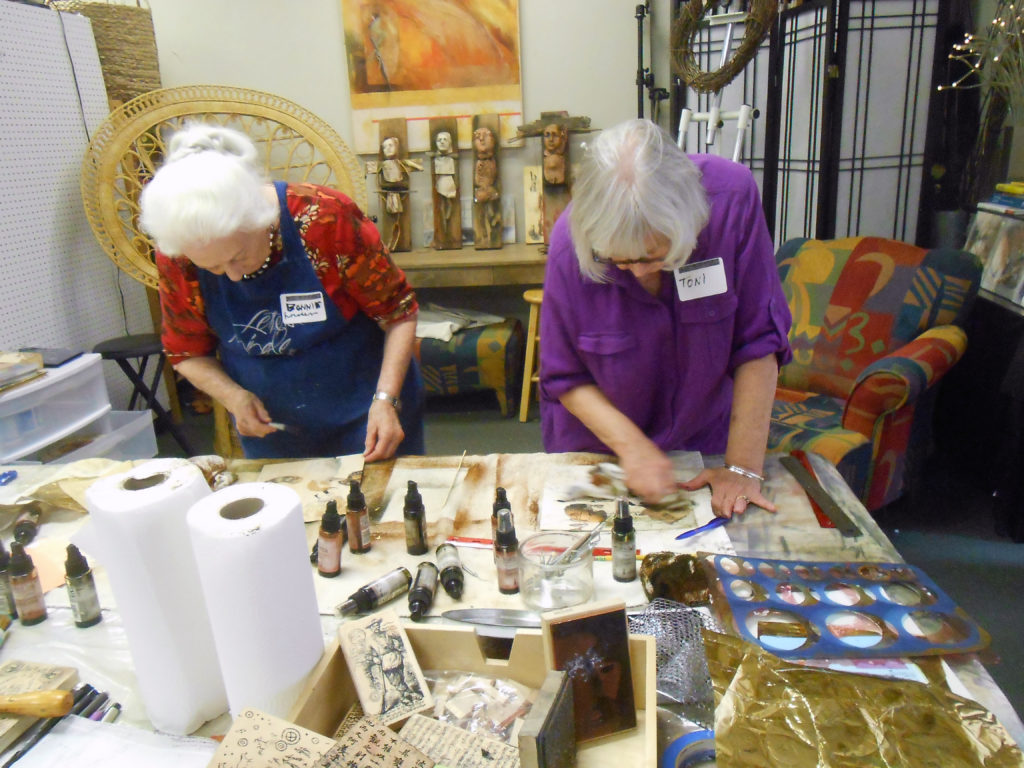 We had a full house for yesterday’s Wax and Tissue workshop. Everyone was particularly interested in how to print images on delicate tissue paper. If you do an Internet search, you’ll find all kinds of methods to do this.