
An Encaustic Collage of Sam Takeuchi
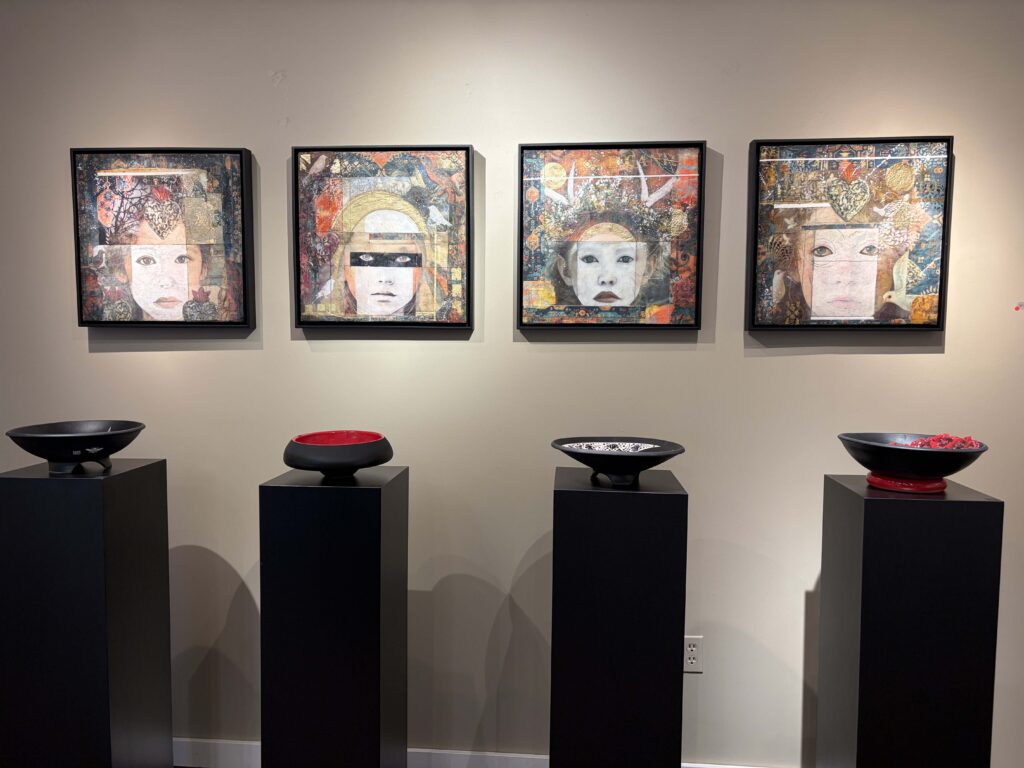
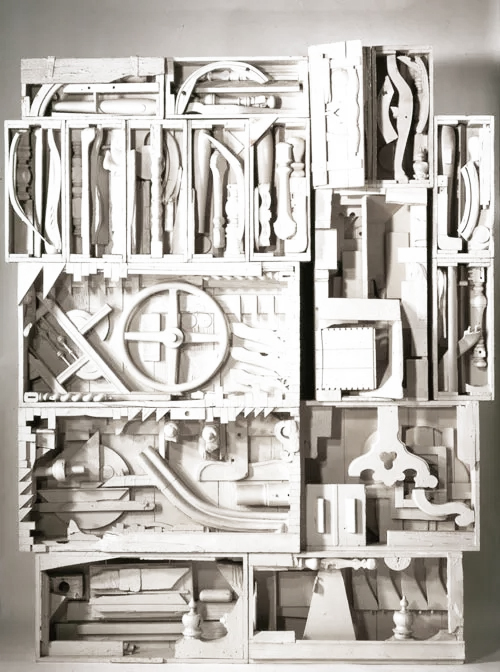
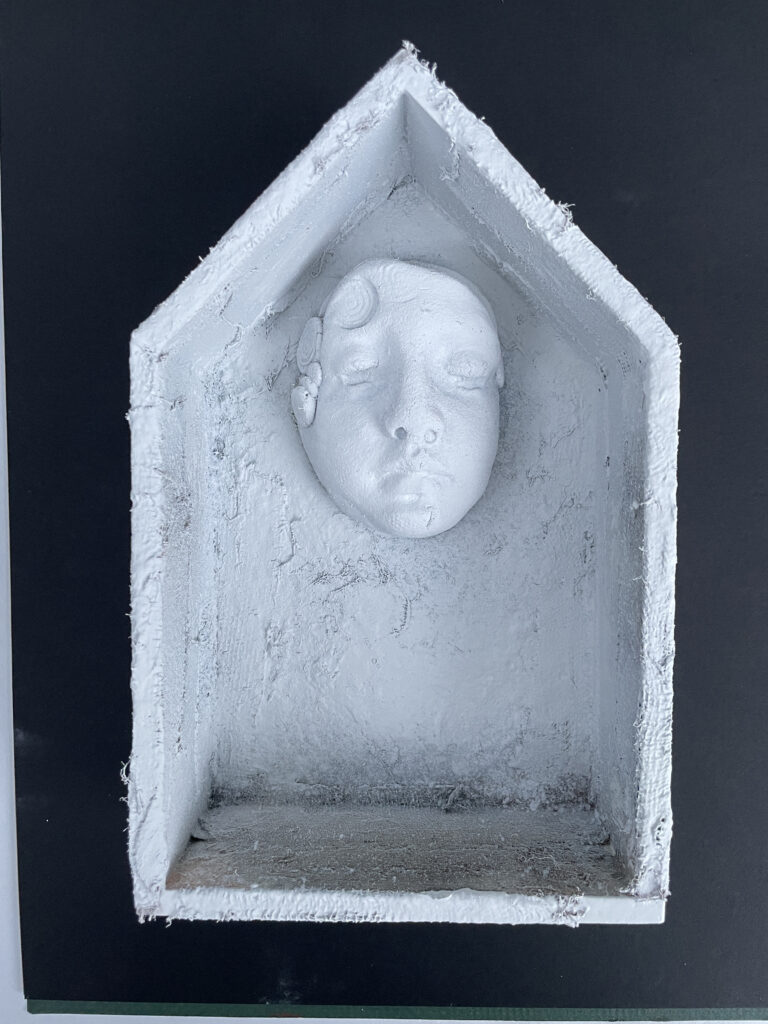
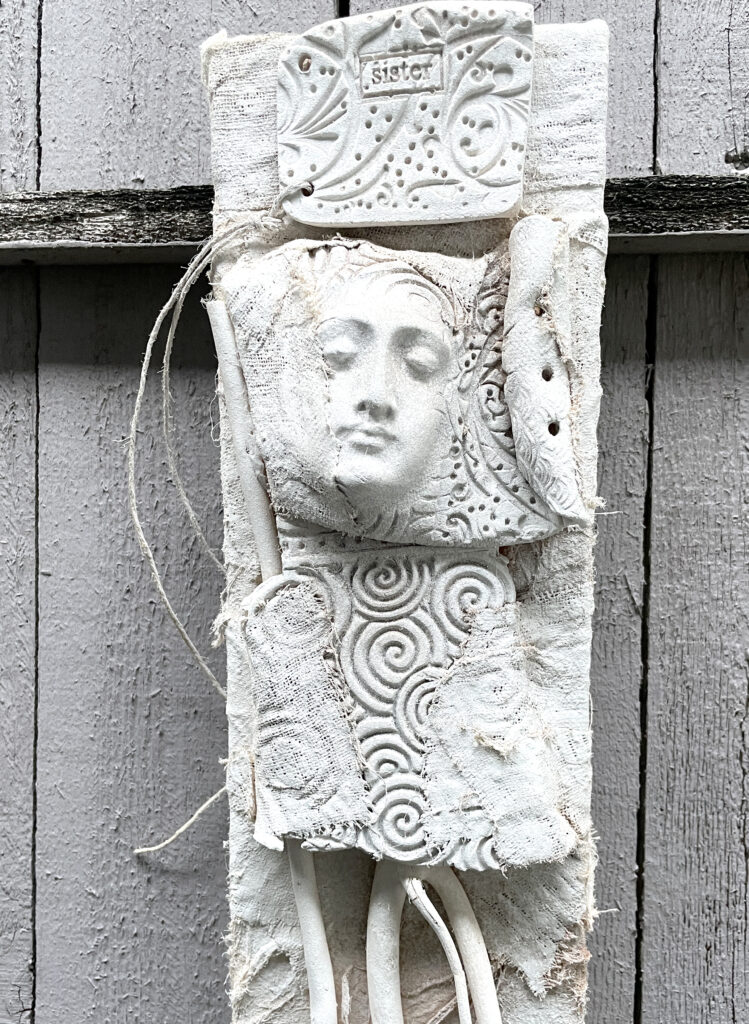
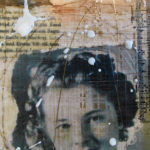
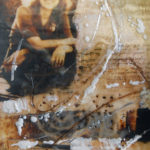
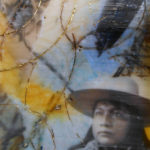
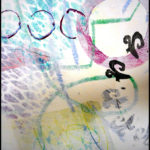
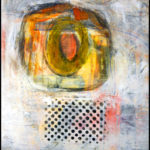
One of the most delightful things that came out of our recent “Encantos” exhibit at the Taos Ceramic Center was a commission request. Sam Takeuchi, architect and artist from Santa Fe, requested that I create a portrait of him in the same style as the Santo Niño collages in the exhibition (below).
Talk about an intimidating request! Sam is a master of so much – pottery, woodworking, antique Japanese crafts, architecture. I featured a short video of his Santa Fe studio in an earlier post. How would it be possible to capture the essence of a multifaceted person like Sam in an encasutic collage?
The answer, I realized, was not to try to show everything about him. Instead, the portrait had to grow step by step from a few meaningful clues. That’s actually a wonderful way to approach any portrait collage.
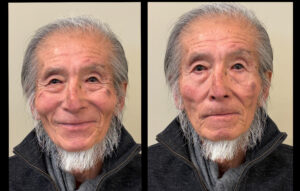
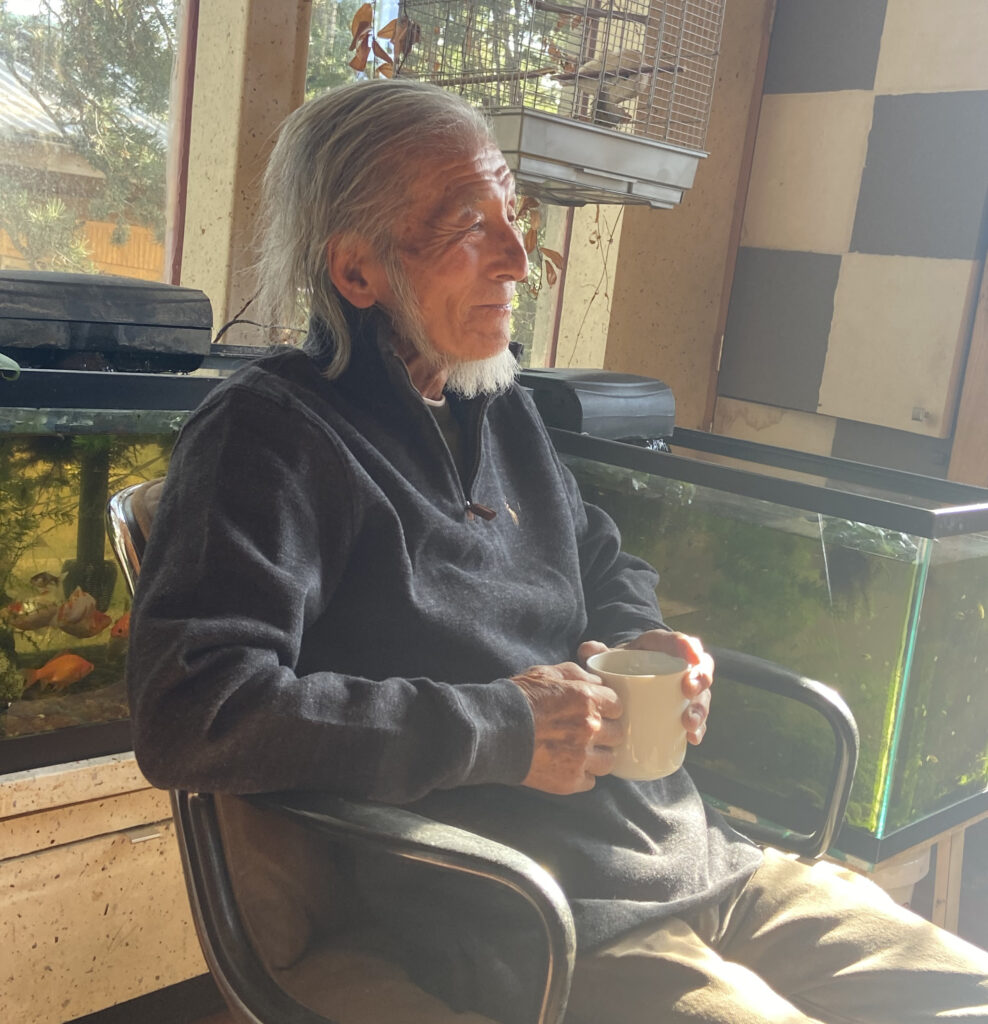
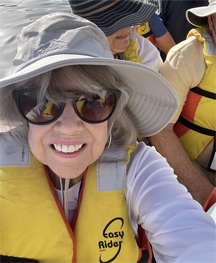
But first, I needed a photo of Sam, so he obligingly stood against the gallery wall while a took some pictures with my phone. Sam has a wonderful face – wise and humorous and lived-in.
It’s a good idea to take several versions. Expressions can change the whole feel of the work – see how different smiling Sam and serious Sam appear.
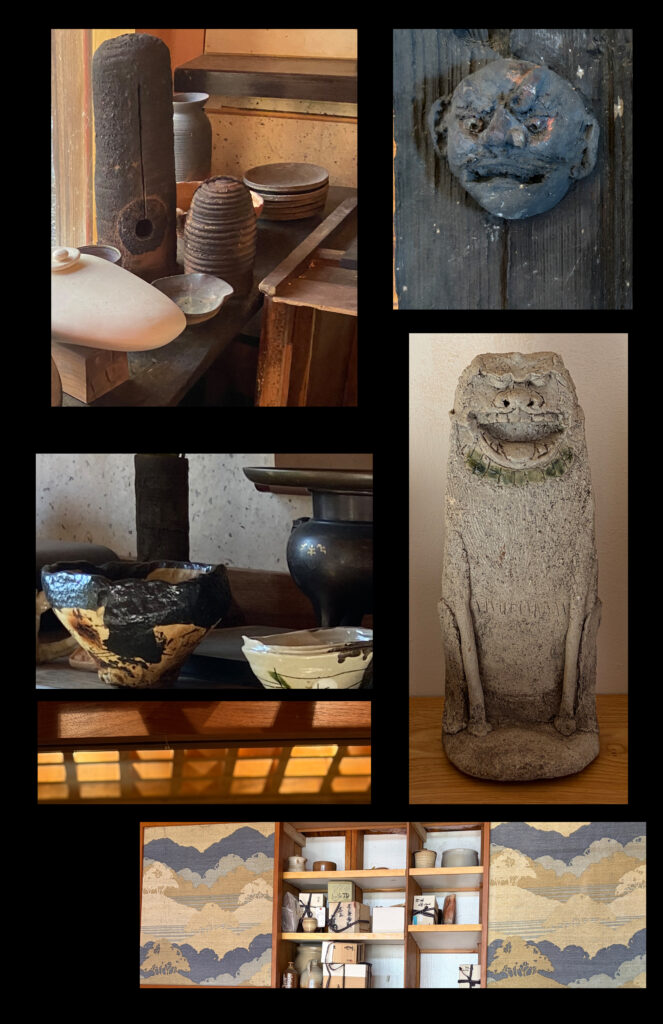
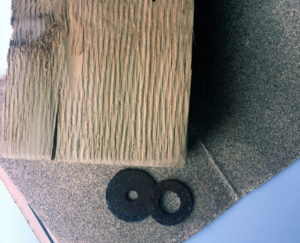
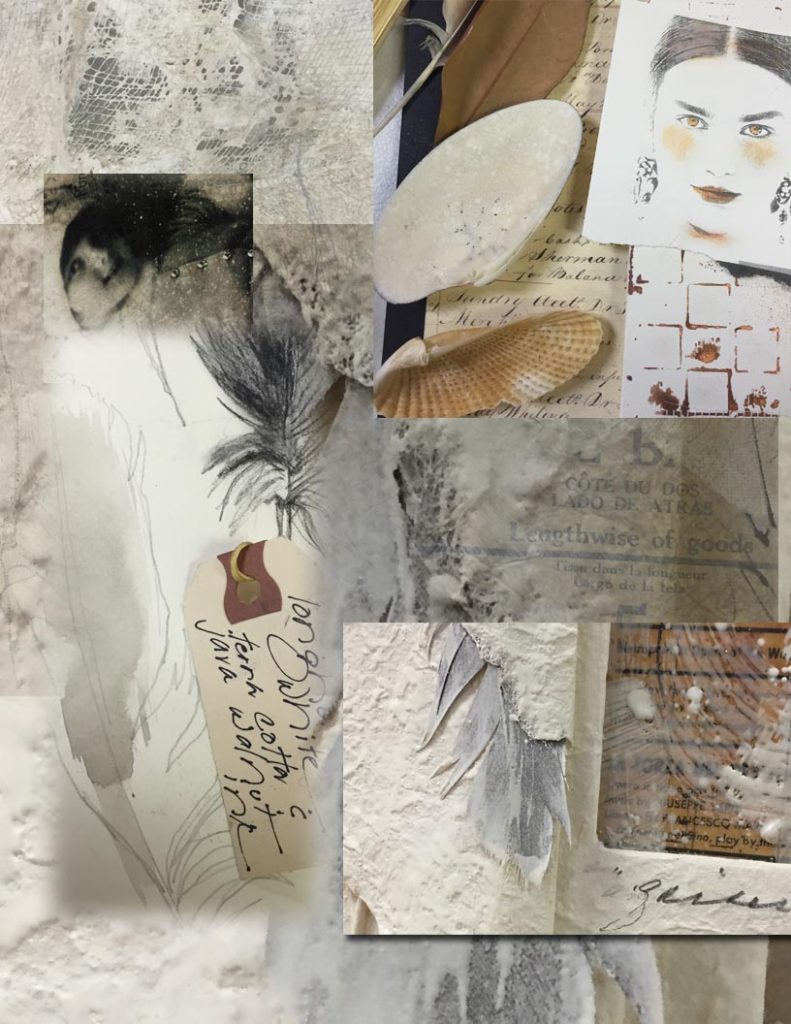
When I got home from Taos and started working on the collage, I realized that I could incorporate bits of the images I had taken at his studio to deepen the meaning. His workspace is filled with beautifully worn wooden tools, carpets, pottery forms, and objects that reflect his deep connection to Japanese craftsmanship and architectural design. Those images gave me a visual vocabulary to work with.
So, if the first step was to choose a photograph of Sam that felt natural and contemplative, the second step was to look closely at the studio photos and ask myself:
What elements here represent Sam’s world?
Wood grain.
Asian Carpets.
Handmade vessels.
Architectural structure.
Quiet, thoughtful spaces.
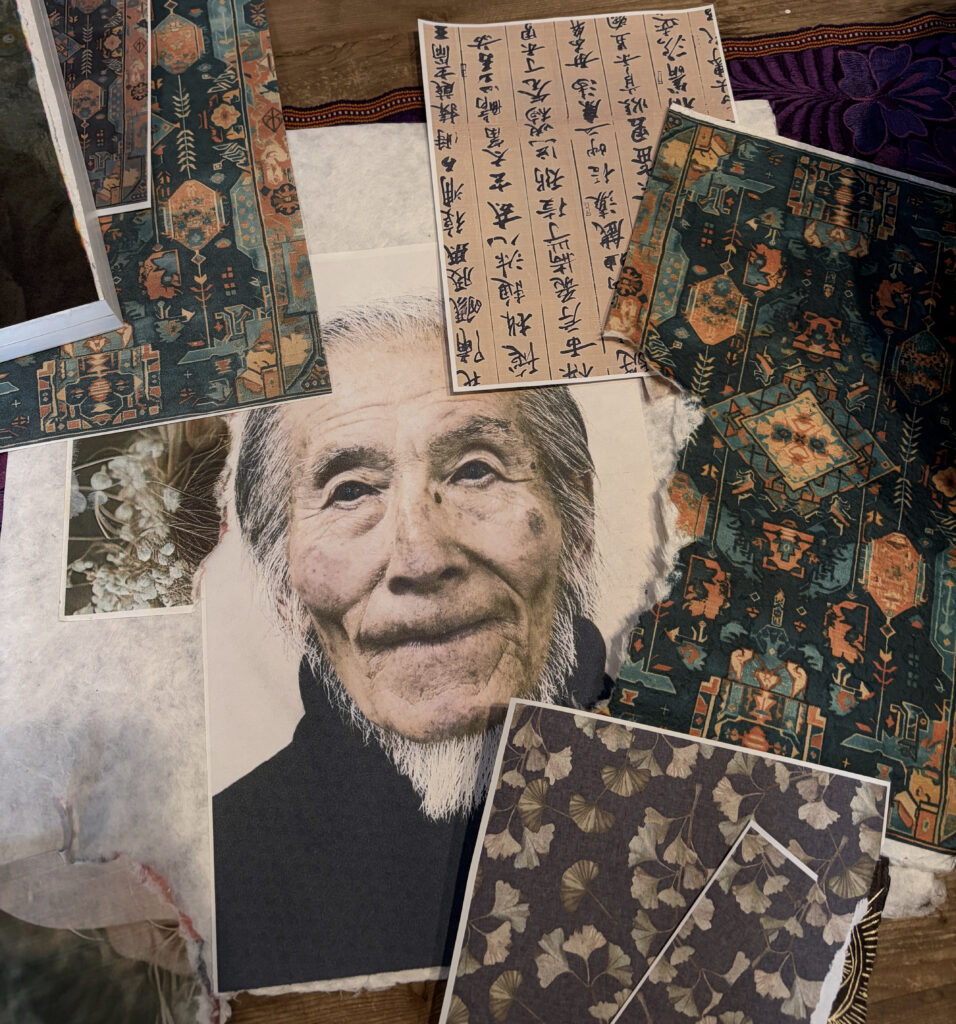
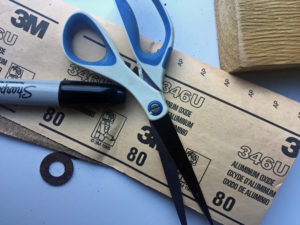
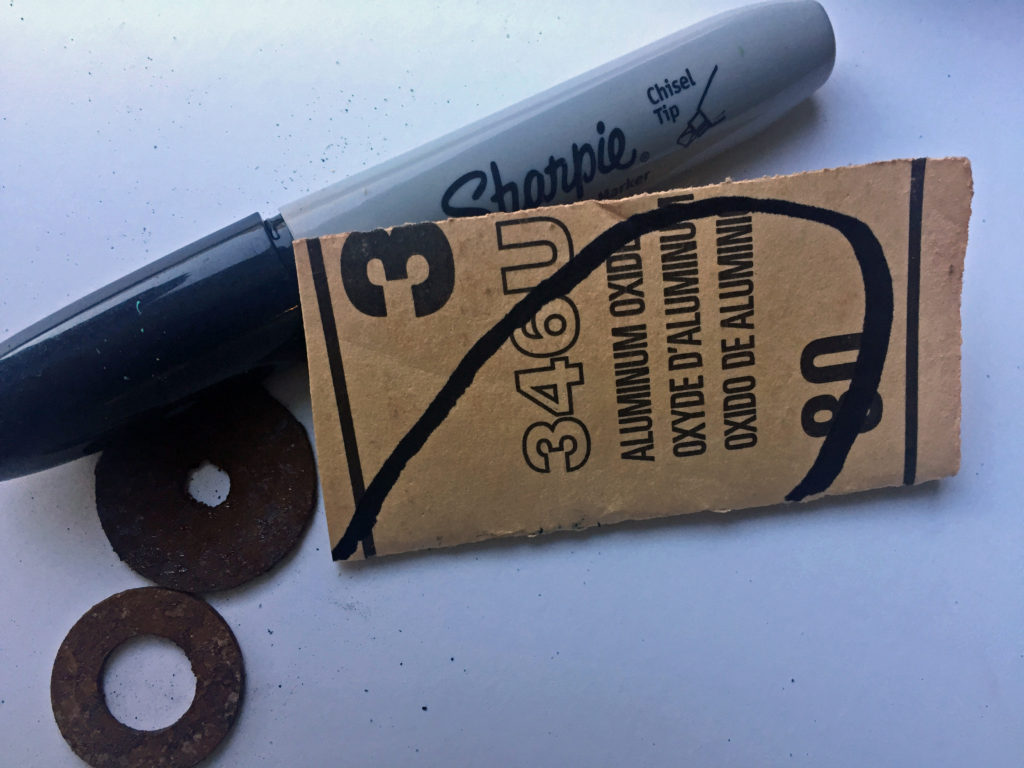
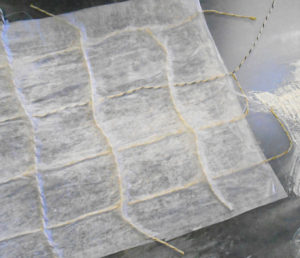
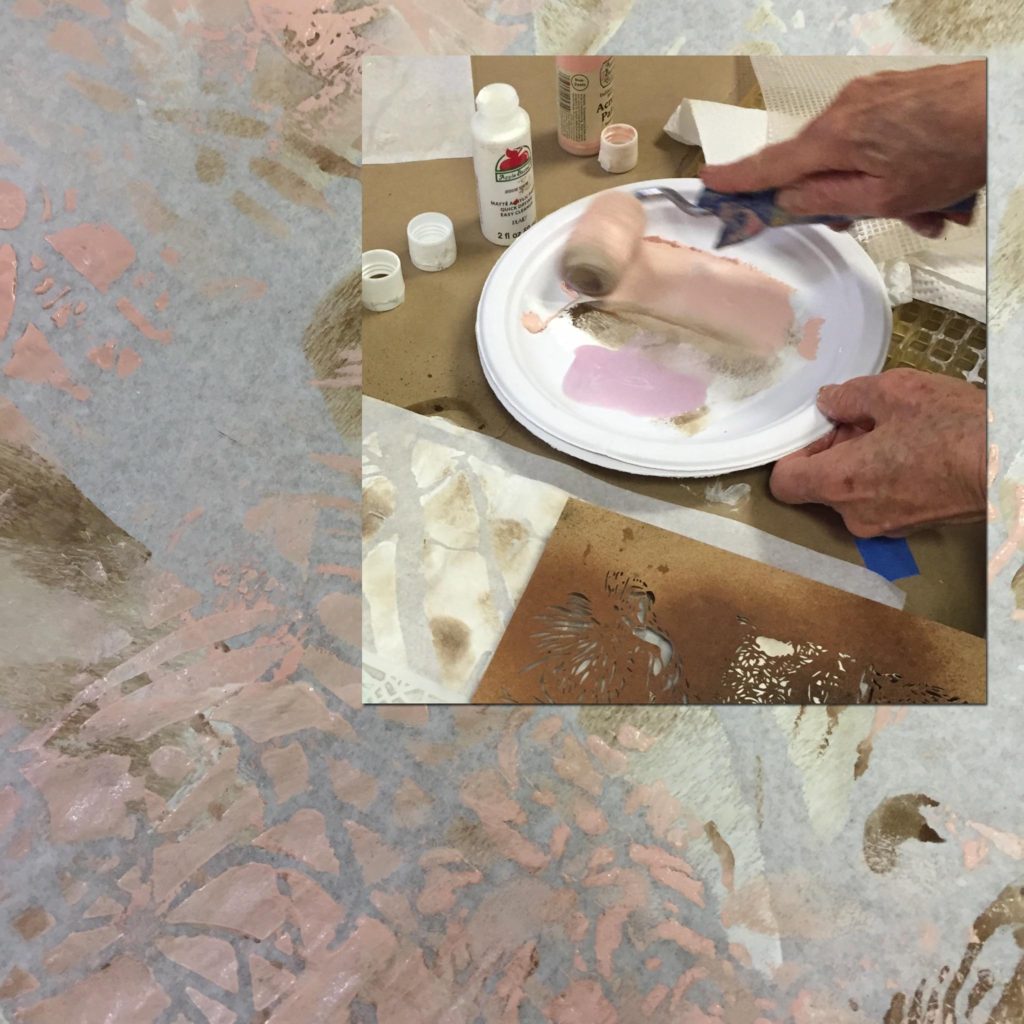
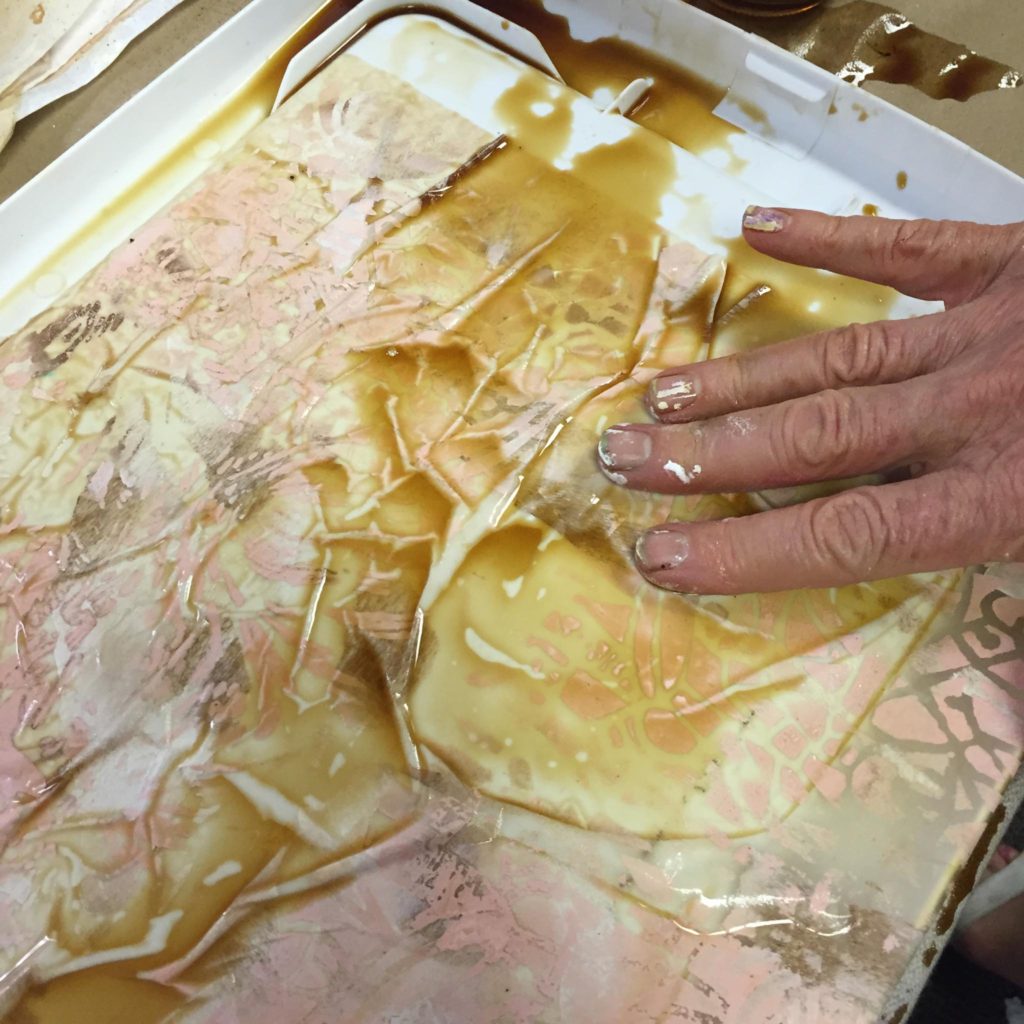
Those became the first building blocks of the collage. I even made a tear-up collage sheet of some of the assorted details from his studio elements:
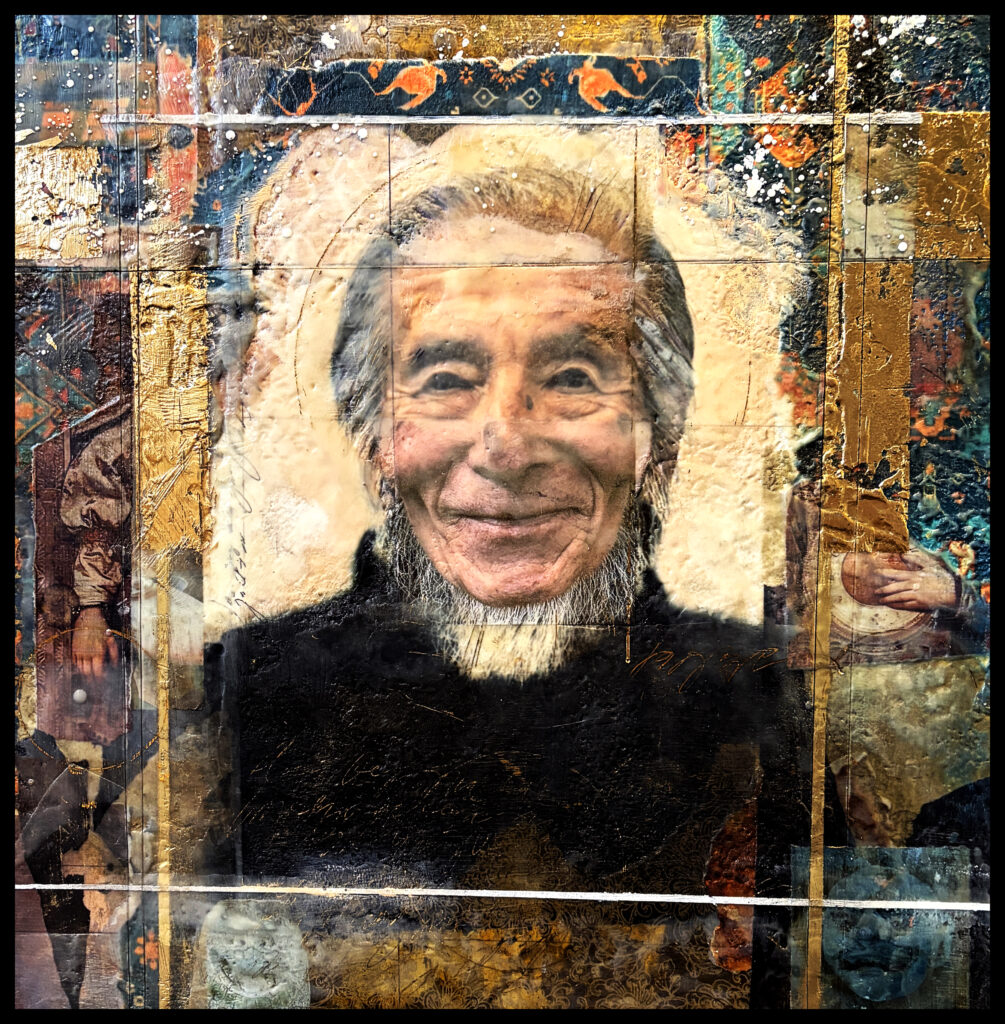
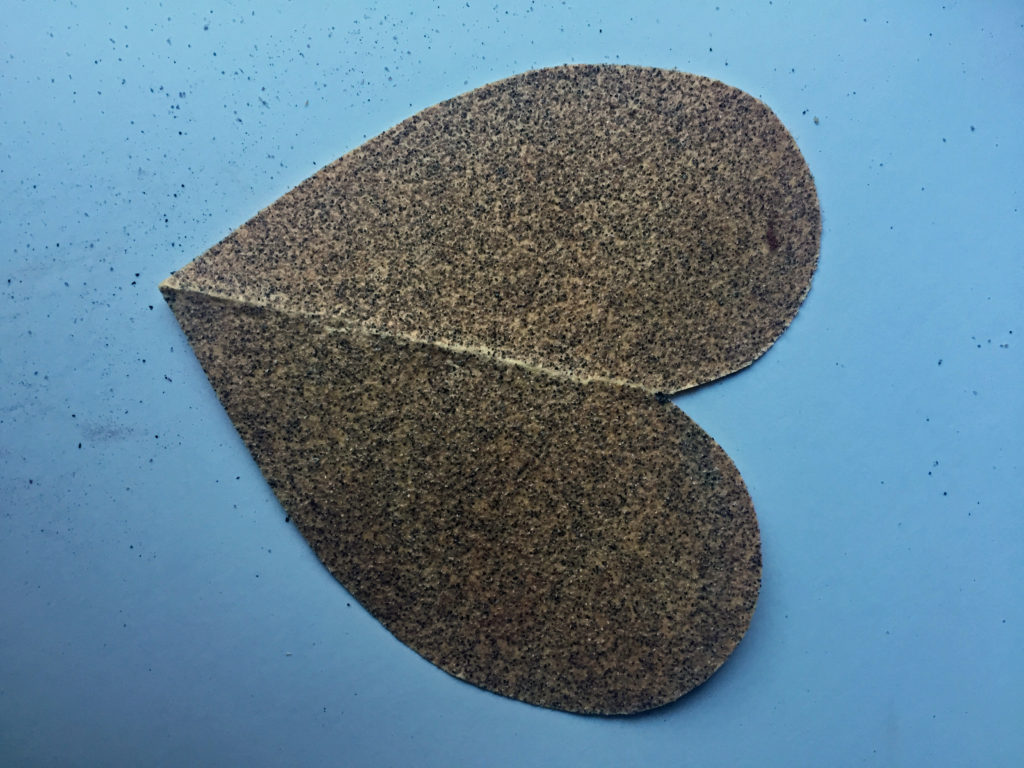
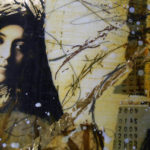
Once I had those elements, the process became almost like assembling a small stage set. The background design echoed the textures of his studio. Shapes and lines hinted at architecture.But I also included other “encanto” elements from the Santo Niño collages to connect them back to Sam, like fantasy patterns and icons.
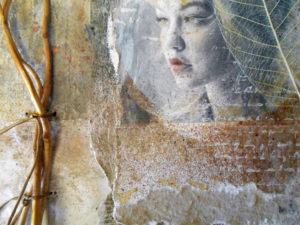
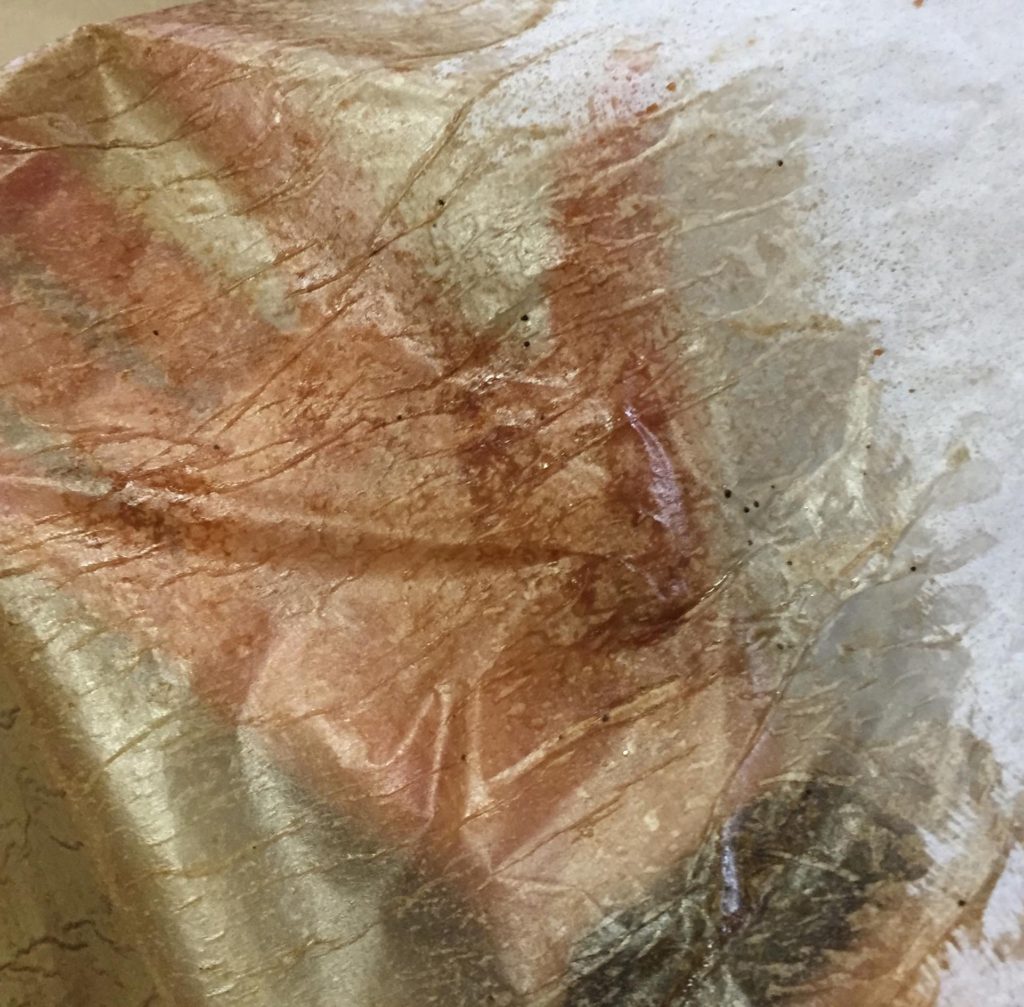
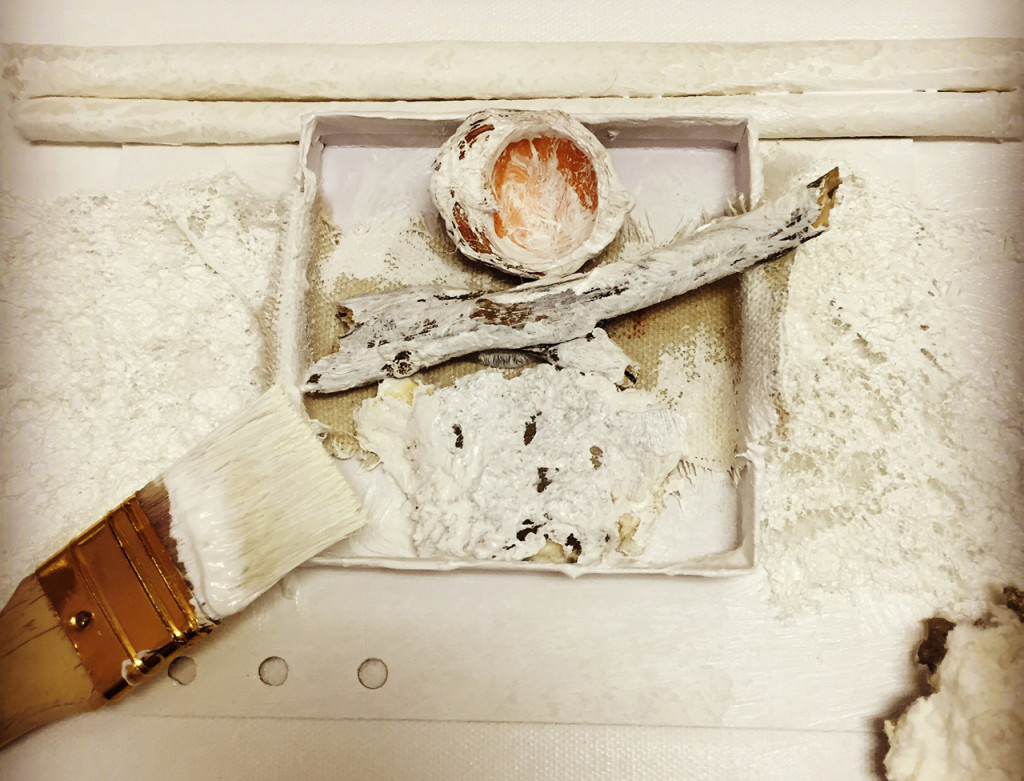
This is that in-between stage before the wax that always makes me stop and pause:
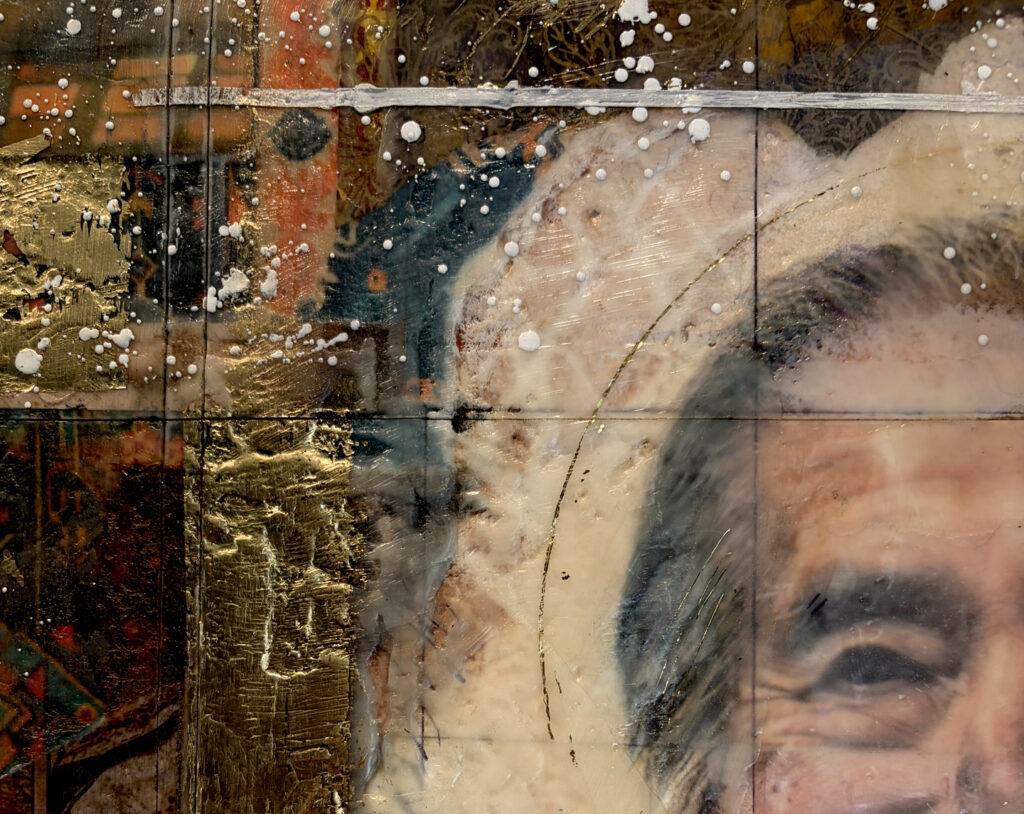
When I started applying the clear wax, the encaustic layers softened the edges so the images felt woven together rather than pasted together.
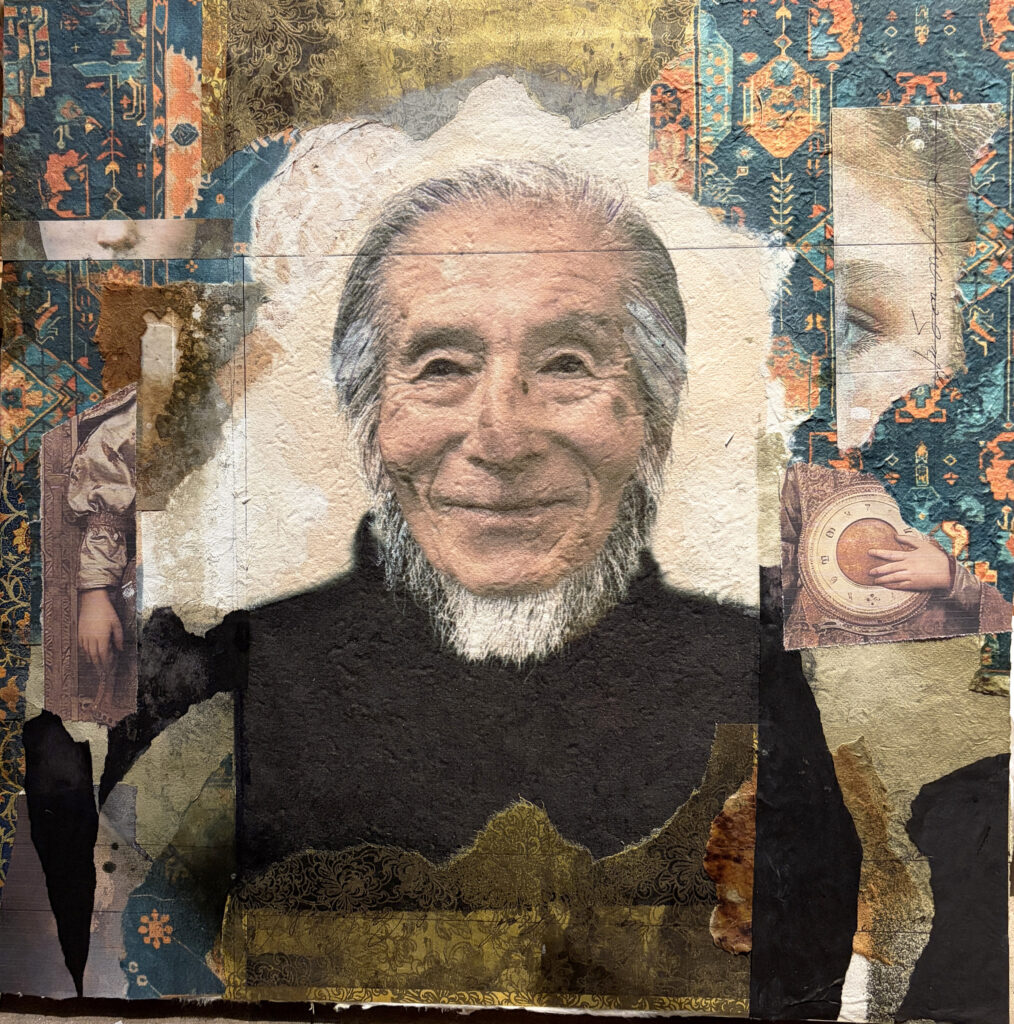
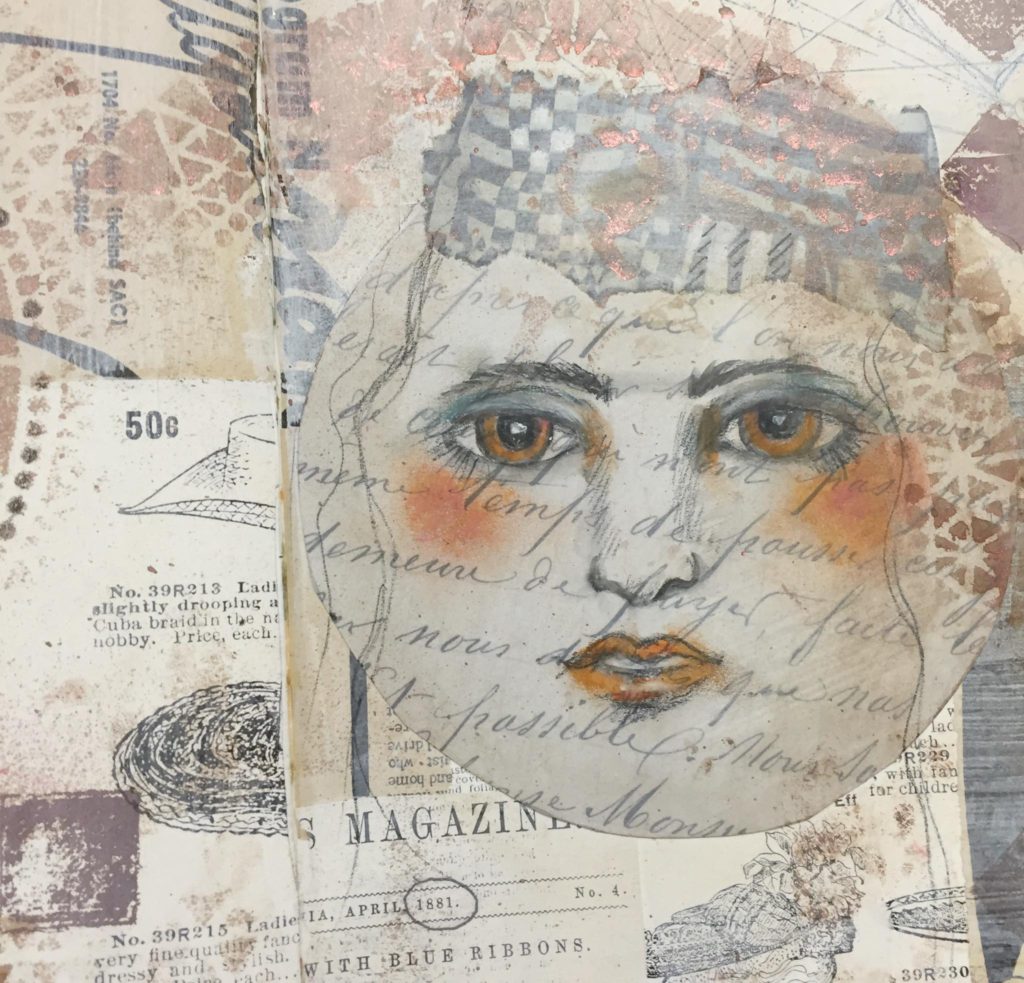
Sam and I emailed back and forth after this stage – here was the photo that I sent him when I thought the portrait was probably finished:
Encaustic work is notoriously difficult to photograph, but you can see hints of the complexity of the layers of wax and mulberry paper. Sam make some very small final suggestions befroe it was completely finished.
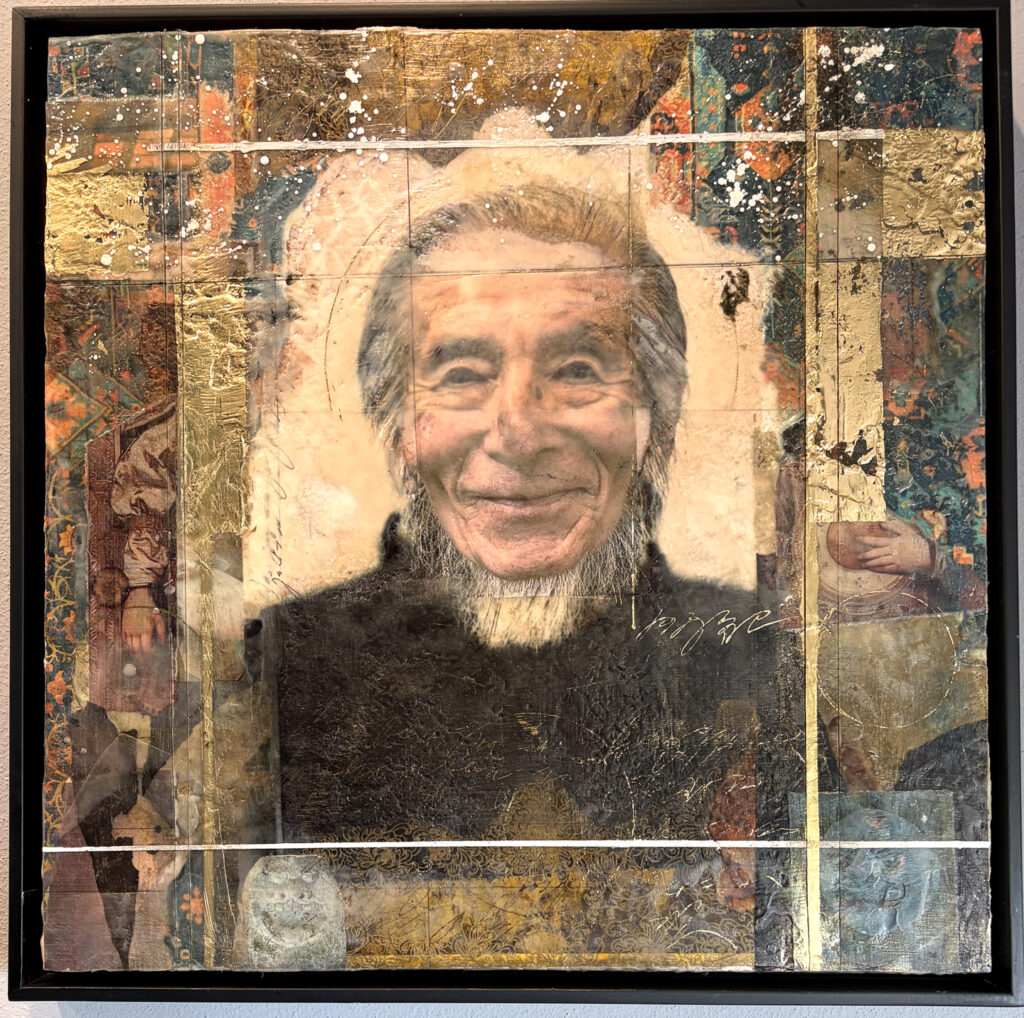
It’s good to share the process with the subject. This is the final piece that was shipped to Santa Fe (and arrived safely – hooray!).
Sam told me he has the perfect place for his new portrait. We’re trading work for payment, which is my favorite kind of arrangement. I loved this project—but this is still how I picture Sam when I think of him: sitting serenely in his studio.
As you can see, the portrait wasn’t just Sam’s face—it was Sam’s environment, his mythology, and the atmosphere of the place he built..
If you’d like to try something similar, here’s a simple approach:
-
Choose a photograph of the person.
Something natural and expressive works best. -
Collect visual clues about their world.
Photos of their studio, favorite objects, tools, landscapes, or materials. -
Select a few elements that feel essential.
Not everything—just the things that carry the strongest sense of the person. -
Build the collage around those clues.
Think of it as creating a small visual story rather than a literal portrait. - Don’t be afraid to add touches of myth or magic.
What began as an intimidating commission turned into something much more interesting: a reminder that a portrait doesn’t have to explain a whole life.
Sometimes it only needs a few well-chosen fragments. And when those fragments are right, the person appears almost by magic. I’d love to see what you do with the concept a personal collage portrait.
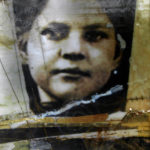
Two posts, two portraits — From the courageous gaze of Susie King Taylor in the previous post to the thoughtful presence of Sam Takeuchi in his studio, these portraits remind me that a face is never just a face—it is a doorway into a life, a story, and the fragments that help us see it.
Thanks, as always, for reading SHARDS! ~~Lyn


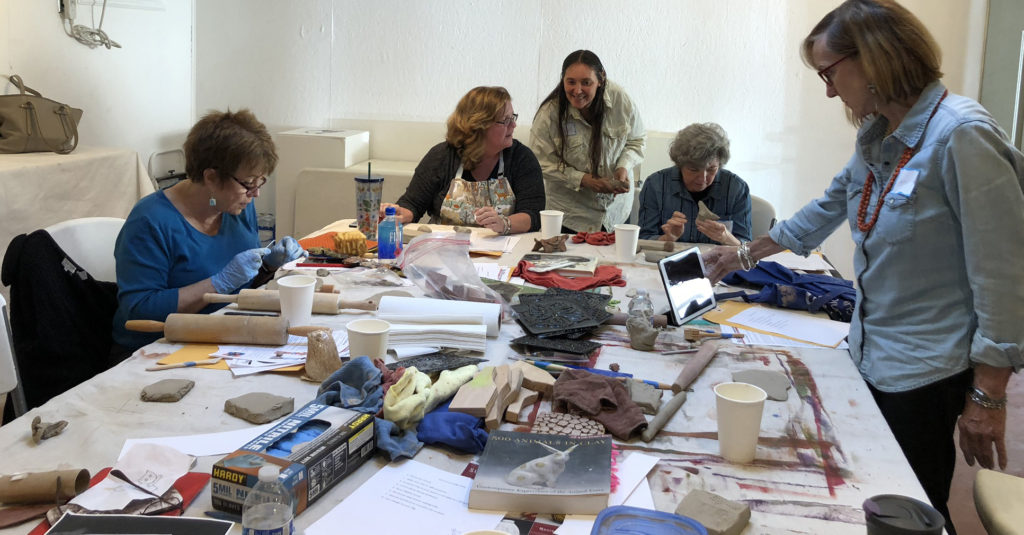


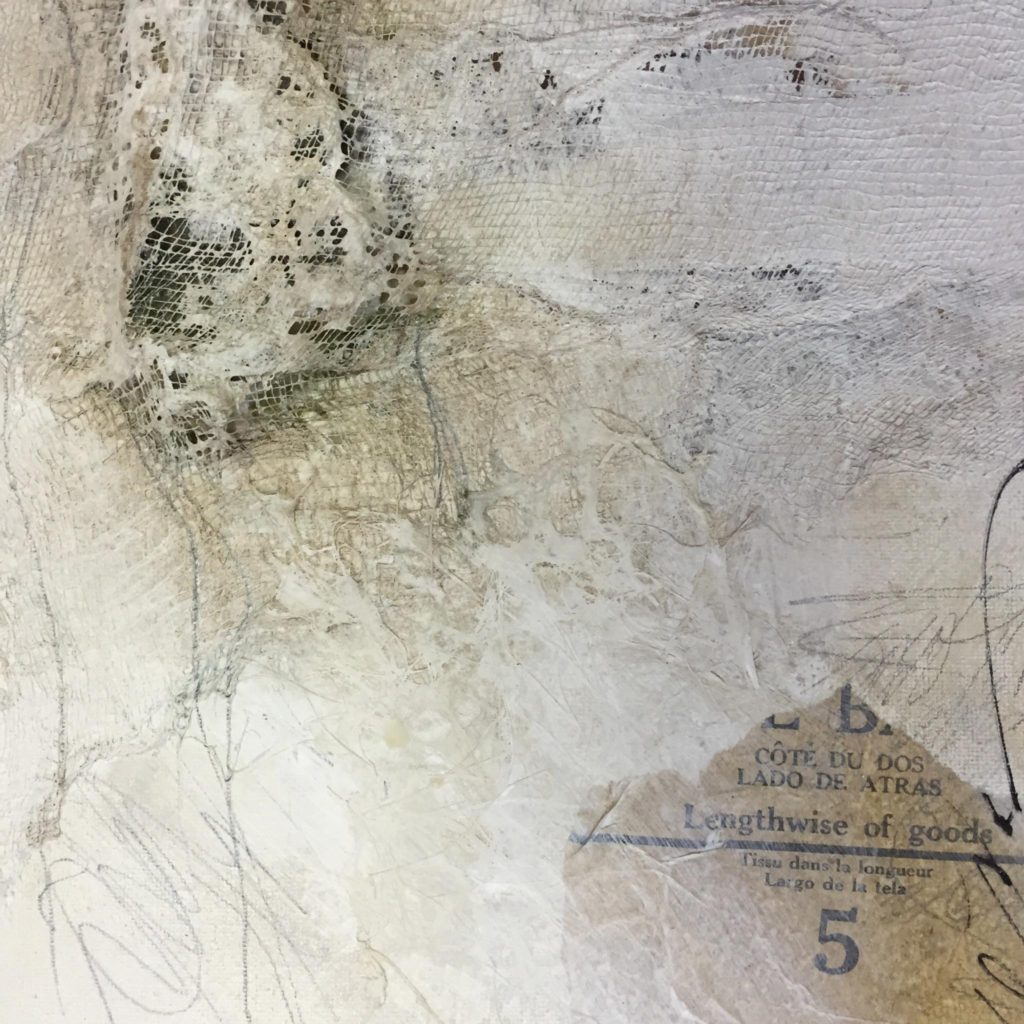

 Offering a new workshop is a risk, both for the teacher and the students who are the first “test drivers.” That was the case with the Wednesday
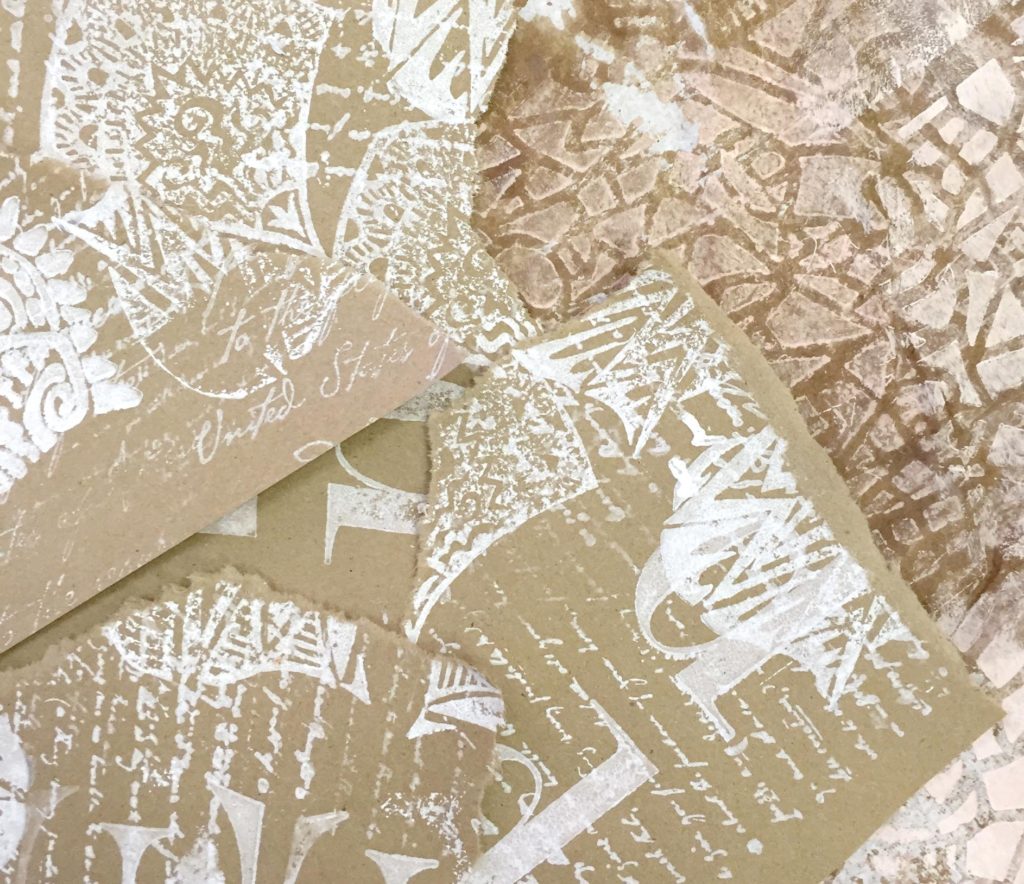
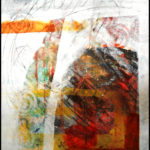
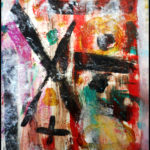
 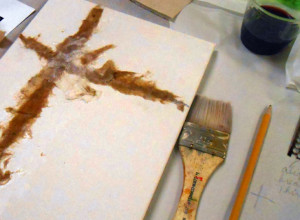 I started the session by demonstrating how to draw a visual classic cruciform framework with pencil lines on a 9×12″ canvas. Then we built thin layers of torn paper across that flat framework. I showed several techniques using both created and found textures, and combined these with mark-making through wet paint.