Why this installation is called “The Exquisite Rainbow Corpse” eludes me – but it opens this evening at the The Southwest School of Art. Created by members of GAGA (including me), the Corpse consists of 90 12″x12″ works that correspond to individual ROYGBIV color chips (the rainbow color sequence: red, orange, yellow, green, blue, indigo, violet). Want a sneak preview of the installation? TA-DAH!
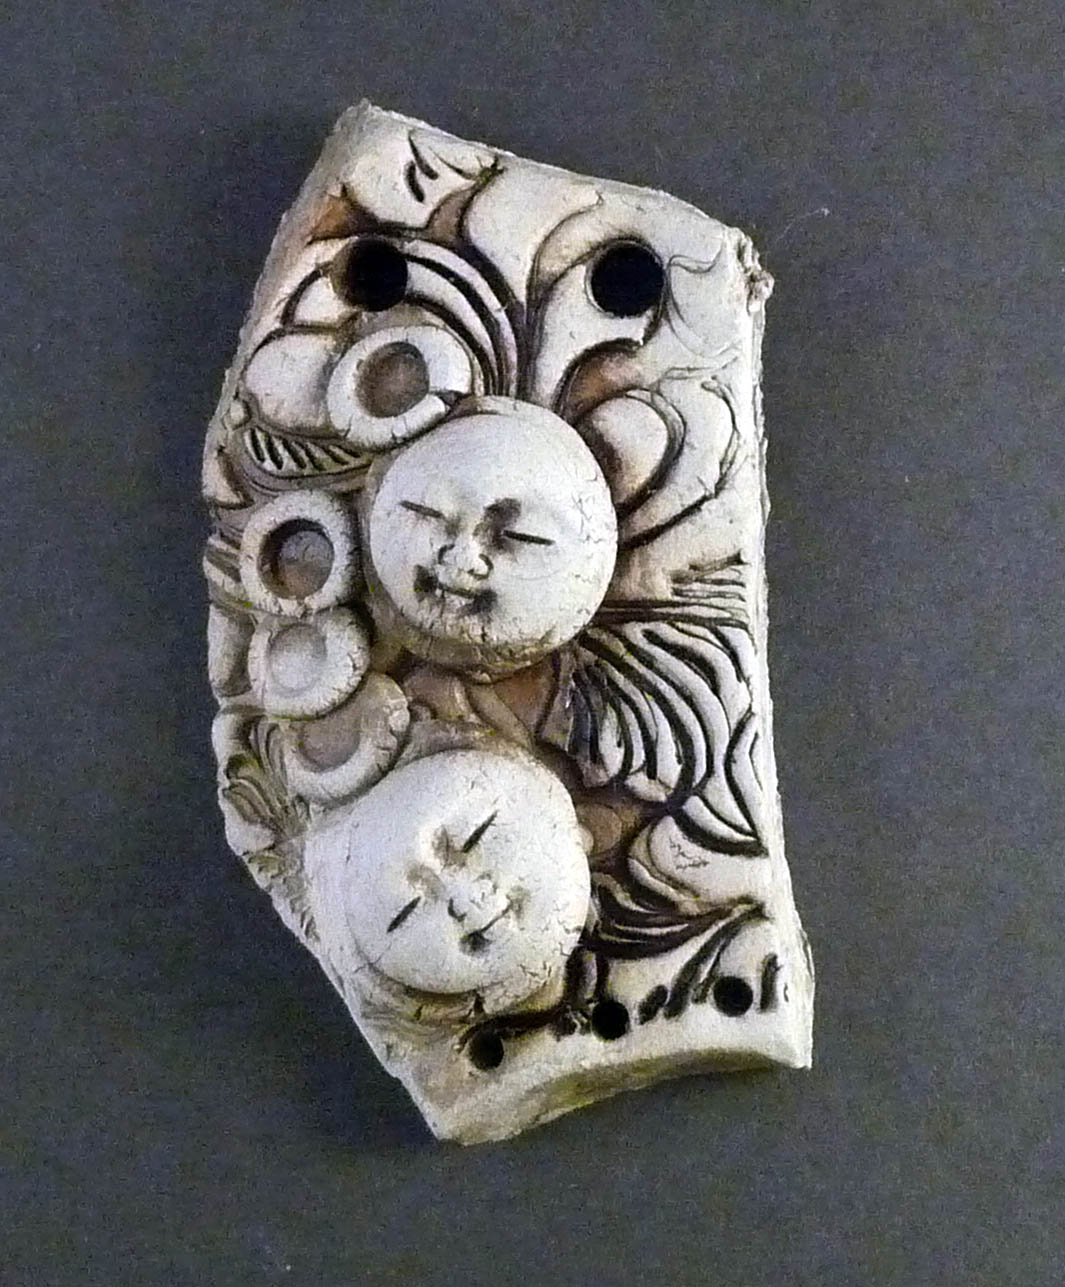
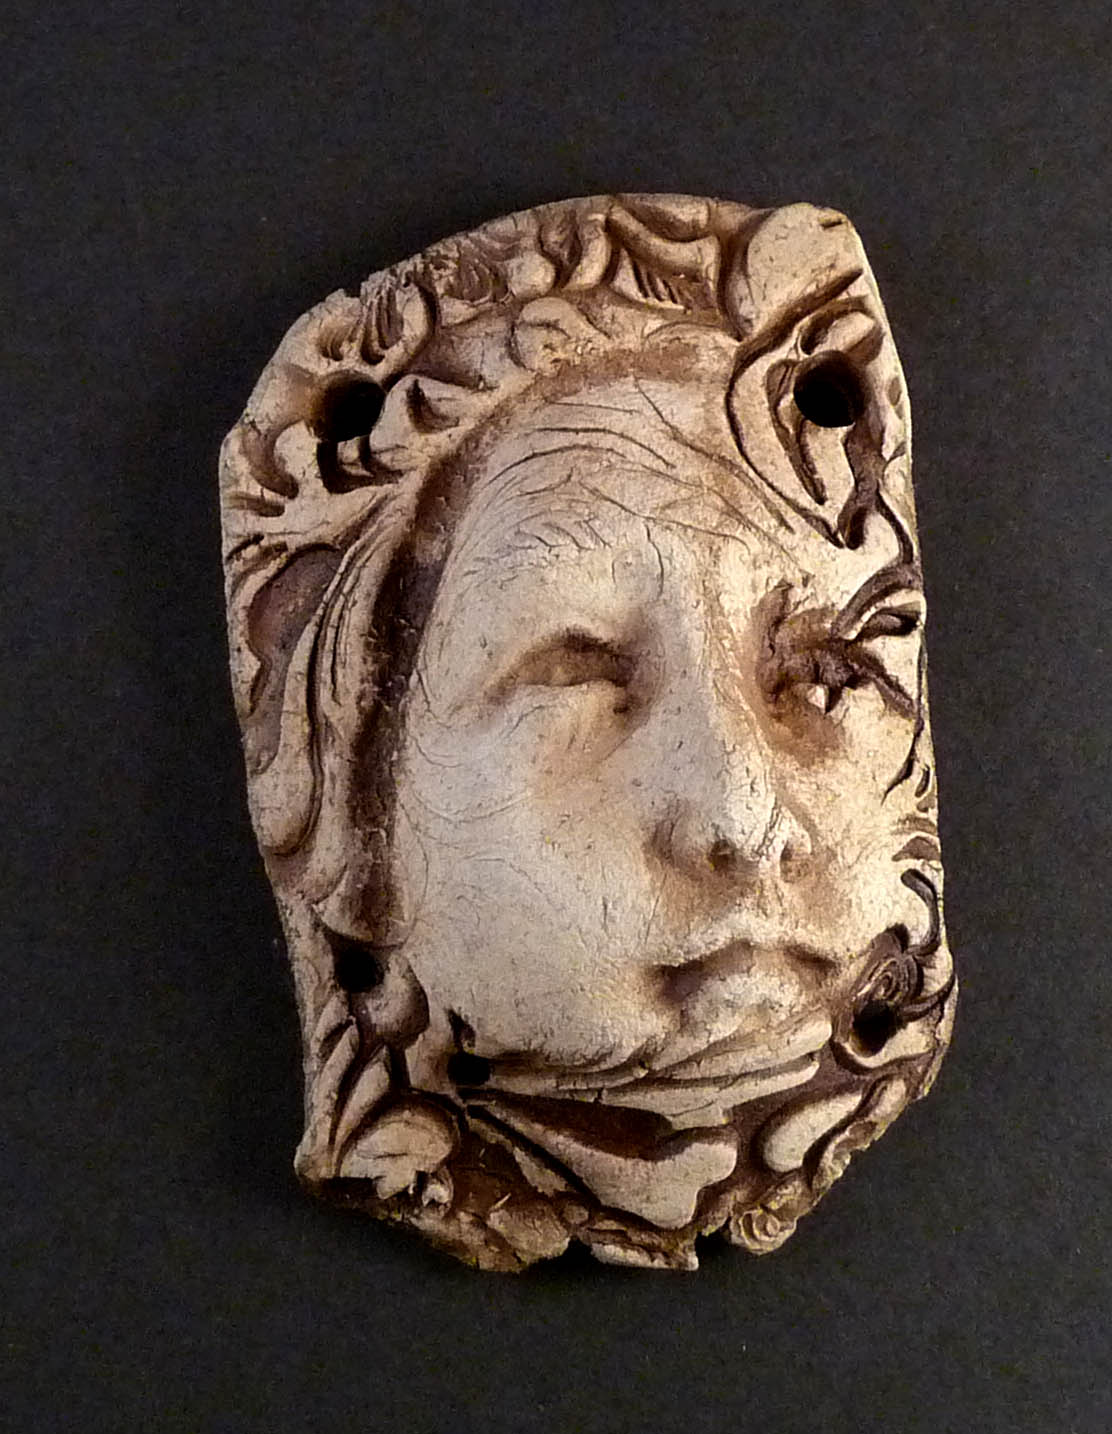
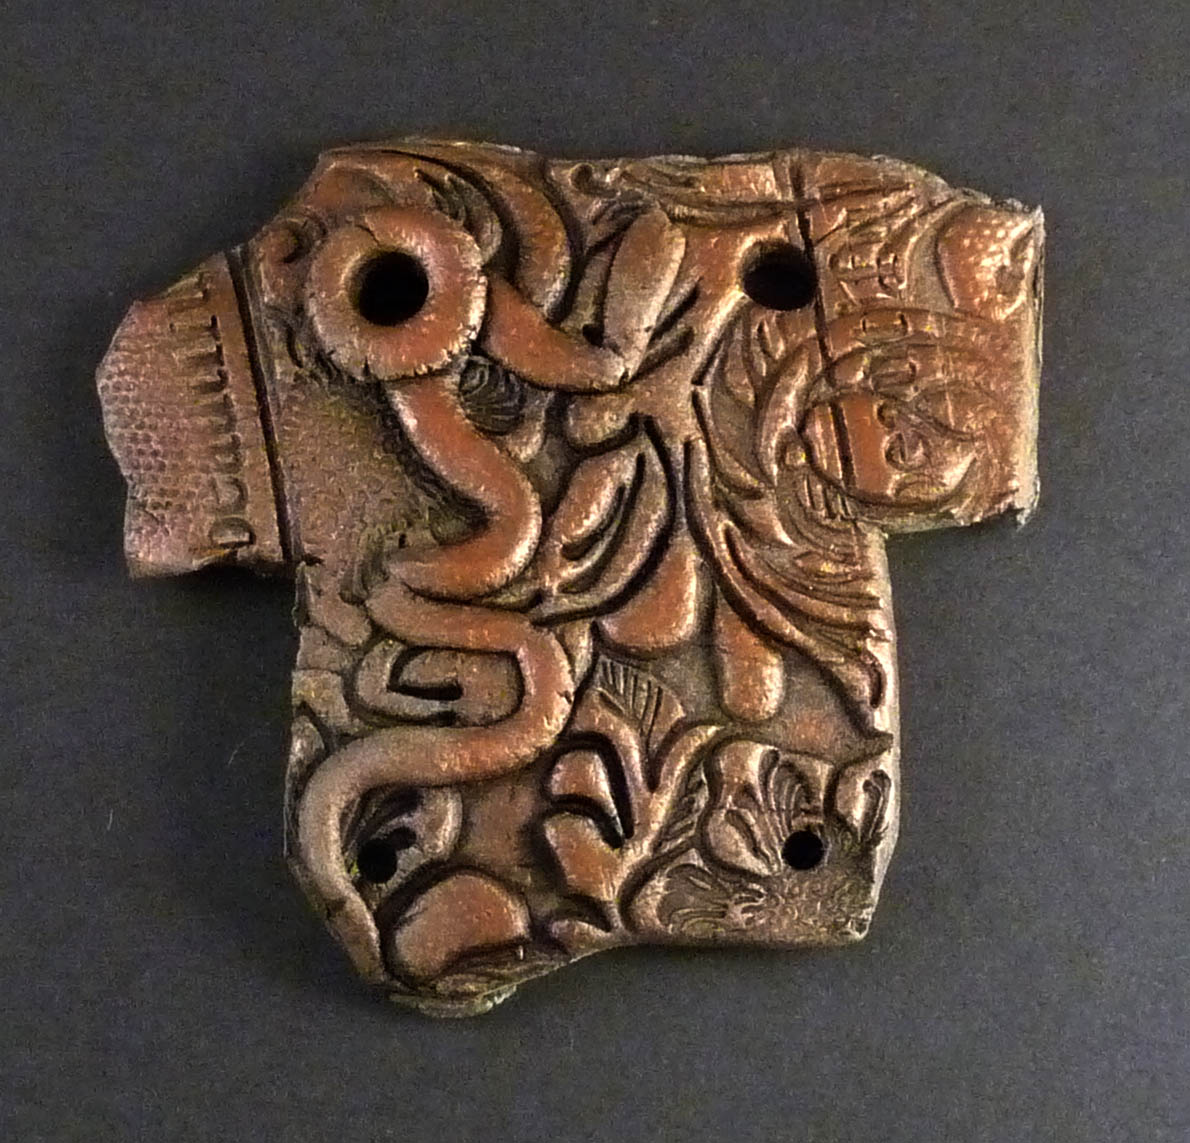
My two pieces are in the third row on the left-ish side (how appropriate – so are my politics) – you may remember the pieces from this post, but here’s one – gives you a sense of the scale of the overall installation. Please come by tonight (5-8 pm) and see the exhibit. There are so many styles represented that it should be most interesting. Ya get 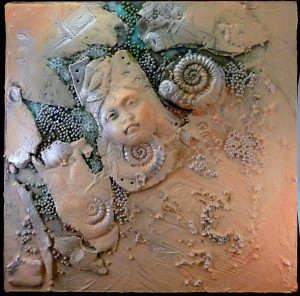 a big group of women artists together and you’re gonna have some crazy-good collaborating!
Now, if you want a weekend art challenge, go to the paint store, pick a color chip at random (or choose a color from this site), and create a small piece in which 75% of the content is that color – it’s a very thoughtful exercise . . .and not an easy one.
Happy weekend, everyone, and Happy Mother’s Day – we all had one, and we’re here because of her. Thanks, Mom – I sure do miss you!