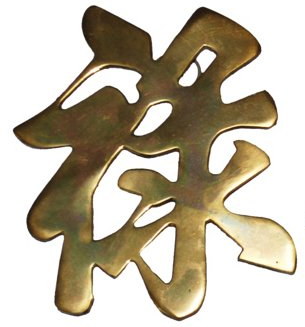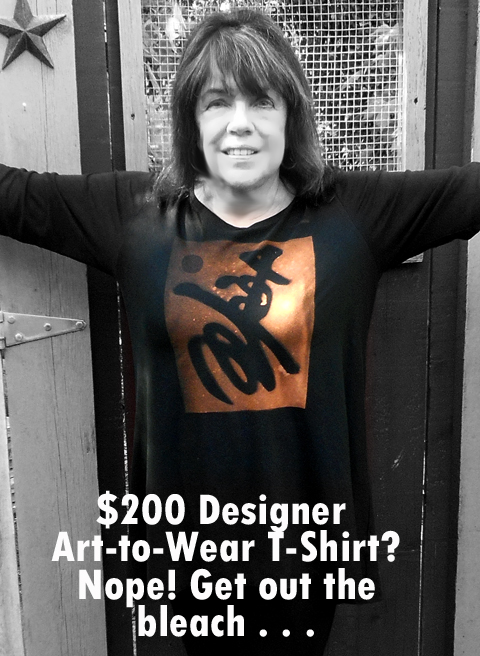
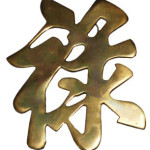
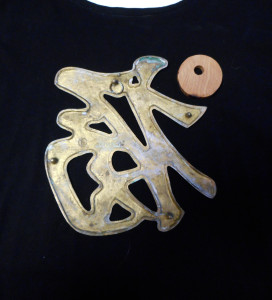
Mike went to a garage sale on Saturday and found some brass Asian calligraphy characters that were used as wall decorations. The more I looked at them, the more I knew I didn’t want them on the wall.
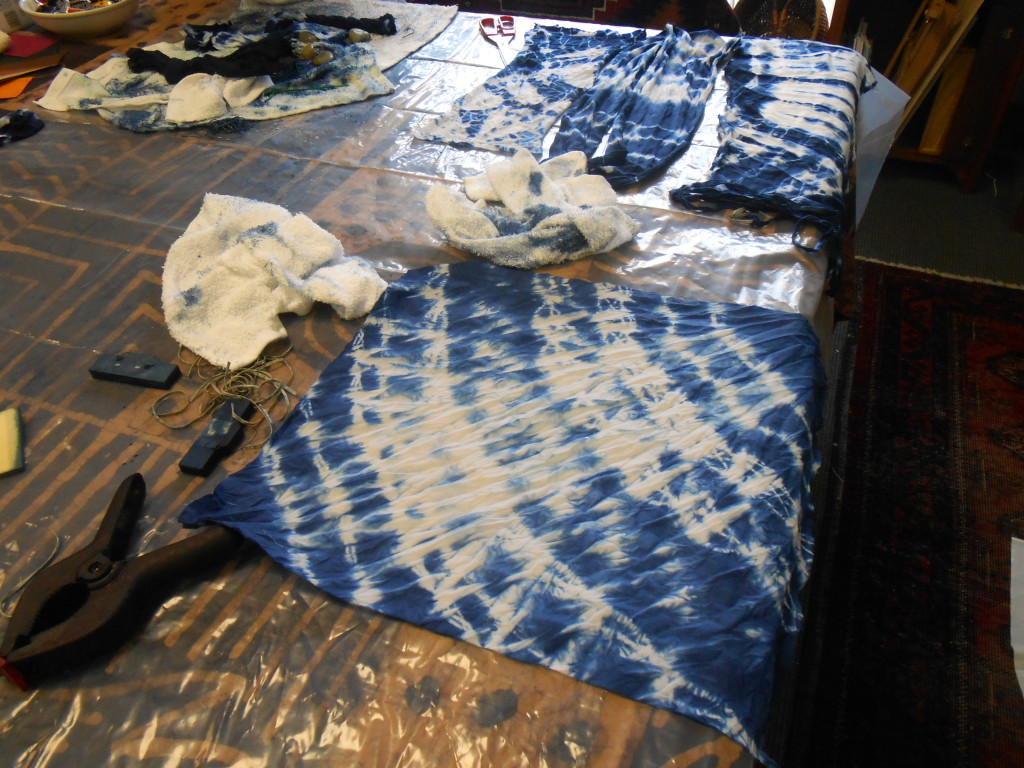
But the designs were cool. So I took an old black shirt and used some diluted bleach to create a reverse stencil design in what’s called Discharge Dyeing. Discharging is the process of removing dye (by destroying or altering the dye “chromophores”) with various chemicals or bleach, often in pleasing patterns or designs through Shibori or Tie Dye methods, or by stamping, stenciling or block printing (definition from Dharma Trading Company).
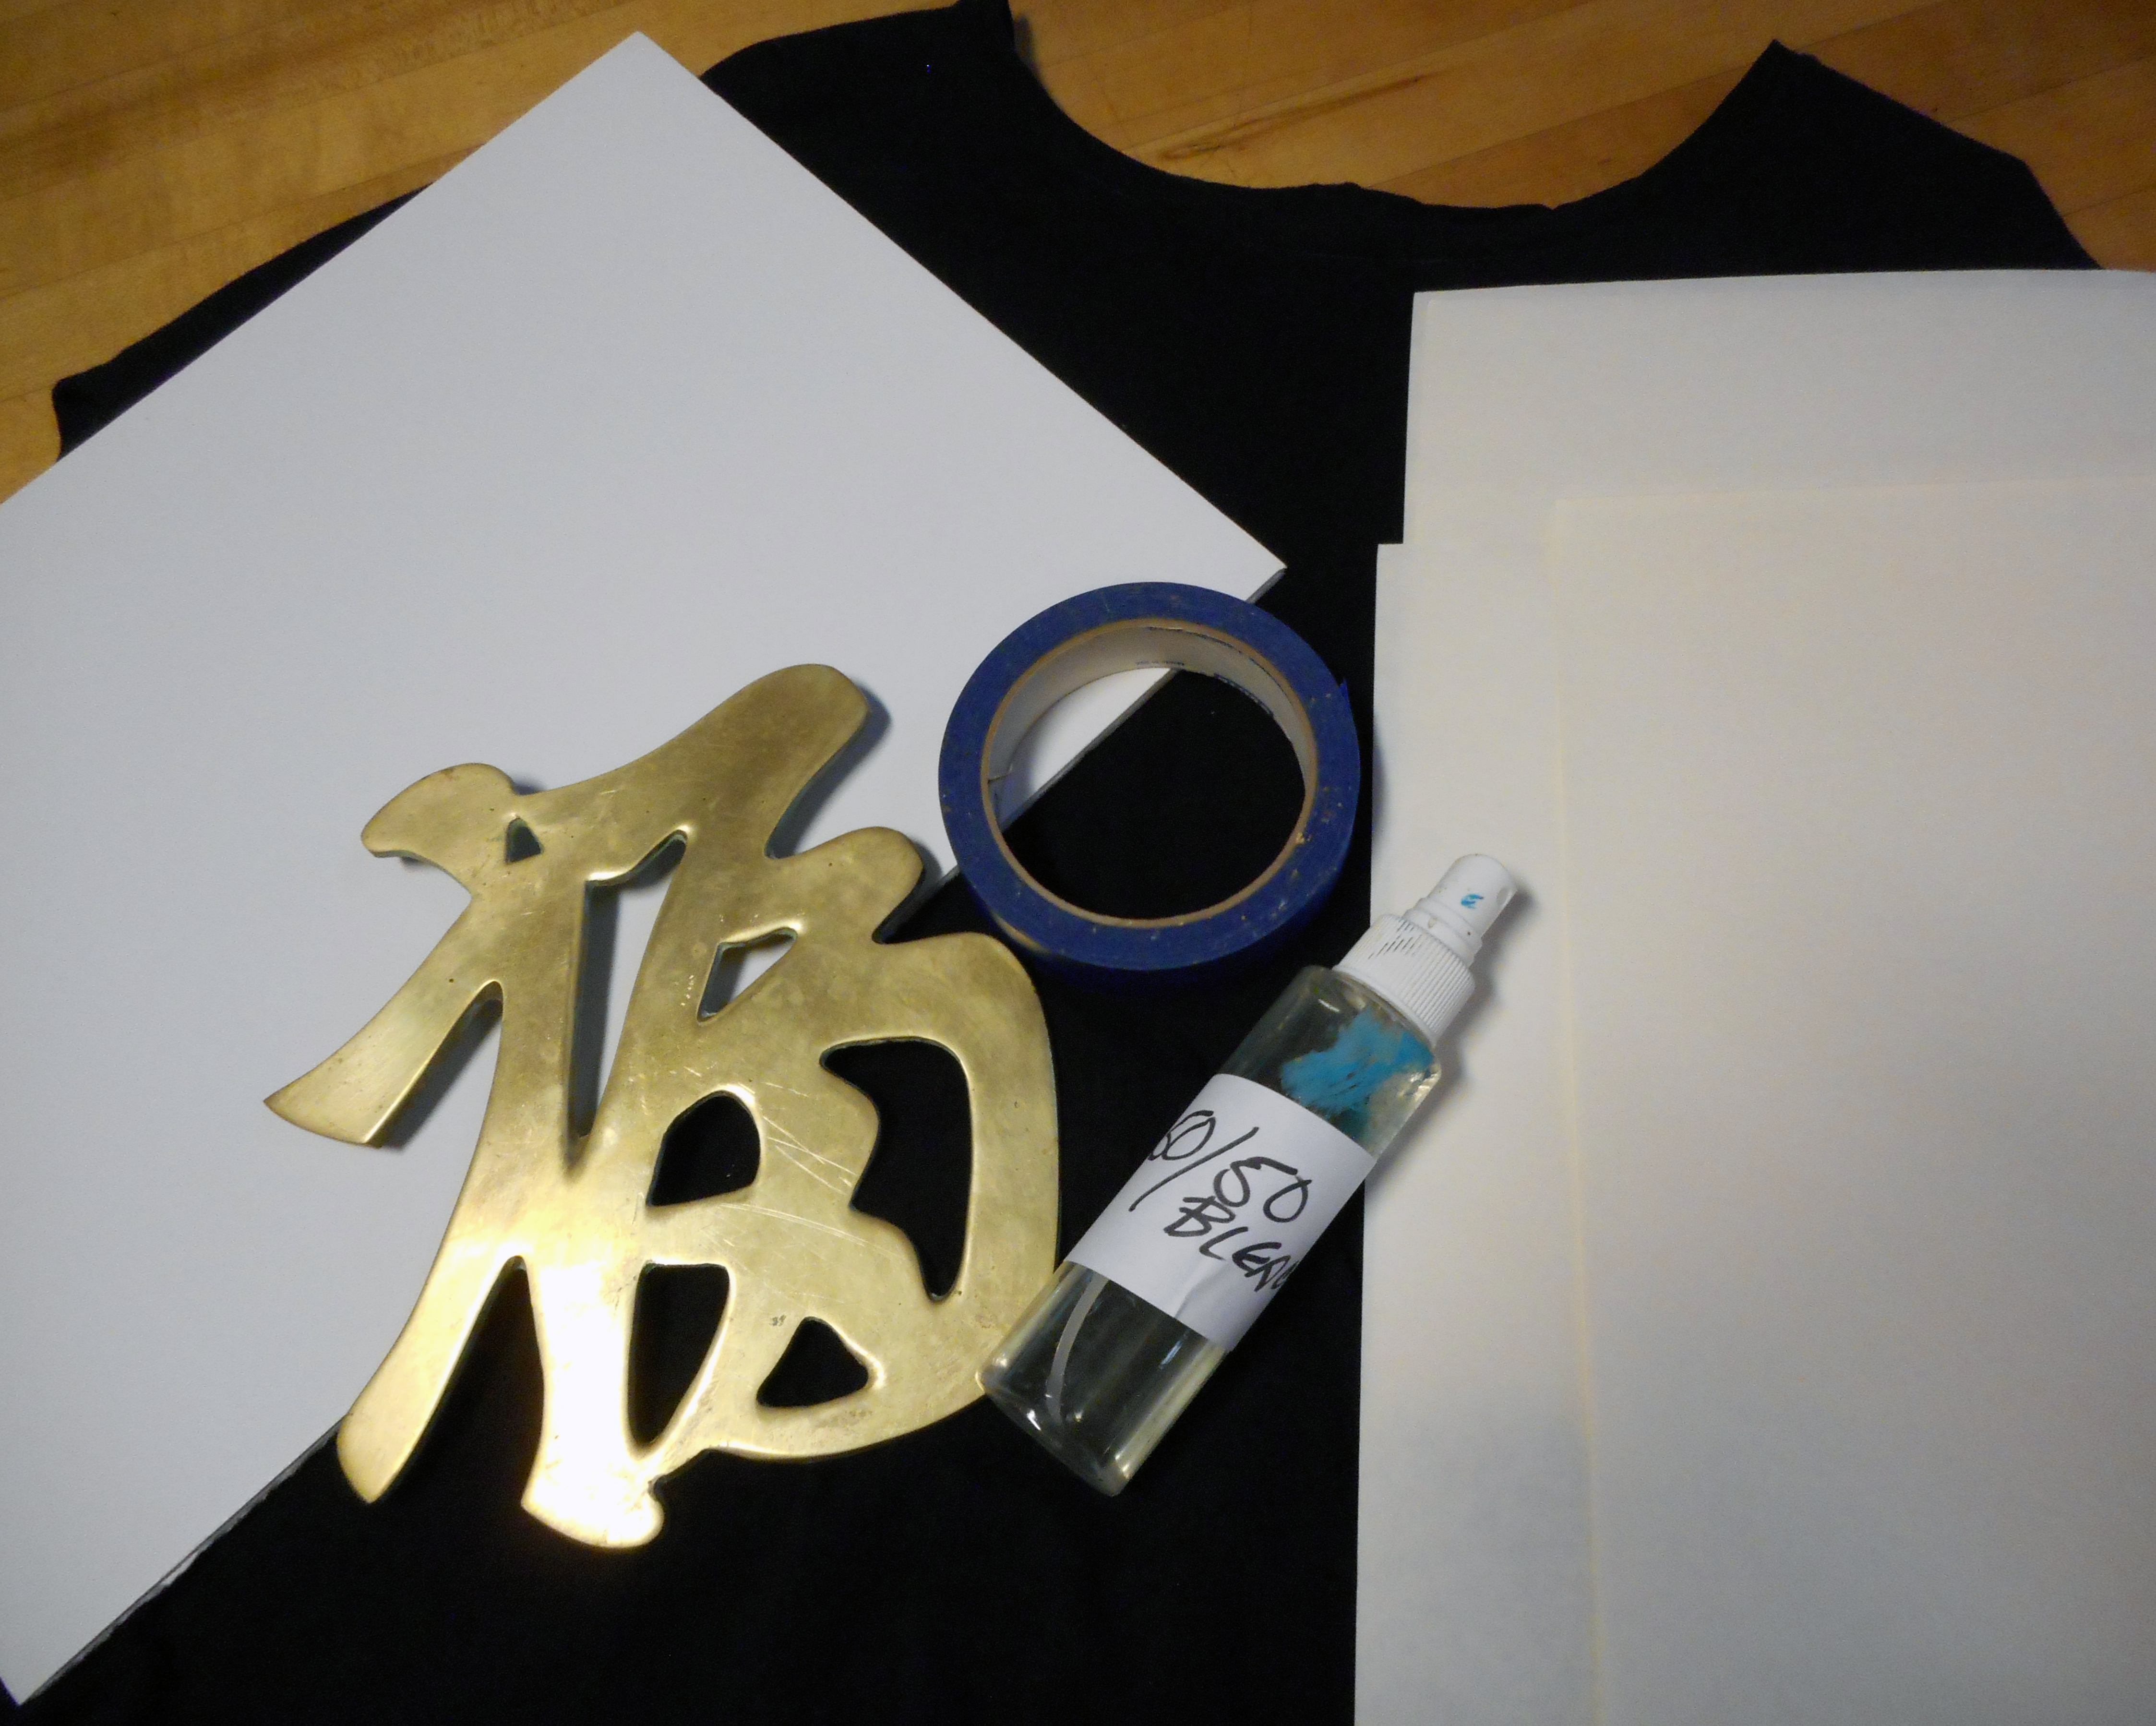
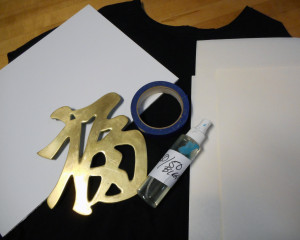
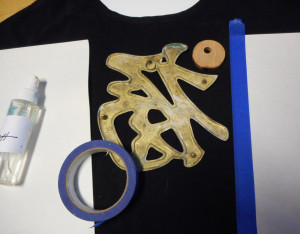
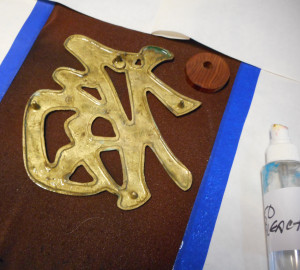
 Here’s what you need – a black shirt (cotton, already washed), some chlorine bleach (Clorox), diluted 50/50 with water and put in a small spray bottle (label it!! Work outside!!), a non porous board like foam core to put between the front and back of the shirt to keep the bleach from bleeding through, scrap paper to mask off your bleaching area, masking tape to stick the paper to the shirt, and some INTERESTING OBJECTS to use as reverse stencils. I used the brass calligraphy symbols, but you could use anything – doilies, leaves stick-on letters, shells, twine and sticks – be creative.
Step One: Assemble your stuff on your work surface. Make sure that any stray bleach mist won’t damage the surface.
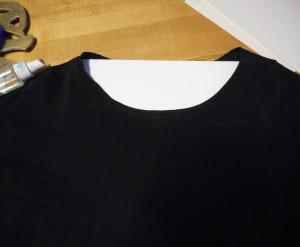
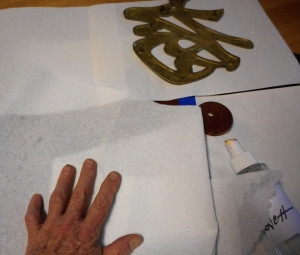
Step Two: Put your non-porous board between the layers of the shirt and smooth out the fabric This protects the back of the shirt and also makes the process easier by giving the surface some support.
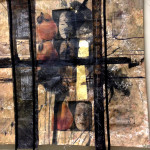
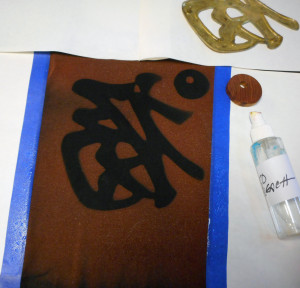
Step Three: Lay out your objects in a pleasing pattern – center them if you like. You can use anything – stencils, lace, metal washers – and you can test your designs by trying them on black construction paper first – it “discharges” like black fabric.
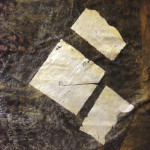
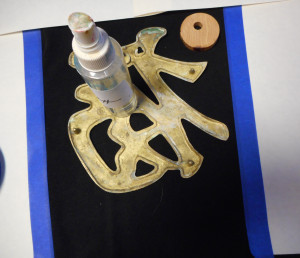
Step four: Mask off everything except the area you’re going to mist with the bleach solution. Here, you can see I’m taping scrap paper around the edges of the area using blue painter’s tape.
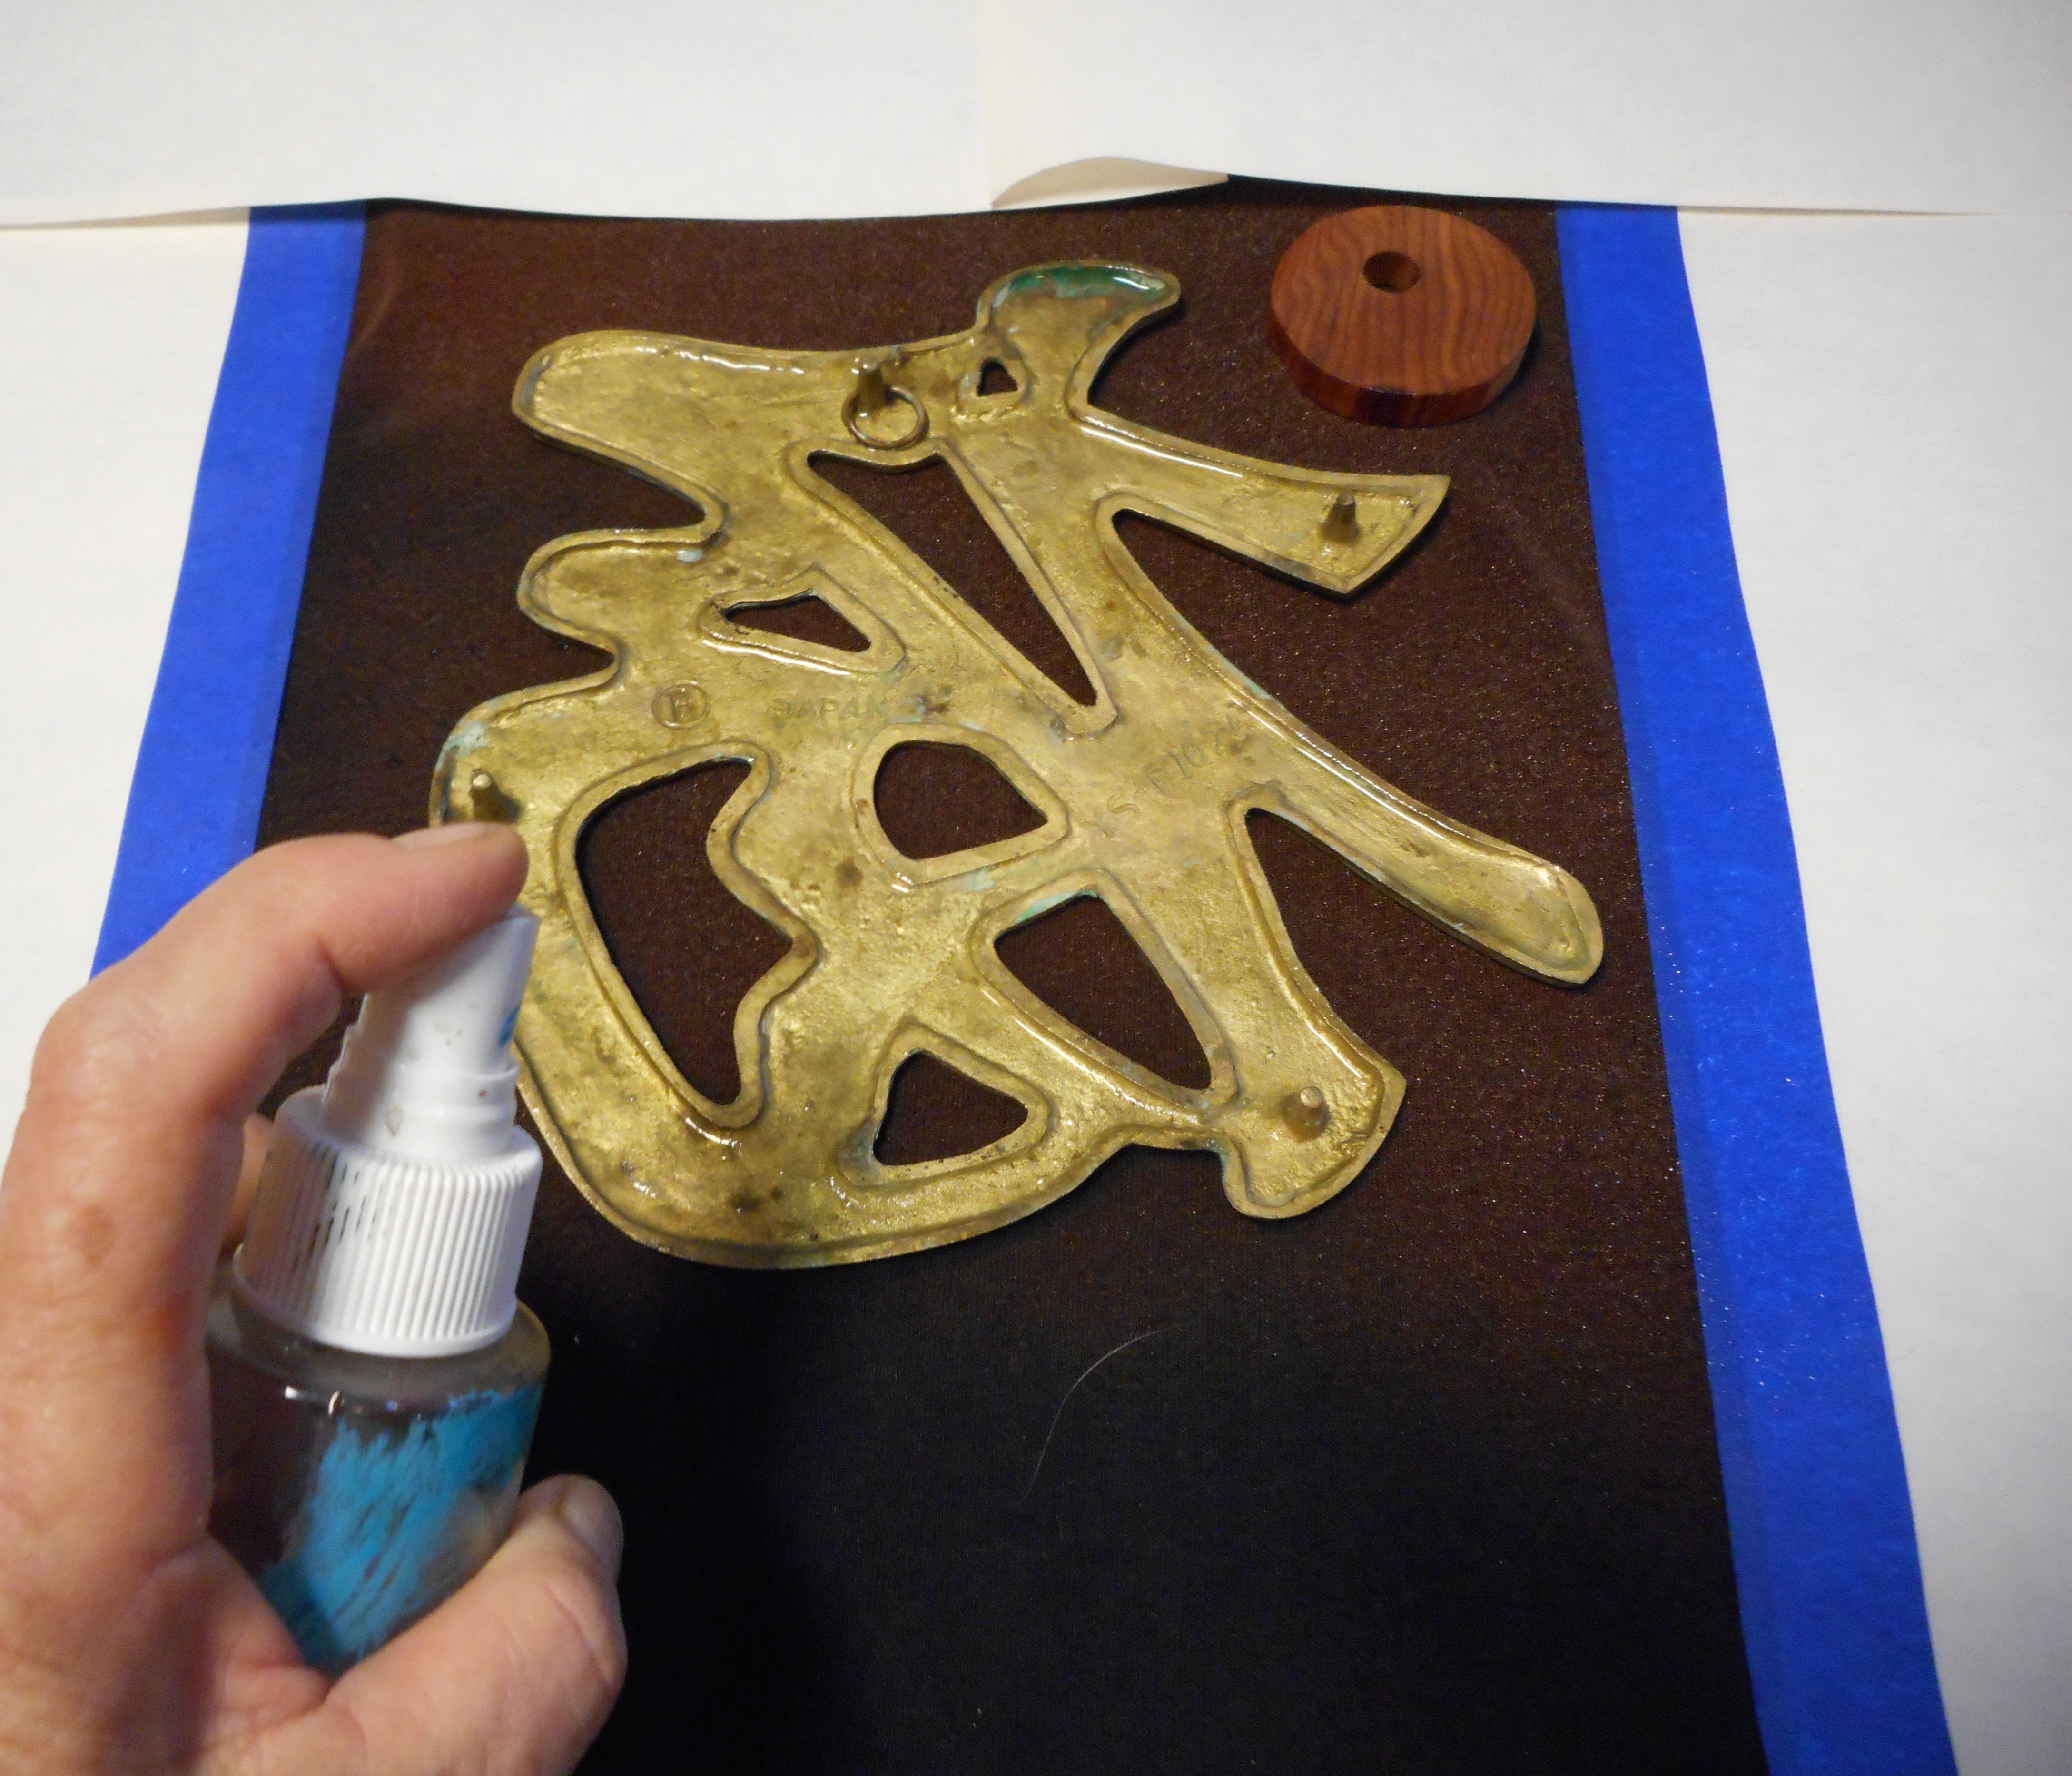
Step Five: Once the masking is complete, you’re ready to spray – be careful of the fumes. Even diluted, bleach can be strong, but you are using just a small amount and working quickly. I used a little spritzer bottle and mixed about half a cup of the 50.50 water-bleach solution.
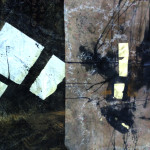
Step Six: Spritz the bleach solution over the exposed area of the shirt. working quickly and just misting the surface. There’s no need to soak the fabric. Pay special attention to edges of the shapes.
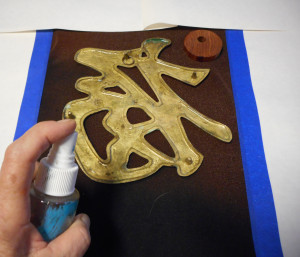
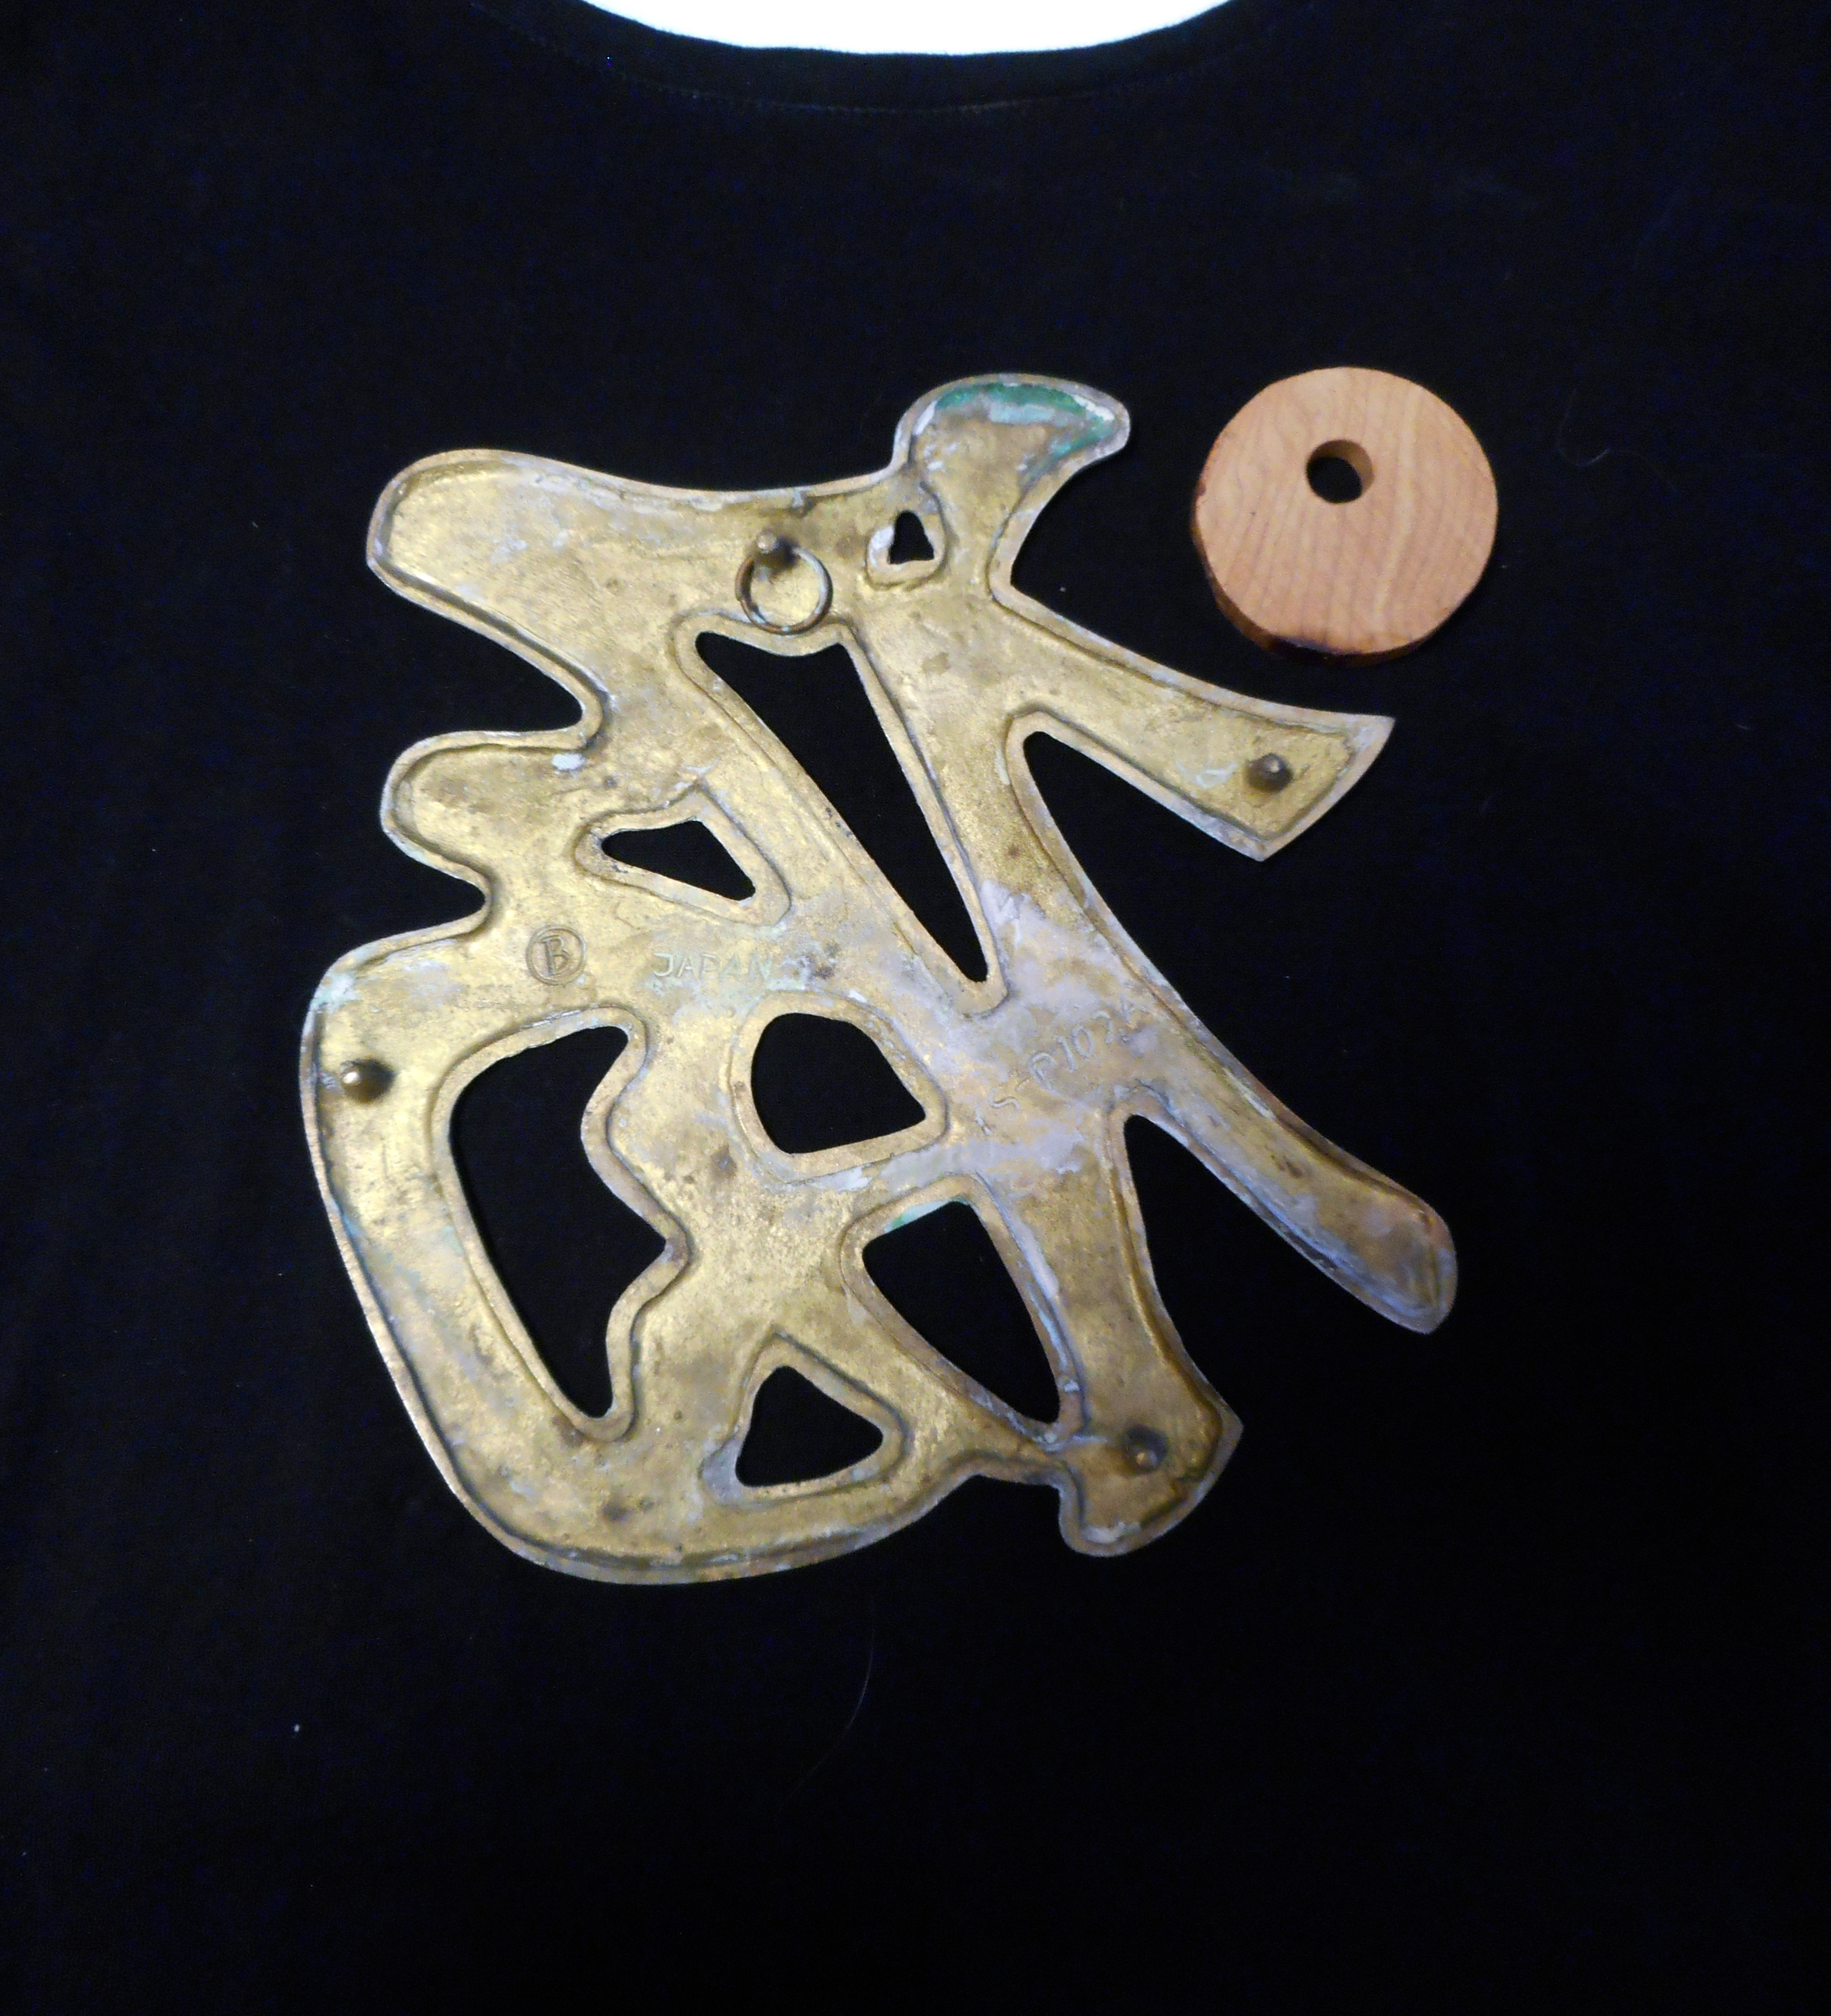
Step Seven: Watch in amazement as the color changes in seconds. Every black fabric has a distinct undercolor, some greenish, some rust. This shirt turns almost orange in the areas that are discharged with bleach.
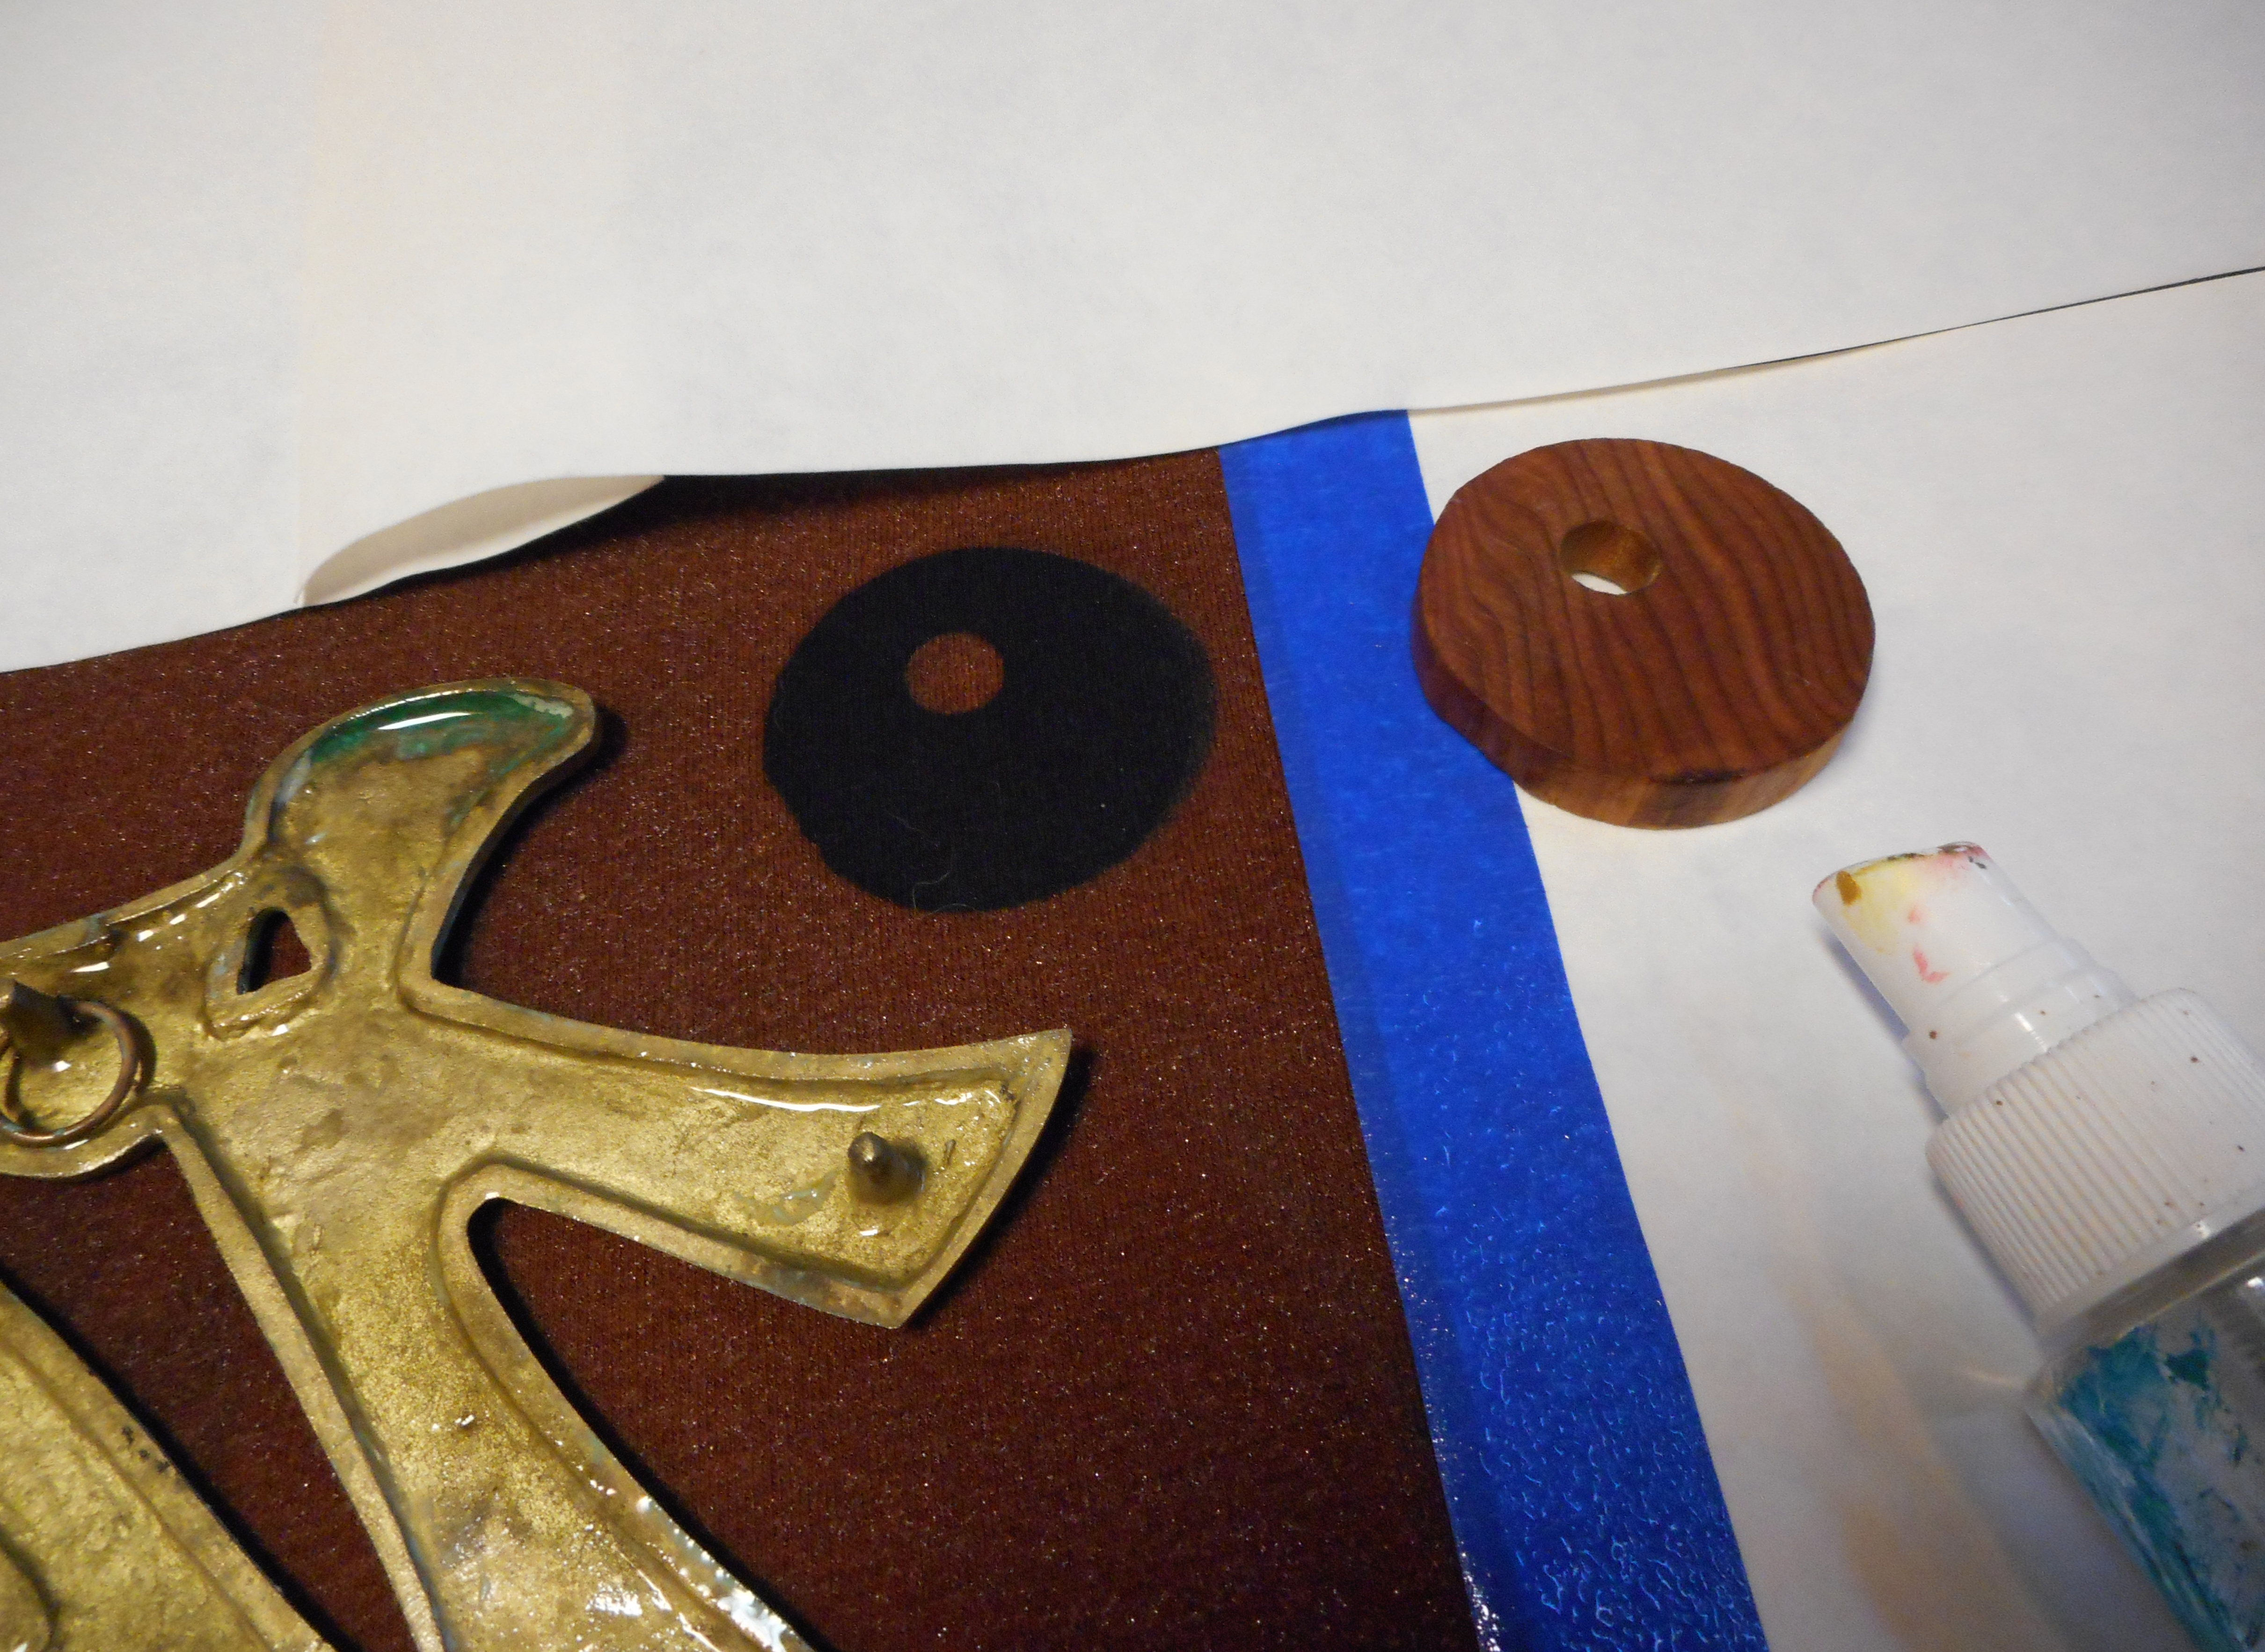
Step 8 – Remove the objects(s) to test the progress. Looking good! This was a small wooden disk with a hole drilled in it – not sure where it came from, but I like the pattern it left.

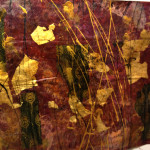
Step Nine: Remove all of the objects carefully – no drips unless you want that effect – and make sure you like the resulting color, which usually takes less than a minute to develop), The bleach action stops automatically since you just misted the surface.
Step Ten blot-dry the front of the shirt with a paper towel – otherwise, you will get damp bleach on other parts of the shirt when you move it. You can use a hair dryer after you blot it, or you can just let it dry in place.
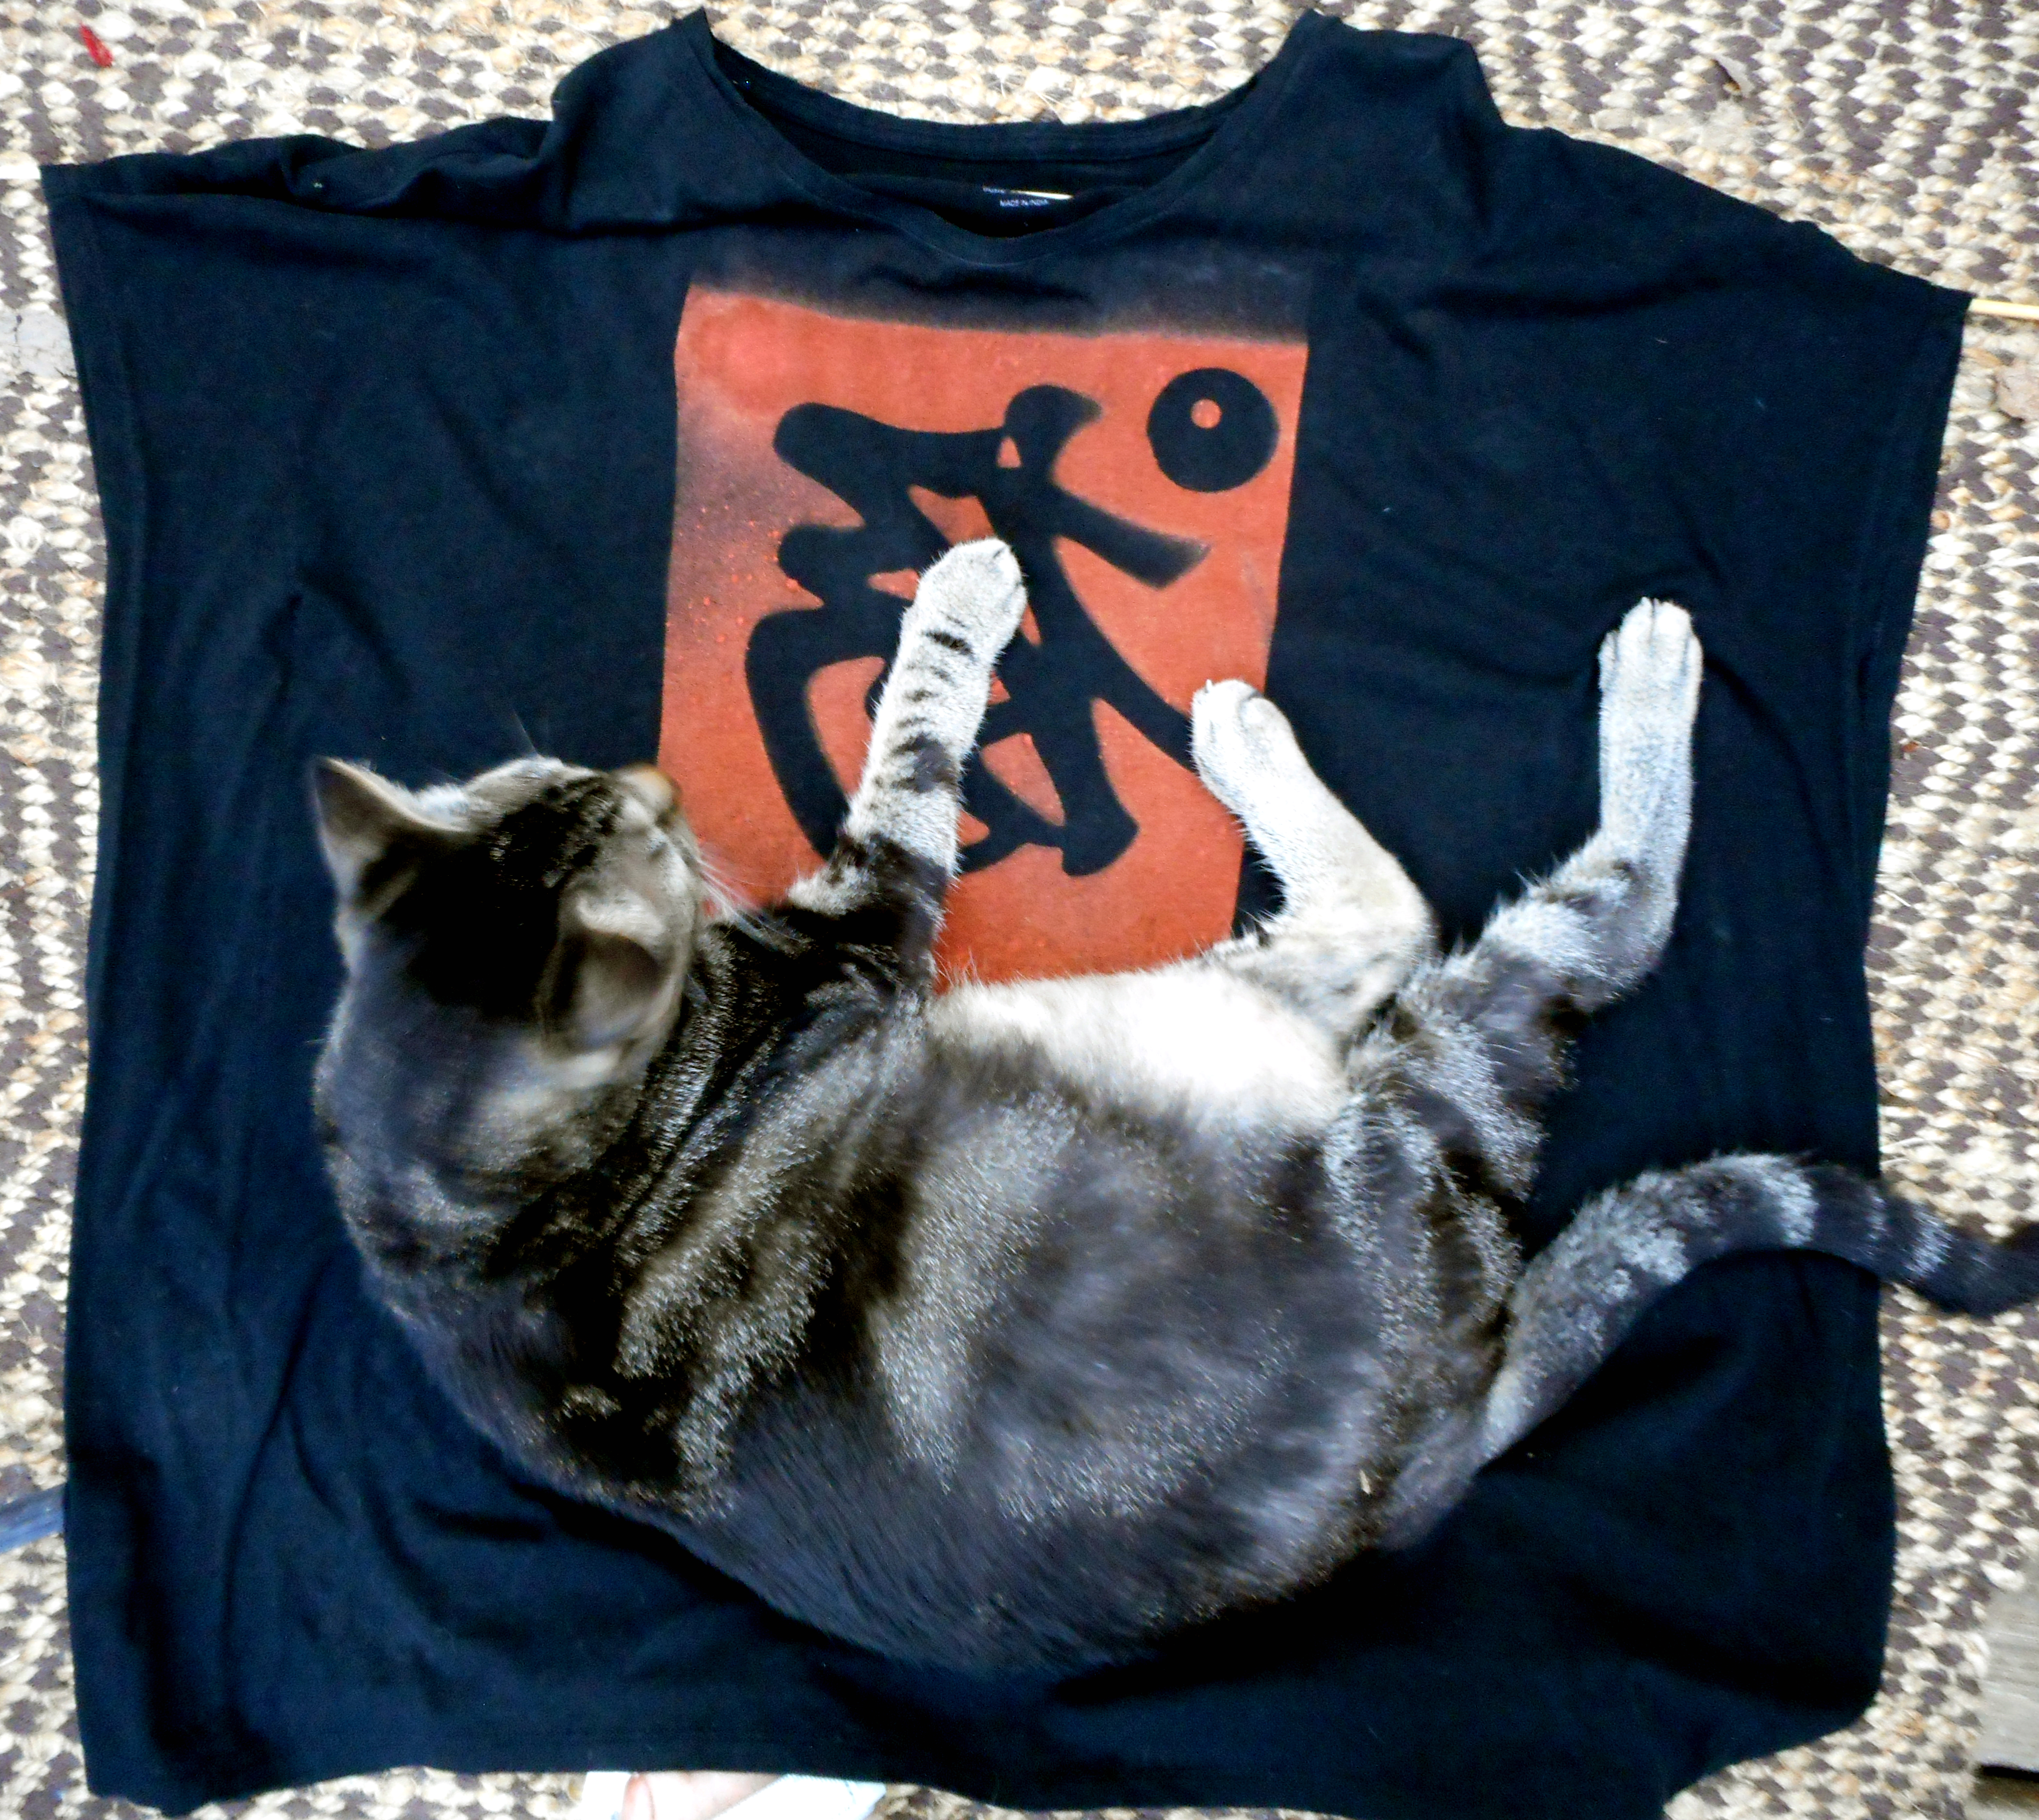
Step Eleven: Voila! Step back and congratulate yourself on your arty shirt – you should wash it before you wear it. This particular shirt is an “easy tee” by JJill that is much enhanced by its new design!

Step Twelve: Hire a cat to arrange itself artfully on your new garment – if you spread the shirt out after it comes out of the dryer, the cat may arrange itself for free whether you want it to or not.

There are tons of ways to do discharge dyeing on black fabric, but a diluted bleach mist will give you fine lines around a stencil. Be careful, though, don’t get bleach solution on unwanted surfaces! Or cats.