Indigo Wednesday

blue

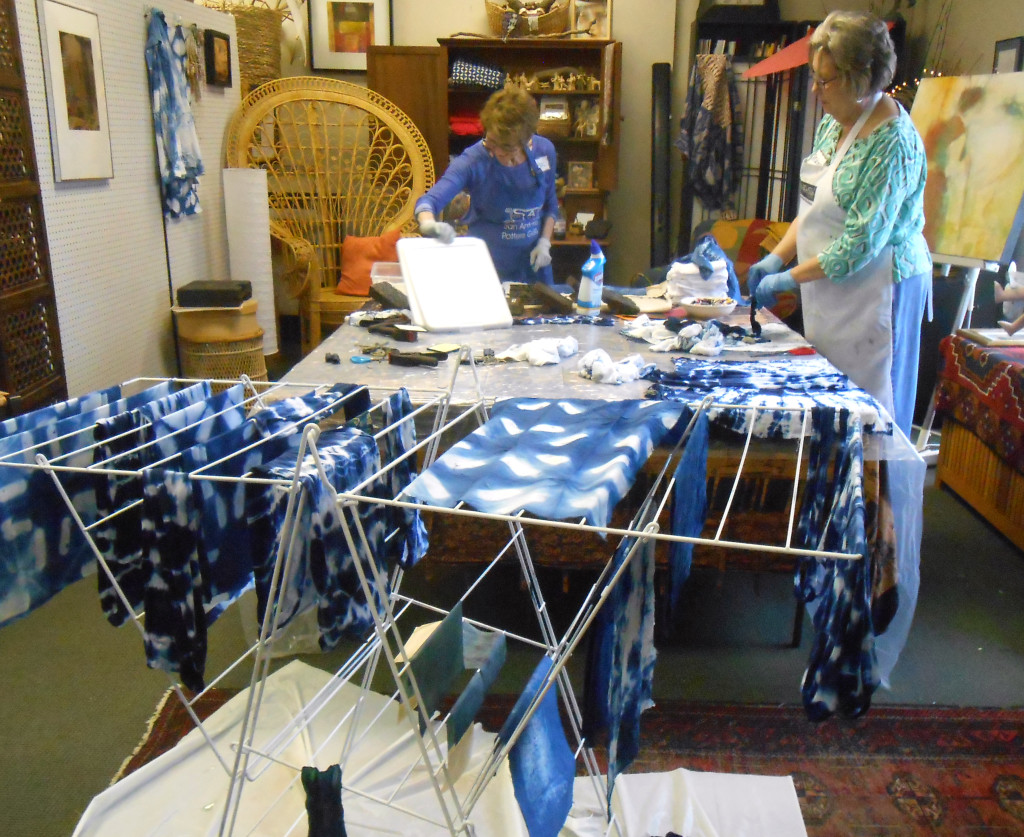
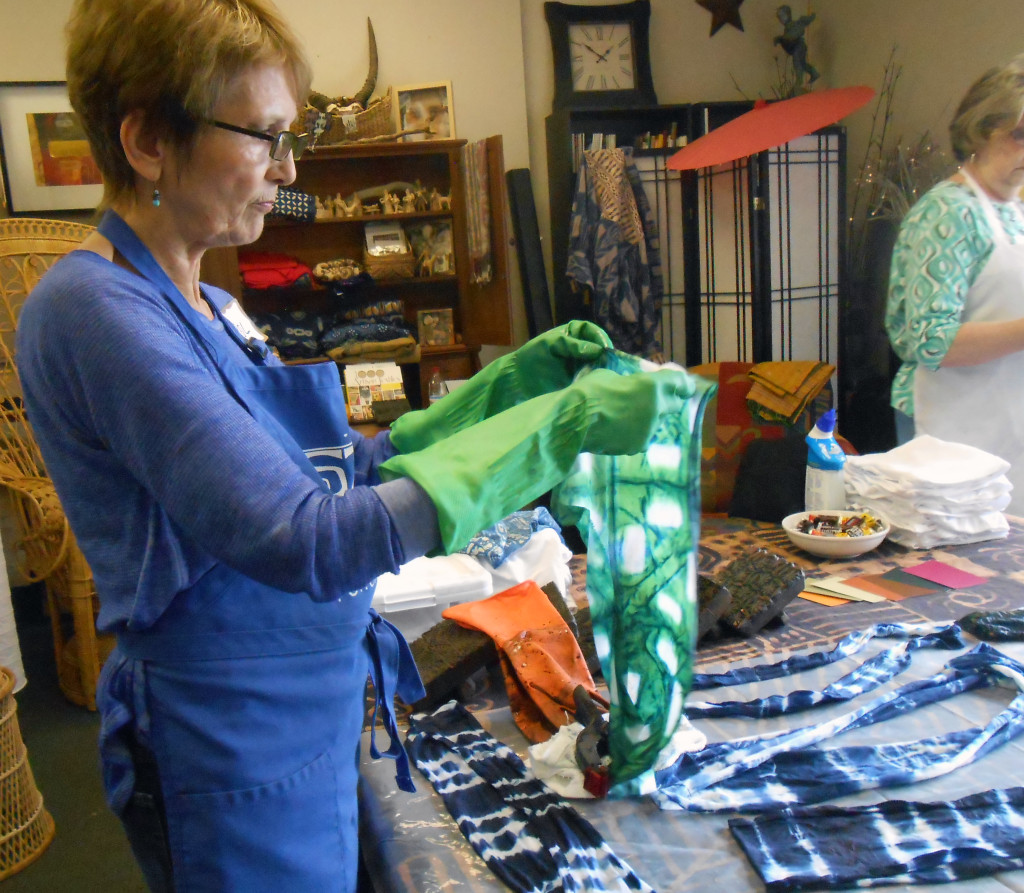
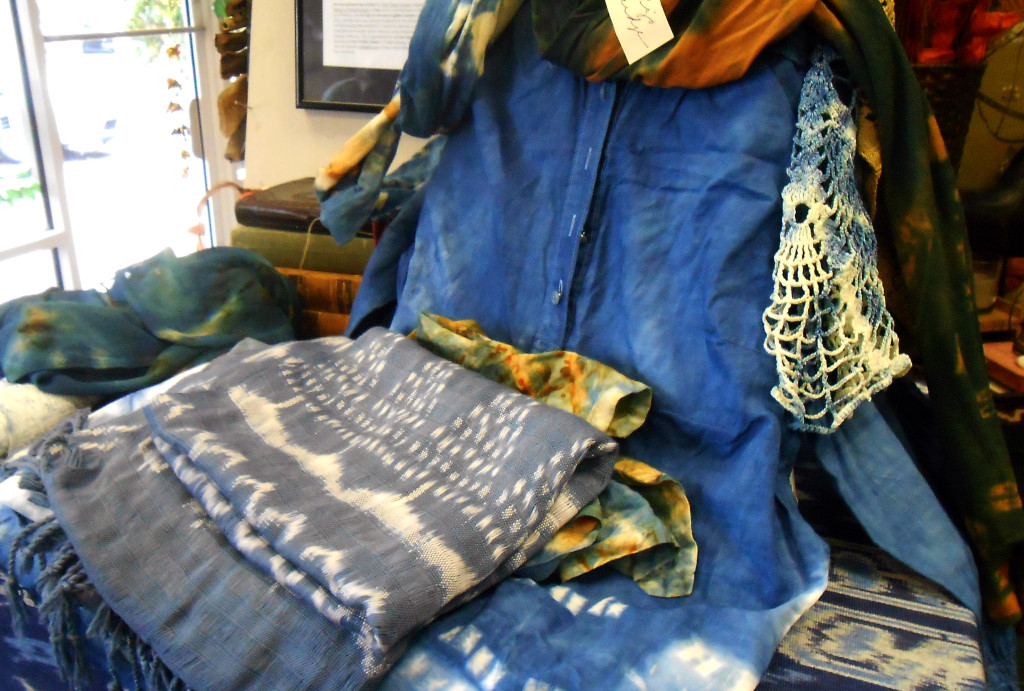
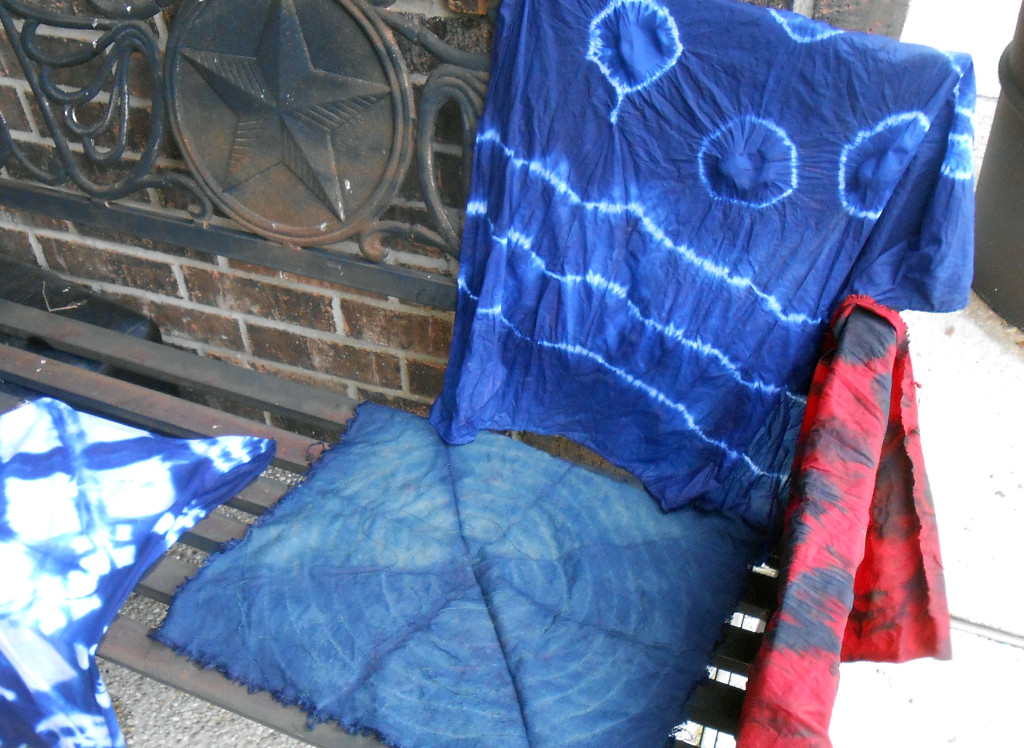
I’ve scheduled a few Wednesday afternoon workshops this spring at the Studio  and it’s working out well. Yesterday’s Indigo session was kind of a “test drive” of the three hour format – the second Indigo workshop is on Sunday, and there is another special request group on Monday, so the Studio will be blue for almost a week.

Wednesday’s participants had some excellent suggestions about how to keep the dyeing process flowing during the short three hours. It was a rainy day, so our drying was done inside or on the bench under the awning. Everything clicked, the indigo did its magic, and we had a fantastic time.

I’ll be wrapping up the indigo experiences next week and will give you some tips and resources on how you can do this at home or in your own studio. One of the most-repeated comments from yesterday’s students was , “This is sooooo much easier than I thought it would be!” And it is!

6 2 3 1


Rust dyeing – multiple pieces, multiple materials, magical results

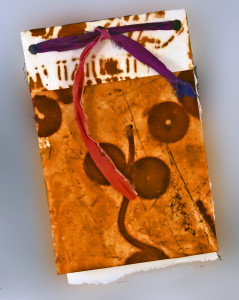
Book cover made with experimental rust-dyed paper - Lyn Belisle

Book cover made with experimental rust-dyed paper – Lyn Belisle

Ever since I learned that I’ll be teaching dyeing and surface design at Vivi Magoo art retreat, I’ve had little else on my mind. Did you see the newsletter about this event? If not, click here – it’s going to be SO much fun, and it’s coming up in just a month, November 3-5.

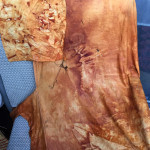
One of the techniques I’m teaching with Michelle Belto is dyeing with rust. I’ve done a bit of that, but wanted to tackle it on a Big Scale. And it worked! I dyed a yard of linen (thanks for that old white linen skirt, Gloria), some scrap cotton pieces, and two types of watercolor paper – a heavy 300# cold press and a lighter #140 hot press. I did it all at one time with the same process just to see how the different materials would take the rust. All were slightly different but all turned out beautifully.

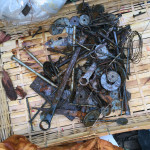
Here’s a short version of how I did it. I collected some rusty objects in a plastic bucket and poured a solution of bleach and vinegar over them to sit overnight. Do this outside! I got this recipe from the Internet (there are many rust-making solutions if you want to test other ones). There was about two inches of yucky rusty foamy gunk in the bottom of he bucket the next morning. Stinky yucky. But rusty.

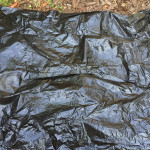
I spread a plastic drop-cloth in the yard (away from plants) and put a layer of fabric and watercolor paper on the plastic – some of it overlapped a bit, but I wasn’t concerned, I just wanted to see what happened on the different materials. The whole area was about three by four feet. I dumped the contents of the bucket over the whole thing and spread it out, wearing gloves. . .very very random. Then I covered it with black plastic and weighted it down with some old outdoor cushions and some flower pots to keep good contact – also to keep Dudley the Tortoise out of the pile of stuff.

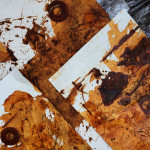
It sat covered in the sun for about six hours, then I took of the cushions and peeled back the black plastic – zowee! What great rust colors! It was exciting – take a look at the pictures below, and then I’ll tell you my observations. (If you can’t see the pictures, click this link)

Here are my observations and caveats – first, I haven’t washed the fabric thoroughly so I’m not sure how color fast the rust is, but since I won’t be wearing it, just using it for fiber art, that doesn’t concern me. You may want to try a small piece and see how it works for you if you’re going to make a garment.

Secondly, I wish I had dampened the 300# watercolor paper because it’s very thick and I think it would have taken the rust better if it had been wet. The thinner 140# watercolor paper was the most successful of the four materials. It had strong prints from the objects and lots of color variations.

After the process was done, it occurred to me that the formula that I got from the Internet included bleach, but that didn’t seem to affect the fabric – it still dyed a rich rust. Next time I’ll try it with salt and vinegar just to see. But whatever method you use, research it and try it on a small sample first. That’s what I did before I mixed up this huge batch. Work outside, wear gloves, keep your tortoises away from it!

In the Viva Magoo all-day class, we will be doing a version of this that uses lighter fabrics and papers and we’ll include some over-dyeing using the Shibori method (yep, you can do Shibori on paper as well as fabric) – I hope you’ll consider signing up for one of the workshops. If it’s half as interesting as this rusty experiment was today, it’ll be worth the price of admission!

Discharge fabric design – a cheap flashy bleach job

Shirtsm

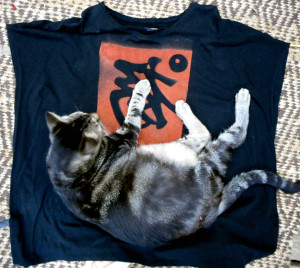
Mike went to a garage sale on Saturday and found some brass Asian calligraphy characters that were used as wall decorations. The more I looked at them, the more I knew I didn’t want them on the wall.

But the designs were cool. So I took an old black shirt and used some diluted bleach to create a reverse stencil design in what’s called Discharge Dyeing. Discharging is the process of removing dye (by destroying or altering the dye “chromophores”) with various chemicals or bleach, often in pleasing patterns or designs through Shibori or Tie Dye methods, or by stamping, stenciling or block printing (definition from Dharma Trading Company).
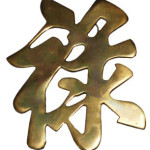
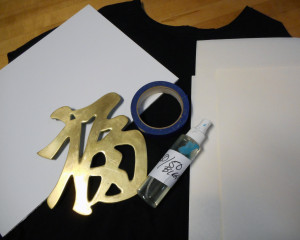
brass copy Here’s what you needa black shirt (cotton, already washed), some chlorine bleach (Clorox), diluted 50/50 with water and put in a small spray bottle (label it!! Work outside!!), a non porous board like foam core to put between the front and back of the shirt to keep the bleach from bleeding through, scrap paper to mask off your bleaching area, masking tape to stick the paper to the shirt, and some INTERESTING OBJECTS to use as reverse stencils. I used the brass calligraphy symbols, but you could use anything – doilies, leaves stick-on letters, shells, twine and sticks – be creative.

Step One: Assemble your stuff on your work surface. Make sure that any stray bleach mist won’t damage the surface.
7


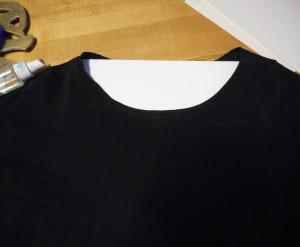
Step Two: Put your non-porous board between the layers of the shirt and smooth out the fabric This protects the back of the shirt and also makes the process easier by giving the surface some support.
8


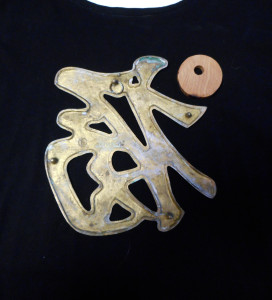
Step Three: Lay out your objects in a pleasing pattern – center them if you like. You can use anything – stencils, lace, metal washers – and you can test your designs by trying them on black construction paper first – it “discharges” like black fabric.
9


Step four: Mask off everything except the area you’re going to mist with the bleach solution. Here, you can see I’m taping scrap paper around the edges of the area using blue painter’s tape.
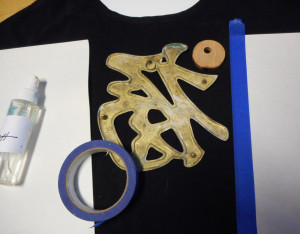
10


Step Five: Once the masking is complete, you’re ready to spraybe careful of the fumes. Even diluted, bleach can be strong, but you are using just a small amount and working quickly. I used a little spritzer bottle and mixed about half a cup of the 50.50 water-bleach solution.
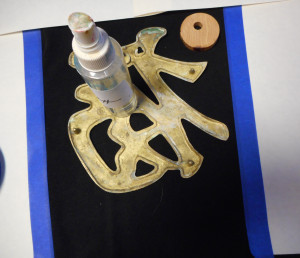
12


Step Six: Spritz the bleach solution over the exposed area of the shirt. working quickly and just misting the surface. There’s no need to soak the fabric. Pay special attention to edges of the shapes.
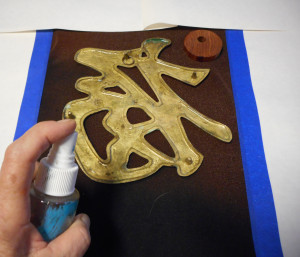
13


Step Seven: Watch in amazement as the color changes in seconds. Every black fabric has a distinct undercolor, some greenish, some rust. This shirt turns almost orange in the areas that are discharged with bleach.
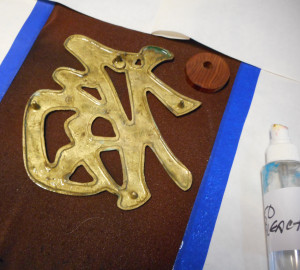
14


Step 8 – Remove the objects(s) to test the progress. Looking good! This was a small wooden disk with a hole drilled in it – not sure where it came from, but I like the pattern it left.
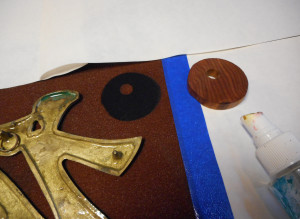
16


Step Nine: Remove all of the objects carefully – no drips unless you want that effect – and make sure you like the resulting color, which usually takes less than a minute to develop), The bleach action stops automatically since you just misted the surface.
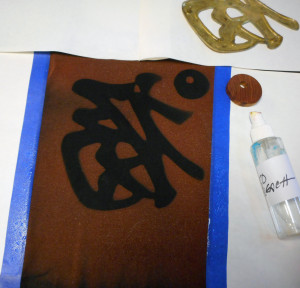
17


Step Ten blot-dry the front of the shirt with a paper towel – otherwise, you will get damp bleach on other parts of the shirt when you move it. You can use a hair dryer after you blot it, or you can just let it dry in place.
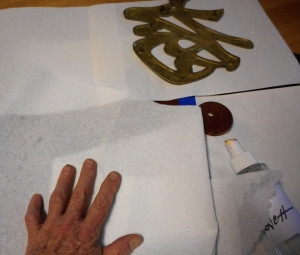
18


Step Eleven: Voila! Step back and congratulate yourself on your arty shirt – you should wash it before you wear it. This particular shirt is an “easy tee” by JJill that is much enhanced by its new design!
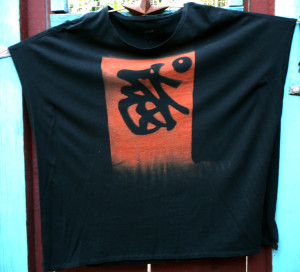
19


Step Twelve: Hire a cat to arrange itself artfully on your new garment – if you spread the shirt out after it comes out of the dryer, the cat may arrange itself for free whether you want it to or not.
20


There are tons of ways to do discharge dyeing on black fabric, but a diluted bleach mist will give you fine lines around a stencil. Be careful, though, don’t get bleach solution on unwanted surfaces! Or cats.
Shards and Strands

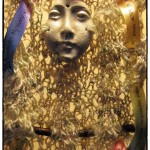
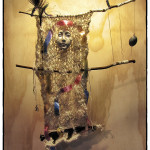
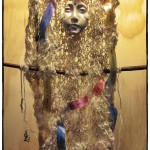
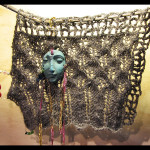
Last night I got an email from artist Dawn Zichko, whose blog, Mental Mohair is full of inspiring ideas for thought and new work. Dawn had ordered some Shard Faces from my Etsy shop in early February. I always ask buyers if they’ll send me pictures of how they use the little faces, but these fiber hangings that she and her daughter did just blew me away. Look at this amazing combination of strands of knitted yarn, ribbon, twigs – beautiful work. There’s another photo here. Thanks for letting me share these, Dawn. I love your work and your blog.