“Earthshards,” my Etsy shop for small earthenware faces, reached a milestone in 2018.
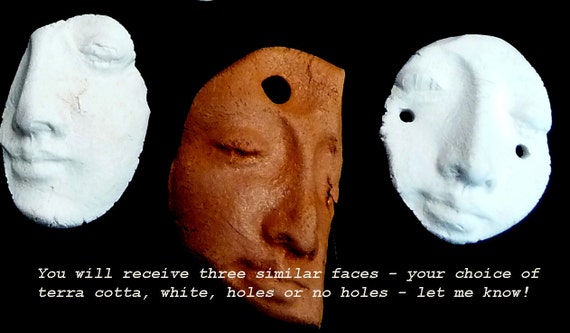
I opened the shop in February of 2012 and made my first sale at 08:52 p.m. on Saturday, March 31st, 2012 to Andrea Veldhoff in Newark, Ohio – thanks, Andrea! (This is what she ordered – they are definitely “shards,” not complete faces.)
By December of 2012, I had sold 83 orders and earned $1500. That was so exciting!
Six years later, there’s even more exciting news – for the first time, in 2018, my annual Etsy revenue exceeded $10,000. Woohoo! Honestly, I didn’t set out with that goal in mind, but it’s a proud moment.
Last year I sold 466 orders to people all over the world and earned $10,239.74! That’s not exactly a living wage, but it’s a lot of little faces – and I am grateful to every buyer for finding me. I’m also grateful to Etsy for keeping all the stats on every order. They really make it easy and fun to track sales.
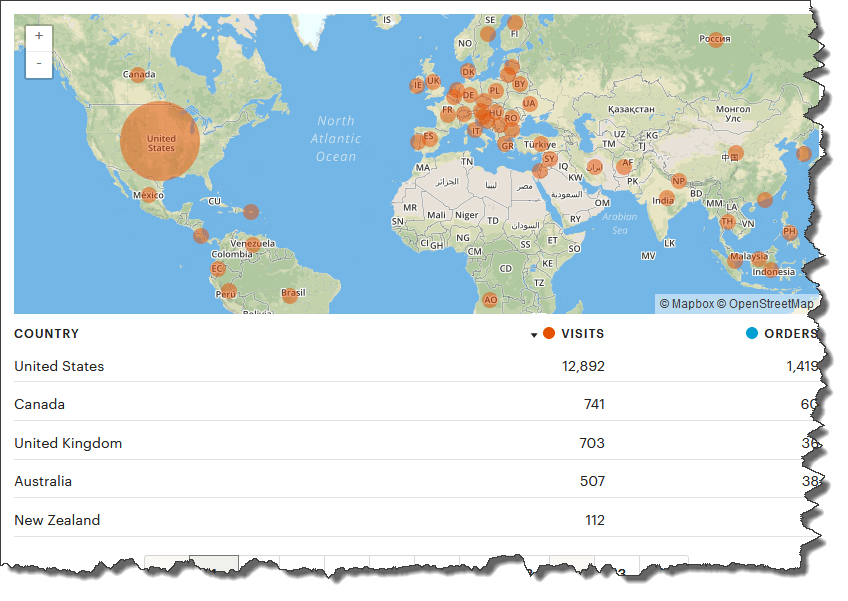
For example, here’s where some of those faces went:
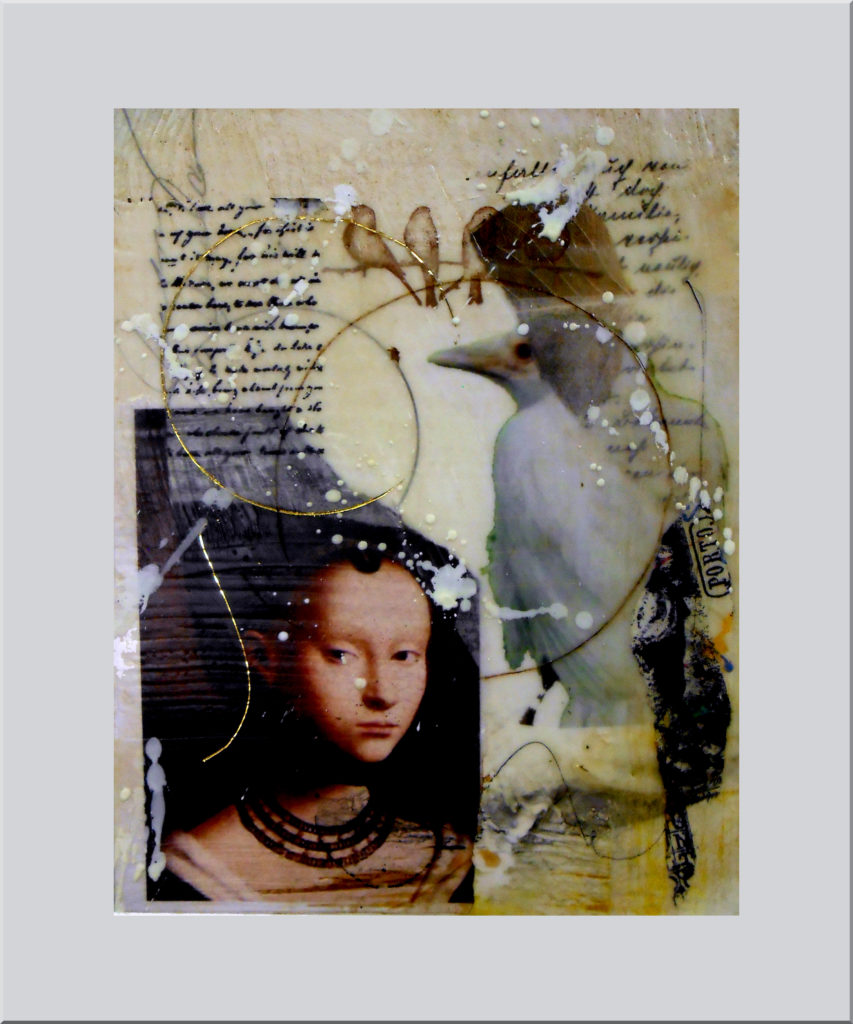
Plus, I get fantastic pictures from buyers showing me how they use the faces – they inspire me!
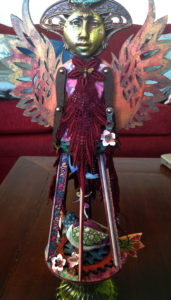
Spirit doll photo from a creative buyer
Reaching this milestone just kind of crept up on me. Filling Etsy orders has become such a part of my routine that I don’t think about it much. I spend one or two days a month making a hundred or so faces and firing them, and then I custom-finish them as the orders come in.
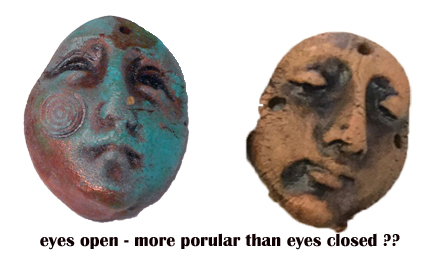
I’ve learned what buyers like (full faces, open eyes, holes at the top) and I’ve learned to wrap the orders attractively and stamp the mailers with my logo. While I don’t really advertise, word of mouth and persistence has paid off.
So what?? This isn’t just patting myself on the back – it’s mostly to say that if your New Year’s Resolutions include getting your art out there in the new year, opening an Etsy shop is one way to do that.
Some tips:
Find a niche that relates to your own art style.
I was lucky. There were no other sellers making the small clay faces which I was also using in my own work. Now there are lots of small faces, but most of the sellers are using polymer or air dry clay and commercial molds.
Show how the buyer might use the artwork.
I was able to post photos of the faces being used in my Spirit Doll workshops so buyers could see how the faces might work for them. I also showed them as pendants and talismans.
Think about how you will ship your work
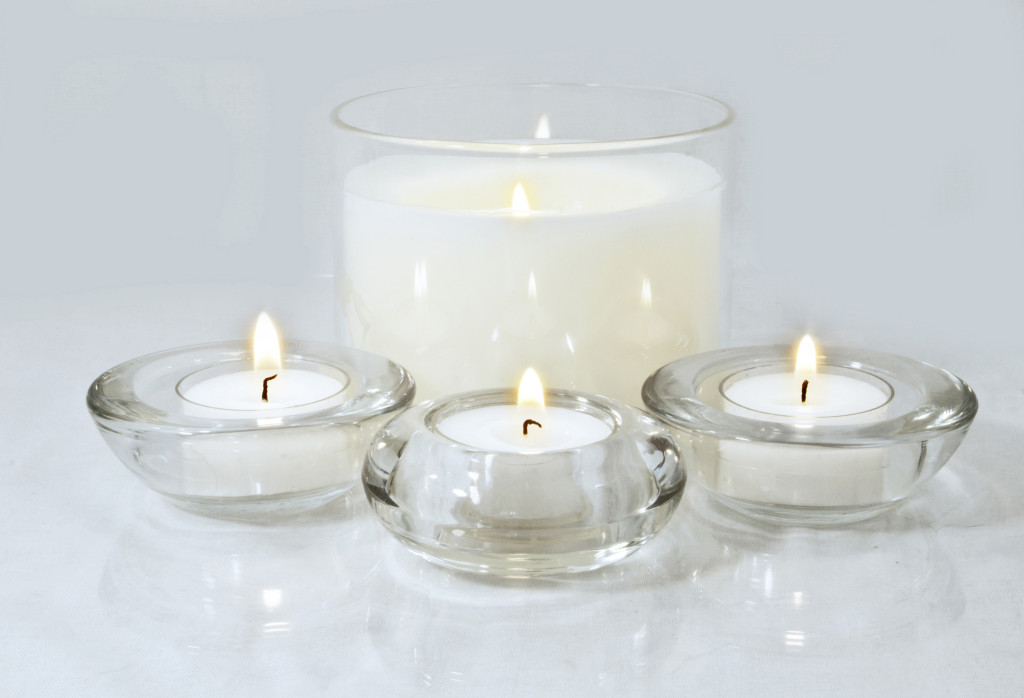
If you can come up with artworks that are variations of pieces that are all about the same size and weight, it’s a lot easier than trying to figure out how to wrap and ship a bunch of different sized pieces. For example, if you are making Day of the Dead milagro-embedded candles, keep them all the same size, but use different scents and colors. (Etsy creates downloadable shipping labels for you, so that part is easy).
Make sure you like doing it!
If you can’t stand scented oils that go into candles, don’t make those Day of the Dead candles even if you’re selling like crazy. You’ll start to hate it.
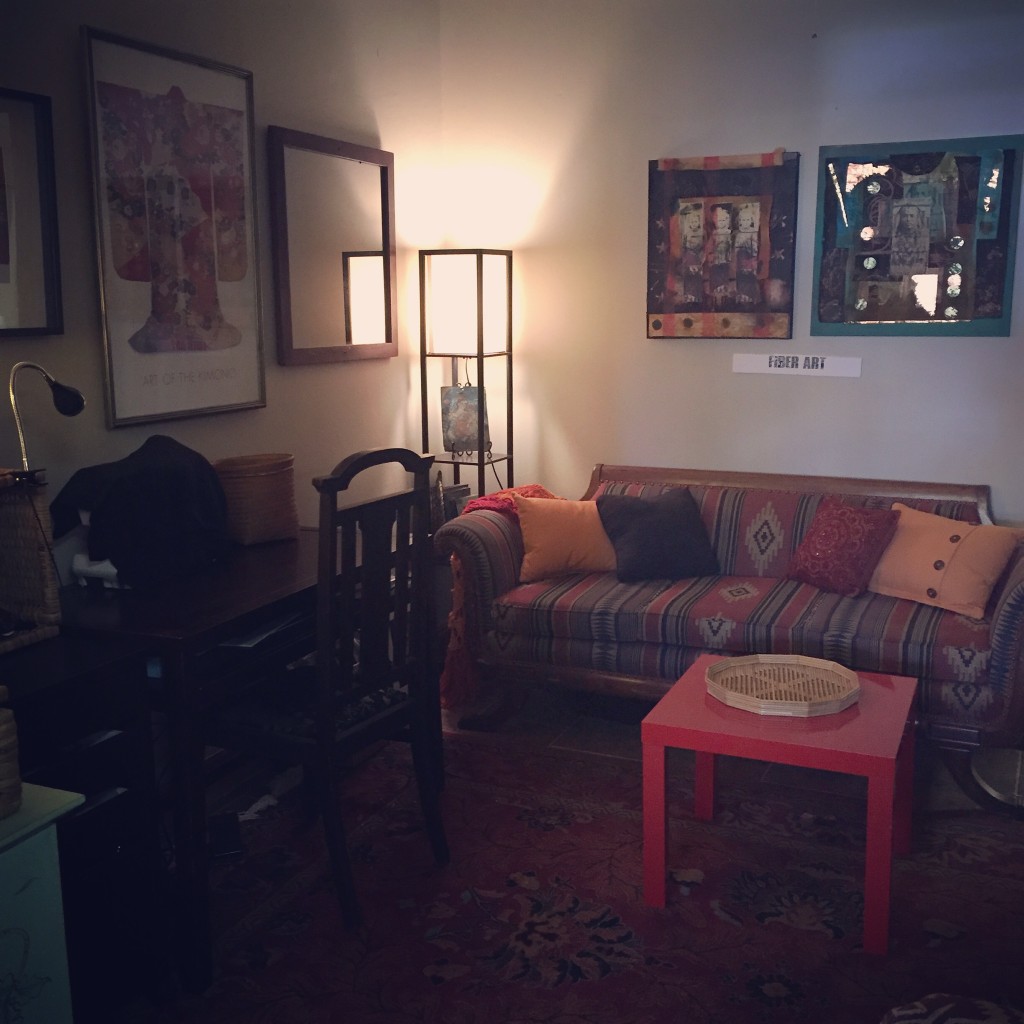
Be specific/original in your approach
Let’s say you’re a fiber artist who does needle felting – don’t open a needle-felted whatever shop. Narrow it down to small needle-felted pouches for your grandkids’ baby teeth. Well, maybe not THAT specific, but you get the idea.
Here are some good articles if you’re interested in thinking more about this . . .
The Most Successful Art-Related Etsy Shops – with advice
Tips from Three Successful Artists about Selling on Etsy
And finally, the Etsy site has great guides to opening your own shop!
Thanks for reading SHARDS, and Happy (and prosperous) New Year!!


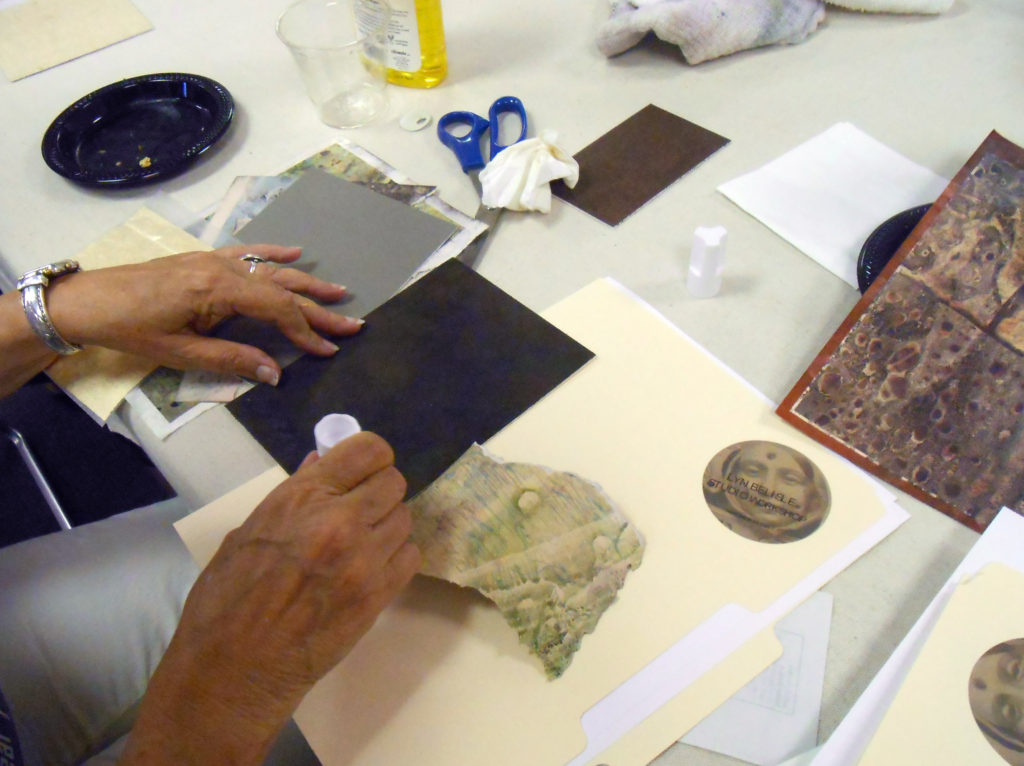
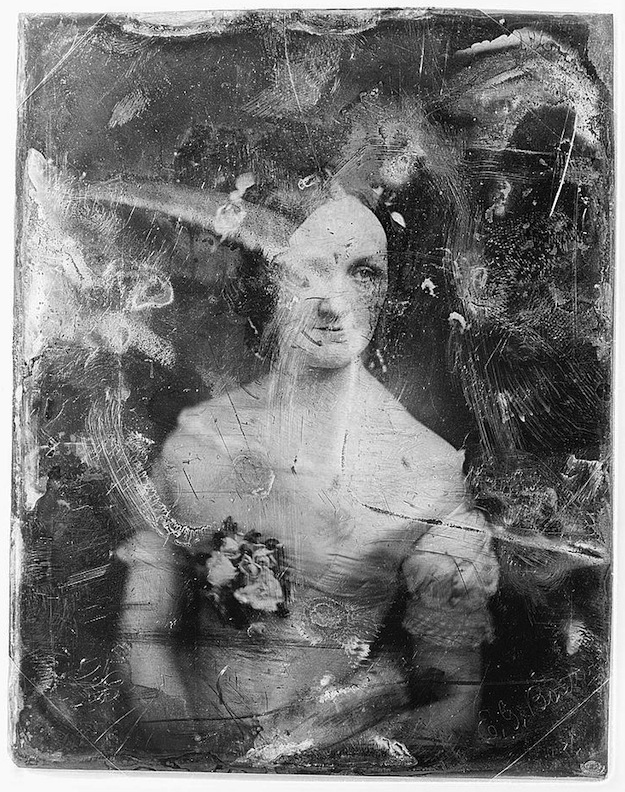
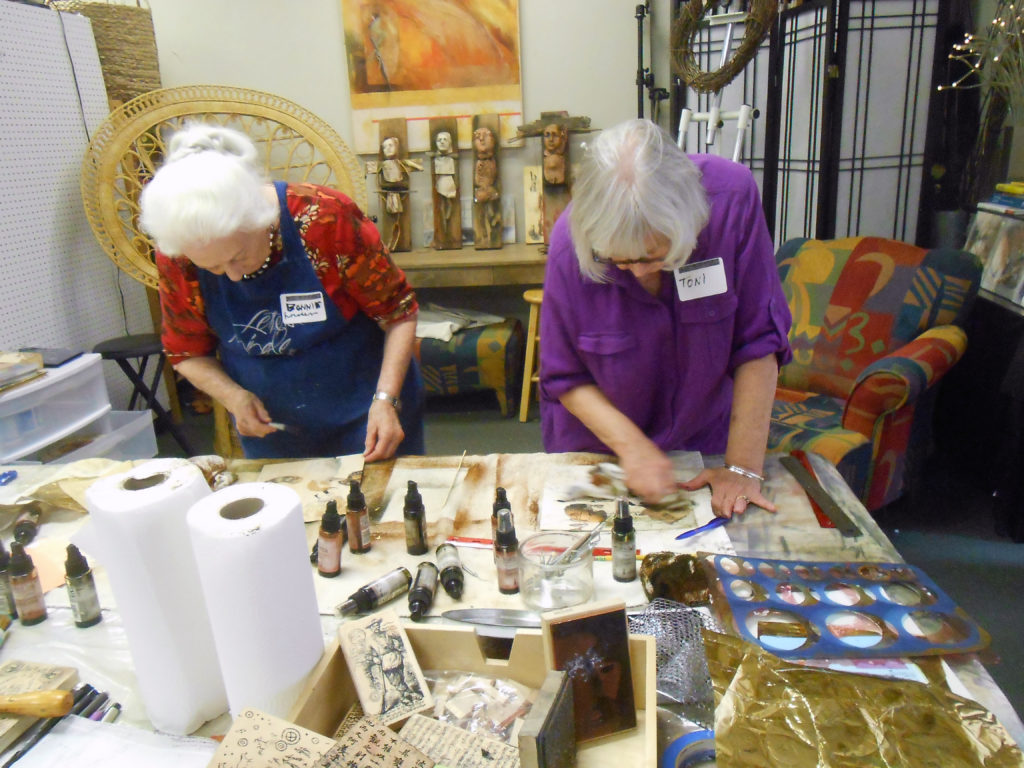 We had a full house for yesterday’s Wax and Tissue workshop. Everyone was particularly interested in how to print images on delicate tissue paper. If you do an Internet search, you’ll find all kinds of methods to do this.