Most of us ask ourselves this at one time or another if our intent (or part of it) is to create work that other people want to buy.
Of course, the art market has been affected drastically by the COVID-19 virus, and those artists who depend on gallery sales are hurting, as are their galleries. We hope for better times very soon.
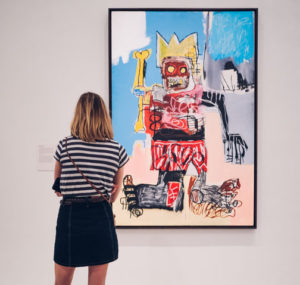
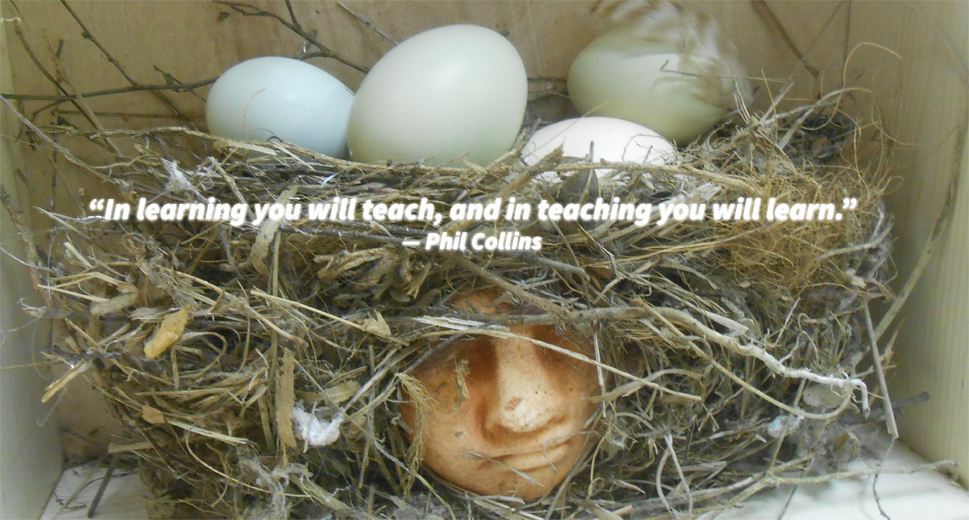
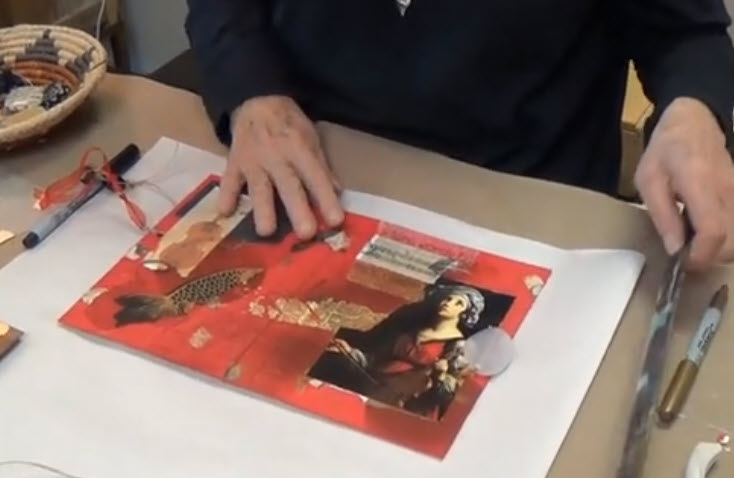
photo by anggun tan
But selling art is always an interesting topic, and these days we have some extra time to speculate about why people buy art, what sells, and how we feel about it. (I’m not talking about the international art auctions where work goes for millions to collectors, just local and regional artists and their art practice).
Let me turn the question around and ask, “Why do YOU buy art?” Here are some possible reasons:
- A friend painted it and I want to support her/him.
- It matched the décor in my guest bathroom
- It was cheap
- When my friends see it, they will be envious
- It reminds me of my own work
- I bought it so I could figure out how the artist did it
- Looking at it makes me happy
- It’s a “conversation piece” that will intrigue guests
- If I didn’t buy it, I’d always regret it
- It is incredibly detailed must have taken hours and hours to complete
When you buy art, where do you usually buy it?
- Gallery openings
- Walk-in visits to galleries
- Craft fairs
- Online
Do you tend to buy on impulse, or do you spend several days or weeks thinking about the purchase?
Here’s another question. If someone gave you $10,000 and you had to spend it on art, which one of these (below) would you buy? Each cost $10,000, and you have to choose one of them:
- A small signed and numbered etching done by a famous artist whose paintings have sold for several million dollars, as an investment?
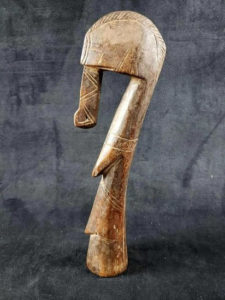
- A museum-quality 15” tall sculptural figurative artifact from Africa that is purported to be 4000 years old that is being offered by a collector’s estate?
- A large abstract painting that you really like by a relatively unknown regional artist whose work seems to have great promise?
- A series of ten small still life oil paintings that are startlingly photorealistic in their depiction of fruit and cost $1000 apiece.
- A self-portrait of your favorite celebrity
Remember, you have to choose one – and justify why you chose it 🙂
Most people have limited budget and limited space. Have you ever made a list of why someone should buy YOUR art for their personal space over someone else’s? It’s an interesting exercise. I can come up with a few reasons why people should buy MY art, but most of them are not that different from anyone’s reasons – “it’s original, it has a story . . .”
What are your thoughts on selling your art? I’ll write a follow-up to this next week.
Take good care, and go make some art – Lyn