How (not to) fire a kiln

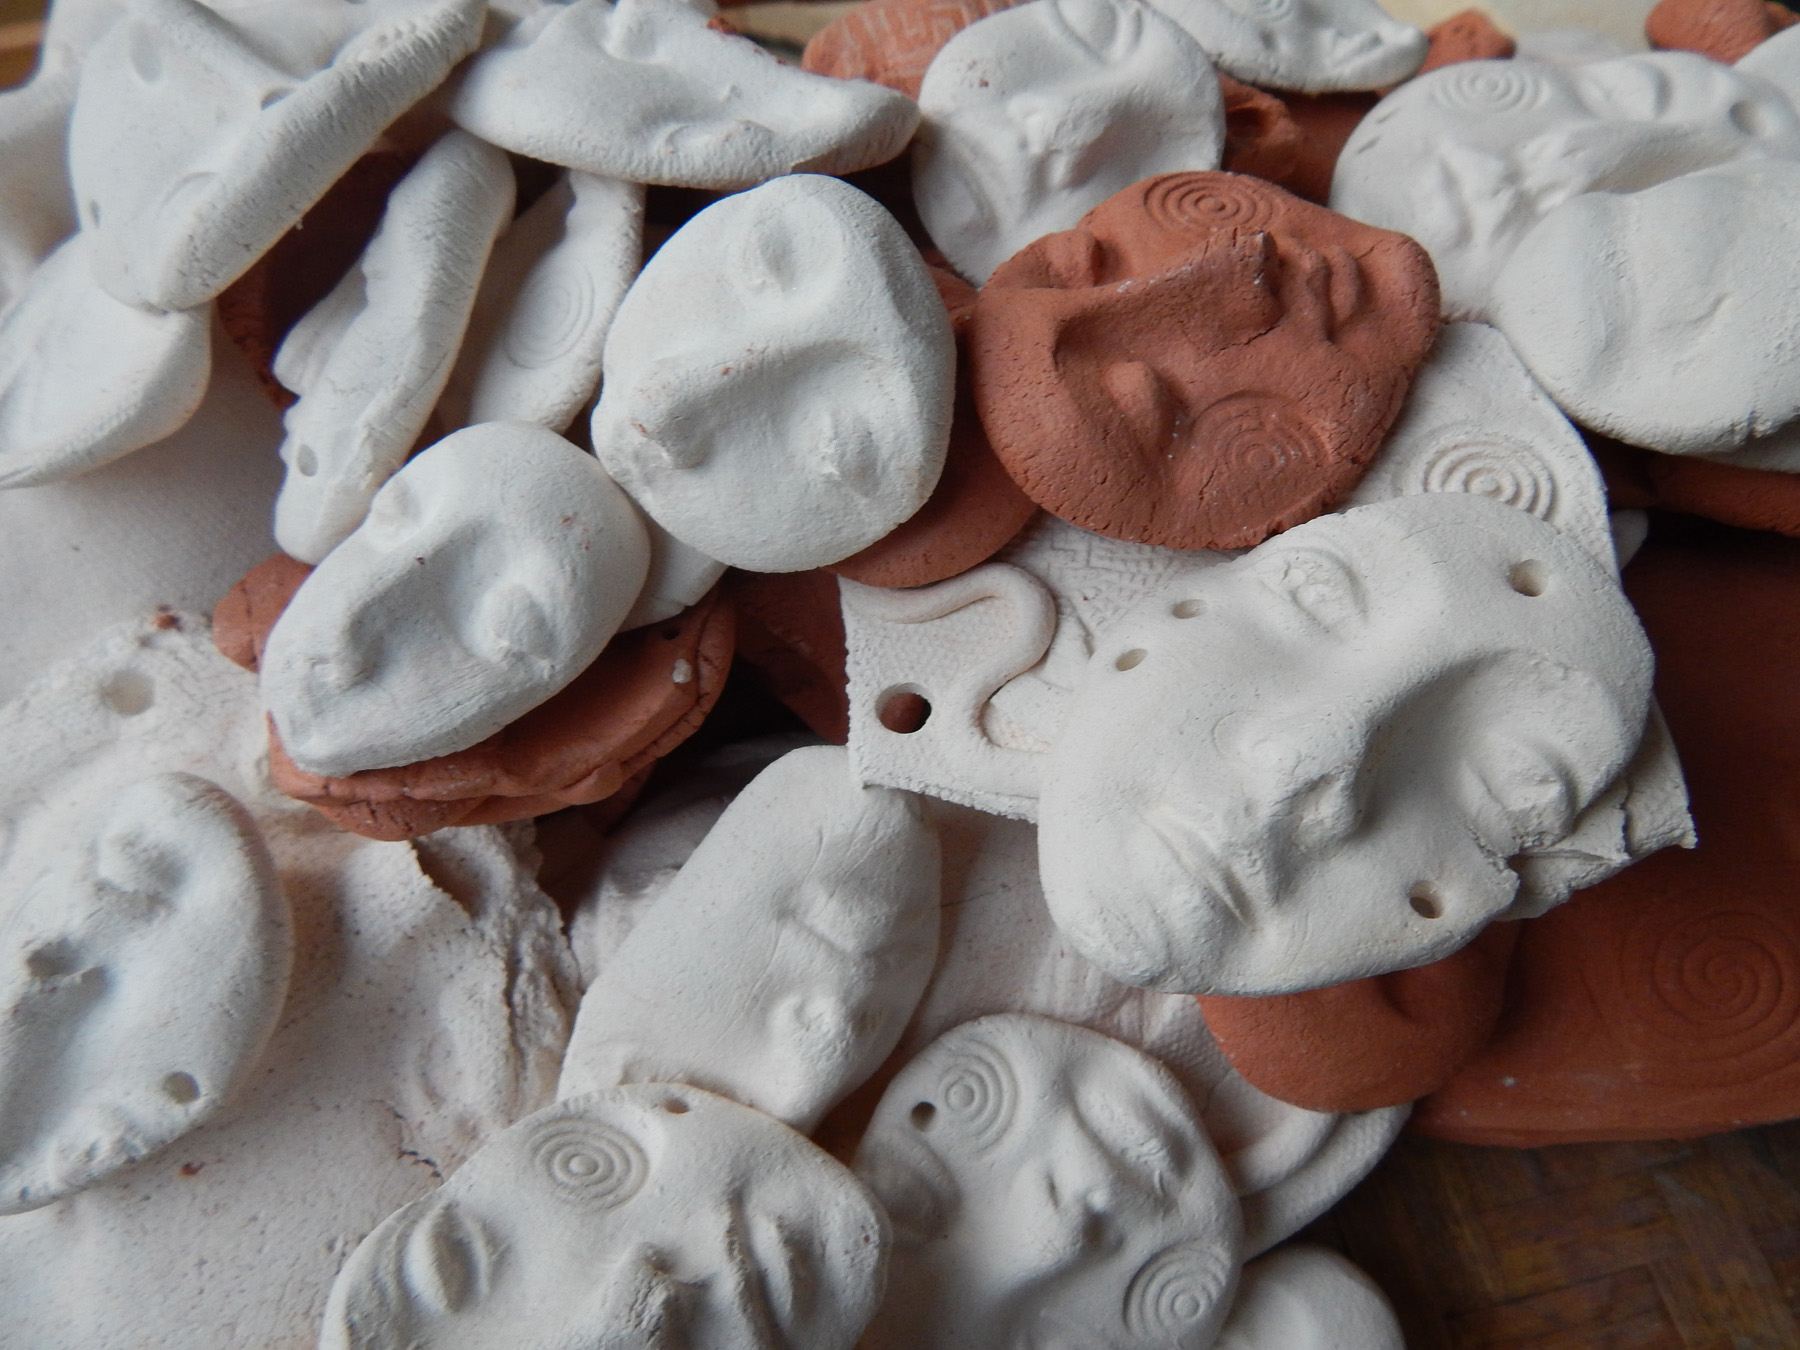
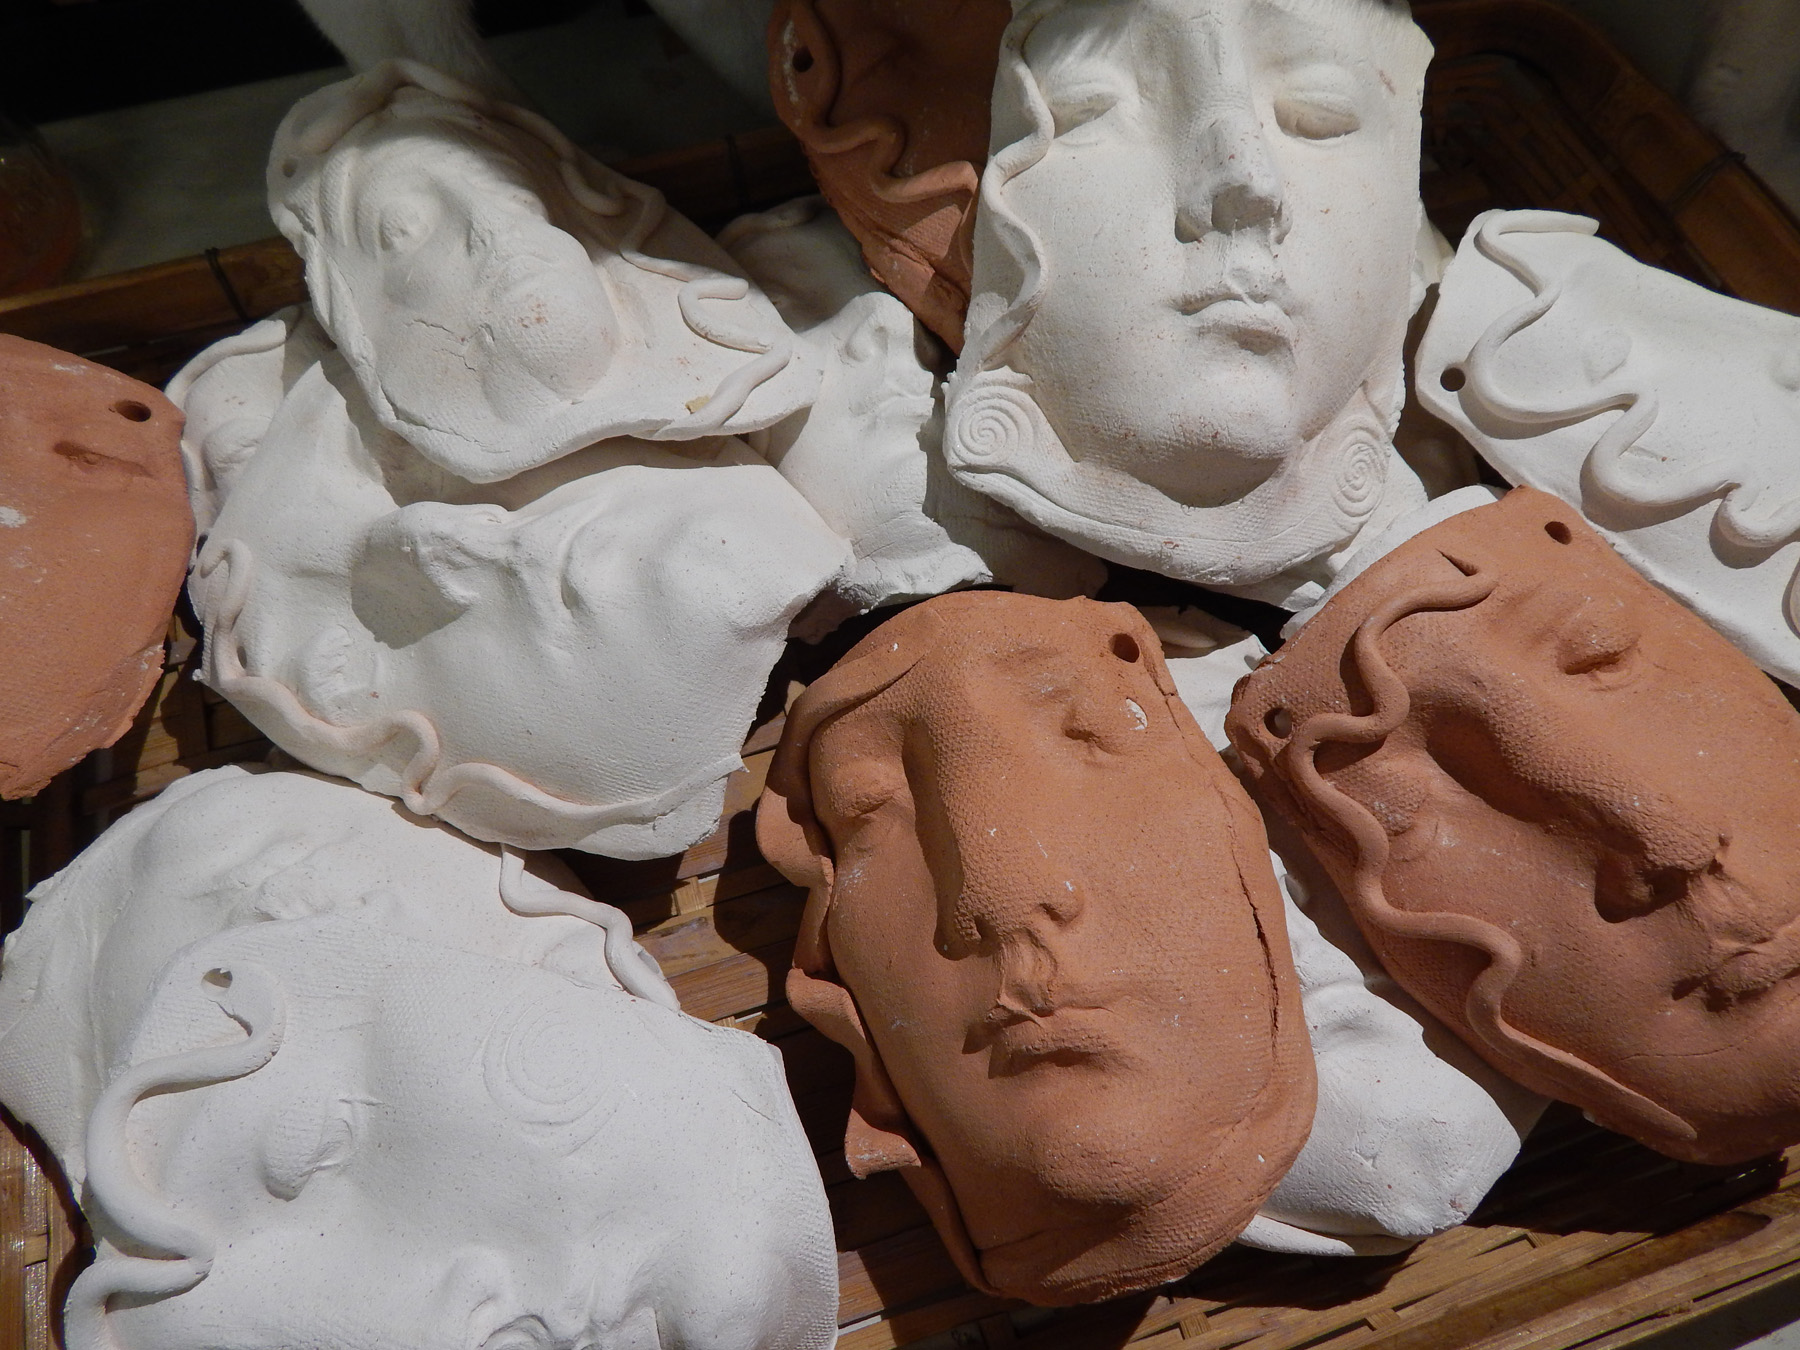
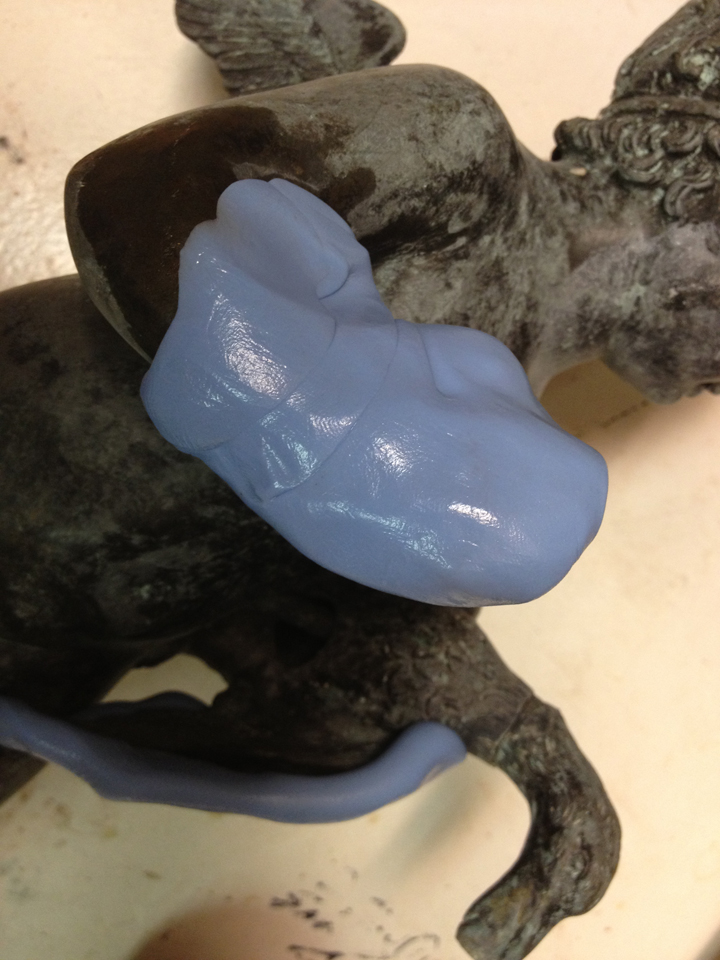
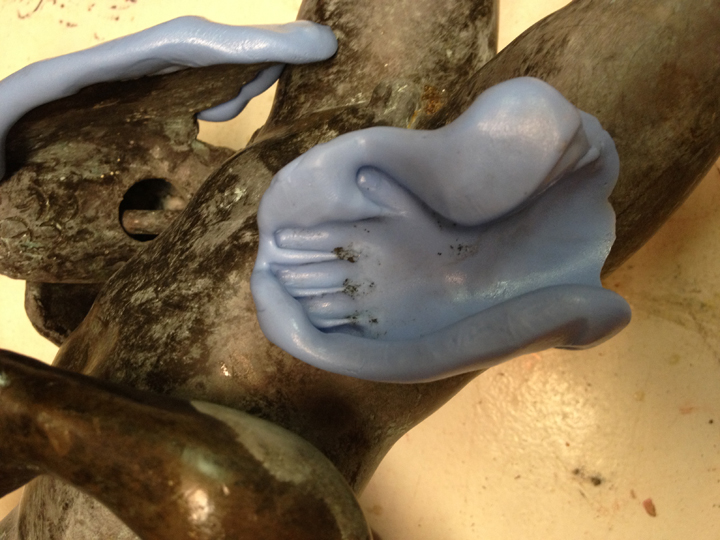
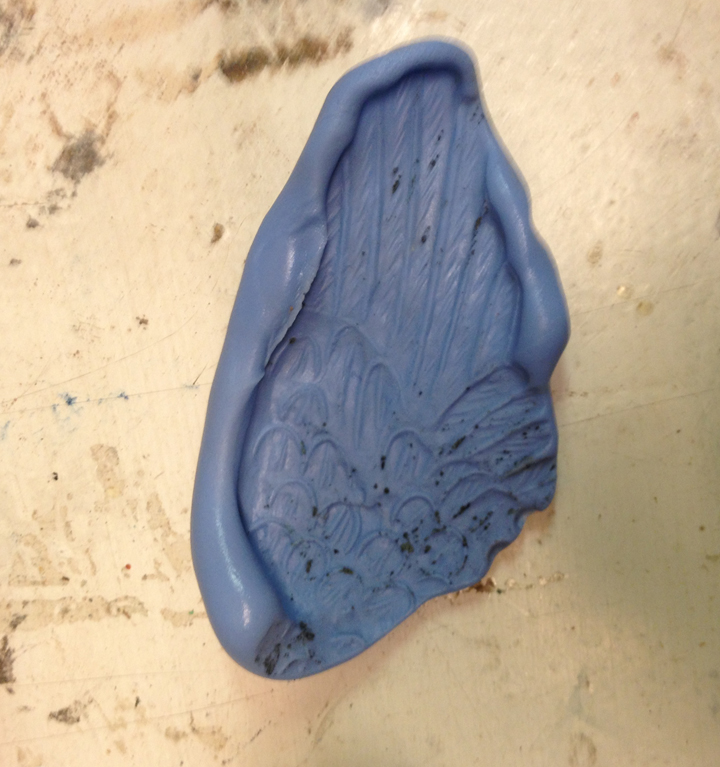
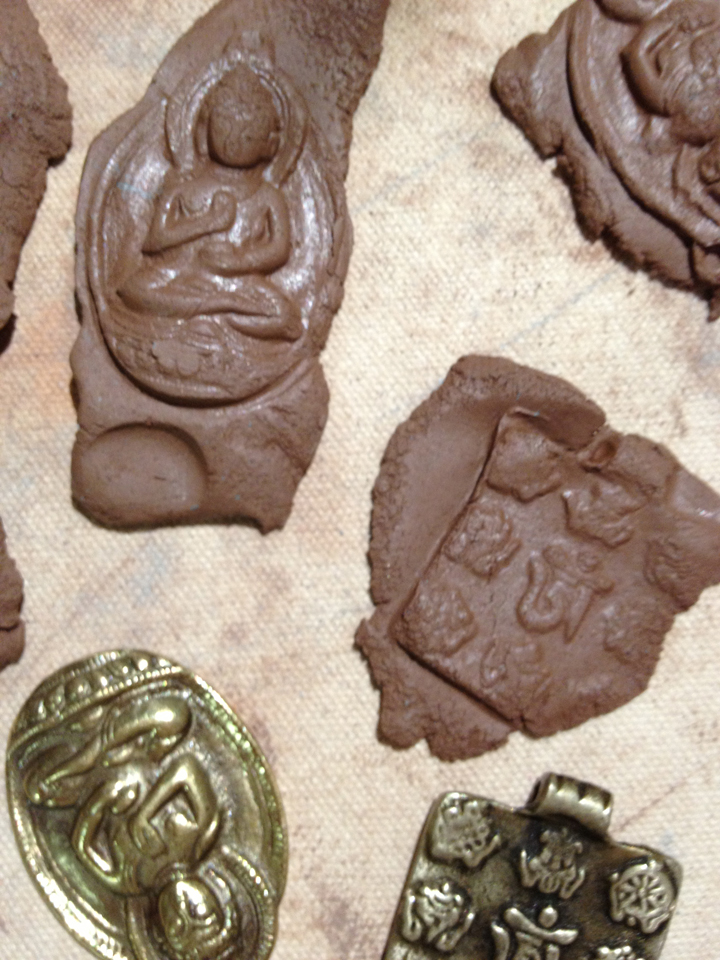
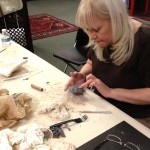
Being away from the Studio for two weeks meant playing catch-up when I got back. There were a lot of things I could do art-wise while I was gone, but creating earthenware and firing it was not one of them. Sunday was Clay Day – I made about 60 small and large face shards and small sculpture pieces such as pendants. Monday was hurry-up-and-dry-so-I-can-fire-the-kiln day. I loaded the kiln Monday afternoon even though some larger pieces were still damp (gulp). This is a huge NO-NO. I don’t want to see you guys trying this.

Do you see the little face on top of the big face? It’s completely dry – you can tell because it’s white, but the big piece underneath is gray. It’s damp, and anyone with any sense wouldn’t fire it at this point, but I propped the kiln lid open, let it stay on Low for a few hours, and crossed my fingers that it would dry out and not shatter in the firing.kiln1

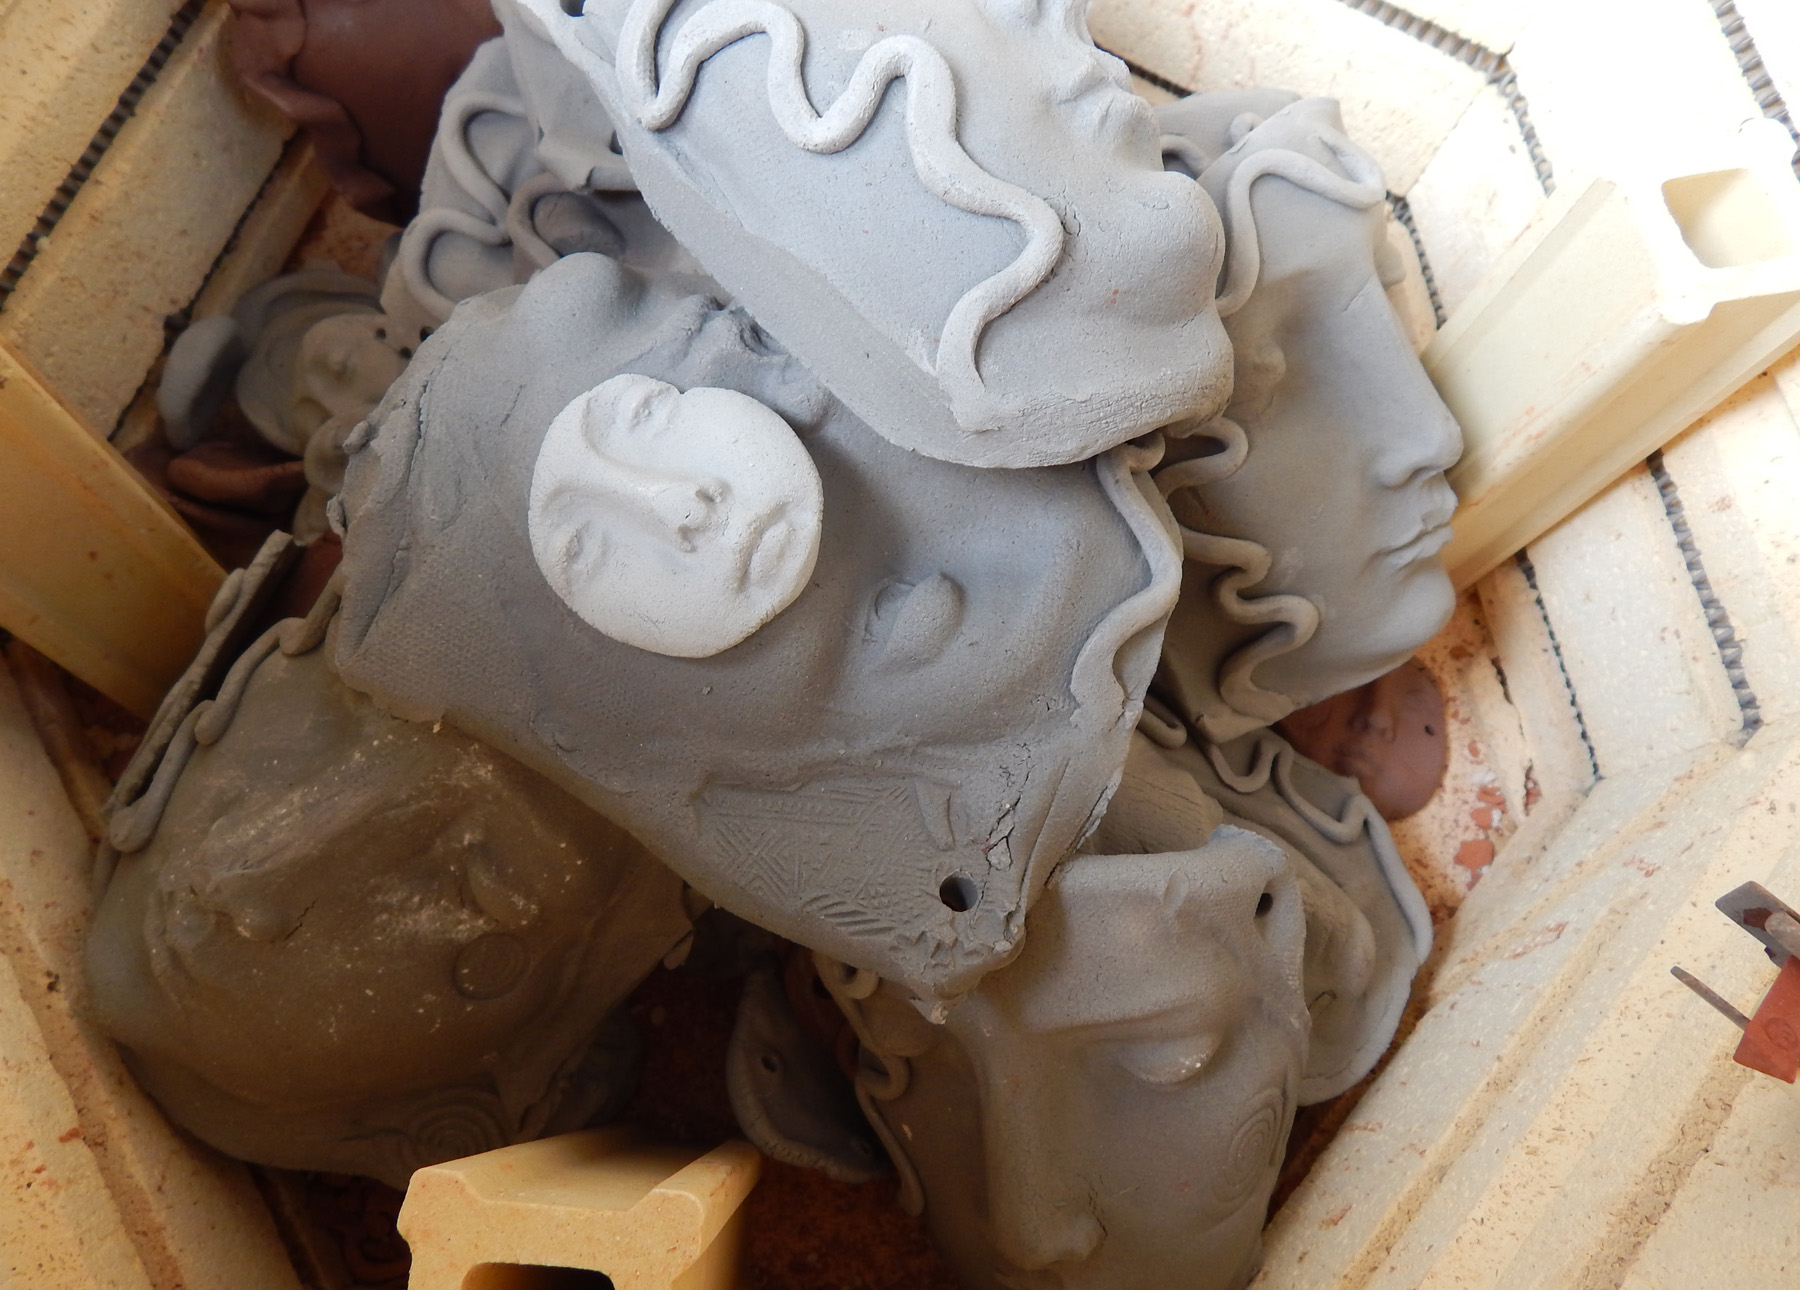
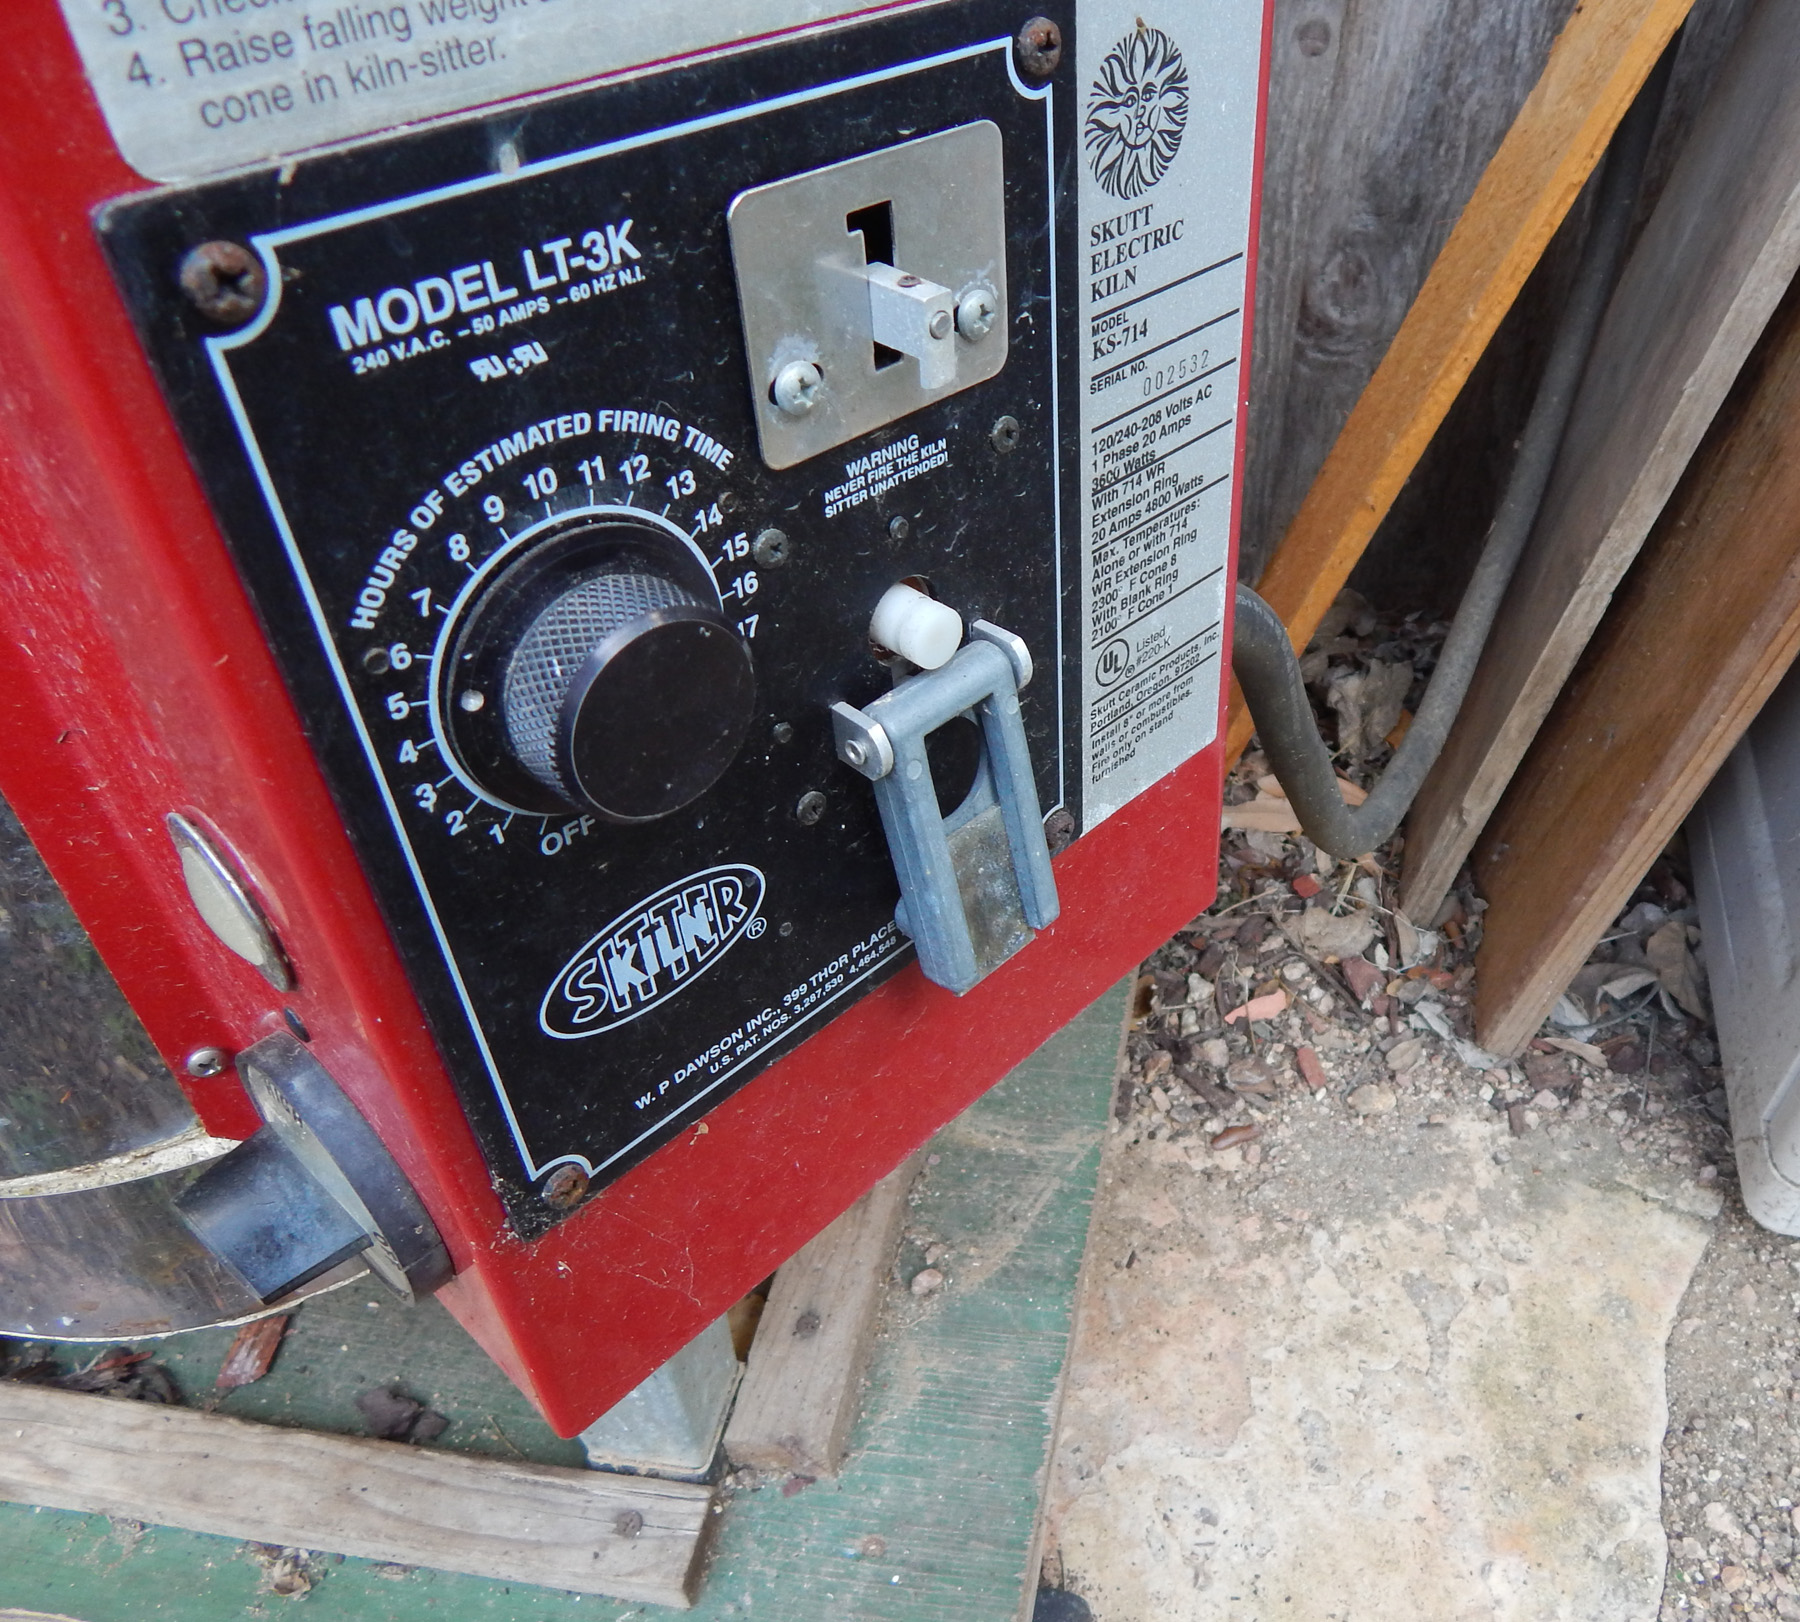
There’s really nothing mysterious about loading and firing a kiln. Most electric kilns like my Skutt have a kiln-sitter that uses a pyrometric cone made of clay. The cone is designed to melt at a specific temperature (in this case, about 1800F). When it melts, a three-prong device trips and turns the kiln off. That metal rectangular thingy has dropped down, indicating that the #05 cone on the inside has melted.

kiln2

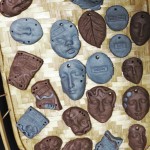
The Kiln Gods were kind – nothing broke, amazingly enough. Here’s the first tray just out of the kiln, still very warm.

kiln3

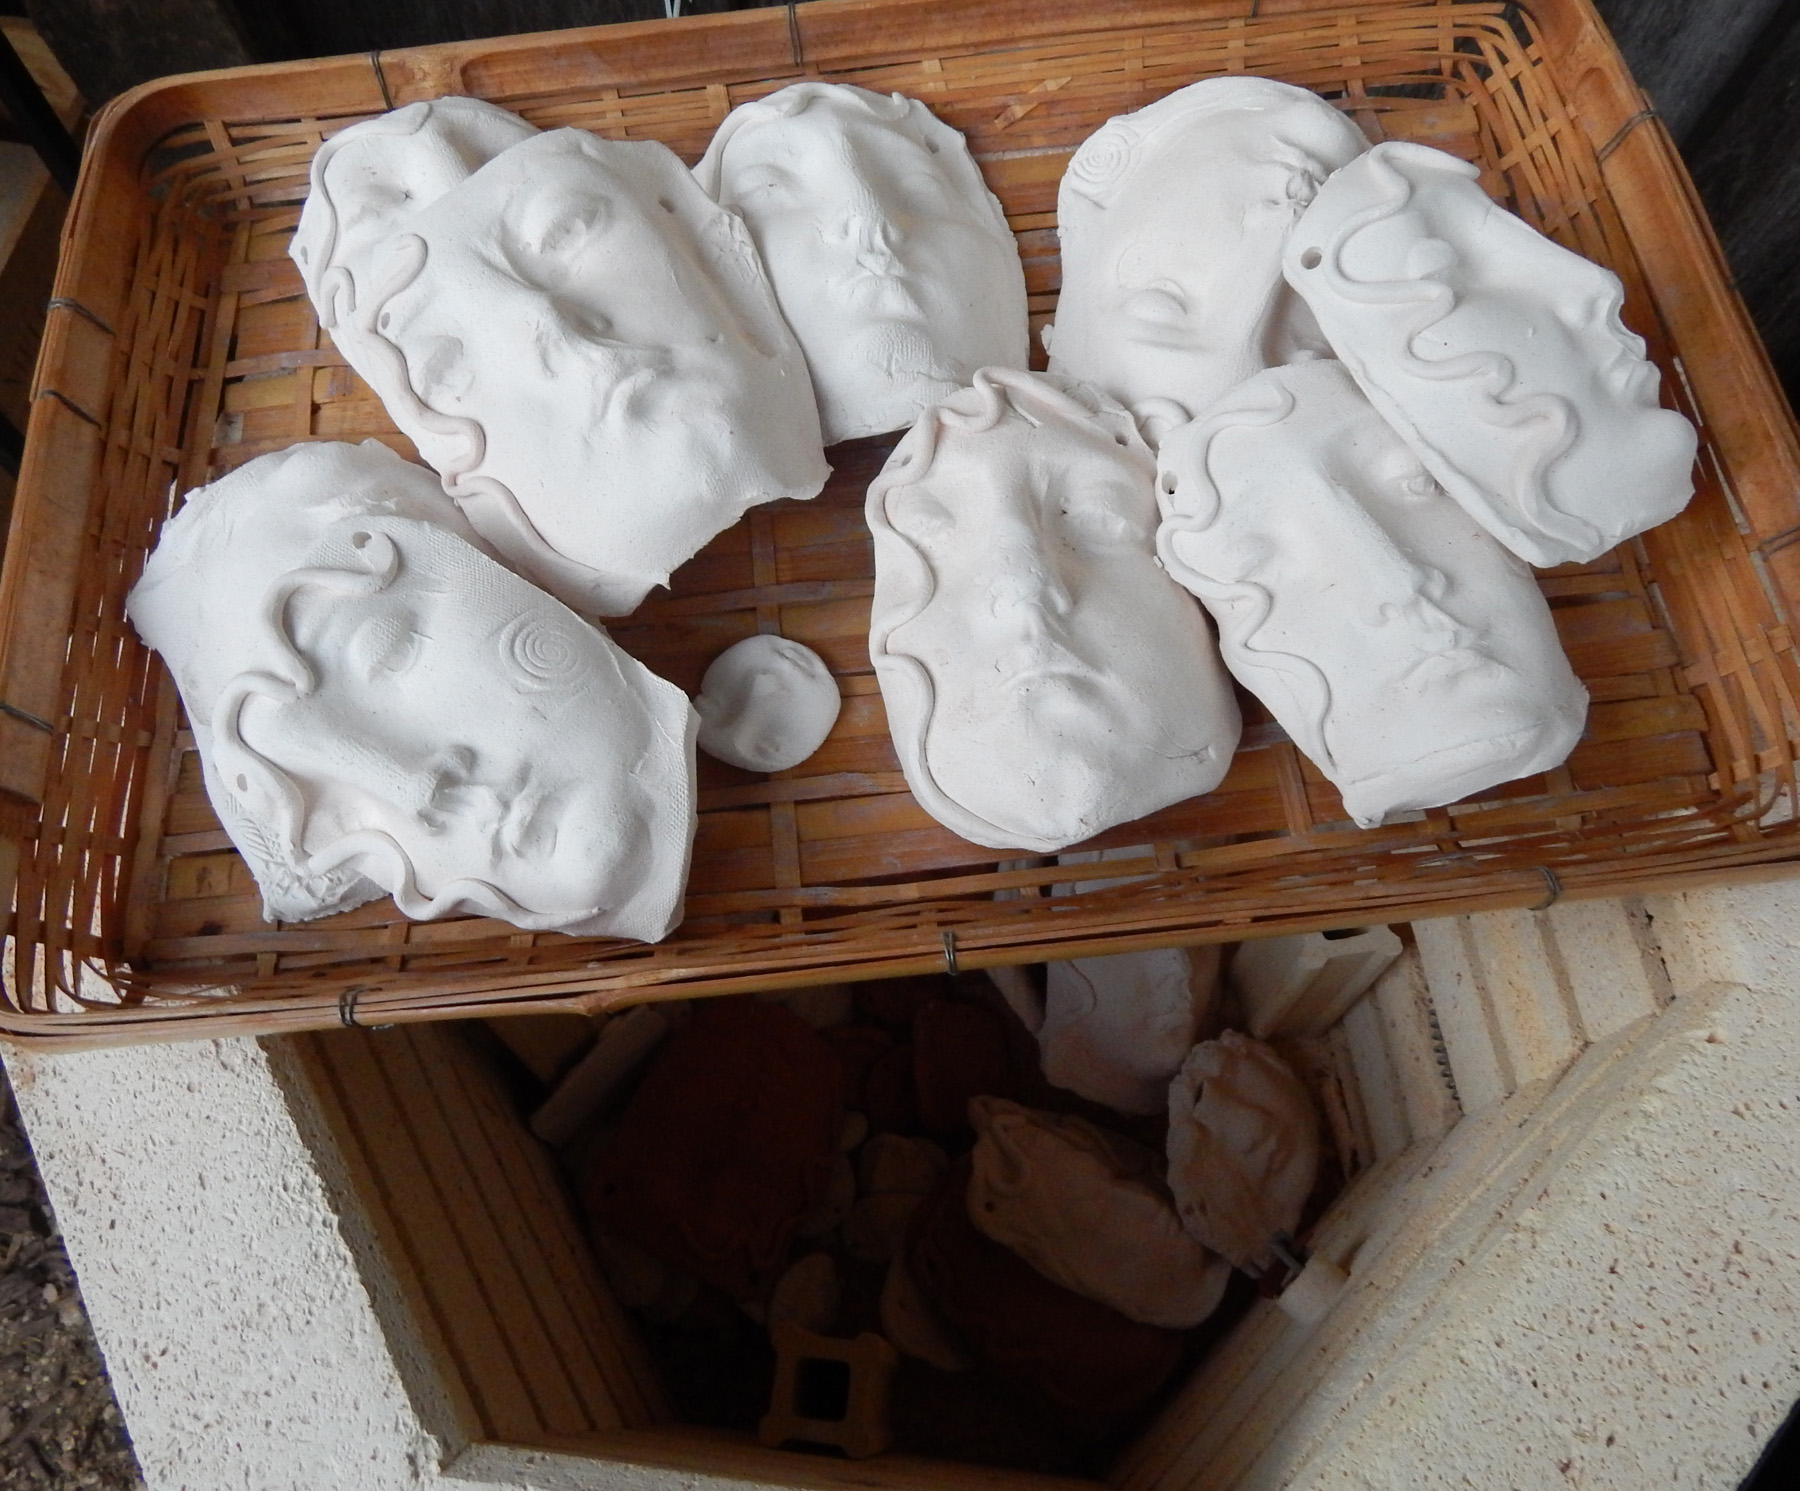
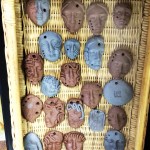
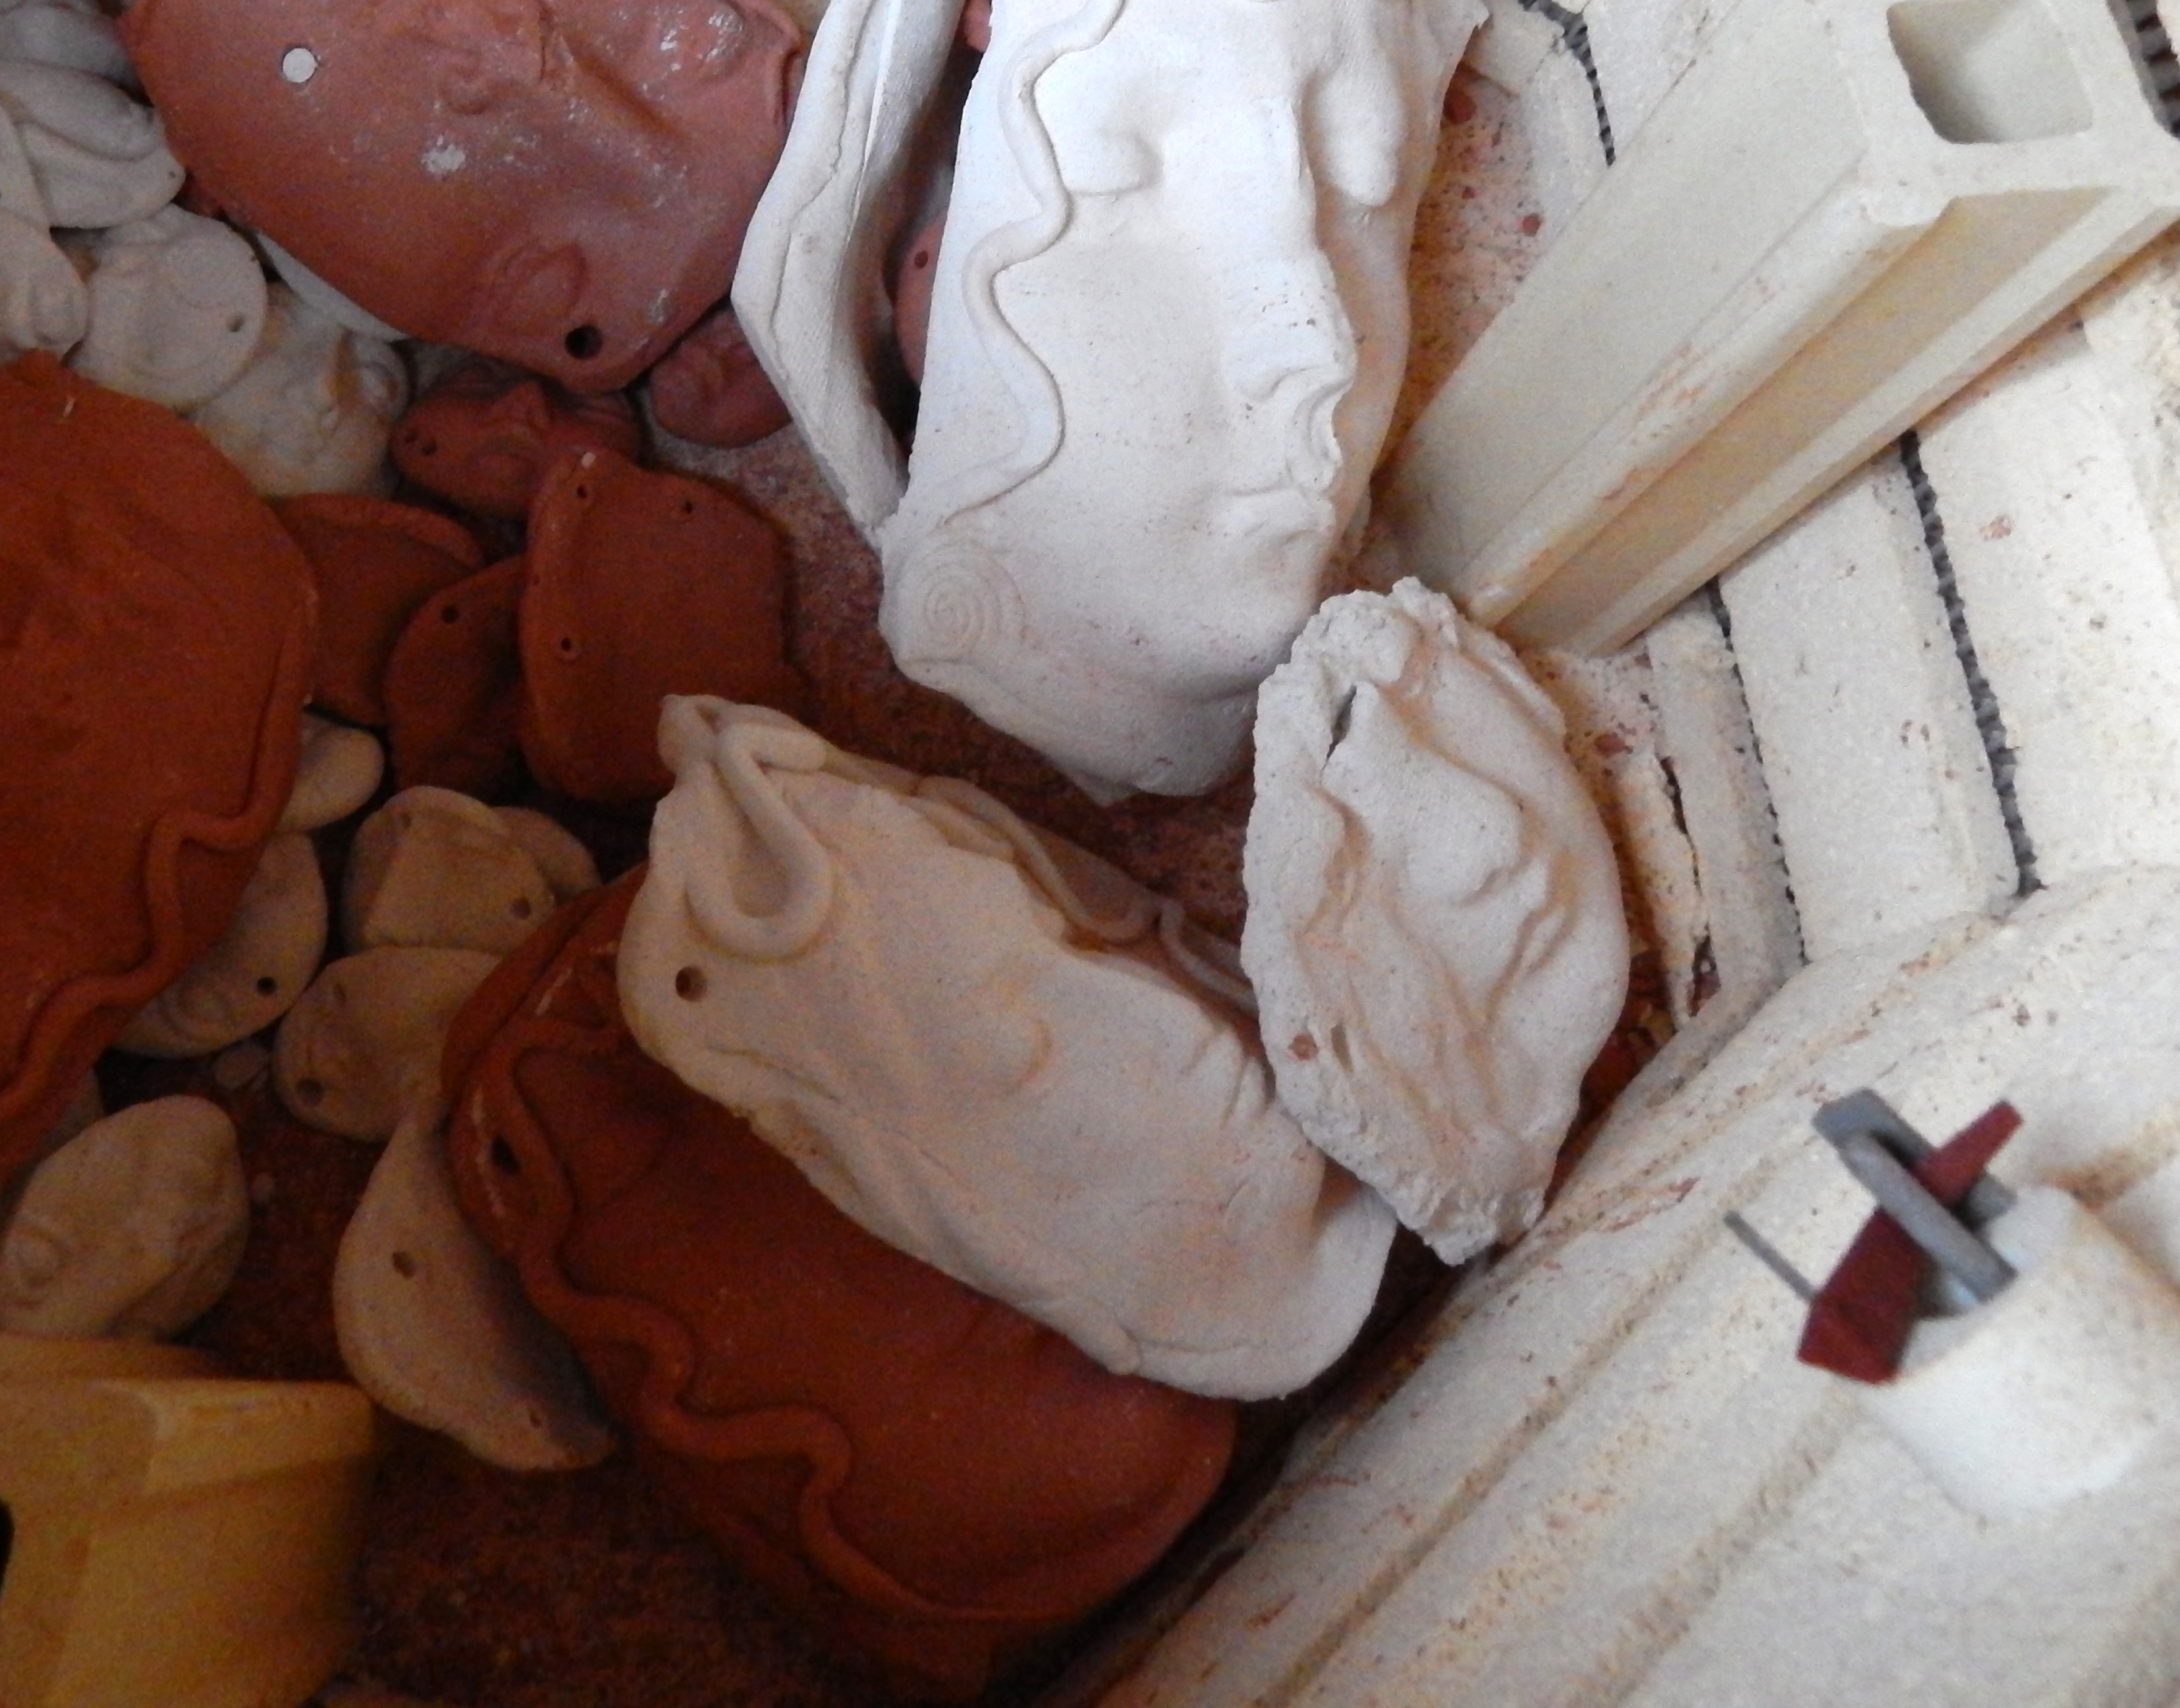
Here’s the bottom layer, waiting to be unloaded. If you look on the right, you can see the slumped cone and the tripping device with the middle pin in the down position.

kiln4

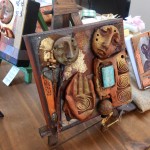
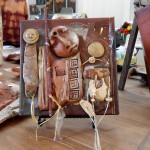
So despite my Bad Practice of loading damp greenware, I got away with it – this time. These pieces are now ready for me to figure out how to use them – as Scent Shards? Sculpture pieces? Stay tuned 🙂

kiln5 kiln6


Discovery: The Blue Stuff

I am passing on to you a tip about something which, until this morning, I had never tried and is pretty amazing – it’s blue (and white) stuff. I ordered it from a place called Cool Tools, which specializes in supplies for metal clay artists. This is a mold-making compound – technically it’s called Mega-Mold Silicone RTV Molding Compound and it uses a process called RTV, which means room temperature vulcanizing. Vulcanizing is a chemical process that converts polymer into durable material. Who knew??

So, you squish the blue part with the white part and push it against something you want to make a mold of. I swear, five minutes later it’s ready to go! Jan Longfellow told me that she has used it to make molds for her silver clay jewelry. it’s pretty amazing – here are some photos – I don’t know quite where I’m going with it, but it is sooooo much fun to play with! You could make a mold of your big toe, or your car key or a favorite brooch – the possibilities are positively goofy!

The Kit - one blue, one white - squish together equal amounts

The Kit – one blue, one white – squish together equal amounts


The mold after five minutes, the original object, and the clay copy

The mold after five minutes, the original object, and the clay copy

The mold setting up on a sculpture's hand

The mold setting up on a sculpture’s hand

Taking off the mold

Taking off the mold

A molded wing off the same sculpture

A molded wing off the same sculpture

More molded clay objects - the mold makes the clay oily - weird

More molded clay objects – the mold makes the clay oily – weird


Sunday earthshard workshop

There’s something about the new studio space that is inspiring – either that, or I had some incredibly talented clay workers in yesterday’s workshop. Could be a bit of both, but take a look at some of the earthenware ornaments they made –

I love the combination of clays and the embellishments! These will be fired late today or early tomorrow, and then we will meet at Ann Pearce’s Jewelry Design next door to pair these works with beads, leather cord and findings to make one-of-a-kind necklaces and pendants. I’ll take pics of the final creations.

Next workshop, March 3rd, Spirit Dolls, is already full but I’m going to have a second one later in the month on March 24th – email me if you’re interested.

Nueva Street Gallery

I went down to La Villita yesterday to visit with Susan Carlin, one of the owners of Nueva Street Gallery. It always does my heart good to walk into that beautiful light-filled space. It’s the gallery where I showed my work back in the 80’s an 90’s when Richard Conn owned it – it was lovely then, but it seems to  have a whole new persona since Susan and Uger made it their own. Susan has given me the whole table in the middle of the gallery for my work display. Yay! There are some Shard Faces there, some little Earthshard dishes, and some of my small collage-on-canvas work.

When I got to the gallery, Susan had just received a new piece by Reggie Troilo that I loved! I think it’s called “the Gathering” – but it is fantastic. Brian St. John also shows there – he’s the San Antonio Art League’s Artist of the Year. Here’s the gallery – I’ve always been a huge fan of the place, and not just because my work is there. It’s a wonderful space to stop by, hang out – and a perfect starting place for exploring historic La Villita during the holiday season. I just love San Antonio!

Nueva Street Galllery

Alice Ballard

I’ve just come across the work of potter artist Alice Ballard. It’s one of those revelation “aha” moments – this came right after my favorite local nursery, Shades of Green, requested my work for their shop yesterday. They are putting air plants in my Sprig Shards (thanks, Gloria, for showing them) and it’s made me rethink the form and function aspects of my earthenware. Take a look at Alice Ballard’s work, particularly this Pod series. Beautiful.