Art Walk Alchemy 2020 and The Enduring Kimono

Teaching online workshops is a joy. But preparation is time-consuming. So when Anne Marie Fowler asked me to develop a lesson for Art Walk Alchemy 2020, I almost said that I was too over-scheduled with my work at the Art League.

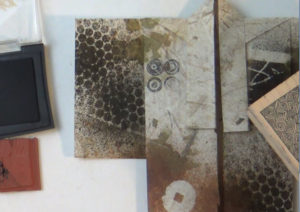
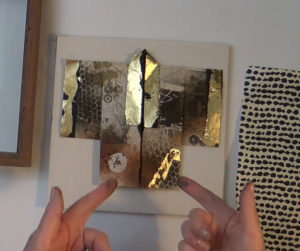
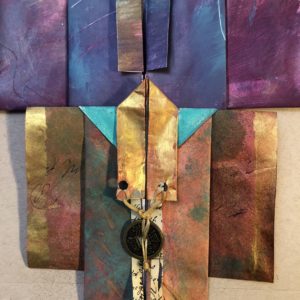
But then I remembered a project that had been a signature of my work in the 80’s and 90’s – the Origami Kimono!

I had done a version of this for the Dallas Fiber Artists last year which was super fun. With some additional mixed media lessons and demos, like how to create your own scumble-painted paper, this could be a great online workshop lesson.

Here’s a “scumble sample” video from the lesson for painting a long paper strip that is then folded into a kimono:

There are a ton of other mixed-media techniques in this lesson, including new ways to use gold leaf, walnut ink, and stamps in your work.

I’d never done a lesson like this that is part of a year’s worth of workshops, but it’s neat because you get tons of other lessons from many other really excellent teachers from Art Walk Alchemy. Check out the project highlights!

Woodland Dreams-Art Walk Alchemy 2020 from Mystic Spring Studios on Vimeo.

Registration for Art Walk Alchemy is open right now – including a fantastic four-video lesson on The Enduring Kimono by you-know-who. Take a look at the offerings – 🙂

The hermit returns with an eBook

I can’t believe it’s been almost two weeks since I posted on this blog – that may be the longest dry spell ever. But I have an excuse, honest. I’ve been finishing up work on the Wax & Words eBook, and it’s done!!

It’s not quite ready to put up on my website shop page (I want a couple of people to look at it for me as reviewers) but it will be available by Sept 1st.

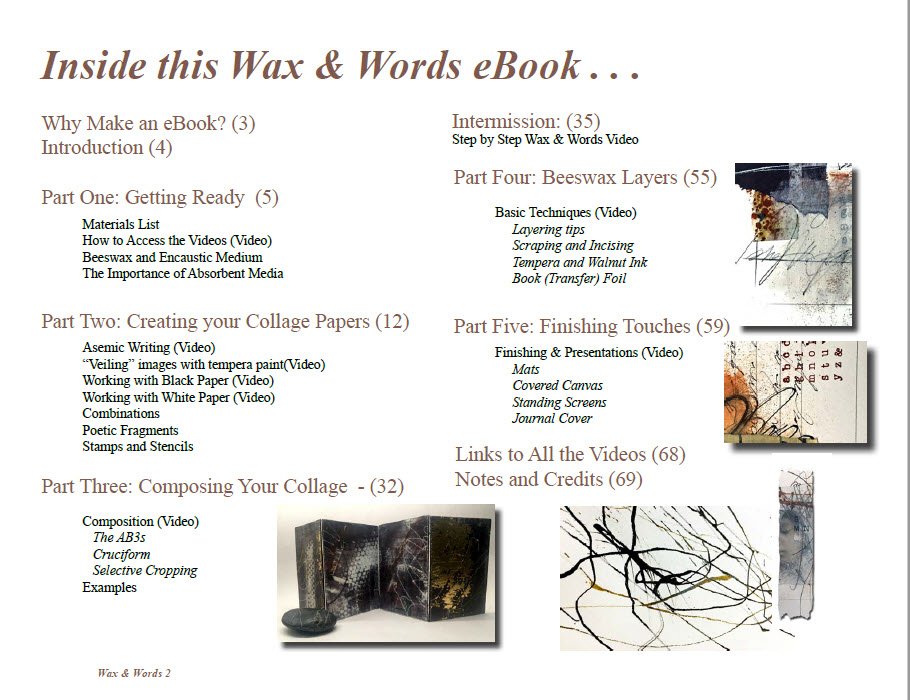
I’m so proud of this new eBook! It’s 70 pages of pictures, inspiration, and examples along with nine videos that add up to over an hour of close-up instruction. It will cost a mere $18 (same as my Talisman eBook) and it’s in an interactive PDF format, which anyone, Mac or PC person, can download. You can read it, watch the videos, take whatever time you need, and print out whatever you like. Here’s the Table of Contents:

It’s weird – when you do a project like this, you can’t do the Introduction until the whole thing is finished because you gotta have examples to show in the introduction. Anyway, here’s that introduction, just as a sample. Sneak preview? Whatever! The videos will be password protected once the book comes out, but for now, this one is available.

Introduction and Welcome to Wax & Words from Lyn Belisle on Vimeo.

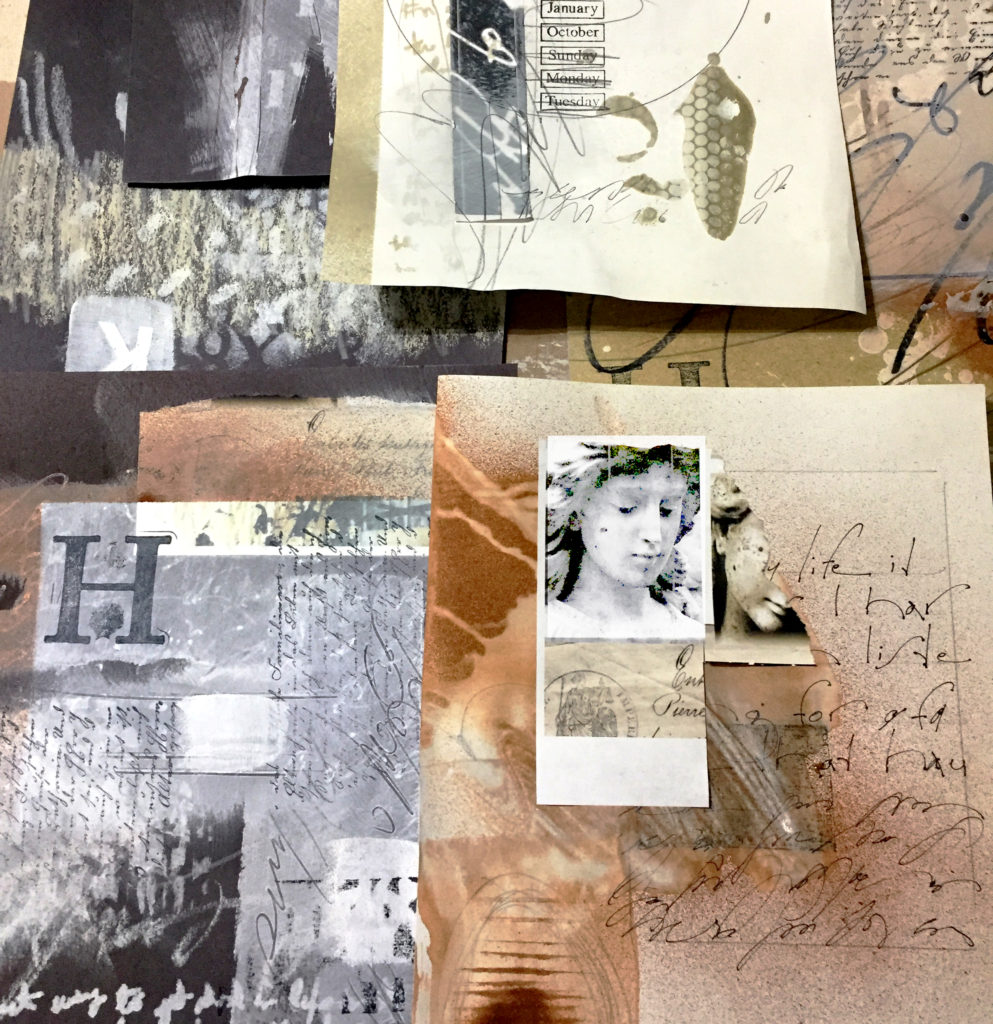
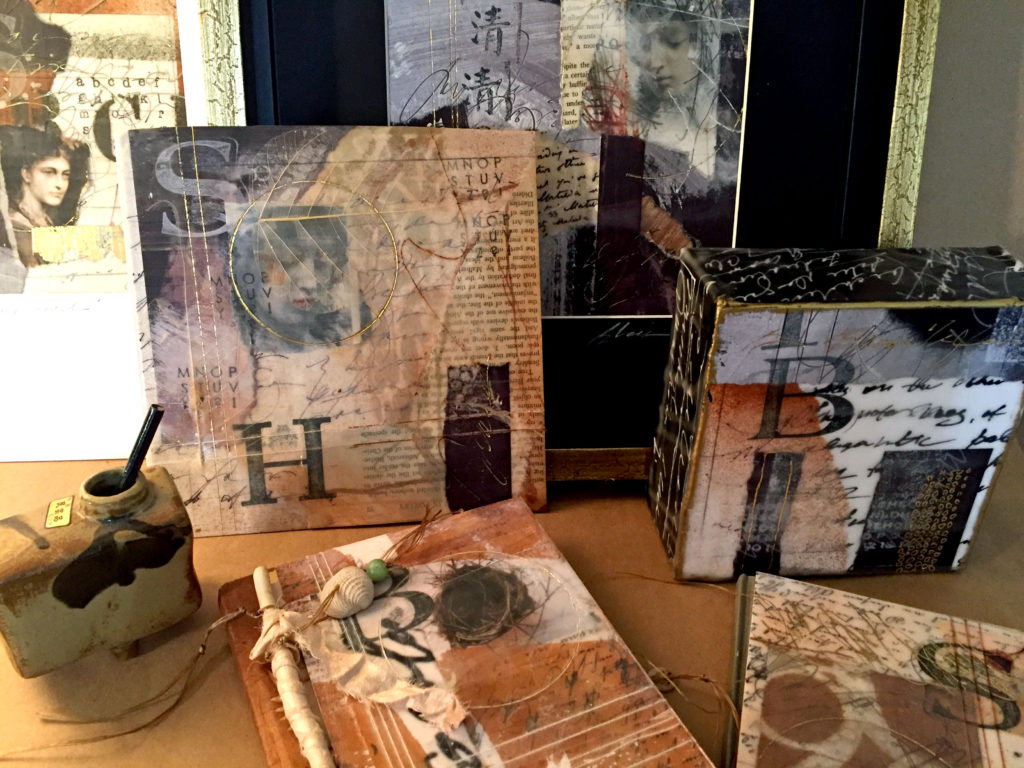
Here’s a photo of just a few of the dozens of collage papers I had fun making for the Wax & Words eBook.

And here is a photo of some of the projects that are FINALLY finished!

I’ll send out a post in the next few days when the book is available on my website. Yay!!! Thanks for reading, thanks for following, thanks for creating!!

Holiday freebie for you – faux turquoise technique tutorial!

I may not have time to give workshops right now (the next one will be in January), but I can still teach you a few things! Here’s a lesson freebie – a cool Faux-Turquoise technique.

While working on a commissioned assemblage, I realized how often I use the painted faux-turquoise finish that I developed several years ago. It works on almost all my mixed-media surfaces – clay, paper, cradle board, canvas.

Here’s your step-by-step tutorial on how I do this finish. Feel free to change it up and experiment with your own variations. There’s no secret here, just simple materials and techniques that give good results in an uncomplicated way. It’s super fun, too.

Step One: Assemble Materials

Rarely do I specify specific brands, but in this case, these three acrylic paints work best in combination of all the ones I’ve tried for this particular technique.

You will also need a wide-ish flat brush (about 1″), a graphite pencil, a terrycloth washrag or studio rag, a white colored pencil (optional), and something to paint on. For this demonstration, I chose  4×6″ piece of archival mat board. You’ll need a water container to clean your brush, too.
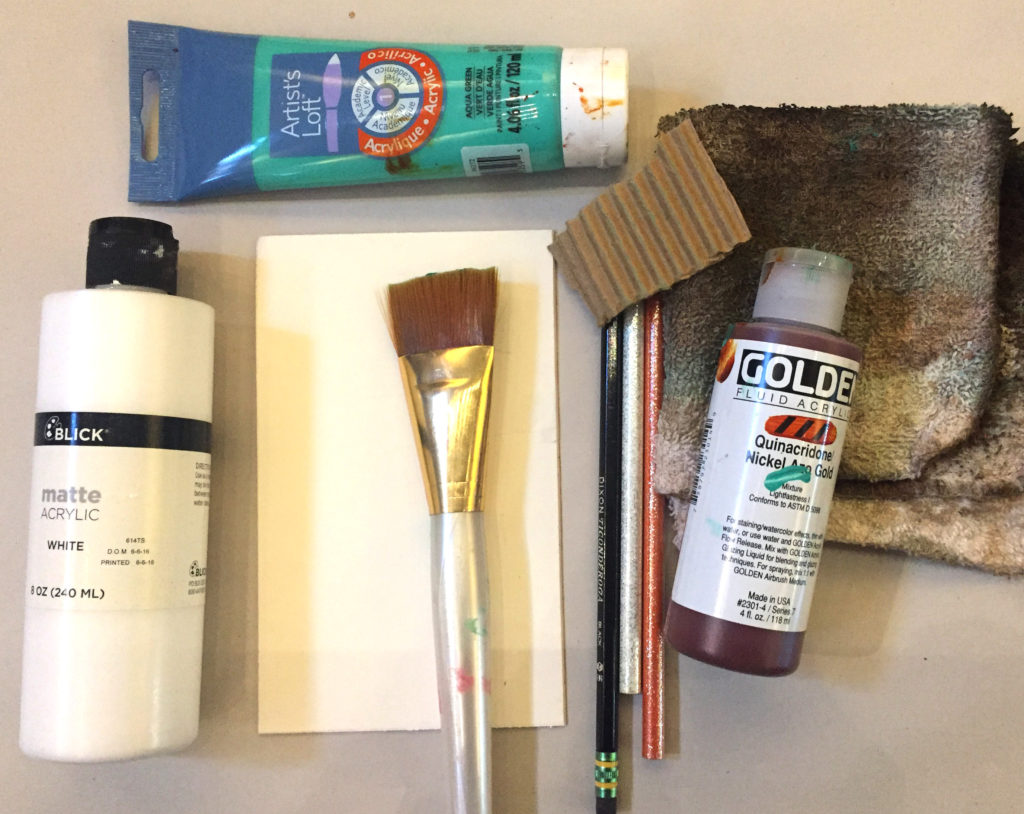
You don’t need a lot of complicated materials for this

Step Two: Make you mark

I often have my workshop participants open up to their work by doing some scribbling on the substrate – you can always gesso over it, but it keeps them from being intimidated by a white surface. If they don’t know what to scribble, I ask them to scribble what they had for breakfast! In the demo below, I just did some random markmaking with a graphite pencil. It added a bit of subtle texture to the surface, too.
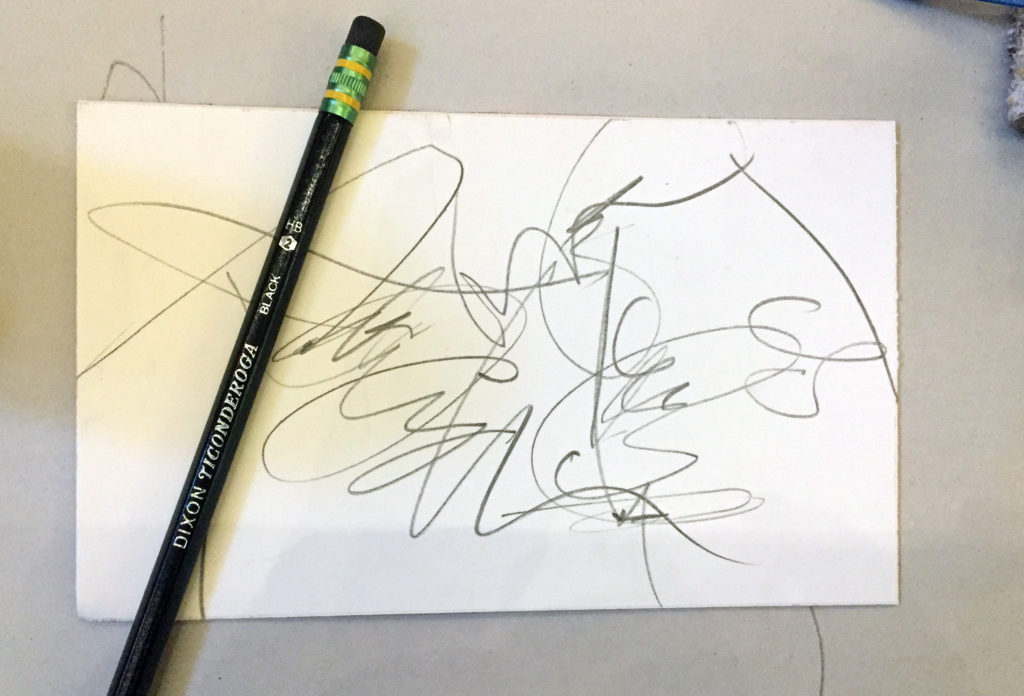
Make the space yours by claiming it with markmaking

Step Three: Slap on the base coat

Paint right over those marks you made with a coat of Aqua Green acrylic, being generous. Use random strokes, x-strokes in every direction. You don’t want to leave thick texture, but yo do want some slightly raised areas.
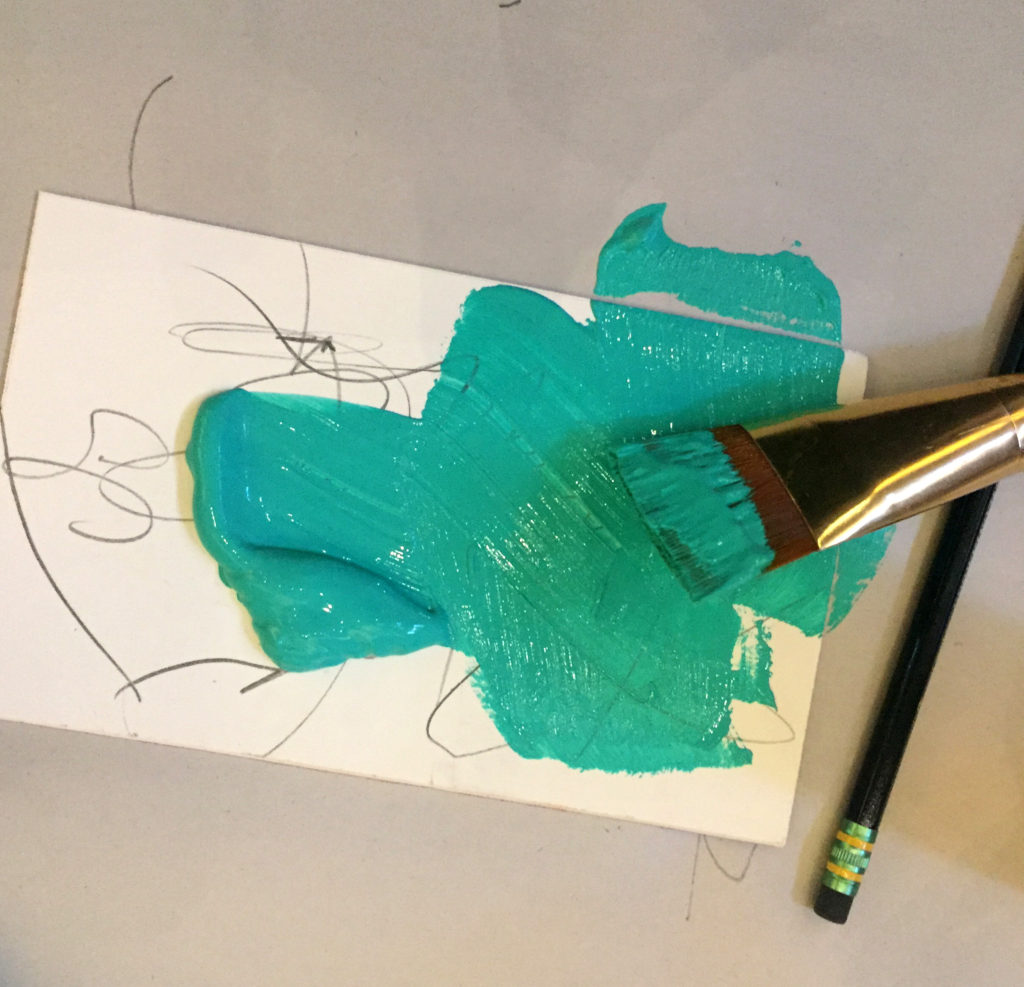
A nice coat of aqua green painted randomly on the matboard

Step Four: More marks

Let this coat sit until it is sticky but not dry, then go back in with your graphite pencil and make more light marks on the surface.
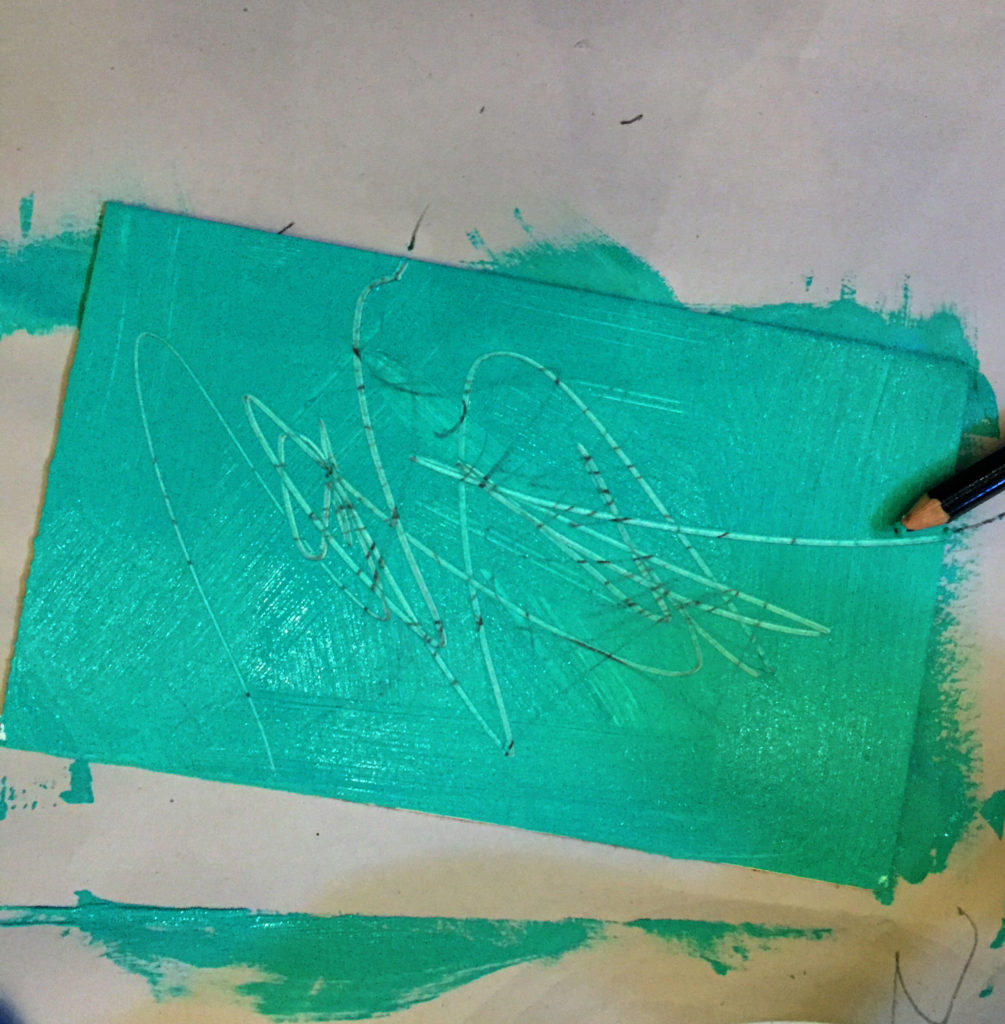
Step Five: Lighten it up

Add some of the Matte White acrylic to the Aqua Green to make a paler tint of turquoise. Brush it randomly over about one-third of the surface. Play with the proportions.
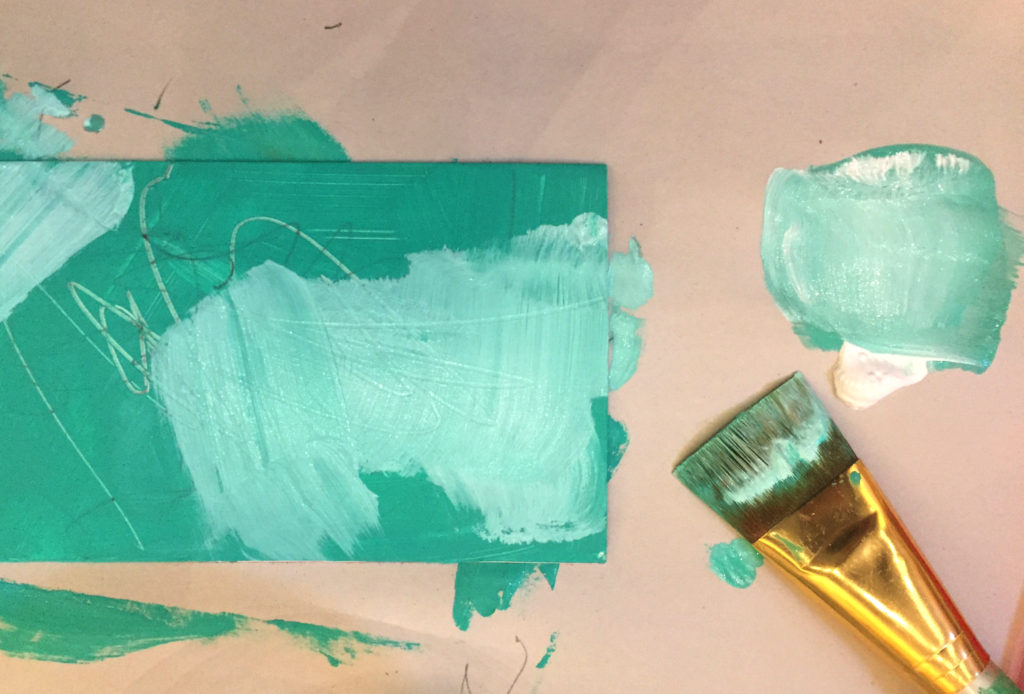
Matte White with a bit of Aqua Green

Step Six: Press and Lift

While the lighter tint is still wet, Press your terrycloth rag straight down onto the surface to lift some of the lighter tint in areas. This leaves very stone-like patches of light and dark.

Press the cloth straight down, then lift.

Step Seven: Adding the Azo Gold

Take your bottle of Quinacridone Nickle Azo Gold and drop several blobs of paint on the surface. It will look very dark and slightly gross, but don’t worry – Quin Gold is extremely transparent and will make a lovely glaze in the next step.
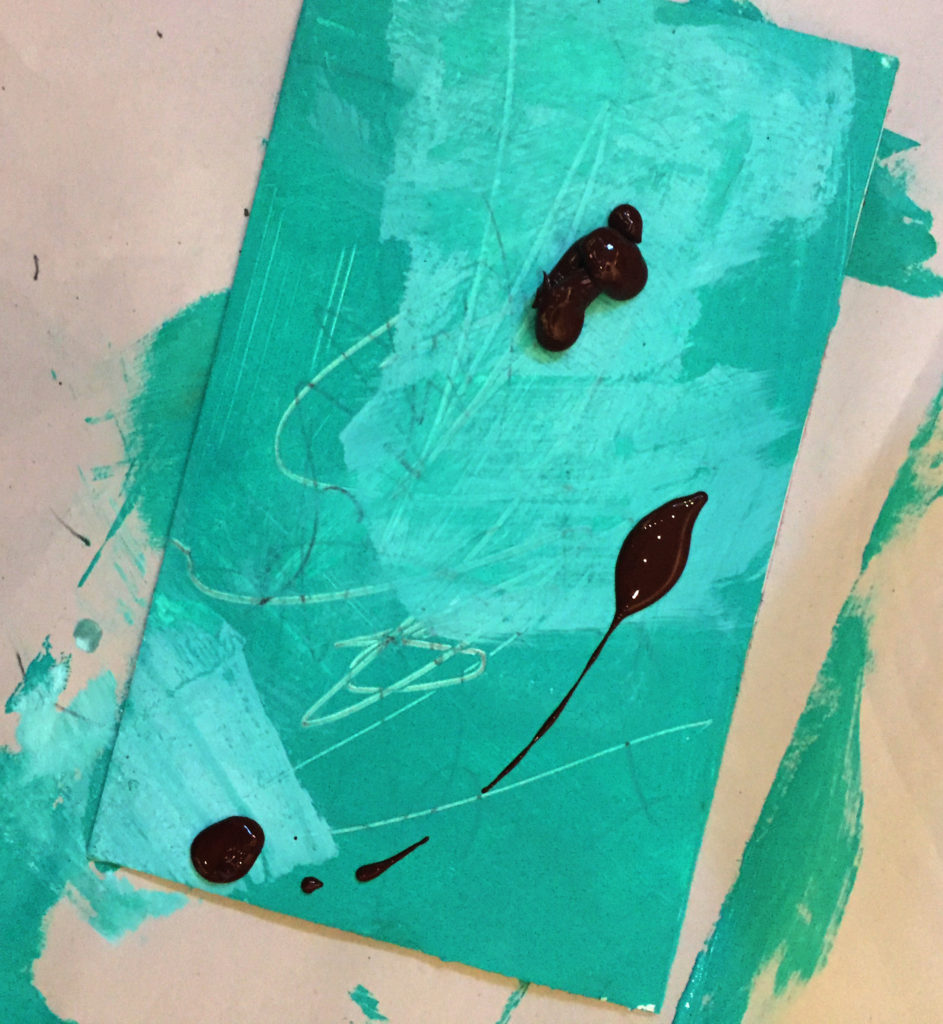
Blobs of Quin Gold dropped on the surface

Step Eight: Blob-dabbing

Using the same terrycloth rag (which will never be the same again), dab the blobs firmly to spread them and create texture.

Dabbed-out blobs of Quin Gold

Step Nine: Light blending and marking

Continue to add light marks, and do a bit of blending with the rag, but use a light touch.

More scratches and marks

Step Ten: Finish with dry-brushing

To veil and push back all of the color variations and textures, dry-brush a final coat of aqua green over the surface. You can see here that the right half has been dry-brushed and the left half has not yet been brushed. If you build up this layer slowly, you can control what is revealed and what is concealed. “Dry-brushing” means just that – adding a little bit of paint to a dry brush and stroke it lightly over the surface. After this step, let the whole thing dry. And go wash your brush!

Final dry-brush coat

Step Eleven: Tah-Dah!

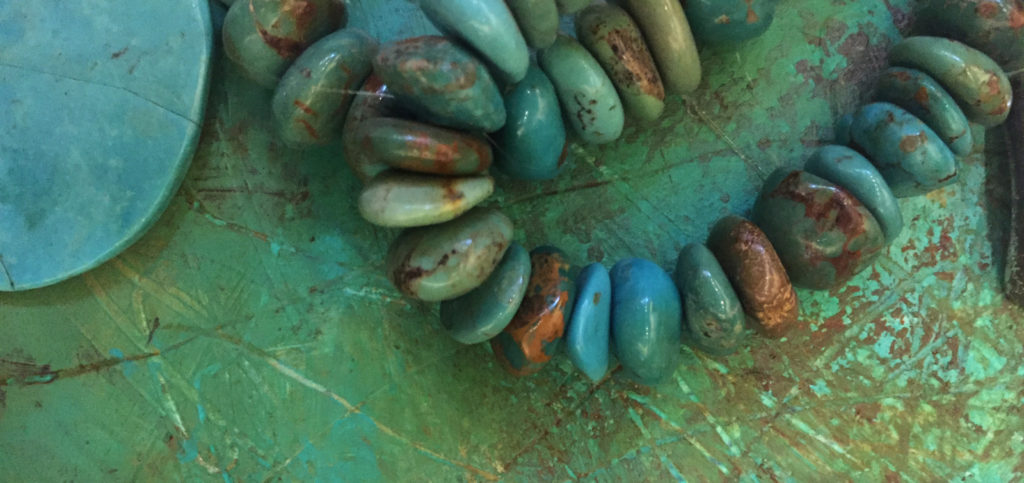
You can see in the close-up how the painted finished mimics the real stuff in texture and color. As I said, this surface is archival mat board, but you can try this technique on anything acrylic paint works with.

I can see it on a mirror frame, for example, with copper nailheads all around it, or perhaps covering the top of a wooden box. Or how about a turquoise ornament for a Christmas tree, Southwestern style?

Here are a couple more photos of the faux-turquoise mat board cut up into smaller sections, and also a small adornment with copper tape for a collage or pin.
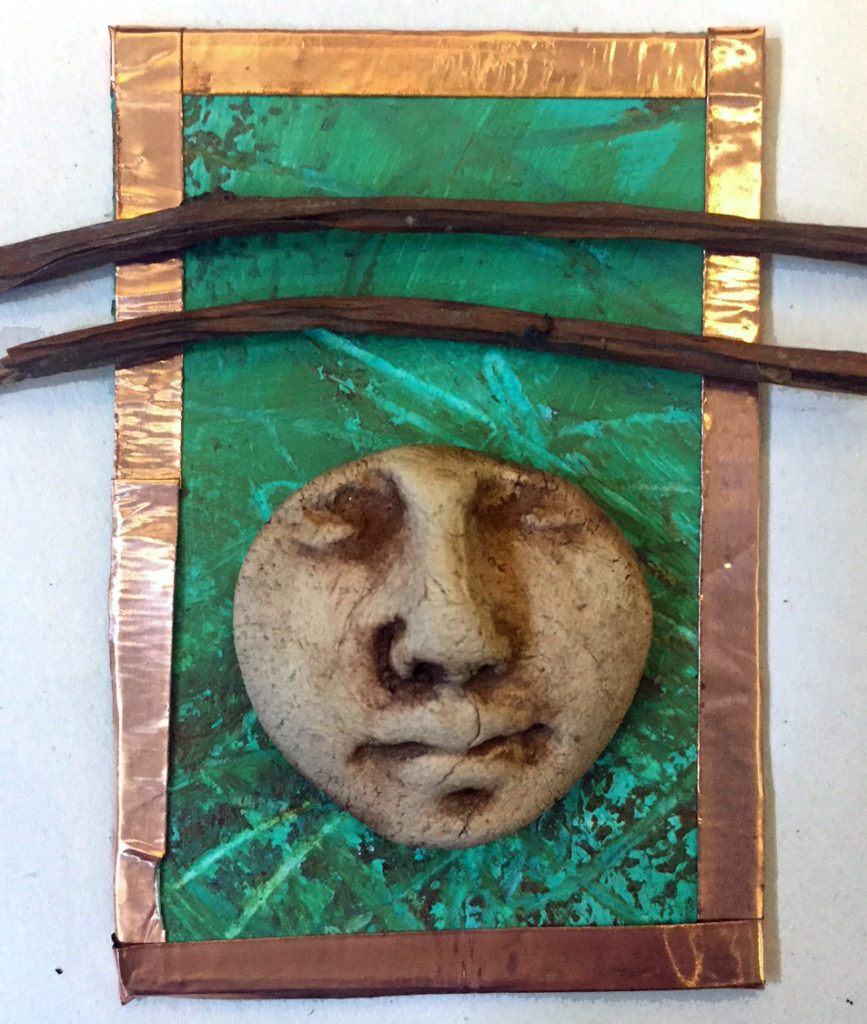
collage adornment
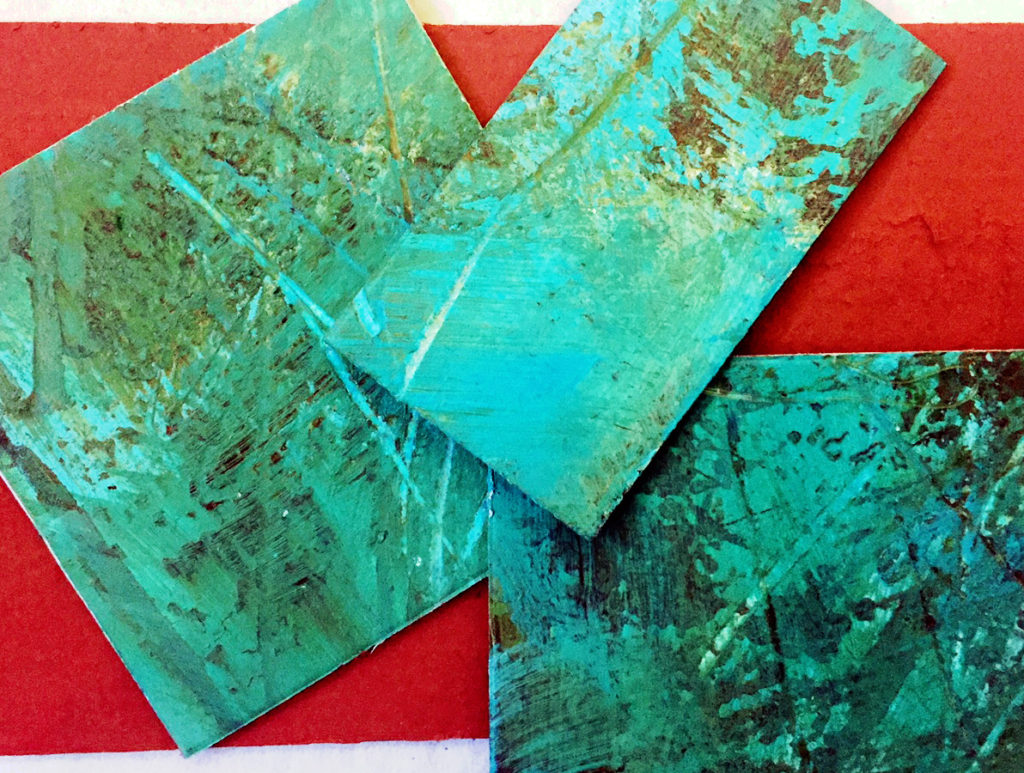
Cut sections of faux-turquoise matboard for mixed media

I hope you enjoy this technique. If you try it, let me know how you use it!

And thanks, as always, for reading SHARDS!


Hot off the virtual press – the Talisman workshop eBook

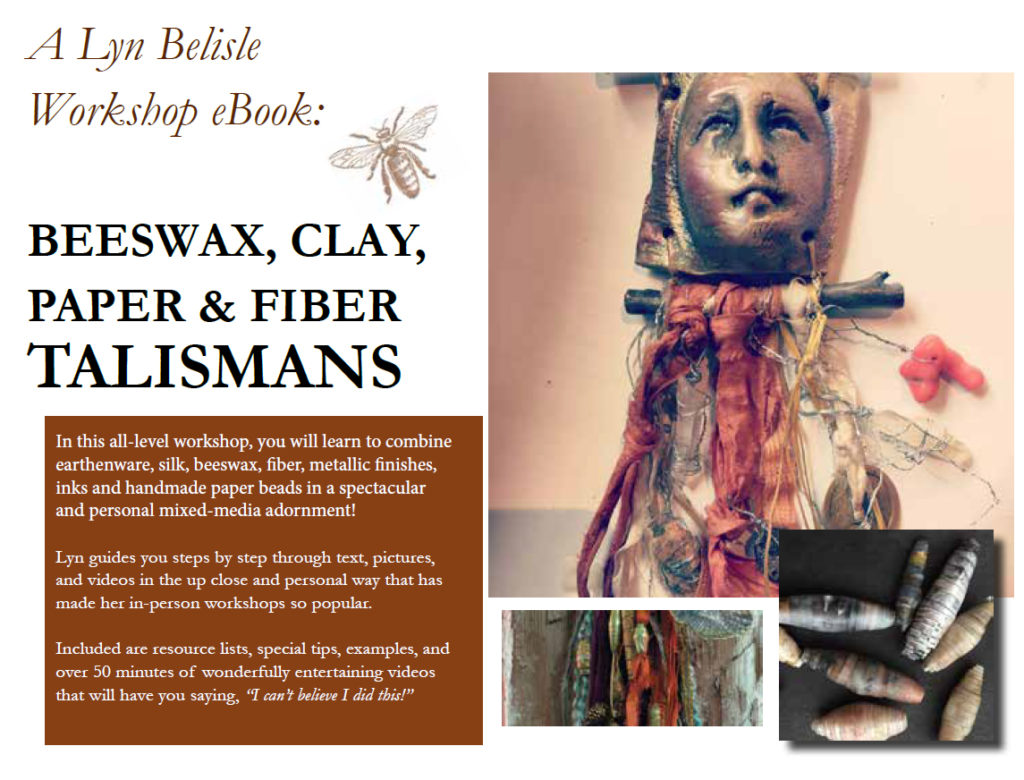
Happy May Day! I wanted to get this eBook up and available by May 1, and — tah dah — it’s ready! This is my first “workshop” eBook, and, hopefully, it has the feel of being right there in my studio with me.

Beeswax, Clay, Paper & Fiber Talismans is an interactive PDF eBook that you download instantly from my Etsy shop. There are eight videos, including two on making the waxed paper beads, along with a whole bunch of instructions and resources.

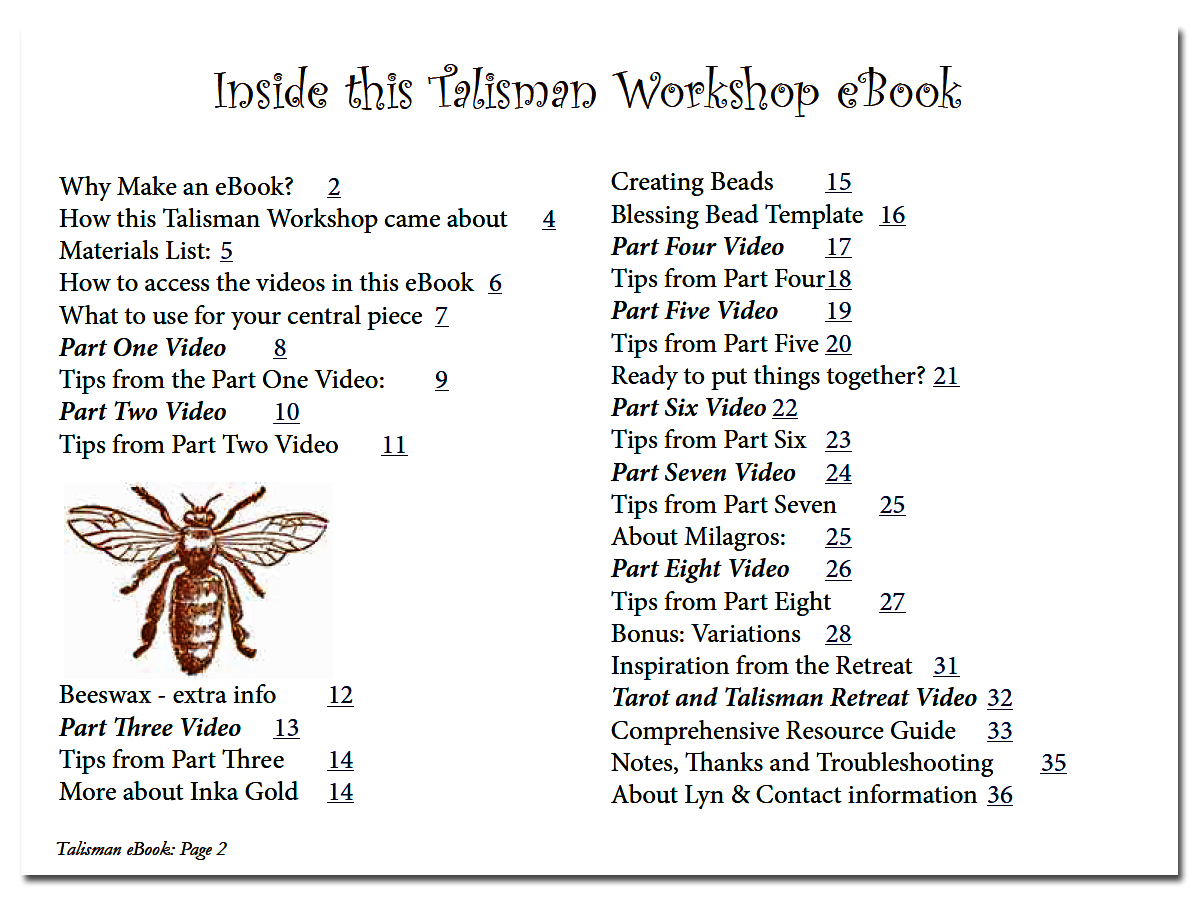
As you read along, you can click on the video link and watch it, then return to the page. It’s a pretty cool format. If you’ve ever downloaded instructional mixed media eBooks like 21 Secrets, it’s the same idea. The book belongs to you to read and watch as many times as you want to.

Here’s a look at the table of contents – the pages are hyperlinked to each section and each video.

This Talisman workshop is based on the one I did in Washington State with Joanna Powell Colbert, described here in an earlier post. I talk about that here in the intro to the workshop from Page 8 in the Talisman eBook.

Introduction to the Talisman eBook from Lyn Belisle on Vimeo.


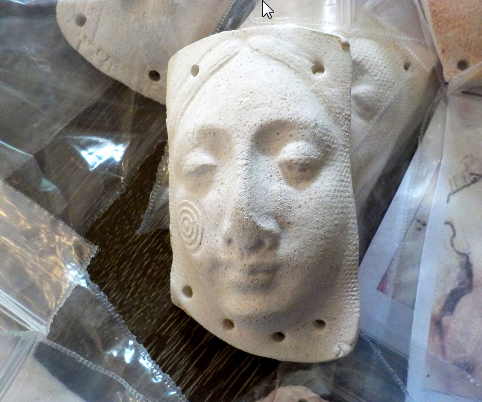
When you buy the eBook, you also get a discount on two talisman faces from my Etsy shop. But you don’t need these specific faces to make the Talisman – it’s just an option. I have never believed that you should have to have a specific brand or proprietary item to create a successful art project.

Workshops are a two-way communication, and if you get the Talisman eBook I will be here to answer any follow-up questions or take any suggestion that you think would make this book better. Just send an email to lyn@lynbelisle.com. If I use your suggestion in a revision, I’ll credit you in the acknowledgments and send you the newly revised version for free. The nice thing about interactive eBooks is that they are easily edited.

You can get the Talisman eBook from my website, where you can also find the Encaustic eBook and all of my instructional DVDs, or you can go directly to my Etsy shop to purchase it. The book with videos is $18 and if you want two of the faces as well, they are only $7 for two with the purchase of the book. Such a deal 🙂

This has been a fun project – and it has helped me get more organized! Thanks for all of the encouragement on this. And it sure is nice to be back in Texas on such a beautiful day! Vacations are fun, but there’s no place like home.


Save

Save

Save

Save

Save

Save

Save

Save

The fiber world of Jude Hill – Feel Free

Jude Hill’s introduction photo to her Spirit Cloth 101 free and open tutorial

One of the best aspects of the “gift of fire” that is the Internet is the generosity of artists who share their passion. For free. As a wannabe fiber artist, I happily discovered Jude Hill – she freely gives her expertise, her thoughts and vision, and her extensive library of online lessons about creating personal statements in fiber.

Jude Hill – completed study

Her blog itself is called Spirit Cloth and the free lesson site within it is – Feel Free! It’s perfect for people who want to experience the idea of fiber art by working on small pieces and learning techniques while incorporating interesting concepts. Like cats! Like magic! Like magic cats!

Jude Hill “Conjure”

And . . . she grows her own Indigo!

Samples of indigo – Jude Hill

Take a look around Jude’s blog site – it’s packed with ideas and inspiration, and not just for fiber artists. I found myself sketching some nifty ideas for cat spirit dolls after I looked at some of her creations. There’s a place on her site to donate if you feel so inclined. I did. This is what she wrote about her teaching and sharing:

Here, at THIS place I call Feel Free, I intend to share something beyond the “thing”. Feel Free to look around and use what I share.  Feel free to share this place with others. THIS is my gift. THIS is not a business.

With Trust and Peace.
jude

Isn’t that perfect for a day when we think about the concept of freedom? Free to share, free to learn. Happy Independence Day, everyone.

Color sketch by Jude Hill

Save

Save

Save

Calligraphy Guild, a project for YOU, and a Friday Freebie – or two . . .

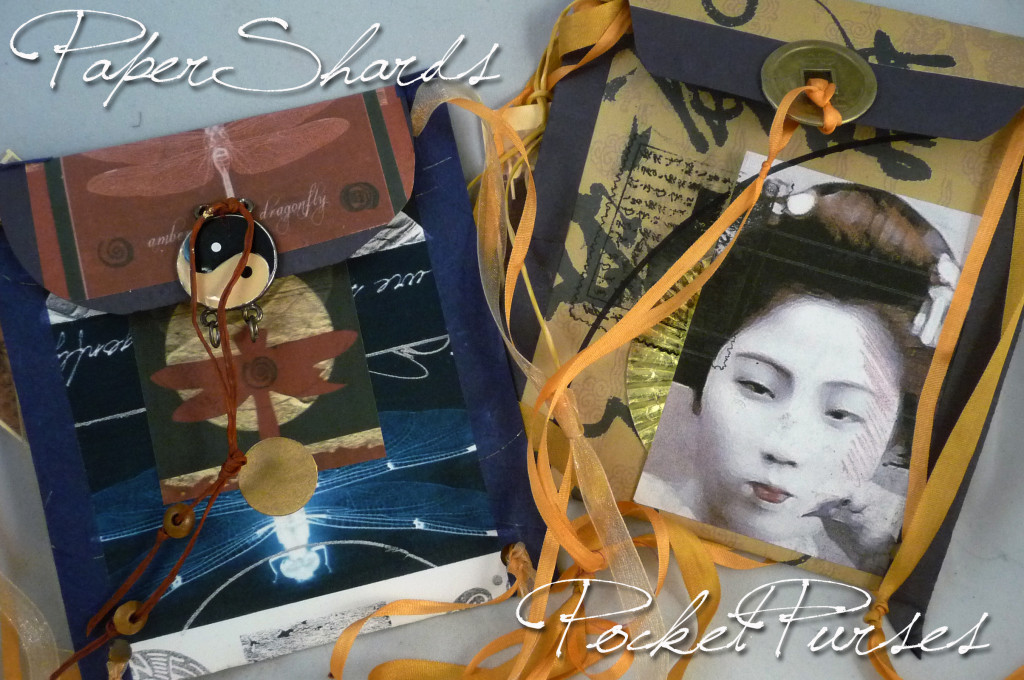
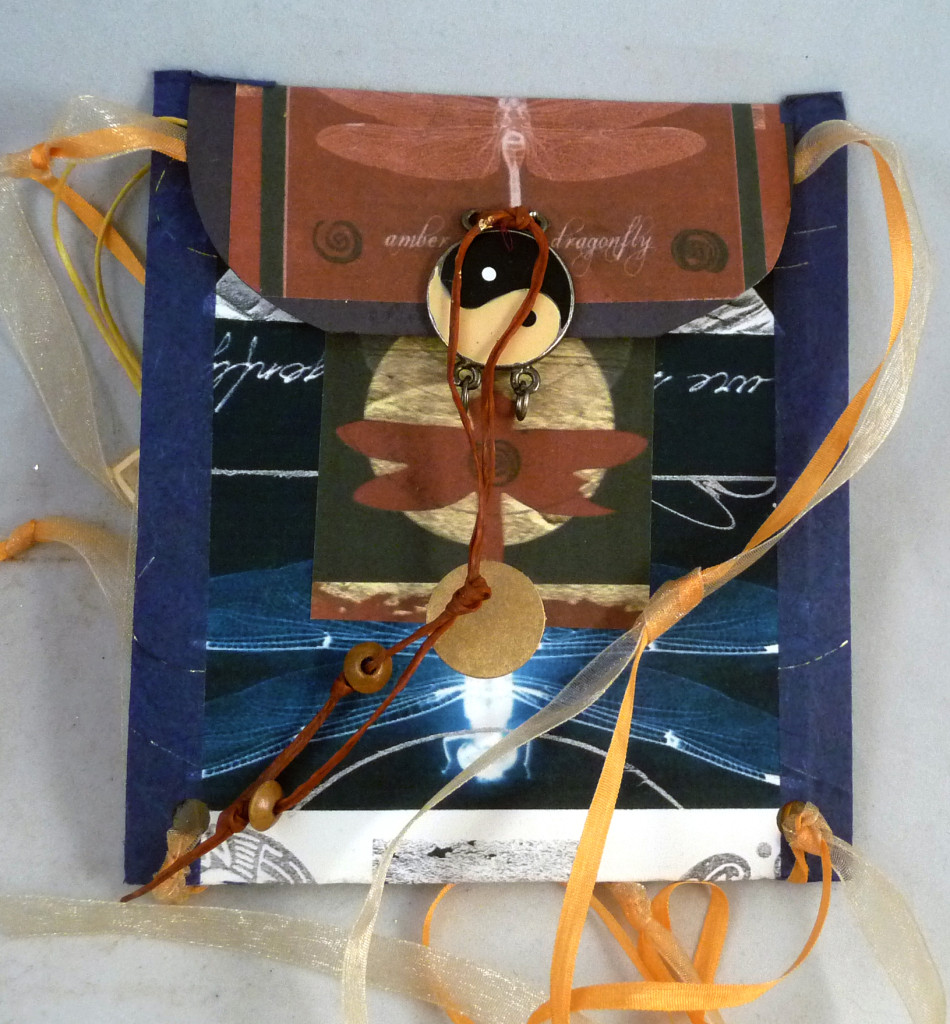
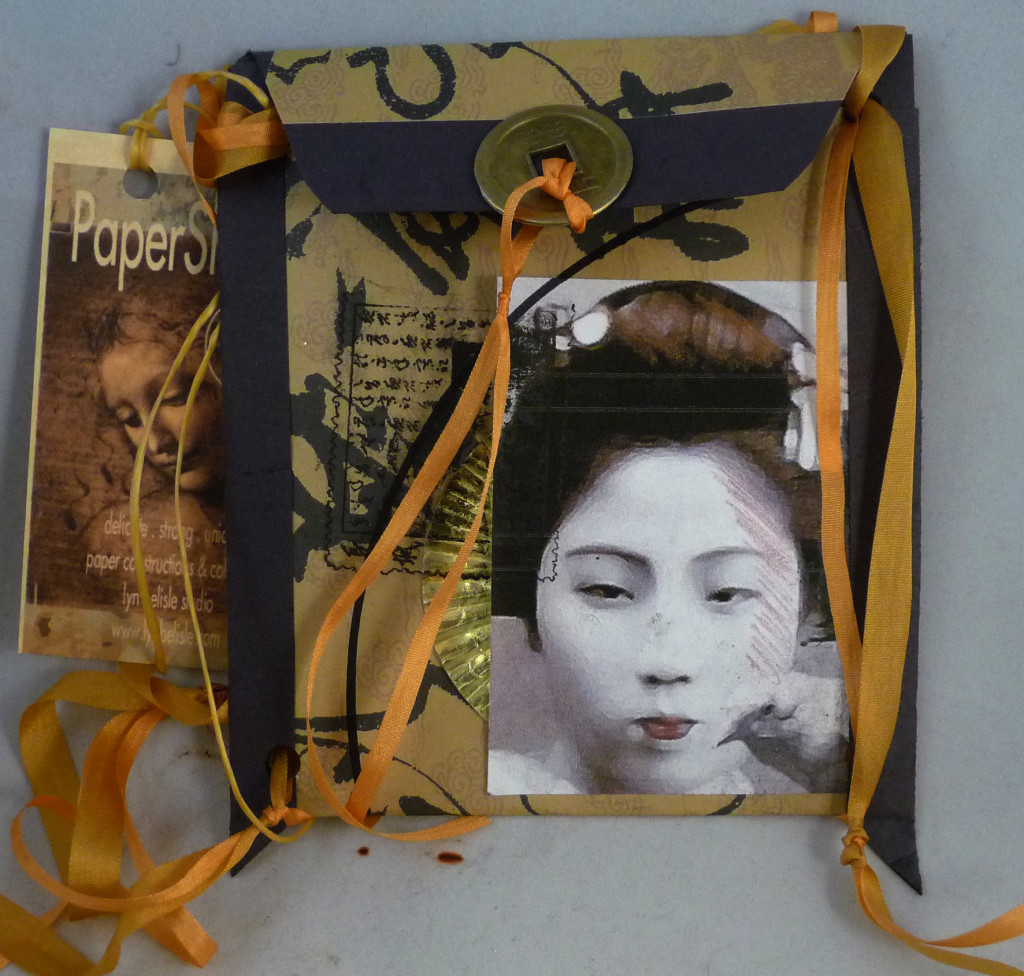
10Last night, I visited the San Antonio Calligraphy Guild to show them how to make a pretty paper pocket purse/pendant project (say that three times fast) and a folding votive screen card. Calligraphers are nice people! I can’t wait to see how they take these projects and adapt them to their own many talents.

Here are some photos – there were 30+ participants, all cutting and gluing and having fun and following the directions (mostly!)

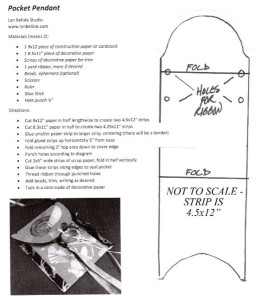
ppppI thought that YOU might like to have the directions for the pretty paper pocket purse, so as the first Friday Freebie, I’m giving you a link to the downloadable Pocket Pattern handout that I gave the calligraphers last night. All you need is 9×12″ construction paper and 8.5×11″ decorative paper, plus some ribbon and such. Easy!

And to sweeten the deal (after all, it’s getting close to Valentine’s Day), I’ll give away TWO Friday Freebies, the little purses pictured below, one to each of two lucky SHARDS subscribers. Just be a subscriber by Sunday at midnight – winners announced Monday morning. Good luck, and happy weekend!!

Dragonfly

Dragonfly

Gaisha

geisha

Fun with faces

A package of Face Shards from my Estsy show ready to ship to California

A package of Face Shards from my Etsy shop ready to ship to California

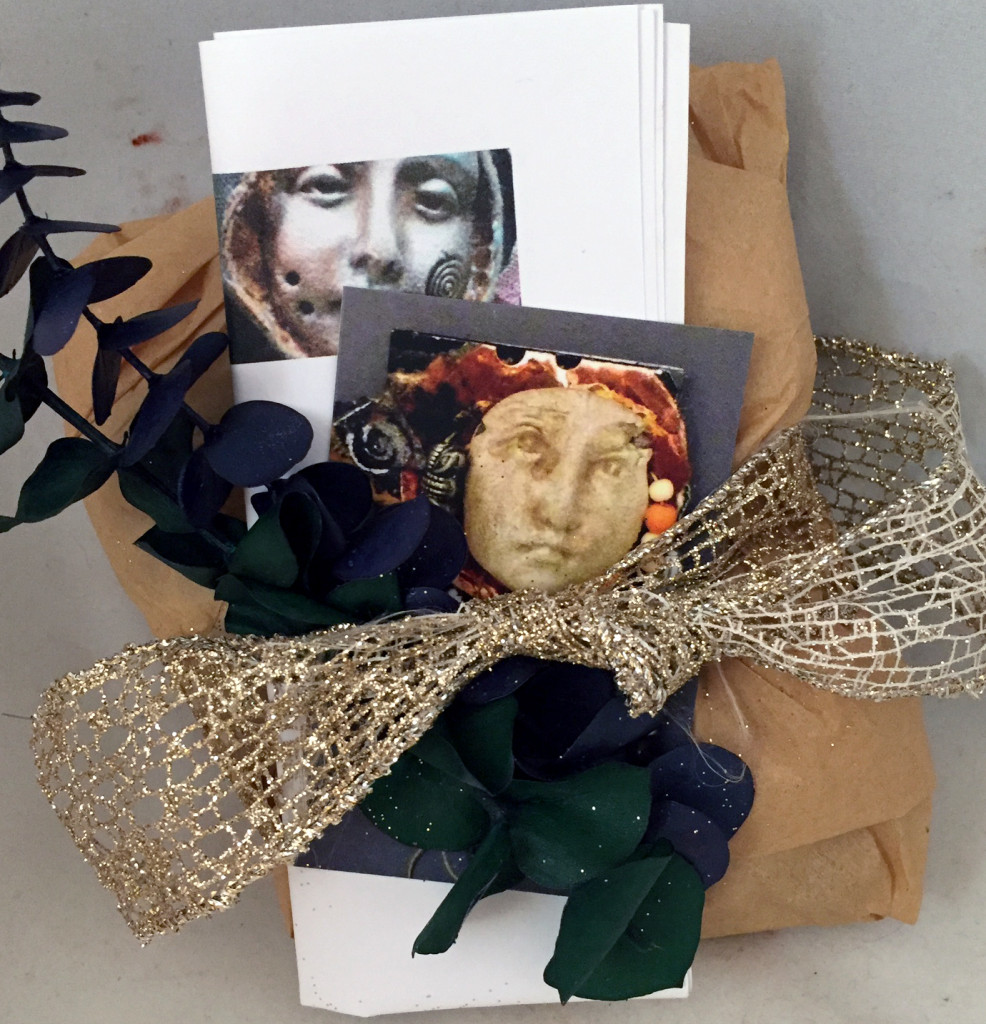
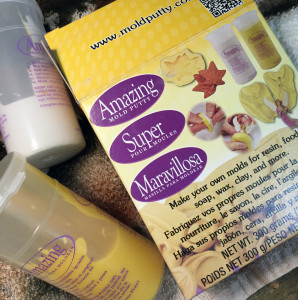
I was getting an Etsy order out this morning for five Rune and Relic Face Shards, and thought about how much fun these little faces are to make. You can use them for so many things – Spirit Dolls, ornaments, pins and pendants – anyway, I thought I’d re-post a SHARDS link to a very simple tutorial on mold-making and faces that I did for a workshop a couple of years ago. This tutorial recommends a two-part product called MegaMold that you can order online from Cool Tools (this site also has a bunch of very nifty pre-made molds). Michael’s has something similar called Amazing Mold Putty for about $20 – use your 40% coupon!

moldstuffThis mold-making project would be great fun to do over the holidays with kids – and you can get air-dry clay at Michael’s or Jo-Ann’s – it’s very inexpensive, doesn’t need a kiln, and isn’t discouragingly messy. I like the one called Model Magic. It comes in tubs and also in small packages, in different colors. So plan some time to make some faces!

Also, I’m re-posting this link to the Angel Face Gift Tags I designed several years ago just in case you need some last-minute gift-wrapping help. You can print these out and stick them on a packing wrapped in brown paper and tied with raffia, and it will look all Martha-Stewarty – honest!

gifttags


I’m headed to Boston for just a few days for a quick visit  – back soon! Keep out of trouble and go make something creative!

A guru for digital photocollage . . . and a glitzy Friday Freebie!

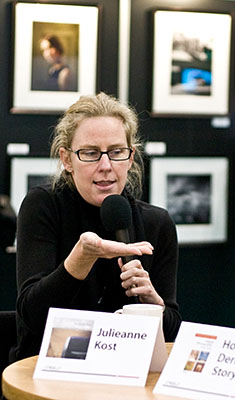
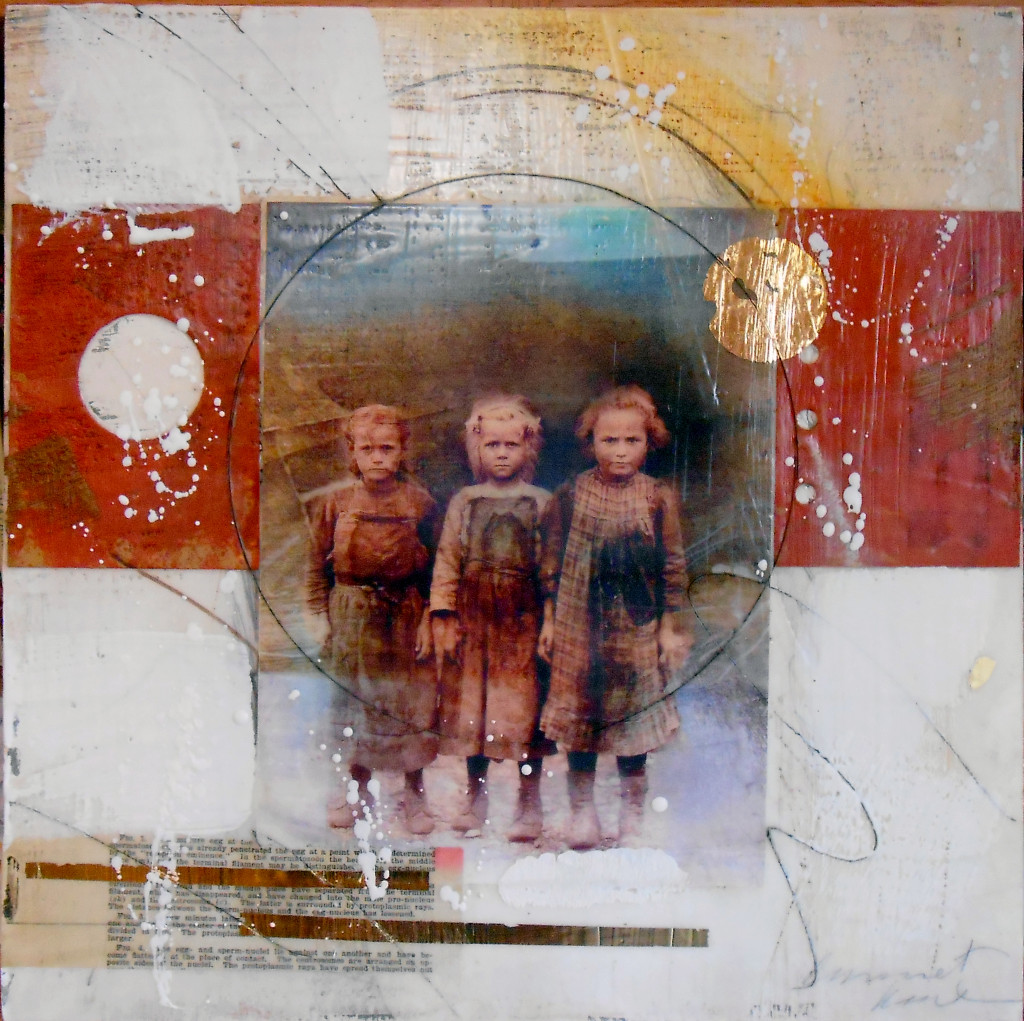
Hallelujah – I’ve discovered the Digital Imaging Evangelist! She’s for real – Julieanne Kost is the “Principal Digital Imaging Evangelist” for Adobe Systems, and she is a wealth of creative inspiration for artists who work with digital images. Like me! – You might know that I’ve been using vintage digital images and encaustic wax in my latest work, like this piece, below.

3girls

“Drifters” Lyn Belisle – Encaustic Photo Collage on Birch Panel, 14×14″

The encaustic part I’ve learned from Michelle Belto and Clare O’Neill – and now I have a new Photoshop guru in Julieanne! She can be your guru, too – she has a ton of great FREE tutorials on her website. Combining, enhancing and altering digital images is an addictive art form – just ask my friend Jennifer Martin, who’s working with me, learning Photoshop and using her own beautiful digital images. So take a look at Julieanne’s tutorials if you’d like to explore the endless possibilities of the art of the digital image.

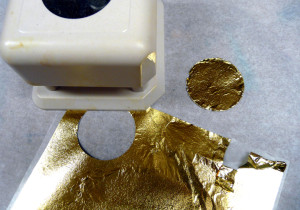
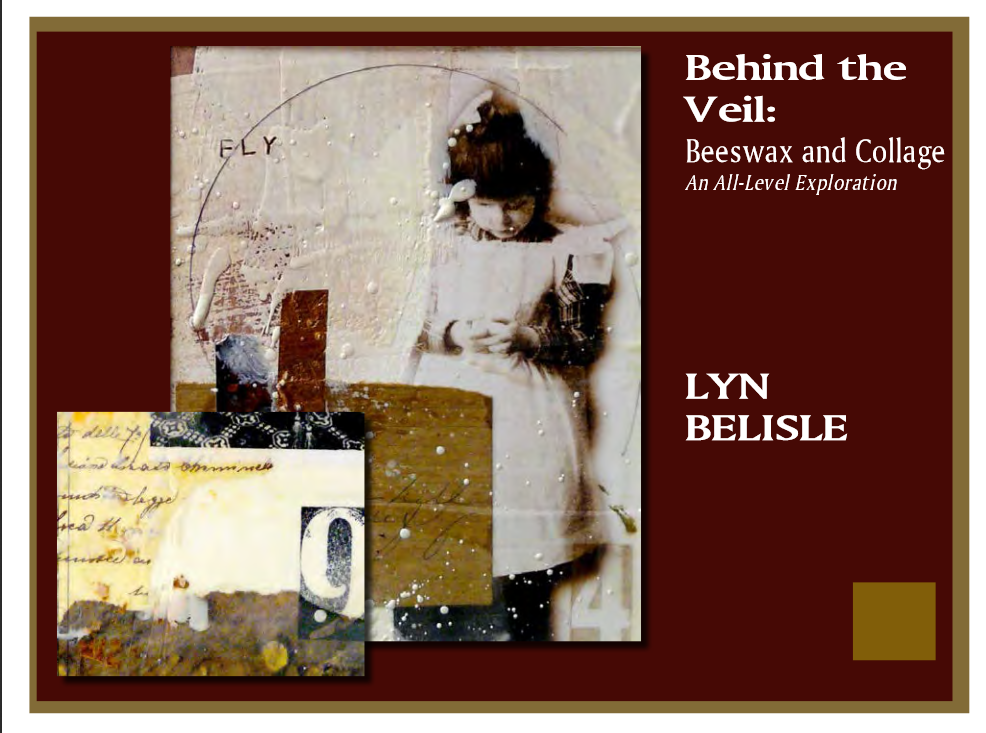
gold leaf smallDid you notice the small gold leaf accents in the piece above? That’s another technique that you can utilize when you combine wax and photocollage. Here’s a photo from my new eBook, Behind the Veil: Beeswax and Collage, that shows how to use a circle punch to cut the leaf. If you don’t have gold leaf that’s already studio to a backing, watch the free tutorial I made to show you how to manage and use loose sheets of metal leaf.

Finally, the Friday Freebie is a whole packet of paper-backed gold leaf to use in any creative and/or goofy way! If you are the lucky SHARDS subscriber whose name is drawn Sunday night, I’ll send you a package of Simple Leaf by Speedball your choice, silver or gold. So many creative ideas, so little time – and don’t forget there’s a Show and Tell at the Studio tomorrow from 2-4! TGIF, Y’all…..


eBook and Friday Freebie

TGIF, y’all – some of you hopefully downloaded the free eBook I did on Dimensional Collage for the Gaian Soul Retreat on Whidbey Island  in March. And some of you have asked for more information on my new beeswax collage process, especially since last weekend’s workshop was such a success.

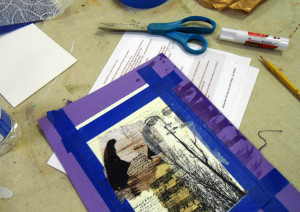
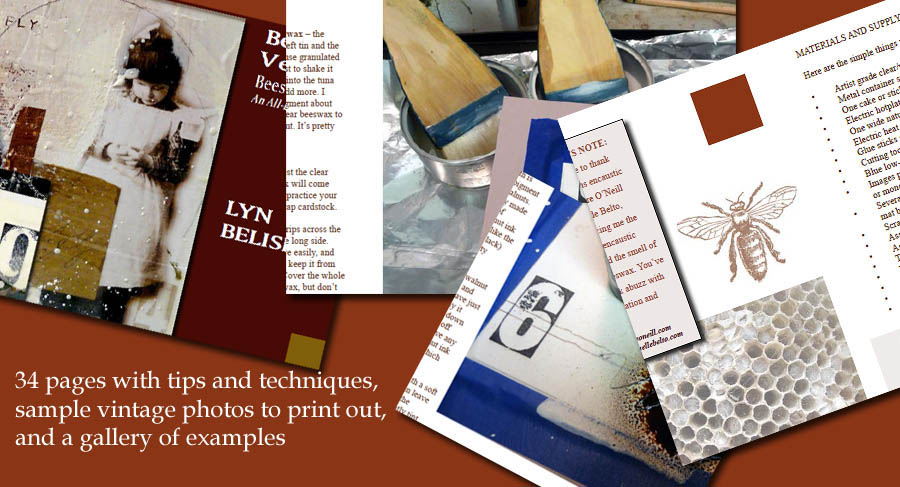
3 So – tah dah! I’ve written a new eBook called Behind the Veil: Beeswax and Collage.  The 34-page PDF eBook describes my new encaustic process, gives suggestions for photo sources, and includes a gallery of examples.

This one isn’t free. I’m embarking on my first step toward a publishing empire – yahaha. Only kidding. But I did want to see how selling eBooks online worked, so I figured out how to set up a PayPal button on my website. And this little gem of a book can be yours for a mere $5.99. That’s less than a Double Meat Whataburger! I started to ask $6 but marketing people say do the 99 cent thingy. Here’s the link to my first-ever “eBooks For Sale” page.

beescoverwebadMy friend Rosemary, who encouraged me to get this thing done and out there, just read it and said, “It’s like being in the room with you!  Everything seems to be here, the pictures make it clear.  It’s really wonderful!” My first review! Yay!

Anyway, Behind the Veil: Beeswax and Collage is available on my website, and I will give away a free download as a Friday Freebie to one lucky subscriber to SHARDS, name to be drawn Sunday night.

If you decide to buy the eBook, and something doesn’t work, for heaven’s sake let me know! But so far, so good. Thanks for reading my blog!! Happy weekend.

veilcvover

Easy color-to-sepia photos for beeswax collage using iPiccy

Sunday’s workshop at the Studio is Beeswax Collage (it’s sold out, yay!), and I’m going to ask the participants to bring a sepia-toned photo to work with. I’m sending them the link to this post to show them how to do a sepia effect with iPiccy, and you can find out, too, by following these instructions!

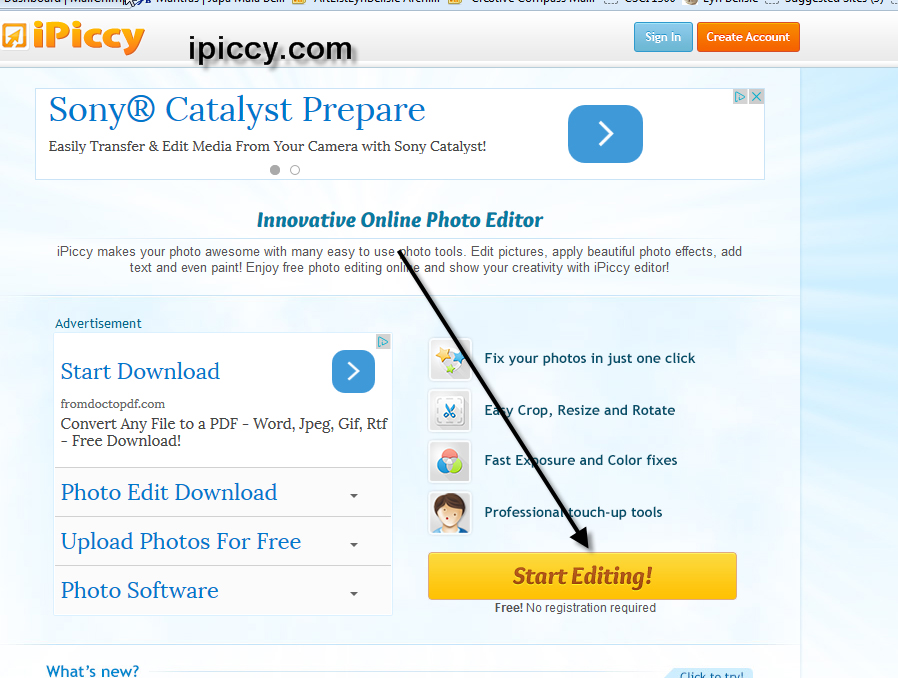
First, you need to choose a photo that you want to transform to sepia, and remember what file it’s in so you can find it to upload it. Then go to iPiccy and choose Start Editing!

sepia

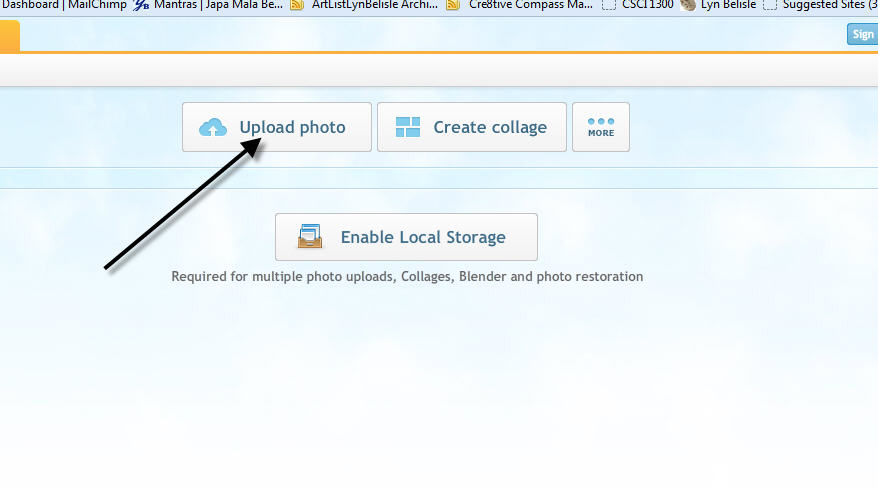
You’ll see a window that asks you to upload a photo.

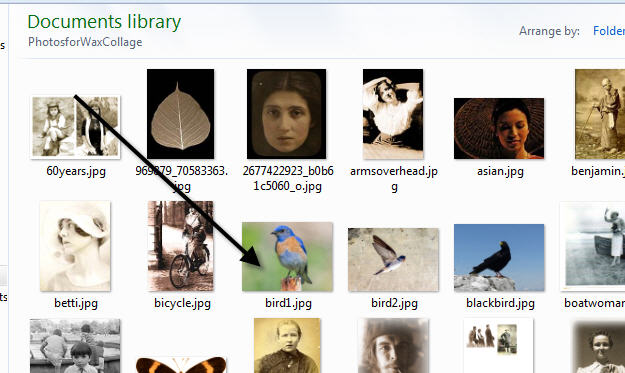
sepia0 Browse to the file on your own computer that has the photo you want to change from color to sepia and select it

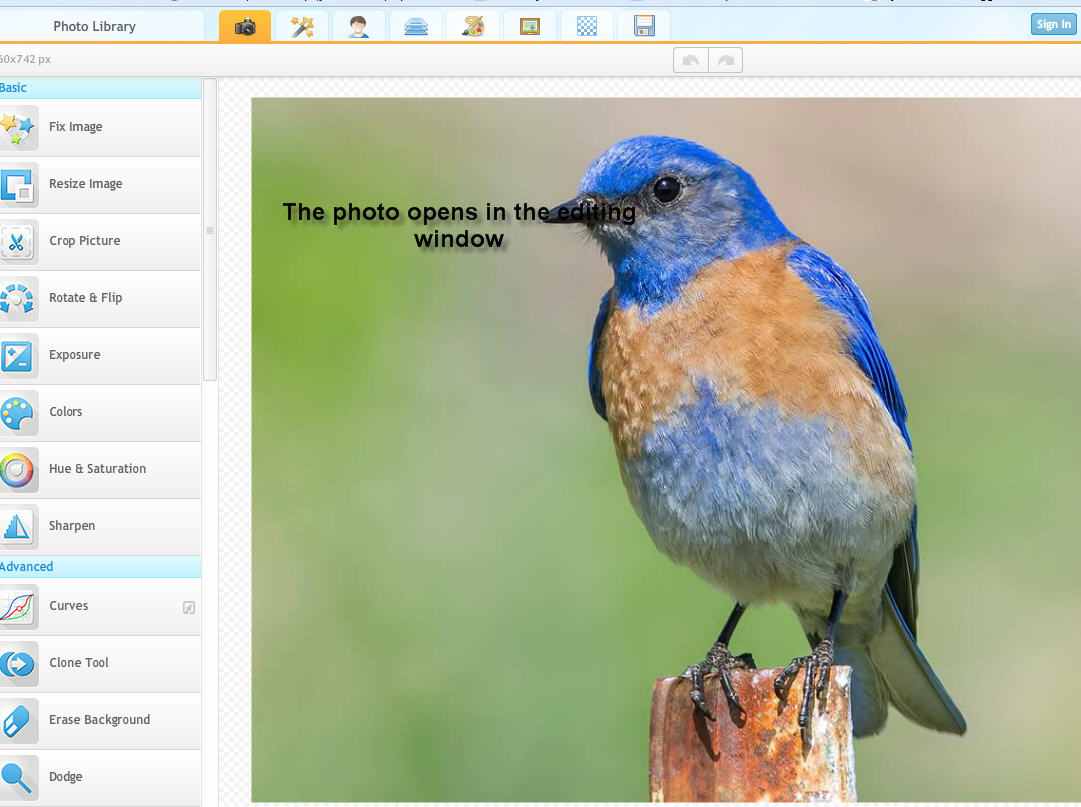
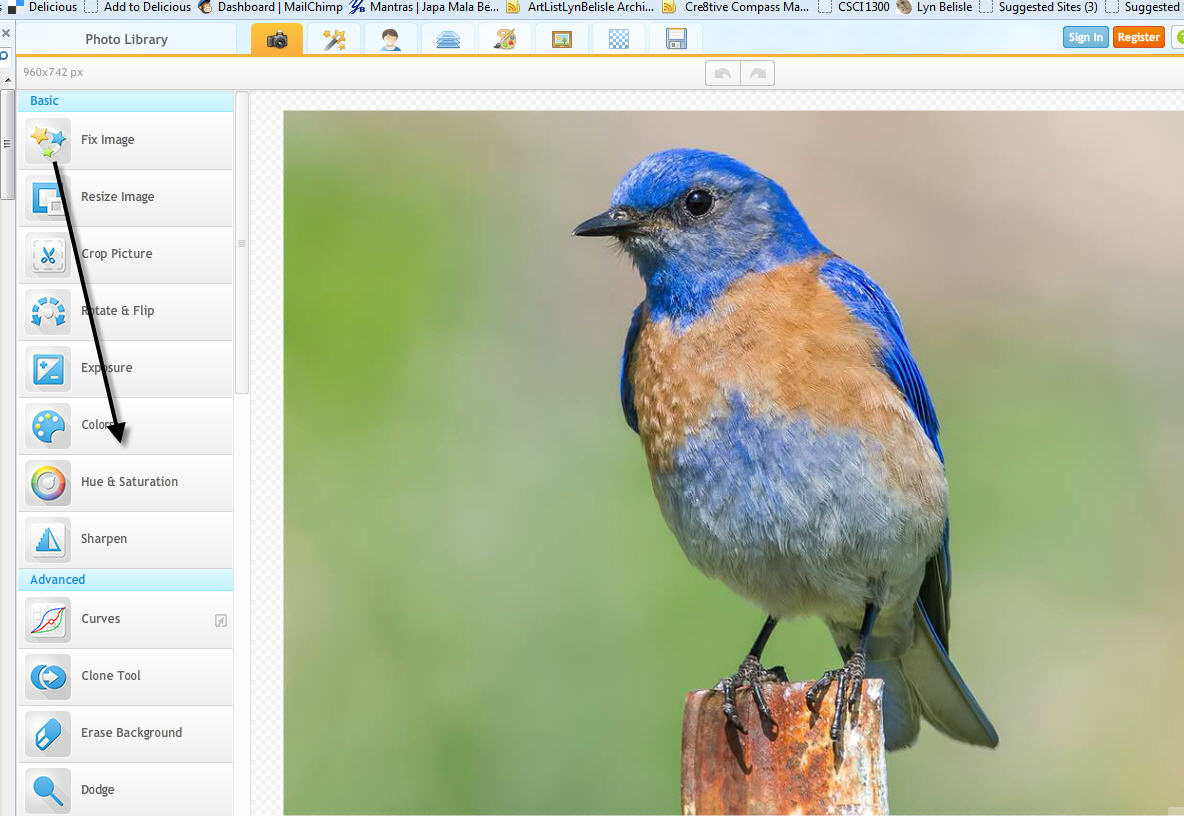
sepbird    Your photo uploads into the editing window.

sepia 5

Look on the left side and find the bar that says Colors.

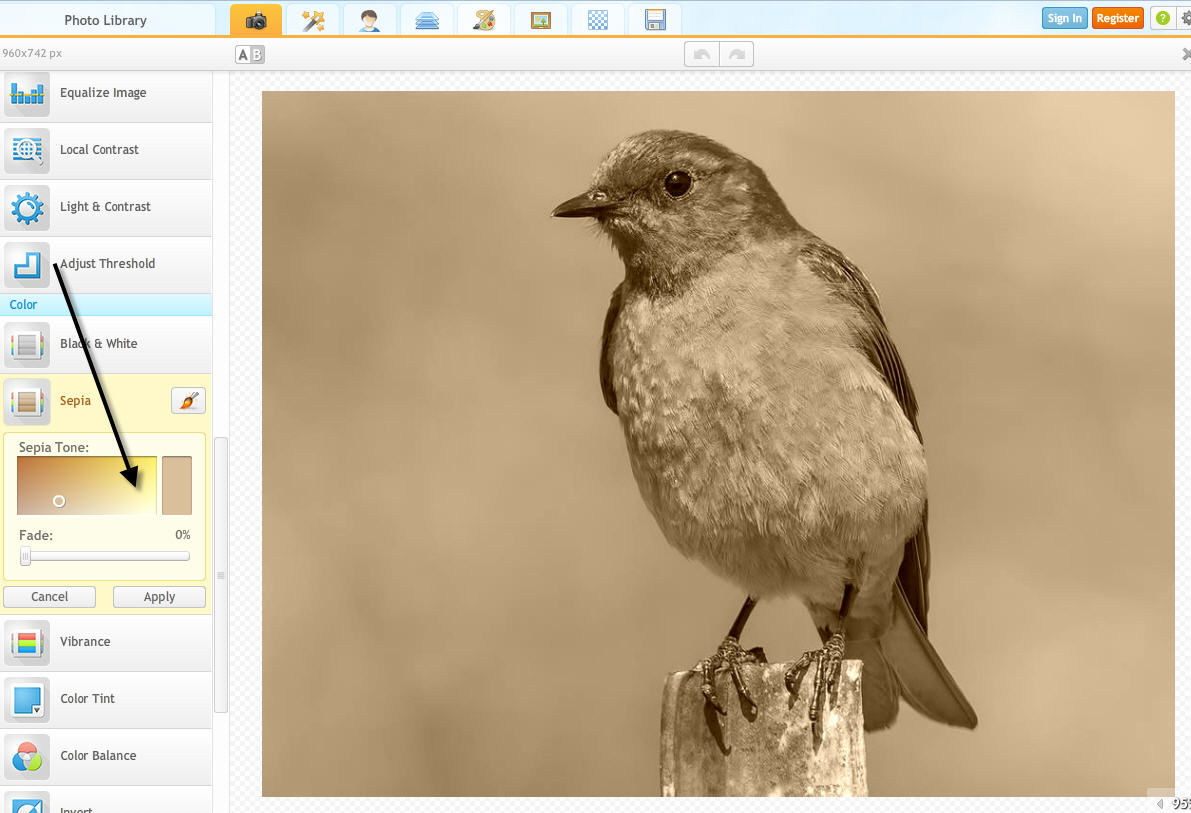
sepia5Click on it and scroll down that list until you come to the bar that says Sepia – choose the sepia tone that you like.

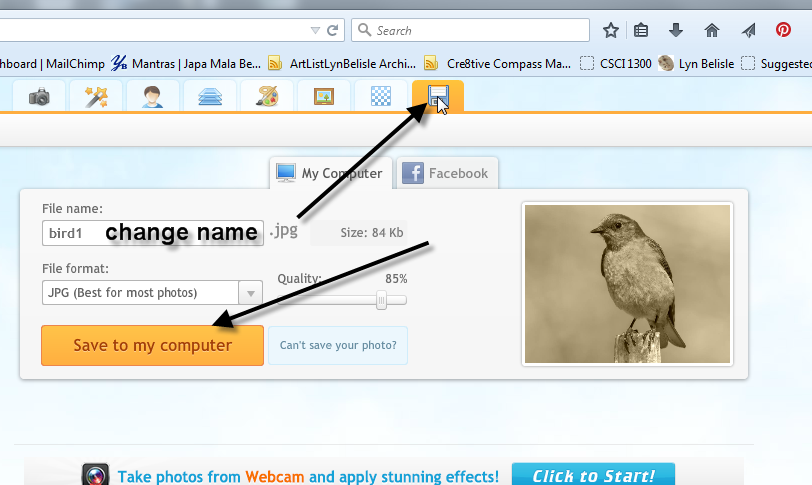
sepia3Once you’ve transformed the image to sepia, you can click on the Save icon at the top right and save it back to your computer

sepia7Give it a different name so it doesn’t overwrite our original color photo. Now you are ready to print it out and use it for your beeswax collage – or whatever creative purpose you desire!

Happy weekend, everyone!