What a great response to my plea for help in my last post! We must trust and rely on each other in times like this, for sure, and your input on what online workshops should look like was invaluable.
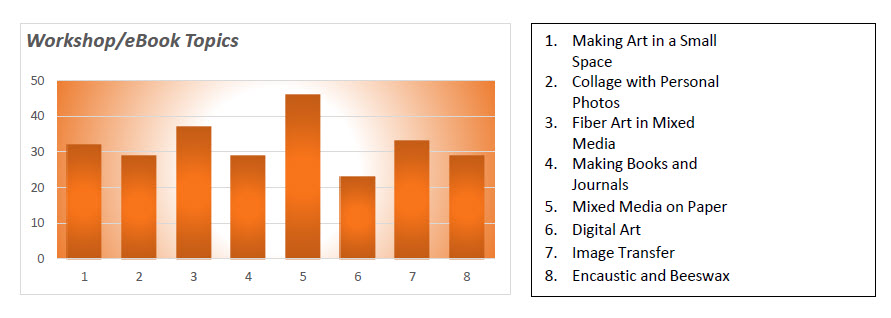
Here are two charts from your responses (my geek side took over while I was compiling these stats). The first one shows suggested workshop topics by most votes – #5, Mixed Media on Paper, had the most, but everyone liked pretty much everything.
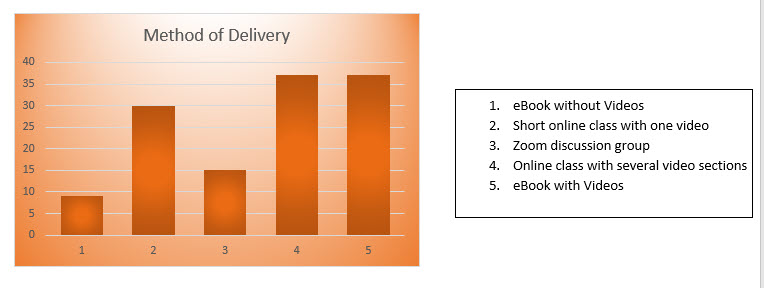
This shows preferred method of delivery – online classes with several videos and eBooks with videos tied for favorites. Excellent. Those are my faves, too.
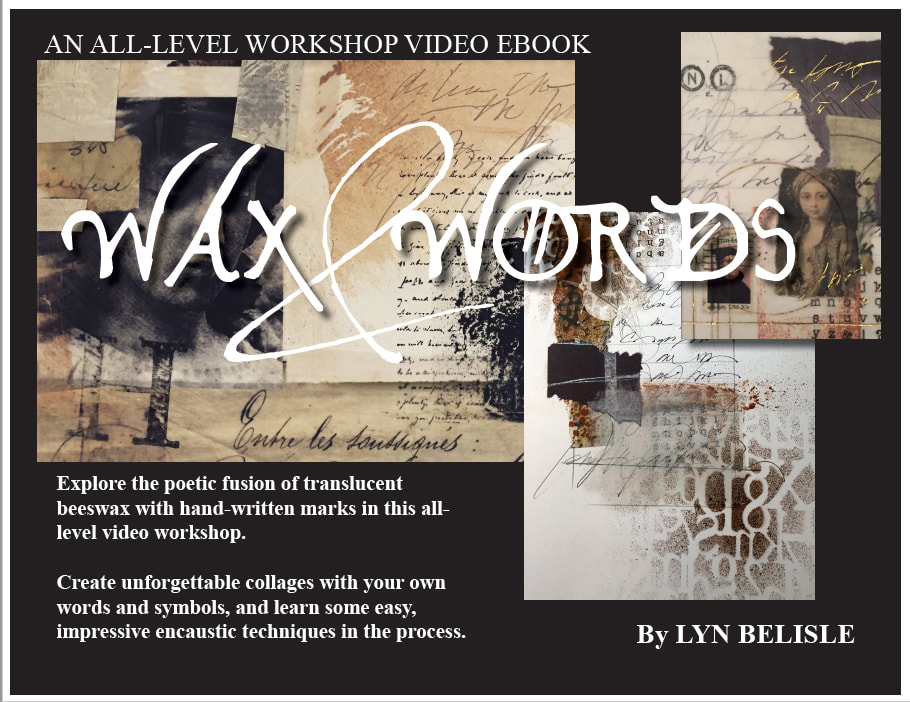
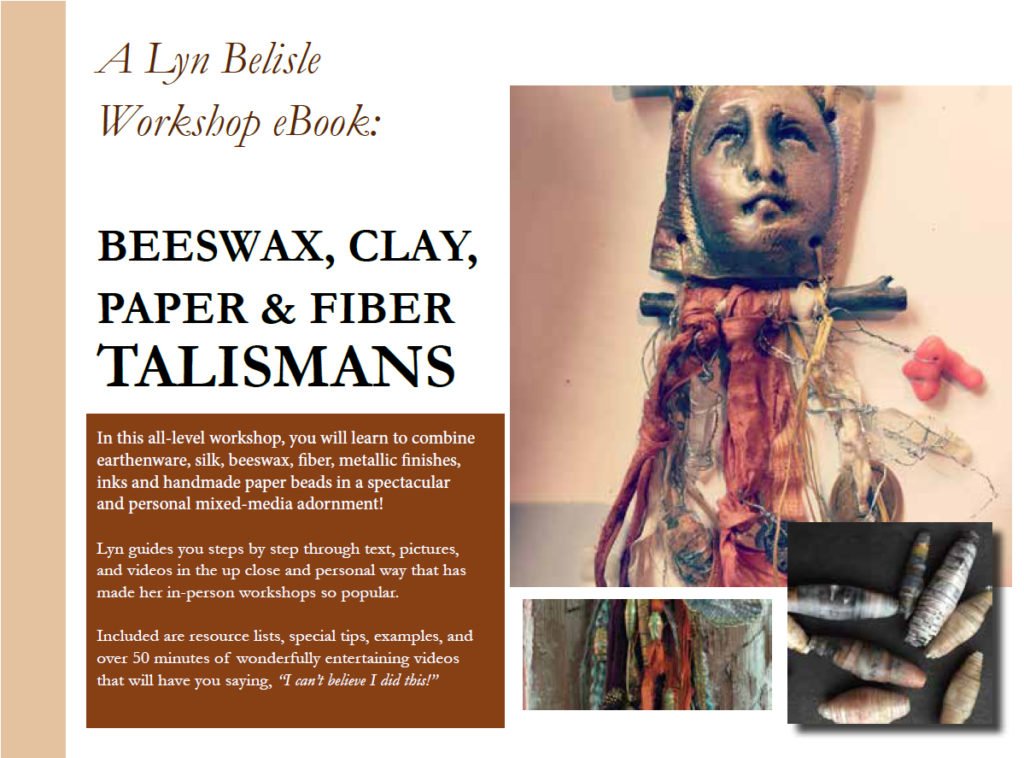
These results mirror the topics and methods I love in my own teaching and learning. The new Postcards to Myself eBook with Videos is coming out in just five days. –
And you can sign up for one of my online classes with several videos today if you want to help give more feedback.
Here’s the deal:
I have been researching a platform called Teachable, like it a lot, and have put up a new “school” there called
Lyn Belisle Studio. And — as a first move, I’ve decided to add the mixed-media workshops I made from my
Artful Gathering classes from the last four or five years to the new “school.”
Artful Gathering, as some of you may remember, was a wonderful organization (thanks, Zinnia!) that subscribers purchased every summer. The faculty, including me, taught various intensive mixed-media online workshops for a period of about six weeks for each class.
While Artful Gathering sponsored and managed the events, the content remains the property of the instructors. It seemed a shame to me that more people couldn’t see those classes now that the Artful Gathering instructors have scattered.
So, I am going to make the classes I designed for AG available again on the Teachable platform all year round and at a lower price. Makes sense? I’ll also be developing new courses but this will get us off to a fast start with fun video workshops.
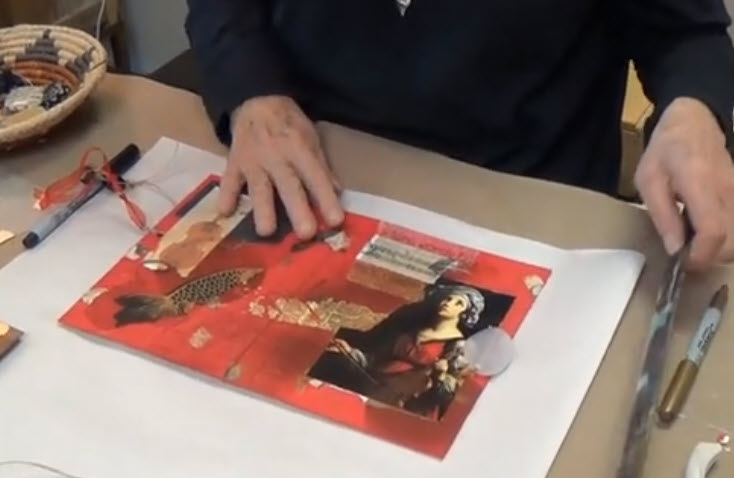
The first workshop that I’ve made available is called Story in a Story, and it has been reworked to fit the Teachable platform. What a learning experience that was!
There are ten videos totaling a little over two hours which show all kinds of techniques for creating portfolio covers for your kindle or iPad – or for whatever you want! I’ll put a link for the promo at the bottom. So . . . .
- I’m asking some of you to help me test-drive this new workshop platform
- I’m currently using the trial version of Teachable, which allows me to have just 10 students – later on, I can have an unlimited number
- Before I pay the monthly fee for Teachable, I want to make sure you like it – I need your feedback
- The Story in a Story course is available for registration right now, but again, registration is limited to ten students
- The workshop price will normally be $39, but right now it’s $10 just to see how the payment process works and all of that – again, limit 10
- If you would like to register, I will pass on your $10 tuition to the San Antonio Food Bank (later, the tuition will be $39 and will go toward paying the Teachable platform fee).
- If you are one of the ten students, please help me with comments on how you think it works, how easy it is to access the videos – all of that stuff.
- You will help me immensely with my decision to go with the paid version of Teachable going forward. Oh, and I can have classes by other instructors there too – like Lesta Frank and Michelle Belto! It’s exciting.
Here are the relevant links:
If you’d like to register for the Story in a Story Workshop on Teachable for $10 (which will then go to the Food Bank) follow this link and scroll to the bottom for Featured Courses (there’s just one so far):
If you’d like to see the original class promo before you consider signing up to test drive the workshop, go here to Vimeo:
I’ll get notifications from Teachable when you sign up and will make a class email list for your feedback. No pressure, just thanks for considering this. I need your help to know how best to bring you new workshops.
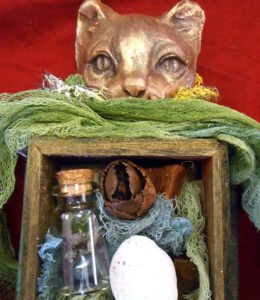
Oh, and the next two Artful Gathering workshops to go up on Teachable if all this works will be the Citra-solv collage class and the Mystical Cat Shaman class! Those should be up in the next week or two, tuition $39.
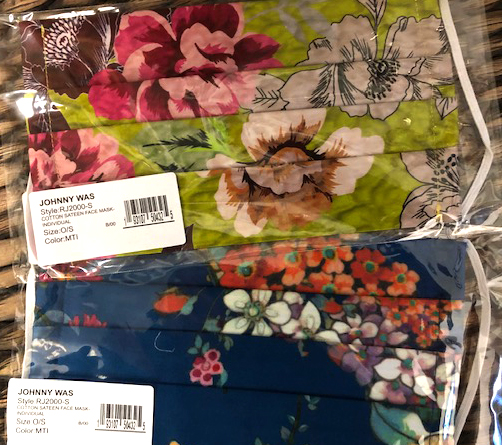
One more thing- from all the names that submitted suggestions and data, Rosemary Uchniat is the randomly chosen winner of the lovely Johnny Was mask! Rosemary, decide whether you like the blue one or the green one, and I will get it in the mail to you.
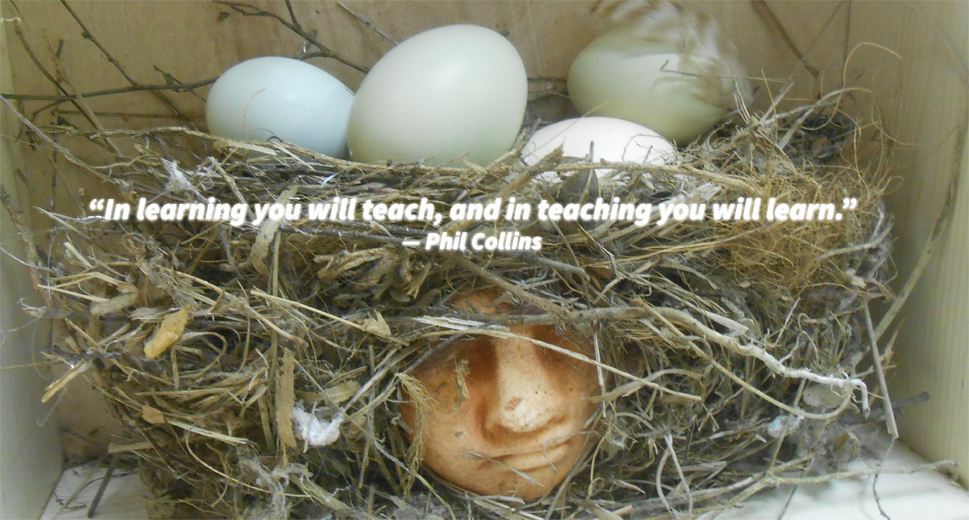
Thanks for listening to all of this. There are important things going on in our world. We are all learning – together.
♥Lyn