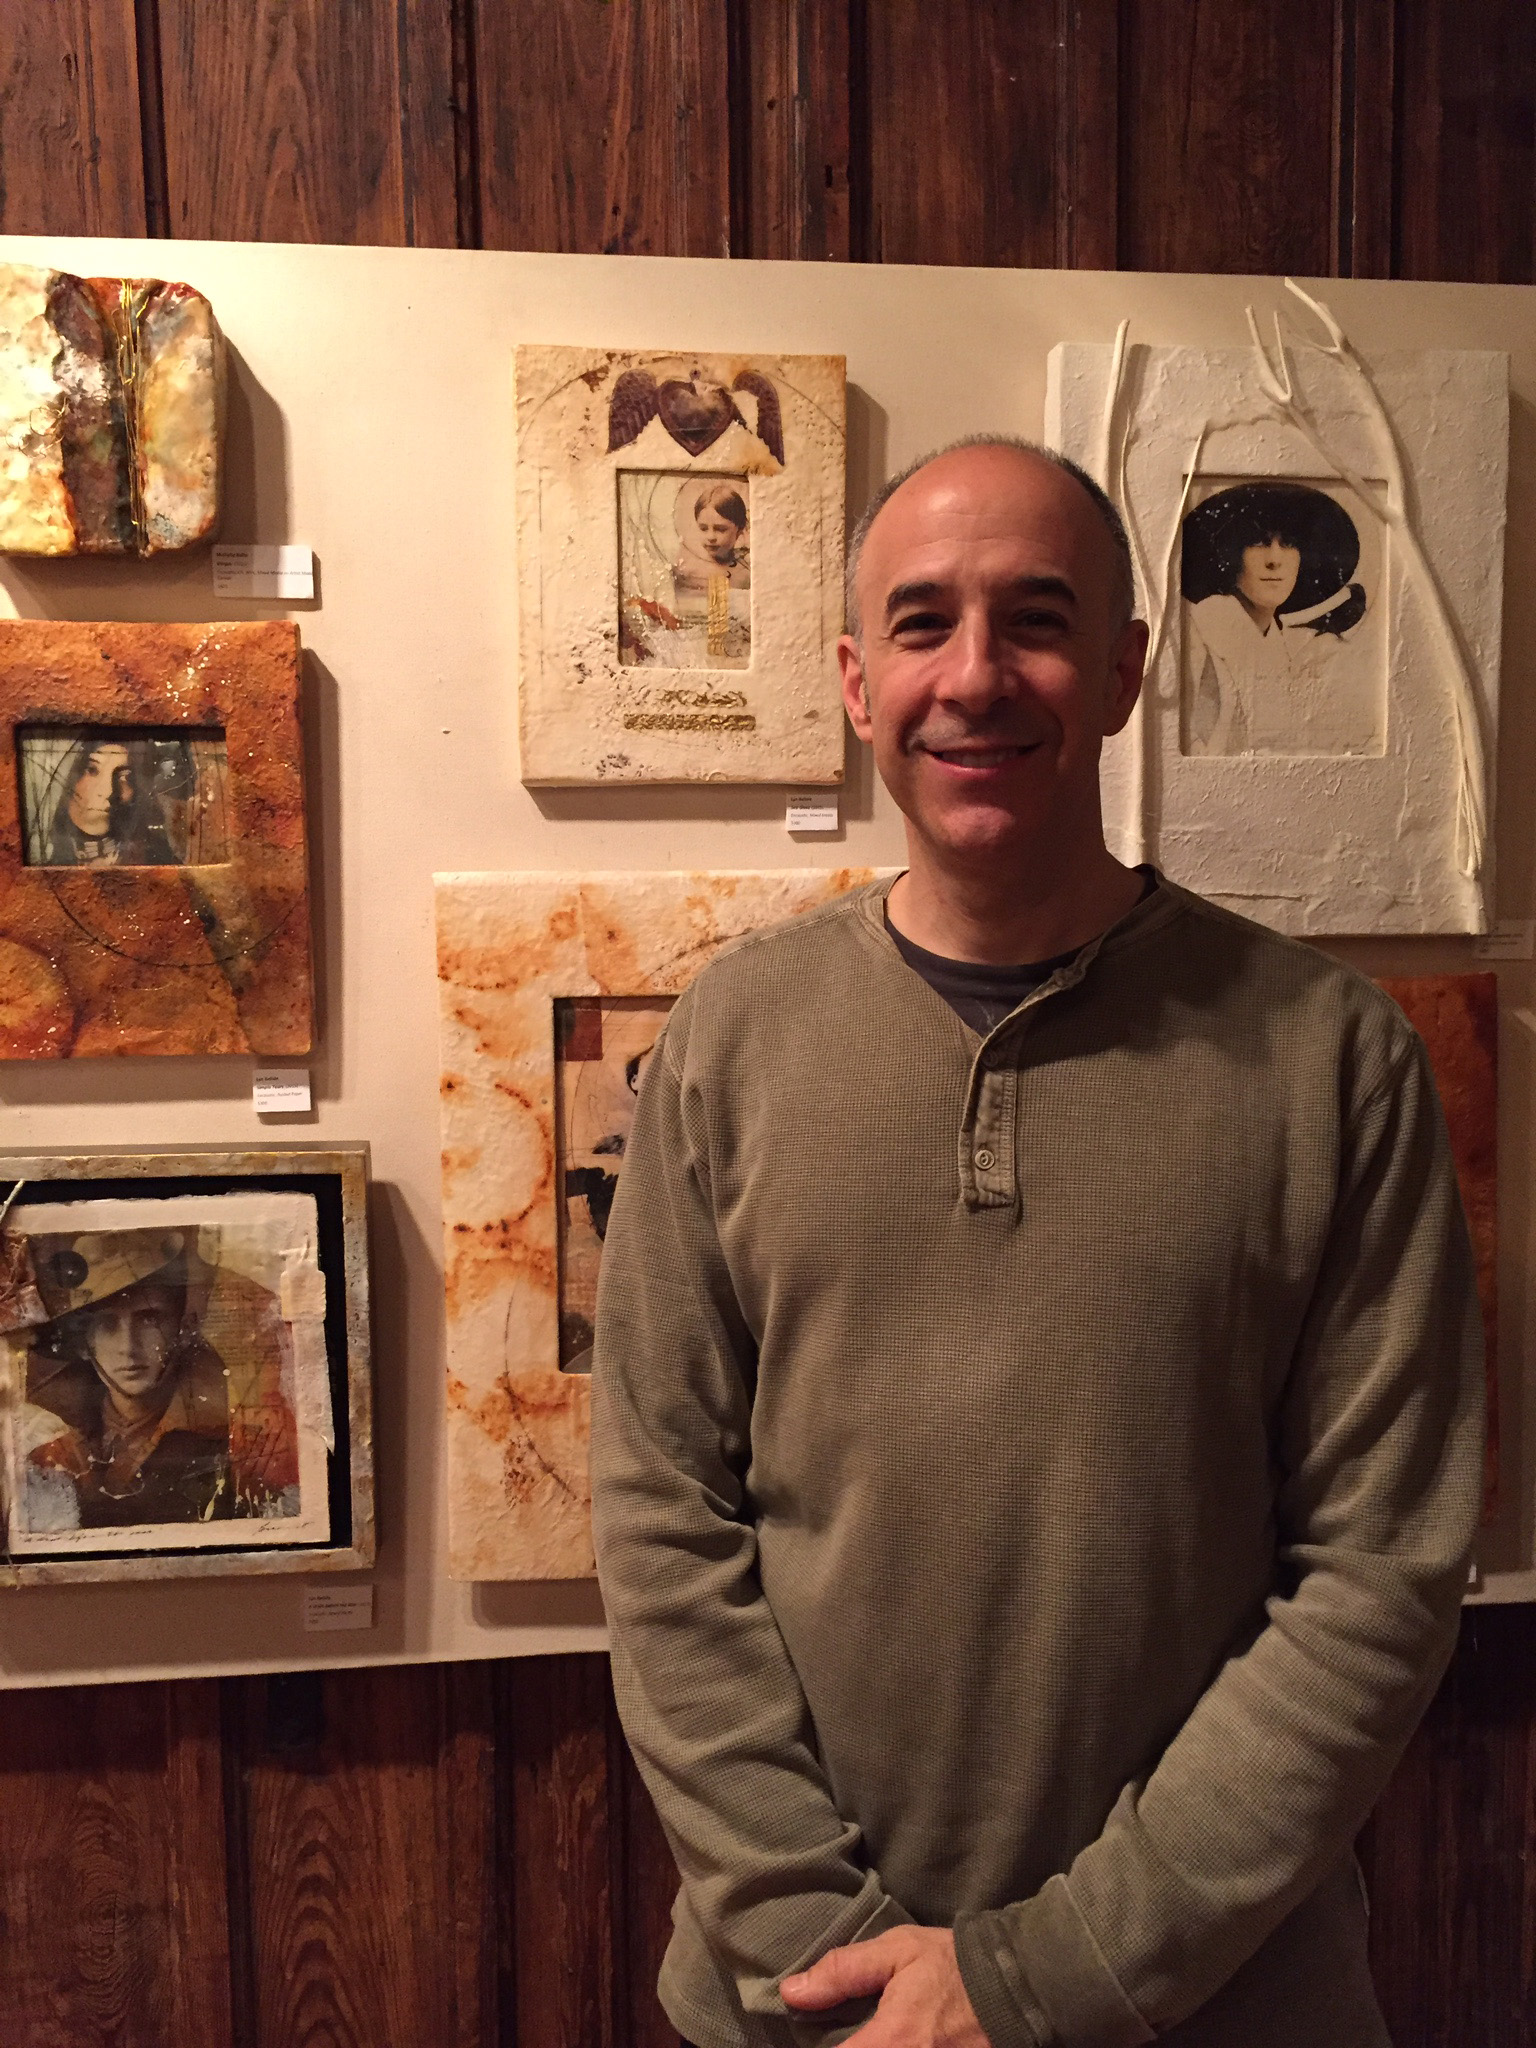
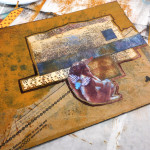
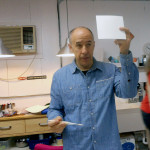
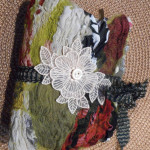
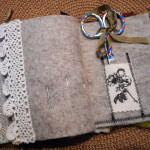
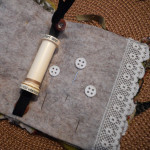
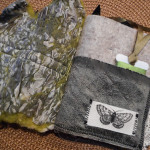
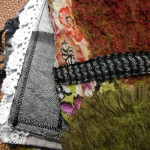
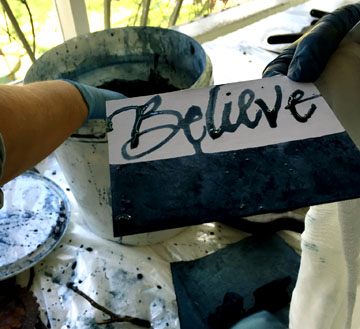
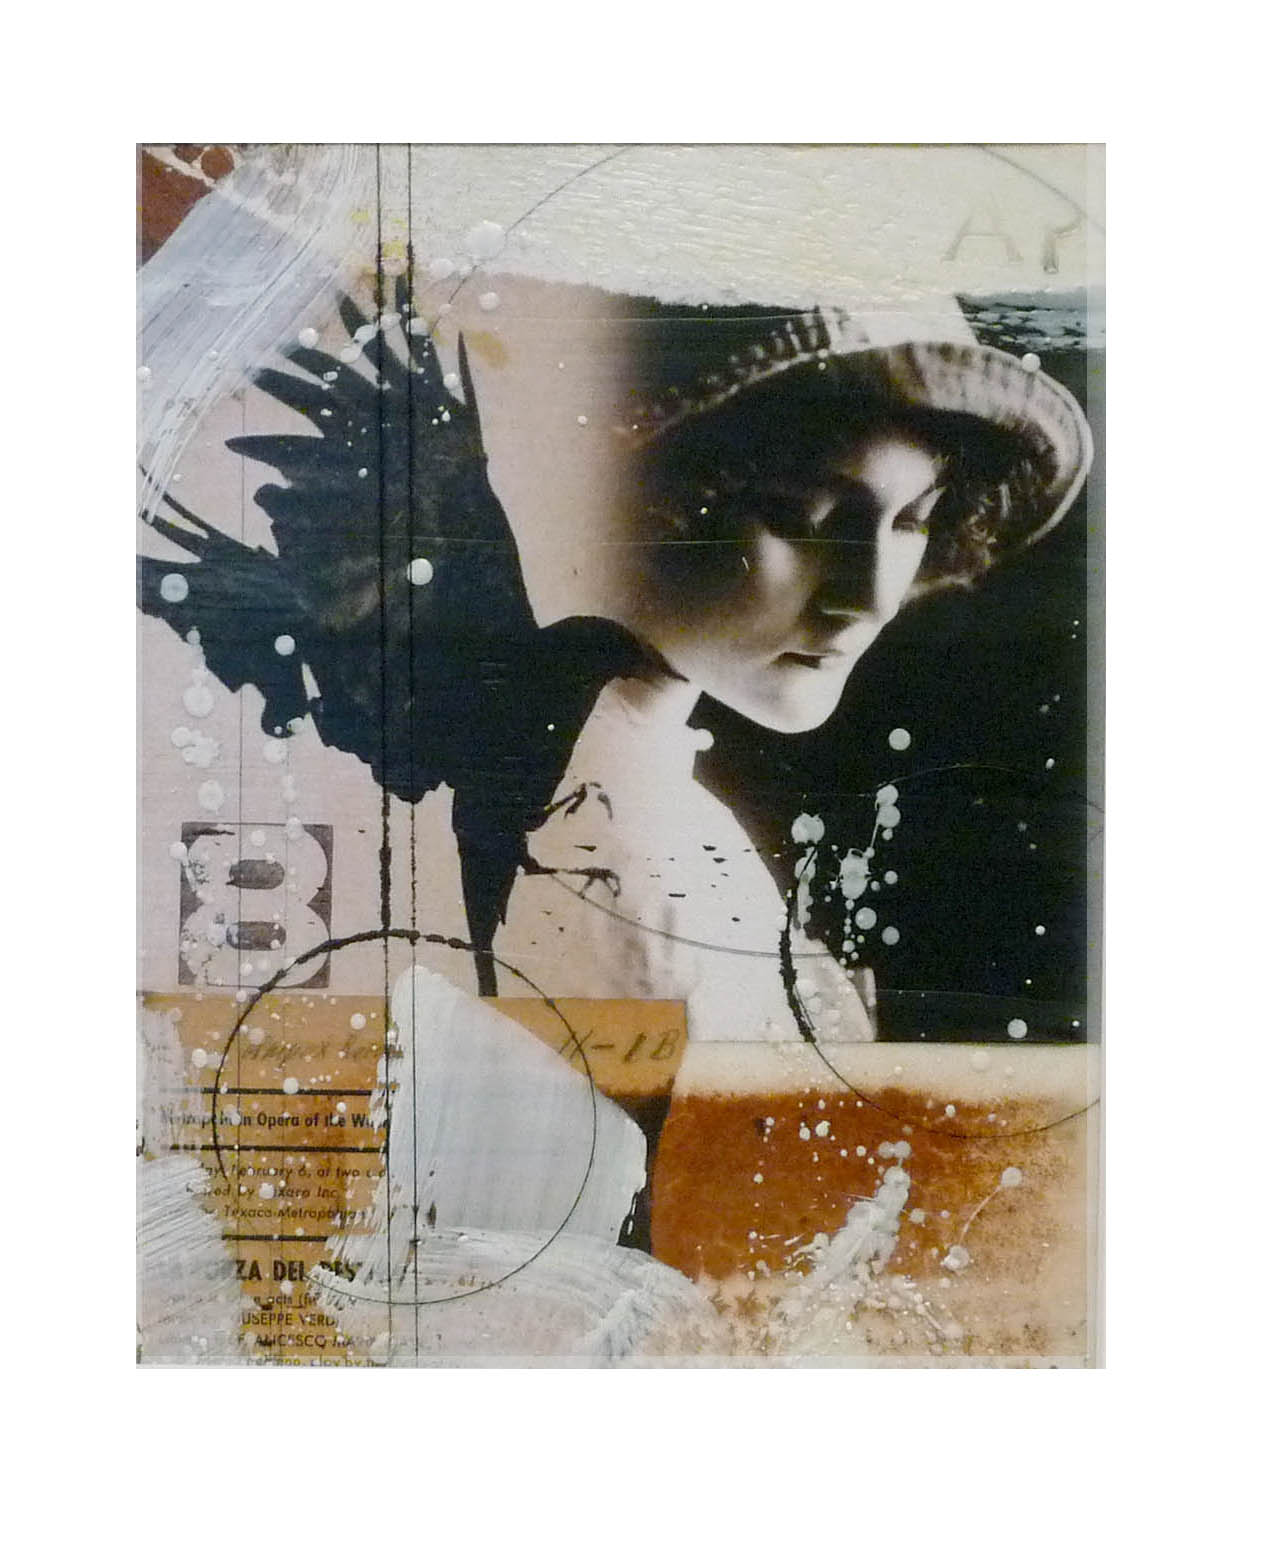
Seven intrepid students came to the Studio yesterday afternoon to help me test drive my first mid-week workshop. It was a major success – we waxed out little hearts out and produced some fine collages. Take a look:
I’ve scheduled three more Wednesday workshop for the spring – it seems to be a good day for a lot of people. One good suggestion was to change the time from 2-5 to 1-4 so participants wold miss the rush hour traffic. Thoughts?
- Feb. 17 – Wednesday Workshop: Encaustic Exploration
- Mar. 16 – Wednesday Workshop: Abstract Acrylic Exploration
- Apr 13 – Wednesday Workshop-Exploring Textures in Collage
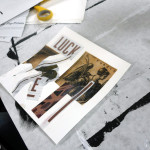
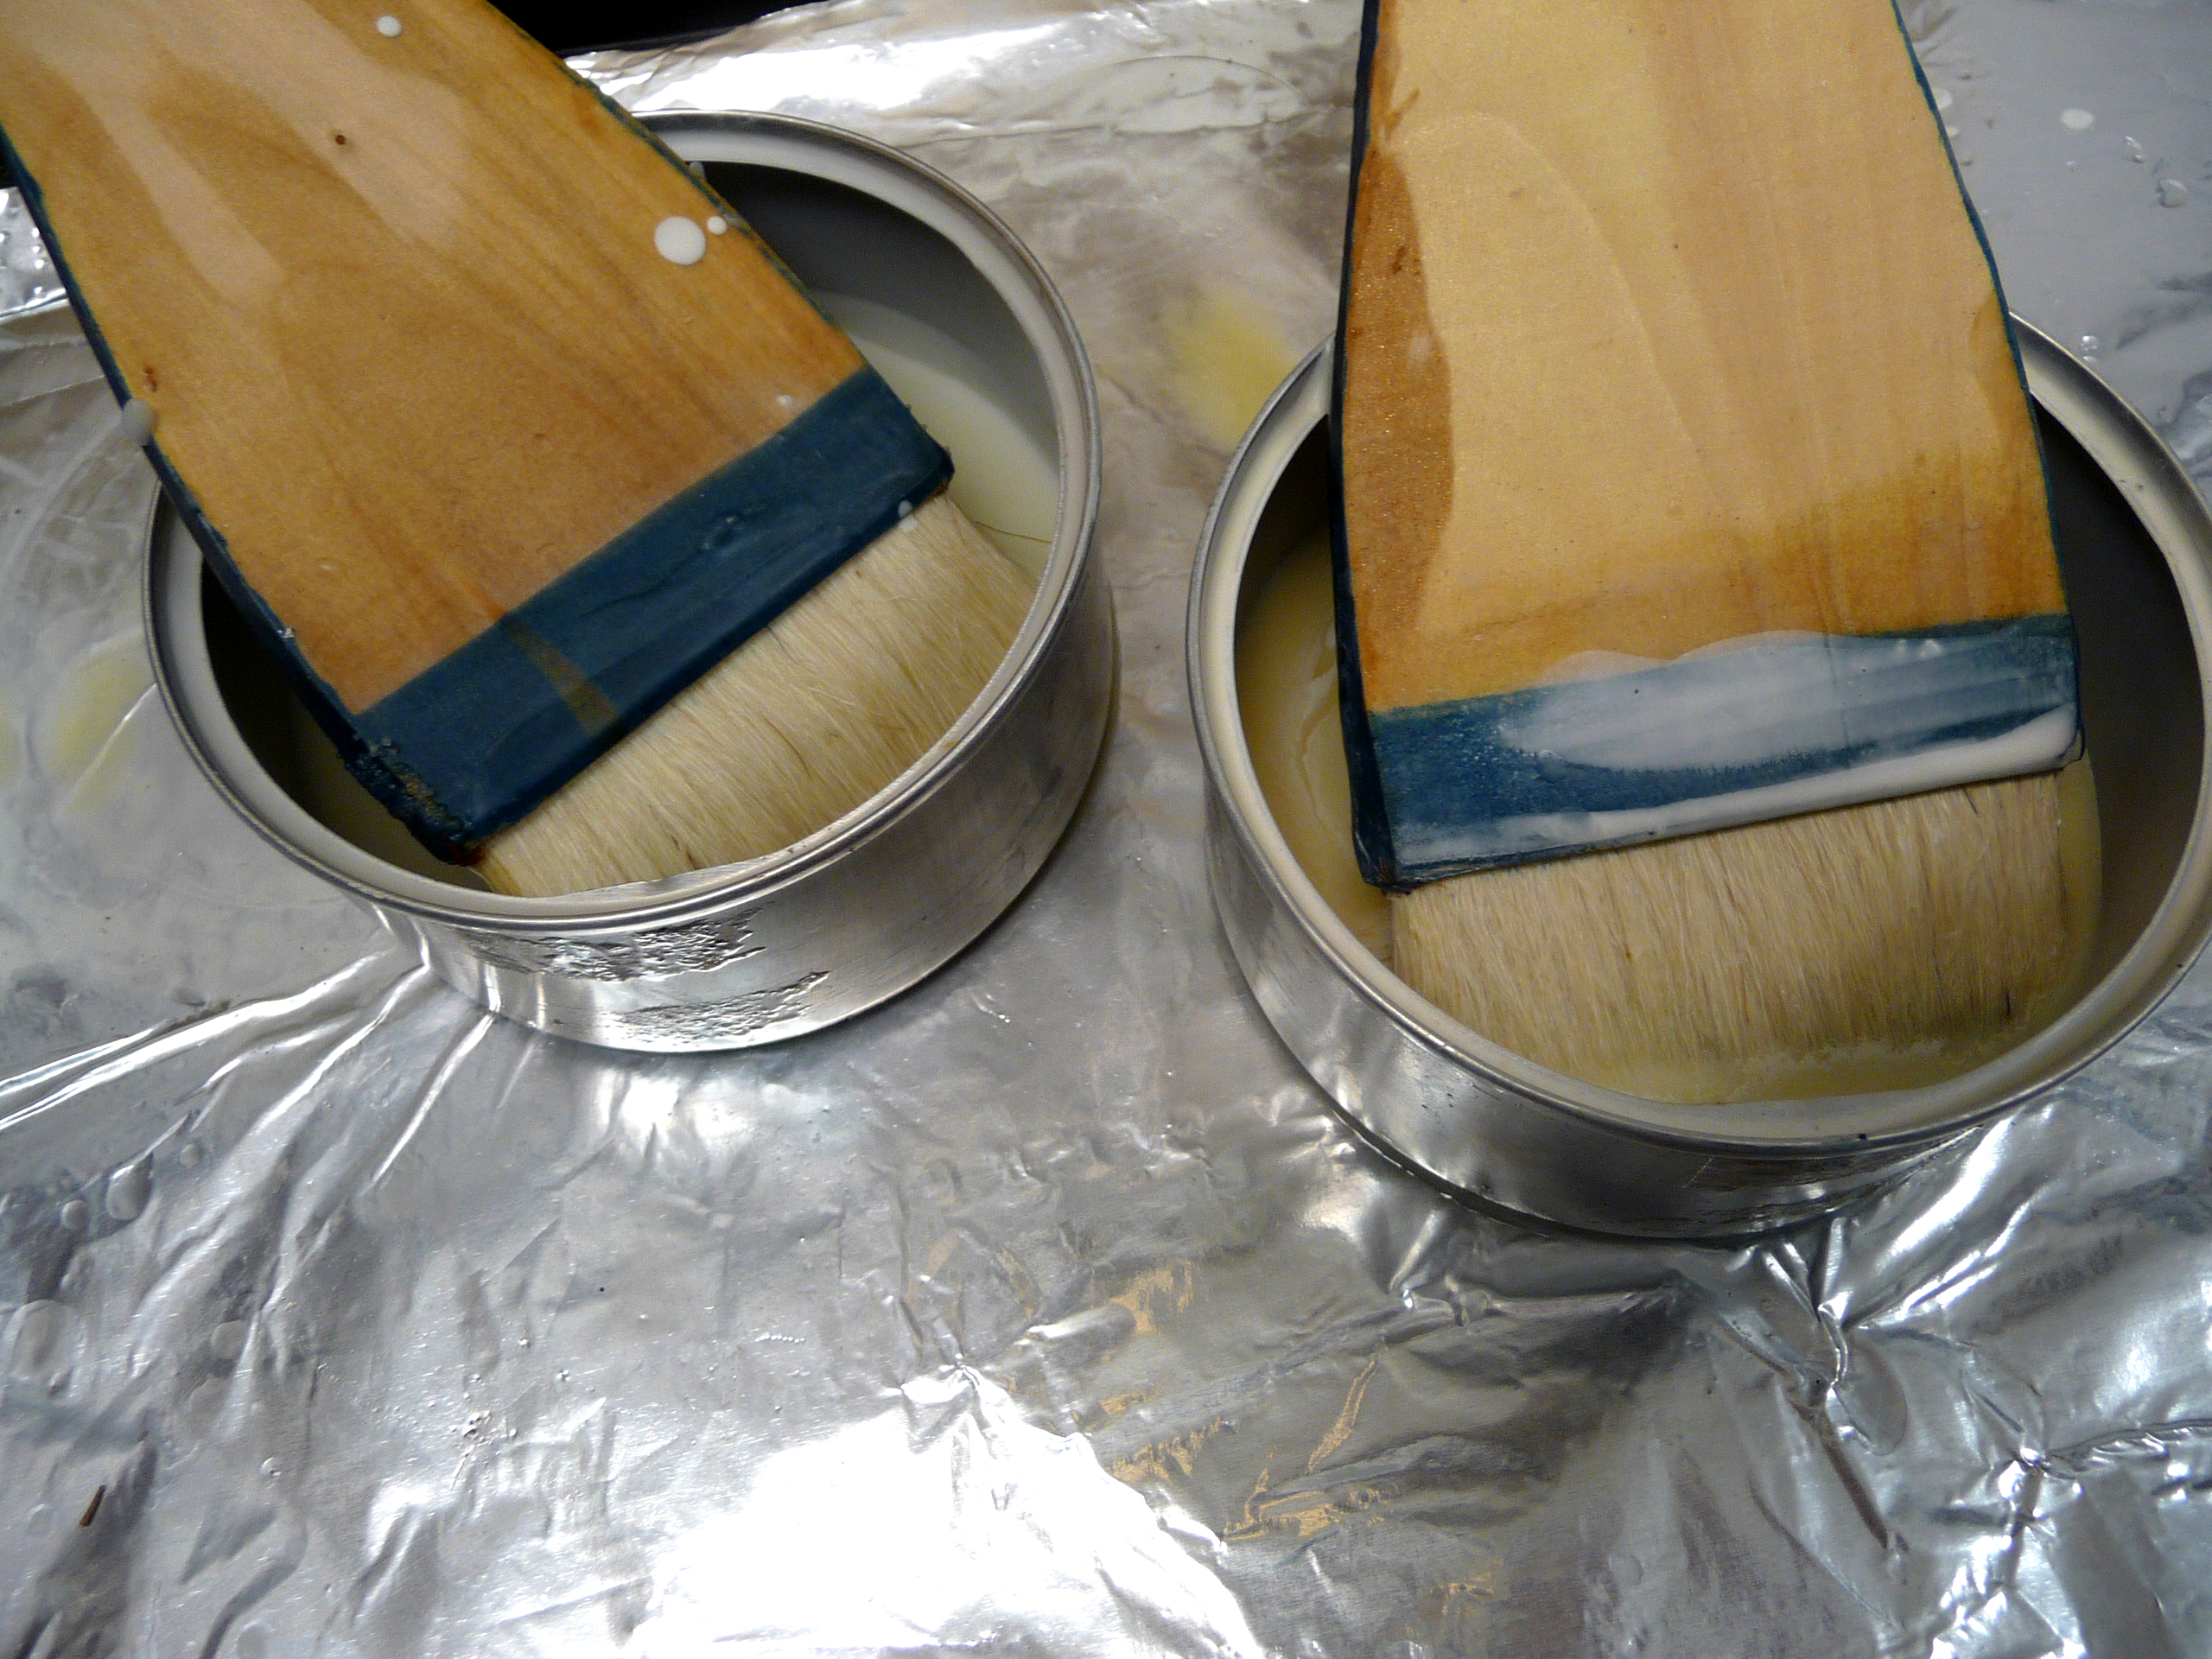
We had an interesting discussion during yesterday’s workshop about materials. There seems to be a trend toward letting the materials dictate the process rather than the other way around. In all my workshops, I try to encourage the simplest materials possible, and the most accessible. That’s why I like yesterday’s Beeswax Collage workshop – you can do it with an electric griddle and two tuna cans plus some clear wax and white wax. And – tah-dah – just add you own creativity! What a concept.
 One of the best non-gimmicky lists of basic, good quality, non-goofy art materials I’ve come across is Jane Davies’ list of favorite materials. True, she doesn’t include basic encaustic supplies, but here’s my short list for the beeswax collage project:
- R&F Encaustic Medium – 1 lb. Bag
- Encaustic paint, Titanium White – 1 40ml cake
You can leave some of the medium clear and tint some of it with the white paint in separate tuna cans on your griddle – simple. Be sure and follow the safety rules!


.jpg)