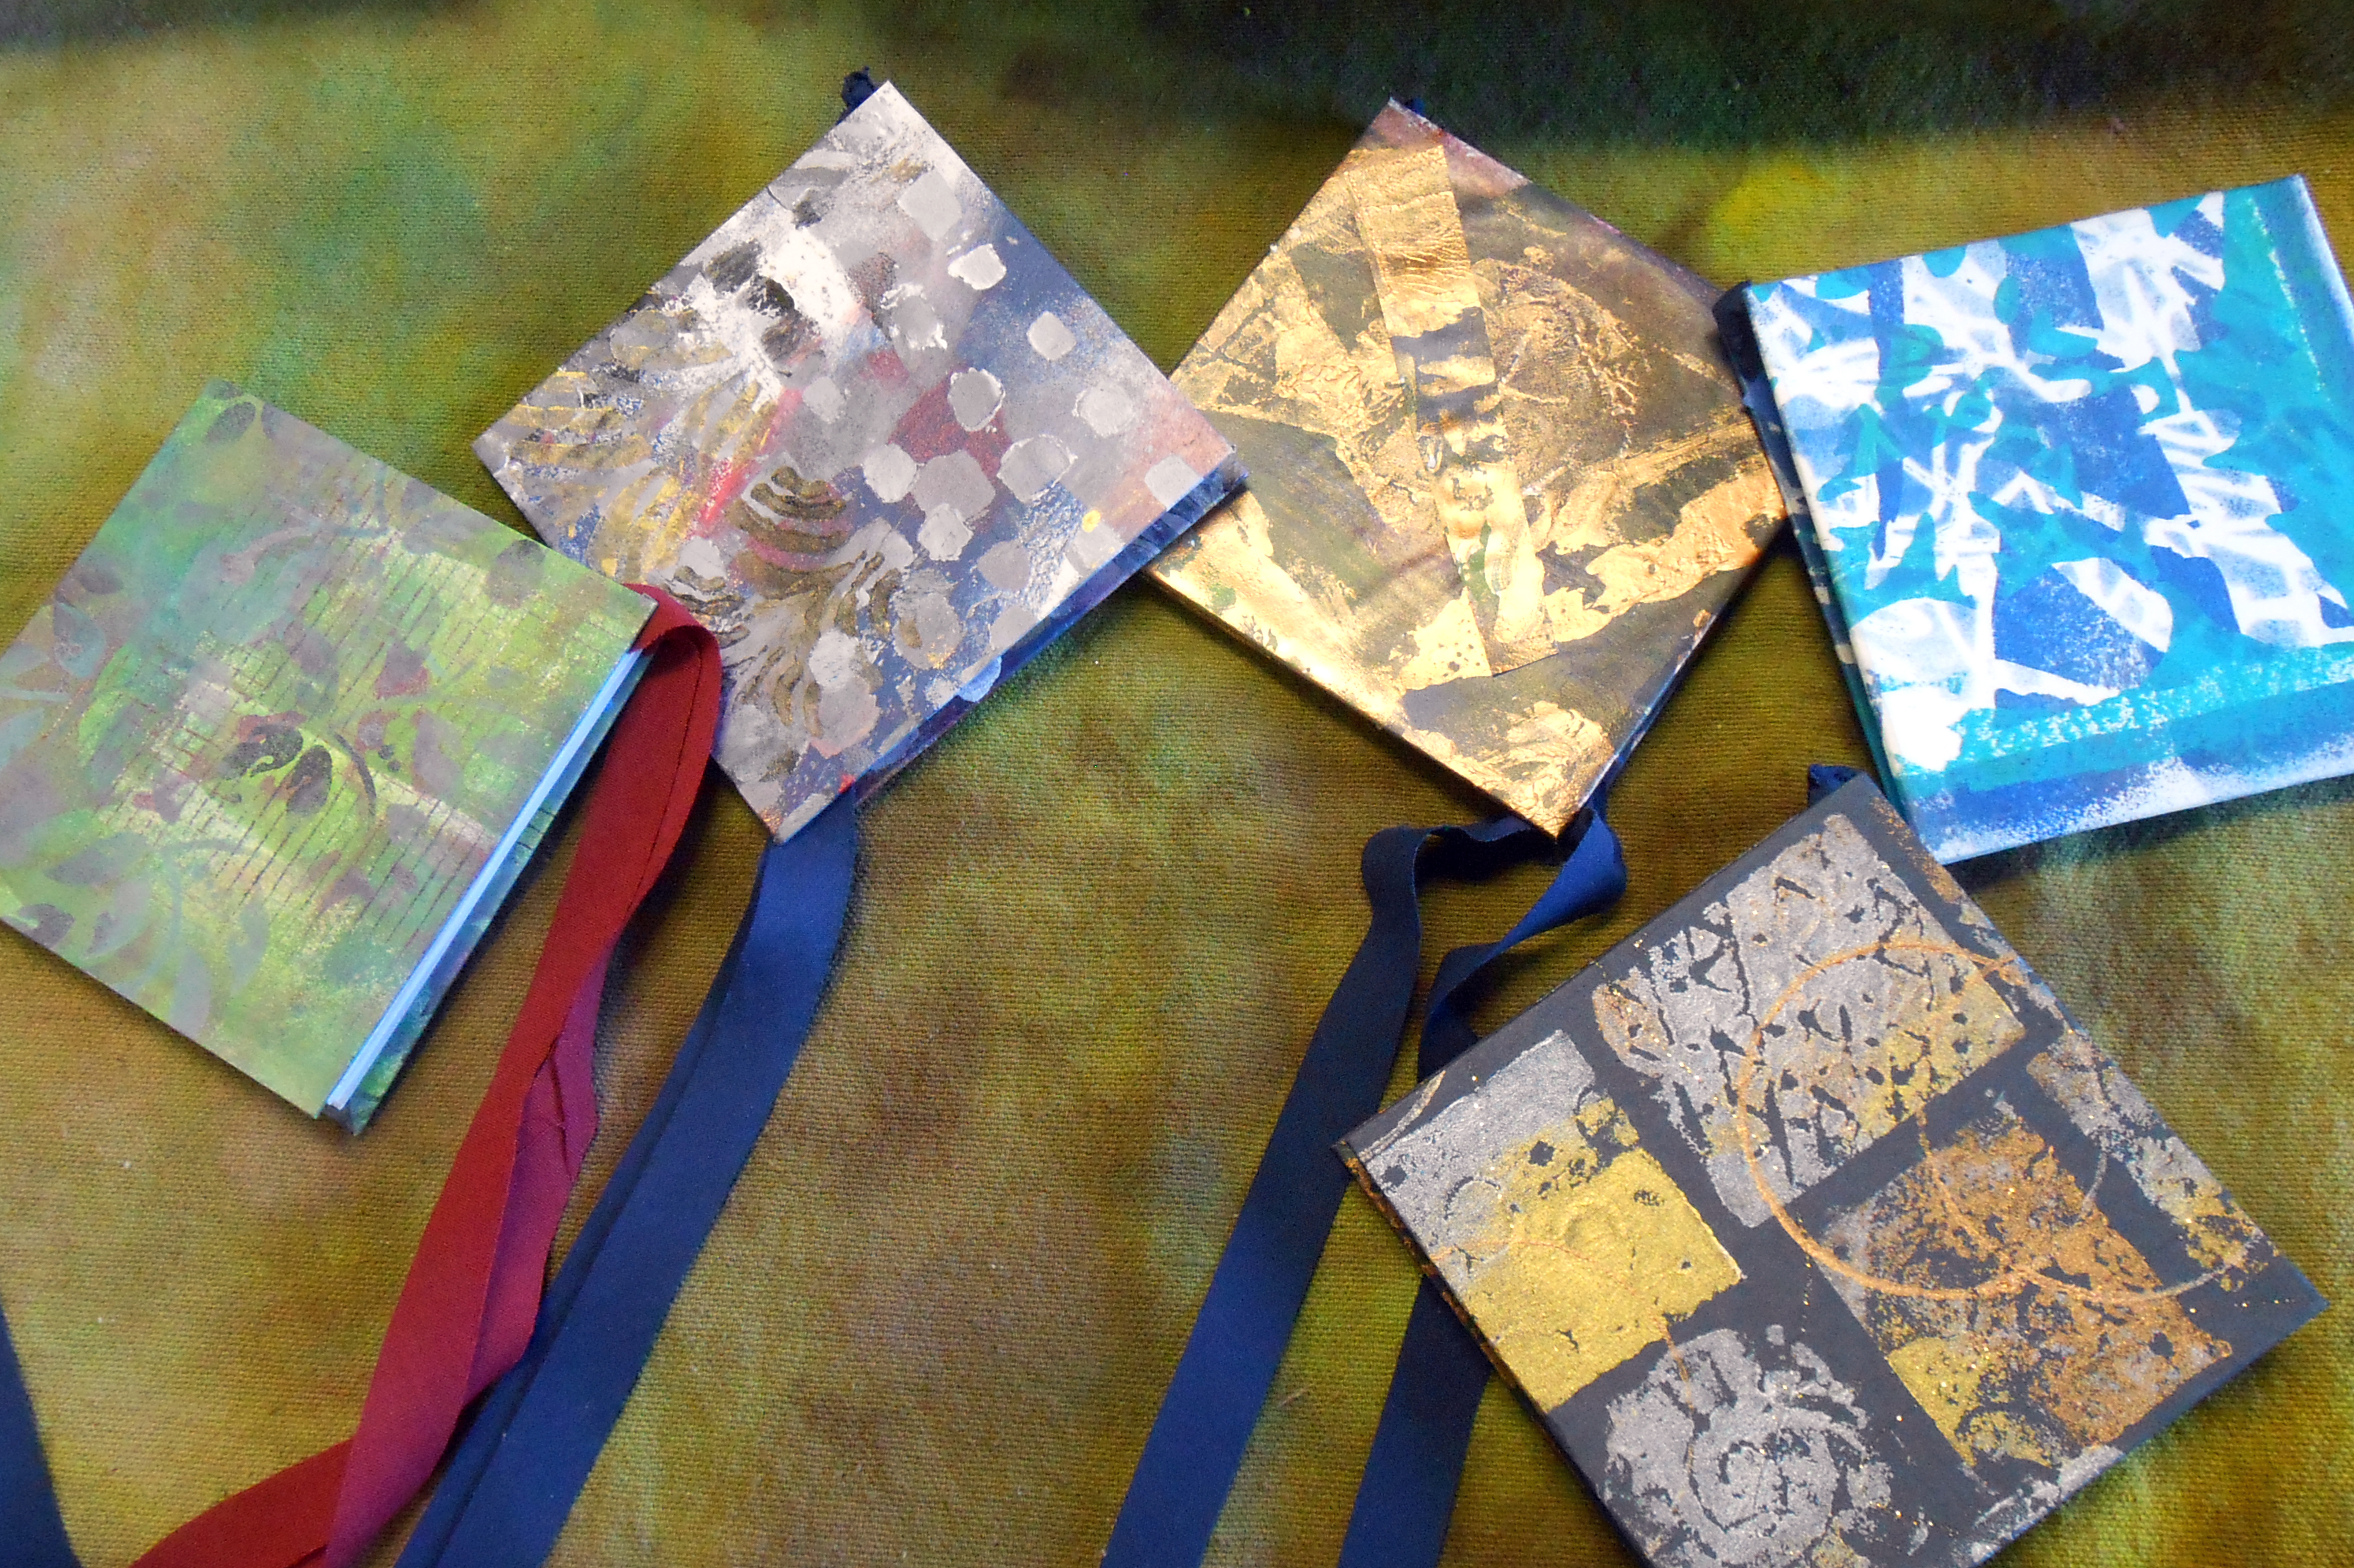
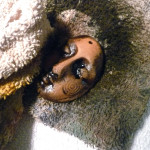
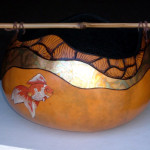
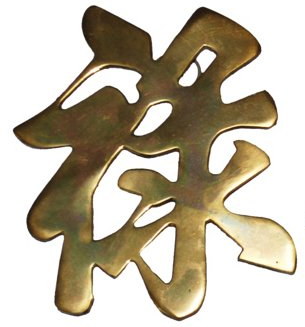
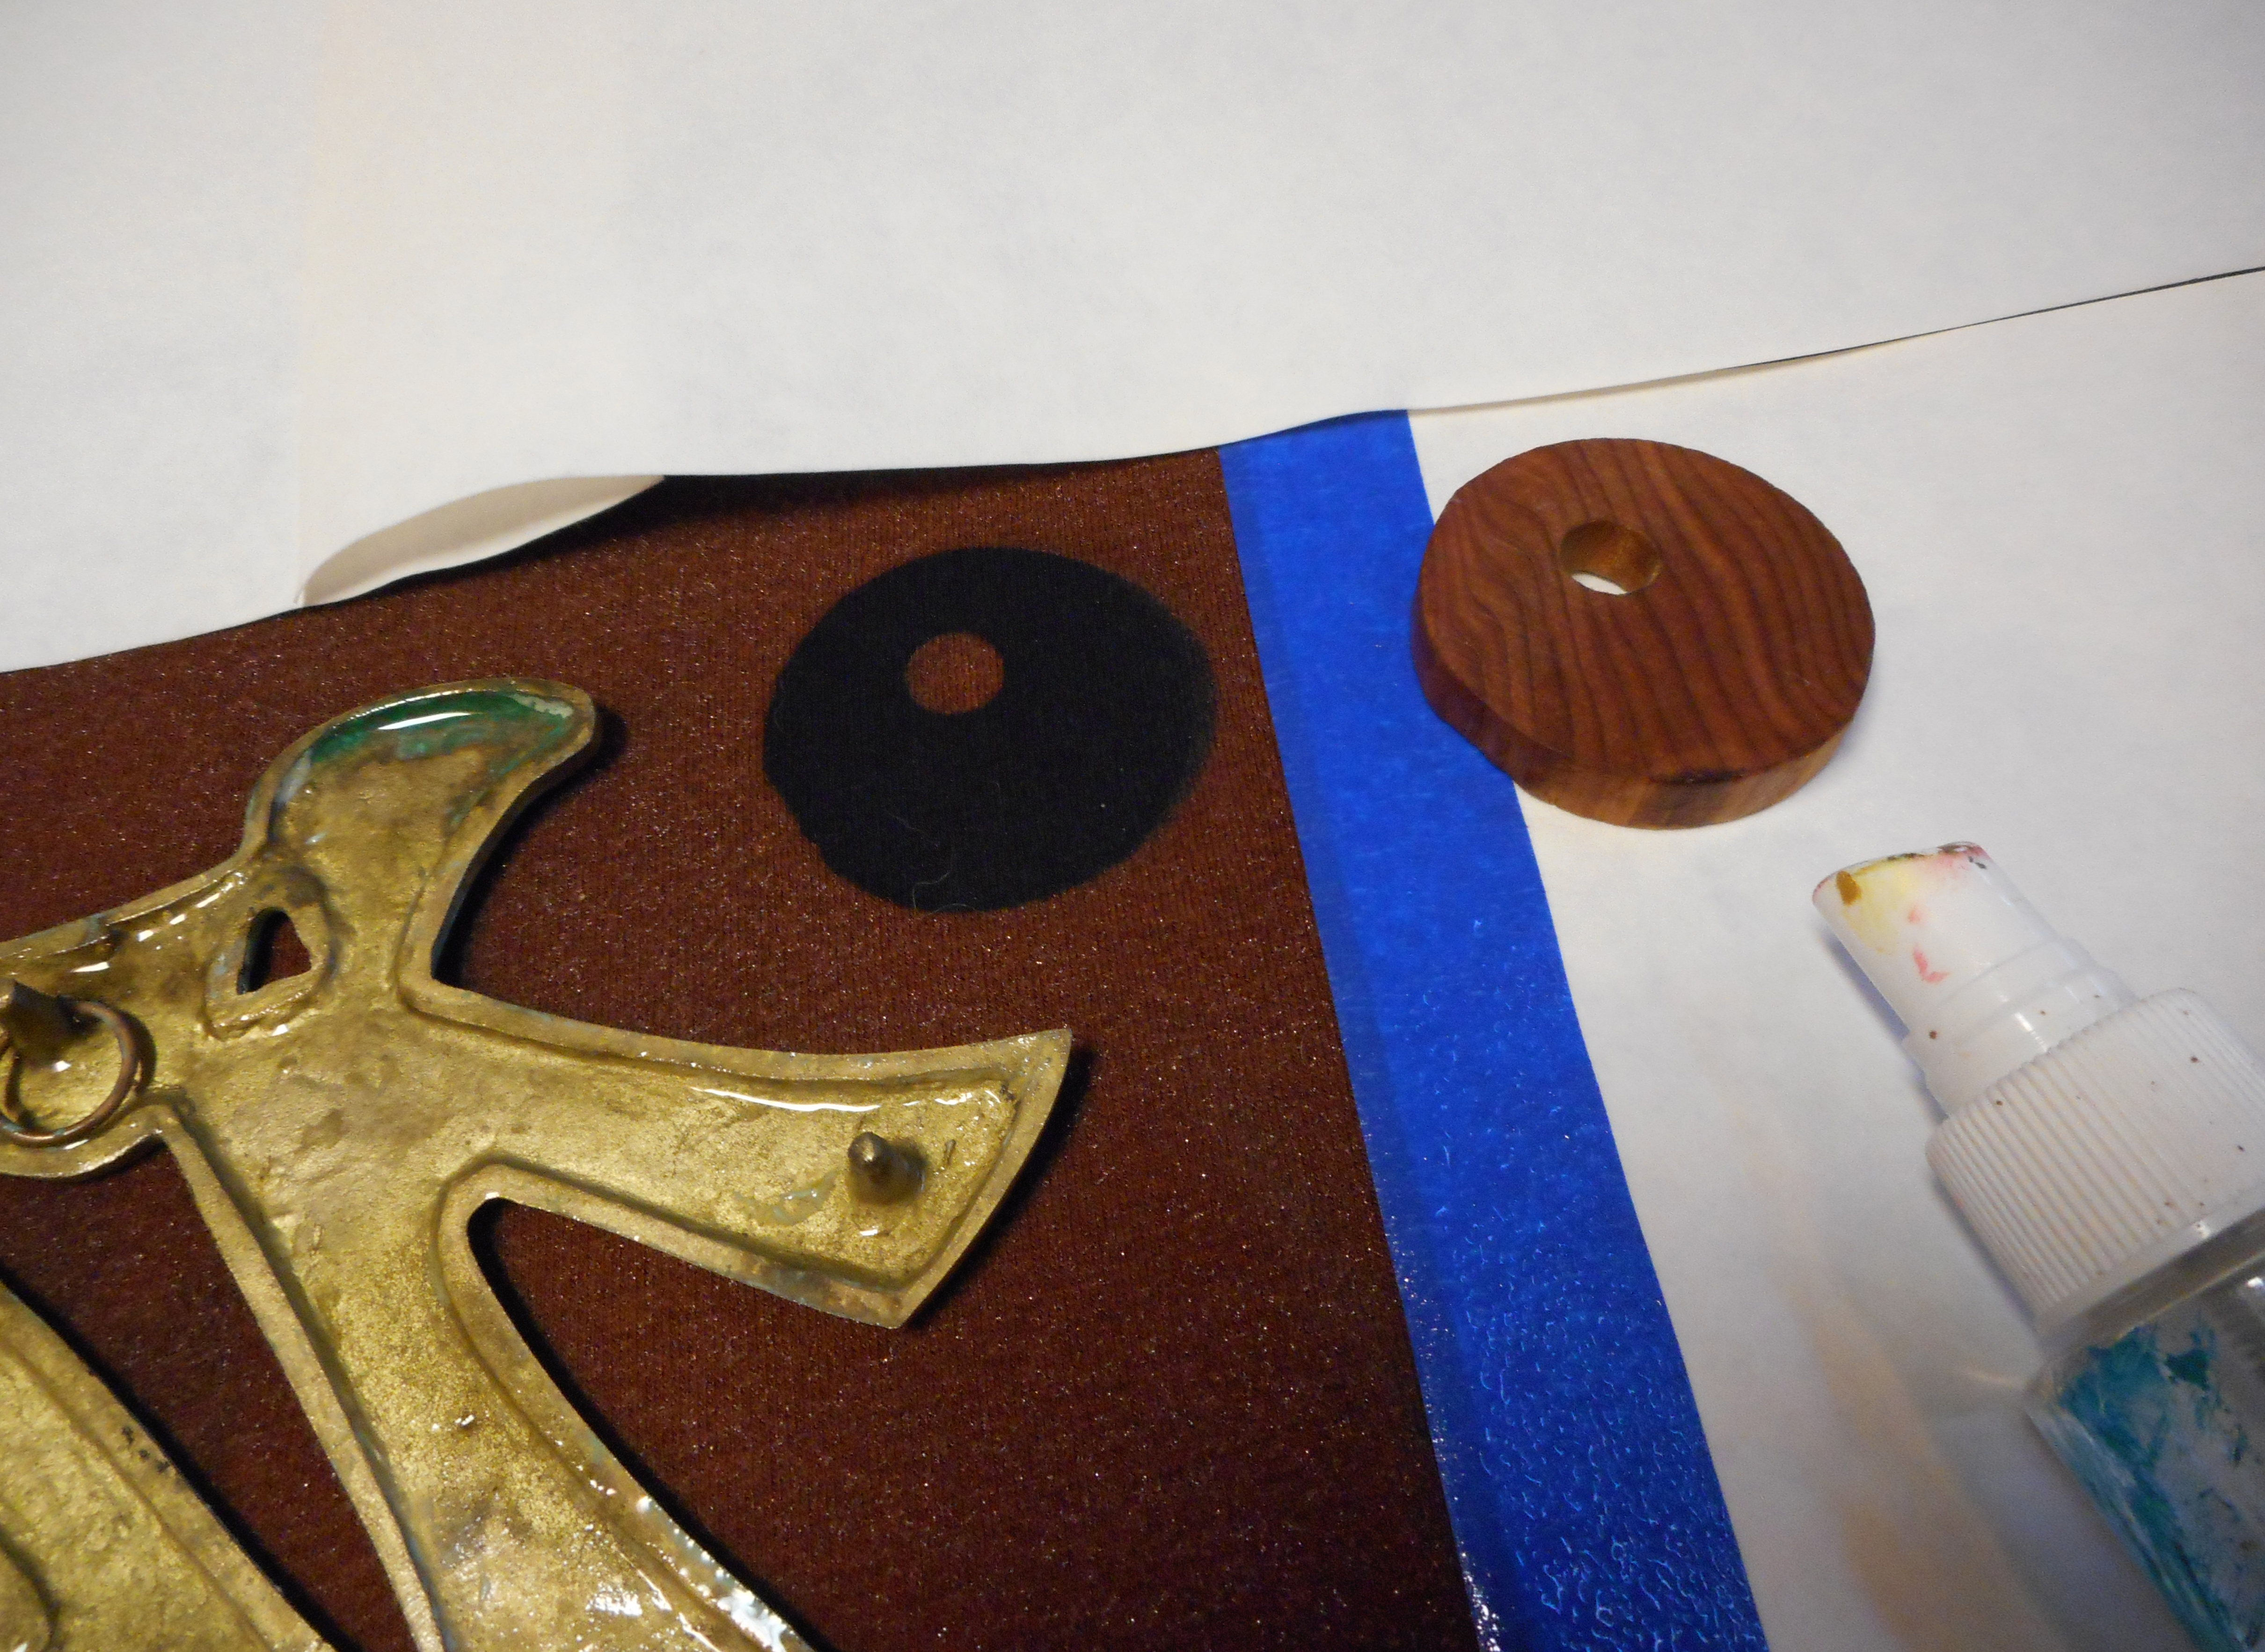
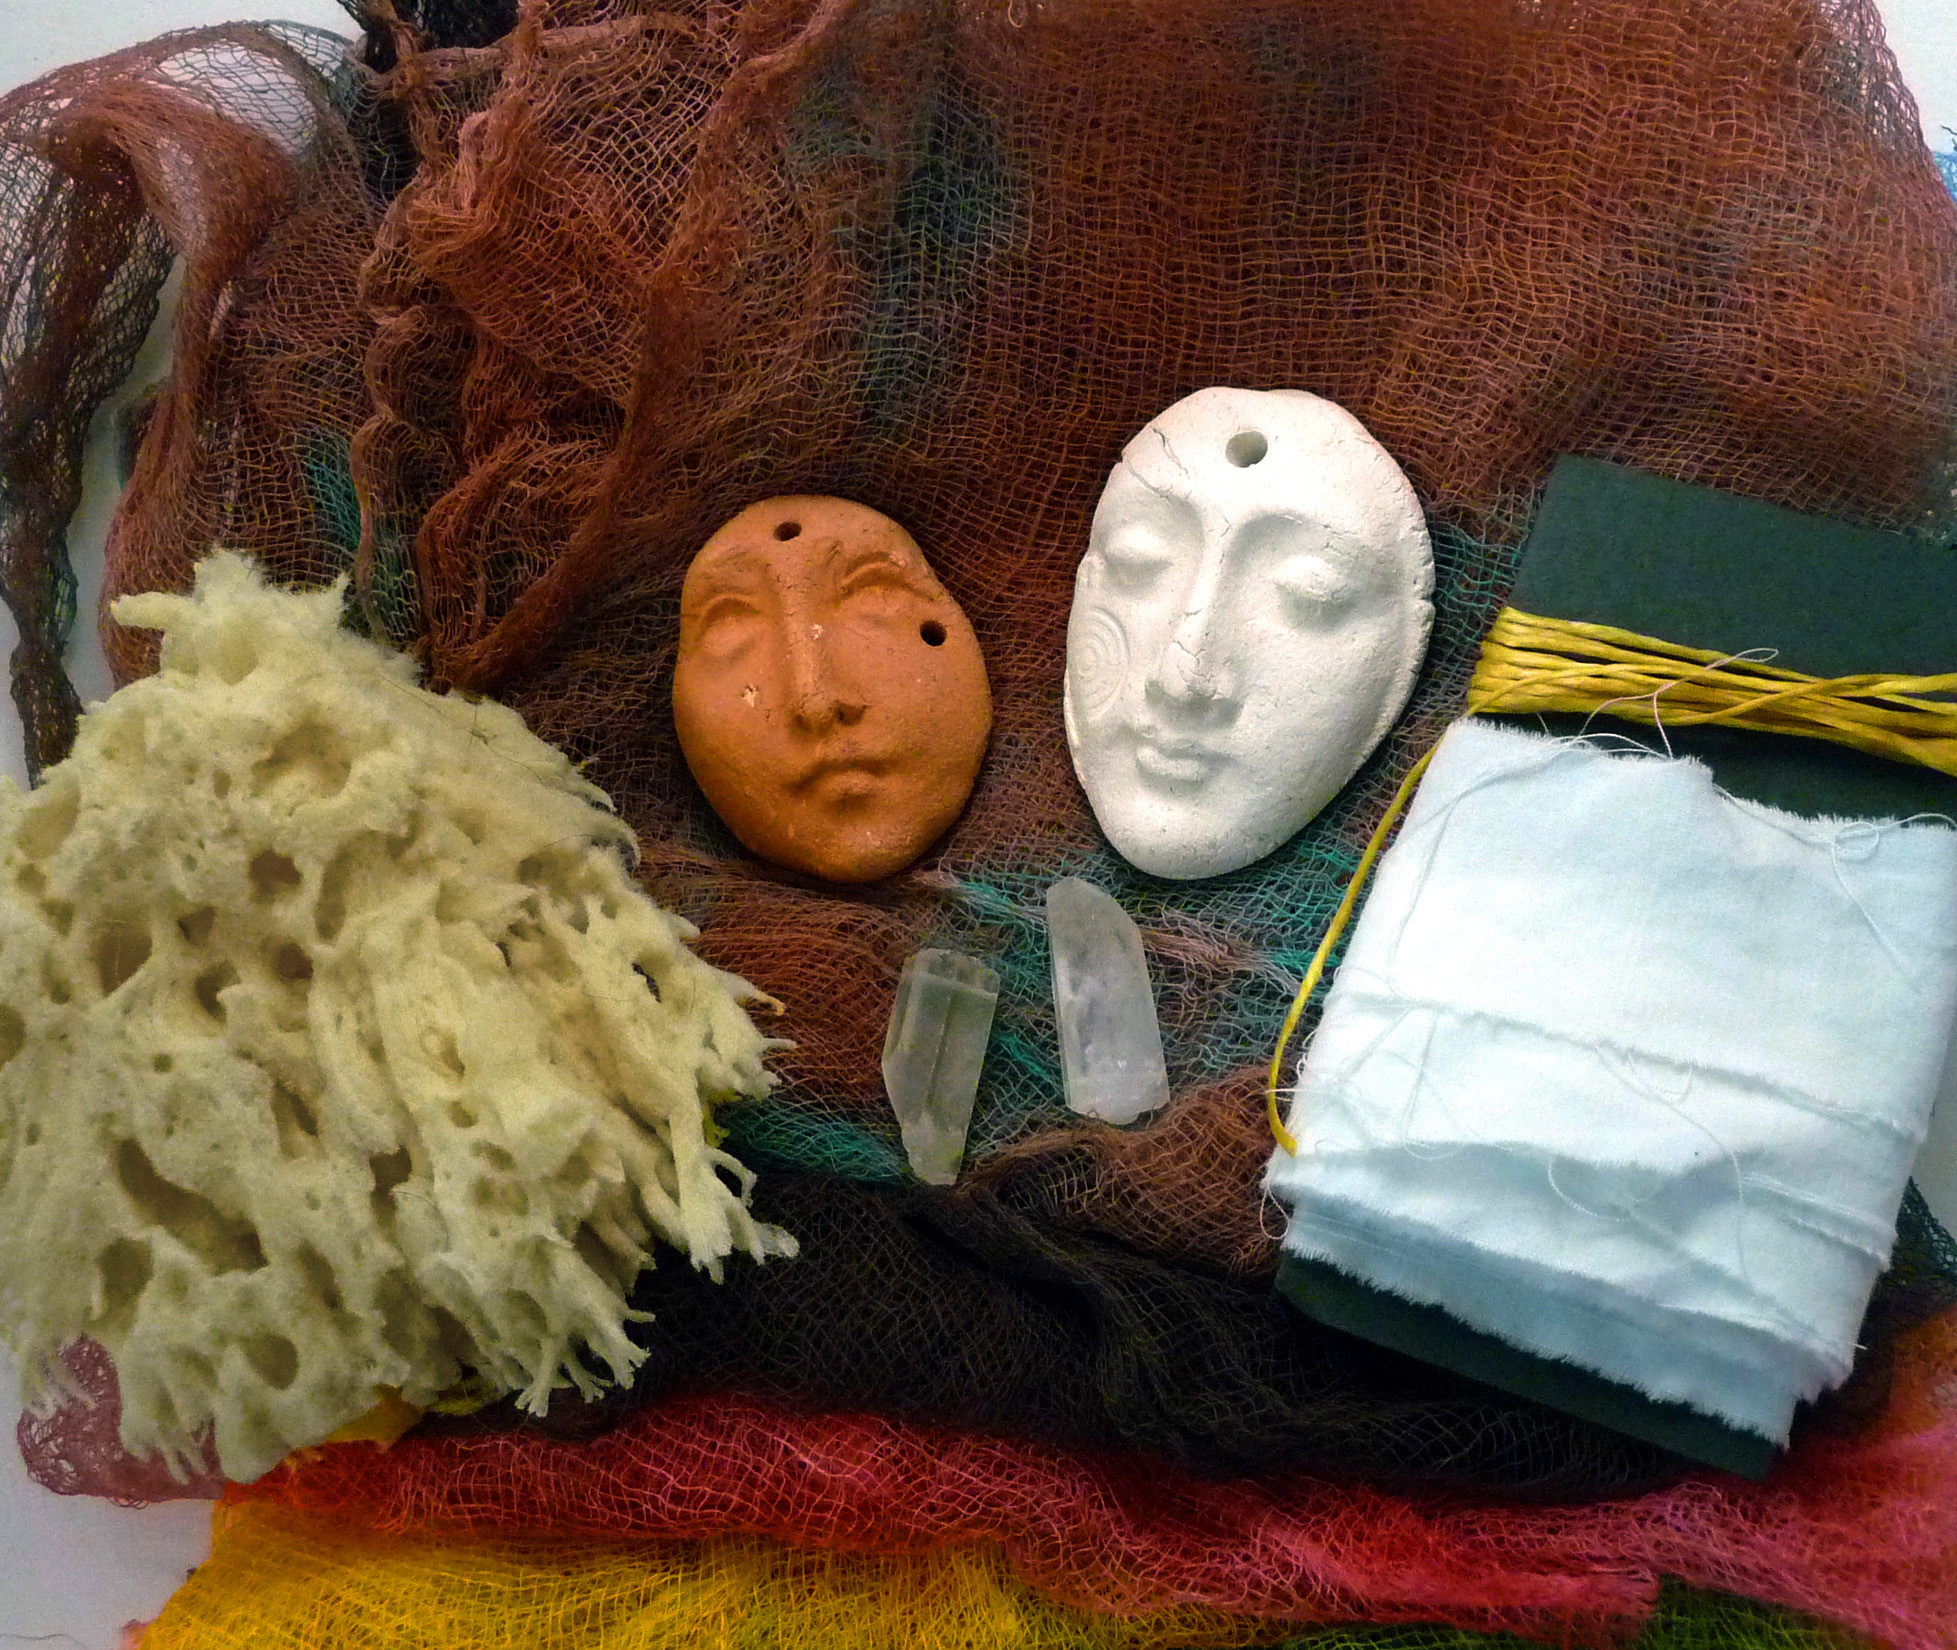
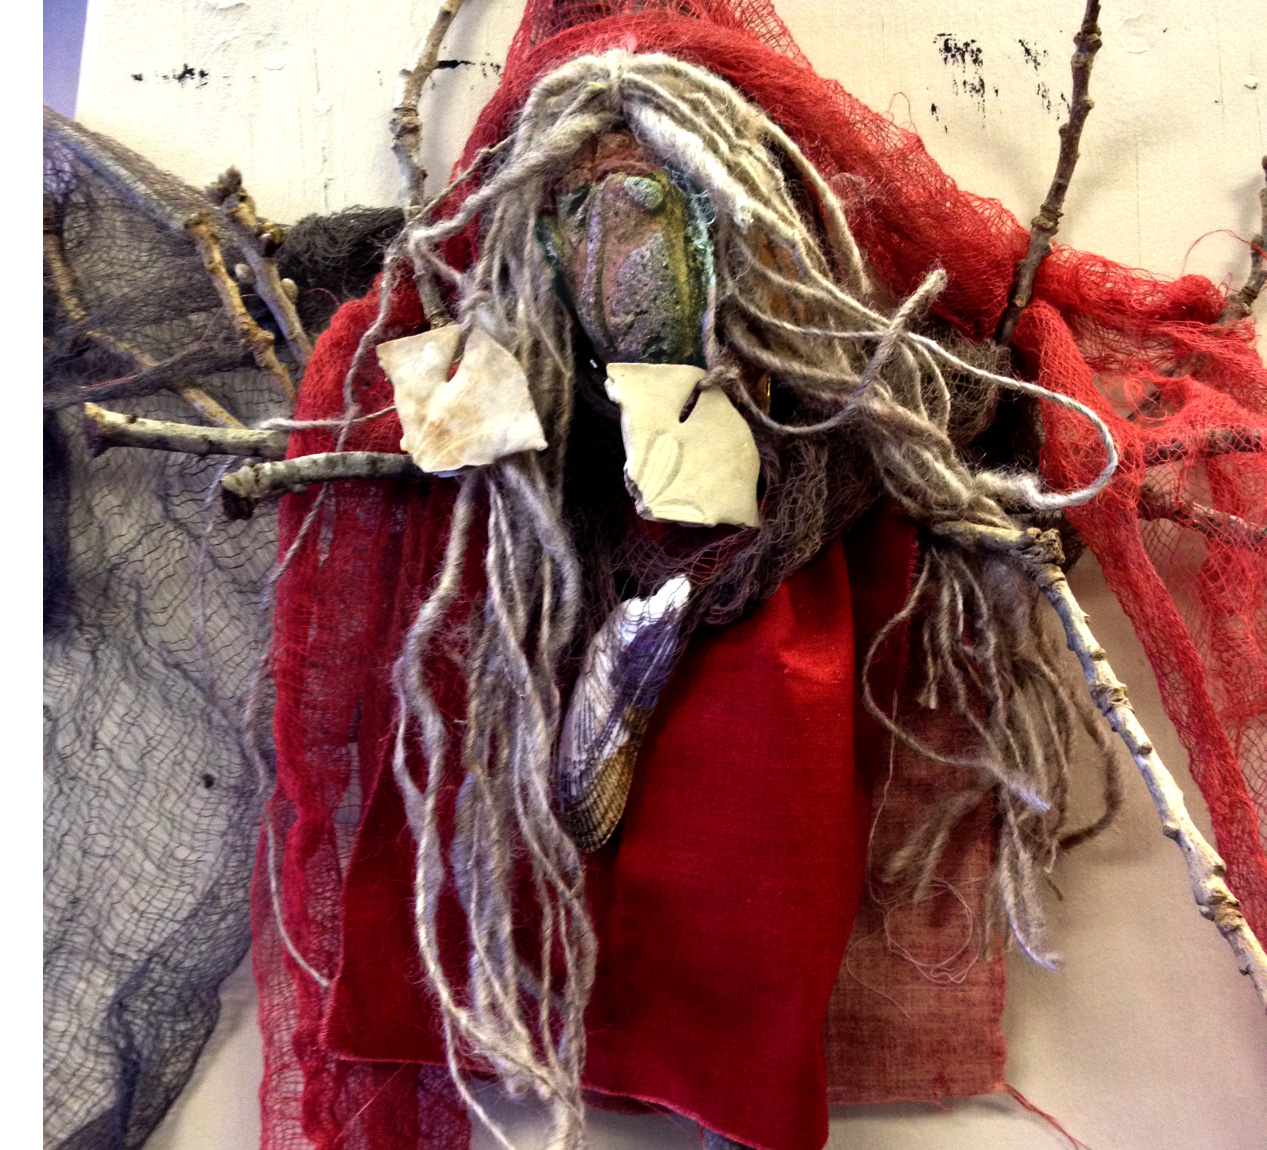
I’m presenting a program to the San Antonio Potters Guild tonight. It’s called Earthenware, Ornament, and Assemblage. While collecting photos photos of my clay pieces, I realized that working in earthenware has been part of my art practice for almost 50 years! These days it’s mostly face shard production and some small sculptural pieces, and I love exploring finishes for fired unglazed clay. Here’s one of the finishes I’m showing the potters tonight – it’s a wax-based custom metallic patina that starts with neutral shoe polish! I used it as a finish on the piece at the left and thought you might like to see how it’s done.
-
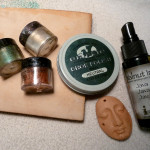
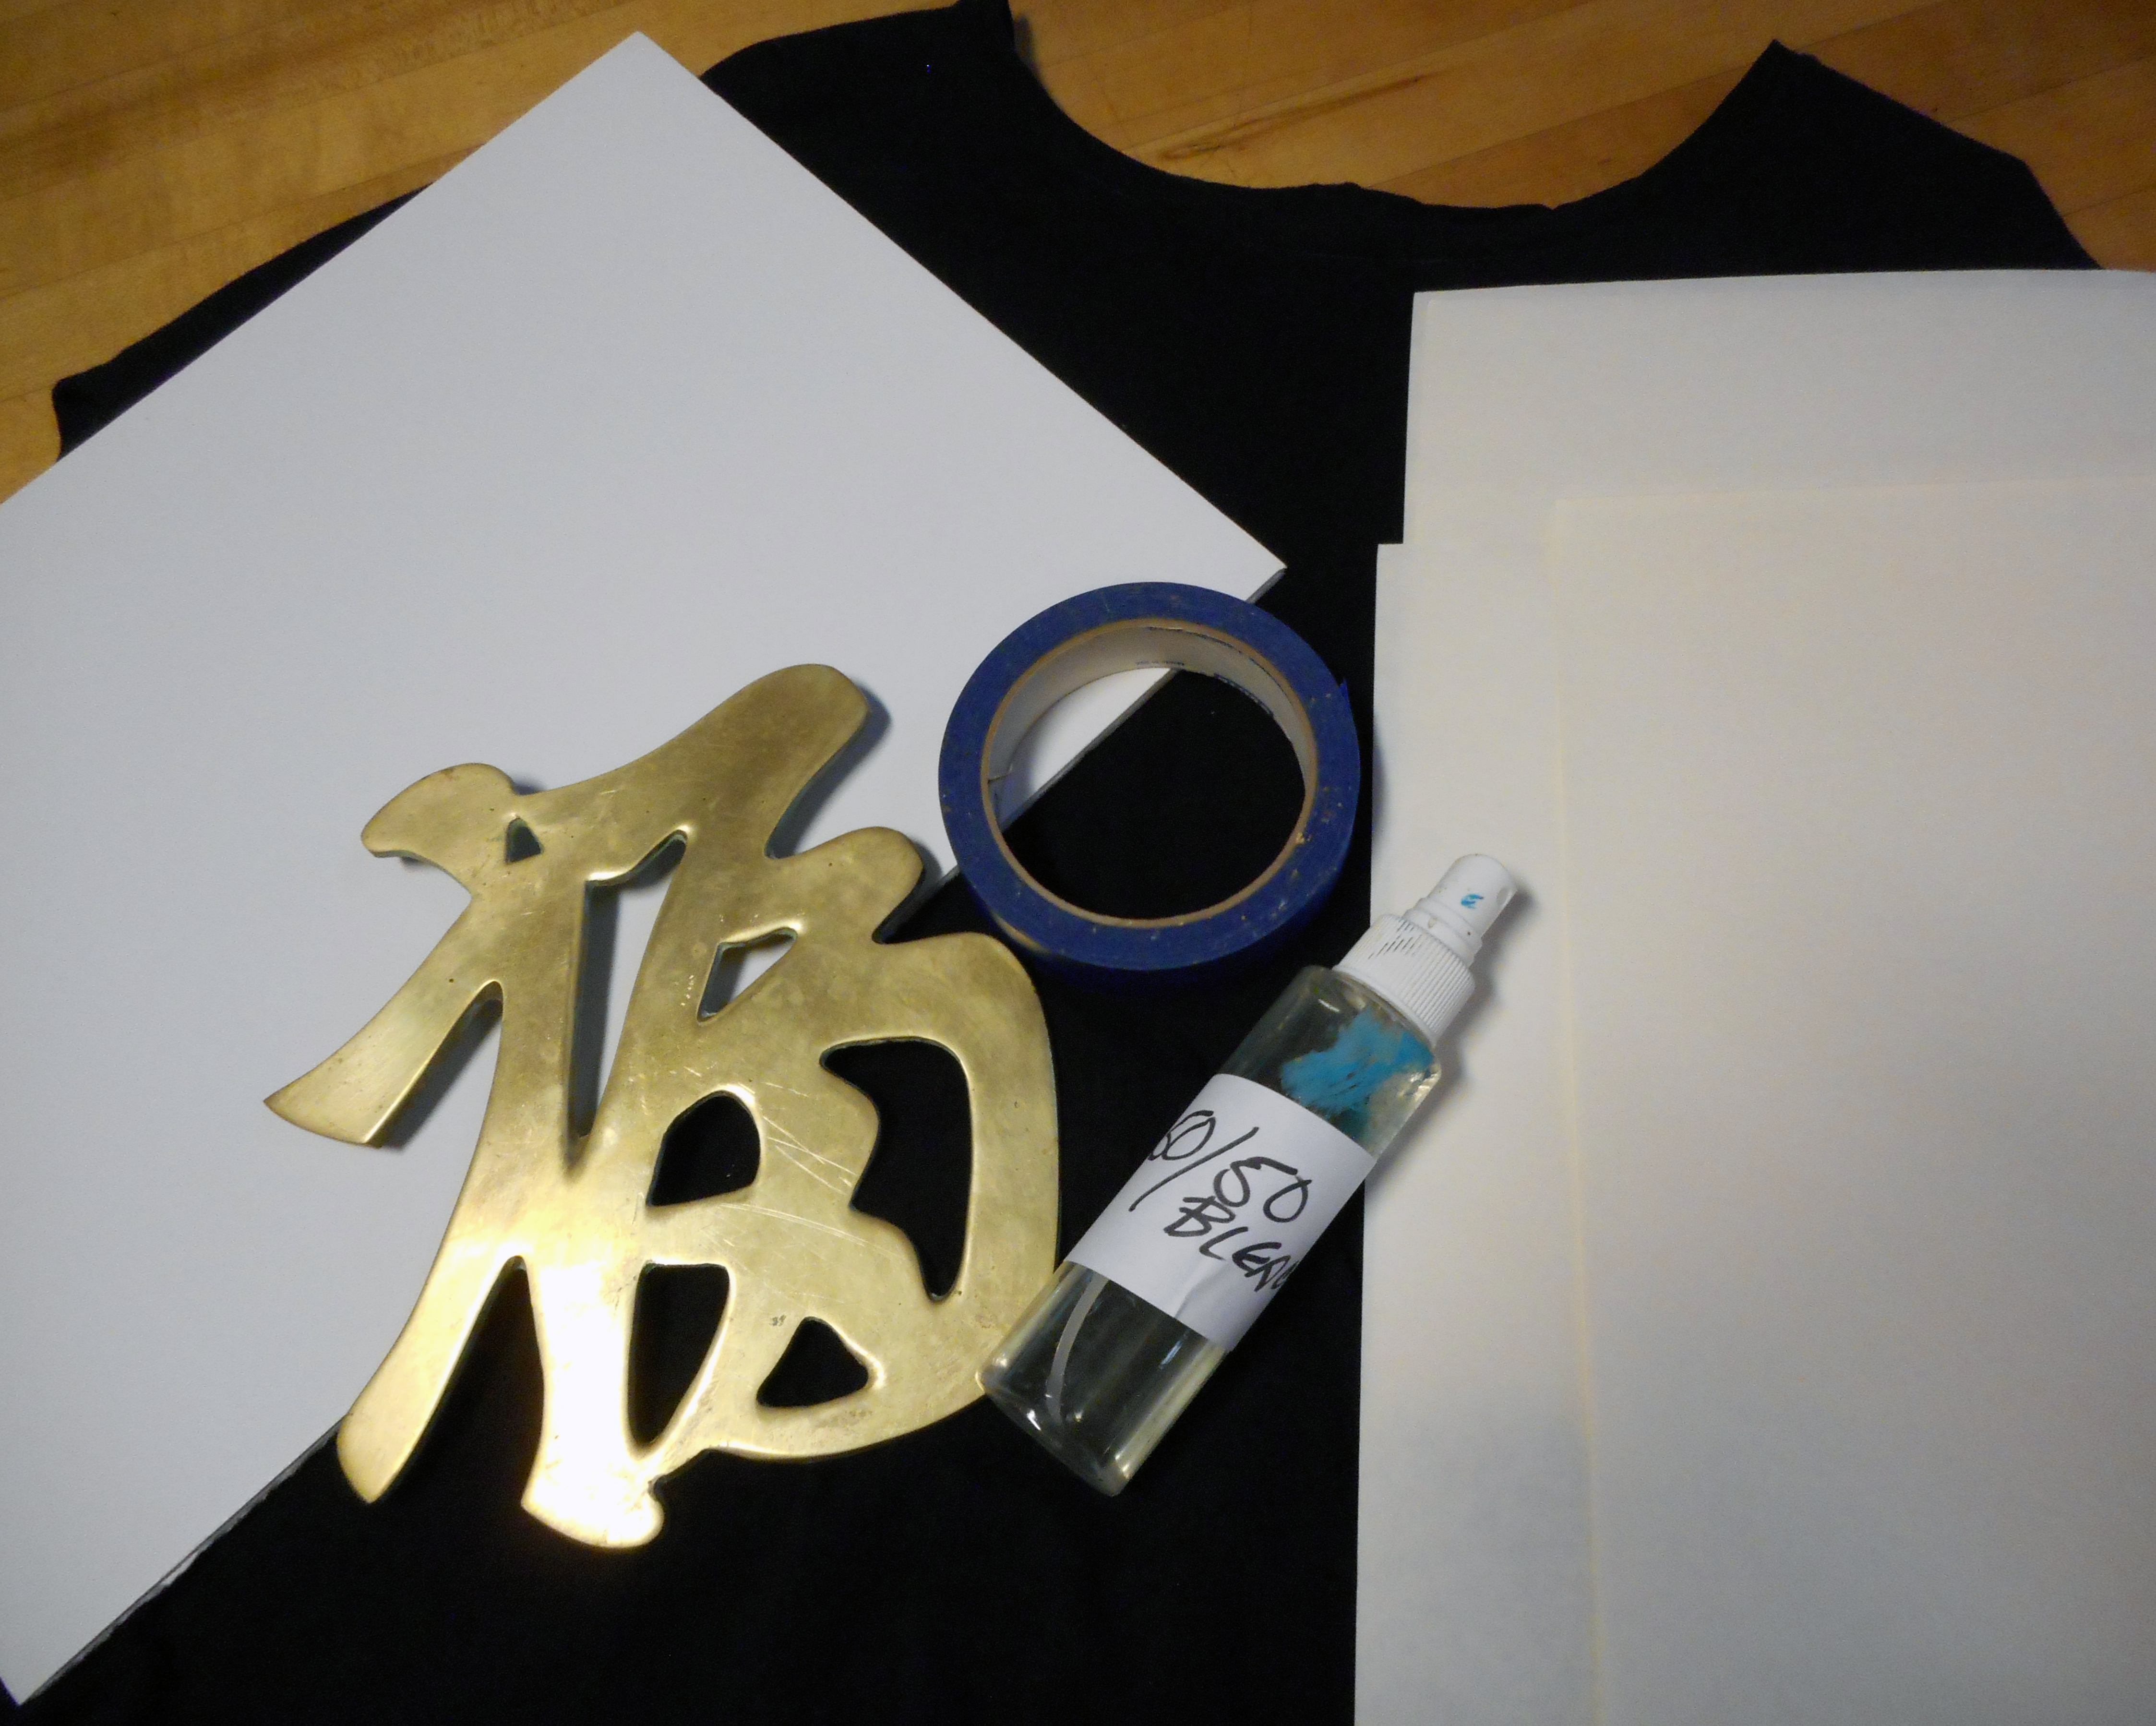
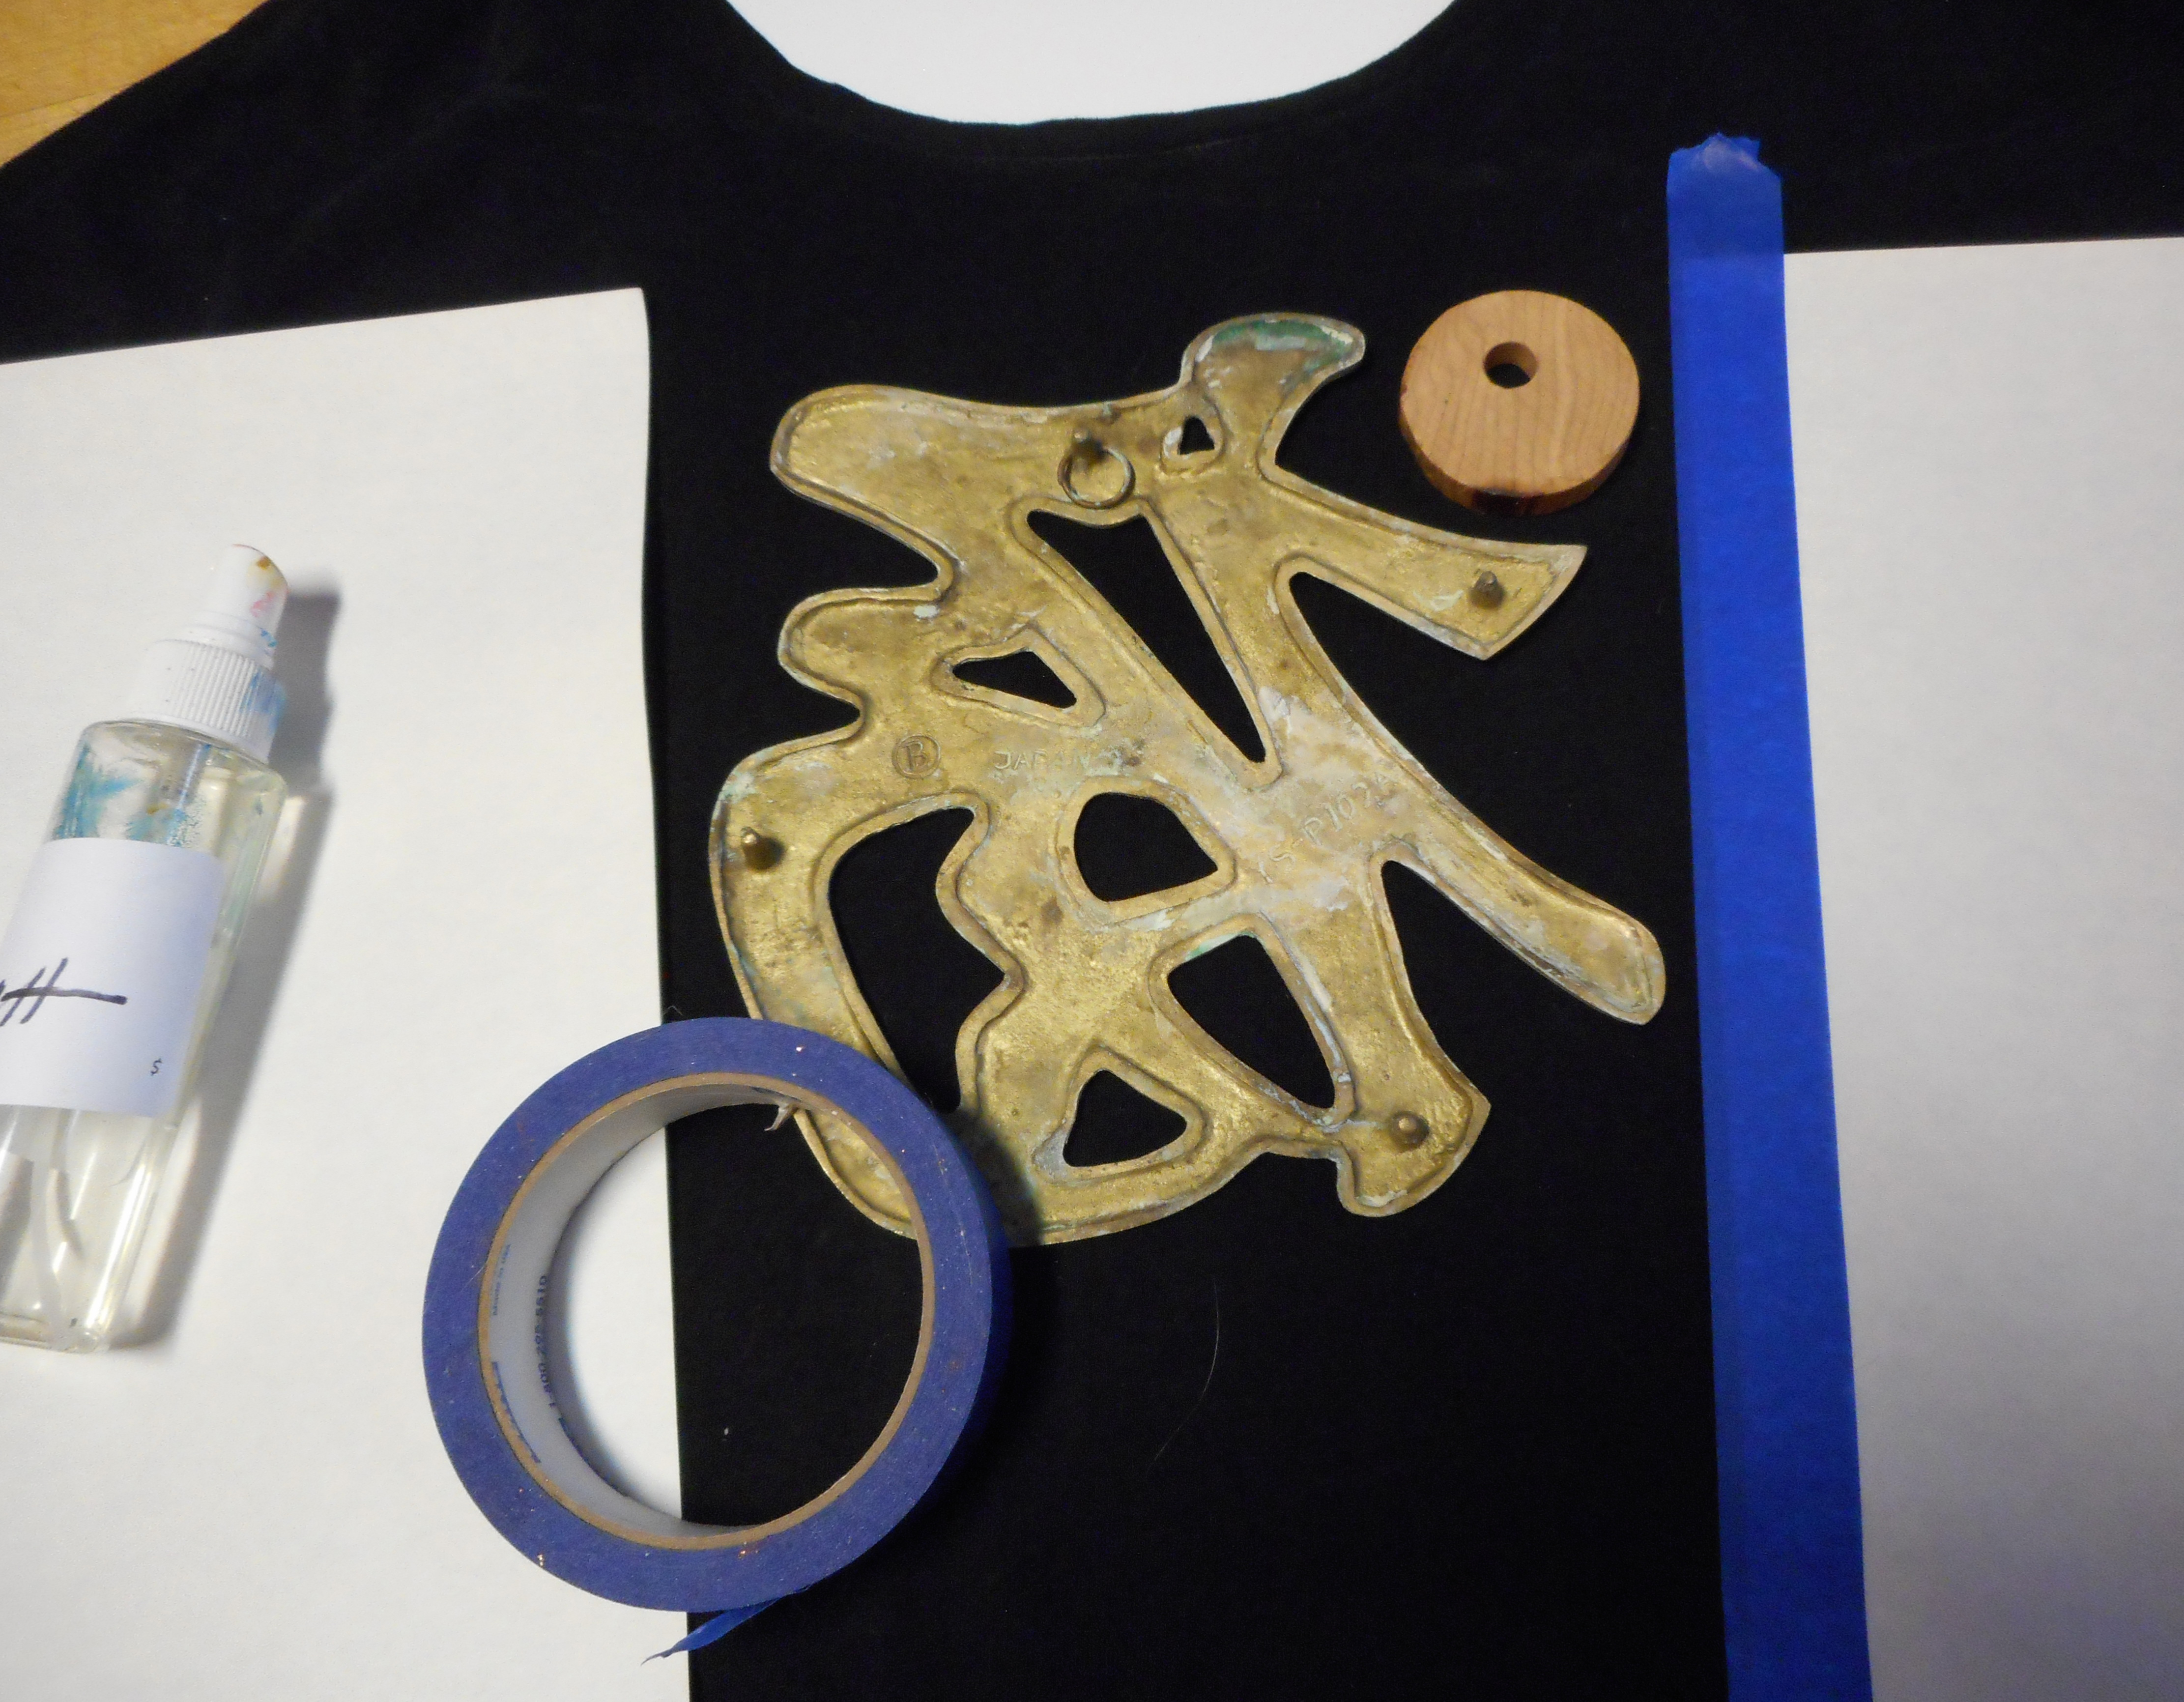
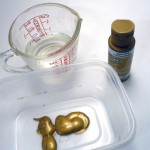
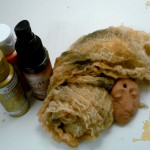
- You will need metallic powder like Pearl-x, neutral shoe polish, and Java walnut ink for your clay piece
-
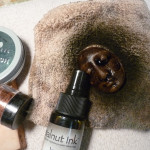
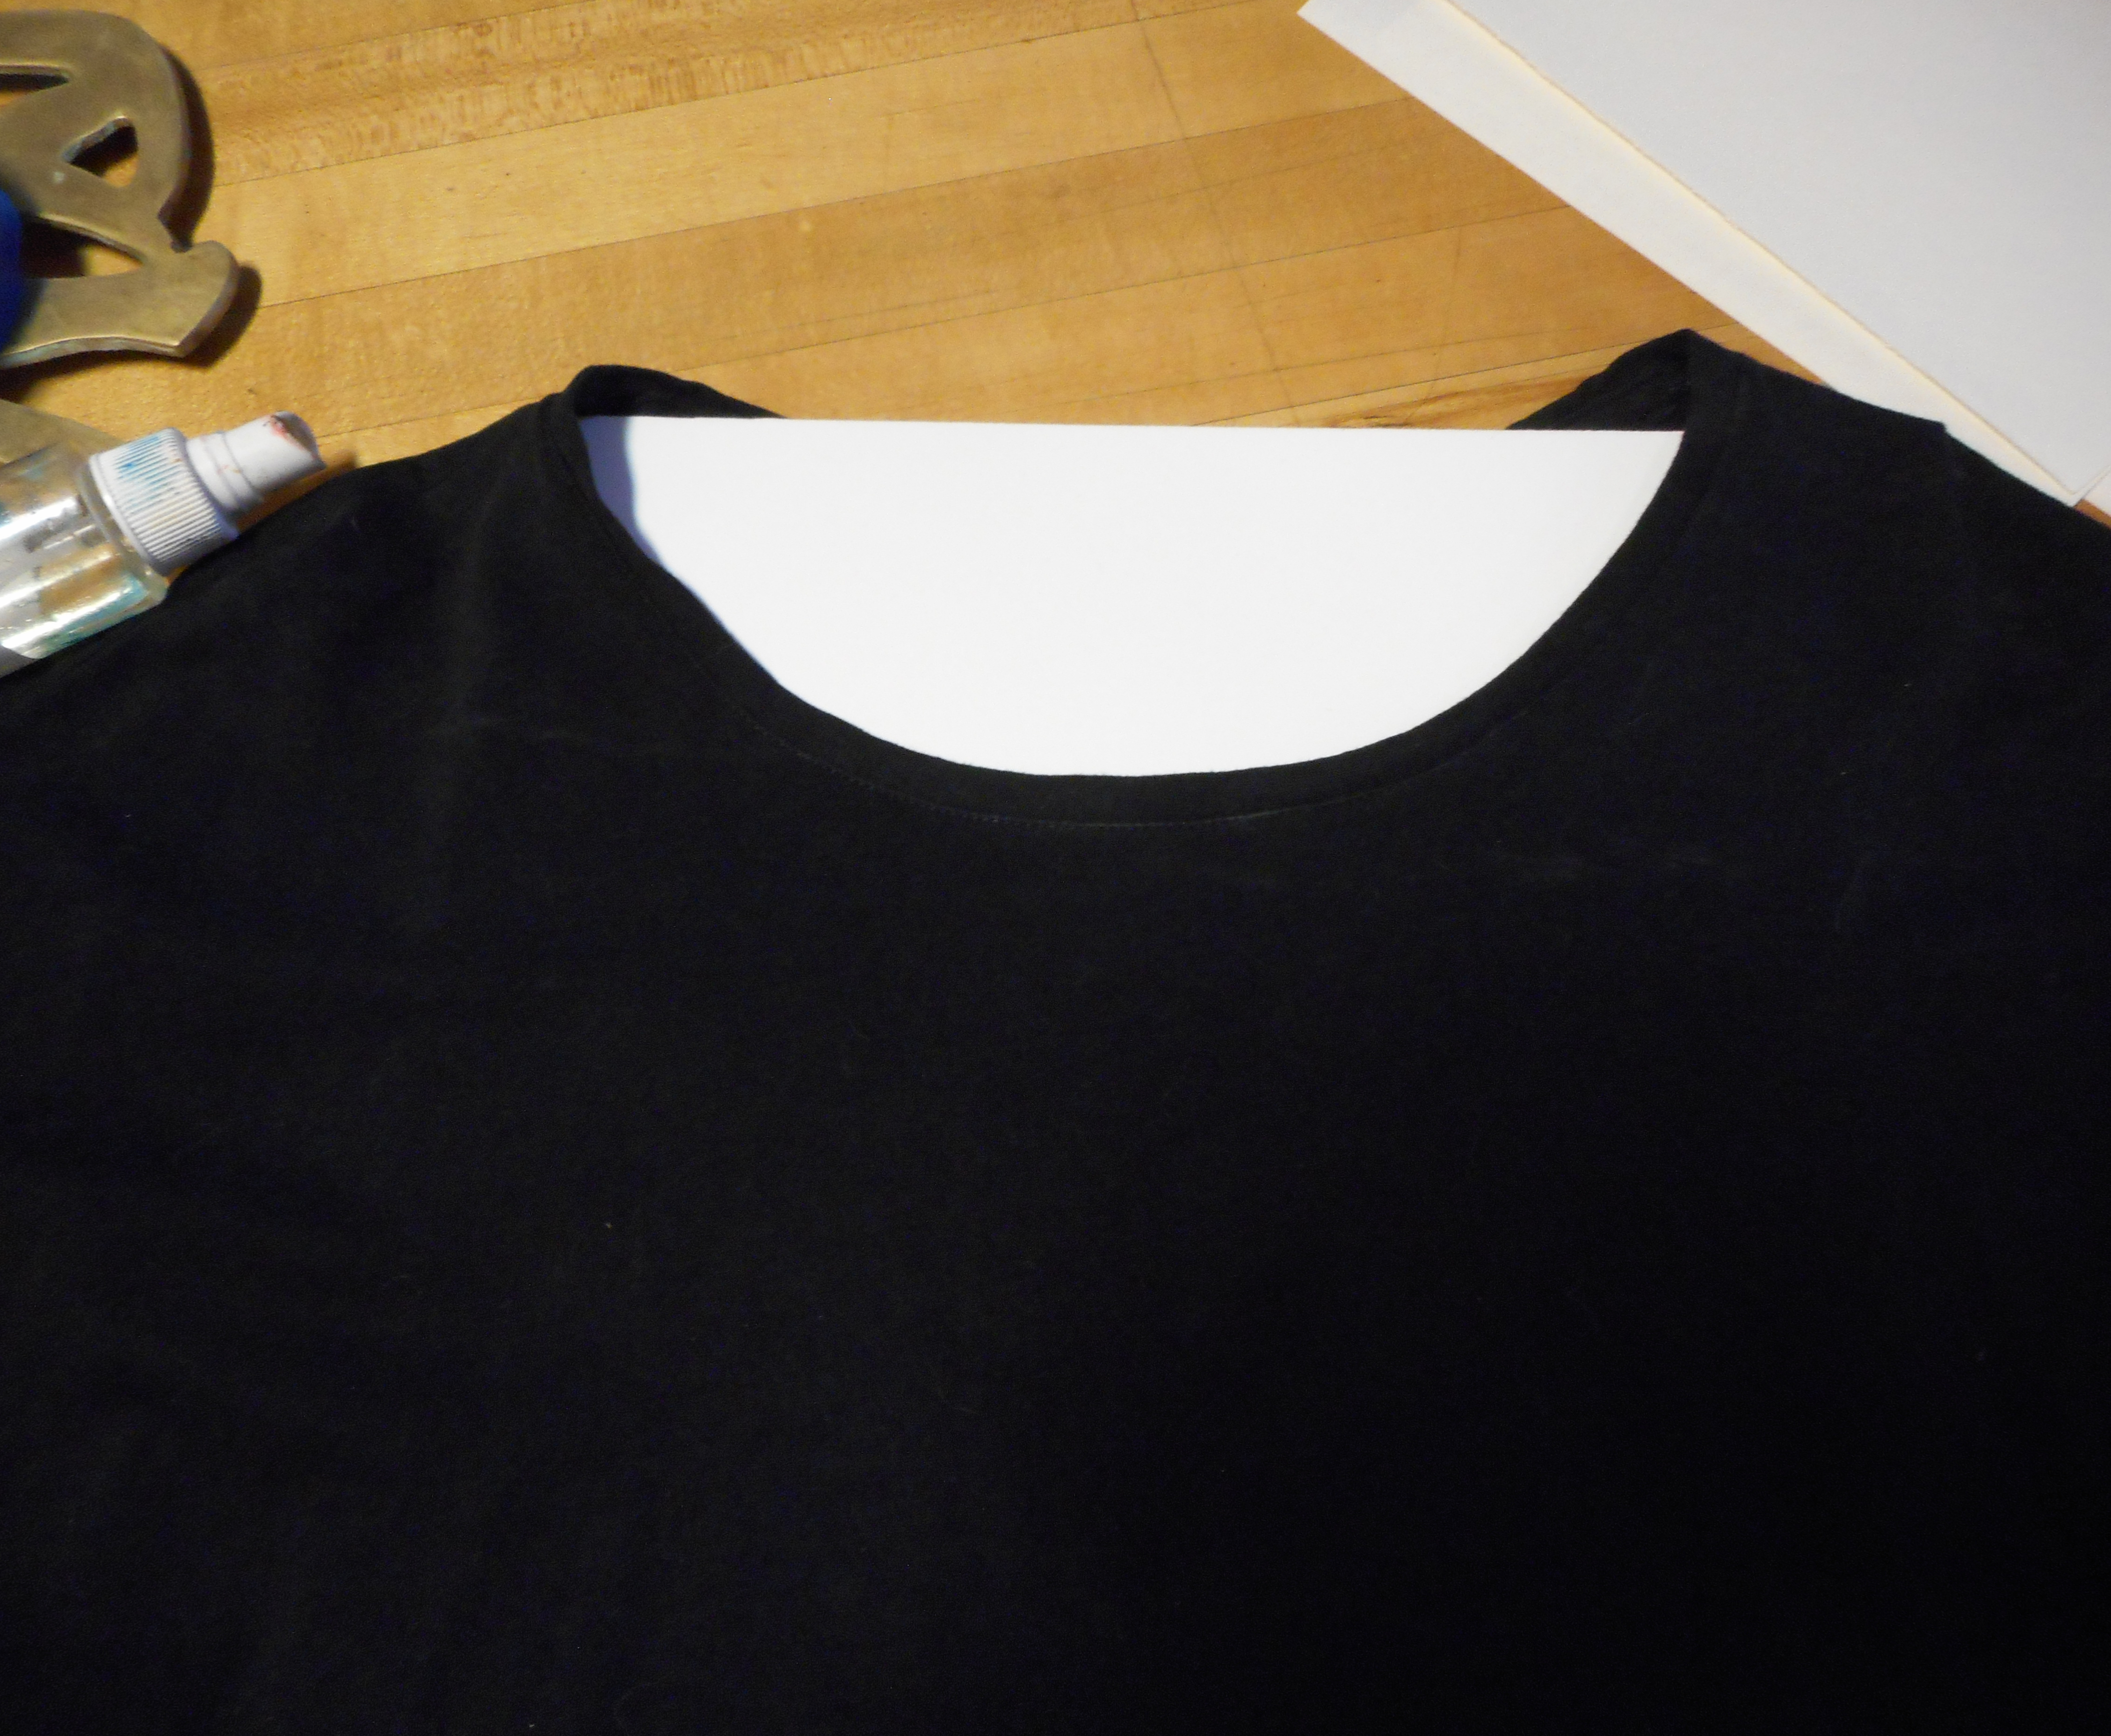
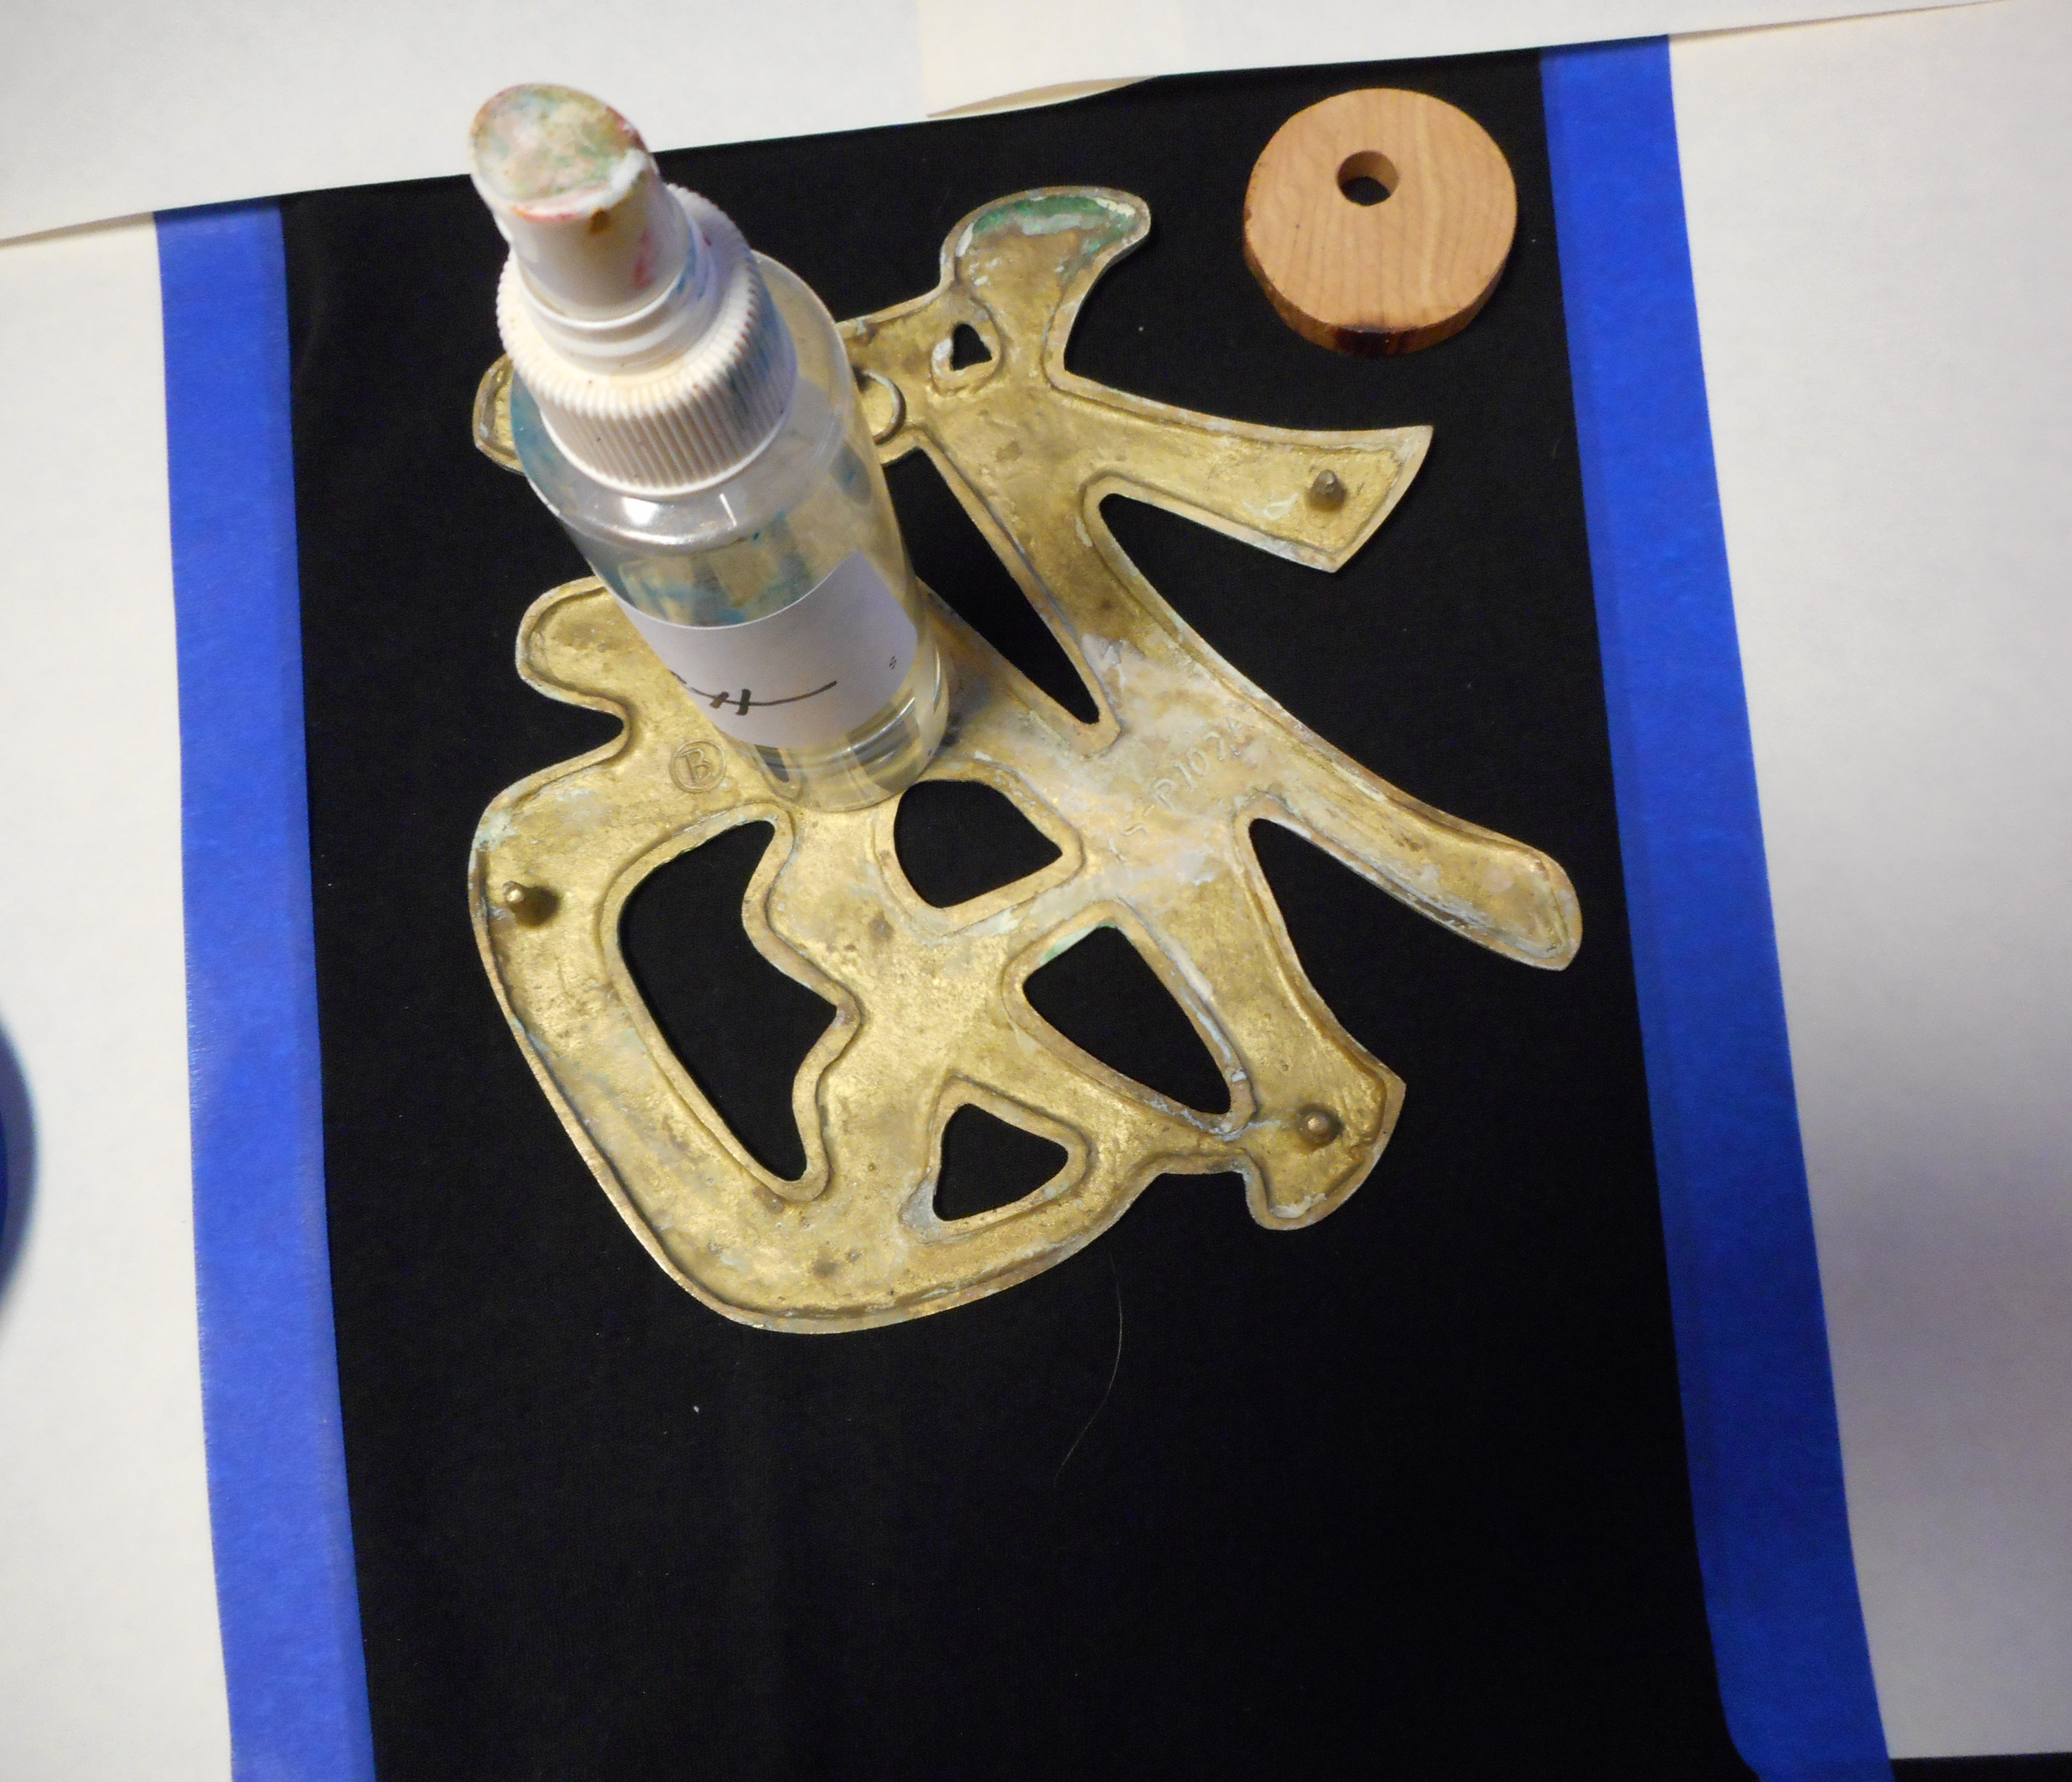
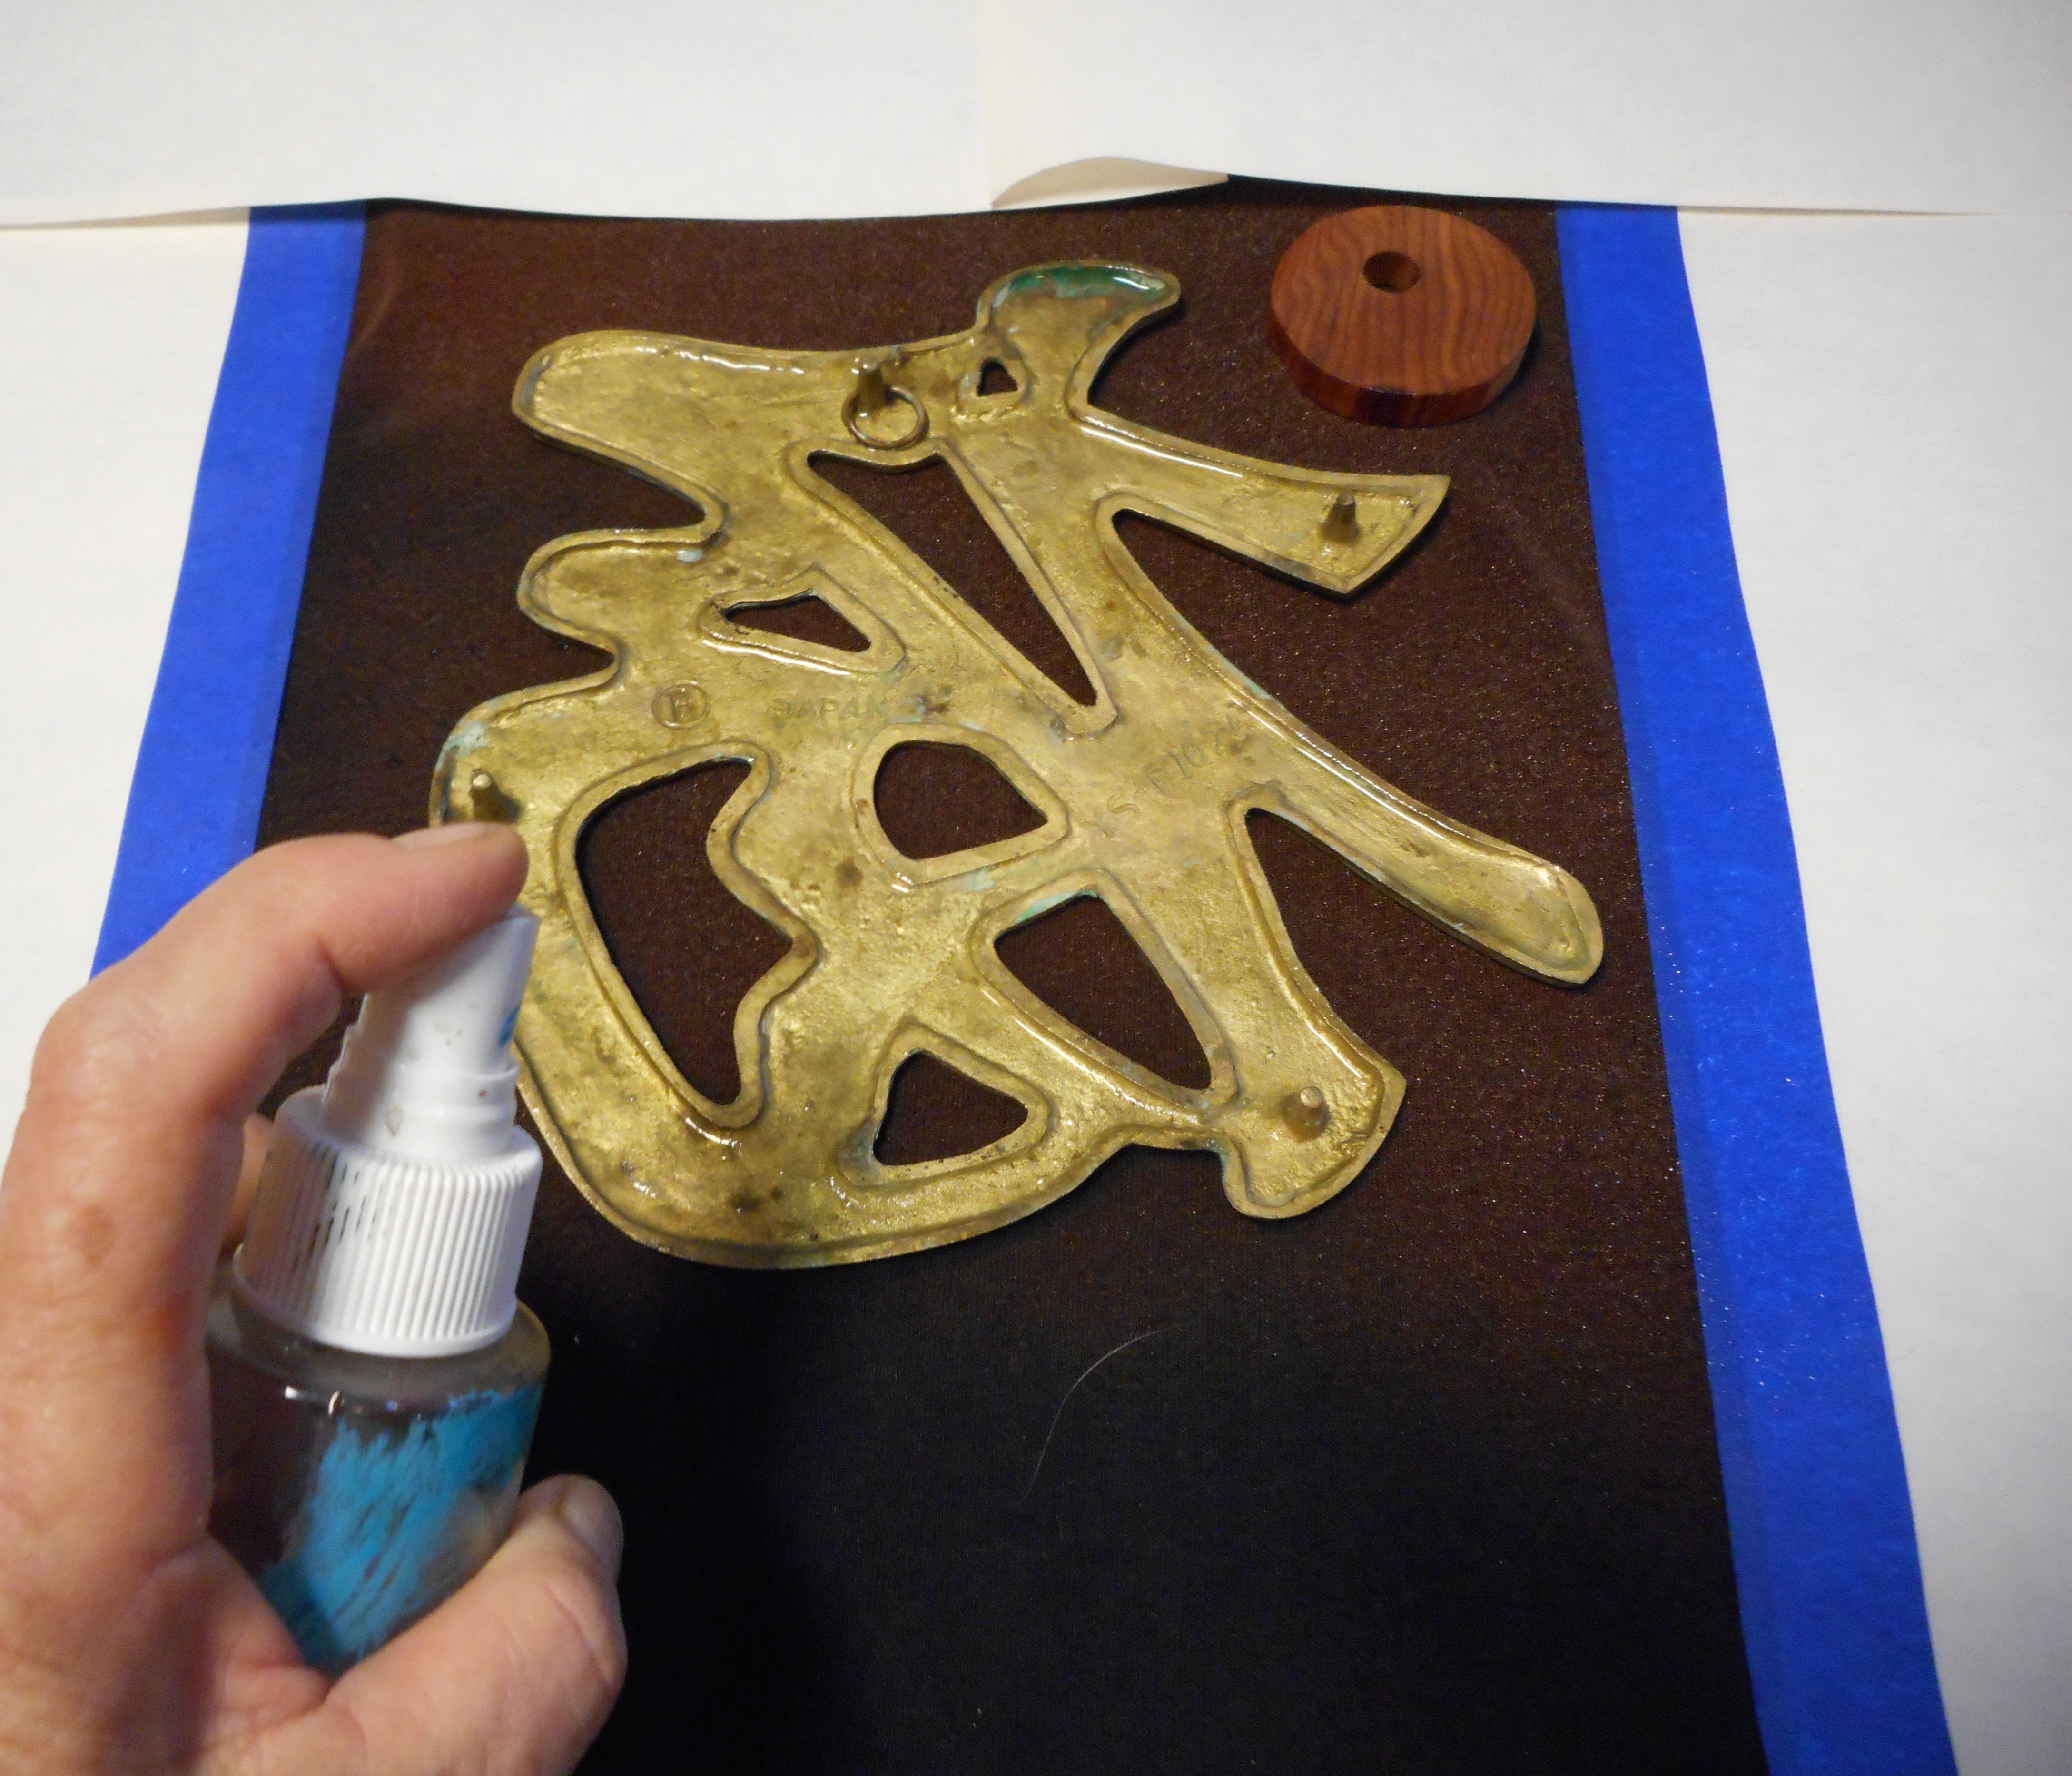
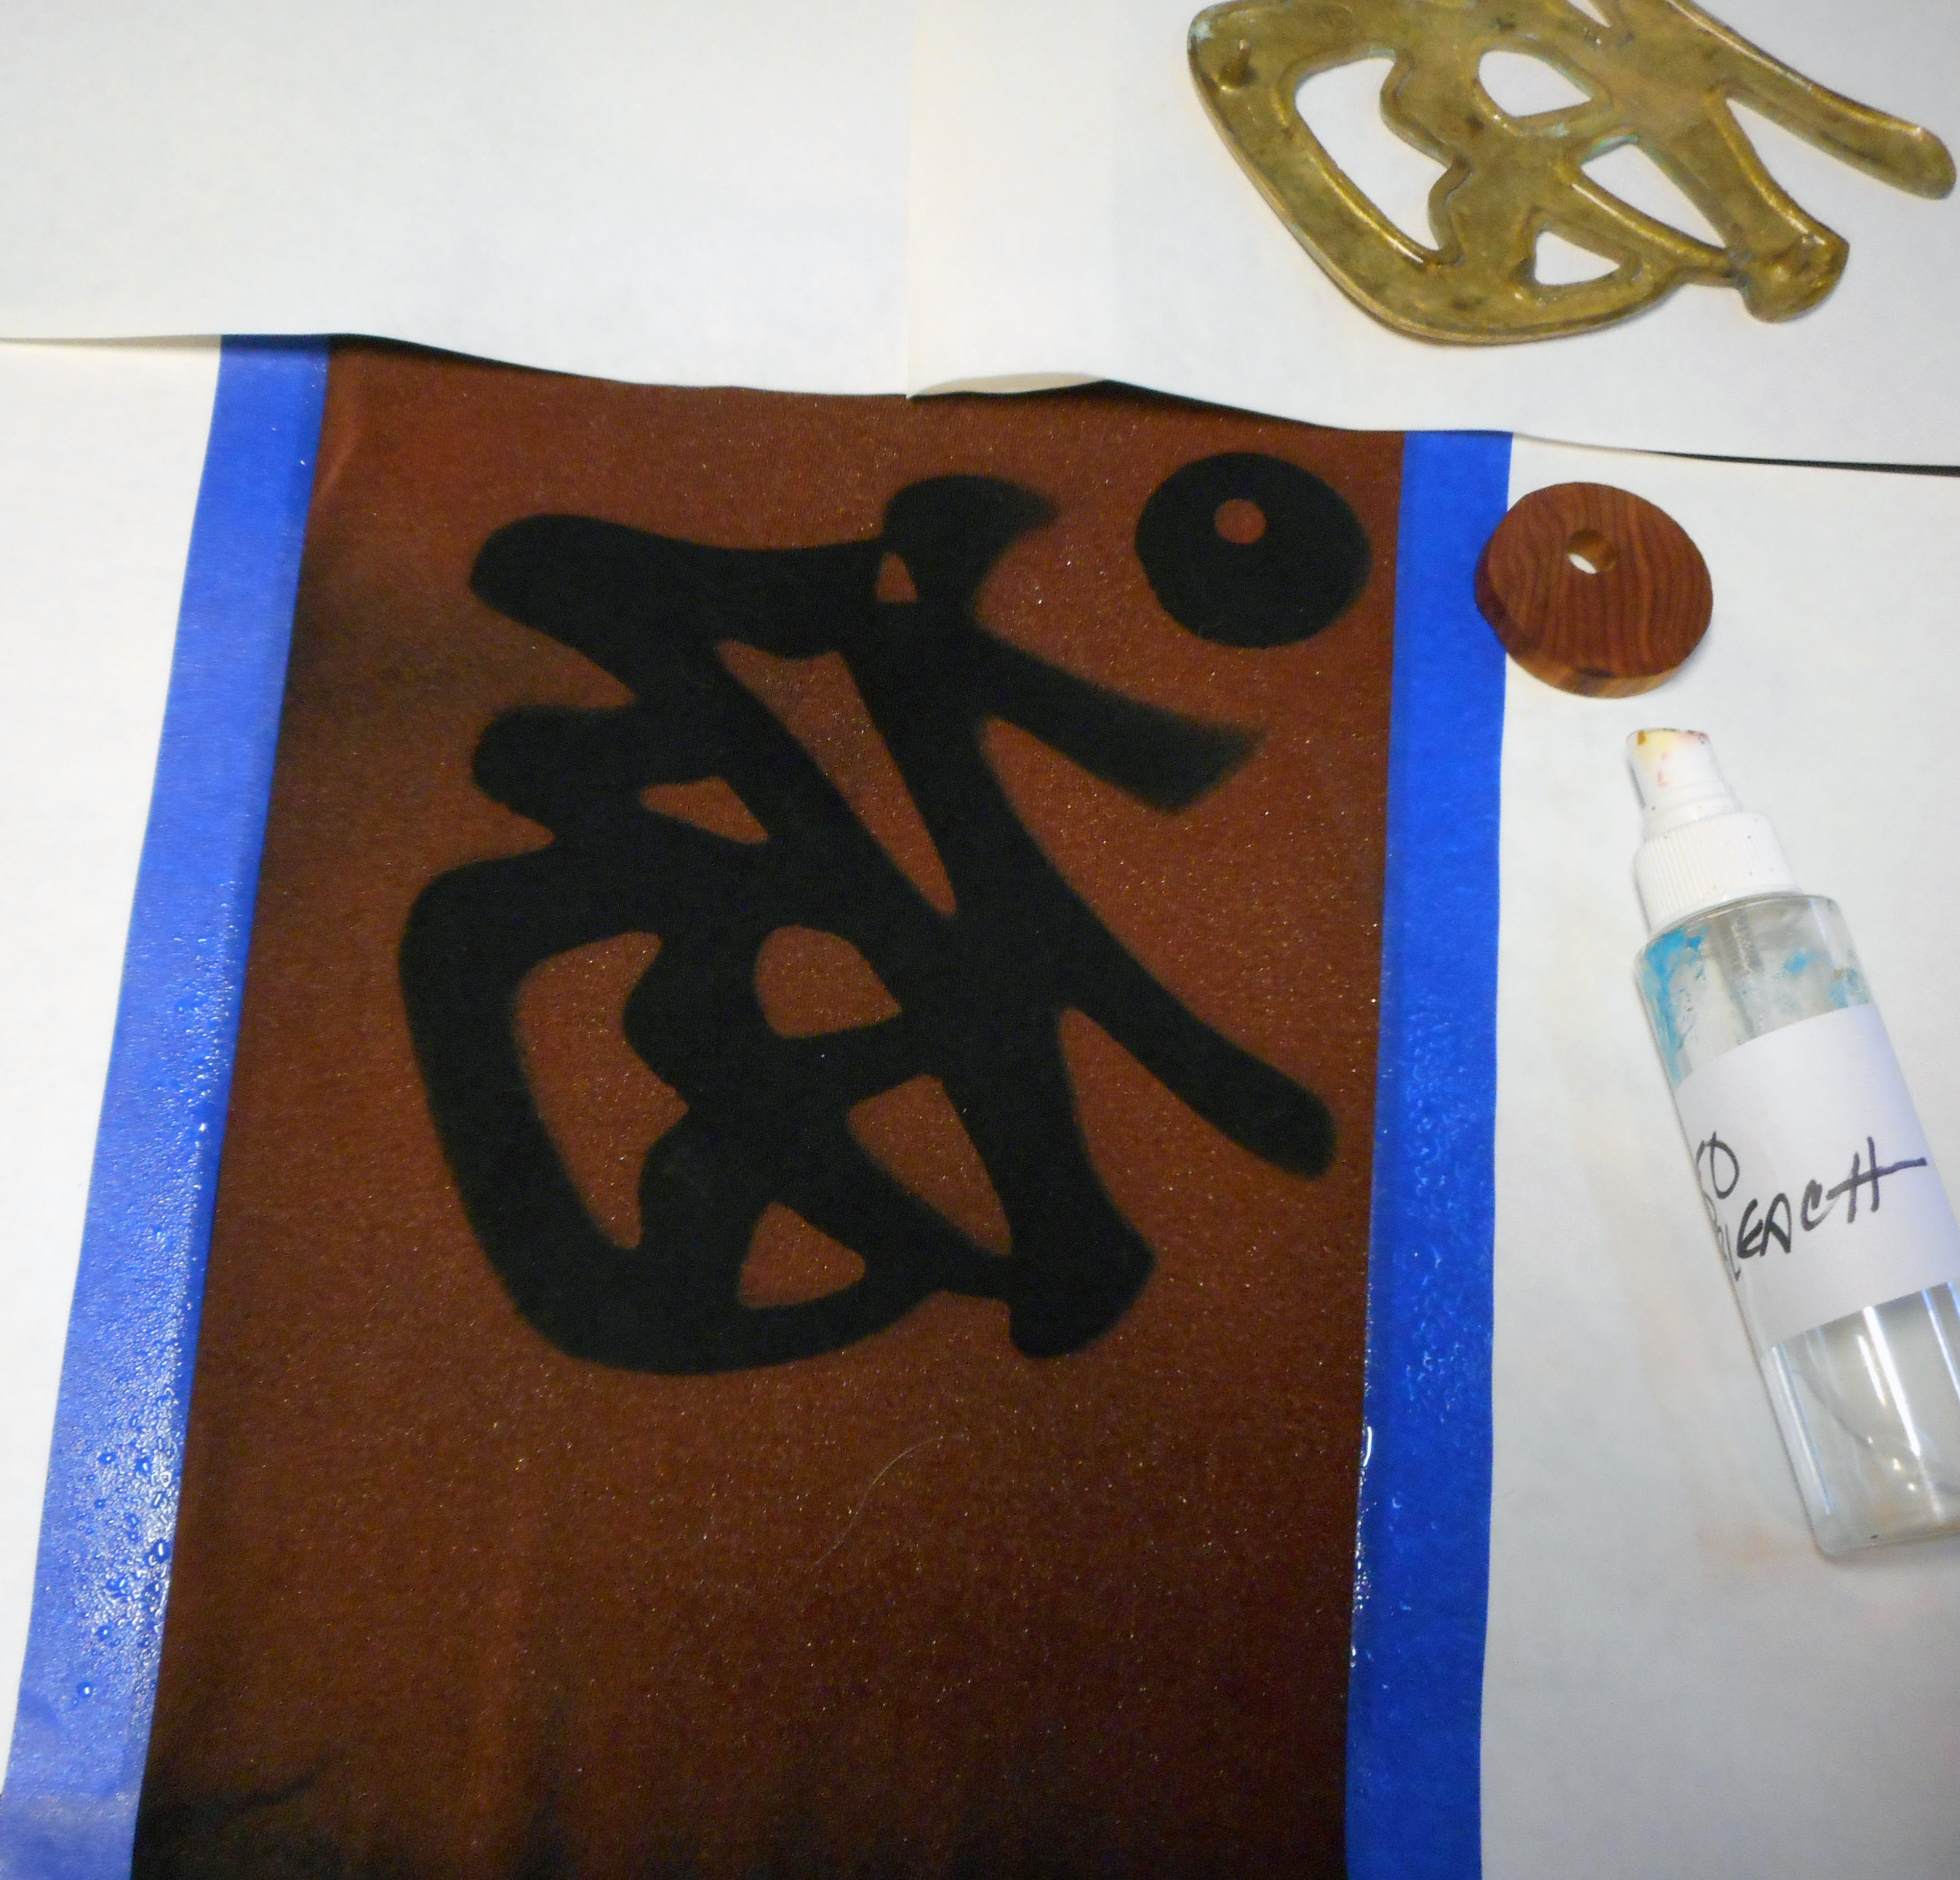
- First, spray the fired unglazed clay with walnut ink – let it sit for about a minute
-
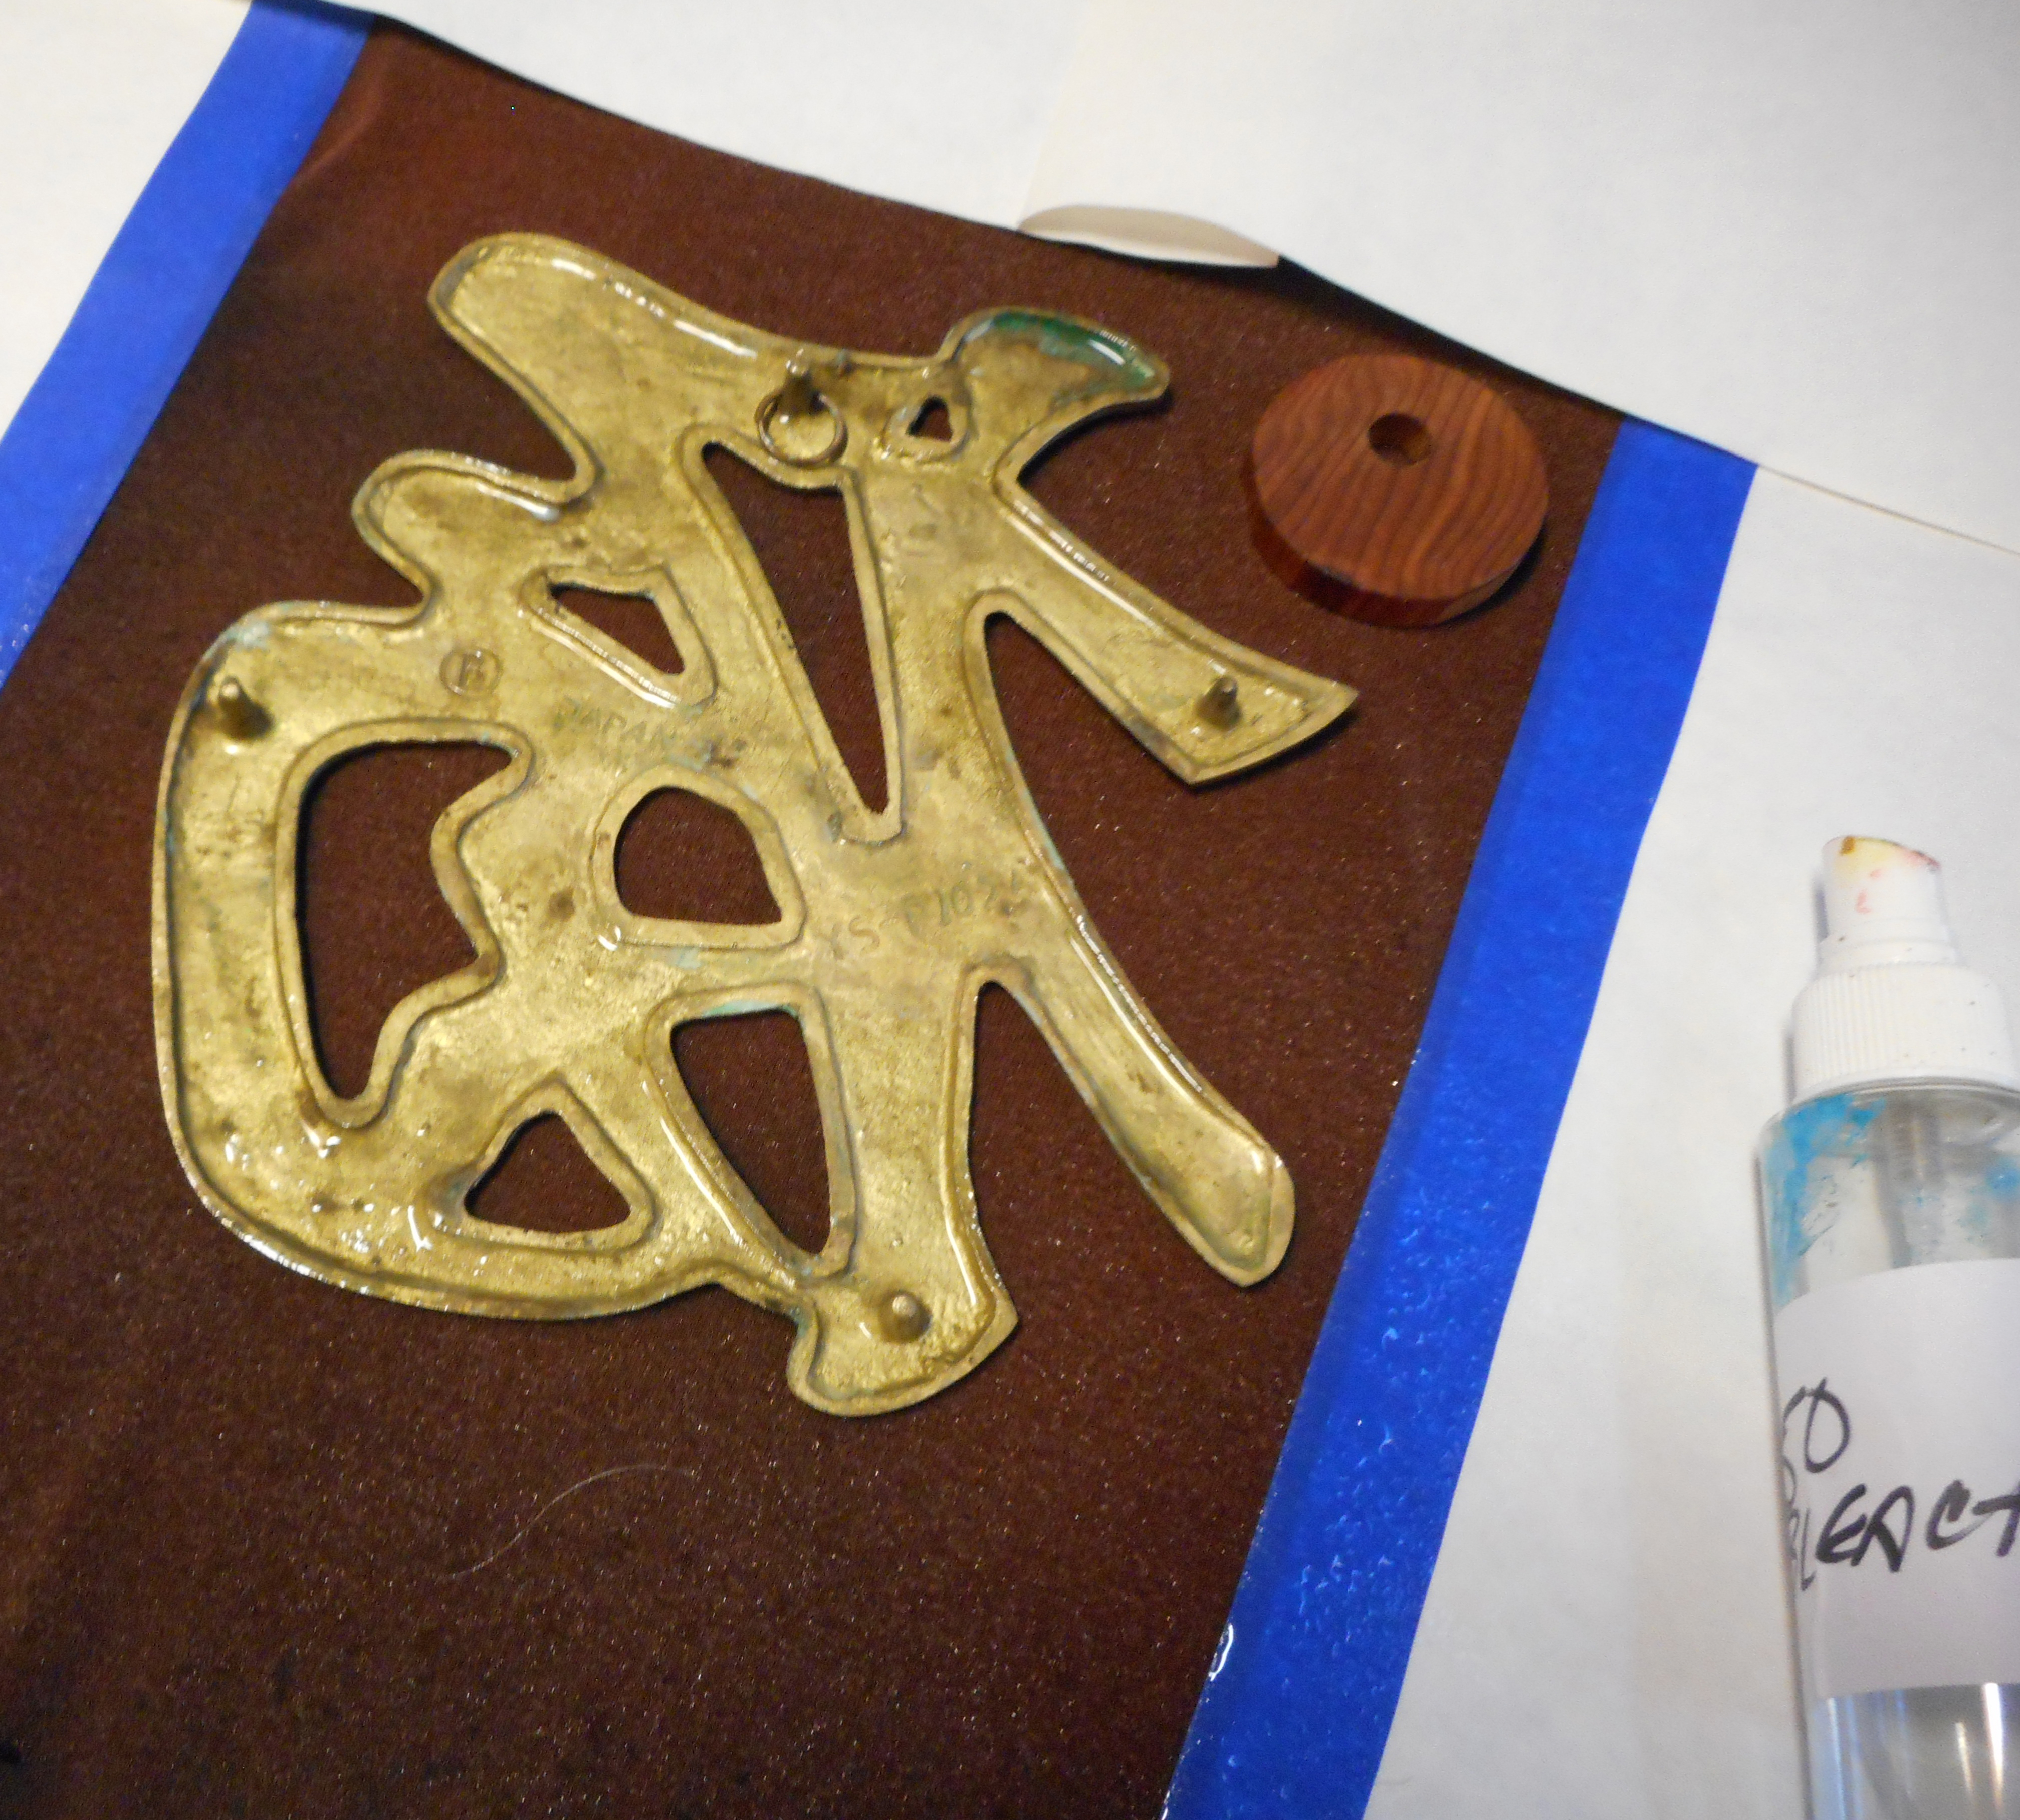
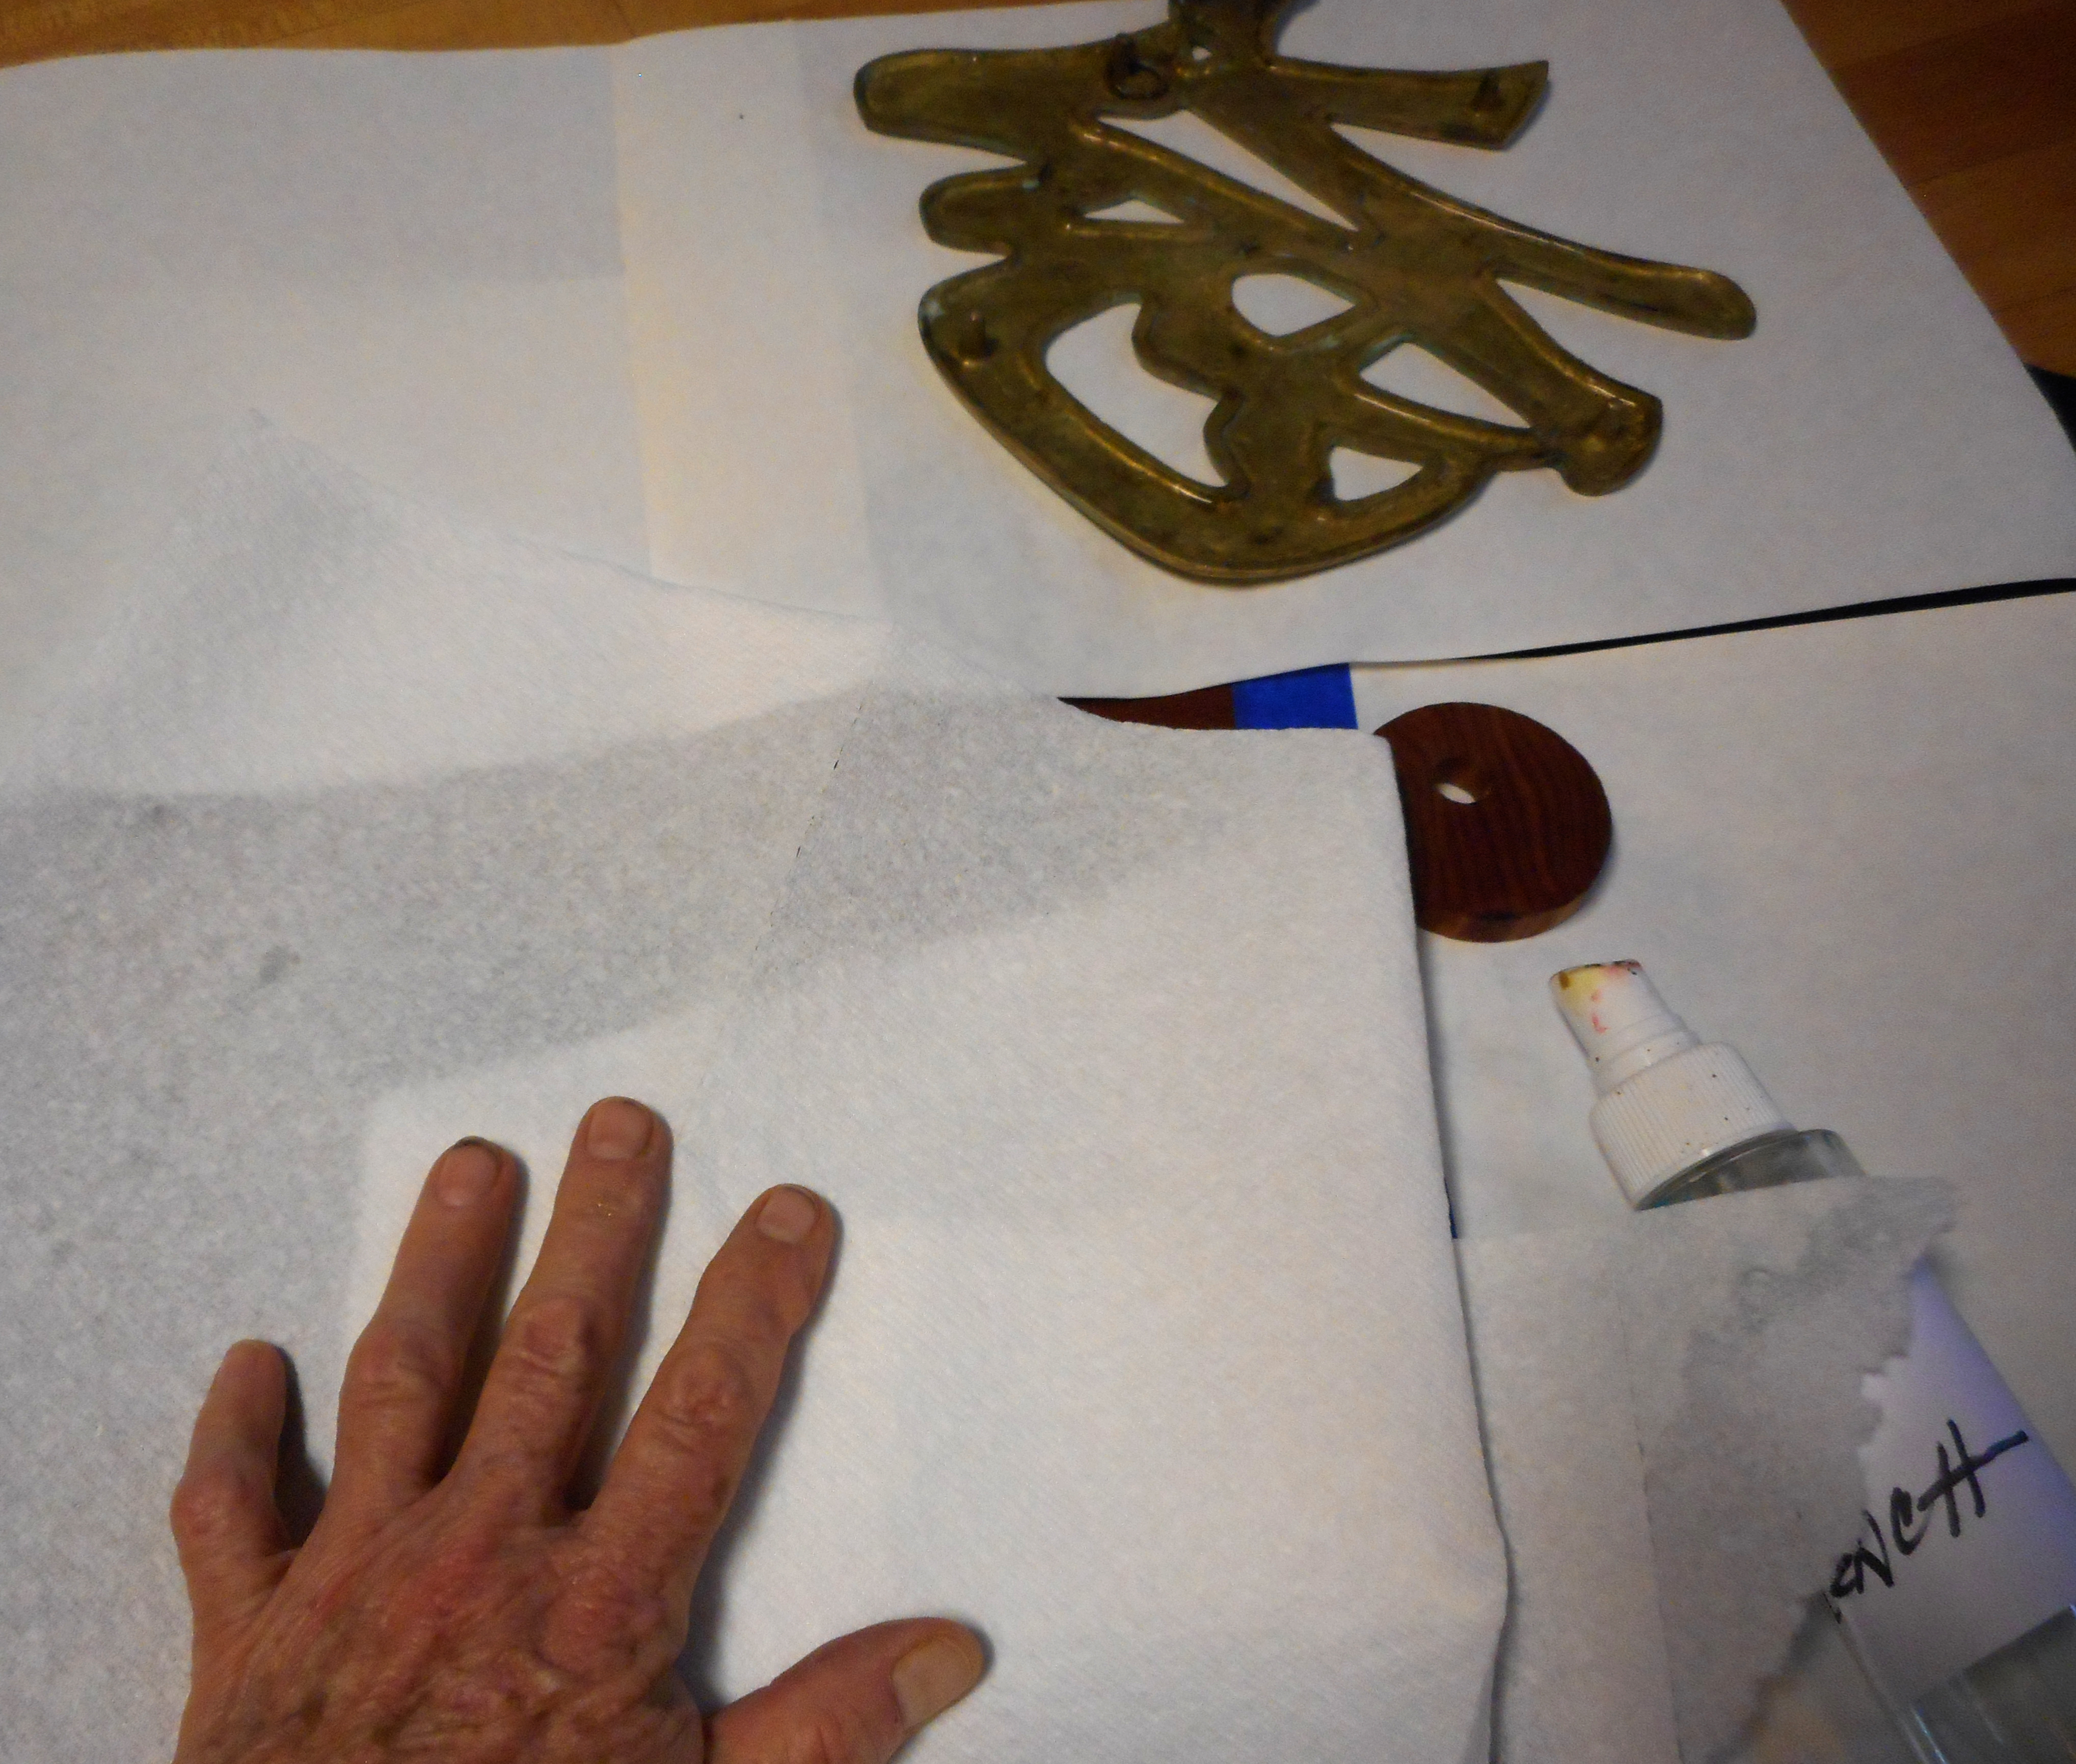
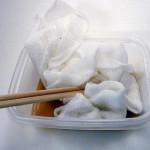
- Wipe off the raised areas with a damp cloth and let dry
-
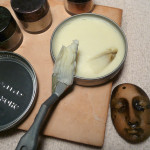
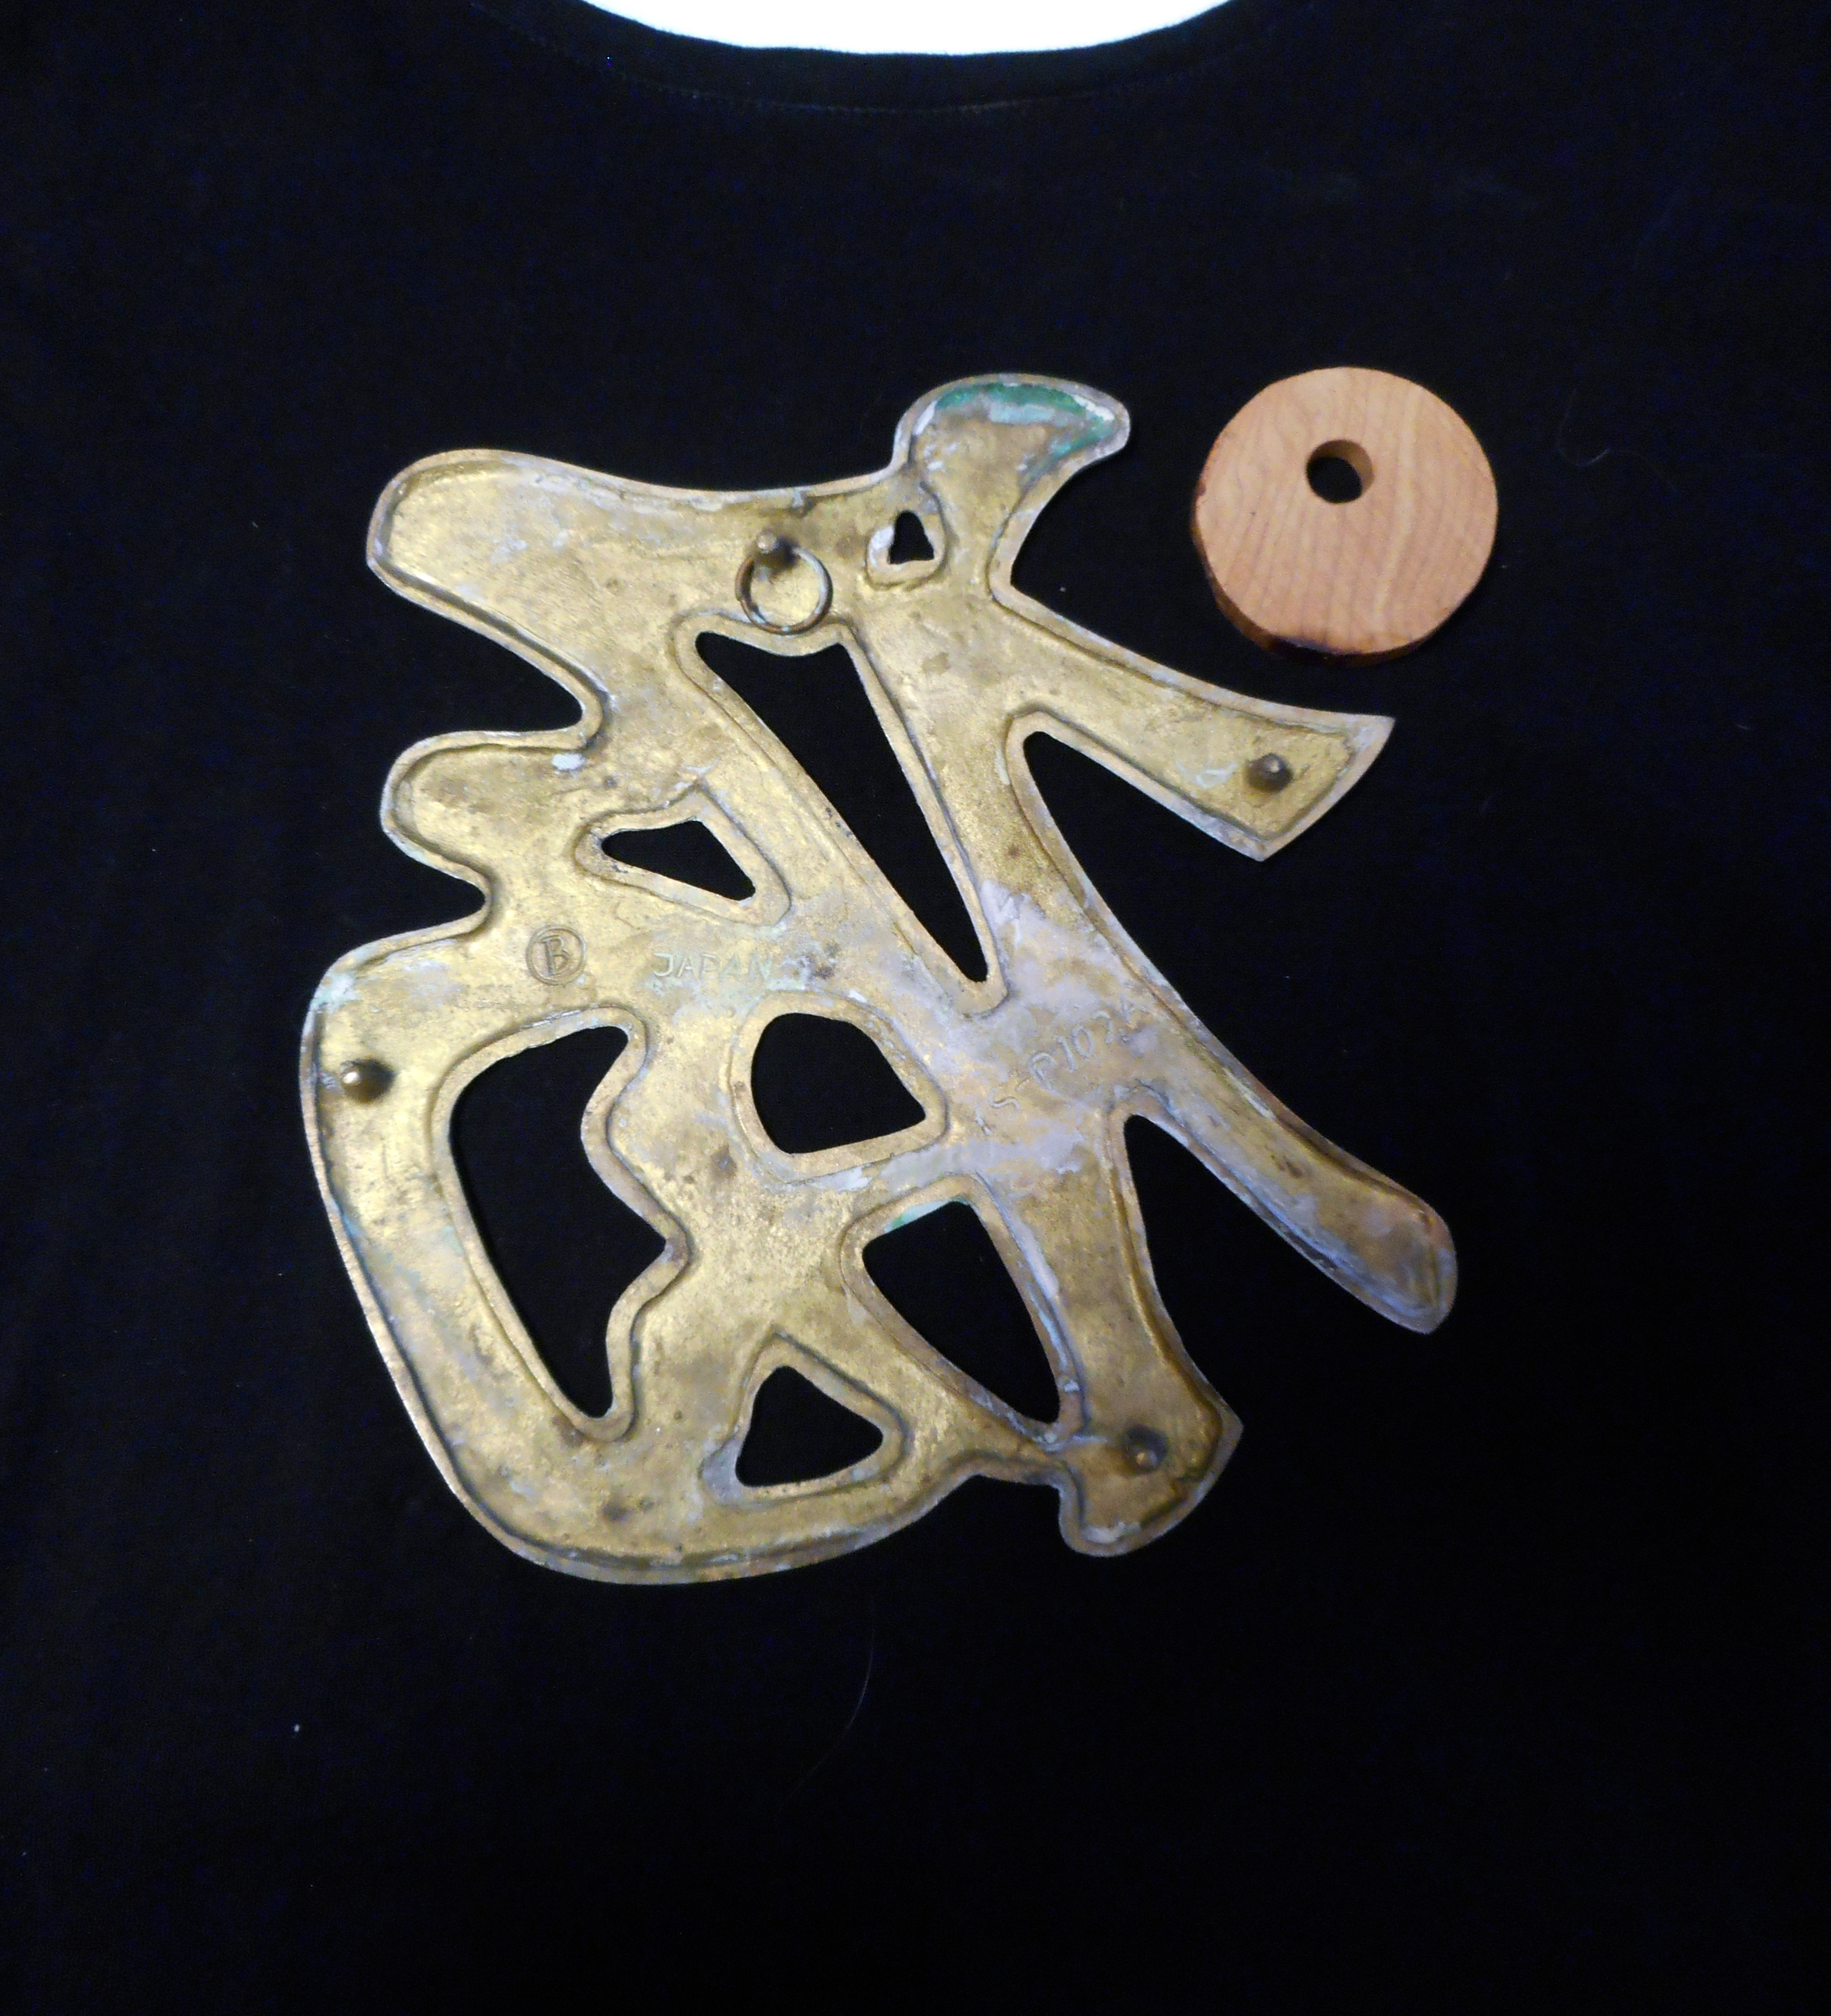
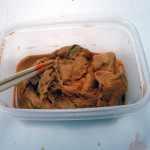
- Open the neutral shoe polish and put a small amount on a tile or non-porous surface using a palette knife
-
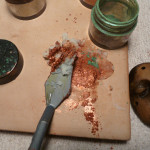
- Mix some of the metallic pigment powder into the waxy shoe polish using your palette knife – color and amount is up to you
-
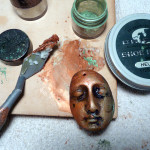
- Using you fingertip, rub the pigmented shoe polish into the surface of the clay – let dry and burnish – colors and effects are limitless
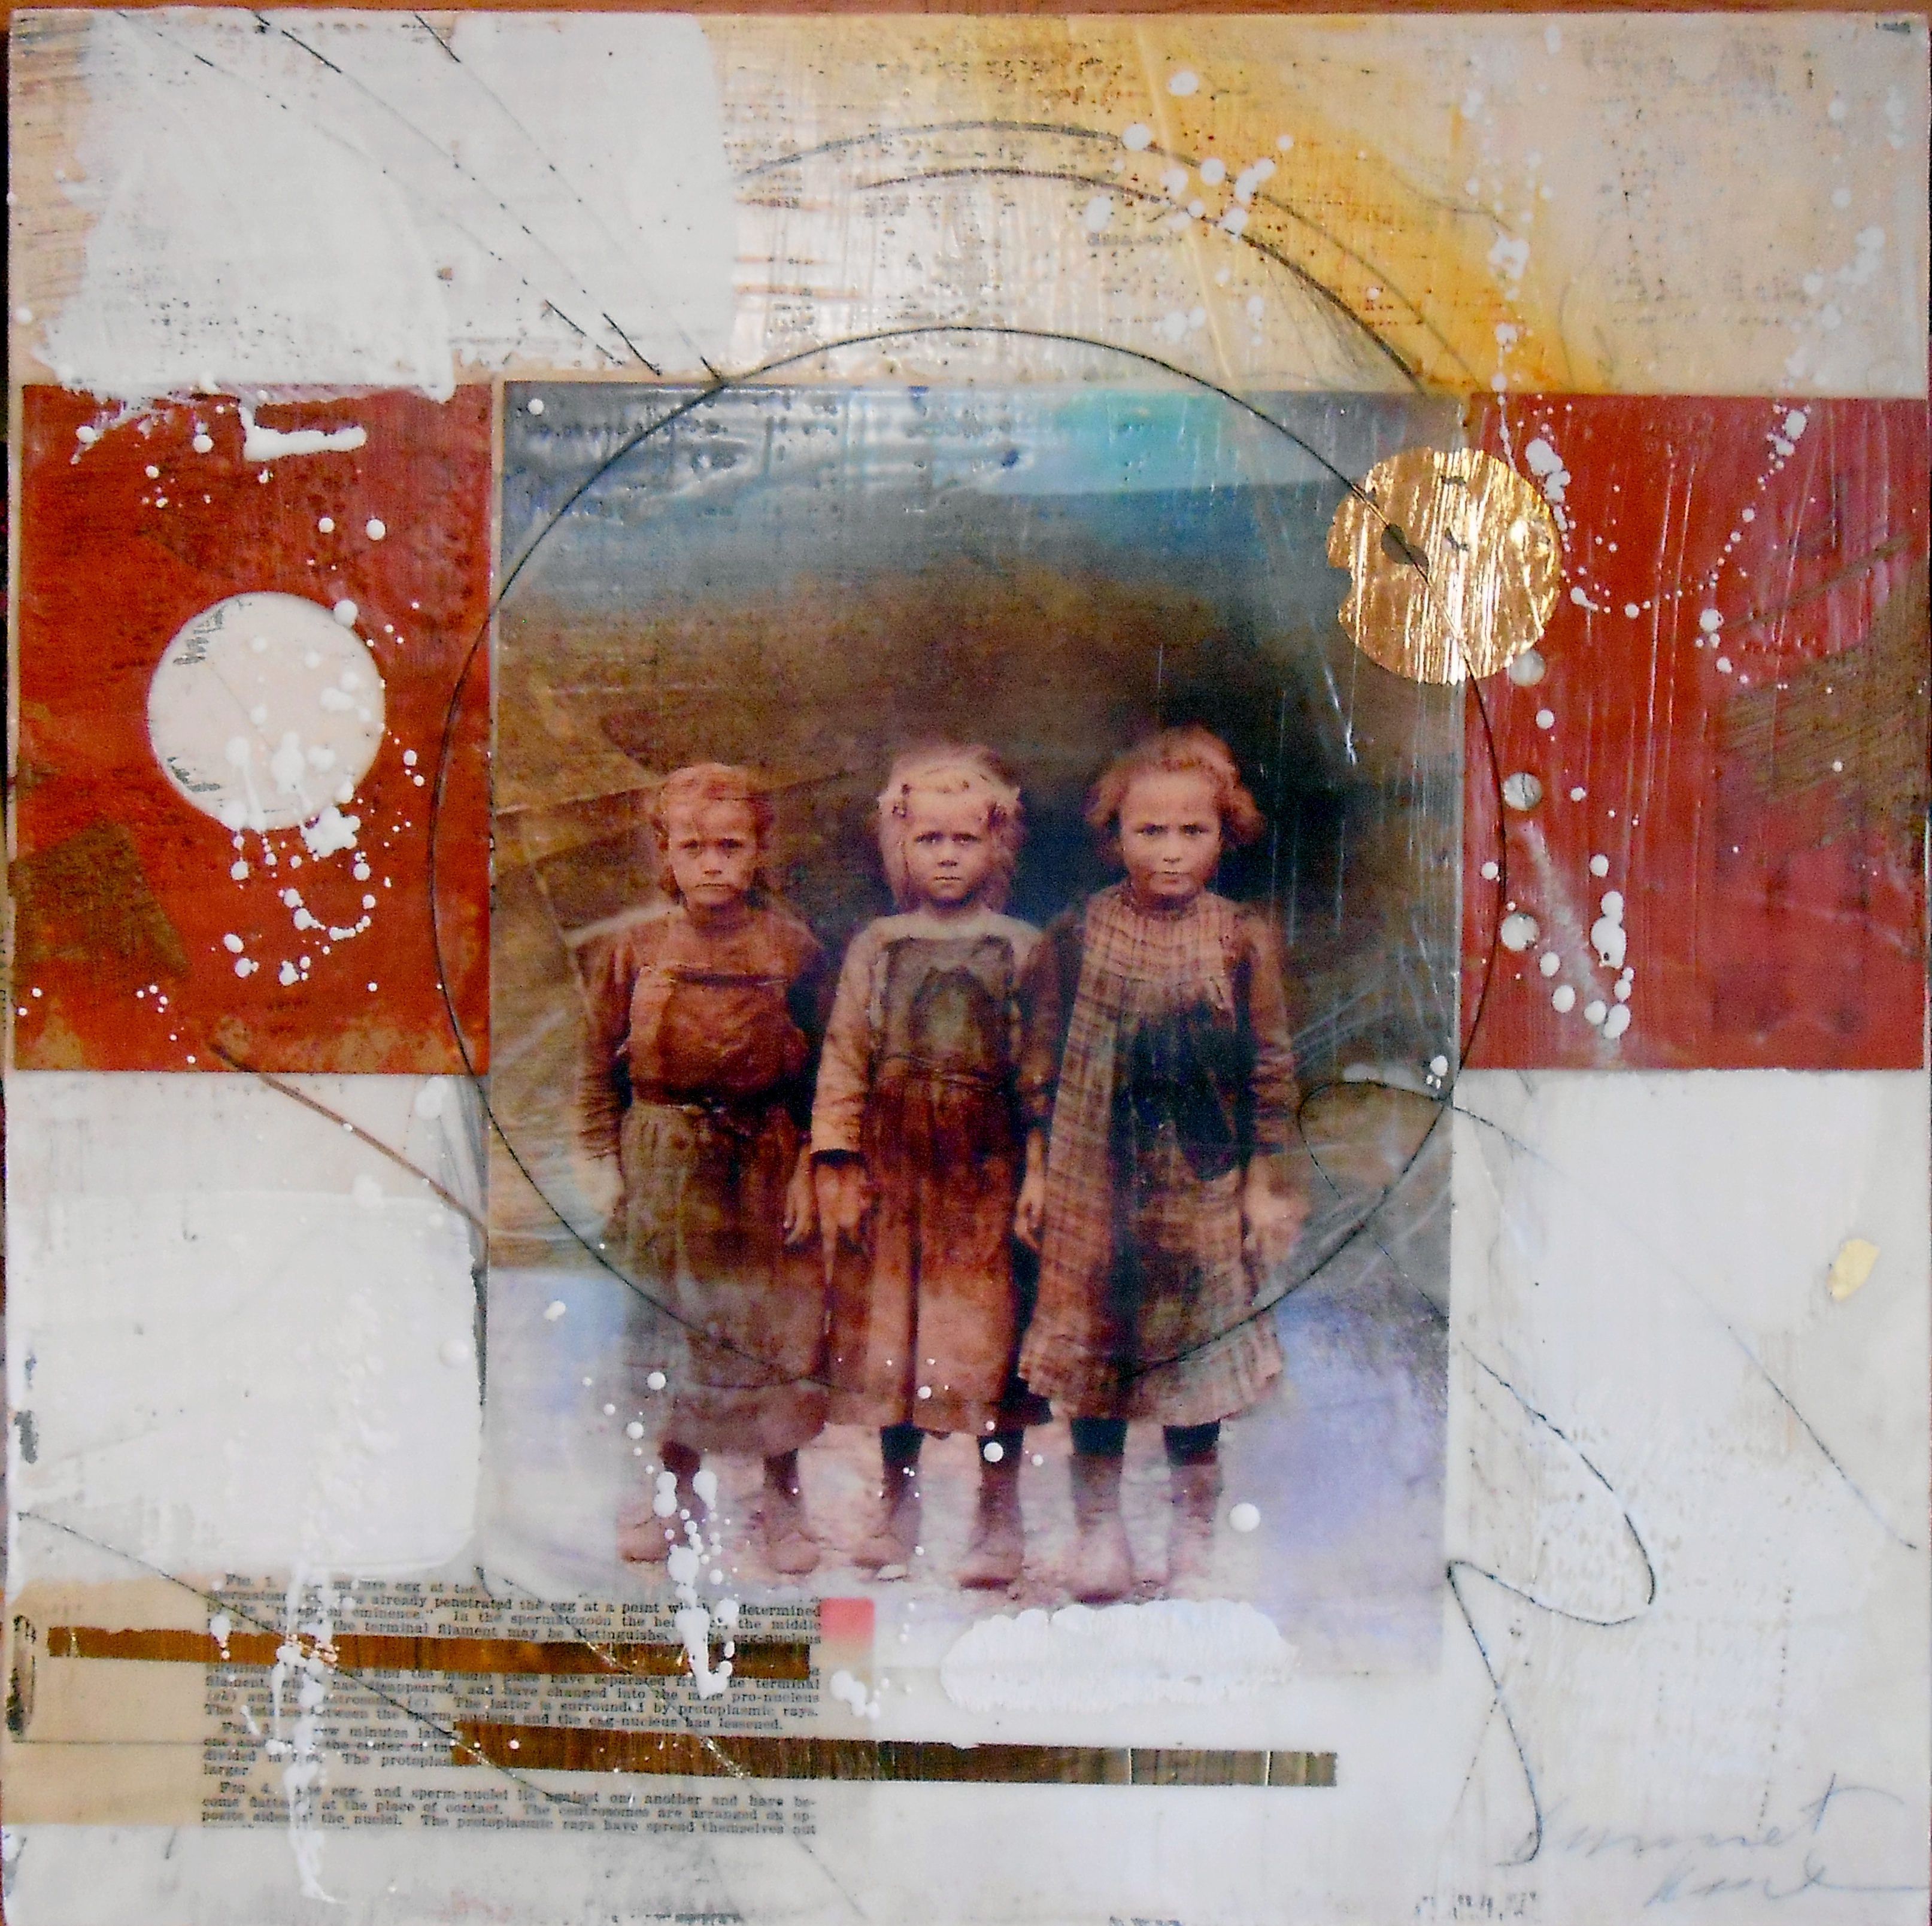
Kathleen Peet: “Diamonds on the soles of her shoes”
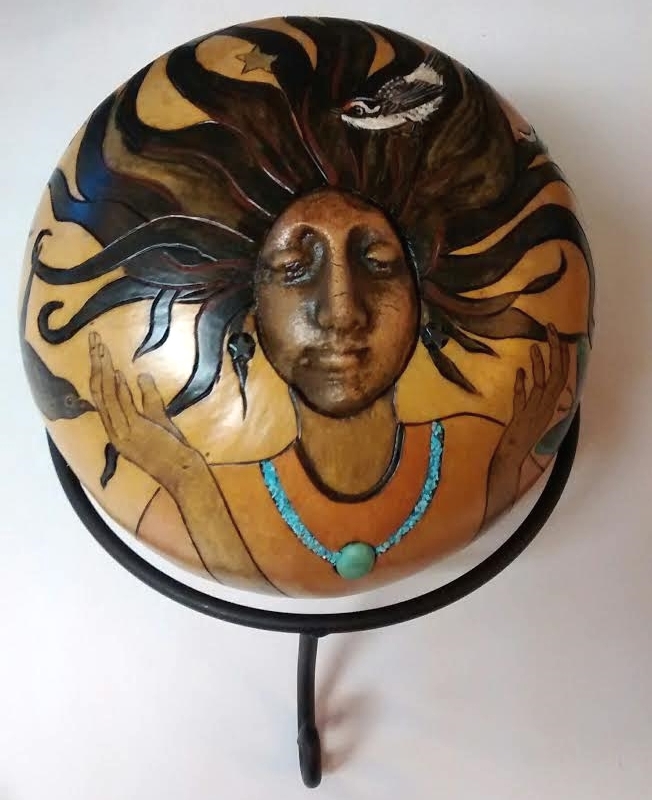
Just as I was working on my Potters Guild presentation, I got a message from Kathleen Peet, a mixed-media artist from Prineville, Oregon who uses my shard faces in her work. She works with gourds in a unique way – look at this gorgeous piece, left.
Kathleen has an Etsy shop called Full Circle Art and you can contact her there to see the full scope of her creativity with gourds.
This is what she says about her passion: “When I started in 1996, gourds were a relatively new medium, especially in rural eastern Oregon. The most frequently asked questions were: “What are those?” and “Do you grow them?” Now, gourds are much better known, and some are recognized as ‘fine art’ rather than just craft. I have enjoyed taking this medium in many different directions, and just when I think I’ve tried everything, some new idea hits me. While still enjoying painting, spinning/weaving, ceramics and abalone jewelery….I always come back to gourds!”
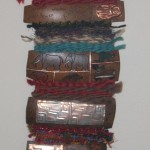
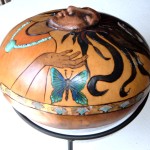
Here are some photos of more of Kathleen’s work, including a look at her Oregon studio – thanks, Kathleen! Clay and gourds are a natural pairing!
-
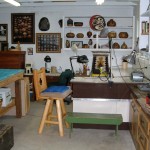
- Kathleen’s studio
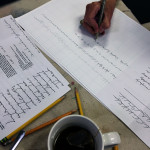
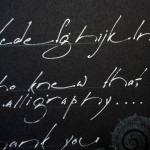
 super-star status with illuminated swashes. But thanks to my friend Bonnie Houser, I can now write like a calligrapher! And I’m getting better at it – AND it’s fun!
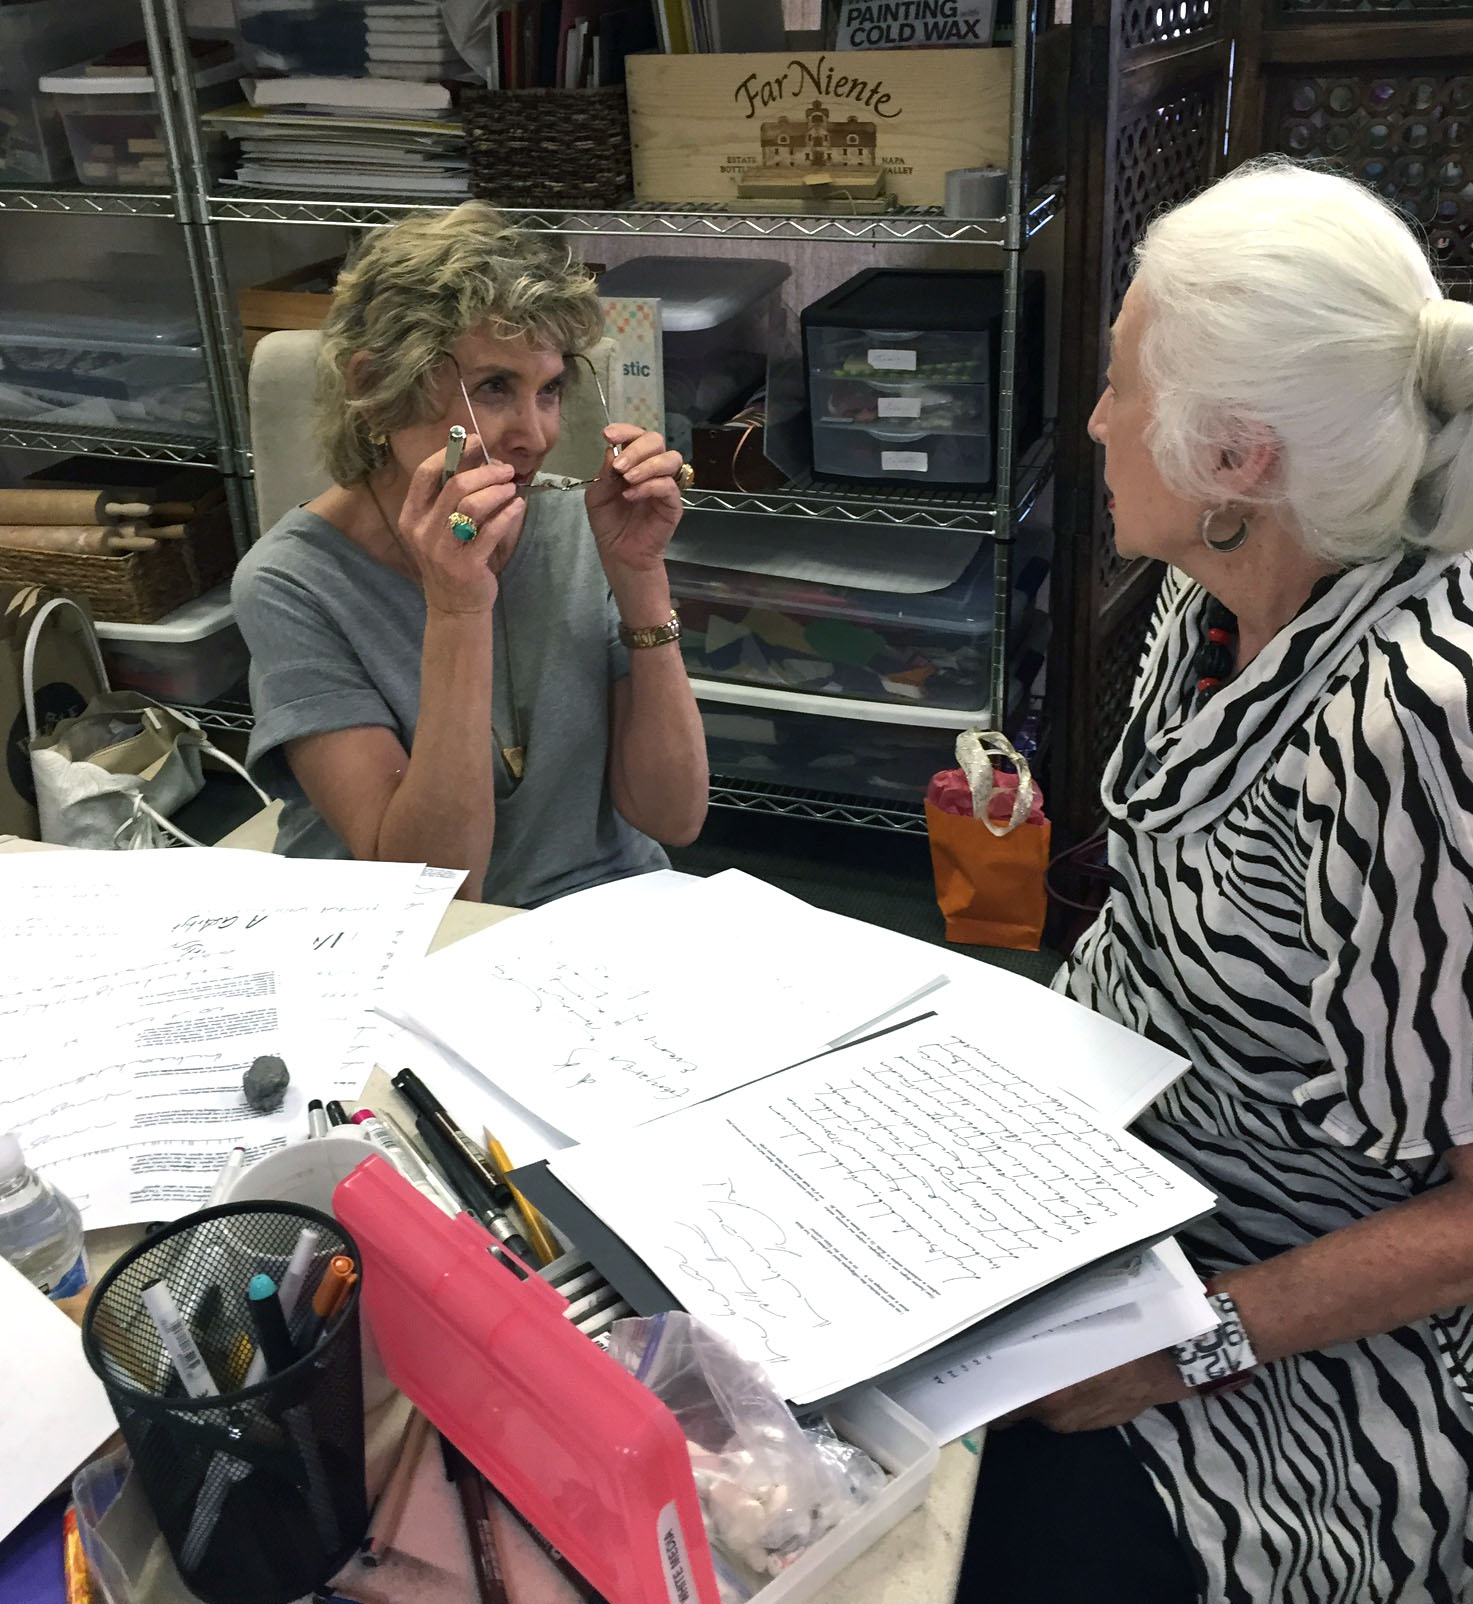
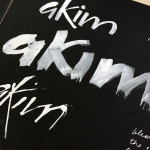
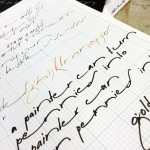
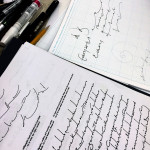
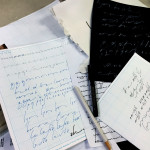
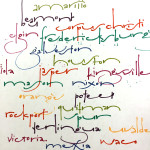


 Aren’t those wonderful? We did a combination of

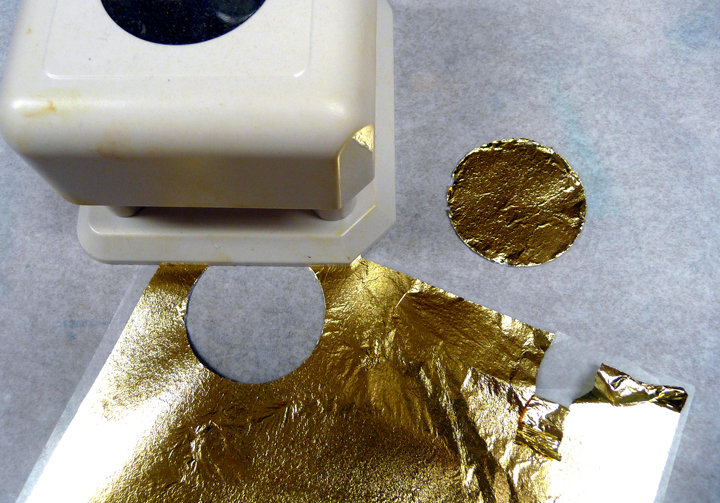
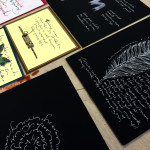
 Finally, the Friday Freebie is a whole packet of paper-backed gold leaf to use in any creative and/or goofy way! If you are the lucky SHARDS subscriber whose name is drawn Sunday night, I’ll send you a package of


 You can read more