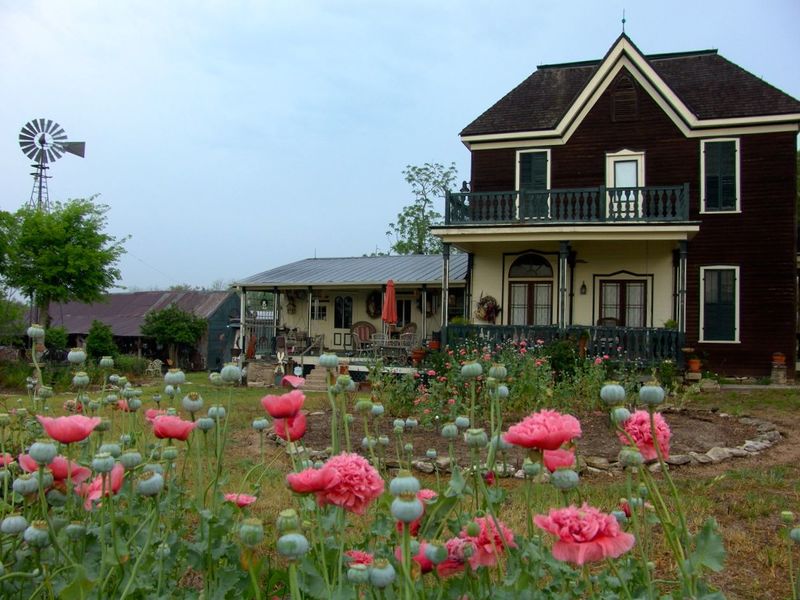
Historic Round Top home
The little town of Round Top, Texas (Pop. 1200) is friendly, charming, and enjoying an artistic Renaissance. I returned there this week to teach at the Vivi Magoo Art Retreat on the Prairie – lucky me!
When you go there, check out the Round Top Inn – that’s where I got to stay. The Inn is really a collection of vintage farmhouses and cottages set on lovely grounds framed by oak trees and guarded by a huge furry black cat.

The main house porch
The breakfasts are yummy, too – organic and locally sourced. Here’s my Wednesday morning plate, a fresh tomato tart and sausage. Drool.

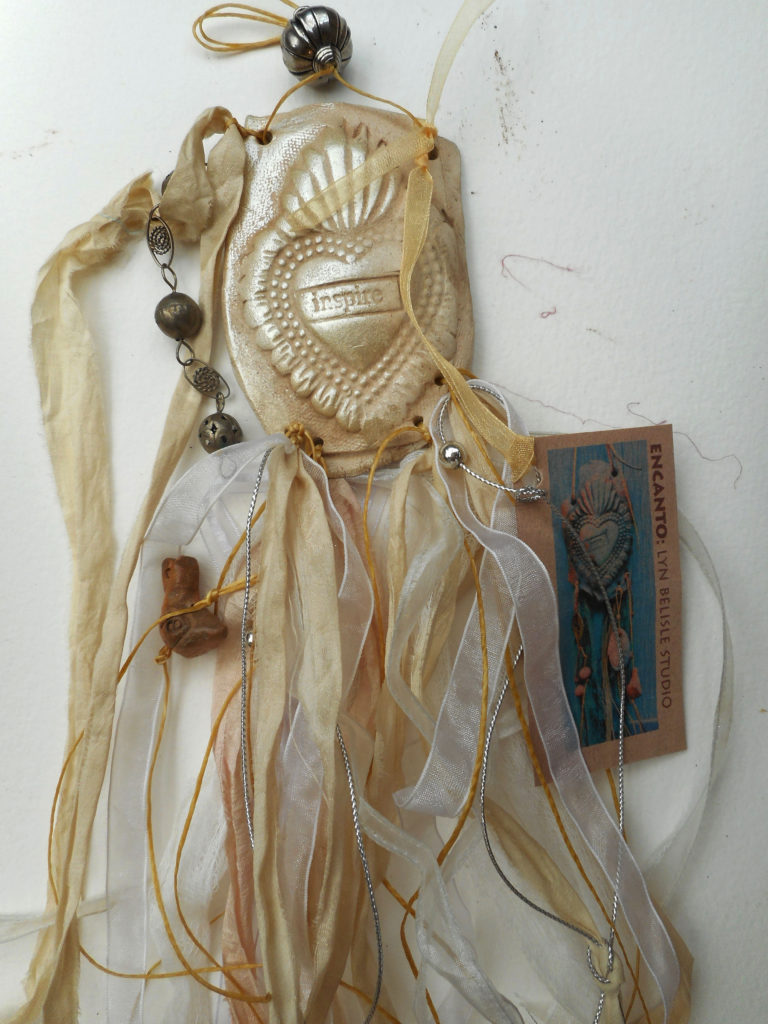
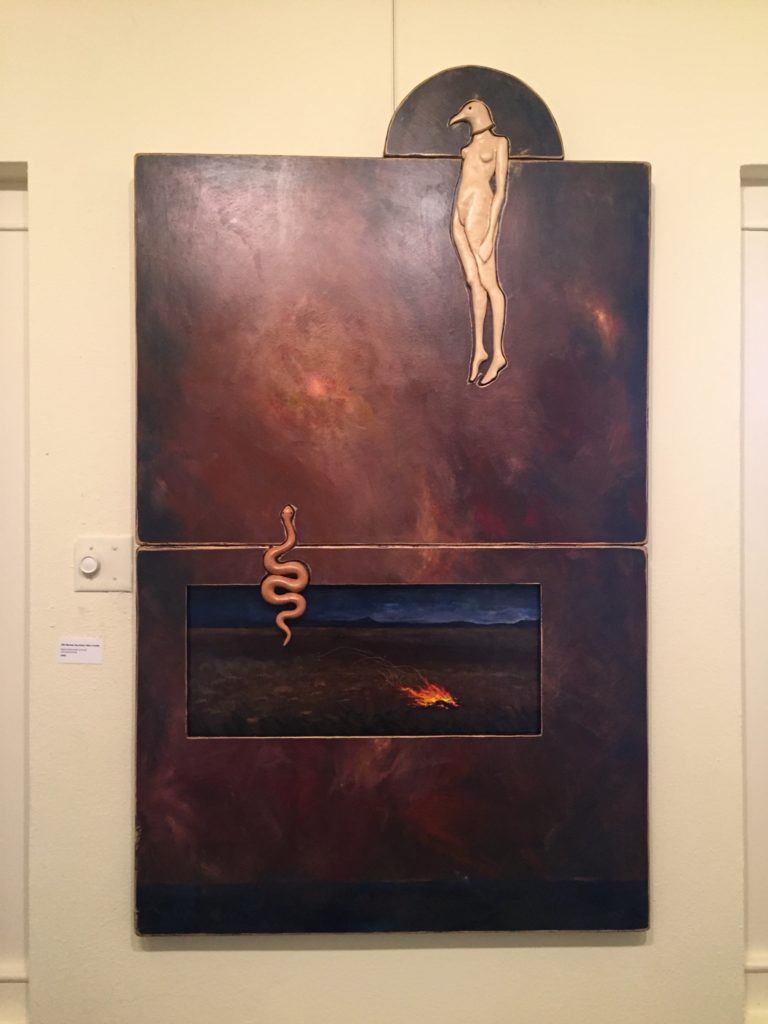
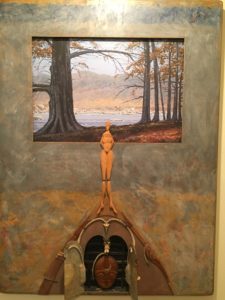
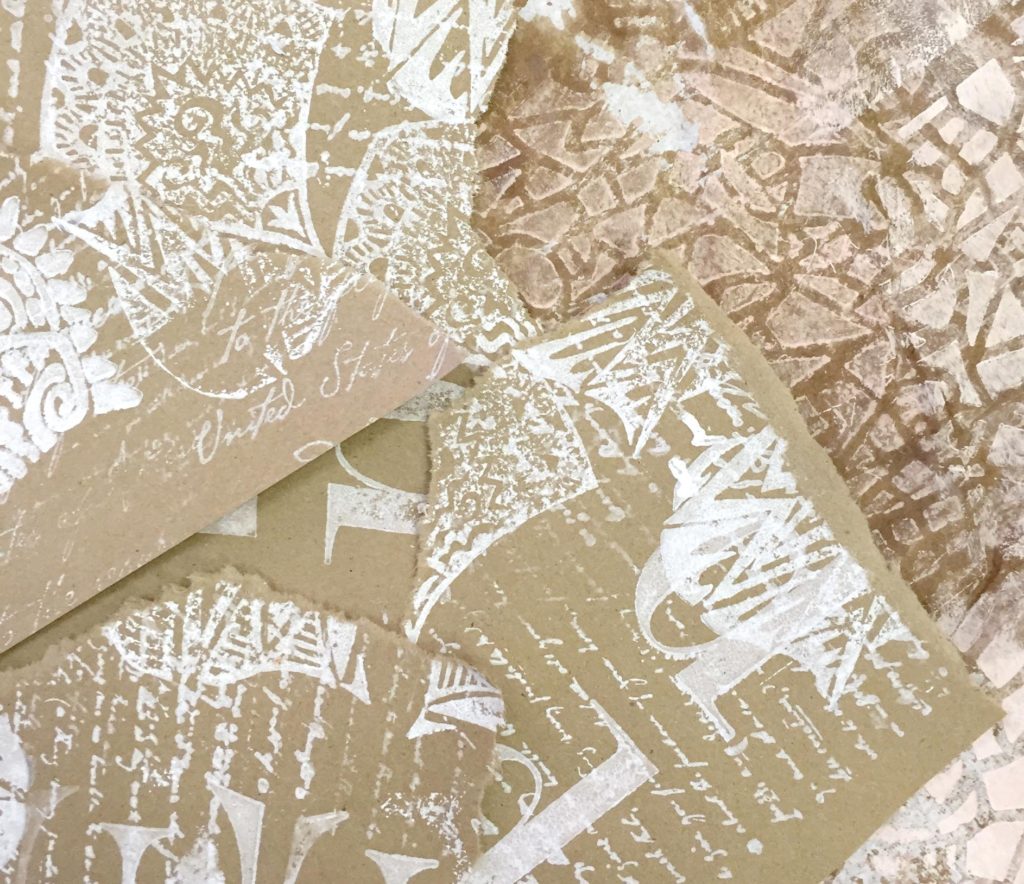
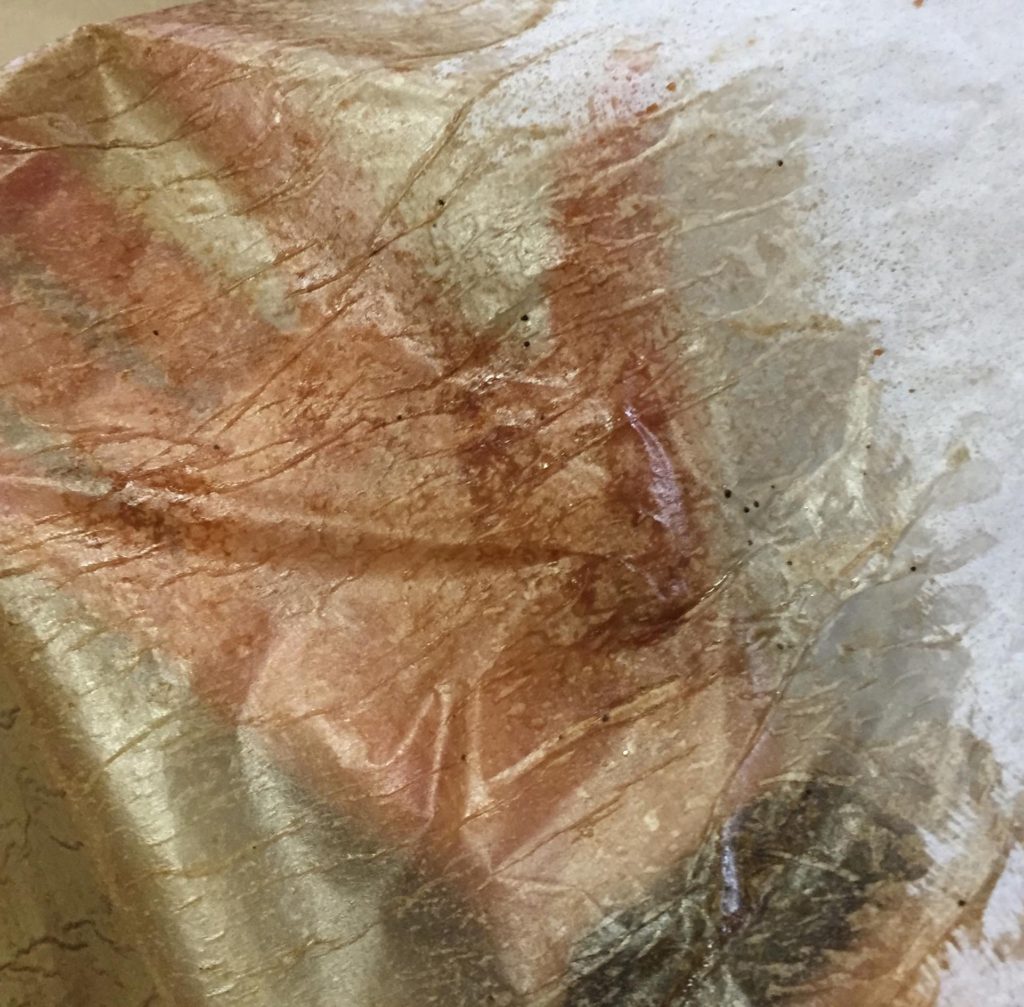
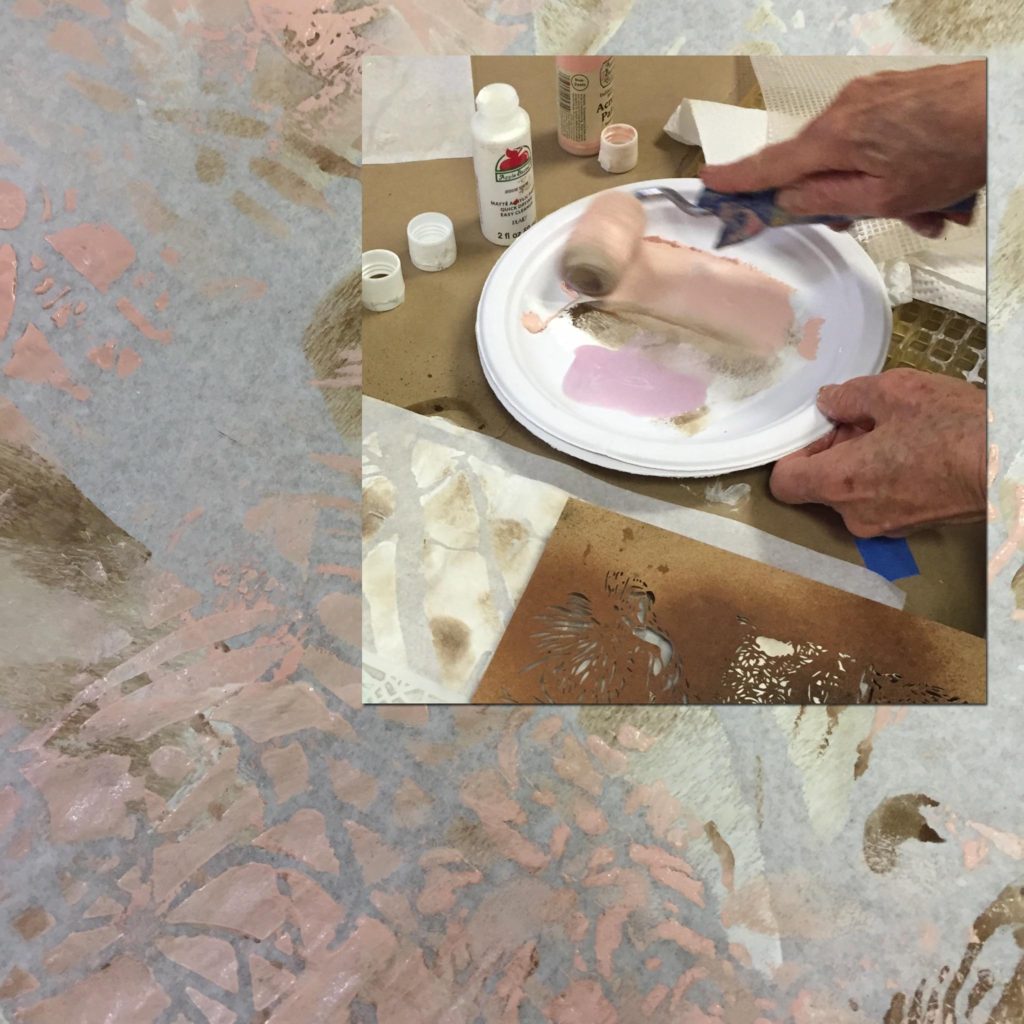
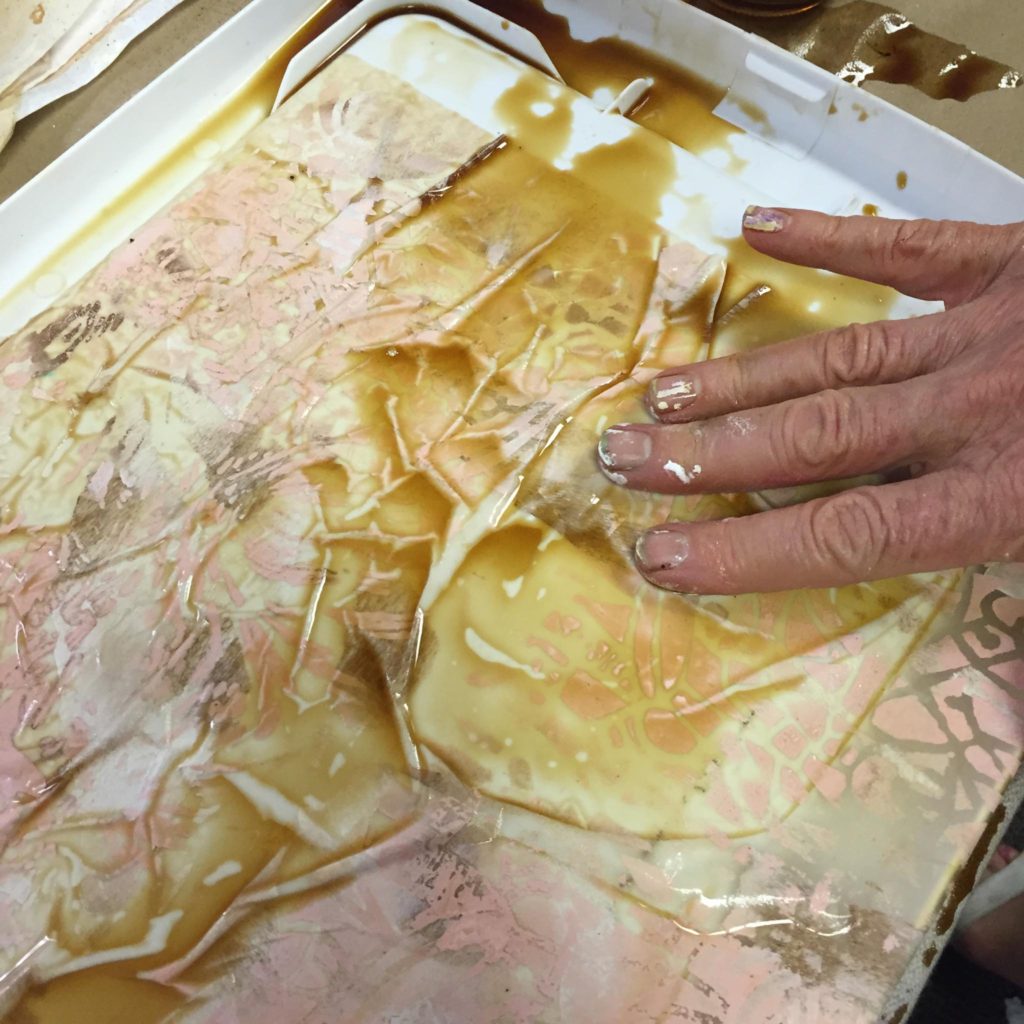
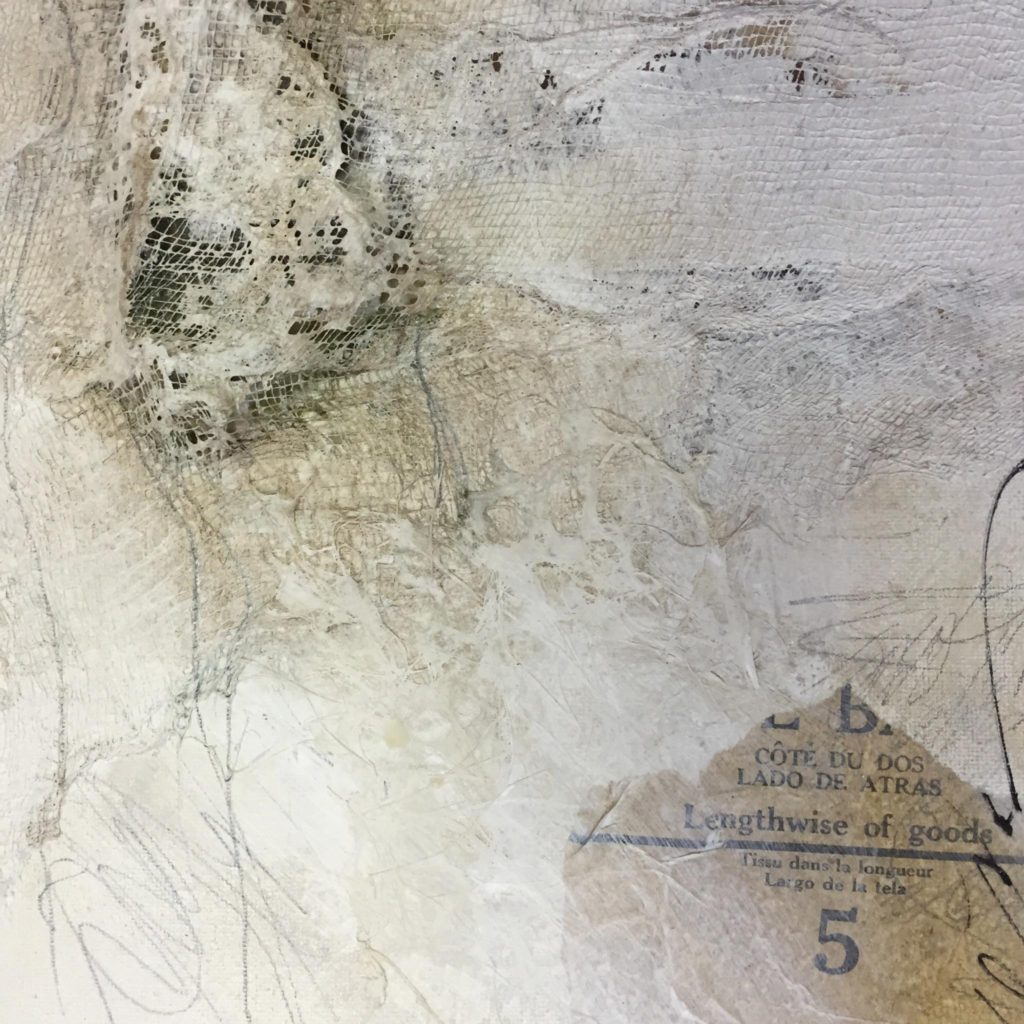
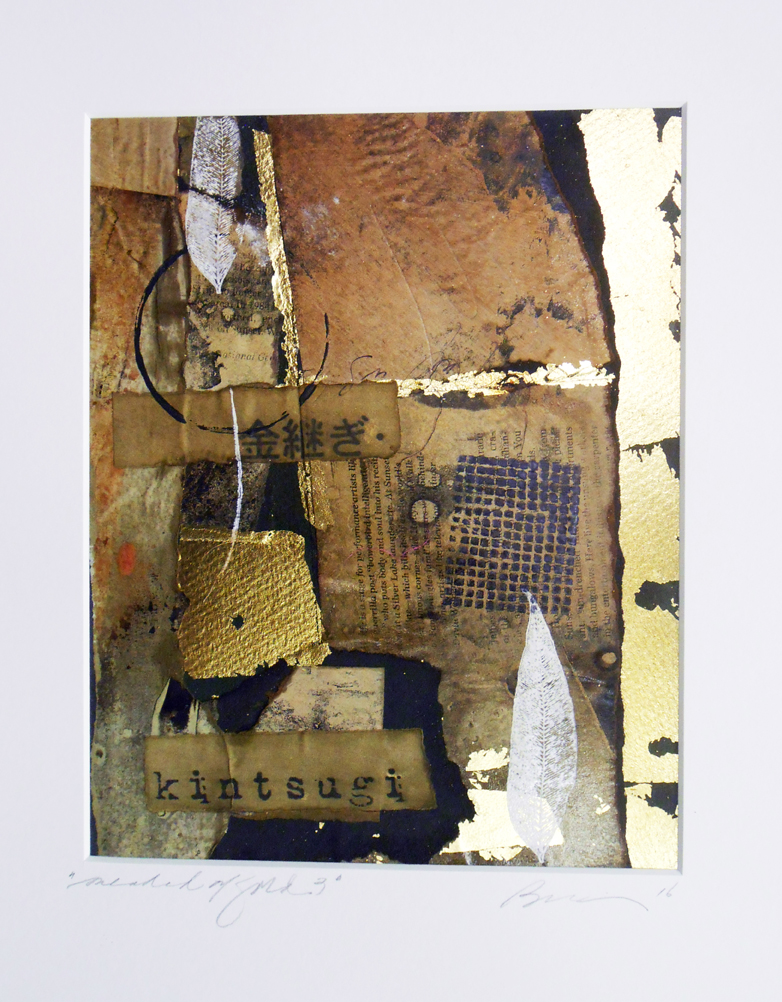
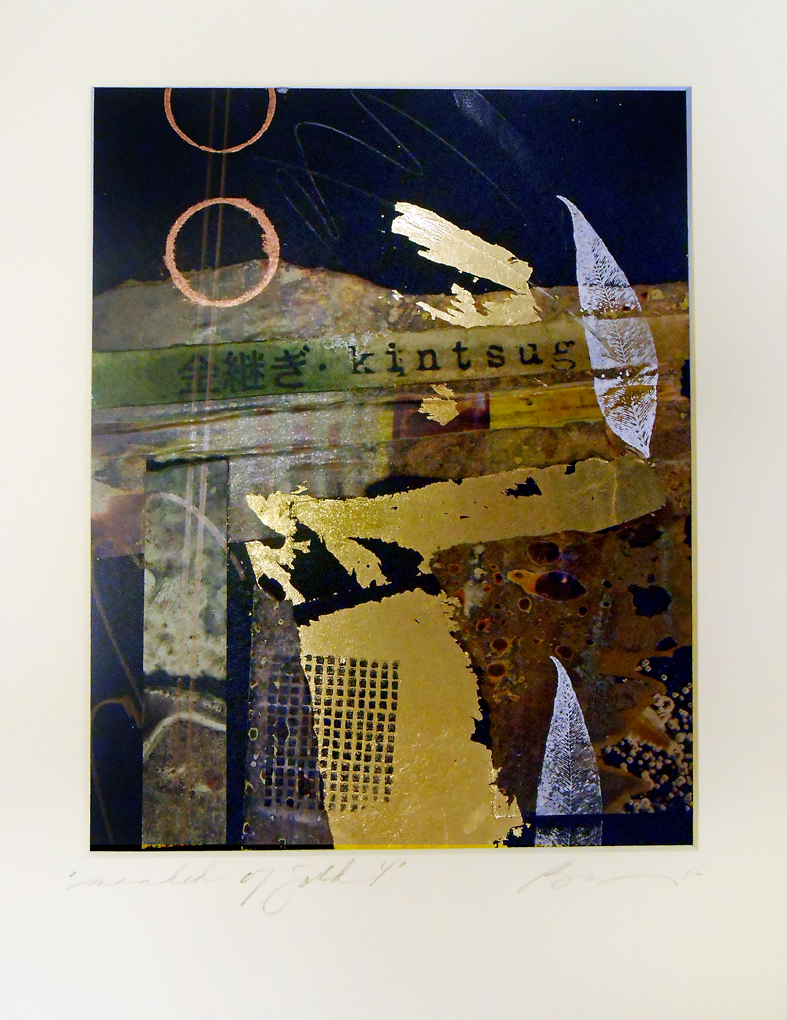
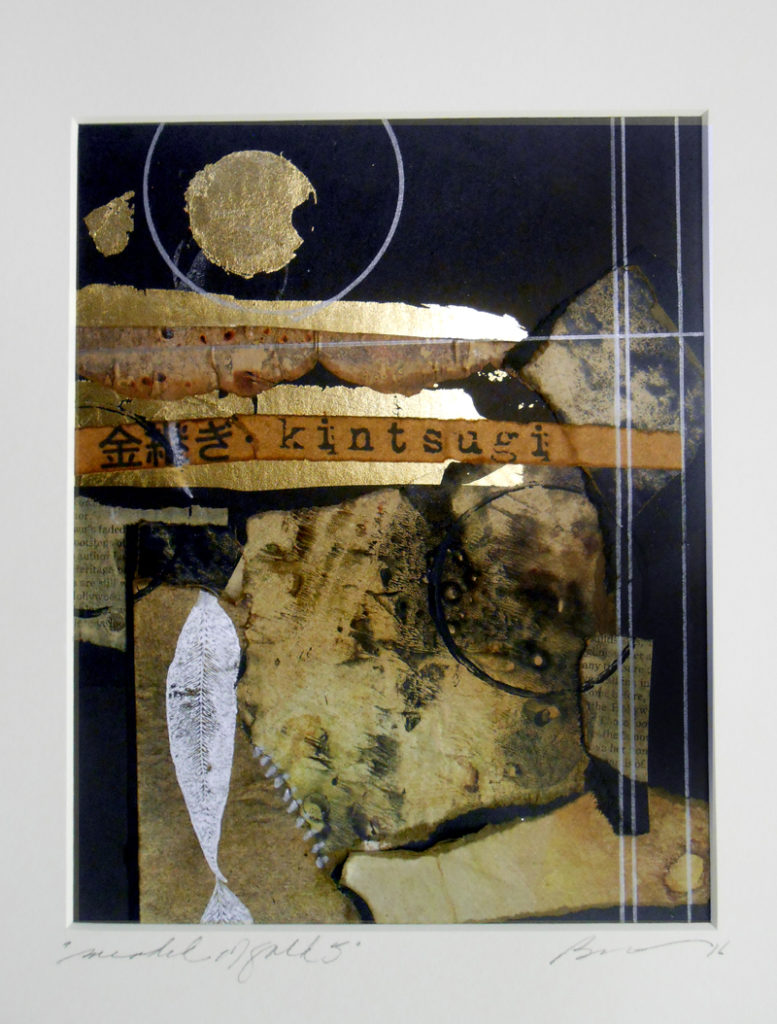
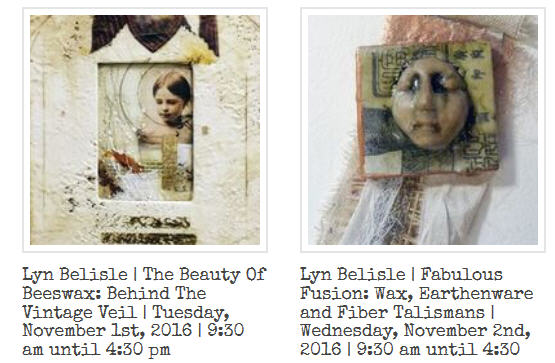
I taught two all-day workshops, The Beauty of Beeswax: Behind the Vintage Veil (which includes collage composition and basic encaustic techniques) and Fabulous Fusion: Wax, Earthenware and Fiber Talismans (which included mold making, wax on earthenware, and assemblage techniques).
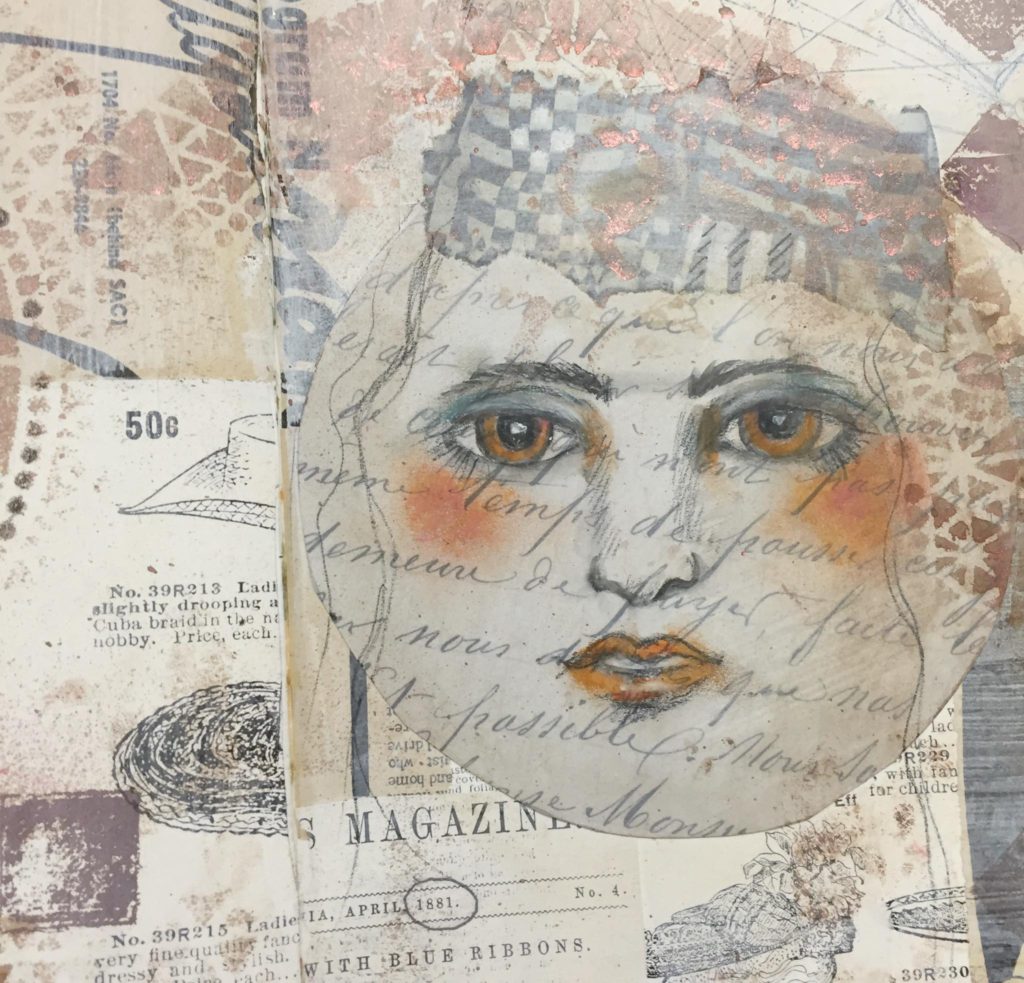
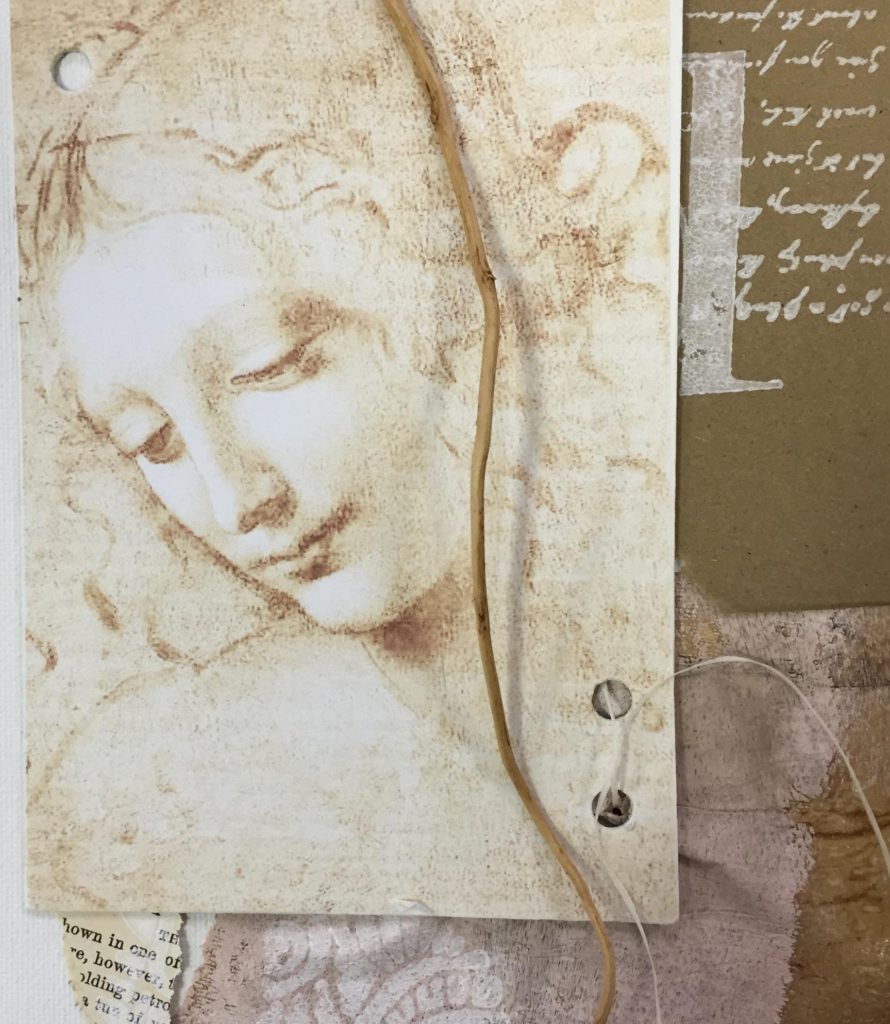
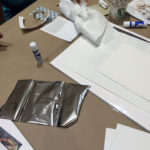
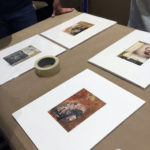
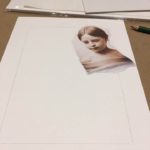
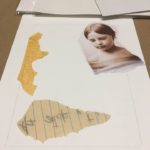
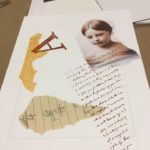
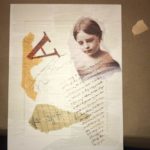
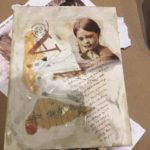
Here are two of the demos I did during those classes – you can get the idea of what we worked on from these photos:
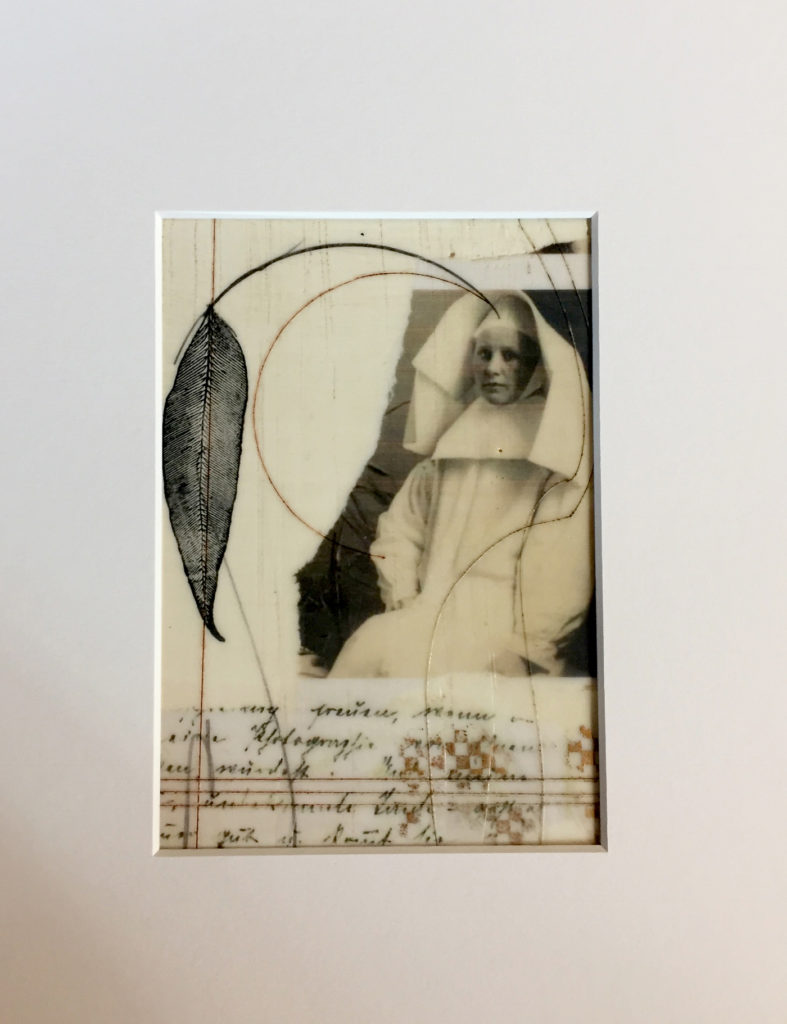
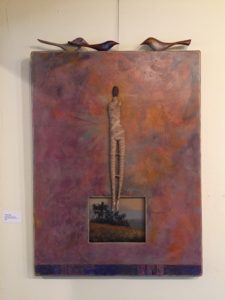
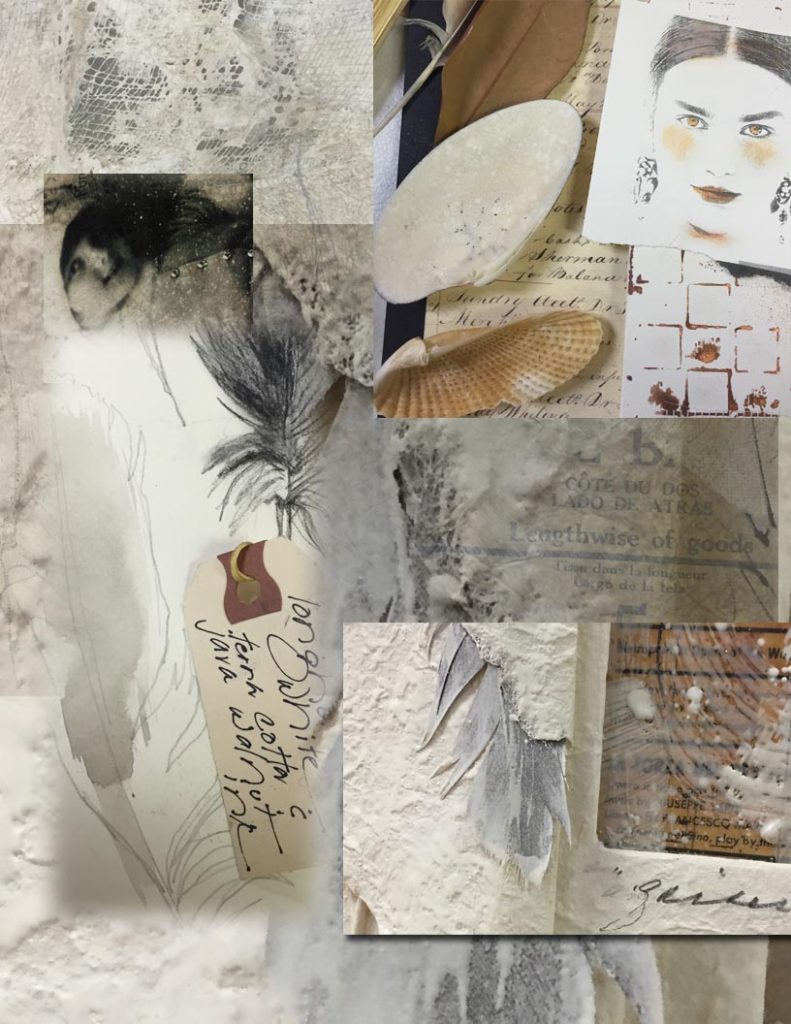
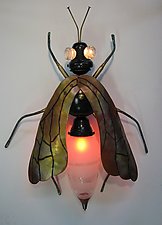
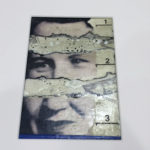
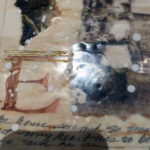
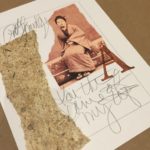
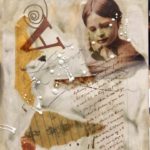
Lyn Belisle: “Frisky Nun”
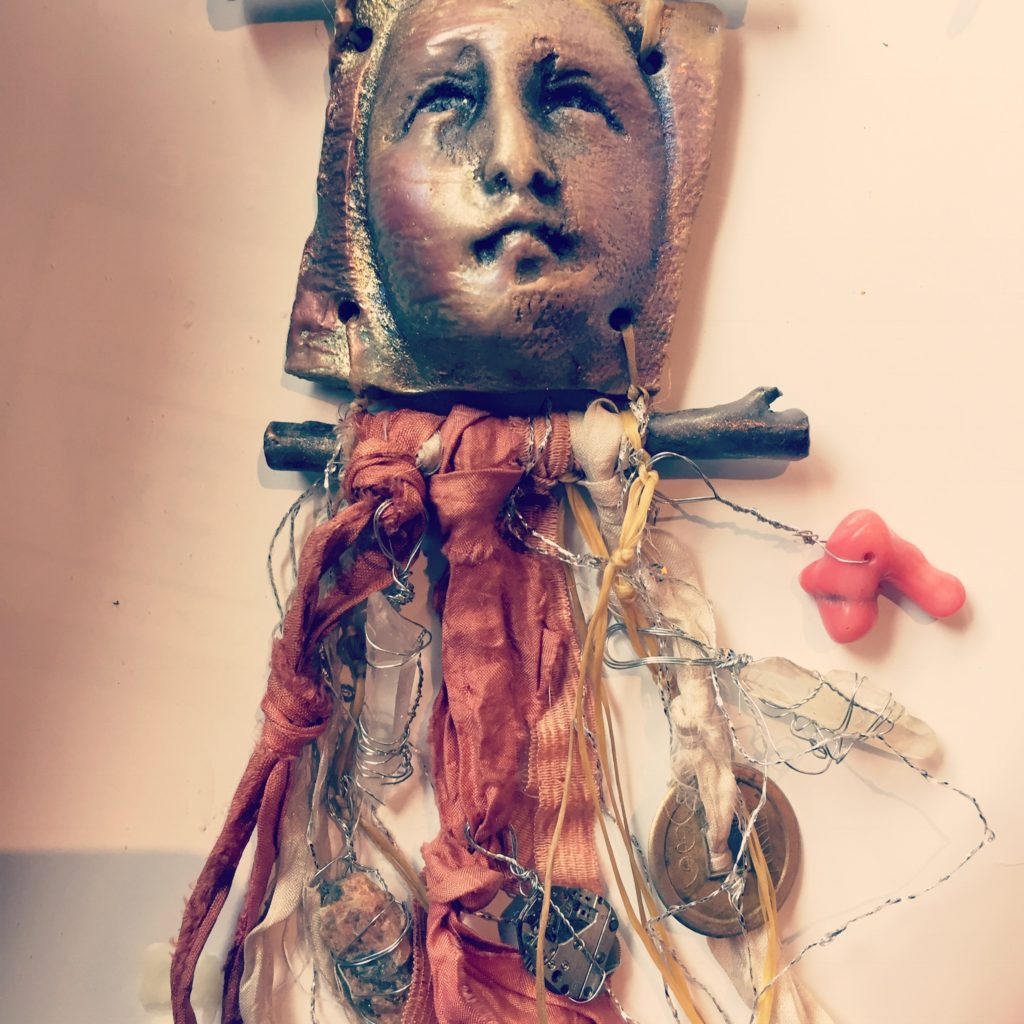
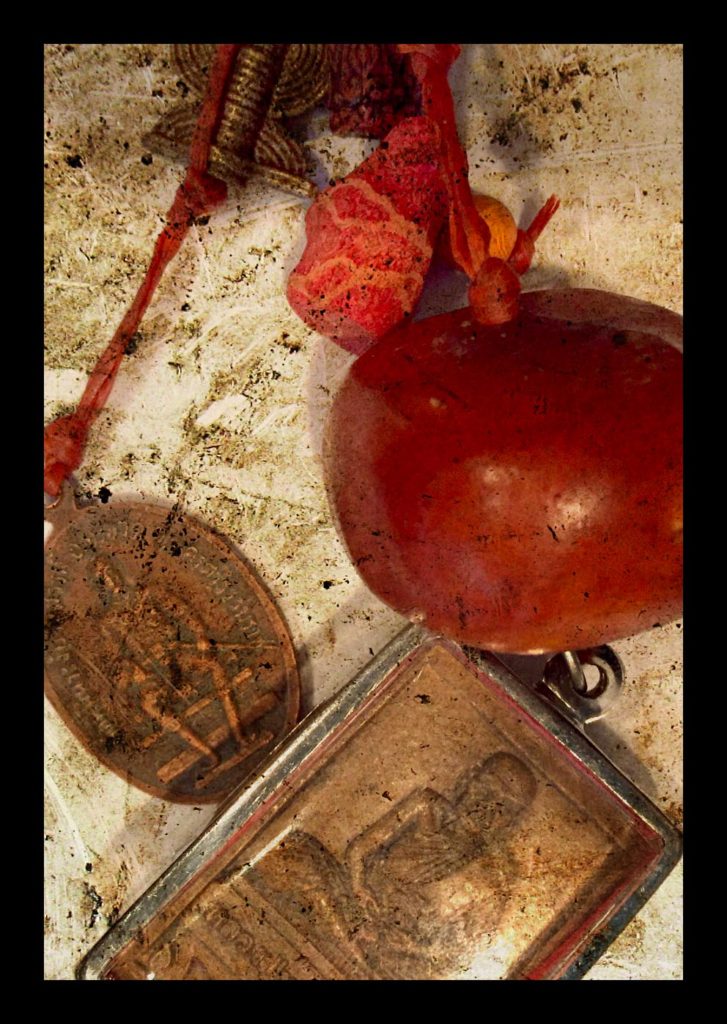
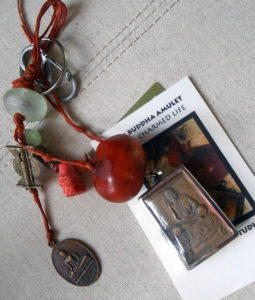
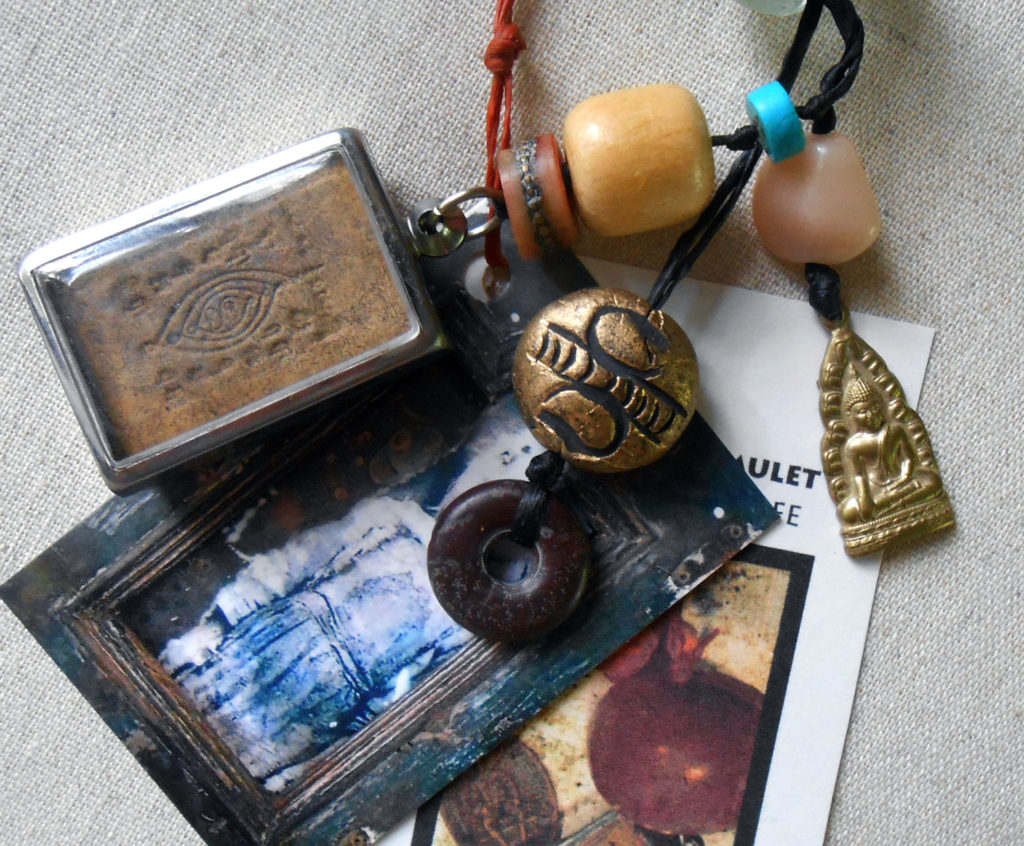
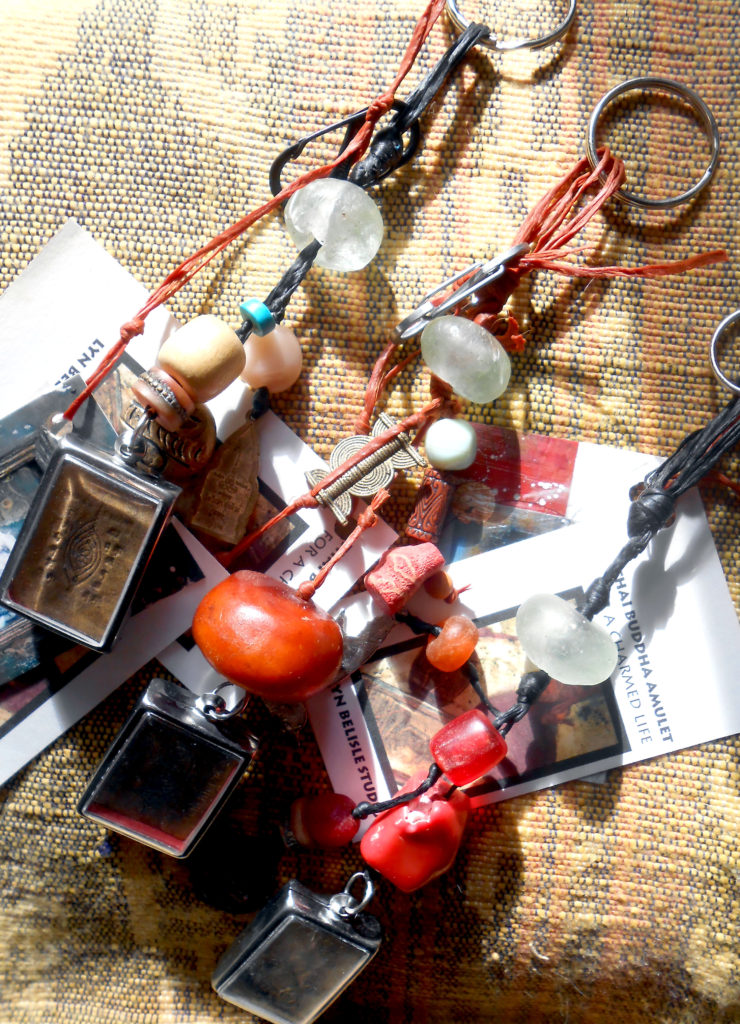
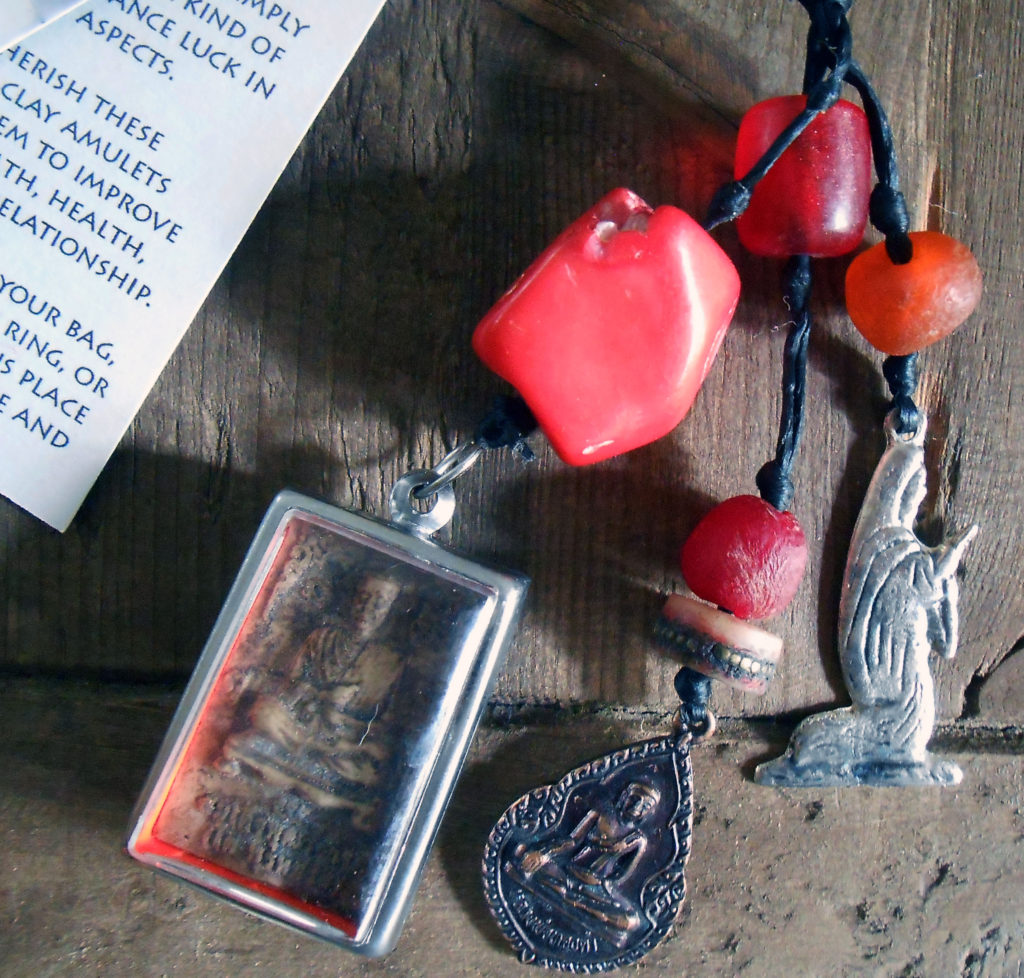
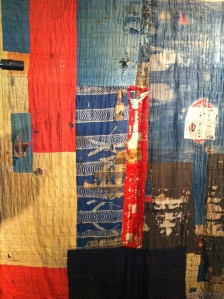
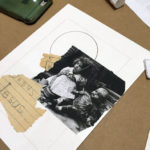
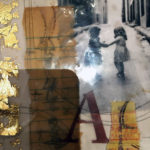
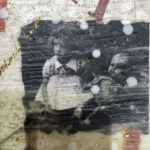
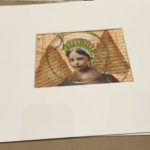
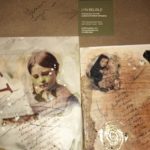
Lyn Belisle: Wax, Earthenware, Fiber Talisman
But the real fun of these Vivi Magoo retreats is, of course, watching the students get excited by the process and create breathtaking work. I am so happy when they take the methods I teach, adapt them for themselves, and then use them in their own spectacularly individual ways.
As you watch this video of both my all-day workshops, pay attention to the different directions that the participants take in their finished pieces. I always tell them there is more than one right answer, and each of them found a brilliant one.
To make the experience totally perfect, beautiful Barb Solem, the Vivi Magoo founder, invited me back for next year – yay! It was the best ending possible to a wonderful three days in Round Top, Texas.
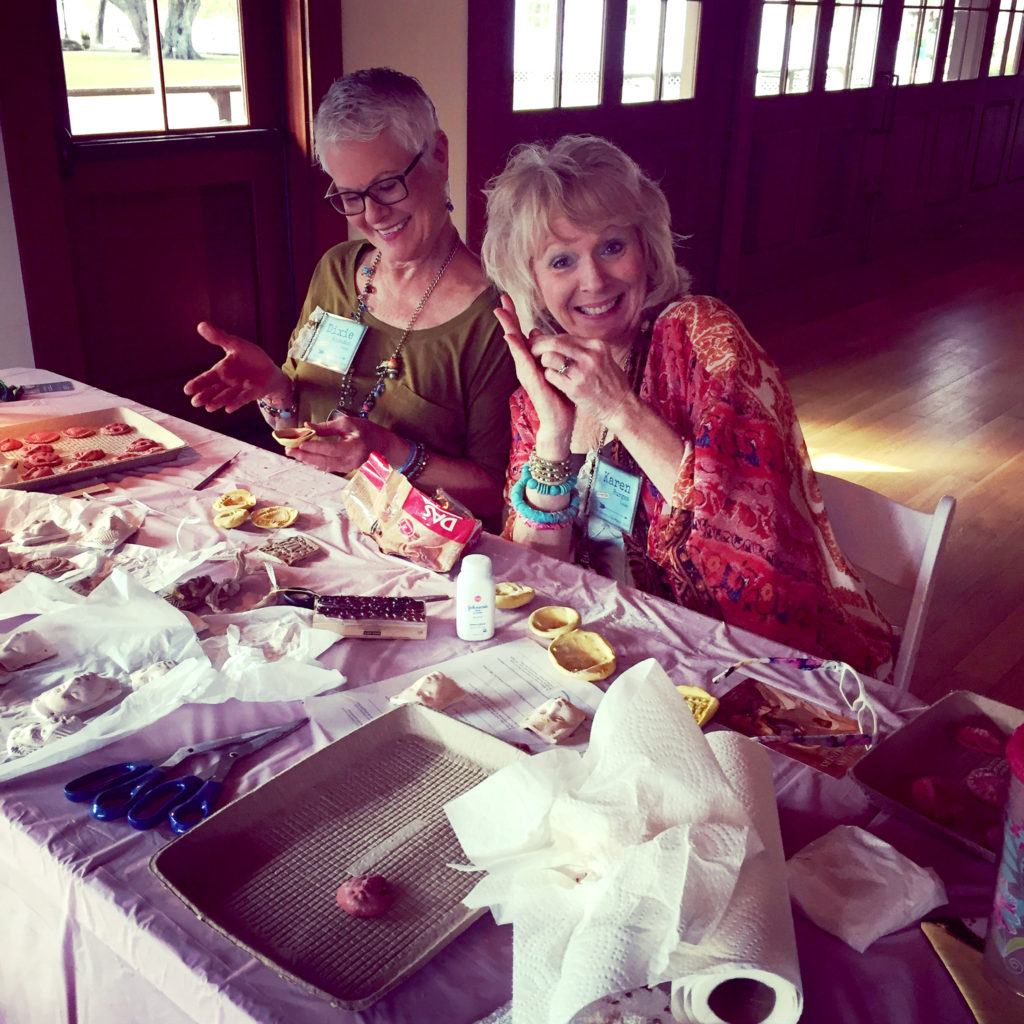
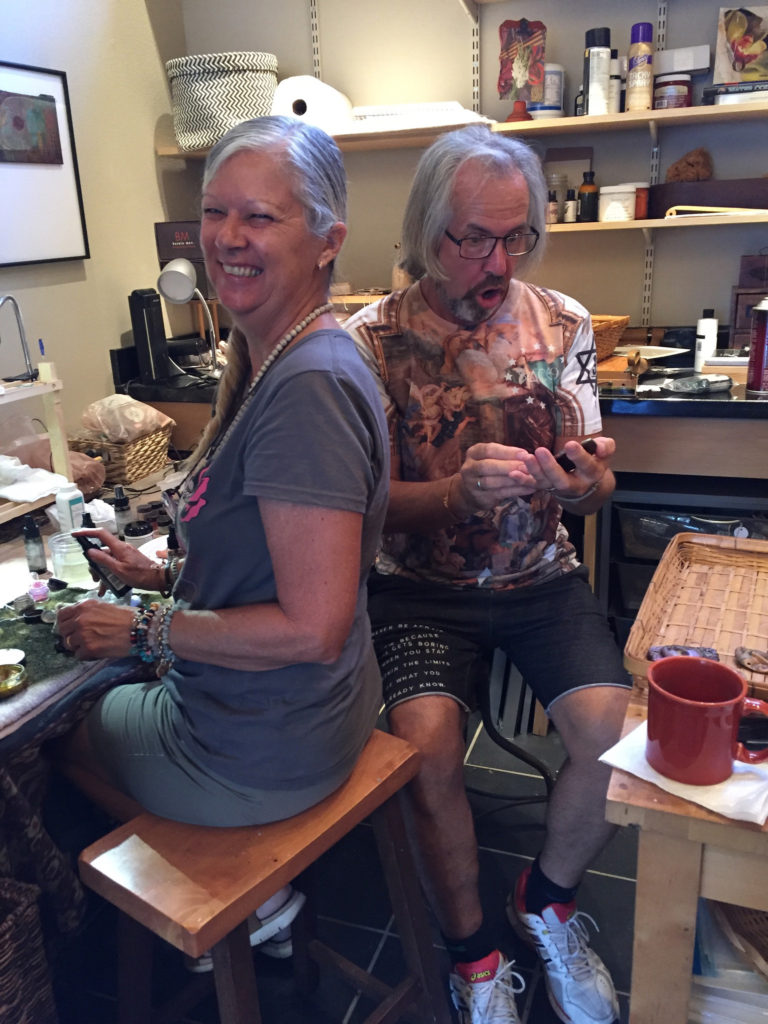
Dixie and Karen make talisman magic!
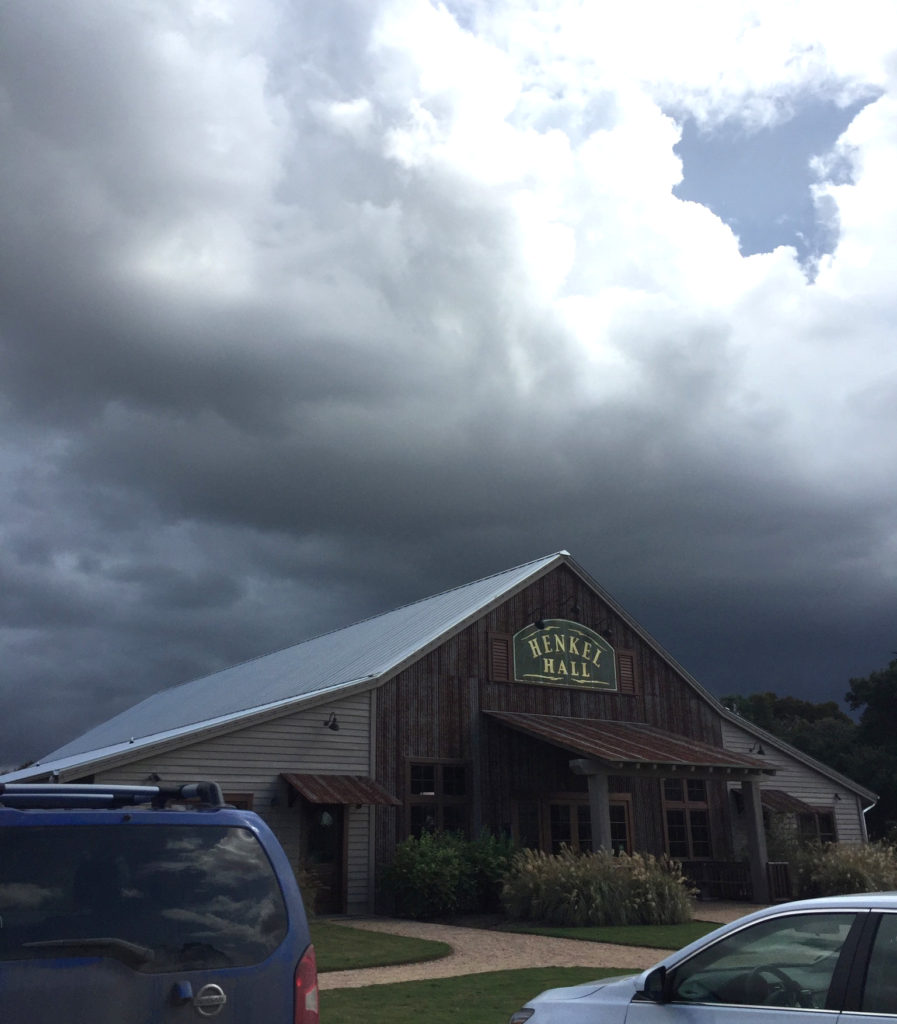
Goodbye, Henkel Hall – see you next year!

 Update note: Since I returned from Santa Fe on Monday, I’ve looked at a couple of places for new workshop venues – and there are several good possibilities.. . .more soon.