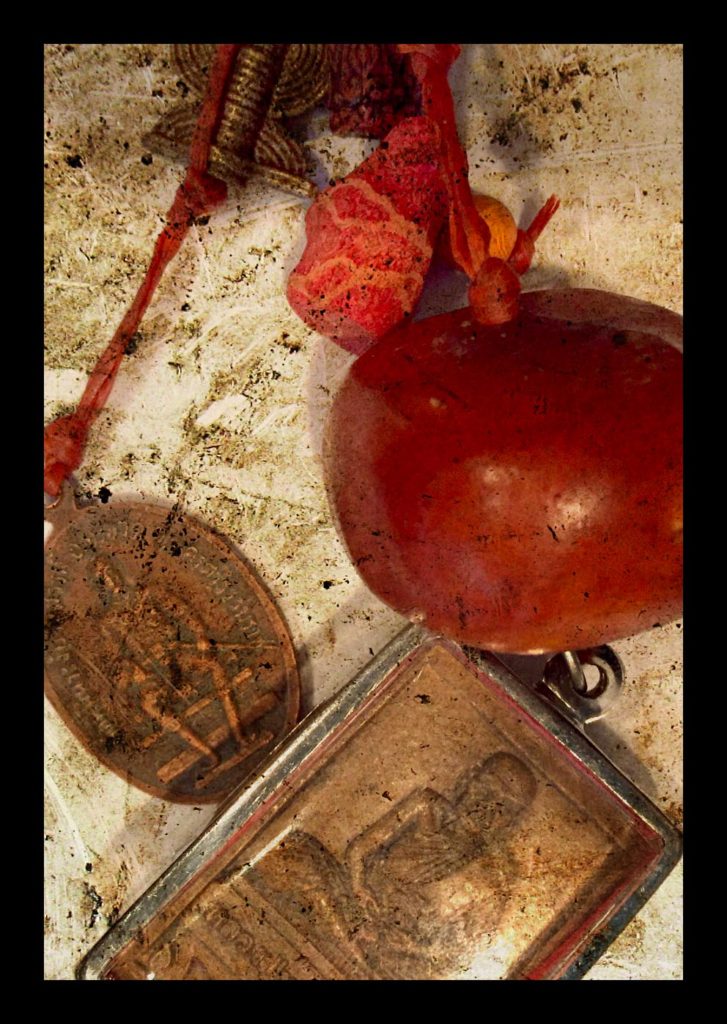
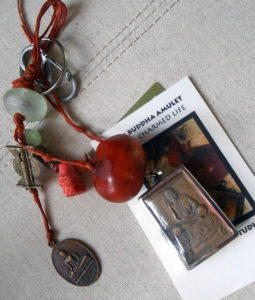
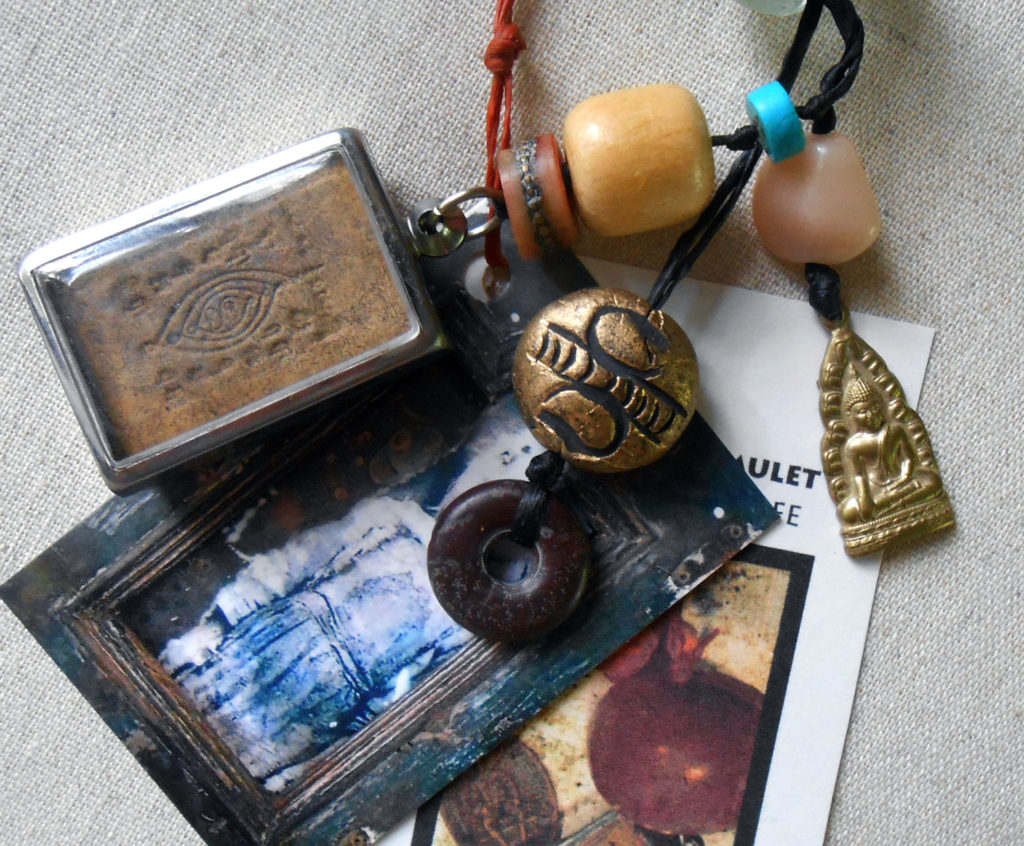
I’m lucky enough to live across the street from a woodland area, and when I go walking in the morning, my pockets are often filled with rocks or sticks or even little critter bones that I’ve picked up along the way.
These natural objects are like mysterious sentences in a story or lines in a poem without words. You do that, too – right?
Sometimes, these things end up in a big jar on my bookshelf, looking kinda creepy cool:
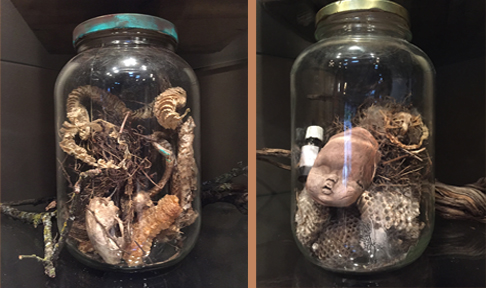
Jars of found nature objects on my bookshelves – ok, so the face didn’t actually appear like that in nature 🙂
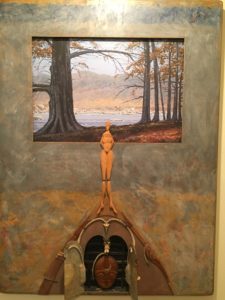
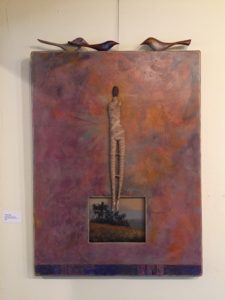
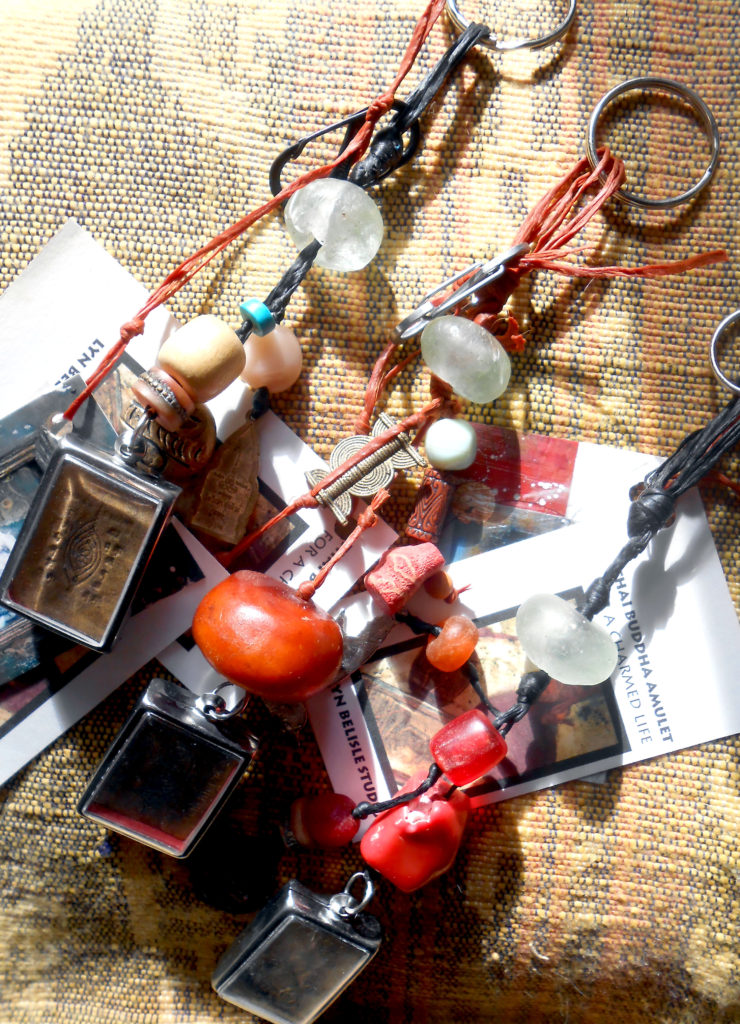
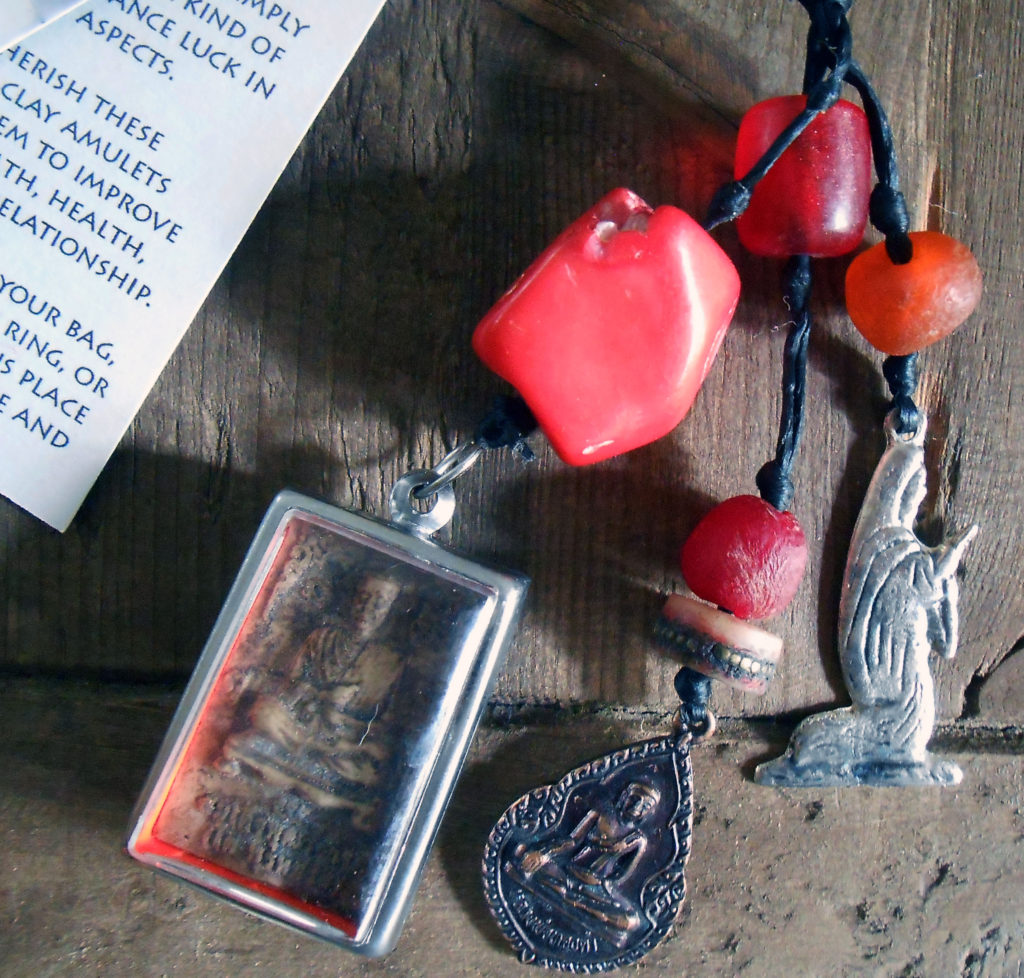
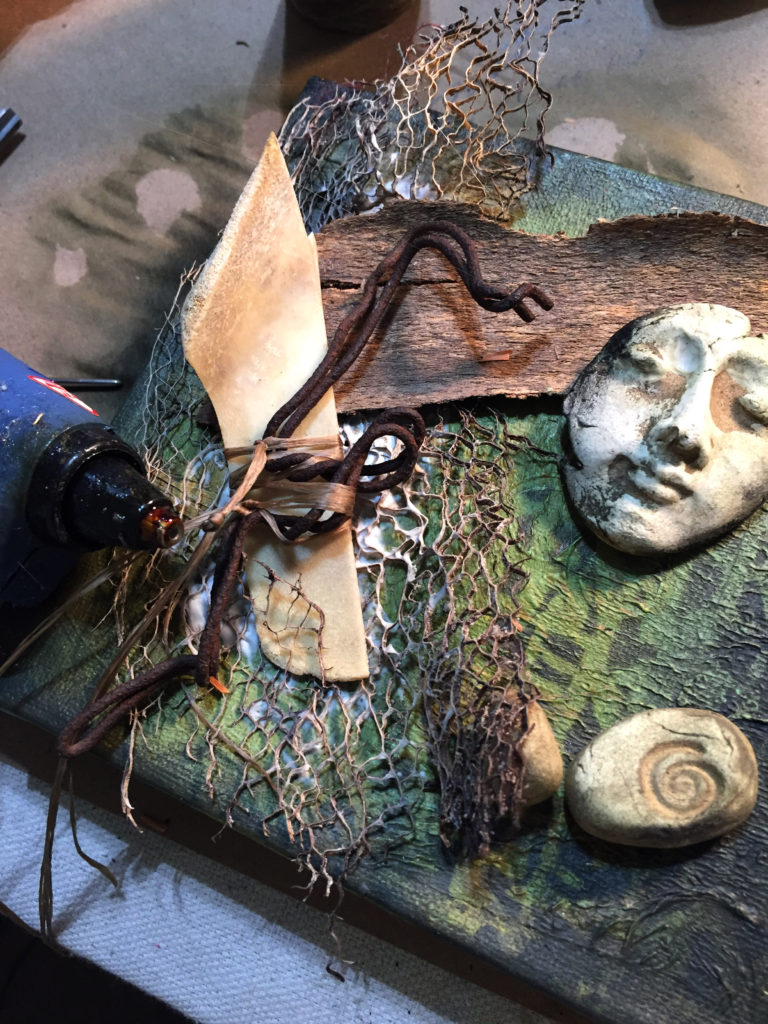
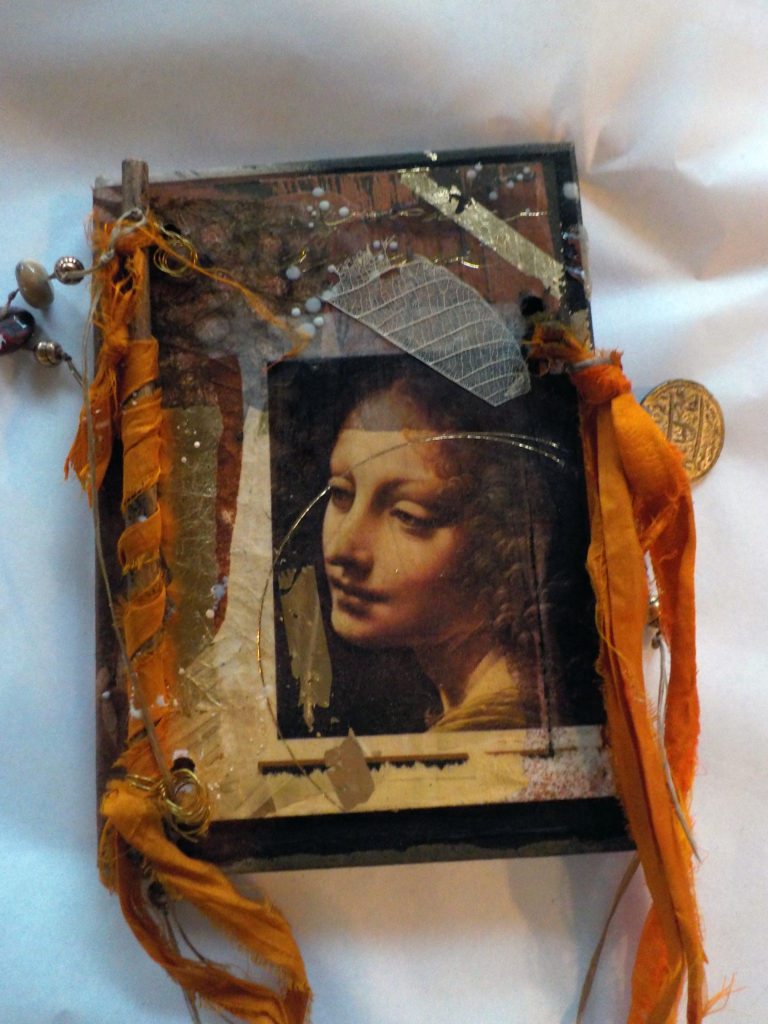
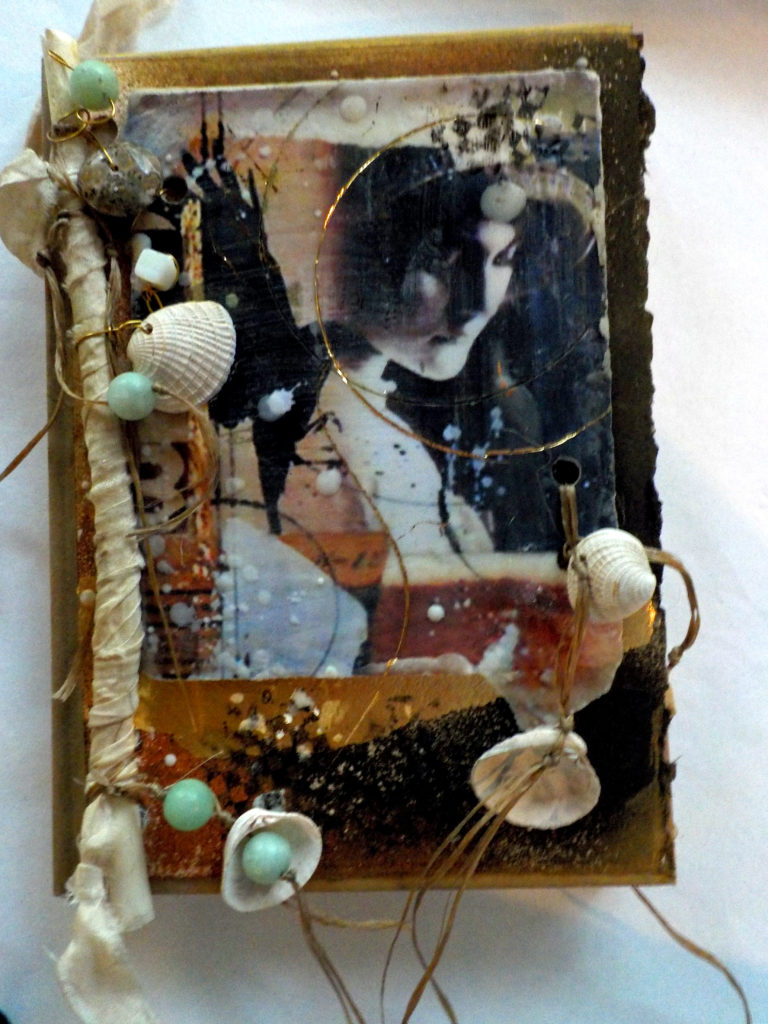
And sometimes, they end up in assemblages and little shrines.
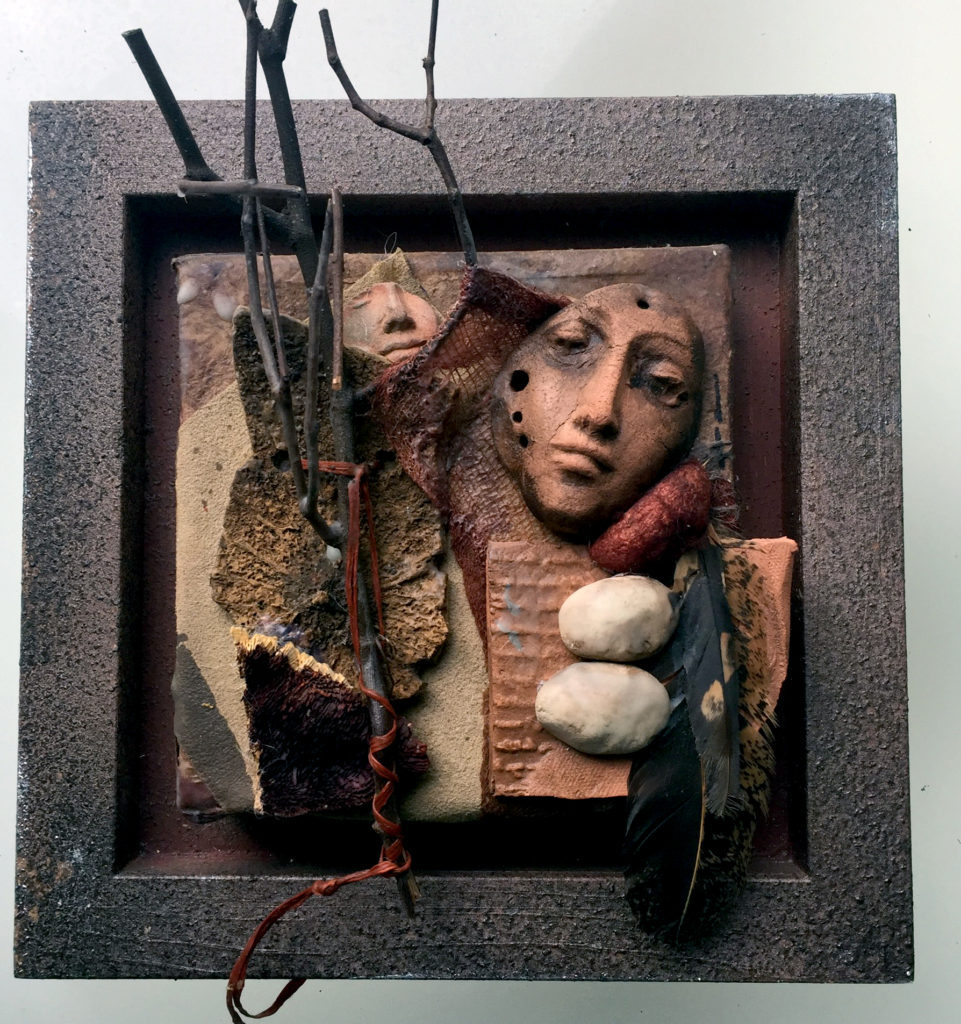
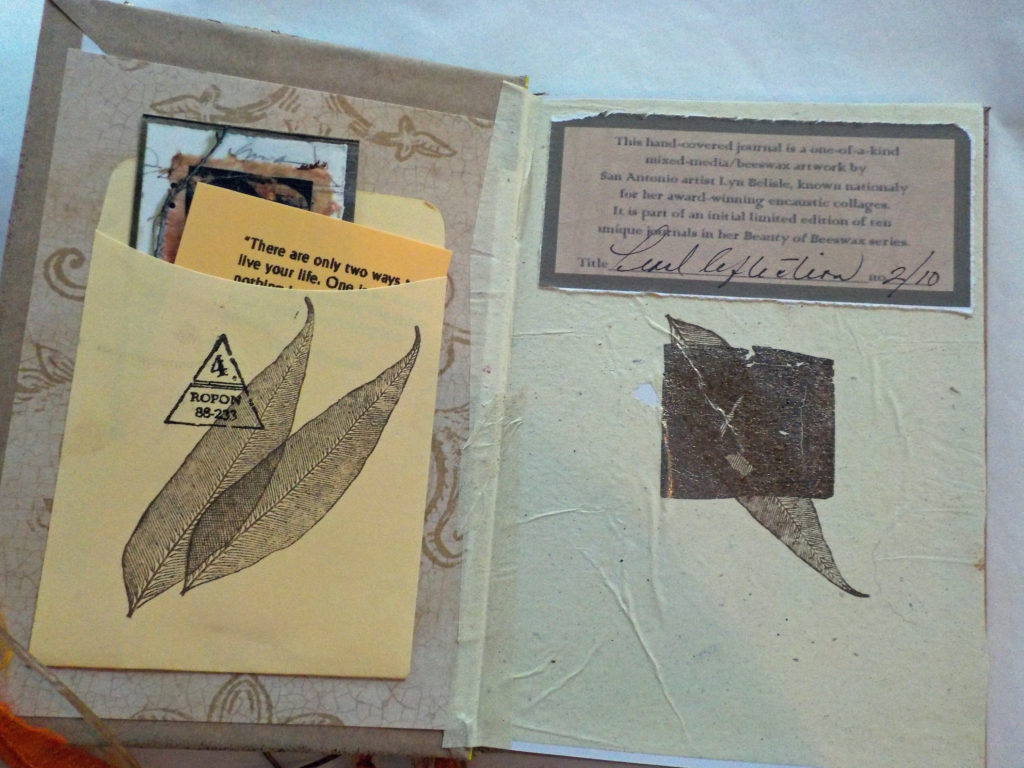
Lyn Belisle: Nature Shrine
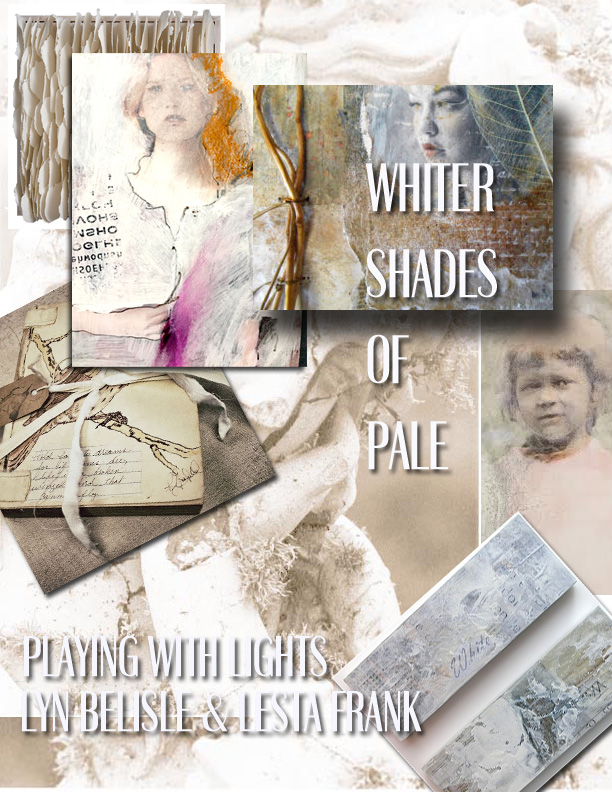
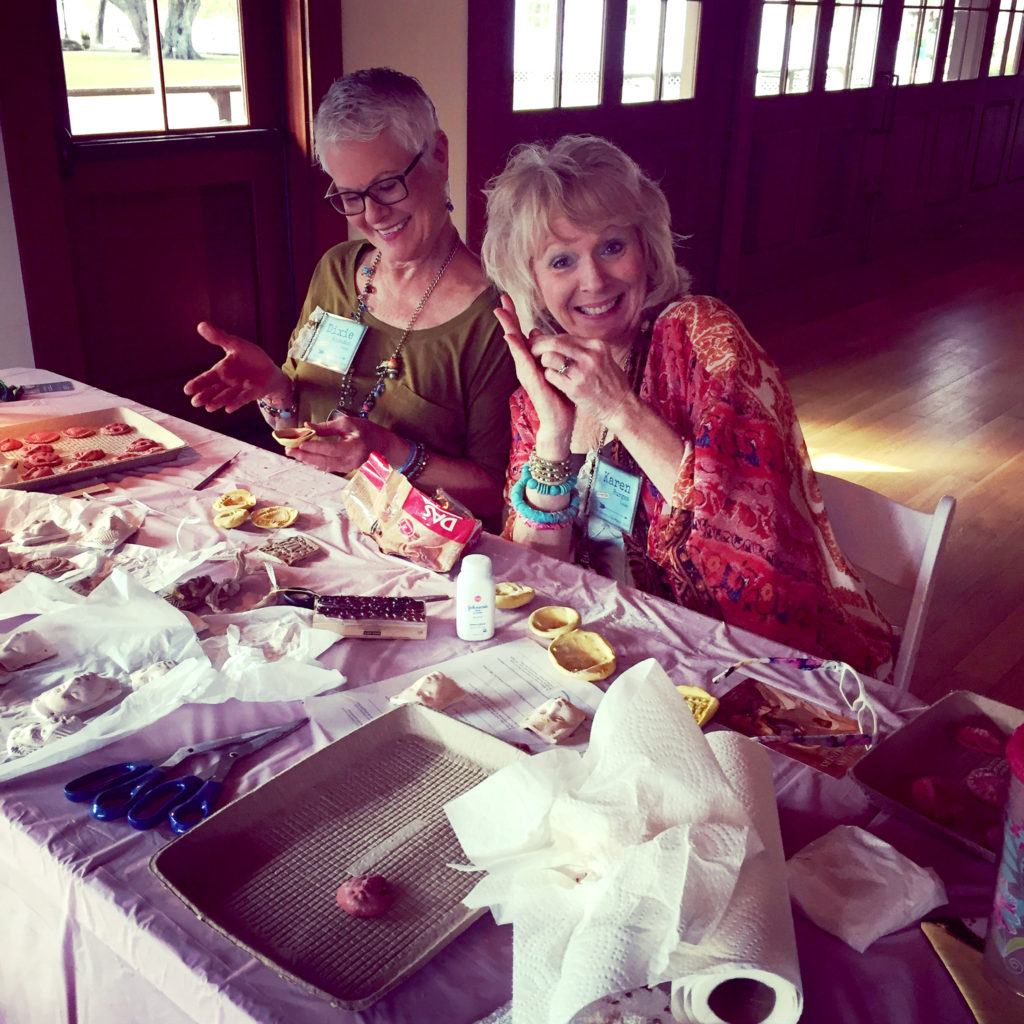
So when Zinnia at Artful Gathering told our faculty that we would be teaching nature-themed classes this summer, I was ecstatic!! Artful Gathering is my favorite “summer camp” and online creative community. Here’s the description of my Nature Shrine class:
Session Two: July 16 – August 26
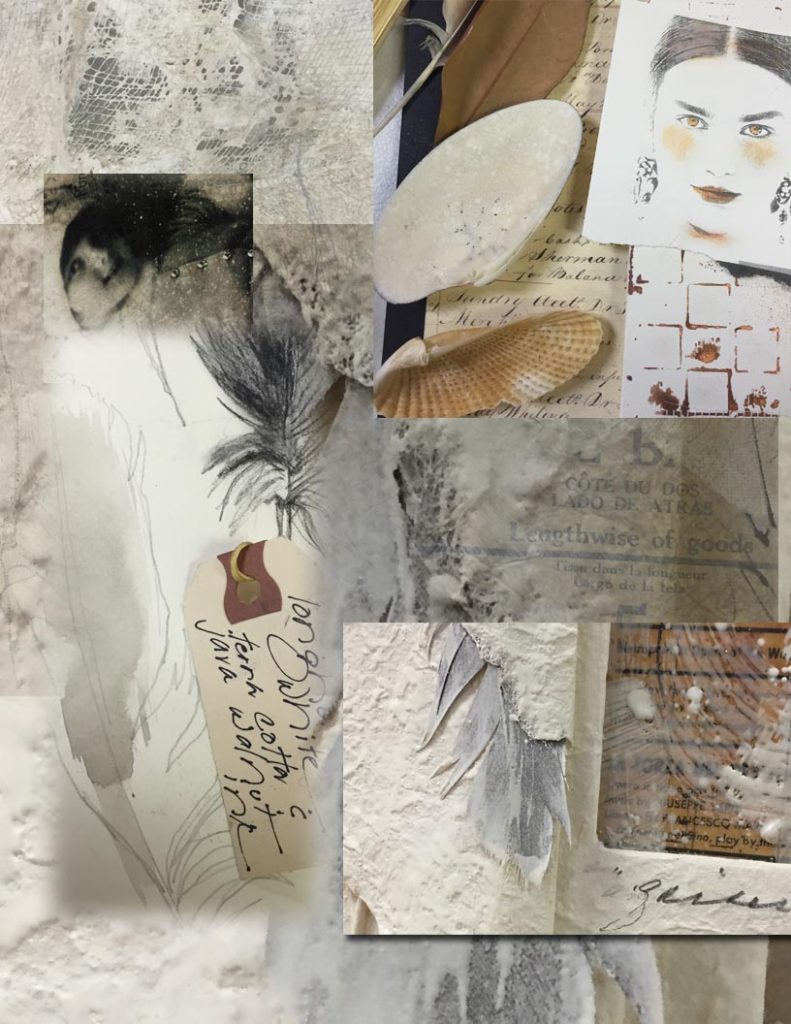
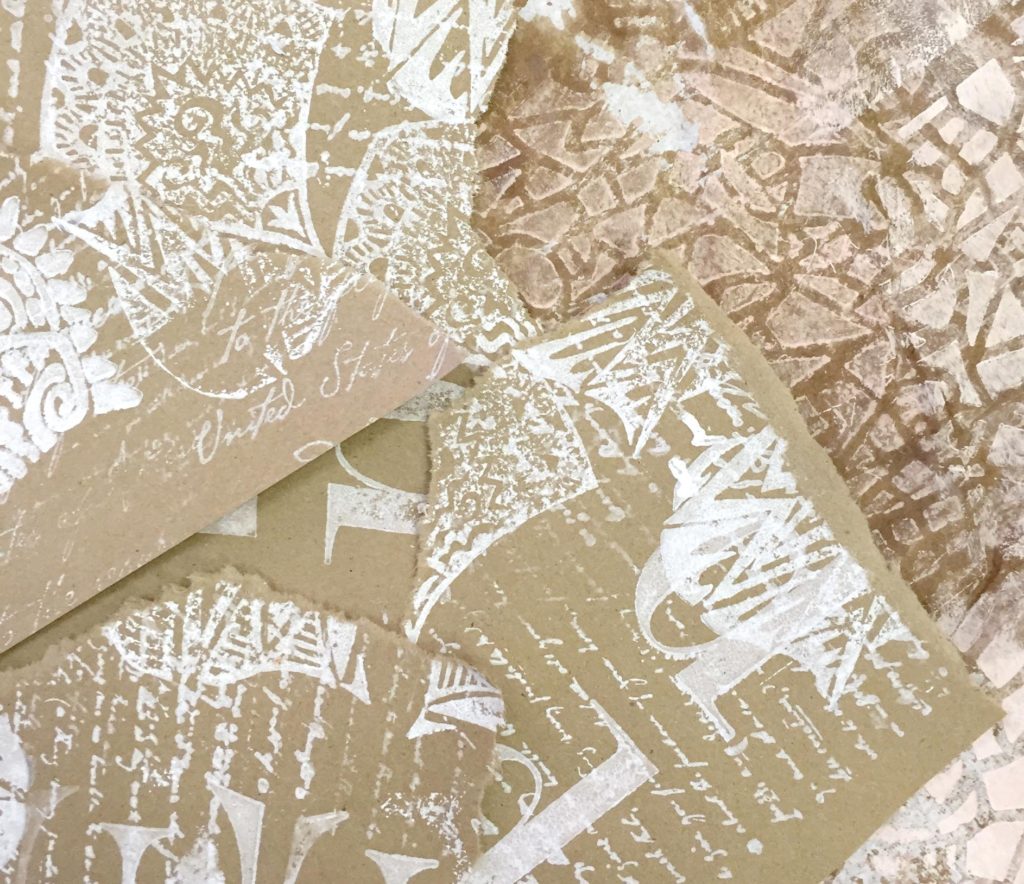
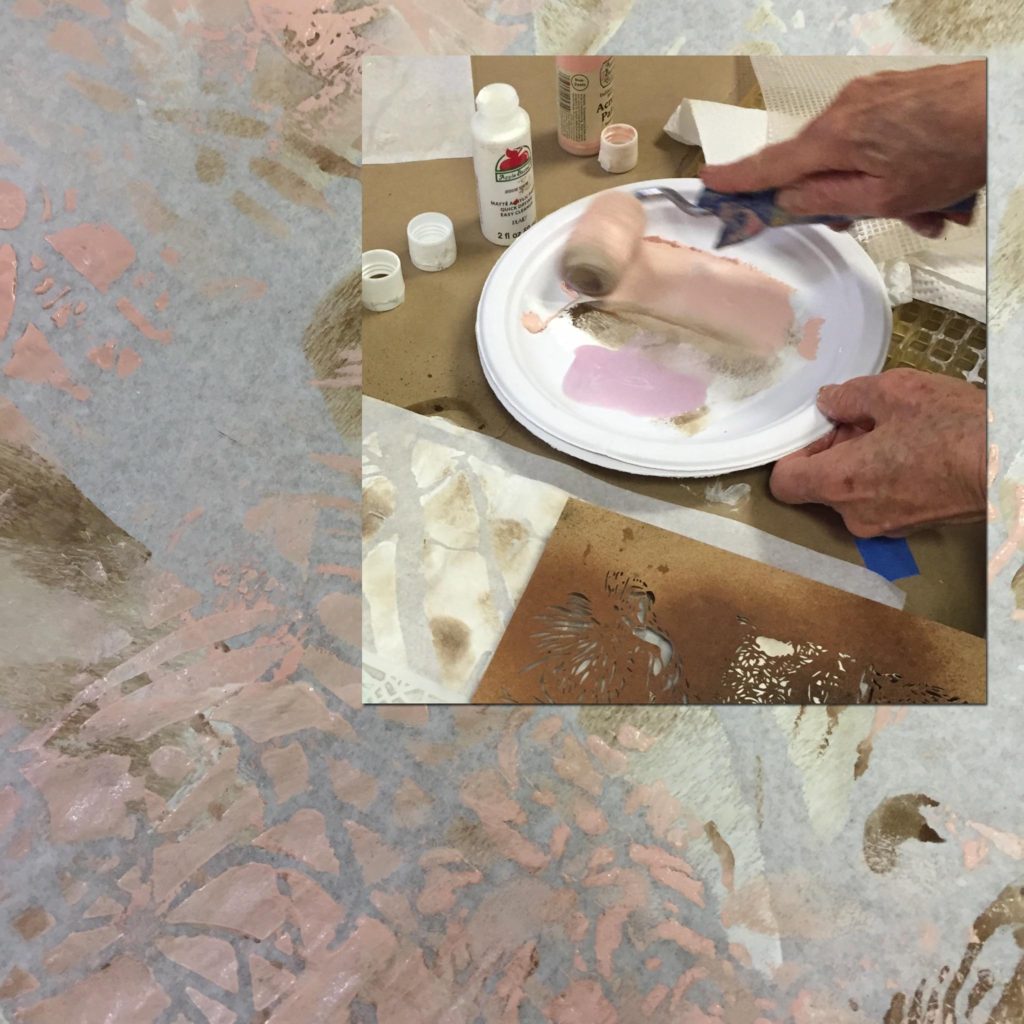
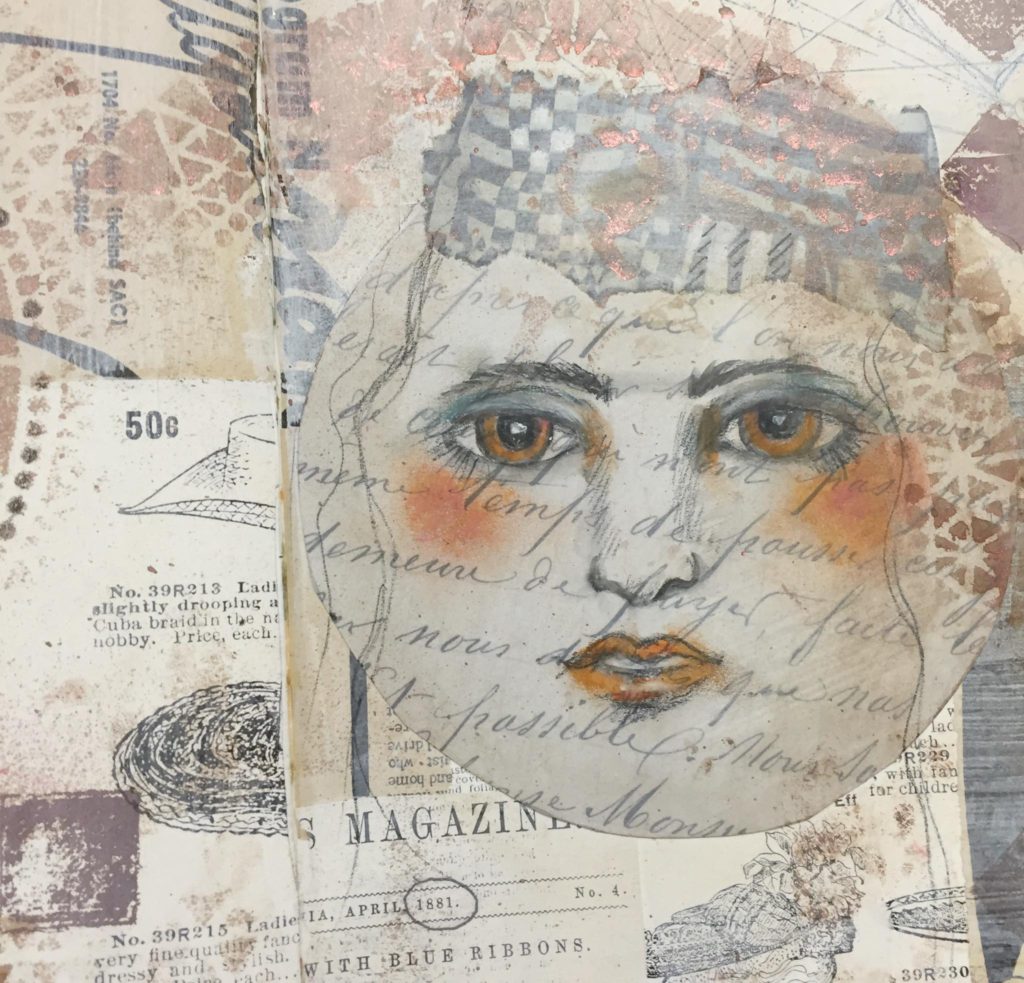
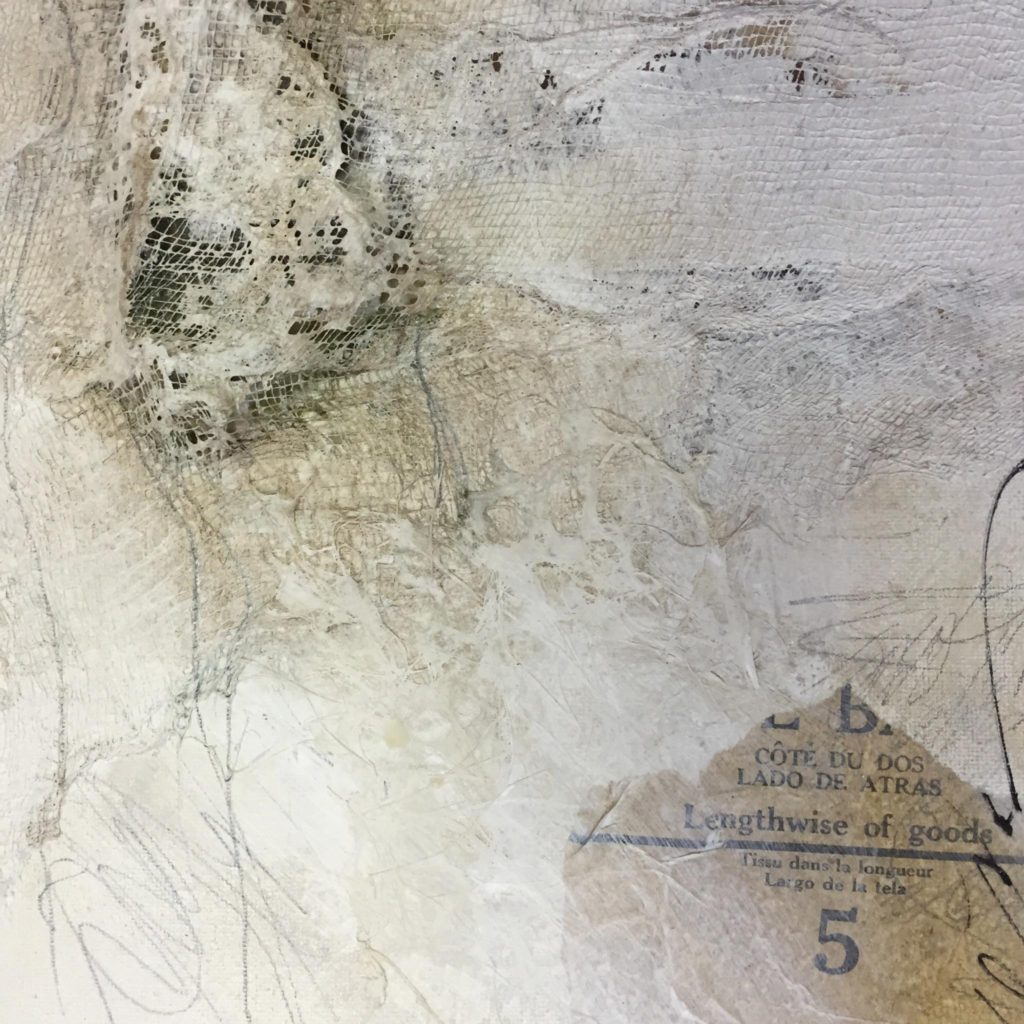
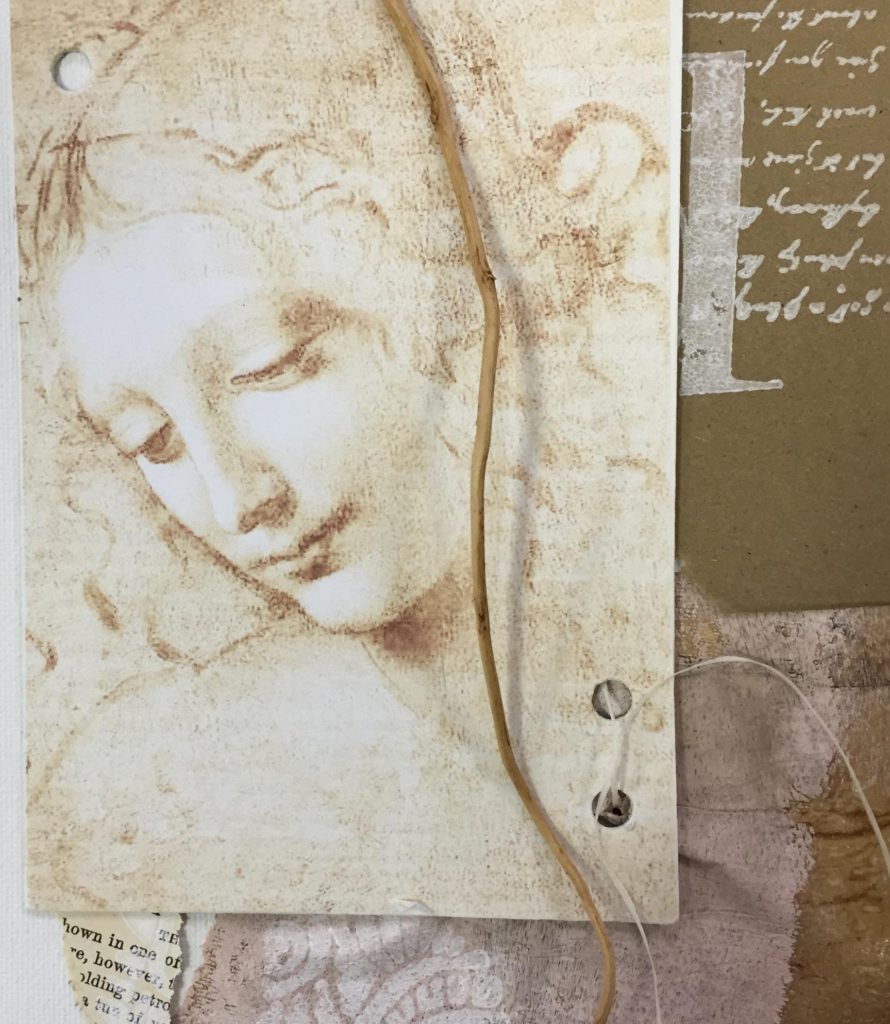
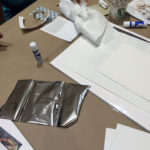
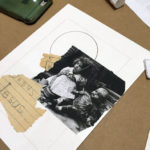
Lyn Belisle will show you how to make small shrine-like assemblages created from serendipitous finds in natural settings. Through the power of storytelling with symbols, Lyn will show you how to construct natural elements enhanced with her iconic air-dry faces. You’ll combine rocks and shards, twigs, leaves to create a meaningful non-verbal story.Then, using unconventional construction methods such as knotting, wiring and wrapping, you will create diverse surfaces on little 6 x 6 canvases that can be displayed in a variety of ways.
As part of the Artful Gathering fun, we’re having a Blog Hop. That means that somewhere on my blog page, there’s a secret word for you to collect. It’s not too far, and when you collect all of the words, you can win truly nifty prizes. The secret word is right around here, AND it’s easy ( wink). Click here for more about the Blog Hop.
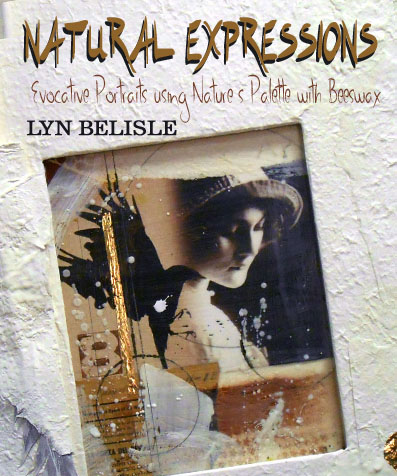
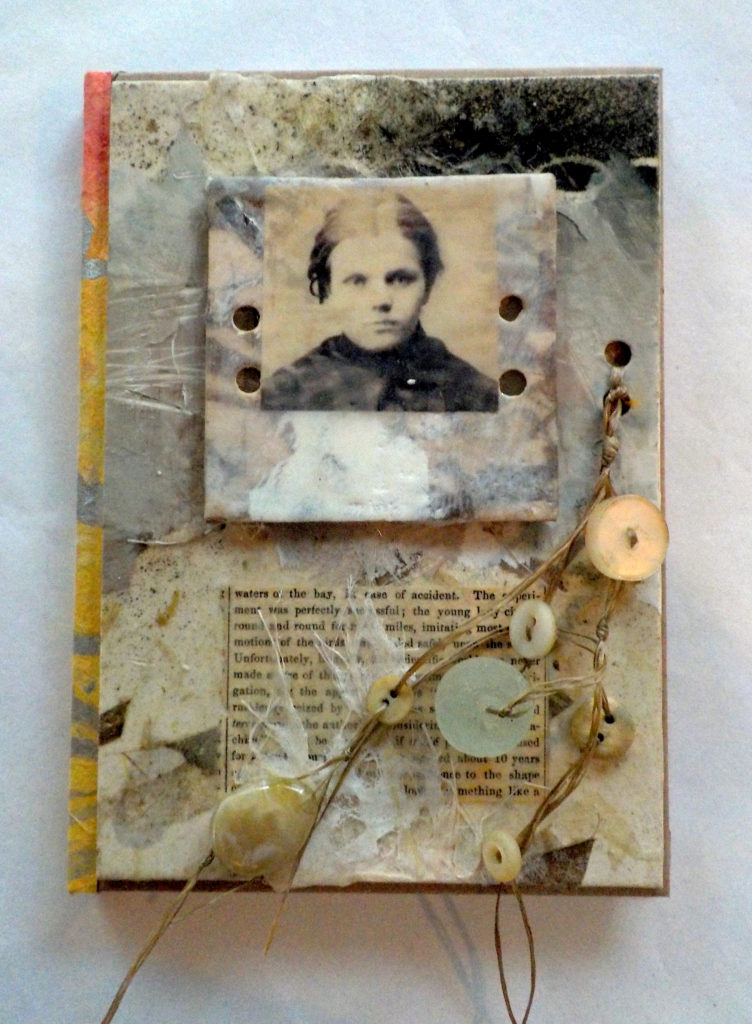
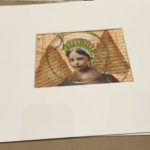
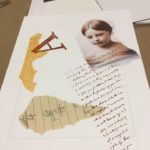
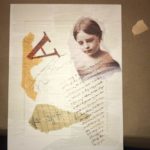
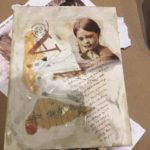
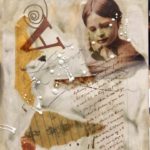
But wait, there’s more! In the first AG session, I’m teaching an encaustic portrait class called Natural Expressions – here’s the info:
Session One: June 6 – July 17
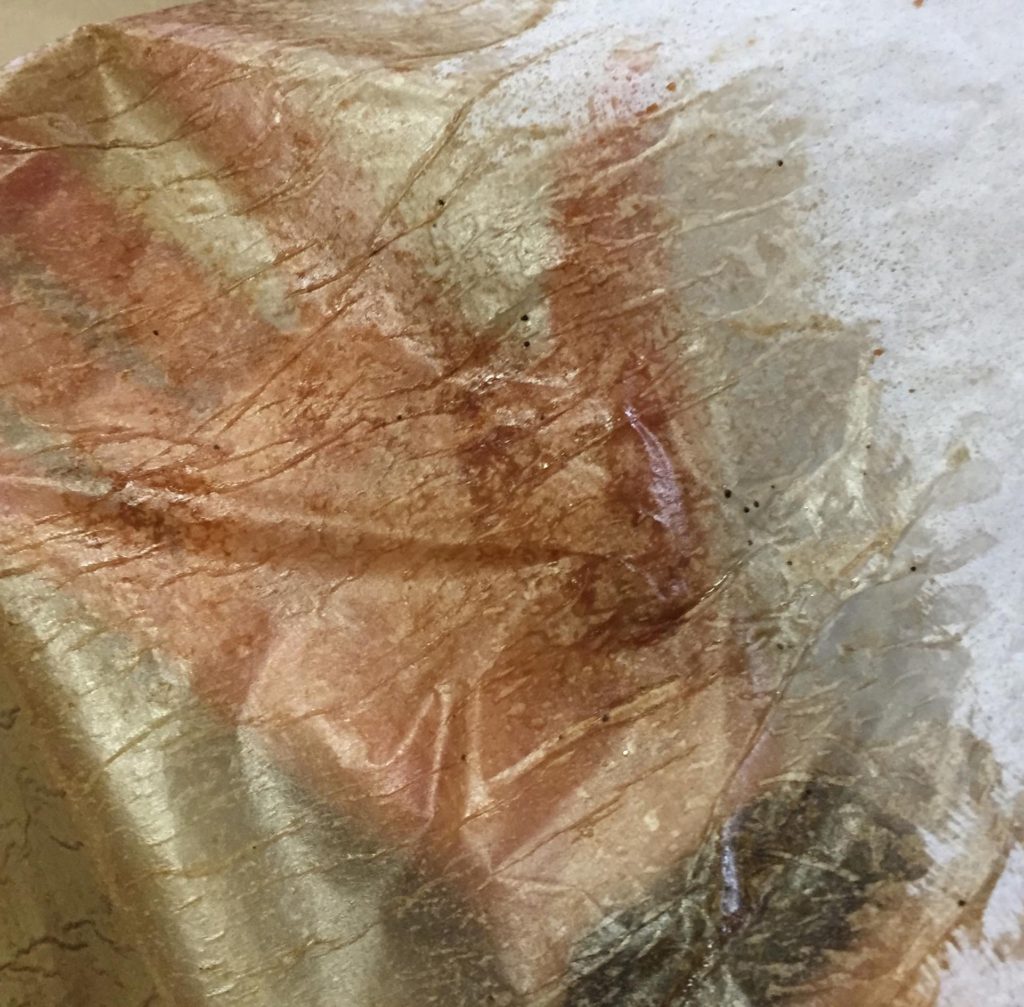
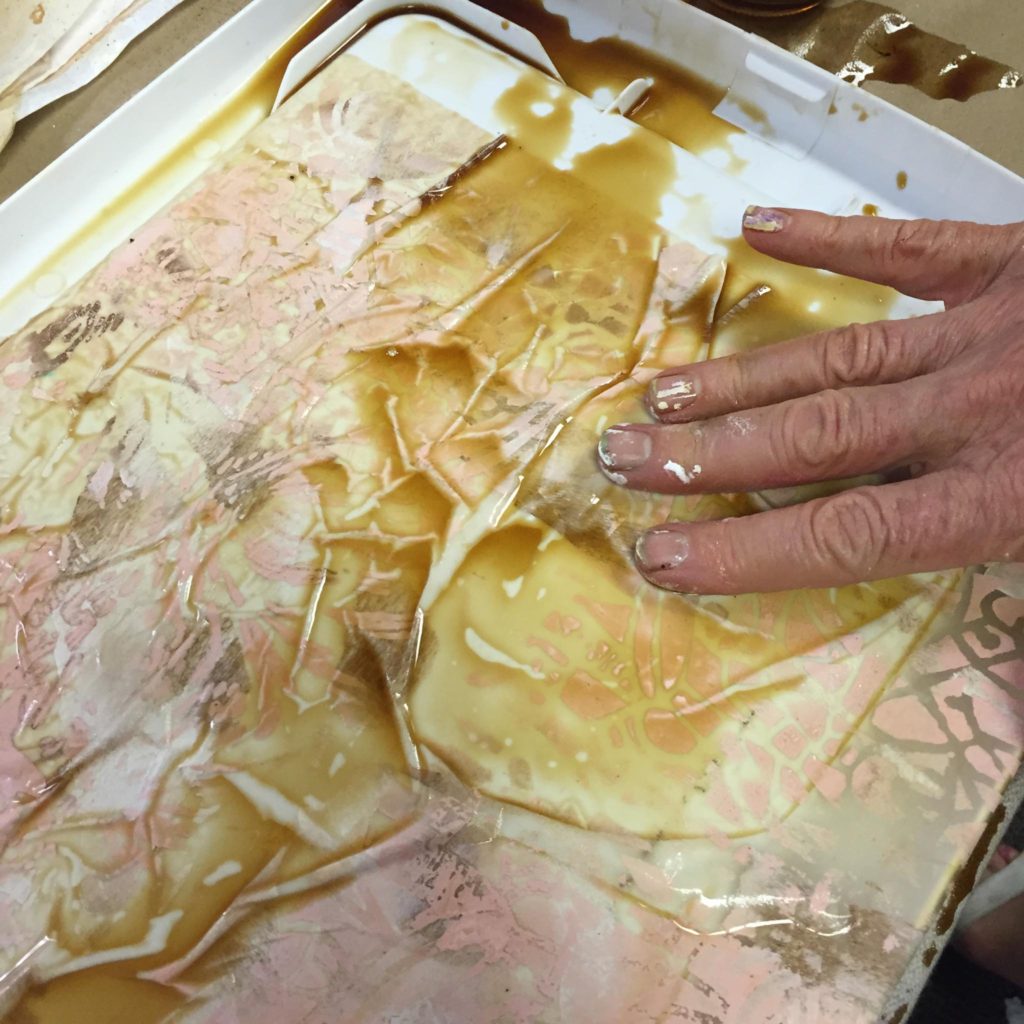
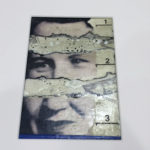
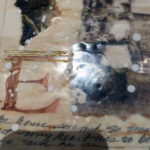
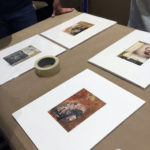
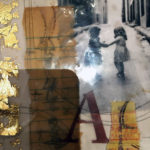
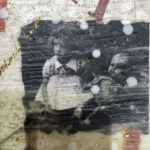
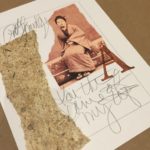
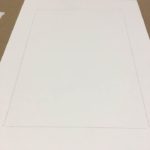
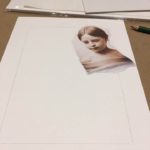
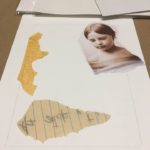
Lyn Belisle guides you through the steps for creating mixed media portraits with natural materials, including layered beeswax. You’ll learn how to enhance digital images, tinting, preparing small stretched canvas substrates for layered collage, assembling a wrapped mat around a canvas substrate as well as attaching natural objects to a mat and integrating them into the mixed media composition.
Obviously, I’d love to work with you in one or the other of these classes. We have an online classroom for questions and critiques and extra resources.
So here’s your homework:
1. See if you can find the “cleverly hidden” secret word to collect for the Blog Hop
2. Check out the Artful Gathering catalog to see the class offerings. Besides mine, there are some great classes by pals Debby Anderson, Michelle Belto, Monika Astara and Luthien Tye, among others.
3. Get out there in nature and collect a little object that calls to you and write a one-line poem about it!


 Update note: Since I returned from Santa Fe on Monday, I’ve looked at a couple of places for new workshop venues – and there are several good possibilities.. . .more soon.