But first, before we get to those resources, wanna hear a story? OK, so I needed to find a home for a wonderful easel that Nancy Powlas had given me several years ago. It had belonged to her late sister, and I loved it, but didn’t have room for it in my new studio space. When I got it, it was bent at the back, so I took a rubber mallet and whacked it straight.
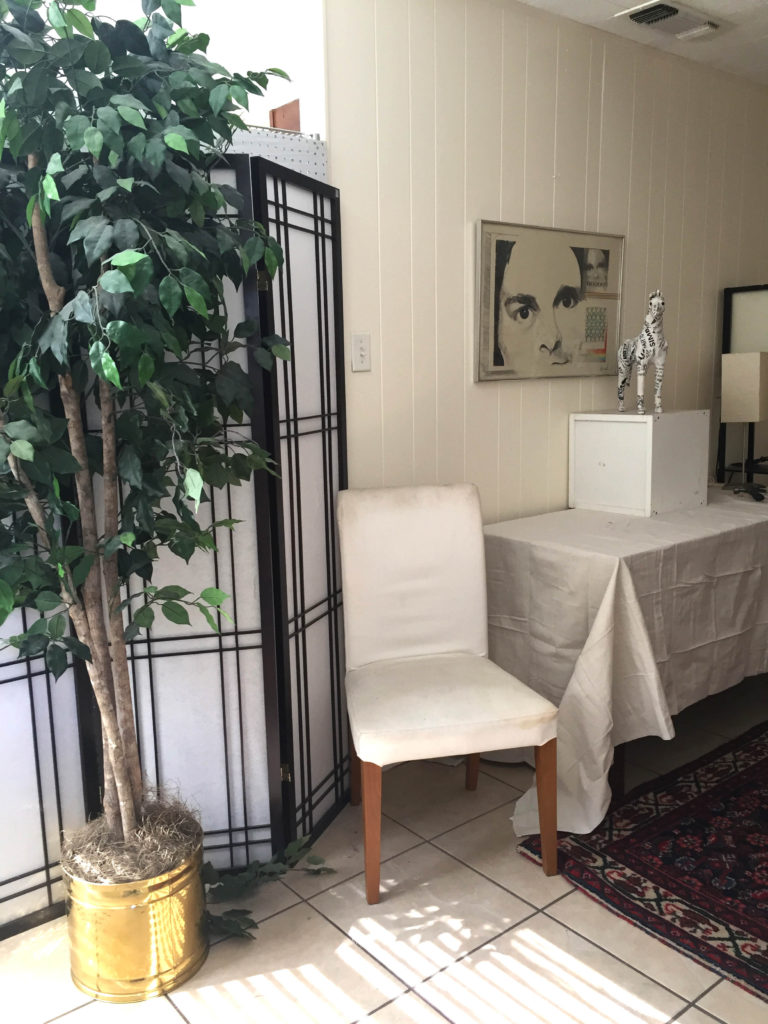
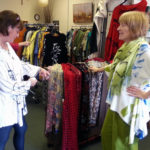
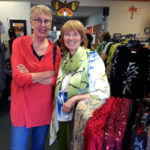
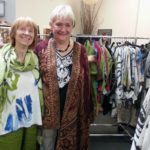
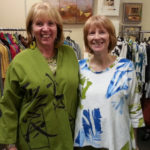
Some arty intuition told me to call Lesta Frank to see if she would like it. She came to look at it and said, “Hey, I used to have an easel just like that that I gave away 17 years because it was bent, but I always regretted giving it up.”
And of course, as all good stories go, it turned out to be the very same easel that Lesta had given up and was now returned to her from the Mysterious Art Universe.
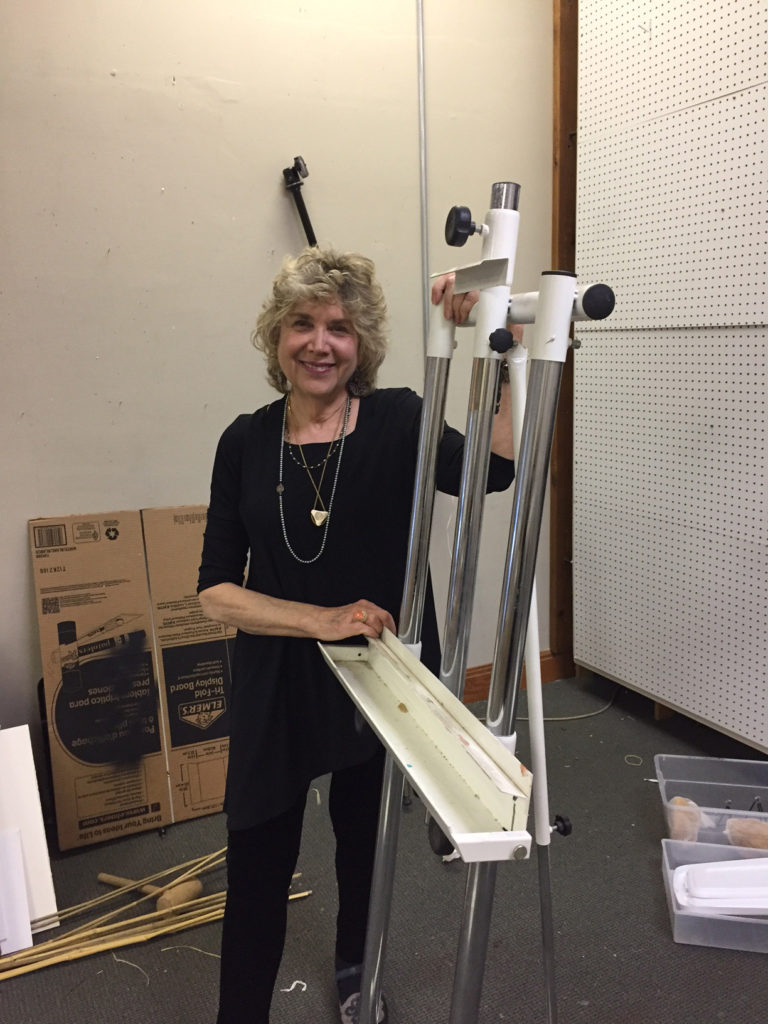
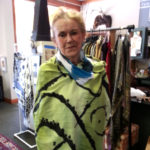
Lesta and easel, reunited at last
So now on to these free resources, most of which are image goldmines for mixed-media artists and designers.
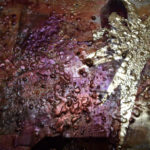
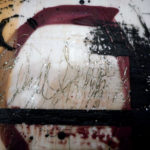
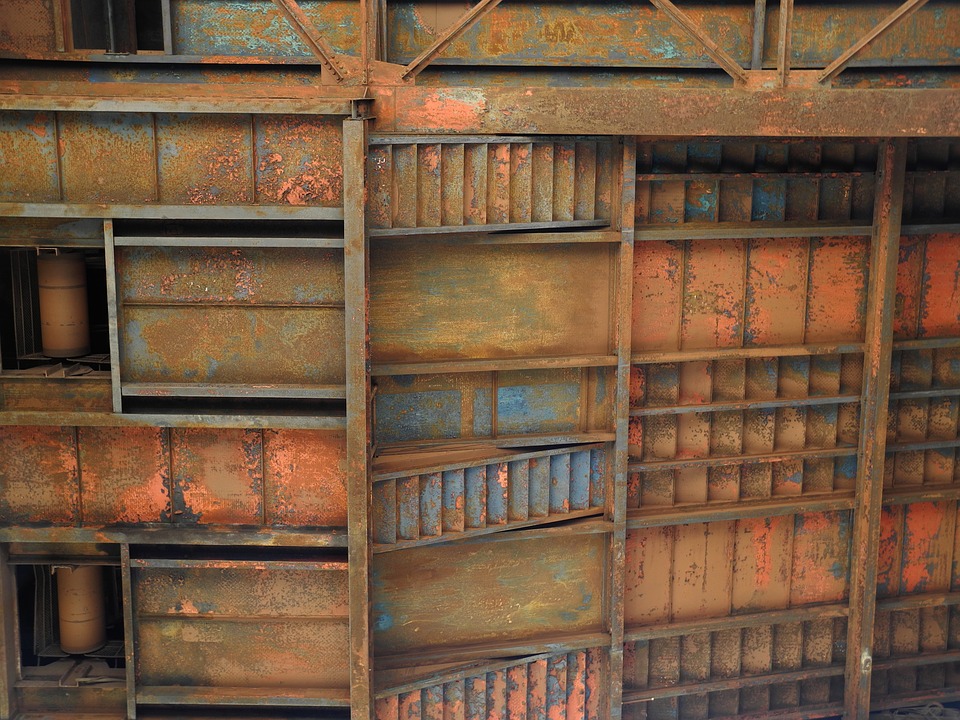
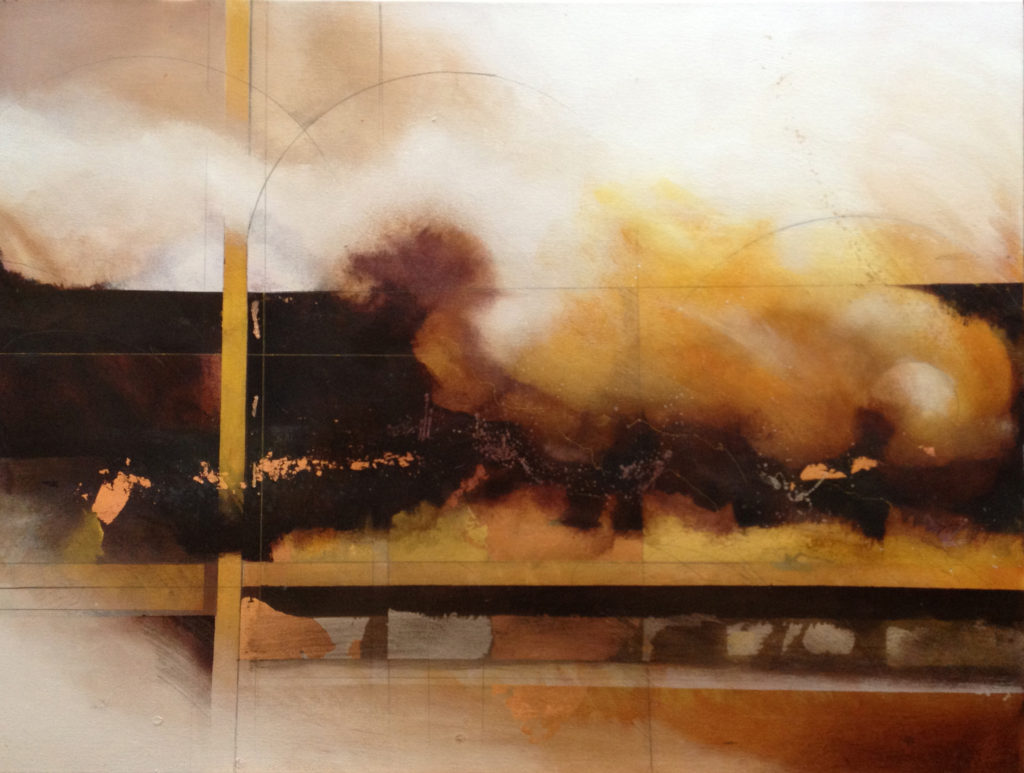
The first one is Pixabay, which has a searchable index of thousands of copyright-free photos and illustrations. I did a search for “rust” and found this beauty – look at the colors and textures! Thanks to Leannah Kurtin Fulmer for reminding me of Pixabay.
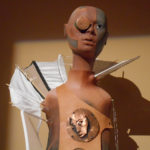
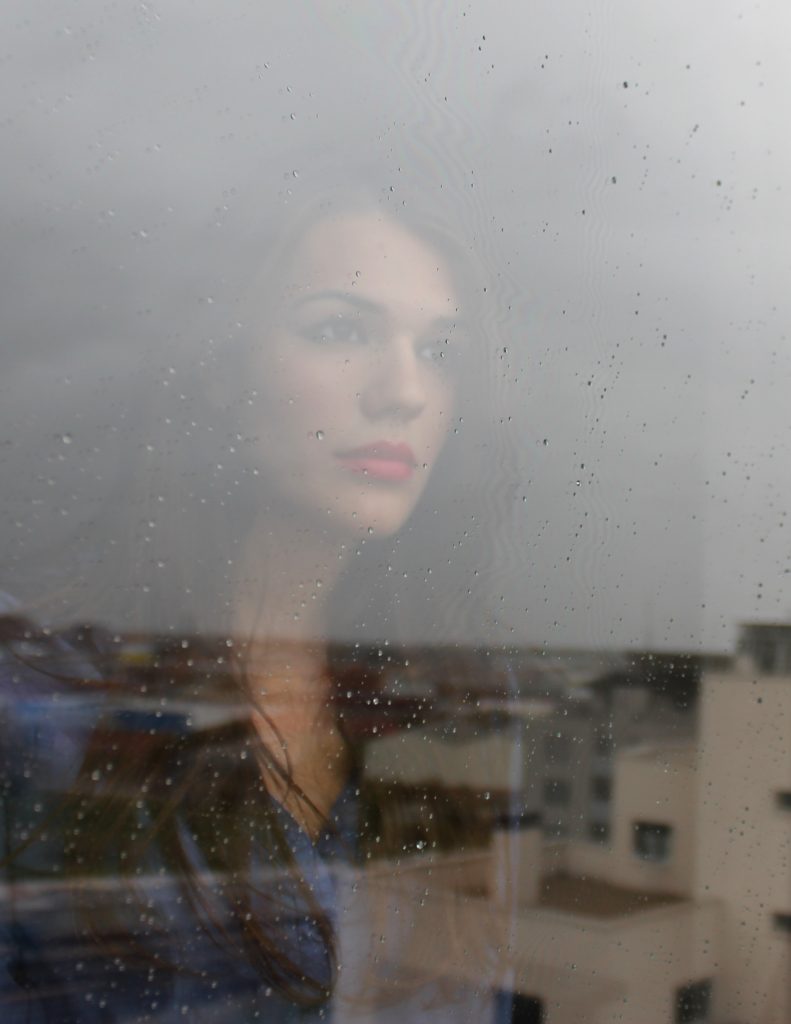
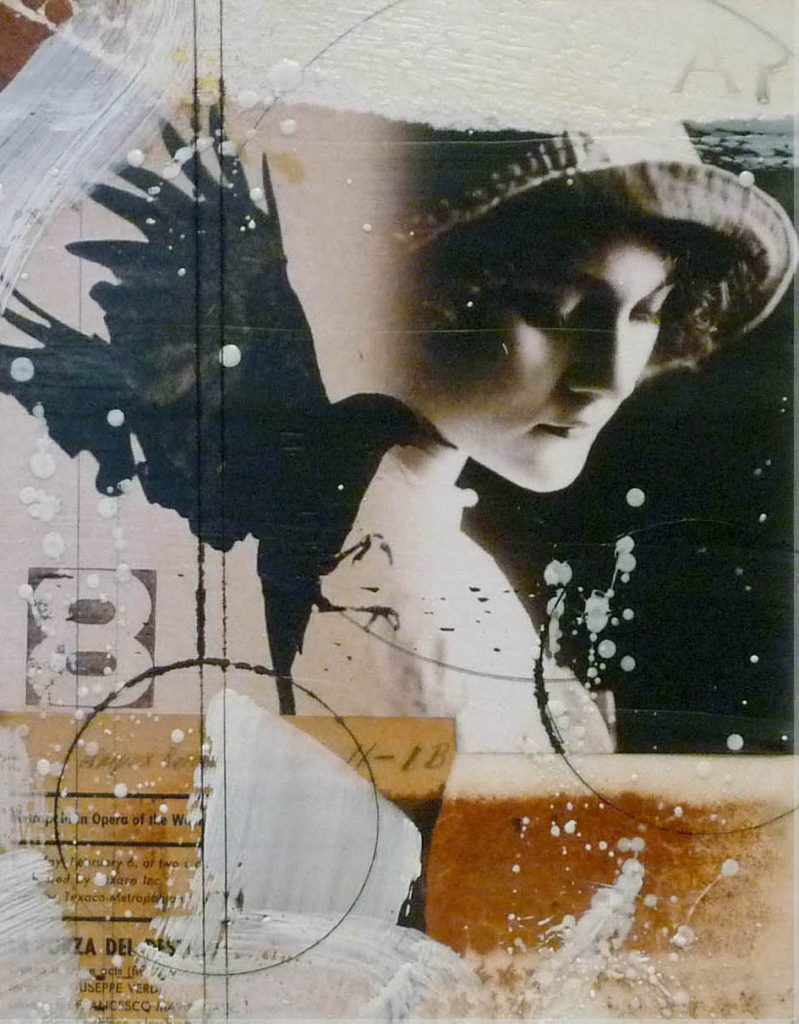
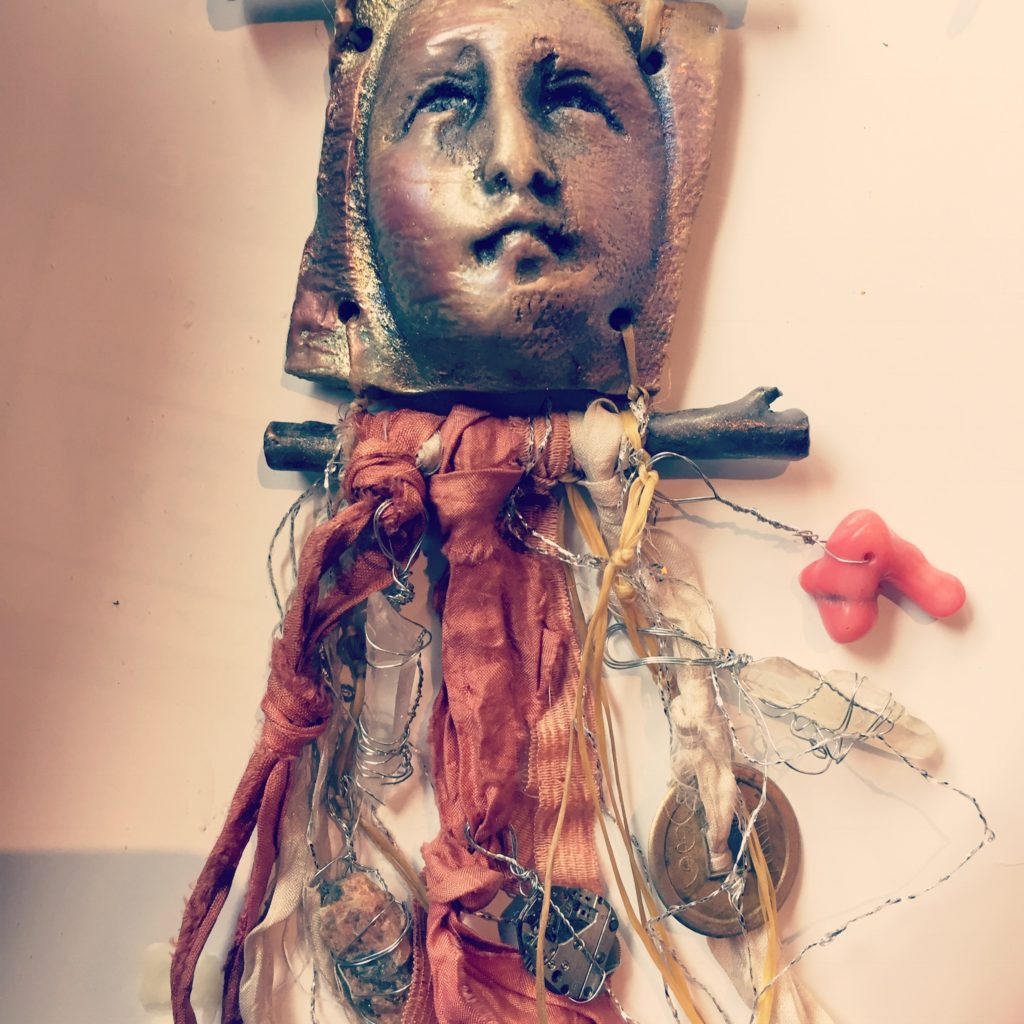
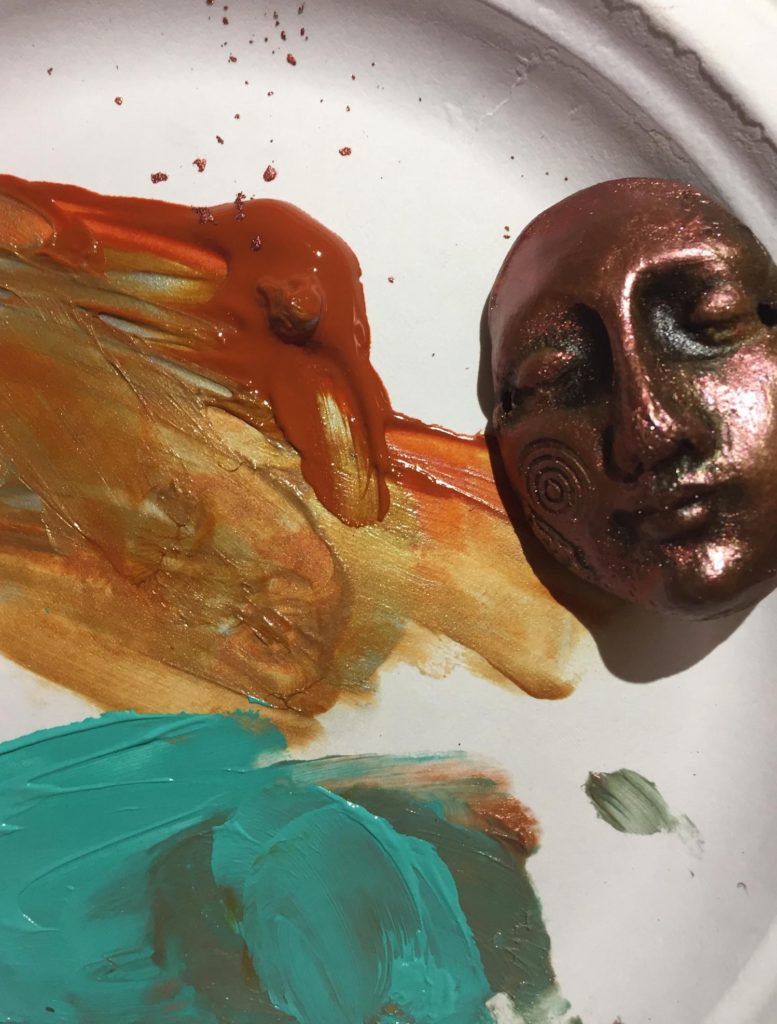
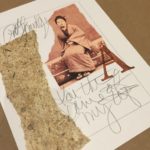
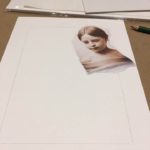
The second resource, Unsplash, came to me via Ivy Newport, an imaginative, inspiring and successful artist and teacher – she has curated a collection of portrait photos at Unsplash that are gorgeous. The photos at Unspalsh are offered without restriction – their motto is “Free (do whatever you want) high-resolution photos.” Wow. Here’s one from Ivy’s collection – just think of all the ways you could use this evocative face.
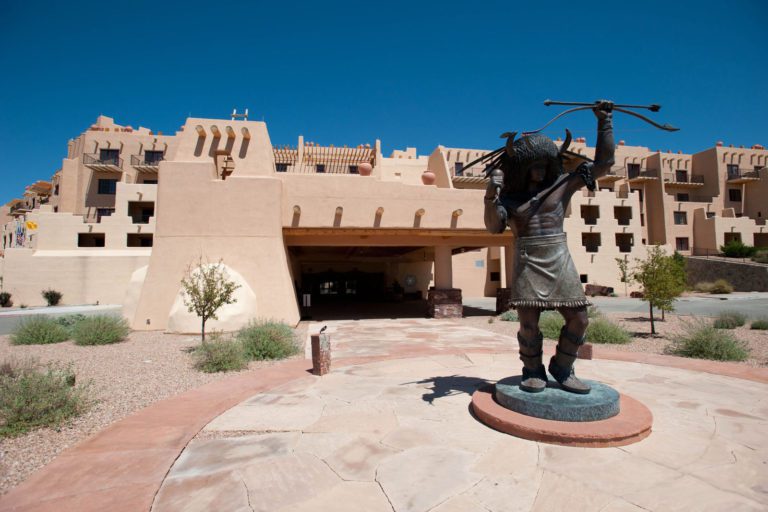
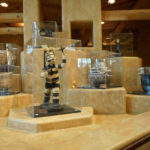
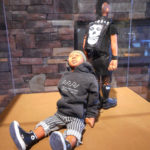
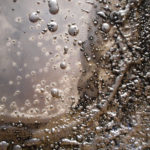
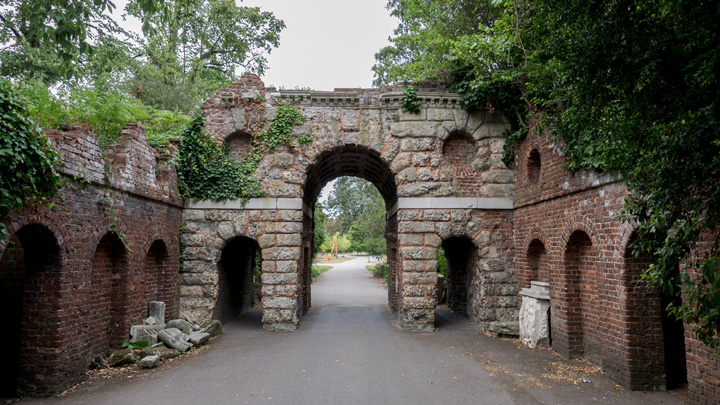
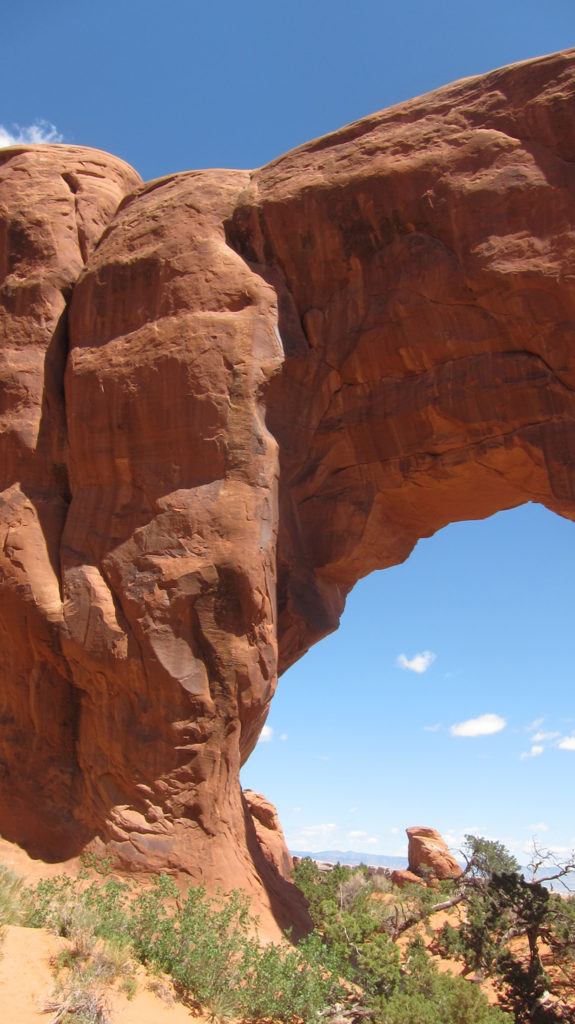
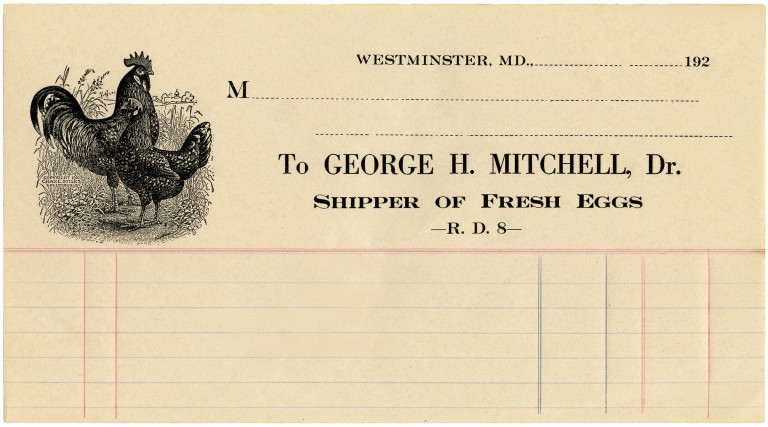
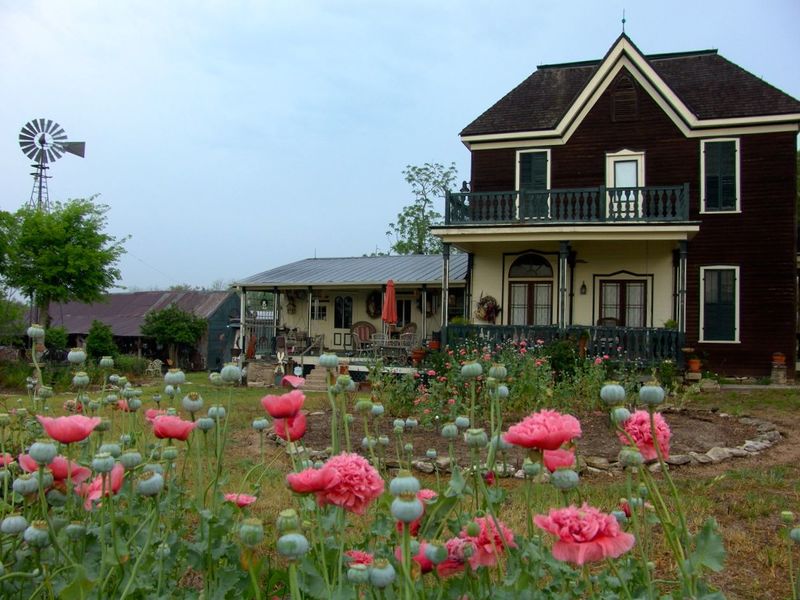
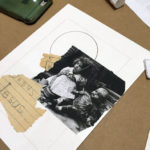
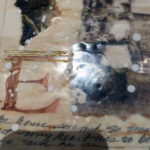
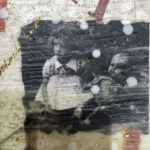
Another photo resource, also free, is Noah Bradley’s Free Photo Reference Megapack. Noah Bradley is an artist and fantasy author who is building an amazing illustrated world called The Sin of Man. He has photos from all over the world to download and use as backgrounds and reference. I downloaded his American Southwest collection and his France and England collection – they are huge albums.
Here are two examples from those collections.
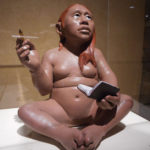
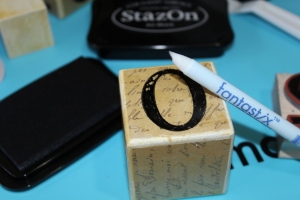
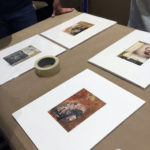
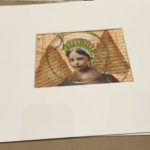
The last resource was suggested to me by my friend Linda Krantz. a wonderfully perceptive artist from Houston who was in my class at Vivi Magoo a couple of weeks ago. It’s called MadRat Rubber – great name. While they don’t have free images, they have the most original and amazing stamps and other cool stuff for mixed-media artists.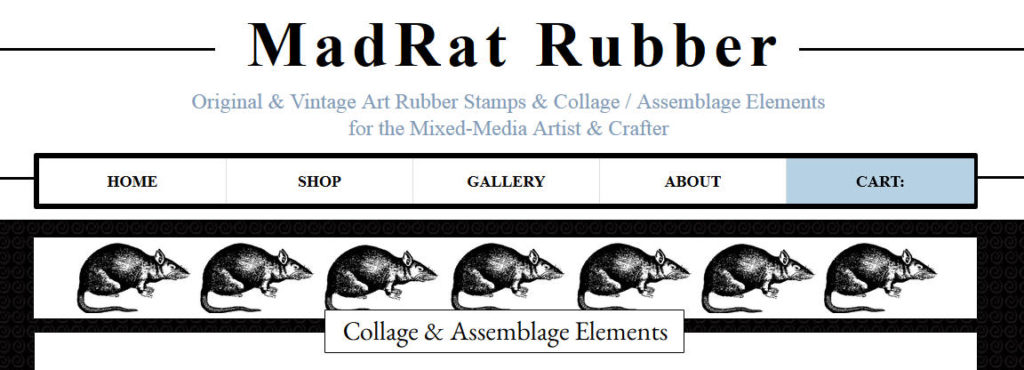
Here’s one – not your everyday stamp design, right? And their prices are very competitive, plus you can get them mounted or unmounted.

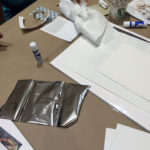
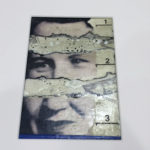
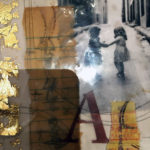
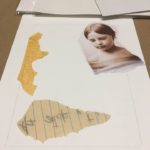
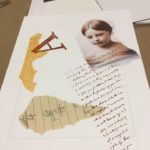
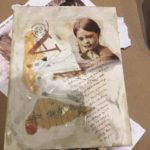
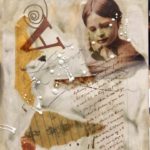
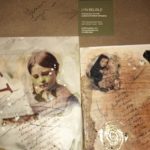
So now you have lots of places to get inspiration. Print out the photos, tear them up and collage them, stamp into them, veil them with paint and scribble over the paint. That’s going to be the first workshop at the new studio – Intuitive Photocollage!
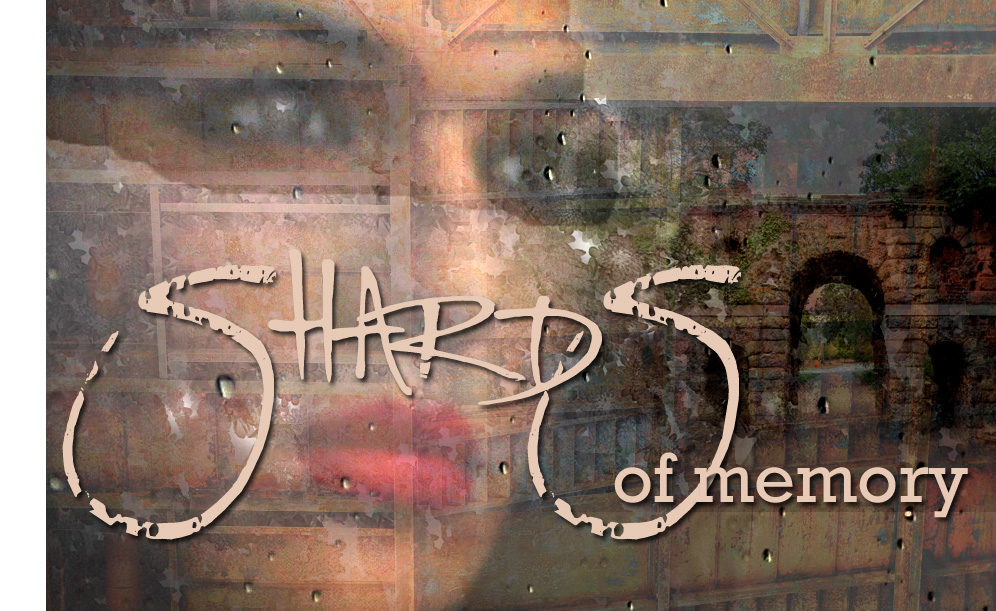
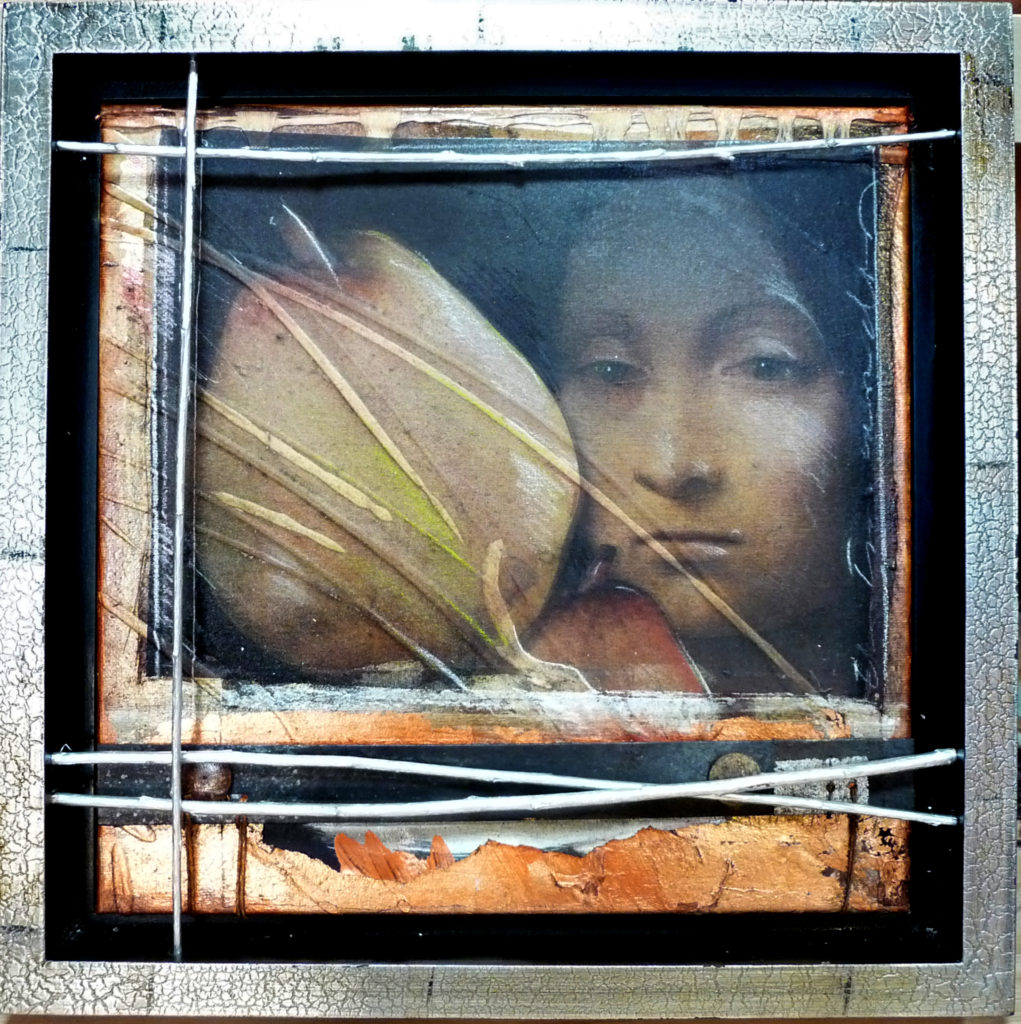
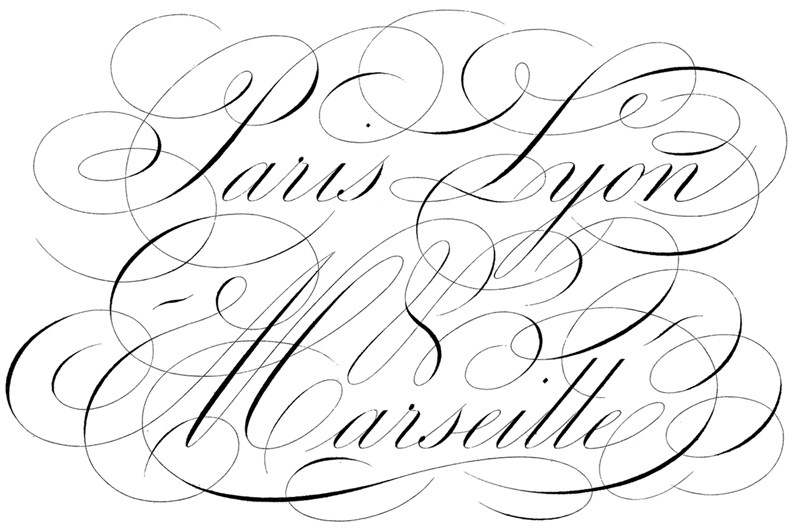
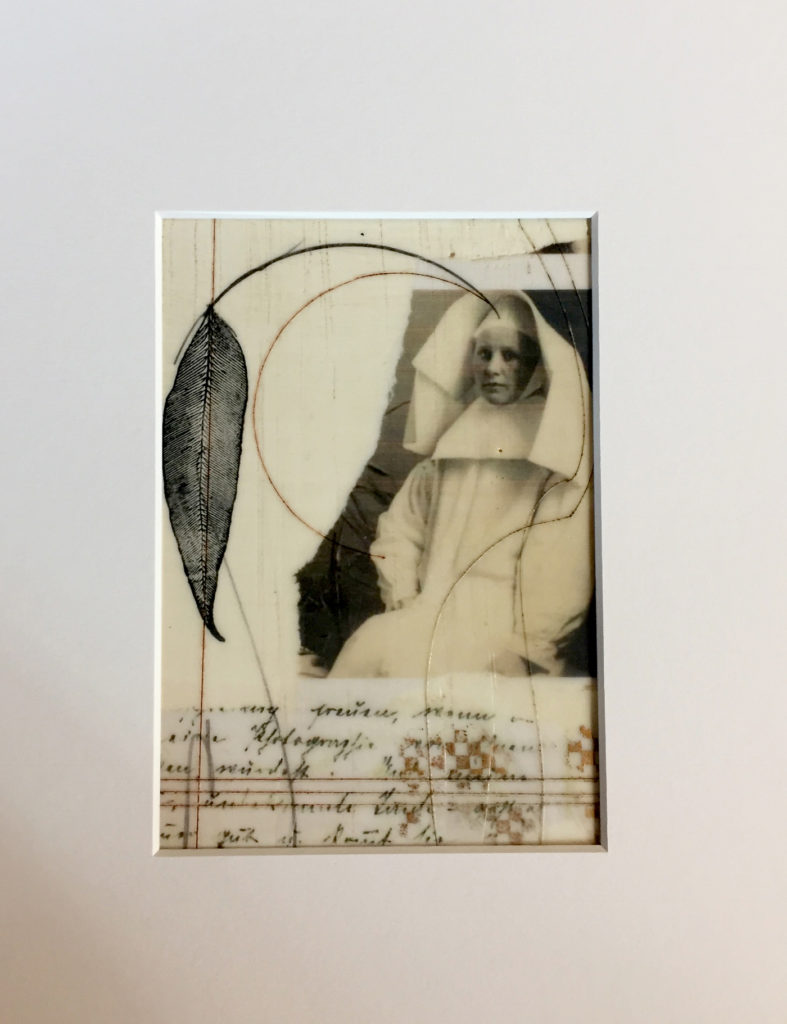
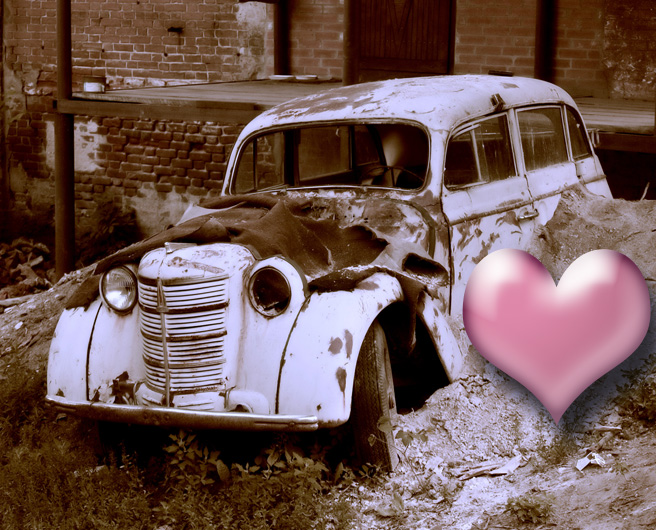
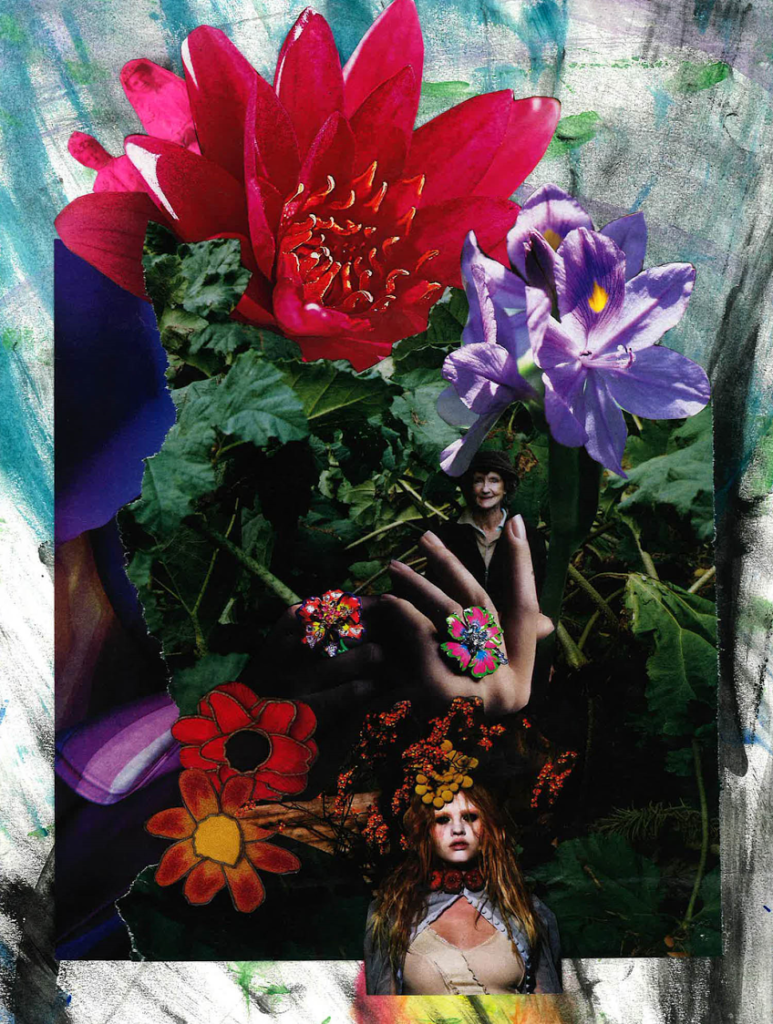
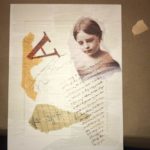
And if you know a bit of digital imagery manipulation, you can work on you computer to combine these resources into something totally new – like this!
Happy weekend – if you’re in San Antonio, bundle up – it’s finally gonna feel like Thanksgiving weather. Thanks, as always, for reading SHARDS.


 Update note: Since I returned from Santa Fe on Monday, I’ve looked at a couple of places for new workshop venues – and there are several good possibilities.. . .more soon.