Little collages, lots of possibilities

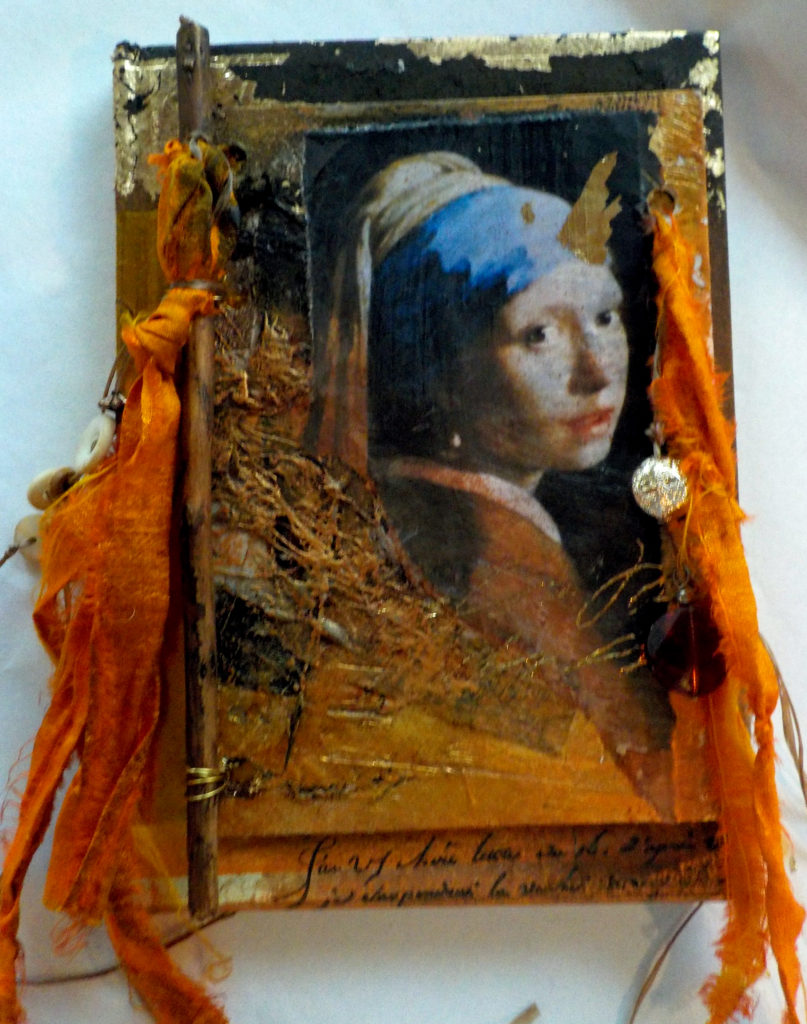
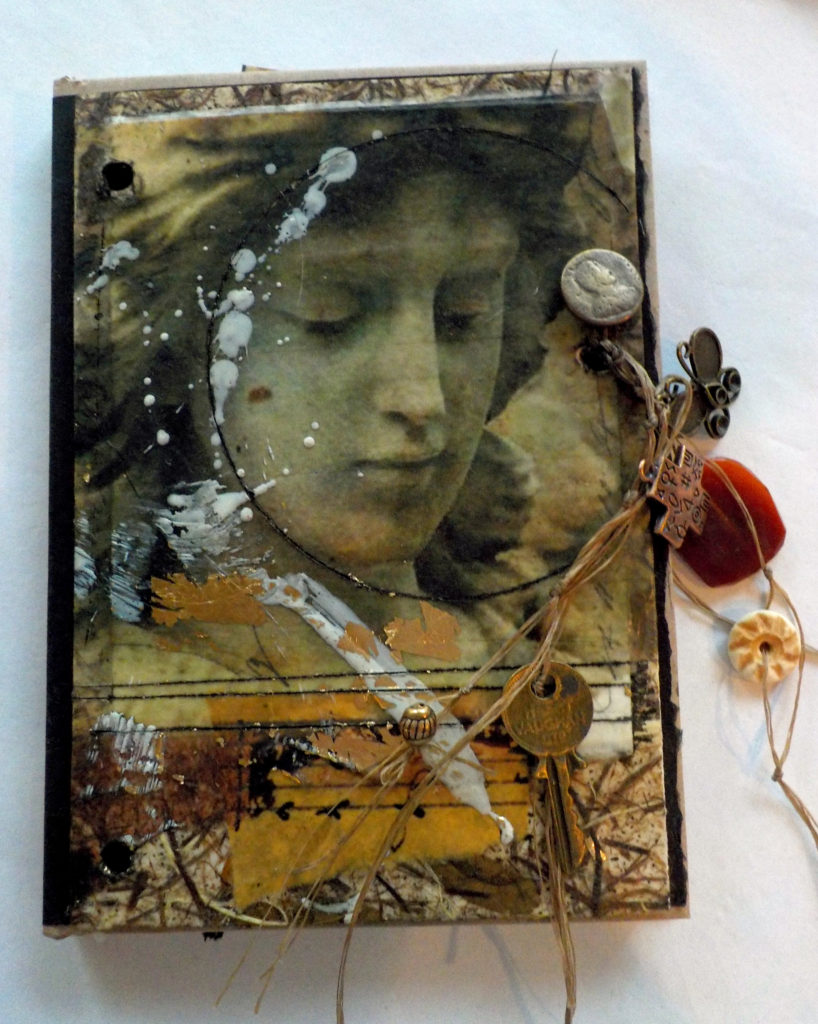
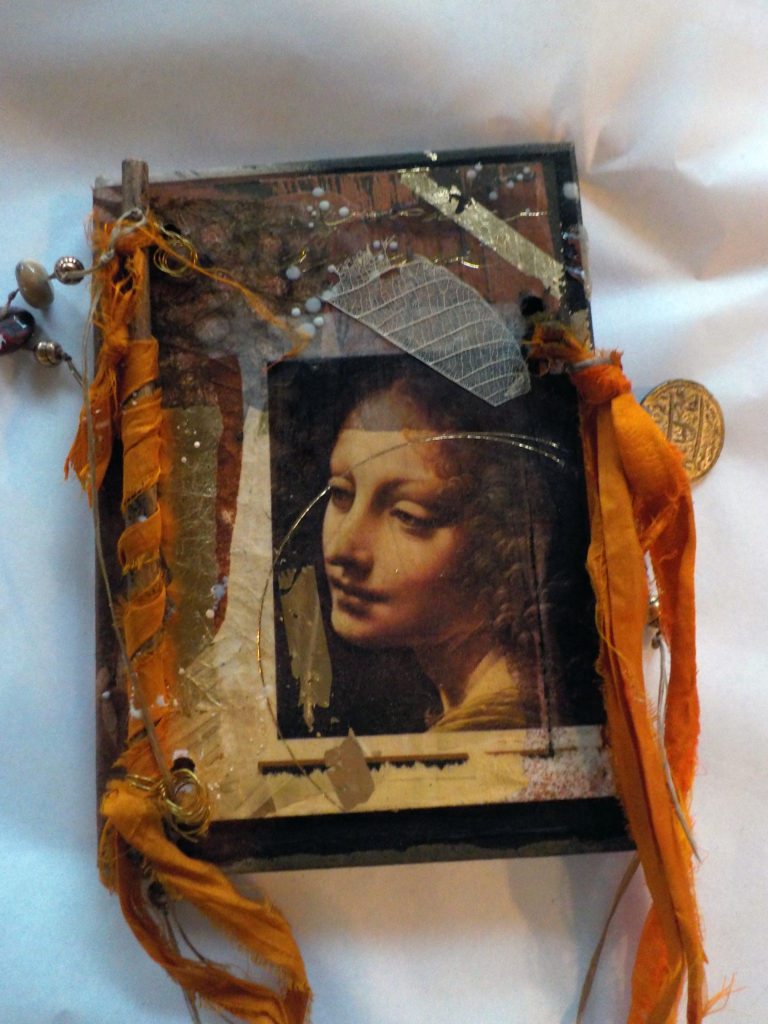
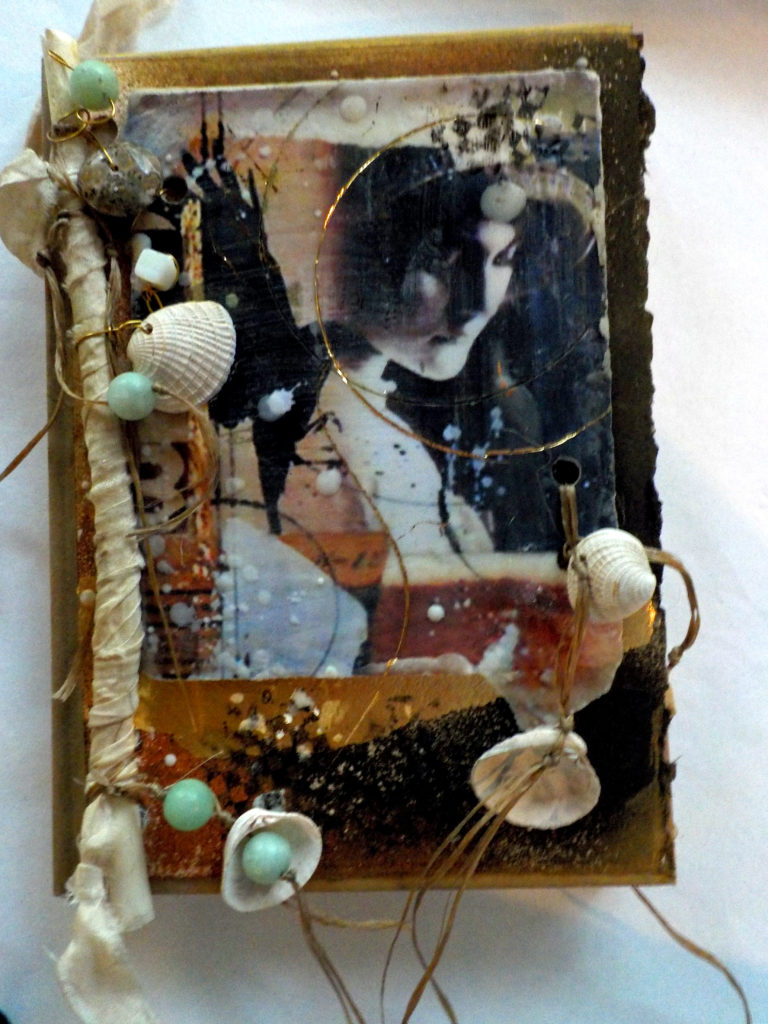
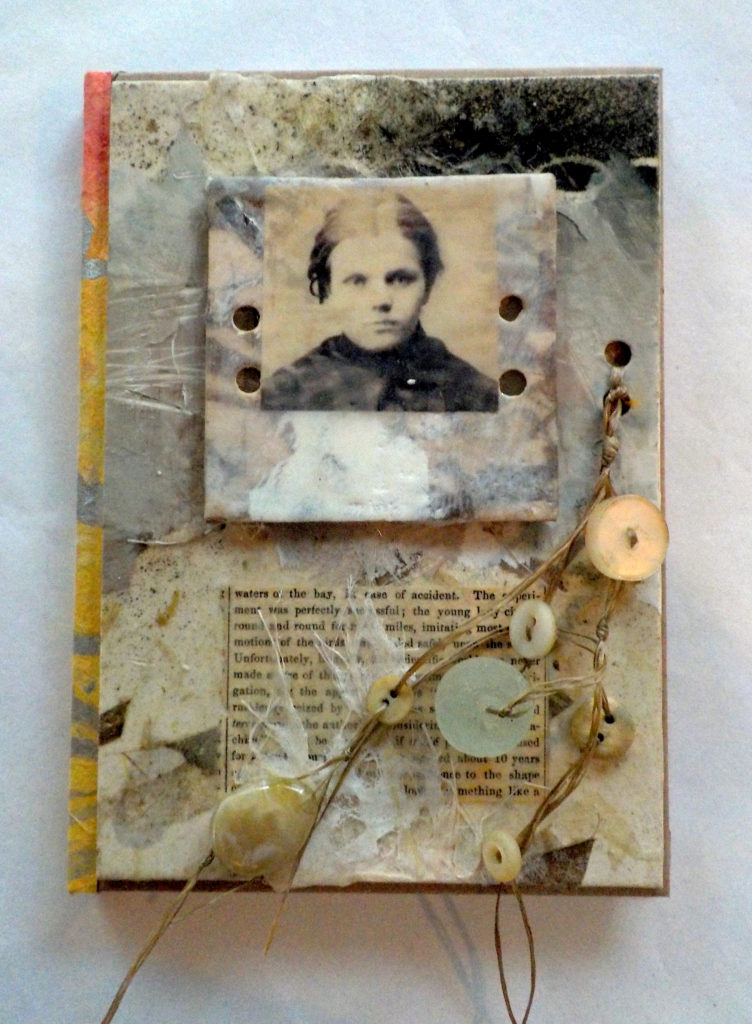
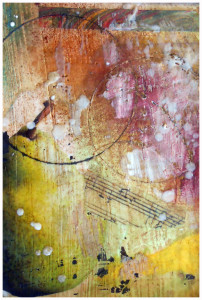
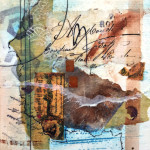
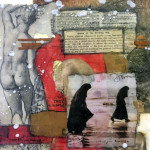
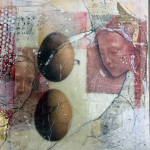
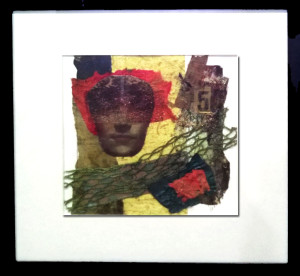
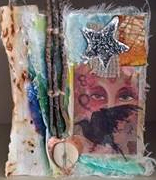
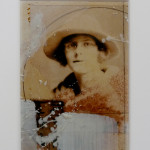
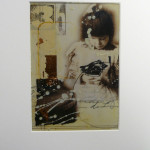
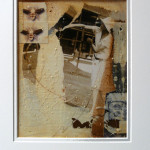
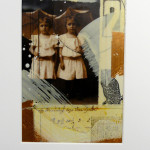
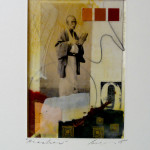
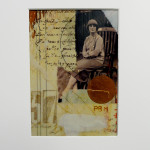
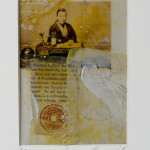
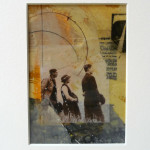
I’m so excited! Studio C Gallery at the Art Center of Corpus Christi invited me to show my work there. They requested some of my journals, which makes me happy because those are truly mixed-media work, plus I love hand-made books. It occurred to me that a 5×7′ journal is the perfect size for the 5×7″ collages that I routinely demonstrate in my workshops. So it was natural to create small collages for the journal covers.

I used a combination of tissue, wax, ribbon, beads, wombats (actually no wombats) and I was pleased with the results. Here are some photos of six of these. I am creating the journals in a numbered series of ten, each with a title.
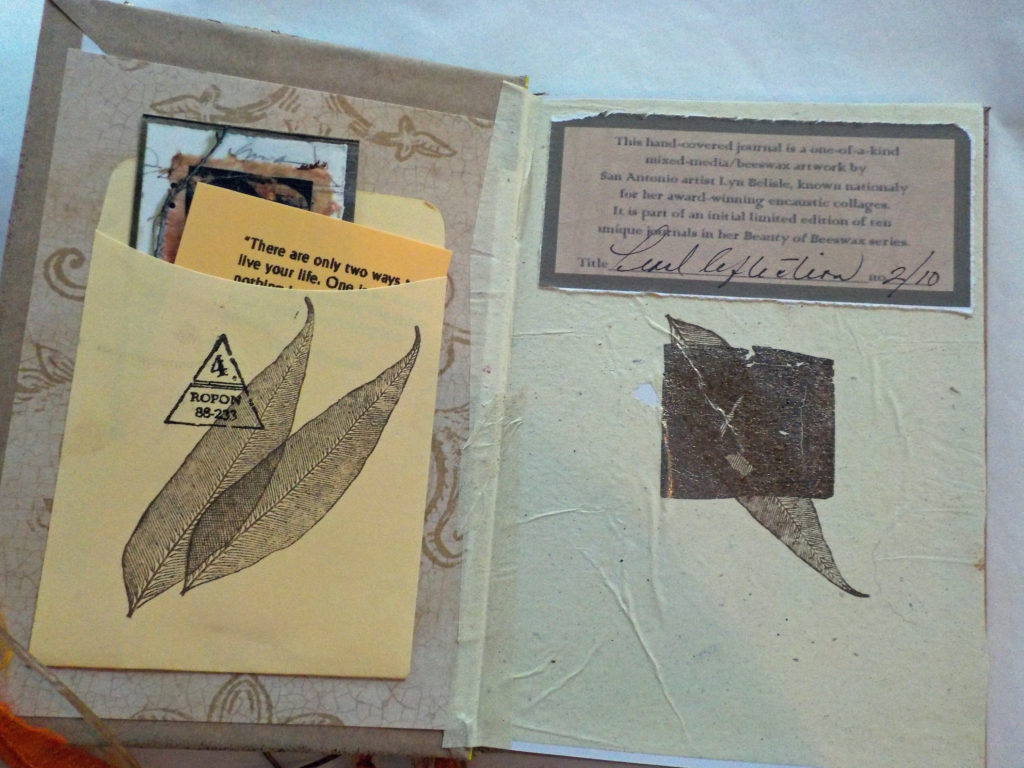
Journal inside front cover with title and number
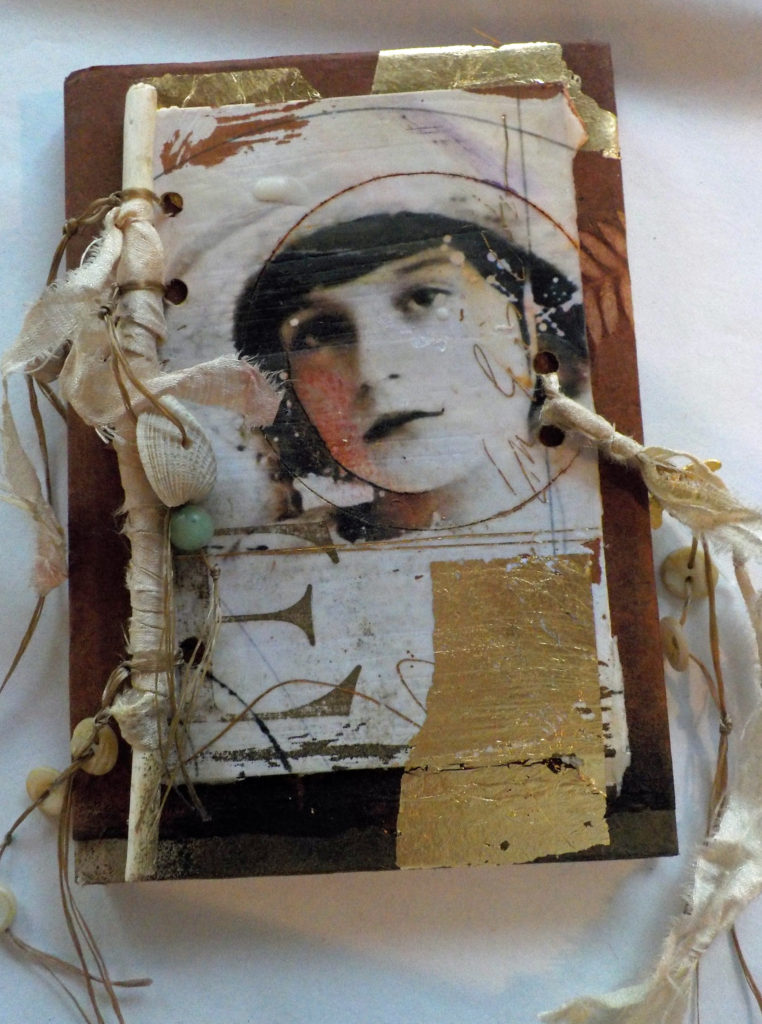
Journal inside front cover with title and number

"Elizabeth"

“Elizabeth”

"Pearl Reflection"

“Pearl Reflection”

"Pensive Mercy"

“Pensive Mercy”

"Renaissance Dreams"

“Renaissance Dreams”

"Shell Spinner"

“Shell Spinner”

"Winter Bay"

“Winter Bay”

It’s kinda cool that you get an original collage and a journal in the same little package! Functional art, for sure.

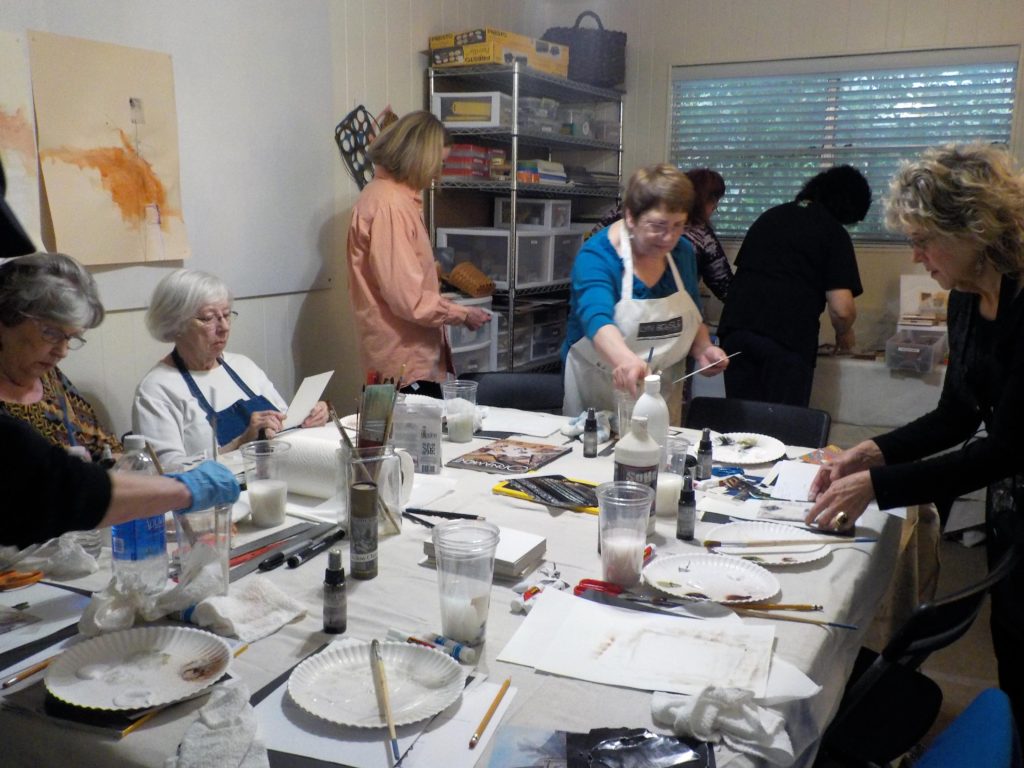
This past Sunday, I had a Wax and Tissue workshop at the little studio, and we created more of these 5×7″ mixed media/beeswax collages.

As always, the work was fantastic. Jo Etta Jupe, who teaches papermaking at the Southwest School of Art,  commented that everyone’s pieces were authentic reflections of their personal style and vision. How true – take a look!

If you find yourself in need of an enjoyable small project, try some of these 5×7″ mixed-media collages. They lend themselves to all kinds of possibilities, including journal covers!

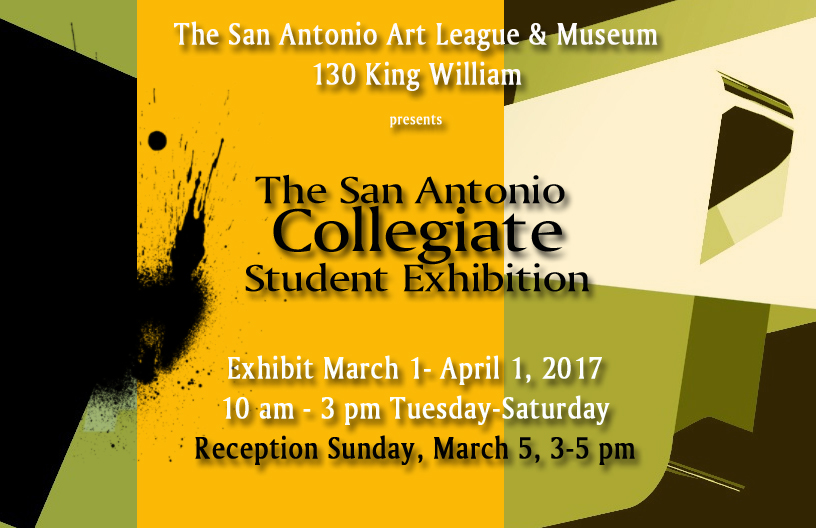
The weekend approaches – get out there and enjoy it. Oh, and if you’re in San Antonio, drop by the San Antonio Art League & Museum on Sunday afternoon for the opening of the Collegiate student exhibit. I got a sneak preview yesterday, and it is a strong show that will generate a lot of lively conversation!!
collegiate copy


Save

Save

What do you have to say to yourself?

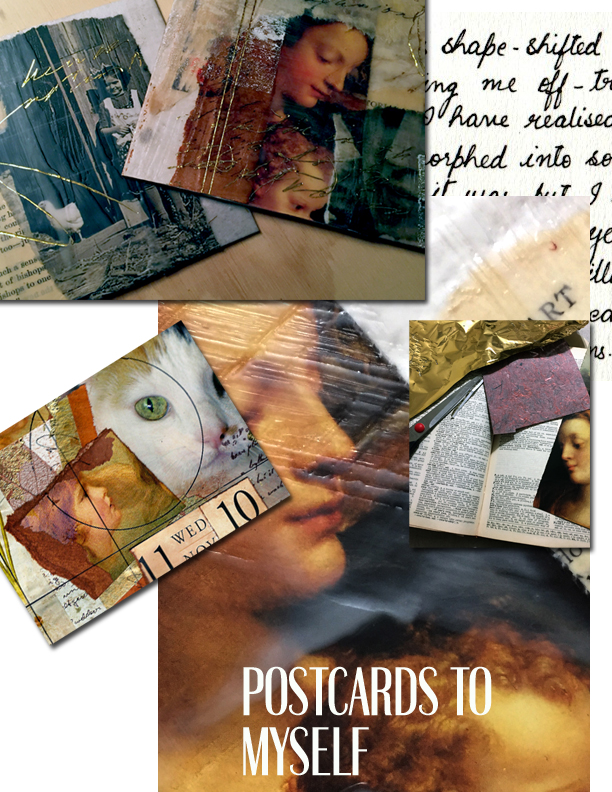
That was the question in yesterday’s workshop at the studio called “Postcards to Myself.”

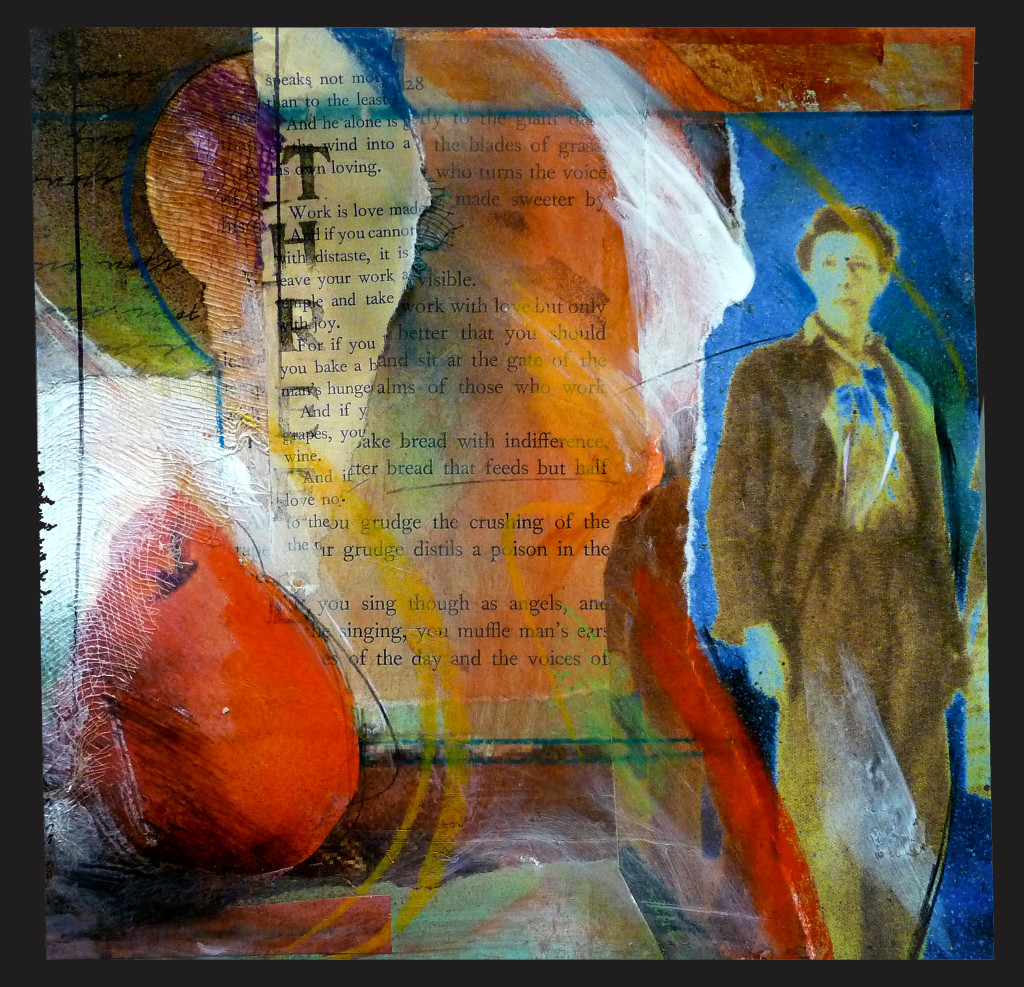
It’s a new workshop, one that I designed to see if we, as artists, create unconscious messages to ourselves as we work on art pieces that combine random images and text. The small works that were produced were amazingly lyrical, and many did seem to have meaningful messages.

The project itself was done in seven stages on an 11×14″ sheet of archival matboard.

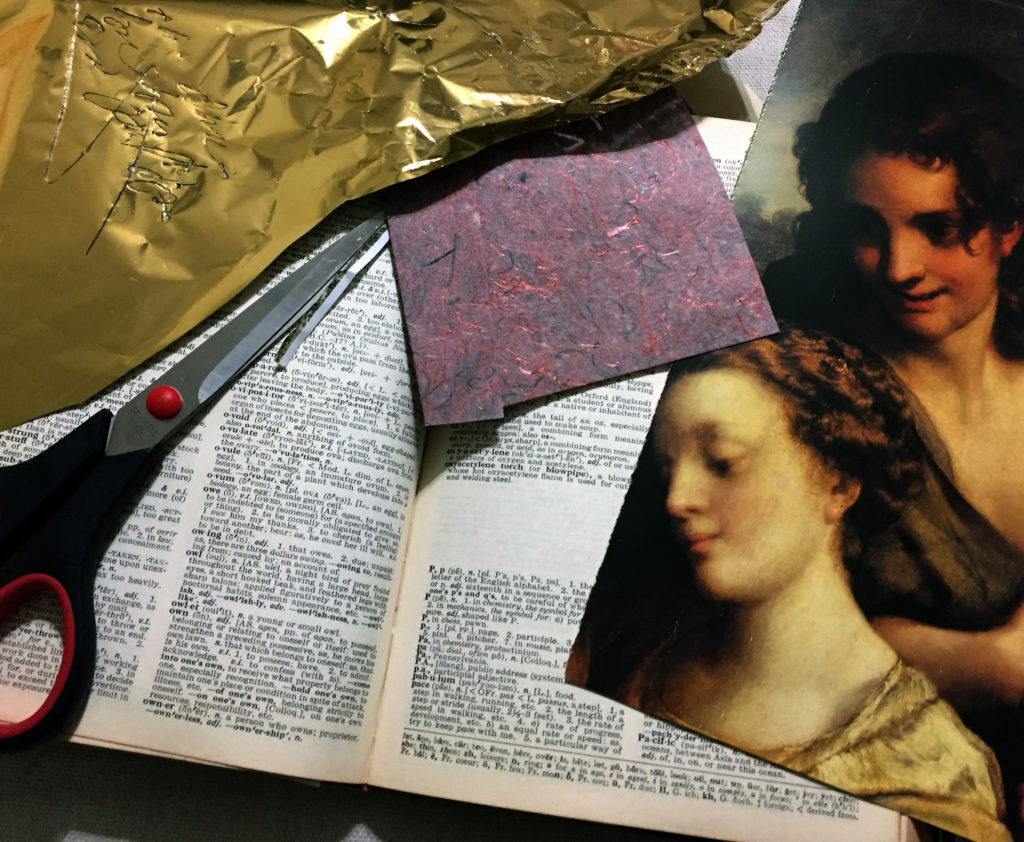
  • Stage One – images and objects
  • Stage Two – veiling
  • Stage Three – vintage text chosen randomly
  • Stage four – enhancement and alteration
  • Stage five – selection
  • Stage six – wax or acrylic medium
  • Stage Seven – interpretation

When the collage layers were complete, 4×6″ post-card size areas were selected with transparent plexiglass rectangles. Those were cut out, and then finished either with beeswax or acrylic mat medium. We even wrote notes to ourselves on the backs of our “postcards.”

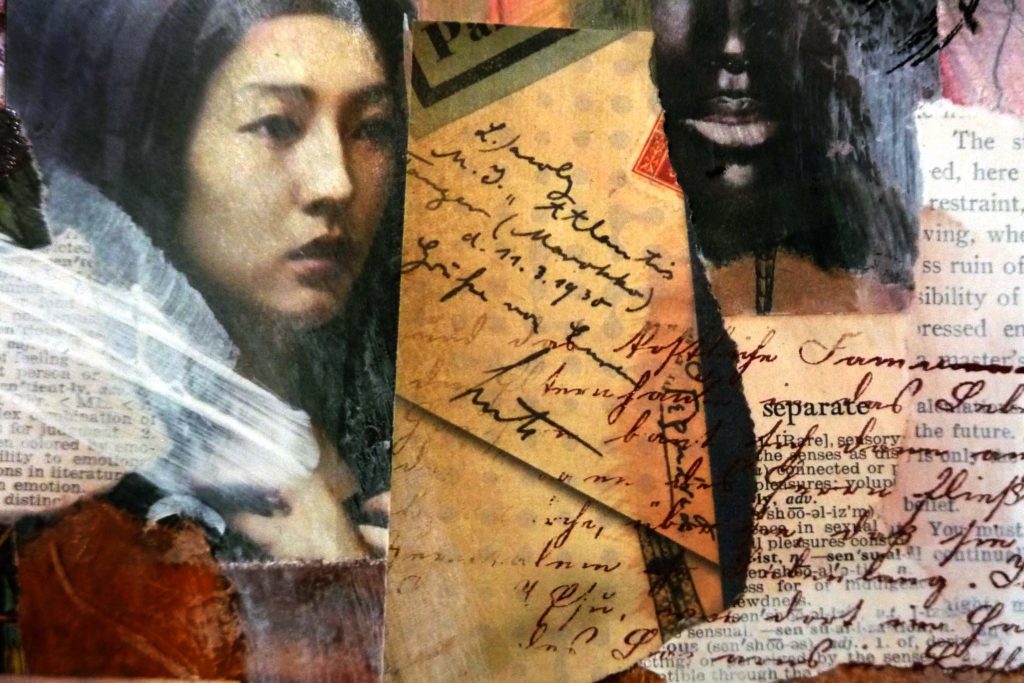
postcard

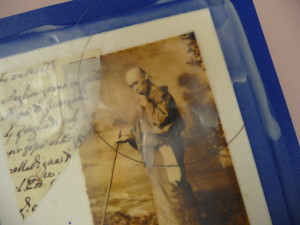
In the example above, this postcard-size section from the larger work shows faces from two different cultures and contains words such as “separate,” “restrain,” and “ruin.” It sounds like a trailer for a mini-drama! And yet it’s a completely coincidental juxtaposition within the larger collage.

We had such fun and learned so much from this project. I’ll definitely repeat it, and will probably create an eBook with with a list of materials and instructions. In the meantime, please enjoy the video from “Postcards to Myself.”

By the way, the first prototype postcard I did included text that said “eat one’s words” – so I was very careful about what I said during our critique!

proto

Save

Save

Save

New year, new workshops, new adventures . . yay!

“For last year’s words belong to last year’s language
And next year’s words await another voice.
And to make an end is to make a beginning.”
           (Little Gidding)”― T.S. Eliot

It’s not quite the new year, but I’m already planning new workshops for the new studio. Some things will be changing. As I said in an earlier post,  the space is different, more like a home than a storefront, so our workshops will be limited to six instead of eight.

16

Intuitive Collage workshop in the new studio on December 11th

When we work together, I want to concentrate on the incredibly satisfying Practice of Art (more about that later) and to bring you ideas that you’ll get excited about and use as catalysts to do more personal art on your own.

It’s fun to bring home a finished piece (and we will always do that) but that piece should be a springboard for you to use, change and claim as your own inspiration for something new. In other words, Steal Like an Artist!

Here’s the first of the new year’s workshops – it’s called Postcards to Myself, and it’s designed to send a message to yourself without knowing what you’re going to write in advance. All will be revealed through the process of layering collage and beeswax. Sounds like fun? I hope so! It’s also a good way to learn about using beeswax as a mixed-media tool.

And its hidden agenda is to get you excited about your own art. Click on the image below to go to the sign-up page.

postcards-copy

By the way, did you know today is Boxing Day? It’s celebrated in the UK and other places the day after Christmas. Here’s an entertaining article about its origins and somewhat goofy modern-day activities.

Six Color Christmas Bows isolated on white

My personal take on Boxing Day is to celebrate the old year by mentally “boxing up” last year’s memories, tying a silver bow around them, and packing them away in a special cupboard at back of my mind, clearing the boards for new adventures! What a year it was, what a year it will be! Thanks so much for being a part of it all.

2


Composition Campers win merit badges for bravery in collage!

The Composition Camp workshop yesterday was very, very cool – every single participant found a “right answer” to the assignment, and each answer was both unique and excellent.

First, we reviewed a slide show of composition examples like the one below based on my AB3 system  – the AB3s are Alignment, Breathing room , and Threes or thirds.:

"Three" Lyn Belisle, mixed media collage

“Three” Lyn Belisle, mixed media collage

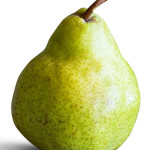
pear


Then, the first assignment started with a pear – everyone got a 5×7″ substrate of watercolor paper  and a printed inkjet photograph of a green pear.

Instructions were to demonstrate great composition while building  a collage that started with identical images  – and they did!

25

For their second assignment, students were encouraged to choose their own images from a National Geographic magazine, and that went just as well as the first challenge.

Both projects started with water media and images and ended with layers of textured beeswax.

Everyone shared ideas and inspired each other, but no two finished works were remotely the same. Some went completely toward abstraction and some retained the imagery. Take a look at the video – what amazing surface design and variety!

This session of Composition Camp was a huge success – yay!

Oh, and before I say goodbye for now, we have TWO Friday Freebie winners of the two Paper Pocket Purses – one winner is Quinn Jennings of Washington DC and the other  is d.price@satx.rr.com ! Y’all email me your mailing addresses, and your freebies will be on their way to you!

Thanks to everyone for subscribing to SHARDS.

Saturday catch-up: collages, challenges and show&tell

It’s been a busy week – I taught a beeswax workshop with the San Antonio Art Education Association at a workshop on Tuesday, and then spent Thursday at the Studio with Gloria Hill and Lisa Stamper Meyer.Here are our collages from that art playdate – can you believe that three artists with the same challenge could come up with such different results? Fascinating.

rosemarychallenge2 copy copy

And speaking of collages and challenges, congrats to Rosemary Uchniat who won the random stuff challenge with this powerful collage. I saw her “before” pile of stuff and am in awe of the way she pulled it together – it belongs in a gallery!

Rosemary, your prize is an Artist Sampler of Three Face Shards to use as you like. What will you come up with this time? It’s always interesting.

toni copyToni Curtis from LA also sent in her wonderful collage which morphed into a journal cover – nice, Toni!  Check out Toni’s Heart of the Gypsy Facebook page. It’s fun to challenge yourself to an out-of-the box diversion – try it.

And finally, today is the first Show and Tell of 2016 – my favorite Studio event!

In the lineup today are painters, poets, authors, card makers, fiber artists – and Chef Mikey himself, who will share the Studio’s signature dessert recipe of Sopaipilla Cheesecake. Hope to see you there from 2-4!

Beeswax collage workshop – personal and inspired

The beautiful visual stories seemed almost to create themselves in Sunday’s Beeswax Collage workshop at the Studio. Participants were given a limited choice of vintage images, some basic collage and texture materials, and some beeswax, walnut ink, and gold leaf. Then, as one person said, “The magic is happening!”

Sunday’s workshop was a delightful combination of the perfect medium paired with the perfect group – everyone had a chance to take risks, make decisions, and turn “mistakes” into assets in their work. And they did it! Take a look at some photos from the workshop.

Congratulations to all of the artist and bravo for the great work – and now, for a commercial break. If you want to see how this beeswax collage process works, I have written an e-book called Behind the Veil that explains this process step-by-step, including where to find free vintage images. It can be yours to download for a mere $5.99 heck, a fancy latte costs more than that!

But wait, there’s more – no, actually, that’s all for now. It was a great workshop and I thank everyone who participated! Have a lovely  Monday, everyone.

Monday two-fer – beautiful bones and beeswax

You get two art reviews for the price of one (yeah, I know, they are all free) but still –  I wanted to post Part Two of my Colorado Trip while it was still fresh in my mind, and I couldn’t wait to show you the video of yesterday’s Beeswax Collage workshop at my Studio (see the amazing video, below)!
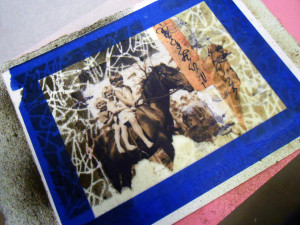
Colorado Trip Part Two –  Georgia O’Keeffe at the Colorado Springs Art Center

Horse’s Skull on Blue – Georgia O’Keeffe 1931; Oil on canvas

Georgia O’Keeffe and the Southwestern Still Life is not strictly a “Georgia O’Keeffe show”, (which I should have known had I done my homework before we visited the exhibit). And thank goodness it isn’t, because when her work is placed beside that of her contemporaries – including modernists like Stuart Davis and Marsden Hartley as well as more traditional painters who were also lured by the Taos light –  O’Keefe’s cutting-edge brilliance shines.

One of her quotes that ran across a bright orange wall at the CSAC gallery read, “I had to create an equivalent for what I felt about what I was looking at – not copy it.” That, to me, was huge – and her work showed this journey into interpretation and abstraction through the loose structure of “still life.”.

I was so impressed by the juxtapositions and inclusions that I searched to see who had curated the exhibit. It was Charles C. Eldredge, former director of the Smithsonian American Art Museum, who placed O’Keeffe’s work in the context of other artists who were influenced by the Southwest at the same time she was. The exhibit raised thought-provoking questions such as “What is a still life, really?” and “How does an artist chose represent an observation?”

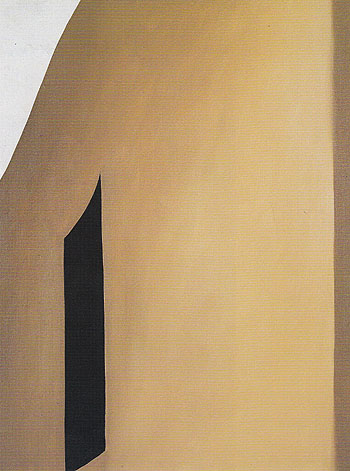
I loved the show – my favorite painting was this one (below) – and my friend Carol Mylar and I talked for a very long time about why it was included as a still life, and why its powerful simplicity is so mesmerizing. For a much more educated and detailed review of Georgia O’Keeffe and the Southwestern Still Life, read Gayle Cement’s enlightening, enjoyable discussion of the works.

Georgia-O_Keeffe-Black-Patio-Door-1955-large-1339814400

Georgia O’Keeffe Black Patio Door 1955

22And now . . . . .Fabulous Sunday Workshop – Wax and Layers and in Beeswax Collage

The smell of the beeswax, the roar of the crowd – what a workshop! Every single participant took the notion of wax enhancement on monochromatic collage and ran with it, creating evocative personal statements. I’ve recently added another hour to my workshop format, and three hours instead of two makes a huge difference. We have more time to critique and discuss – it obviously worked yesterday. Take a look at some of the inspired pieces the students created. Nice work, Y’all!

Beeswax Collage Workshop – five stars!

noraIf you’ve kept up with my new work, you know how excited I am about my beeswax collage series using early 20th-centure photographs.

Along the way, I’ve developed some techniques for using beeswax and pigment on paper that have worked well for me, but I hadn’t taught the process until yesterday afternoon at the Studio.

I wasn’t sure if other people would be able to get the same results, but it was fantastic! Everyone was so happy with their finished pieces, and had a million ideas about taking this process to new levels with their own personal photos. Take a look!


Easy color-to-sepia photos for beeswax collage using iPiccy

Sunday’s workshop at the Studio is Beeswax Collage (it’s sold out, yay!), and I’m going to ask the participants to bring a sepia-toned photo to work with. I’m sending them the link to this post to show them how to do a sepia effect with iPiccy, and you can find out, too, by following these instructions!

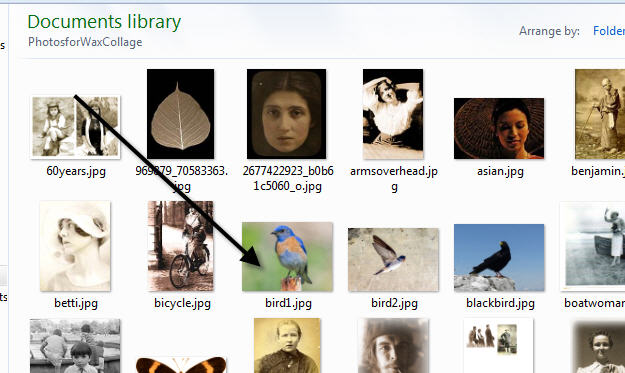
First, you need to choose a photo that you want to transform to sepia, and remember what file it’s in so you can find it to upload it. Then go to iPiccy and choose Start Editing!

sepia

You’ll see a window that asks you to upload a photo.

sepia0 Browse to the file on your own computer that has the photo you want to change from color to sepia and select it

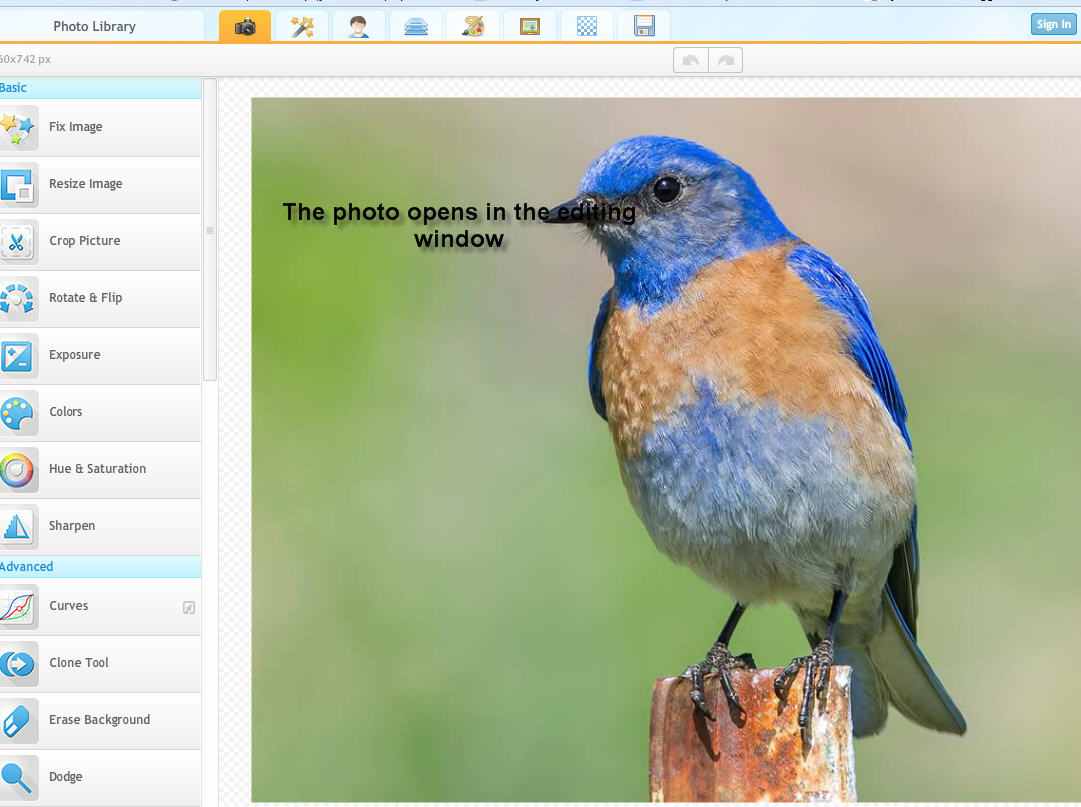
sepbird    Your photo uploads into the editing window.

sepia 5

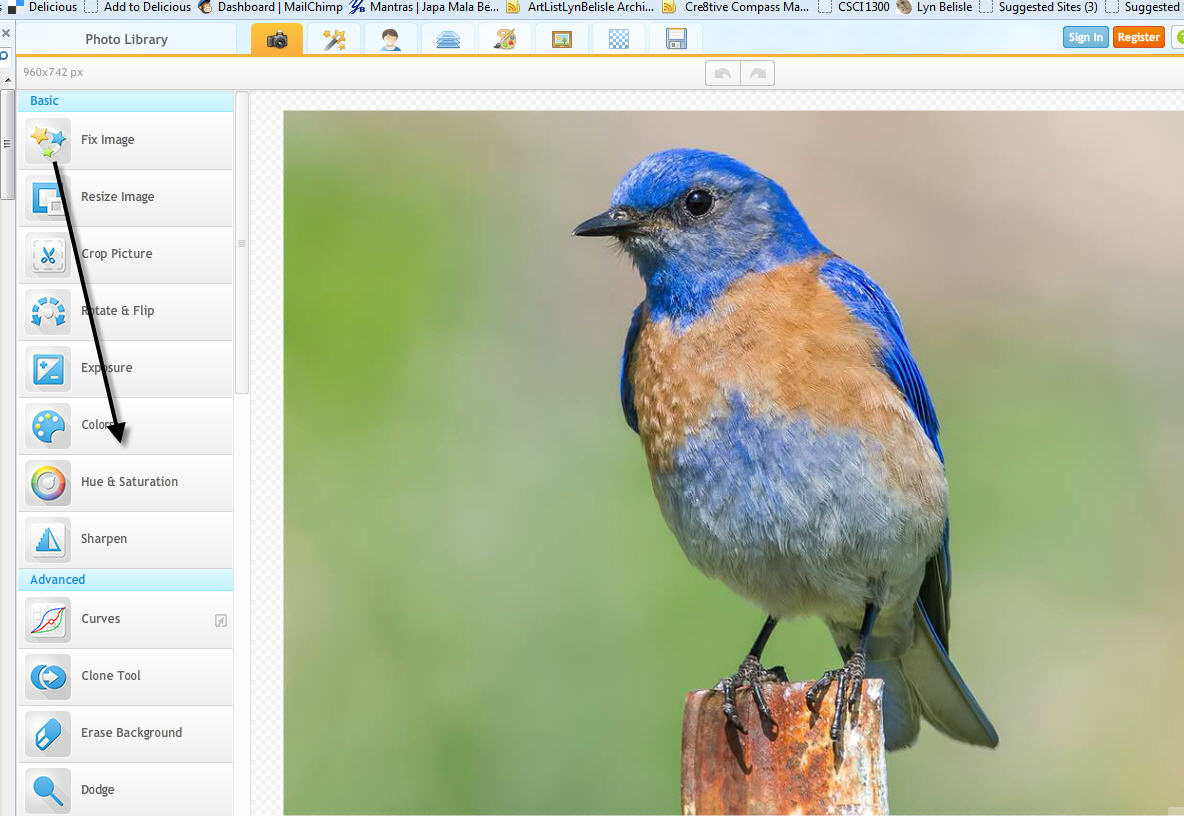
Look on the left side and find the bar that says Colors.

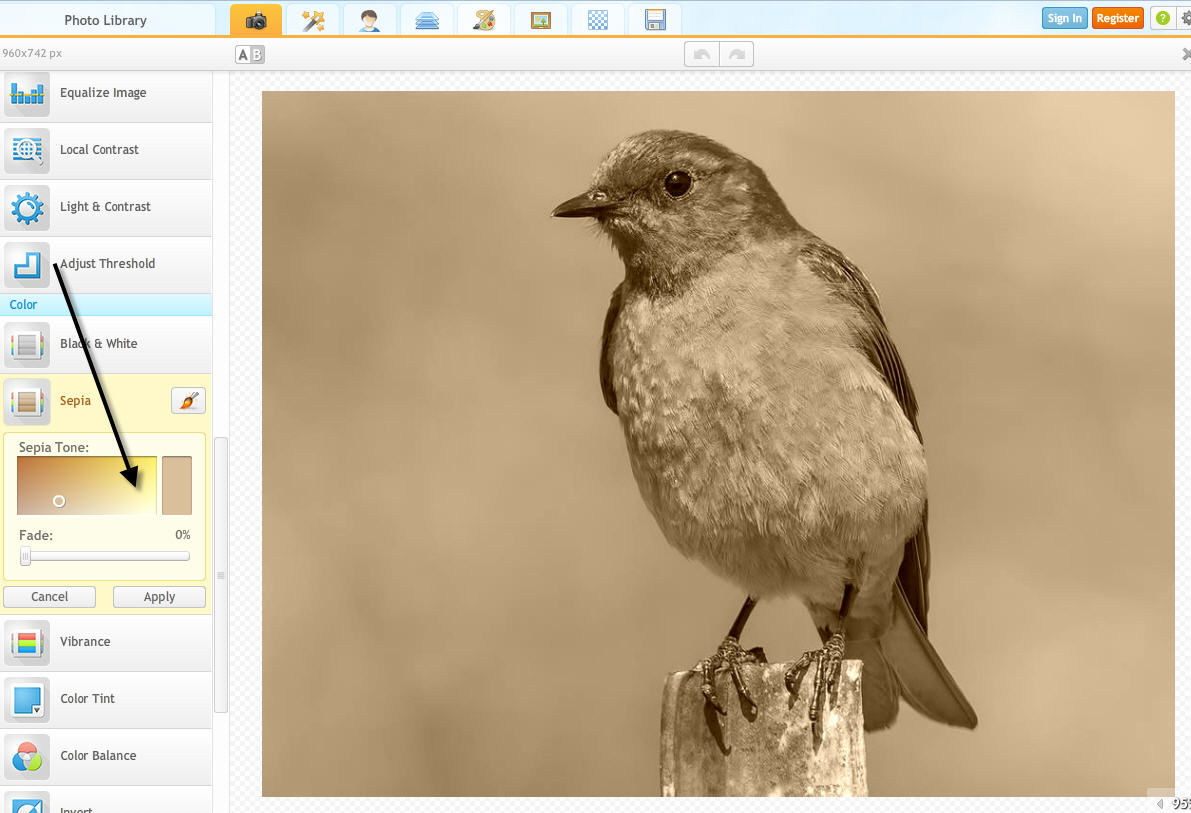
sepia5Click on it and scroll down that list until you come to the bar that says Sepia – choose the sepia tone that you like.

sepia3Once you’ve transformed the image to sepia, you can click on the Save icon at the top right and save it back to your computer

sepia7Give it a different name so it doesn’t overwrite our original color photo. Now you are ready to print it out and use it for your beeswax collage – or whatever creative purpose you desire!

Happy weekend, everyone!

Minding my own beeswax

beacon-hill-art-walkEvery June I look forward to participating in the Beacon Hill Art Walk in Boston – the venerable old red-brick and cobblestone neighborhood opens its courtyards and gardens to over 100 artists for a unique event that includes music and food.

This year, inspired by Clare O’Neill and  the work that my students did in our first Beeswax Collage workshop, I’m including some of my own encaustP1100506ic beeswax collages for show & sale. I’m also developing a new eBook about the process called Behind the Veil – it’s almost ready for publication. And I’ll offer a new workshop on this Beeswax Collage process on July 12th, and another one in the fall, so stay tuned for those things. The new eBook will give you several tips on working successfully with this process, including:

  • Limit your palette, both in imagery and in wax color
  • Work small scale at first
  • Use a good substrate such as Arches #300 watercolor paper

Taking any art to Boston is kind of a challenge because it has to be lightweight, packable, and easy to set up. These collages fit the bill – I’m hoping they will be popular with Boston patrons. Two years ago, my work won a third place ribbon, last year I took home a second place ribbon – maybe these little pieces will snag a first place at the show on June 7th! Here are a few of the new beeswax & collage pieces that are completed. Do you think they will be a hit on Beacon Hill? Fingers crossed 🙂