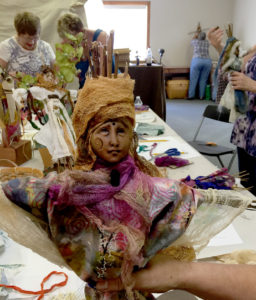
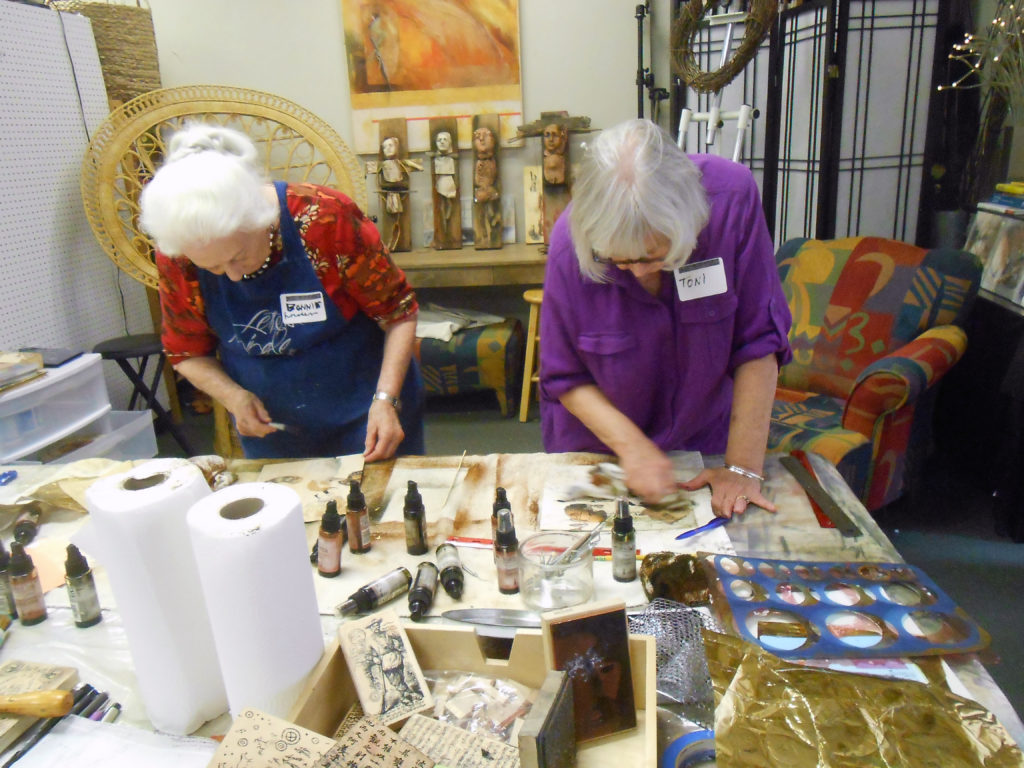
Lesta Frank and I had been wanting to repeat this popular Whiter Shades of Pale workshop collaboration, and yesterday we got to! Yay! Plus we got to teach it at Lesta’s cozy studio – what a treat.
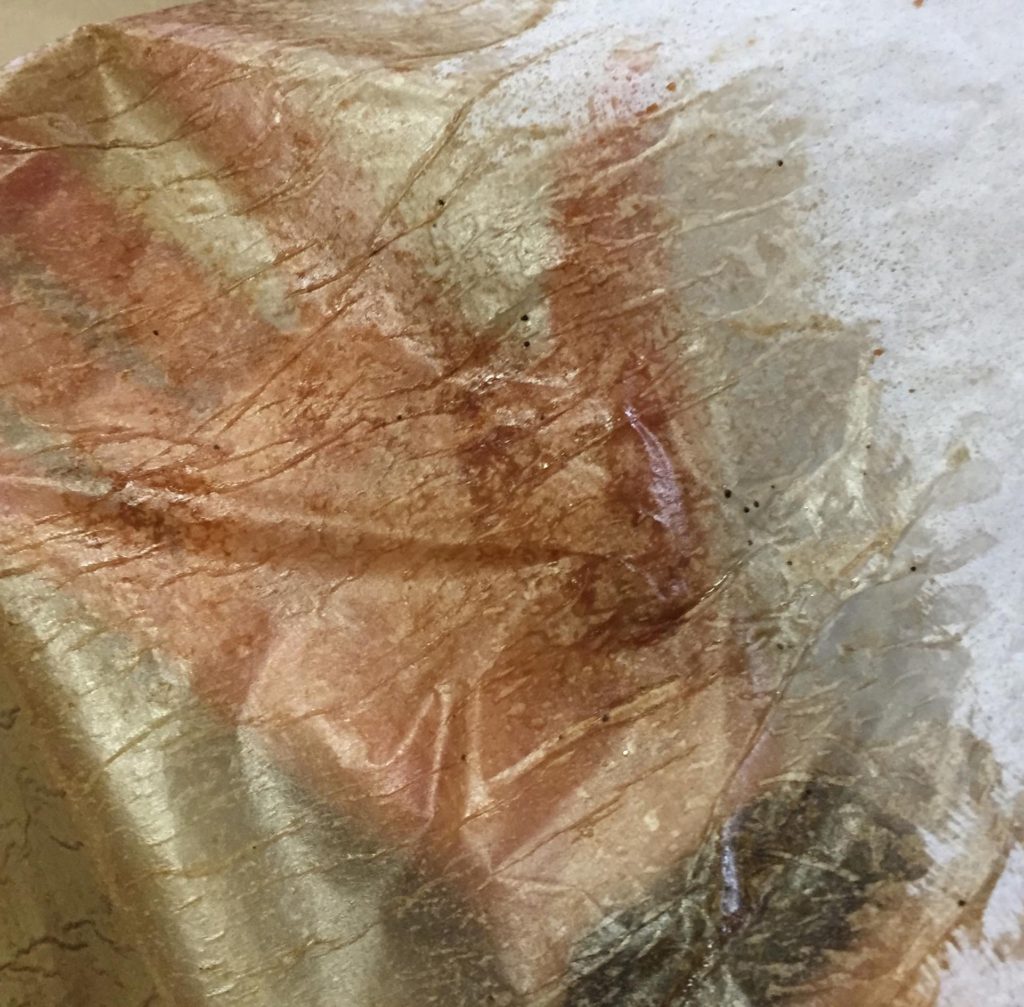
We added a few more things to the mix this time, including beeswax and gold book foil. Some of the participants had not worked with encaustic techniques before and they loved it.
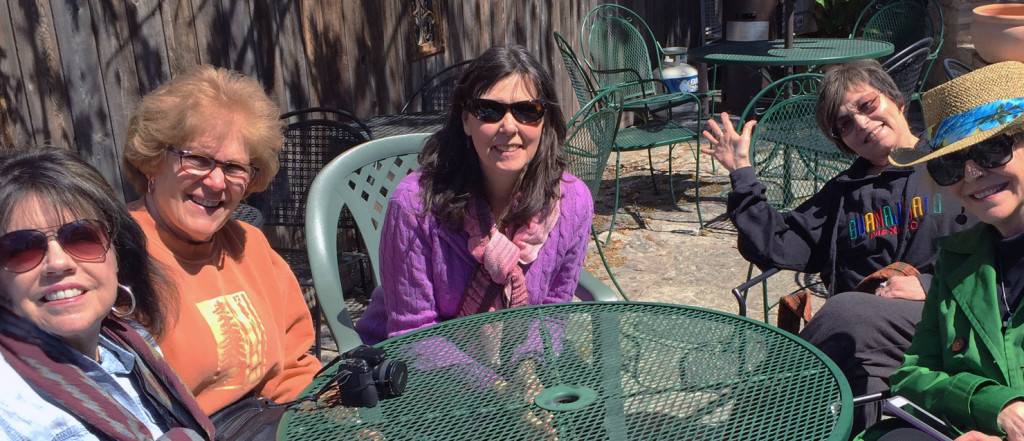
As usual, the results from this workshop were fantastic. We had a full day to work on this project, including a lunch break in Lesta’s sunny back yard.
Take a look at the video, and then, at the end of the post, I’ll share some of the things we did in the workshop.
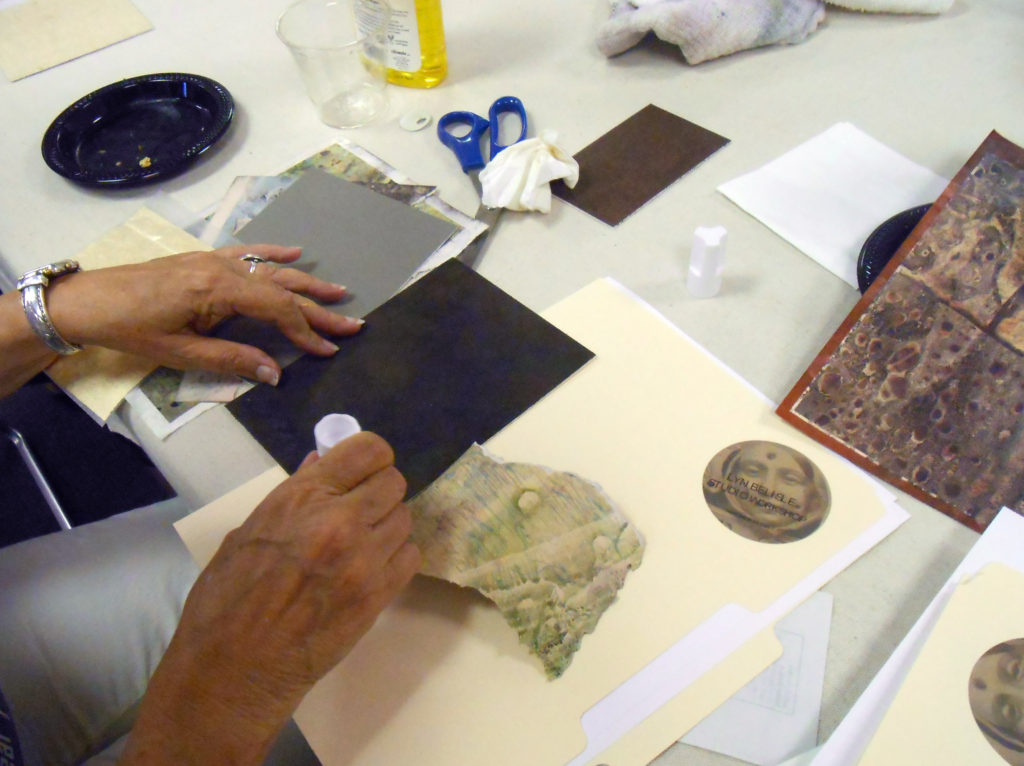
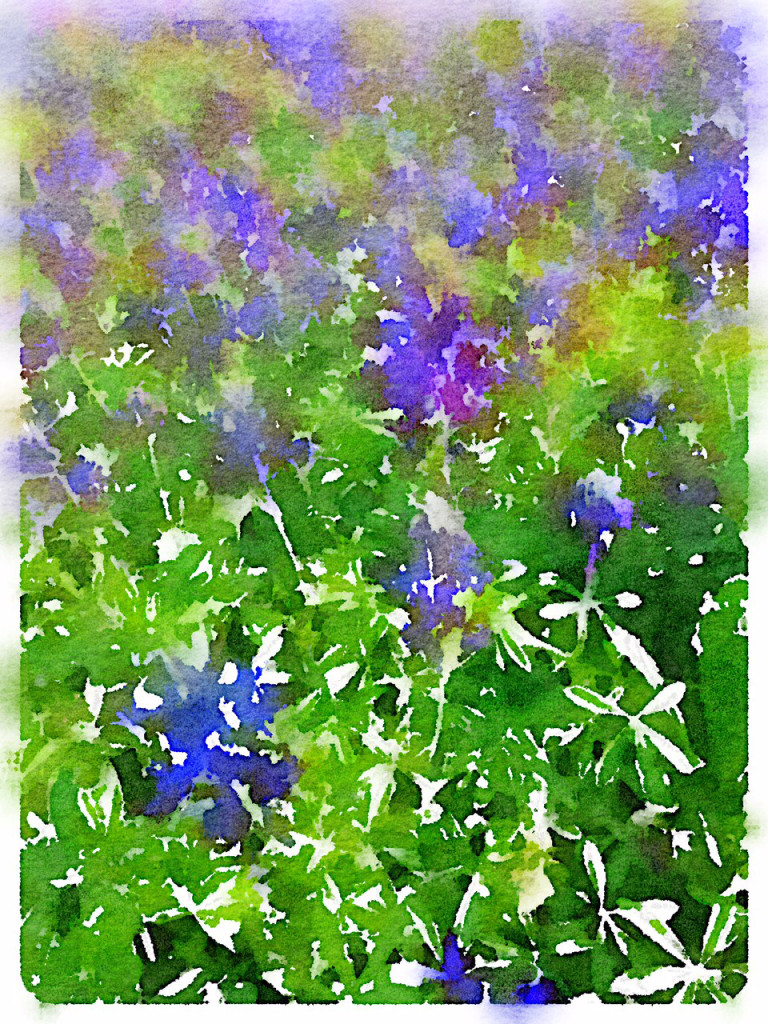
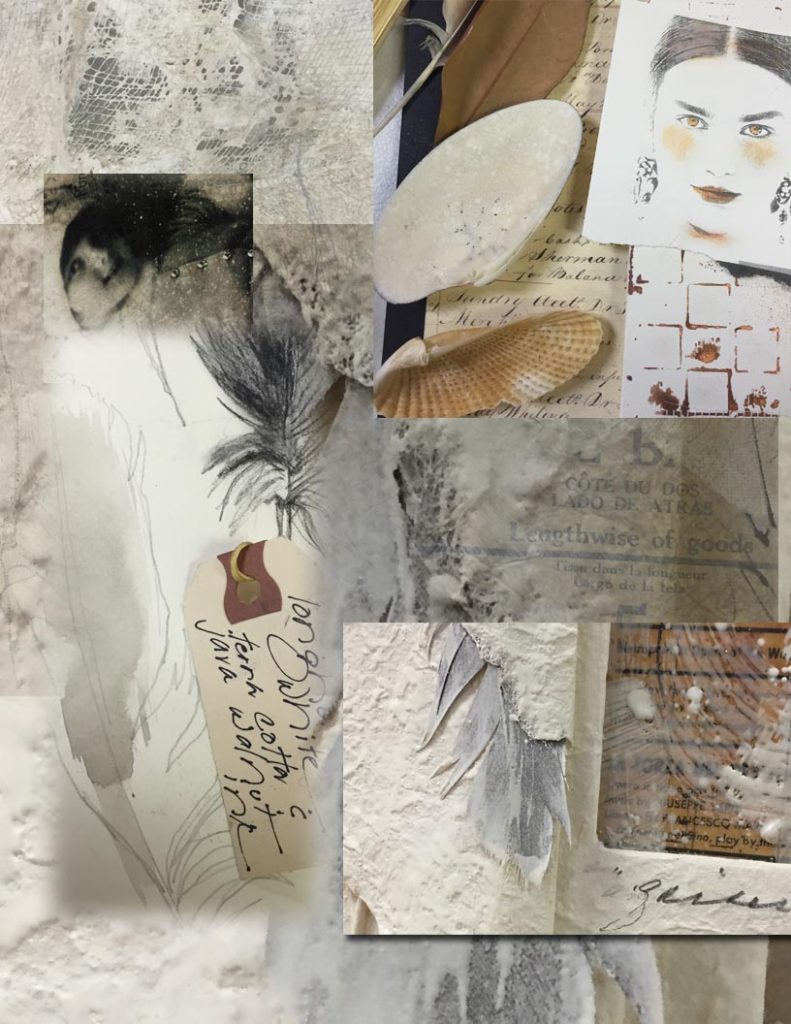
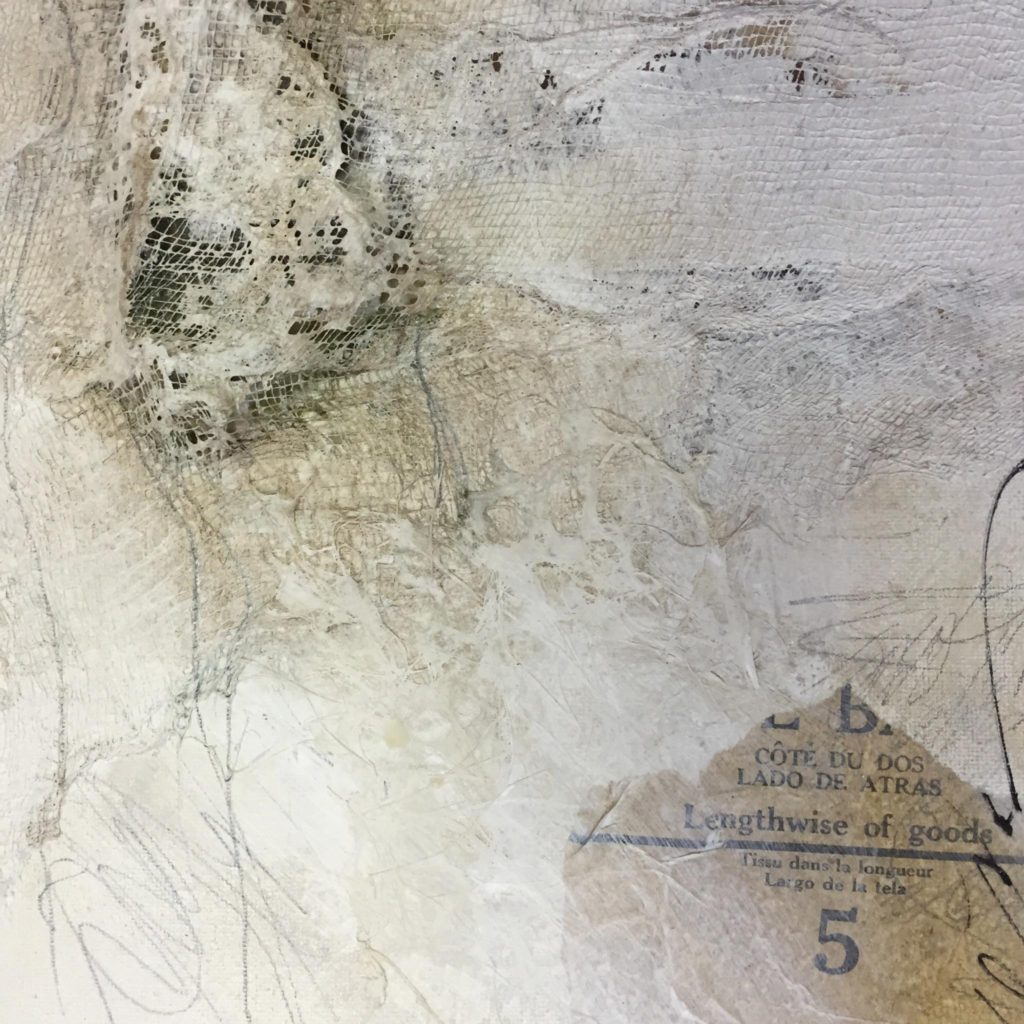
These were some of the ways we created our own pale papers:
Methods
- Tissue “glued” to gray palette paper with matte medium
- Brushed with gesso, sprayed with walnut ink while wet
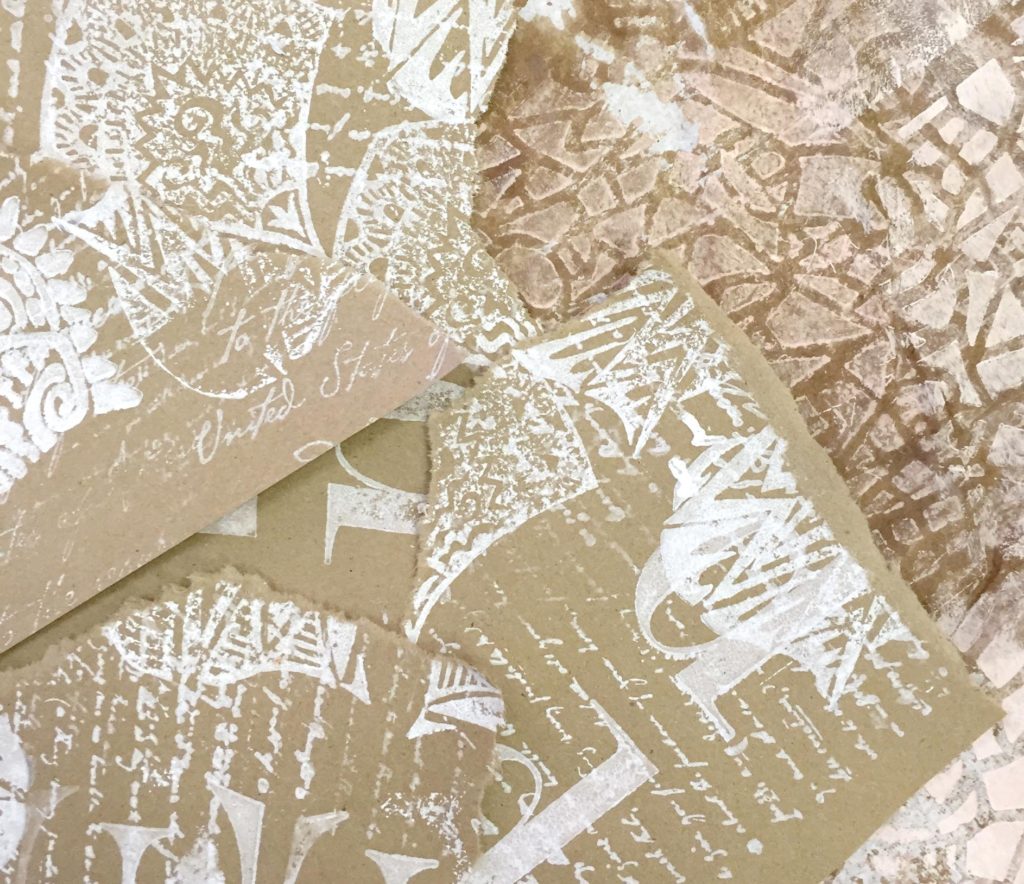
- Deli paper stenciled with gesso, dipped in coffee when dry
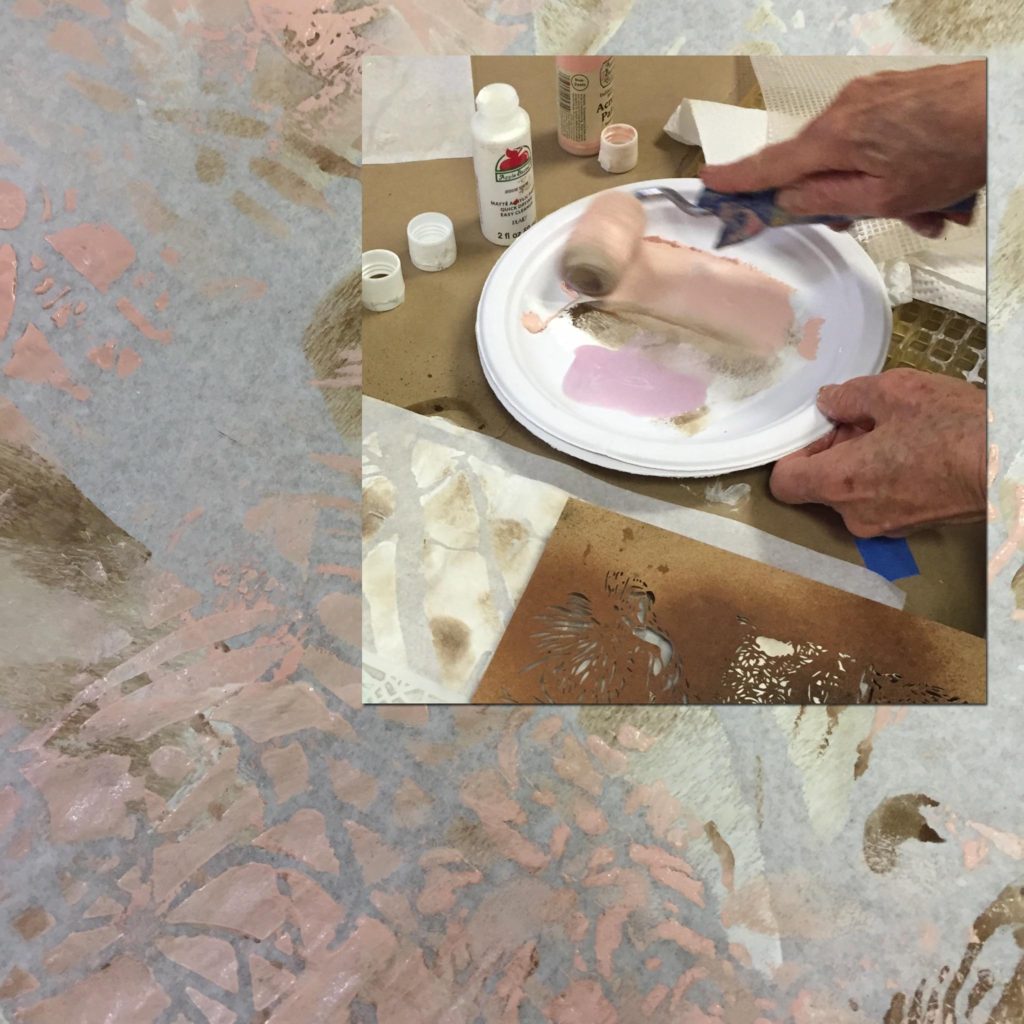
- White stamps on kraft paper – ink, acrylic paint with felt
- Walnut ink on kraft paper, dried, brushed with gesso
- Tinted white paint stenciled
- Circles stamped with cups and objects
- Cheesecloth
- Walnut ink through lace
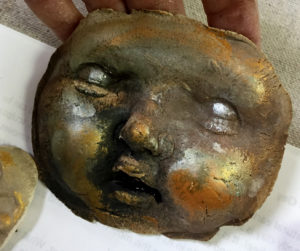
- Silver and gold acrylic glazes
There really are no rules, just guidelines and suggestions. Discovery comes through experimental play.
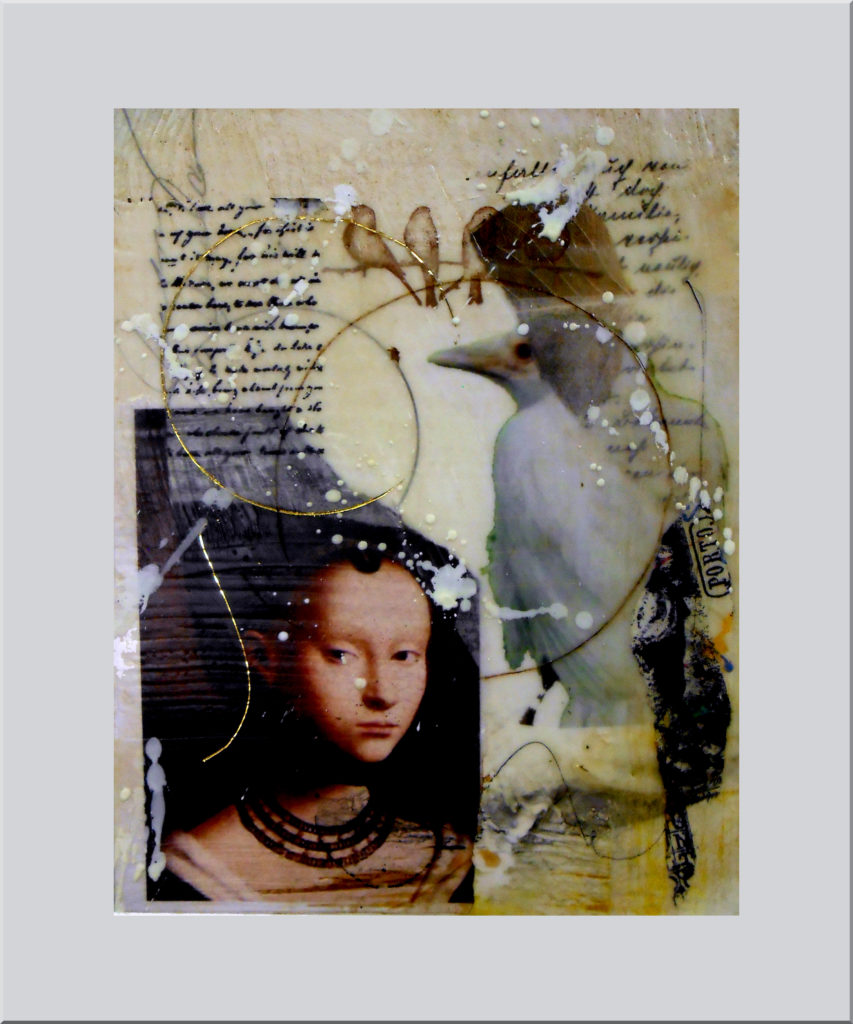
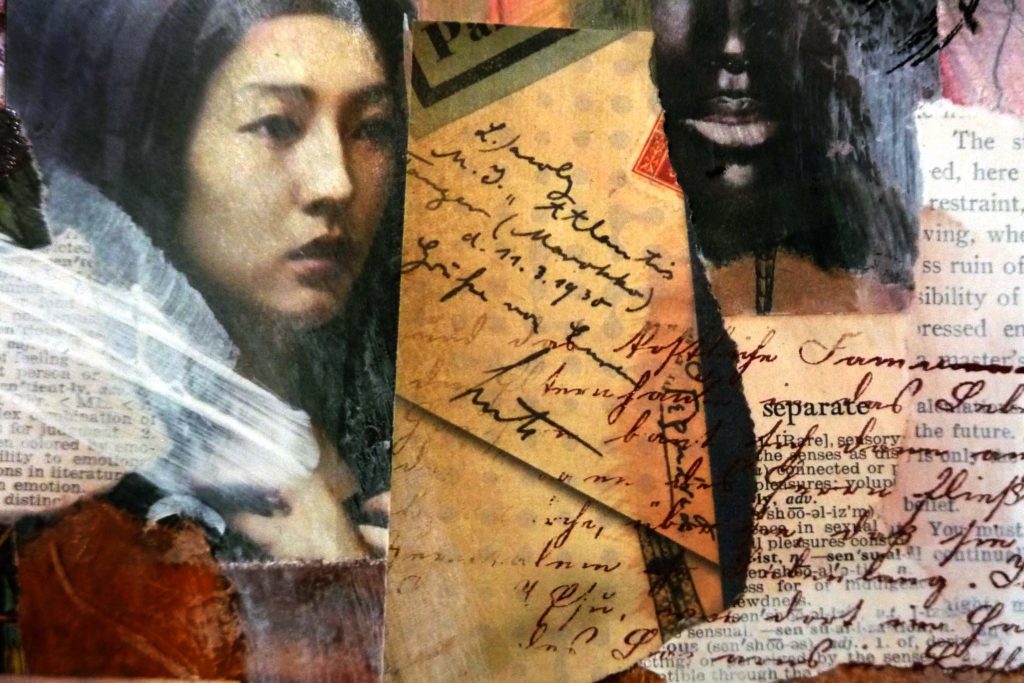
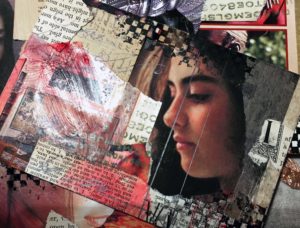
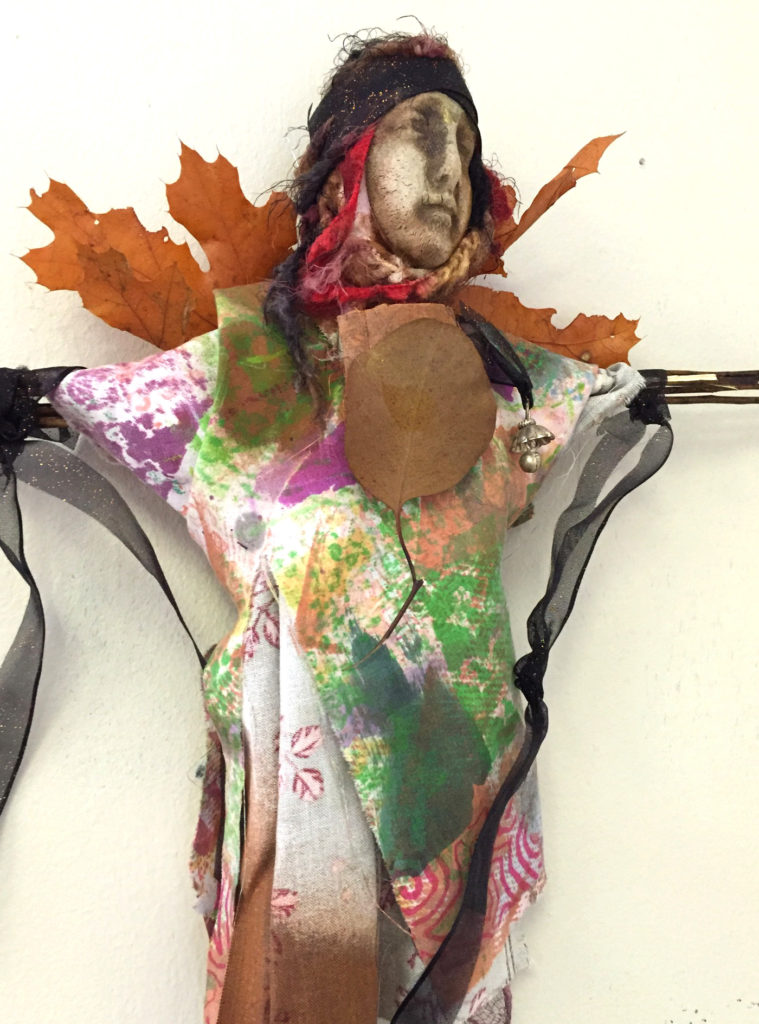
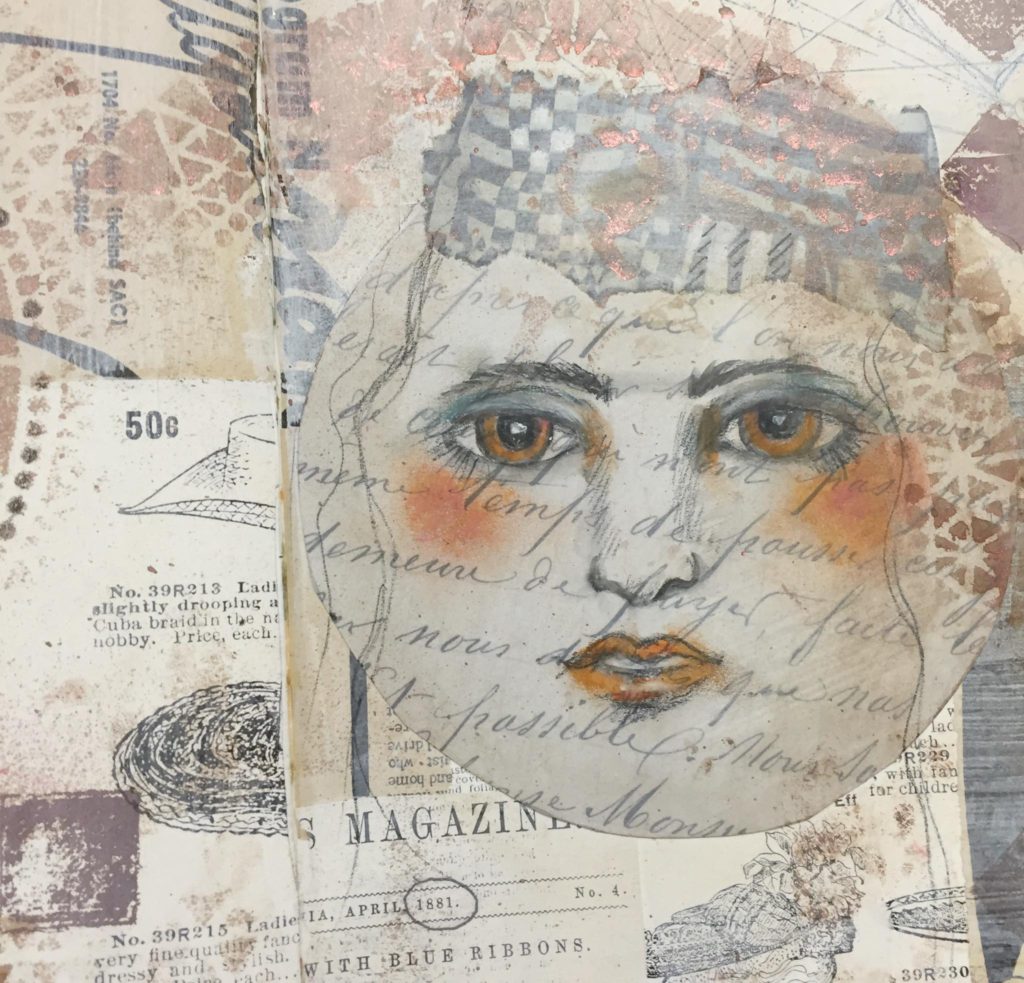
After we made the papers, we constructed a collage on canvas:
Constructing the Ephemeral Collage on Canvas:
- Review the AB3s of composition
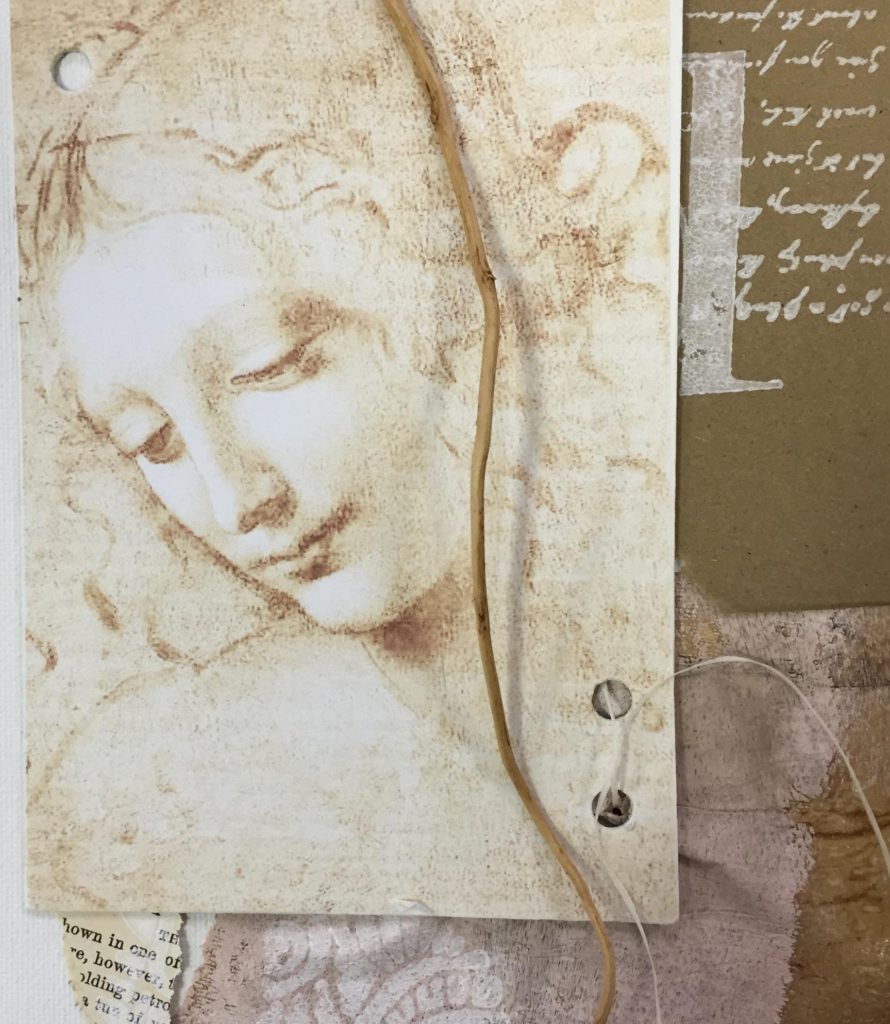
- Pale images manipulated and printed on plain paper
- Glue stick to matboard, add small collage elements and wax
- Sand edges
- Punch holes
- Add torn hand-decorated paper to canvas
- Add box
- Add sticks
- Add fiber
- Sew with tapestry needles
- Attach with hot glue
- Overpaint with gesso
- Overspray with walnut ink, burnish
- Glaze with metallic acrylic
You can see the steps in progress on the video – these steps, combined with everyone’s individual ideas, led to stunning (and pale) results!
Art unites. Keep up the good work with your creative life – onward through the fog, one step at a time!


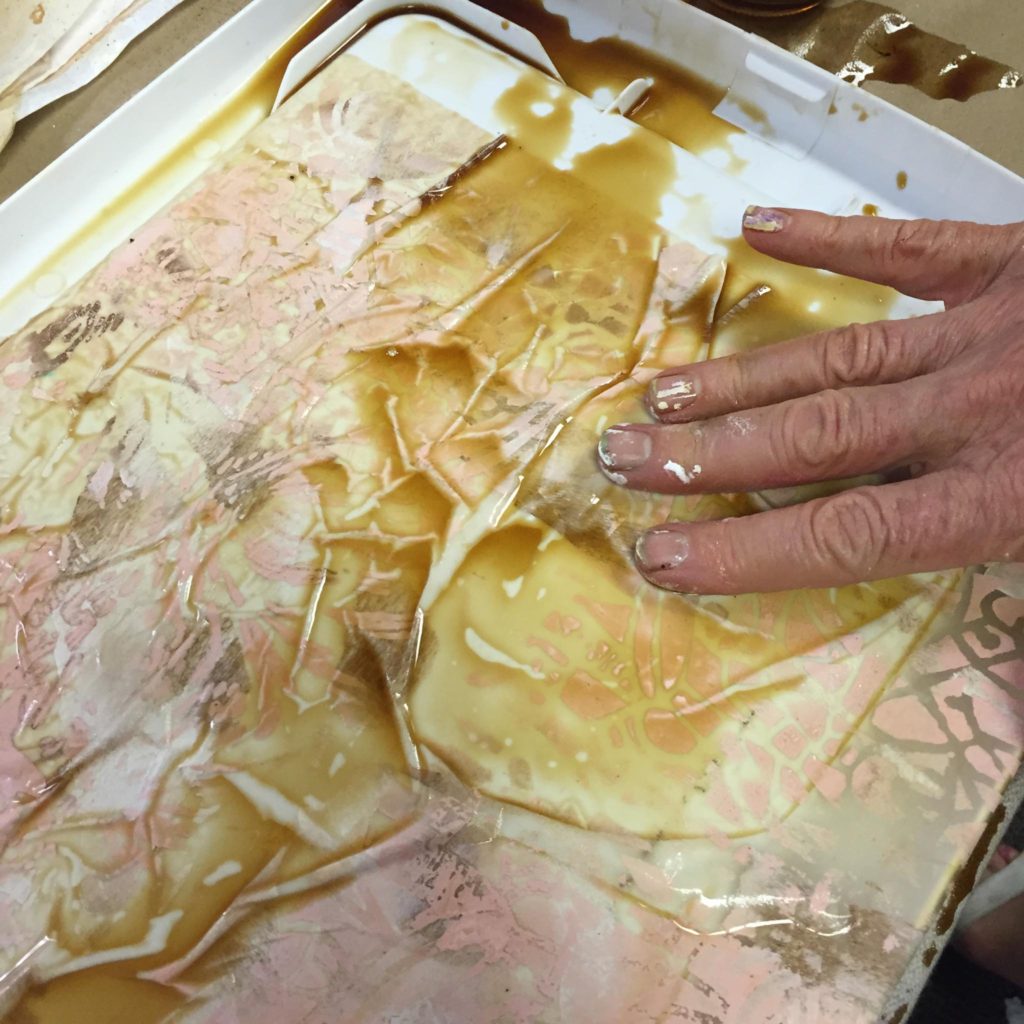
 We had a full house for yesterday’s Wax and Tissue workshop. Everyone was particularly interested in how to print images on delicate tissue paper. If you do an Internet search, you’ll find all kinds of methods to do this.