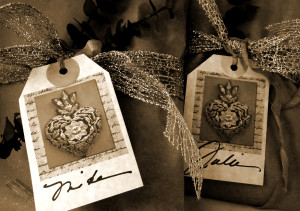
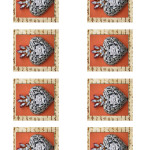
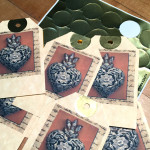
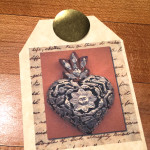
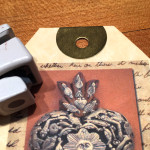
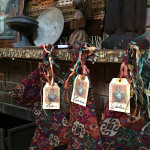
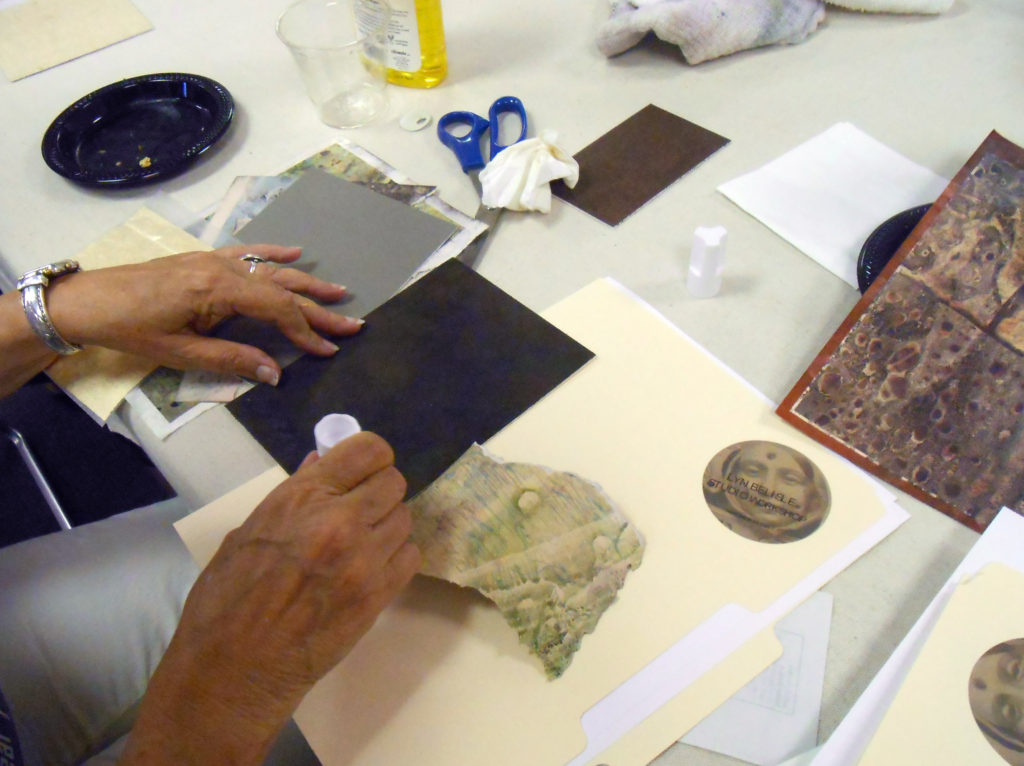
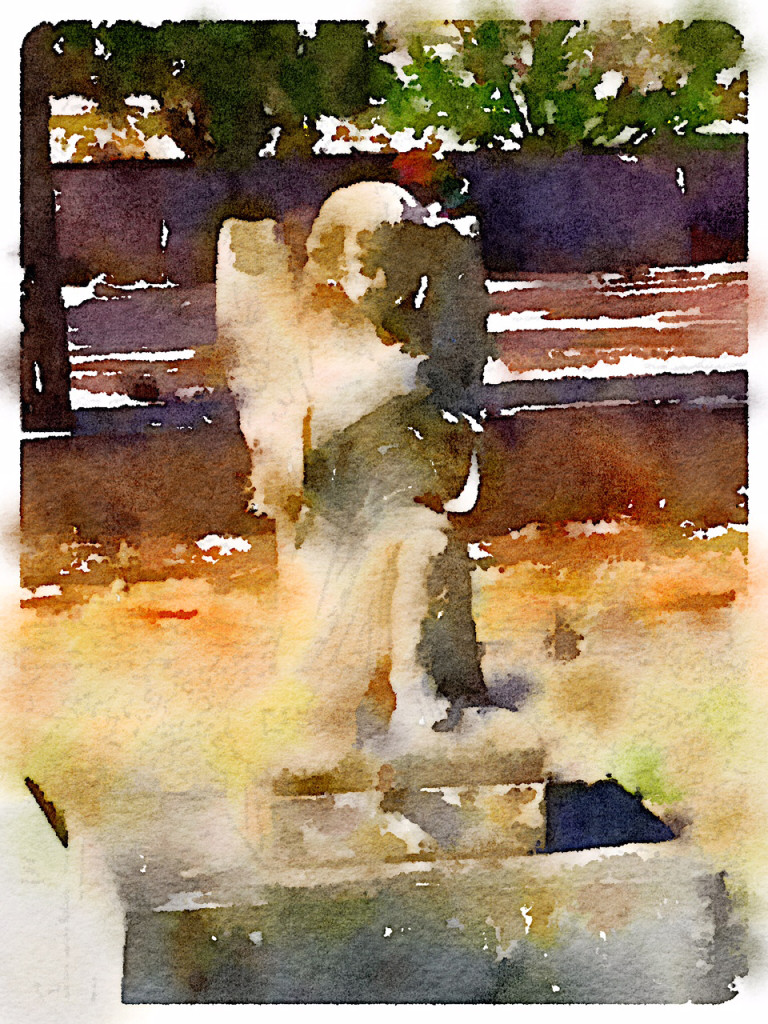
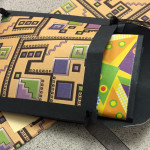
Landscape collages in progress
Now THIS is one of my all-time favorite workshops – perfect for any level, full of serendipity, with absolutely gorgeous results. Here’s how I described the workshop online:
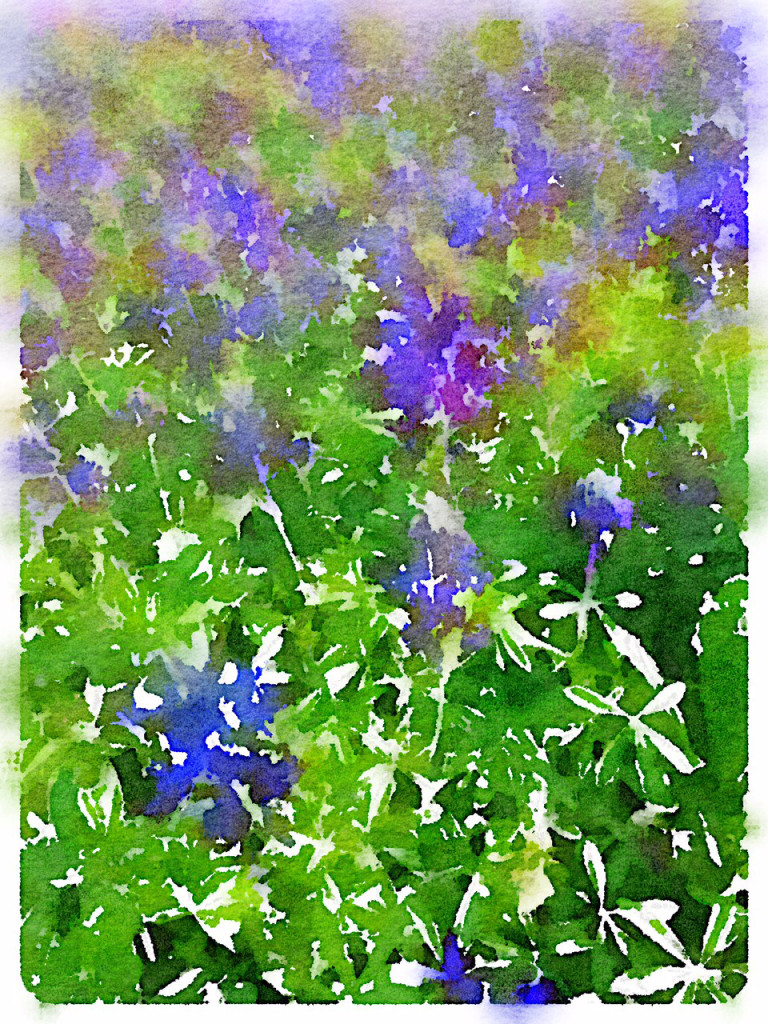
Using the technique of DÉCHIRAGE (day-shur-ah j’) – distressed paper collage – students will gain a solid grasp on composing little landscapes using a variety of altered papers, natural elements, and mixed media special effects. Lyn will also share art-enhancing framing suggestions that compliment your finished work so that your final display is both appealing and professional looking. Even a total beginner can create a stunning artwork with these fun distressed paper techniques.
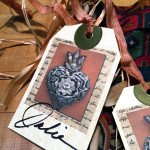
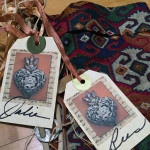
Yesterday’s participants in the Altered Paper Landscape Abstractions class rose to the occasion with some stunning work. Some people created several collages, some just one, but all were beautiful and individual. The hardest part was choosing which piece to mat for display.
I loved this comment from Ellen, “I got frustrated because couldn’t make it do what I wanted it to do, but when I let it do what it wanted, I loved it!!” Talk about trusting the creative process – when you let go and accept the beautiful, unpredictable results, magic happens.
Take a look at the video, below, and then I’ll give you the list of materials for this project.
Lyn Belisle’s Altered Paper Landscape Collages: Materials List and Source Notes
For the basic collage:
- A 5×7” piece of matboard, illustration board, or very heavy card stock
- Glue sticks
- Scissors
- Walnut Ink from
Tsukineko - Altered paper (see below)
- Metal leaf
- Stamps and inkpad, your choice
- Lightweight paper to rub down elements as they are glued
- Metallic felt tip pens and ultrafine Sharpie (optional)
For the altered paper:
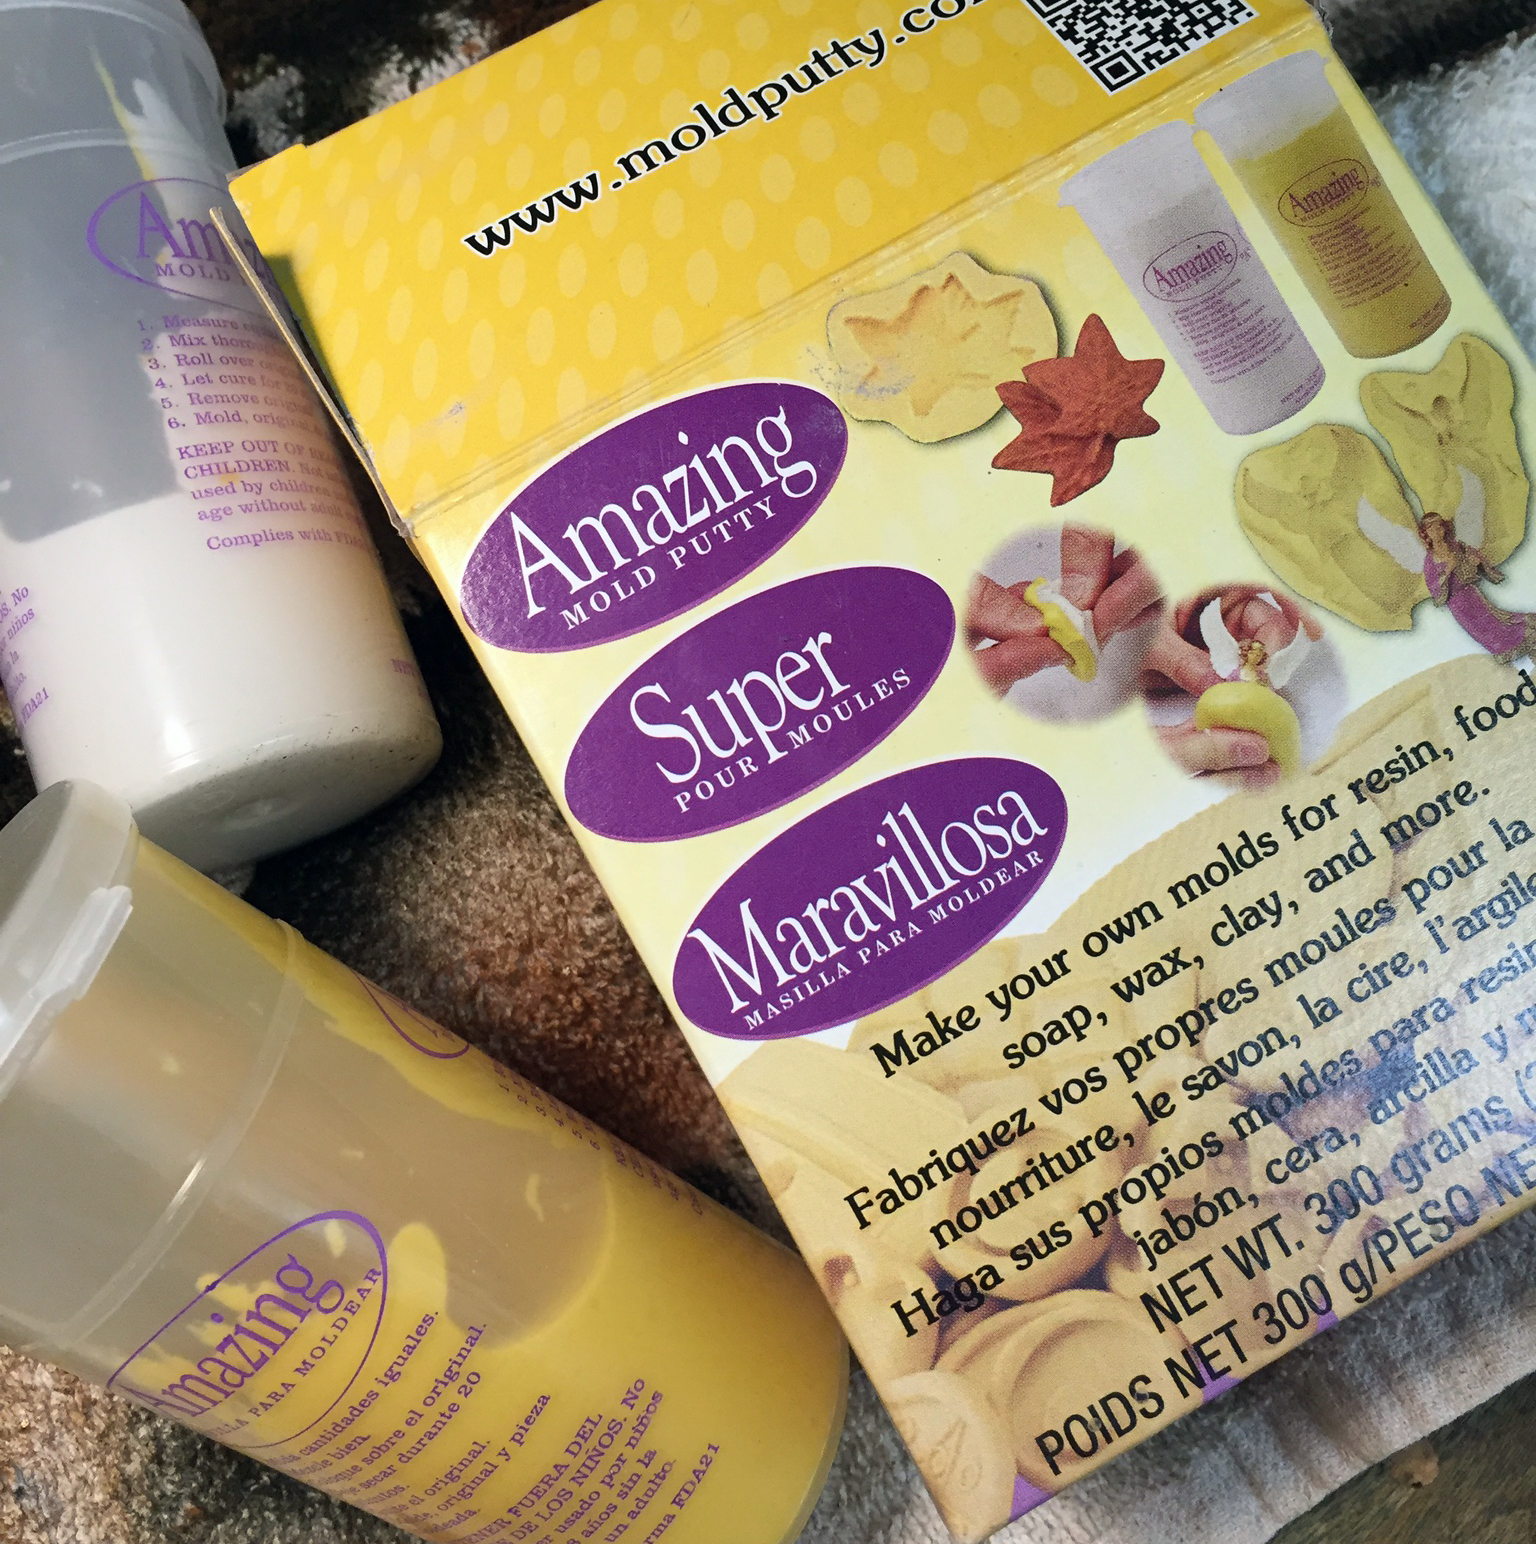
- Citrasolv orange oil-based cleaning solvent
- National Geographic magazines or other clay-base ink photos – I encourage you to experiment
Sources of materials:
- Mat board scraps can be purchased or requested for free at most frame and craft shops. Look for ones that are dark colored with white on the back for the most versatile design options
- Citrasolv is becoming widely available in art stores because of this popular altered paper method. You can usually find it at organic grocery stores such as Whole Foods, as well. Online: Citra Solv is now being sold through Cheap Joes, Jerry’s Artarama, Stampington, and DickBlick
- Tsukineko Walnut Ink is very versatile for many projects and can be ordered from Imagine Crafts, the Tsukineko distributor:
- I use Scotch permanent glue sticks, but most good brands will do nicely
- Metal leaf is available in craft stores or can be ordered here on Amazon.com
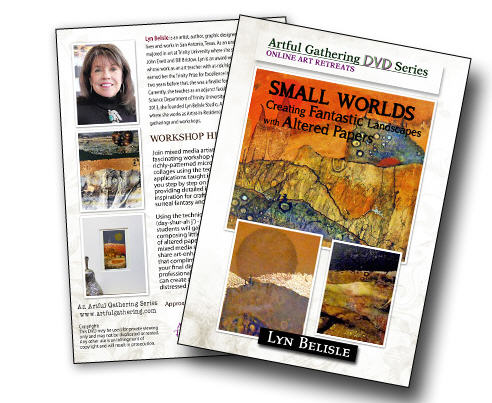
If you want a very in-depth look at this process, including other altered papers such as “ghost paper” with bleach on black construction paper, I have a DVD called Small Worlds, published by Artful Gathering, that offers an intense discussion of how-to-do-it instructions, videos and demos. Happy new week, All!


 Last night, I visited the
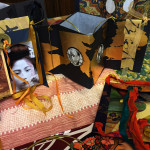

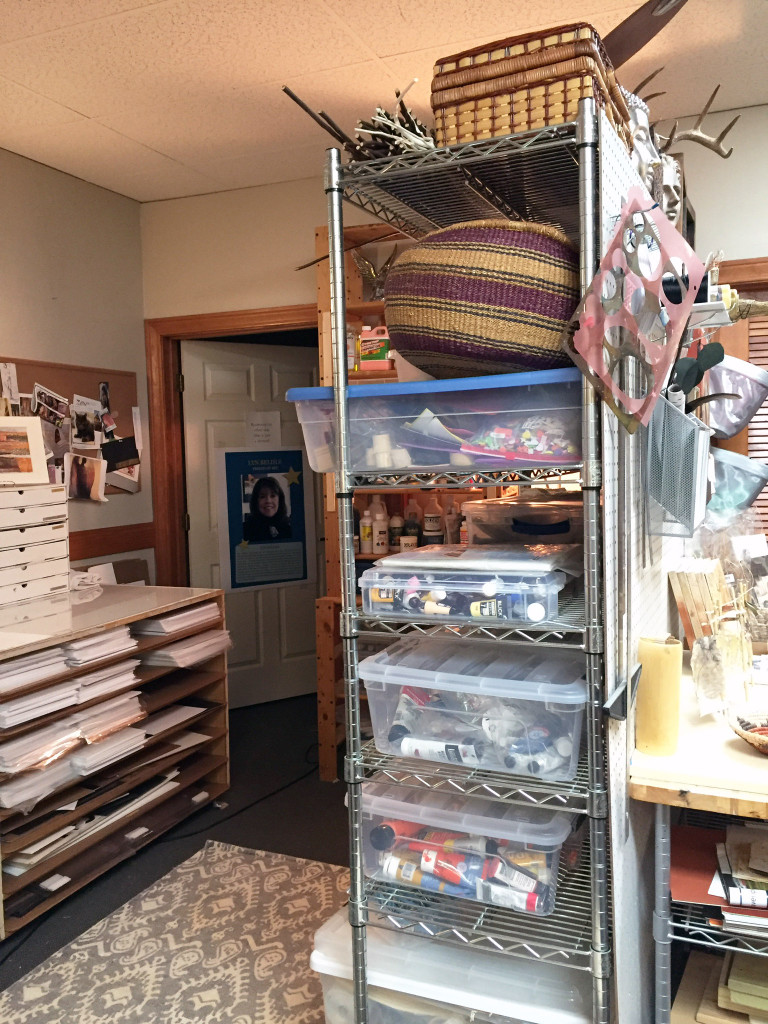
 A metal shelf, 4’x8’x18″ – I bought mine from Costco –