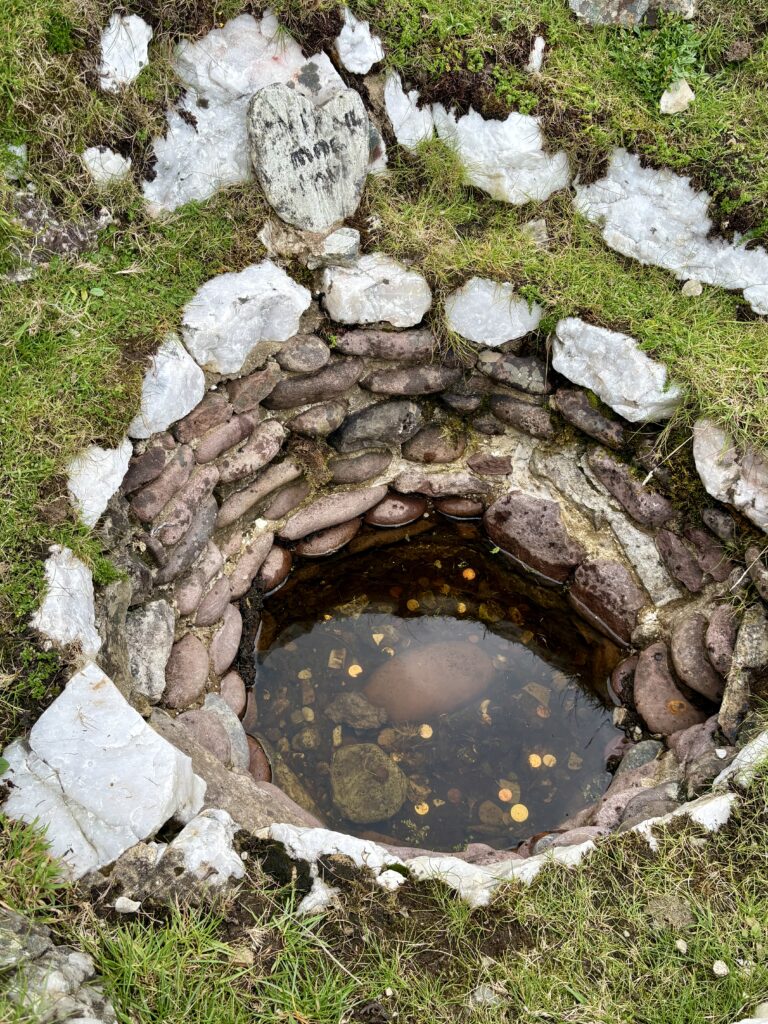
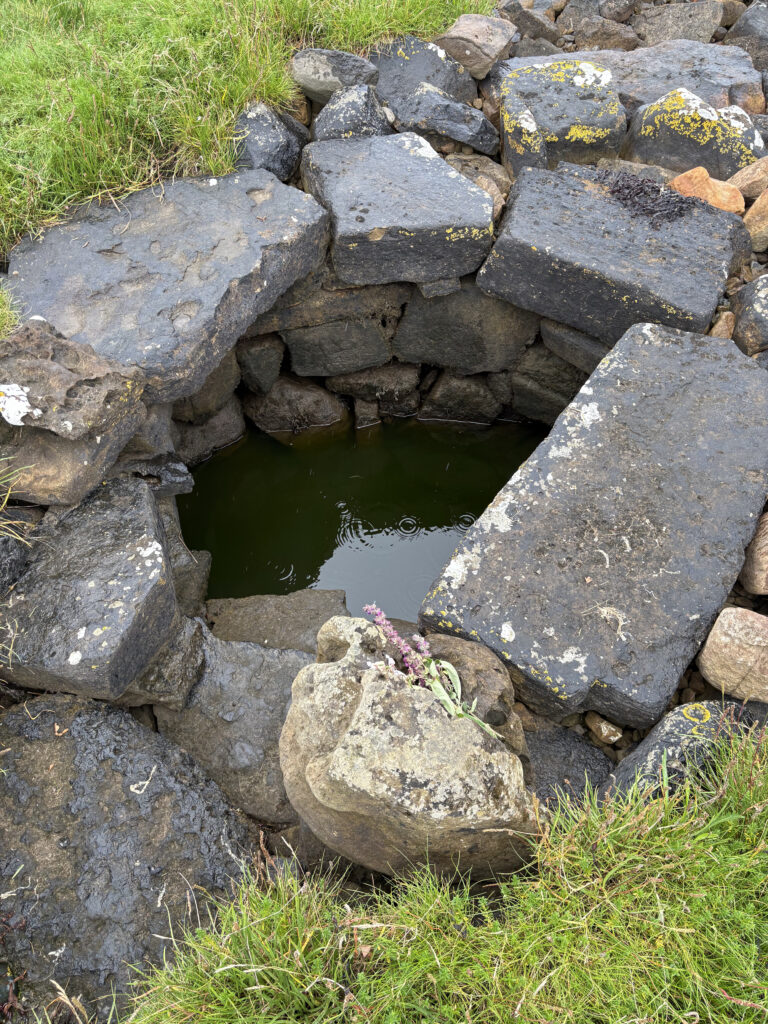
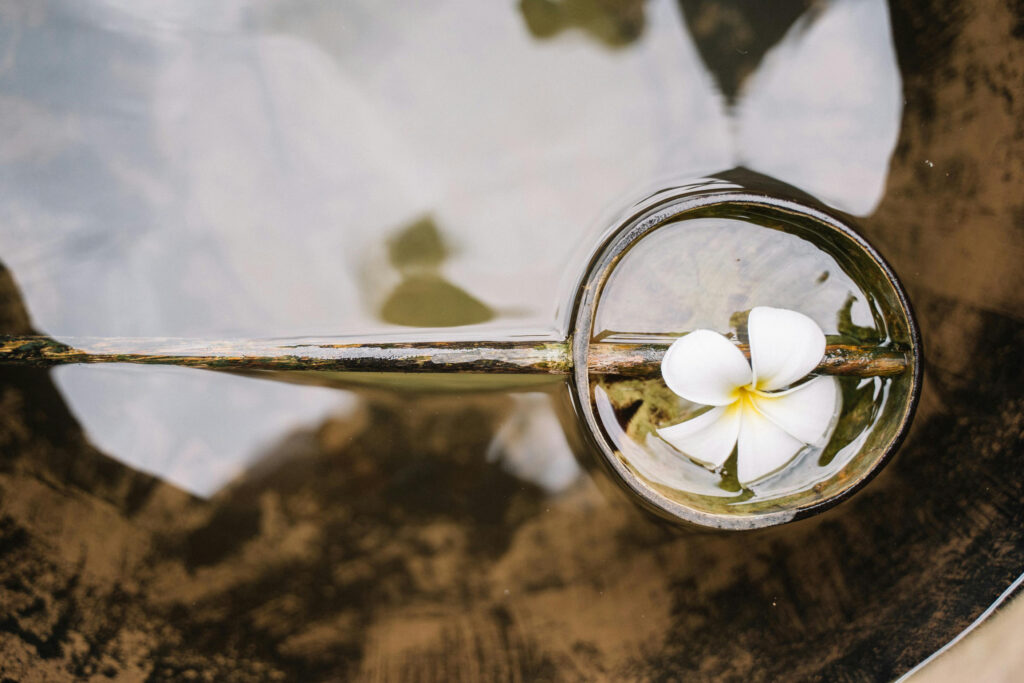
Photo by Melanie Childress Reuter at great peril to herself!
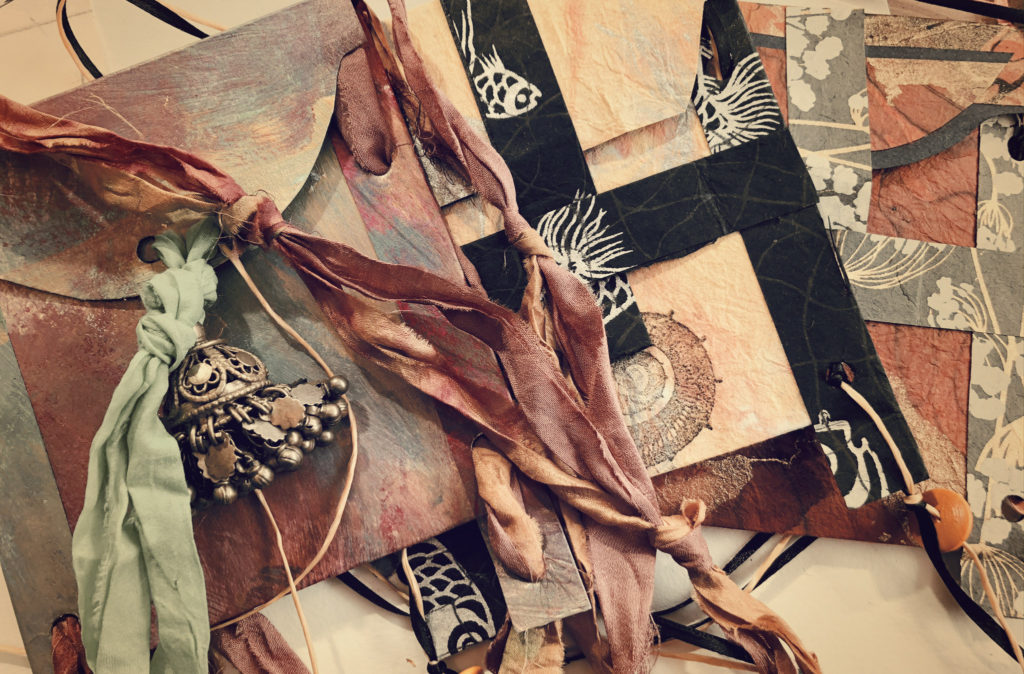
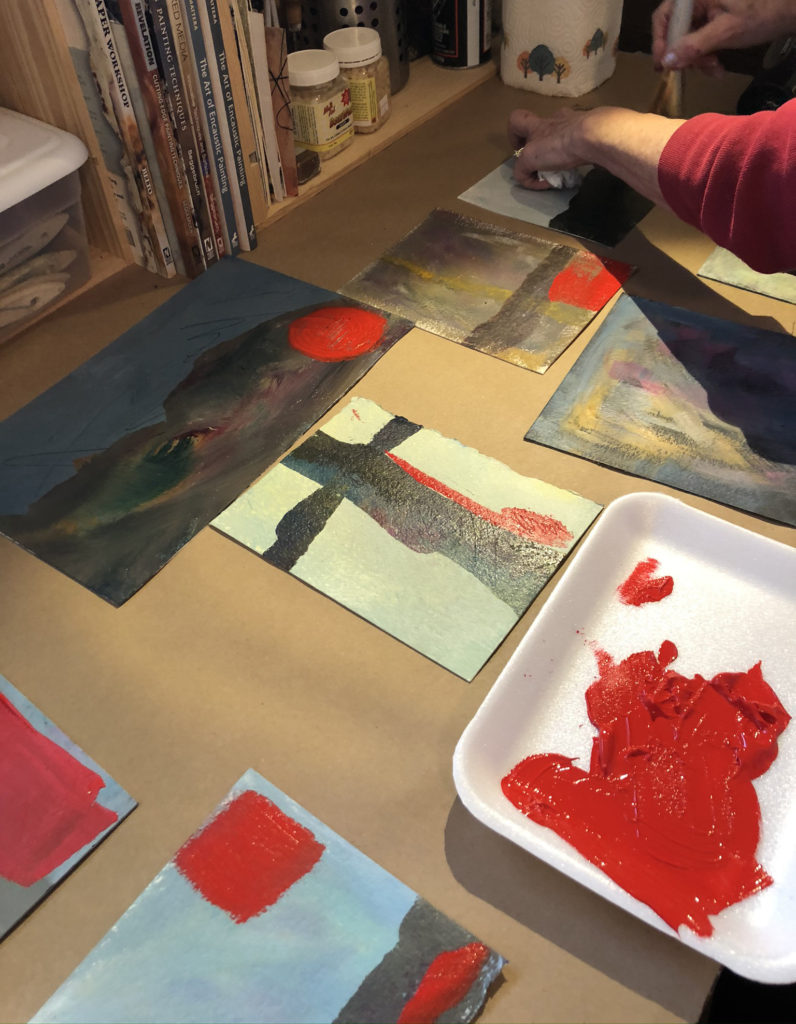
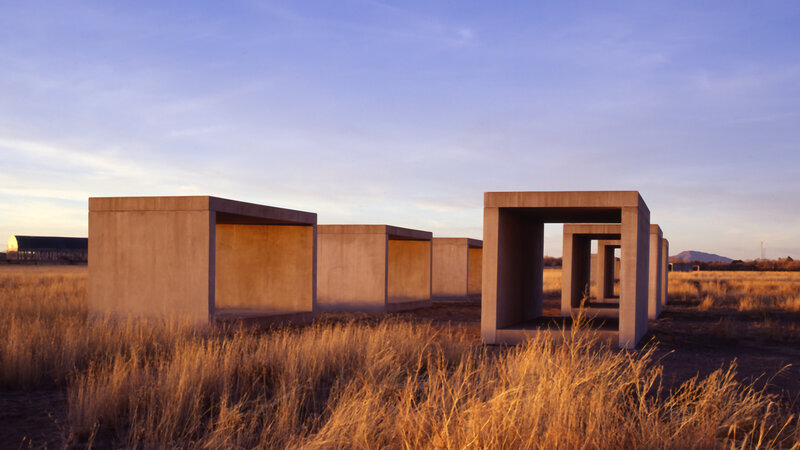
When our group traveled to Ireland, we visited several sacred wells. These were not simply places to gather water—they were wells of memory and mystery, worn smooth by centuries of seekers leaving tokens, prayers, and wishes. They grew in my imagination as metaphors for the multiple currents that give rise to art.
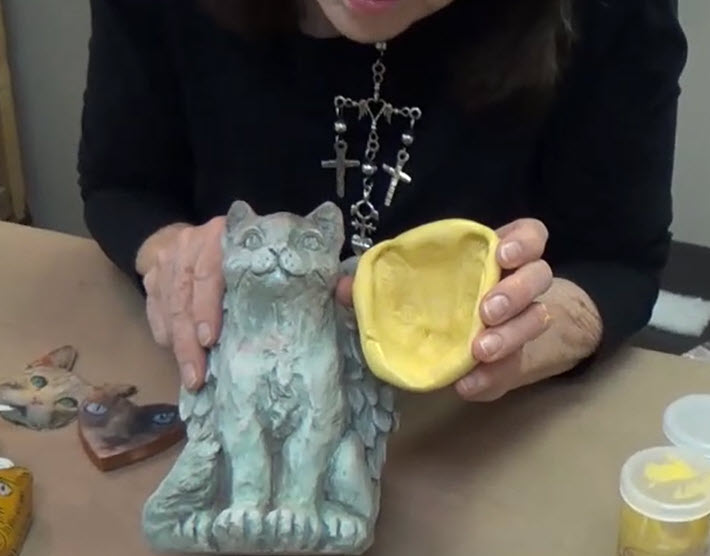
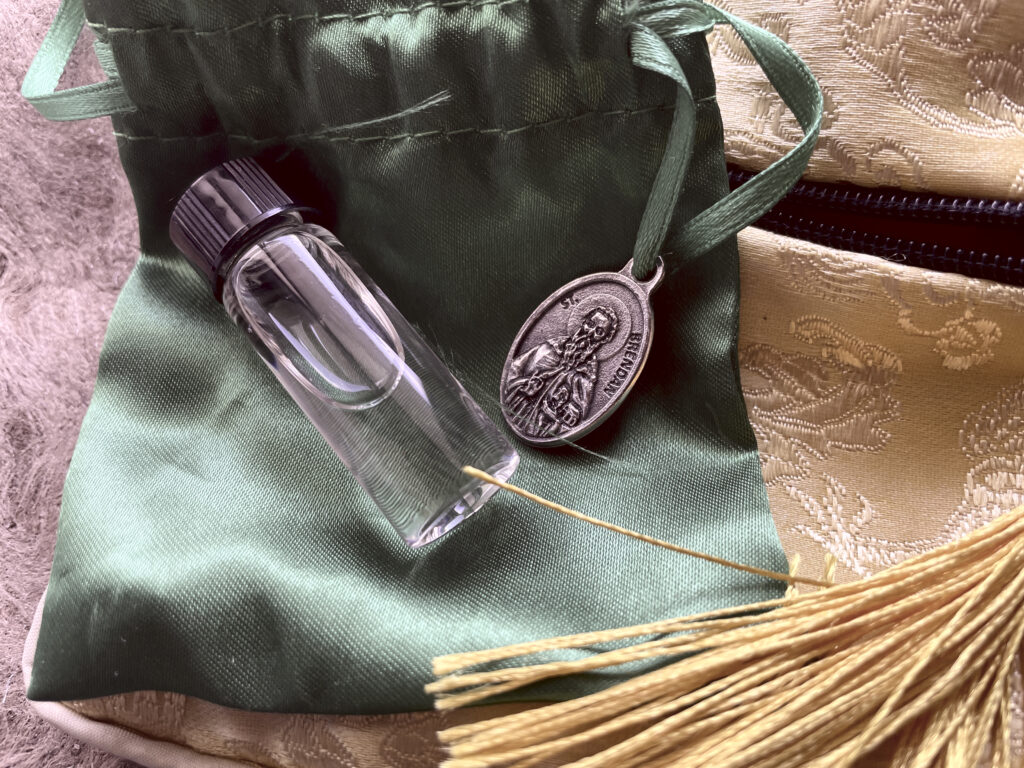
Our friend Melanie, who knew so much about these holy places, came prepared with small bottles—one for each of us—to collect water from St. Brendan’s well. Her thoughtful, reverent gesture reminded me that the experience of a well is both shared and deeply personal.
At first, I thought there would be only ONE oracle card named The Well. But no matter how much I tried to get around it, I kept hearing three distinct voices beneath that singular image, each one layered deeper than the last.
So The Well became a series of three separate cards: The First Well, The Second Well, and The Third Well. Here’s the short version.
-
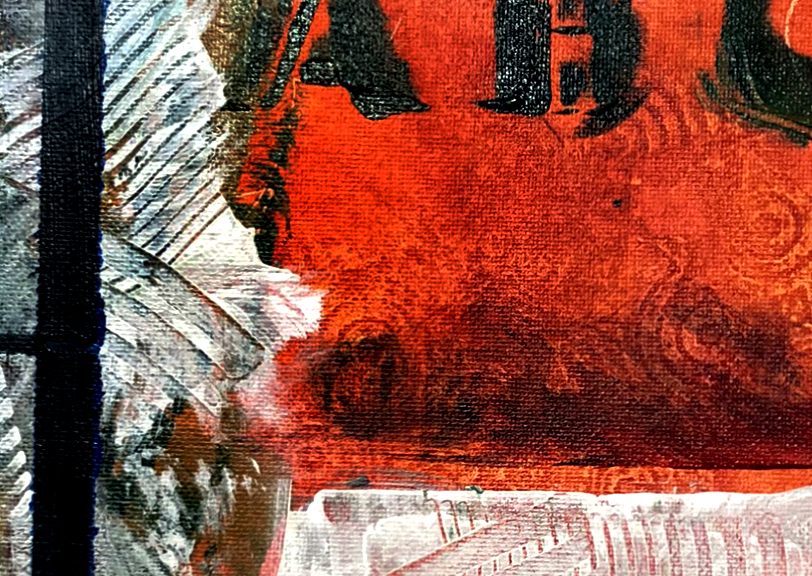
The First Well — The Gathering Place (connection and community)
-
The Second Well — The Sacred Source (ritual and renewal)
-
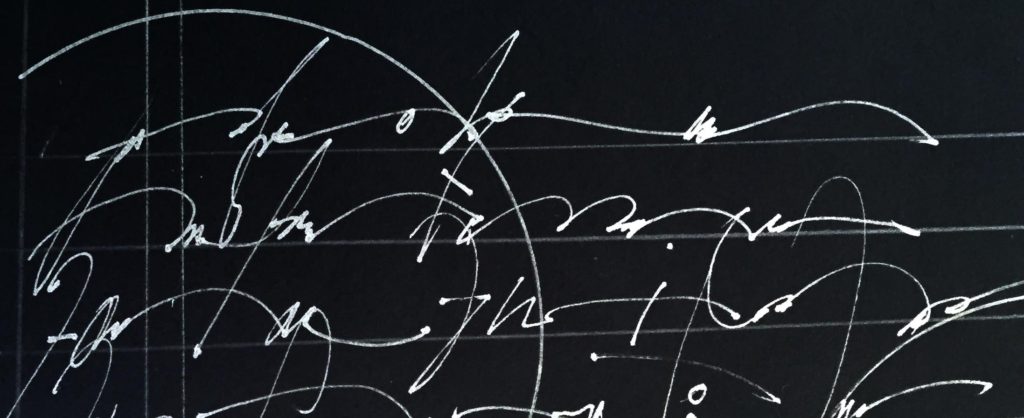
The Third Well — The Hidden Depths (archetypes and unconscious)
Together and separately, these three form a layered invitation to explore how creativity flows: through community, through pilgrimage and blessing, and deep into the hidden currents of collective imagination.
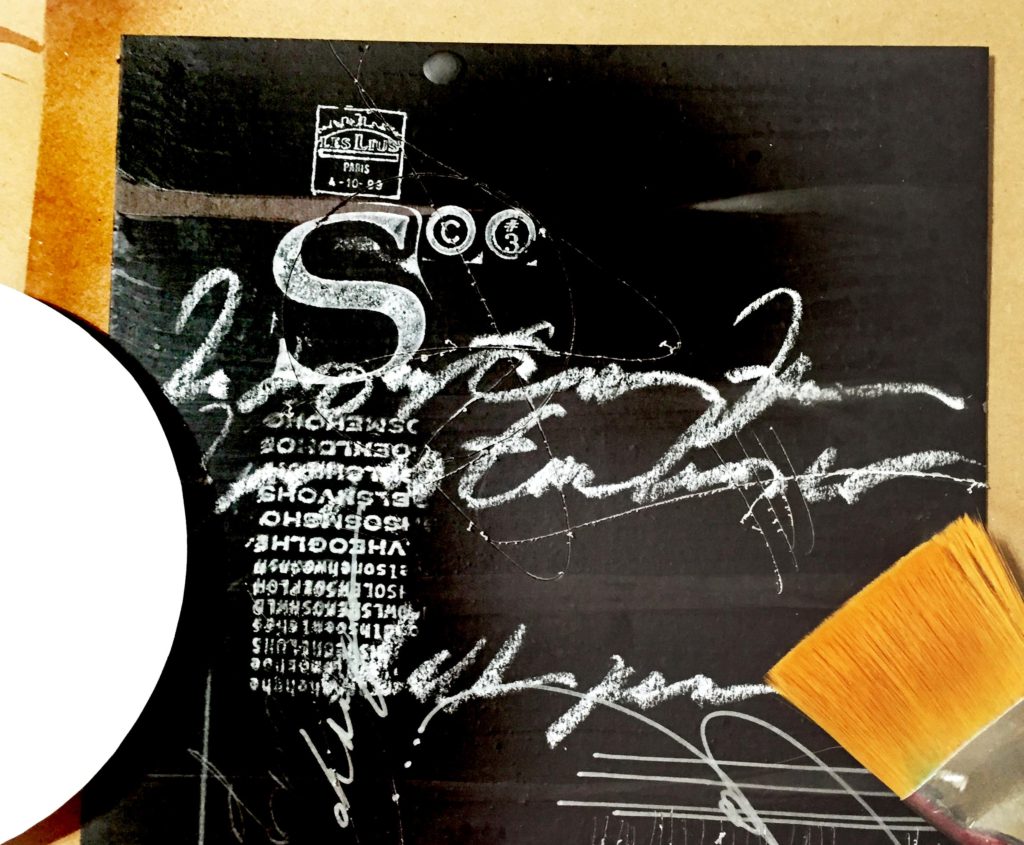
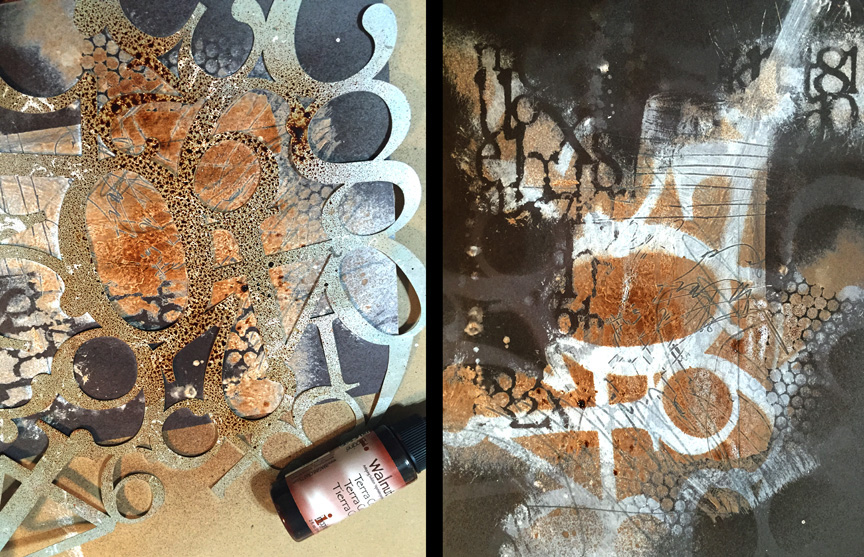
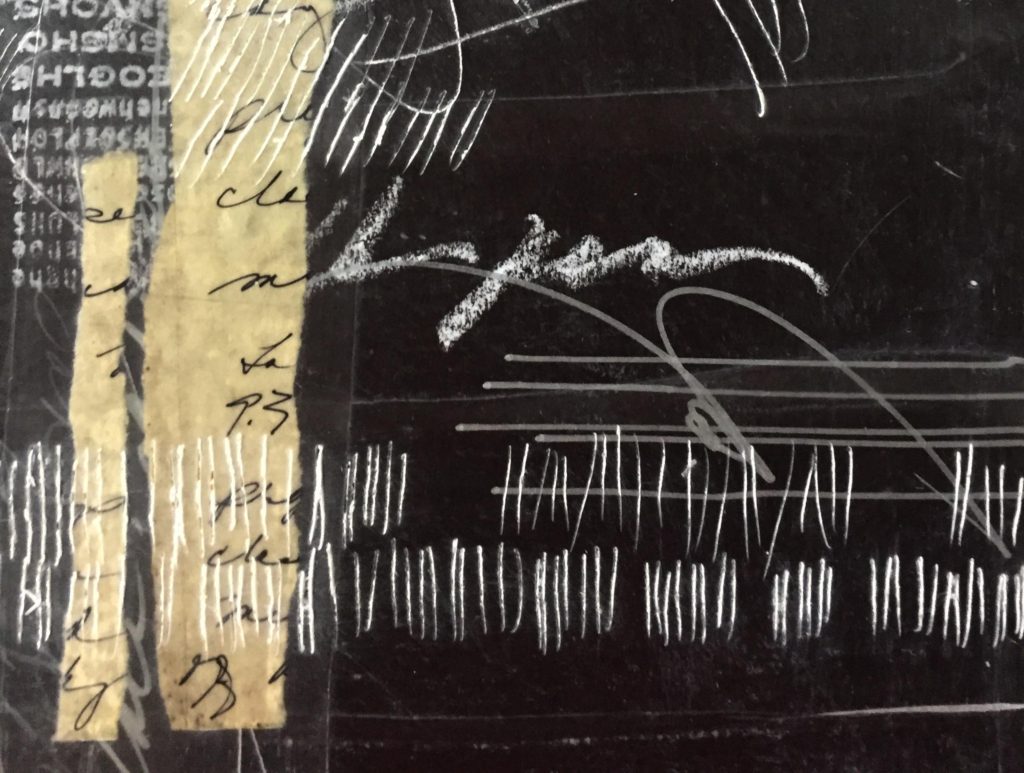
Here are the three separate Enso Oracle Cards: The First Well, The Second Well, and The Third Well. Each carries its own presence and focus, just as each well in Ireland revealed a different kind of truth.
I’m sharing them here with you so you can see how they speak to you in image as well as in words.
Every artists has a need to visit one of these metaphoric wells for different reasons and at different times – this was another lesson I learned in Ireland as part of our group.
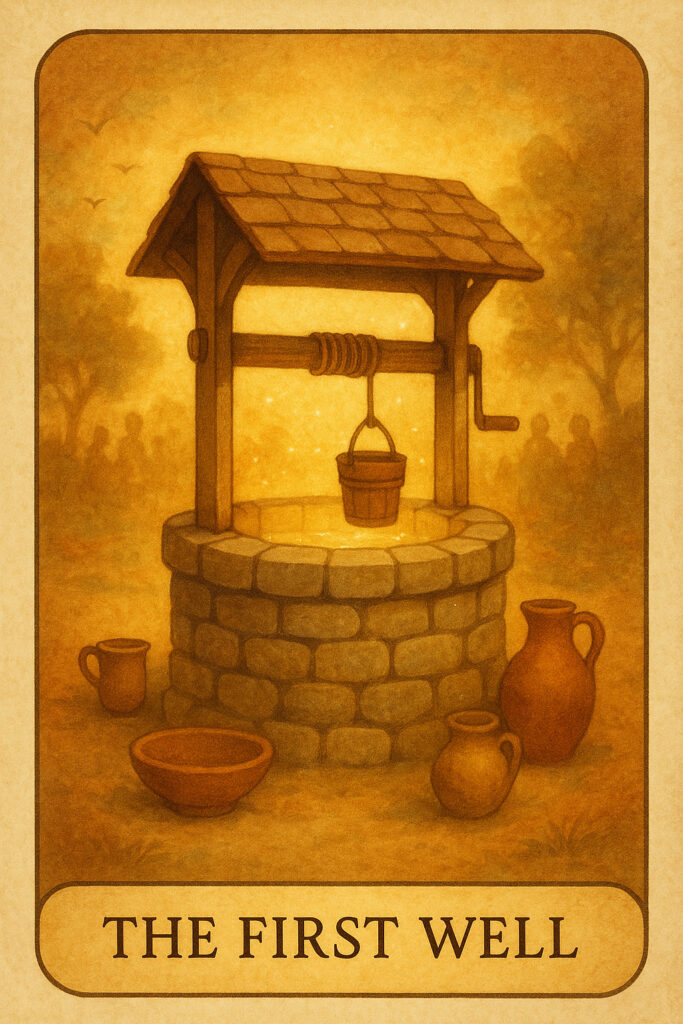
The First Well — The Gathering Place
Keywords: Community • Exchange • Support • Shared Wisdom
At the First Well, we meet each other with open vessels. This is the place of friendship, collaboration, and replenishment through shared ideas and presence.
Upright, it calls you to lean into community — to gather, to teach, to listen, and to remember that no artist creates in isolation.
Reversed, it asks: are you withholding your gifts, or resisting the support of others out of pride or fear? The well reminds us that water flows most freely when we pour into one another.
Reflection: Who nourishes me — and how can I offer nourishment in return?
Affirmation: I drink deeply of community and allow myself to be replenished by shared wisdom.
When you draw this card: You may need to seek out or organize a group of like-minded people. Consider joining a class, scheduling a studio visit, or reaching out to a trusted peer. The First Well suggests that connection itself is the medicine you seek.
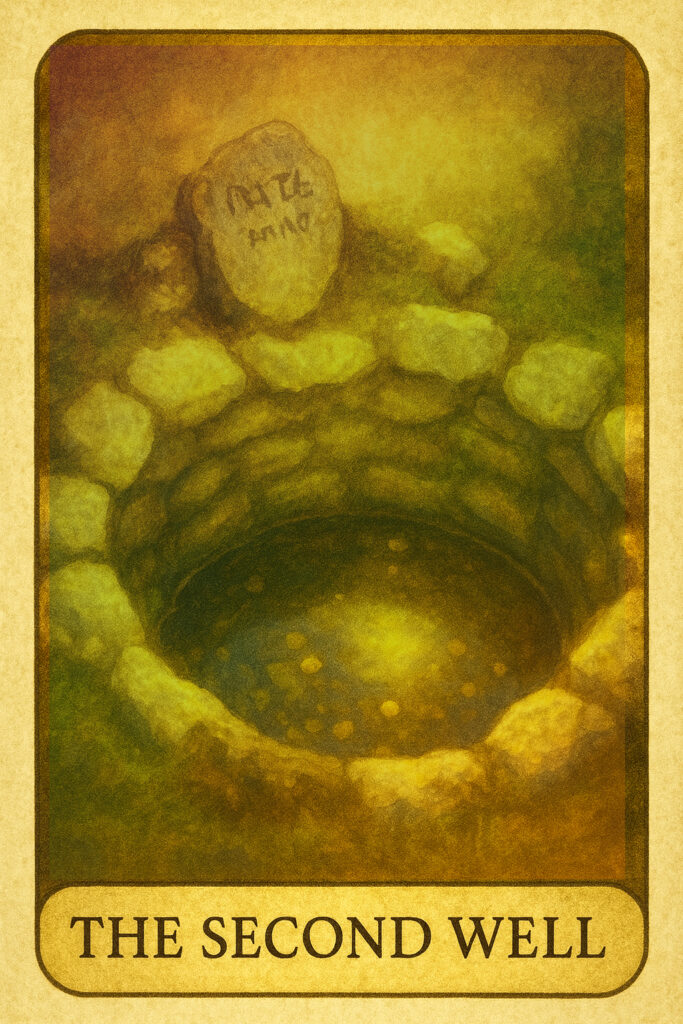
The Second Well — The Sacred Source
Keywords: Blessing • Inspiration • Pilgrimage • Devotion
The Second Well is not just water, but water made sacred through reverence. It is the place of ritual, of intentional return, of renewal.
Upright, it calls you to mark your practice as sacred, to honor your creative path as pilgrimage, and to receive inspiration as blessing.
Reversed, it warns against neglecting the rituals that nourish you, or treating inspiration as something to be demanded instead of received with humility. This well offers more when approached with respect.
Reflection: What rituals and sacred pauses keep my practice alive?
Affirmation: I honor my path as sacred, and each return to the source blesses me anew.
When you draw this card: You may be called to slow down and honor your process as ritual. Light a candle, dedicate your work with gratitude, or make a small pilgrimage — to a gallery, a sacred site, or even a favorite place in nature. The Second Well reminds you that renewal comes when you approach creativity with reverence.
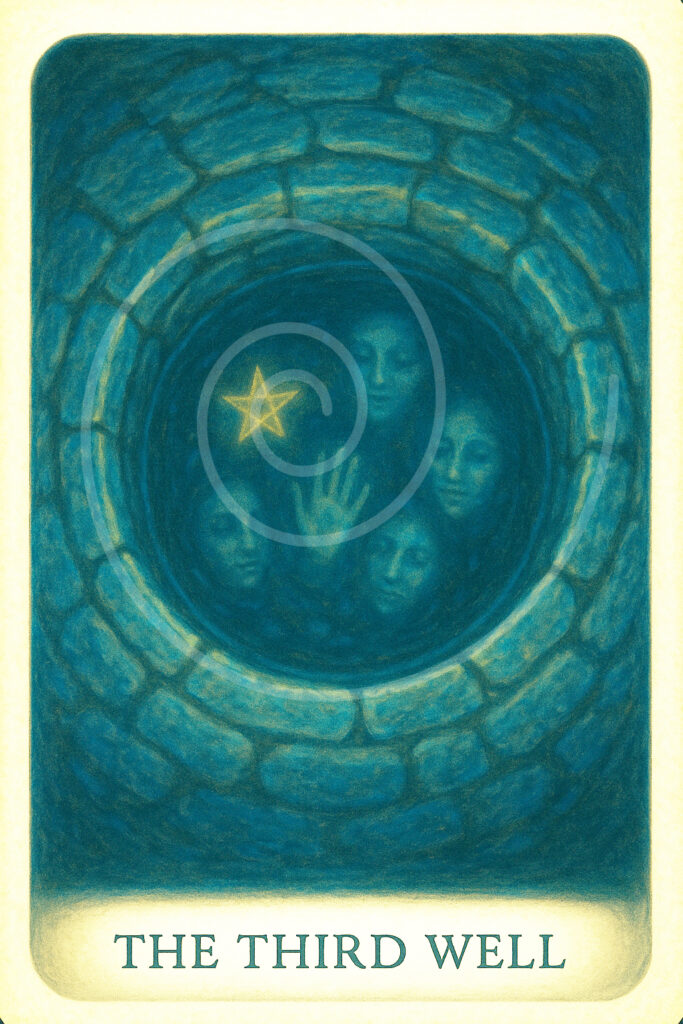
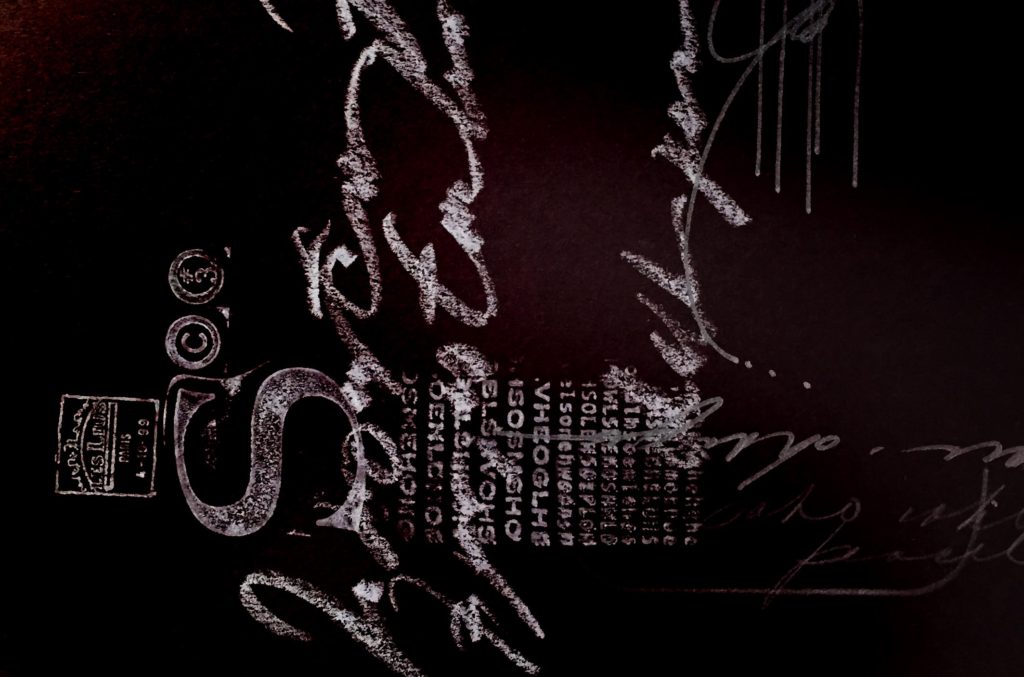
The Third Well — The Hidden Depths
Keywords: Depth • Archetypes • Dreams • Collective Unconscious
The Third Well lies in shadow, but its depths shimmer with infinite reflection.
Upright, it asks you to journey inward, to engage with dreams, symbols, and archetypes that rise from the Collective Unconscious. Here is mystery, intuition, and primal connection.
Reversed, it cautions against being lost in shadow — drowning in illusion, fear, or over-analysis. Depth is a gift only when balanced with air and light. The Third Well invites courage to see what is hidden and return with wisdom.
Reflection: What symbols and stories are rising from my depths, and how do they shape my path?
Affirmation: I trust the depths of my inner well to reveal truths that connect me to all humanity.
When you draw this card: You may need to look beneath the surface of your work. Keep a dream journal, explore mythology, or allow symbols and images to emerge without judgment. The Third Well reminds you that the unconscious holds treasures that, once surfaced, will resonate far beyond yourself.
______________________________________________________________
I know that this is a long and rather complex post, but here are three everyday examples that might help explain how each of these metaphoric (and sometimes actual) “wells” serves a different purpose:
The First Well — The Gathering Place
-
An artist is feeling isolated in their studio, unsure if their work has meaning. Drawing this card suggests it’s time to seek connection — perhaps by joining a critique group, organizing a studio visit, or even hosting a casual coffee with creative friends. The First Well reminds them that inspiration often flows more freely in conversation and shared presence than in solitude.
The Second Well — The Sacred Source
-
A painter finds their practice has become mechanical, more about deadlines than devotion. When this card appears, it is an invitation to pause and return to ritual — lighting a candle before working, dedicating the day’s effort with gratitude, or making a small pilgrimage (to a gallery, a natural site, or a remembered place) to refresh their spirit. The Second Well signals that the creative path is sacred, and renewal will come when it’s approached with reverence.
The Third Well — The Hidden Depths
-
A writer is circling the surface of their ideas, producing technically fine work but sensing something deeper is missing. Drawing this card suggests it’s time to descend inward — journaling dreams, meditating, or exploring myth and archetype to uncover the symbols beneath their stories. The Third Well reminds them that art rooted in the unconscious carries a power that resonates universally, even if it feels mysterious at first.
Each well, then, marks a different kind of replenishment:
-
First Well: external support through people.
-
Second Well: spiritual renewal through reverence.
-
Third Well: deep symbolic truth through the unconscious.
__________________________________________________
But here’s the best part — you don’t have to draw a card to know when it’s time to visit The Well. A card is a beautiful reminder, and you can always return to these descriptions, but the truth is, we all carry an inner knowing. We recognize when we’re thirsty for community, when we need to pause for renewal, or when it’s time to journey into our own depths. The wells are always there, waiting — and we already know the way to them.
Like this:
Like Loading...

 What a long title for a post! Read on . . . .