iPad Pro and the Procreate app – digital discoveries!

procollage

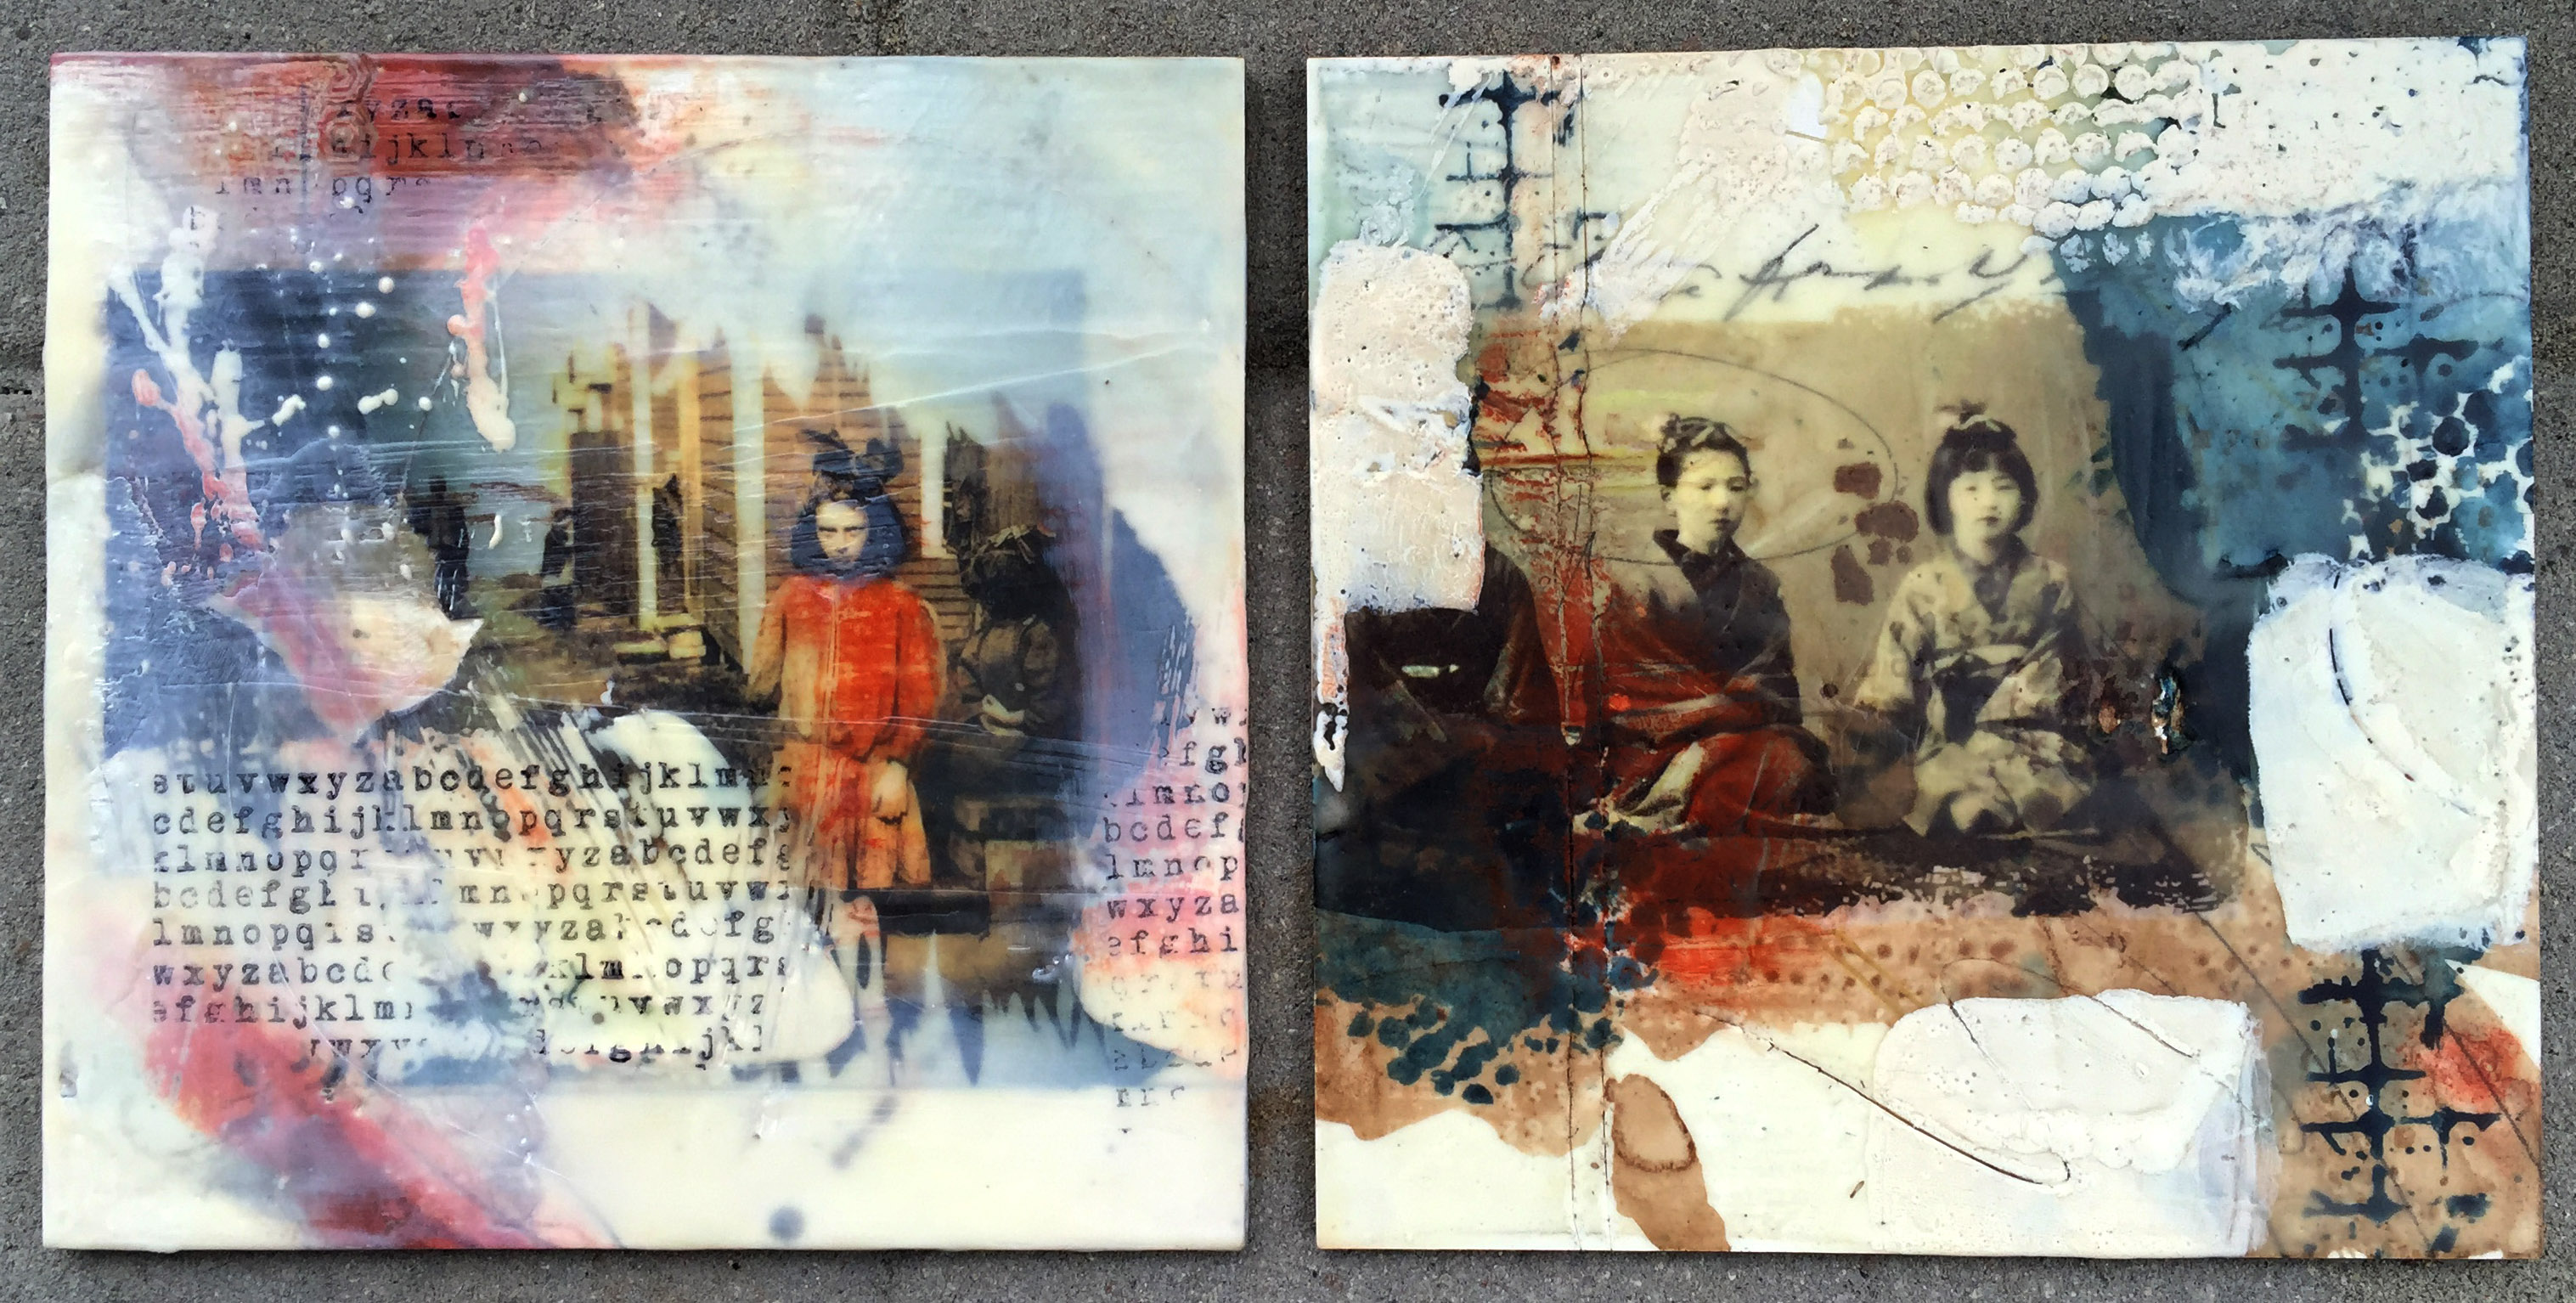
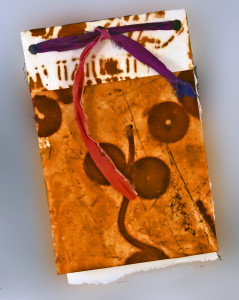
I returned home from Boston with more than just happy memories – I also got an early Christmas present of an iPad Pro! So what makes the iPad Pro special? It’s simple: This is a tablet for artists and creators.This device is a digital designer’s dream – it has a 12.9″ touchscreen with incredible resolution. Lucky me . . . so many artists like my friends Sherrill Kahn and Susie Monday are huge iPad enthusiasts and digital design experts. I’m still a beginner, but ya gotta start somewhere. The image at the top is my first attempt at making a photo collage design on the iPad Pro. I used an app called Procreate

 When I first downloaded Procreate (it costs $6), I was a little disappointed because it just seemed like a drawing pad app, but then I watched some You Tube tutorials and began to see why artists like it so much. You can insert photos, use layers, draw with a zillion different brushes in a zillion different colors.

One of the most fun things Procreate does is to record your actions and export them to a video. Here is a eight-second video showing the steps that went into the finished image. As you can tell, I’m not very experienced with this program yet, but the learning curve is kind of addictive!

First Experiment with IPad Pro and Procreate app using layers and photo imports from Lyn Belisle on Vimeo.

This process won’t replace the kinds of hands-on art I do in the Studio every day, but it’s a great tool for ideas and digital design development. You don’t need an iPad Pro to download Procreate – you can install it on a regular iPad and have a great time playing with it.

susiemonday copy

If you really want to get into it with a passion, I highly recommend Susie Monday’s Art on the iPad workshops – the next one starts on January 12th – here’s a link. I love tools that expand our repertoire as artists and creators, and my iPad Pro is definitely a gift of inspiration! Thanks, Boston guys 🙂


Encaustic inspiration – free!

eaicoverHooray! The new FREE issue of ENCAUSTIC ARTS MAGAZINE is online and ready to drool over. If you’ve ever wondered why “encaustic” (incorporating and exploring wax as an art form) is so fascinating, this will give you the answer, big time. You are strongly encourage to subscribe for free if you haven’t already.

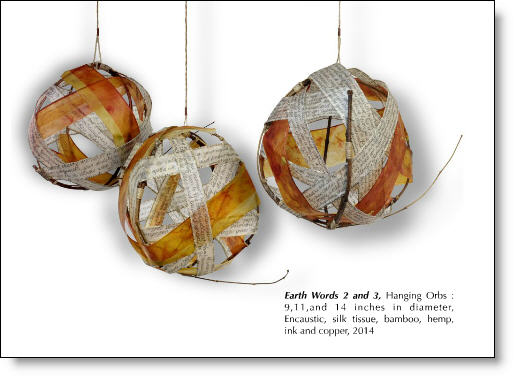
Some of the ideas that I stole – er, I mean, was inspired by – in this issue were these intriguing orbs by Jamie Lee Hoffer. The artists says, “The encaustic medium has all the elements that inspire my creativity and push my boundaries.” eaiorbs

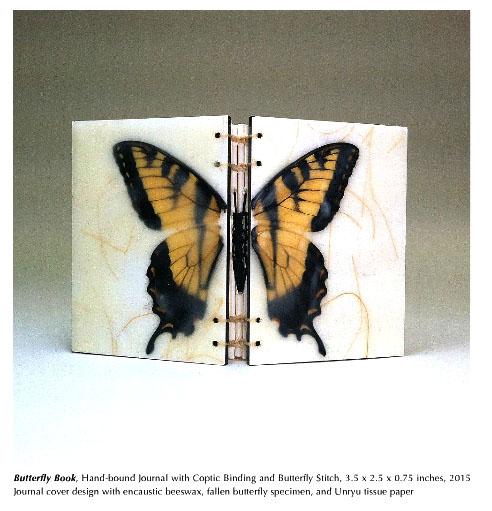
Another artist’s works that I found thought-provoking were the books constructed by Erin Keane from Asheville, NC. She writes, “I’m very deliberate in my image making;It’s an odd combination of precision and frenzy. I will construct and contemplate, arrange and re-arrange, until finally pieces fall into place and I am overwhelmed with a visceral response.” Wow.

eiabutterfly copy


There are many pages and photographs of beautiful art in this free online publication. Even if you have no intention of ever melting a block of beeswax, check this out. Read the artists’ statements for a valuable lesson in how to write about your art. ENCAUSTIC ARTS MAGAZINE is published by the Encaustic Art Institute, a national organization headquartered in Santa Fe.

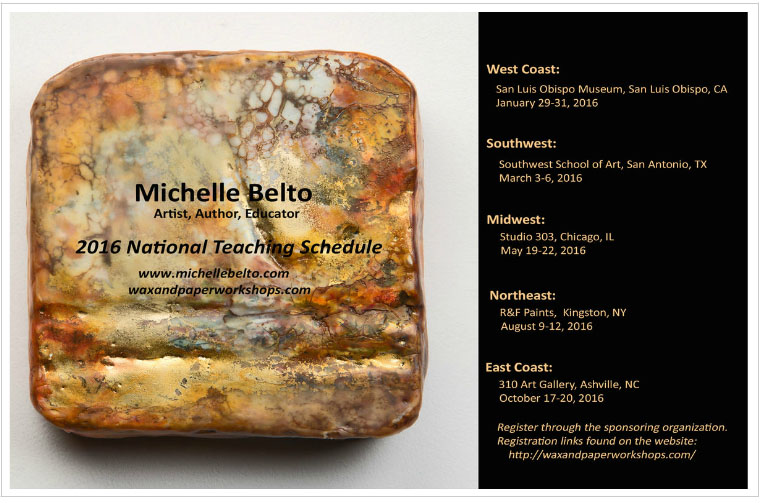
Finally, I would be remiss without once again thanking dear friend Michelle Belto who introduced me to this wonderful world of wax. Here is her national teaching schedule for next year (found on p.130 in the EA magazine) – if you are lucky enough to be able to sign up for one of her classes, do it! Happy reading, happy inspirations!

iaemichelle


Mood indigo

Part of the fun of teaching a new workshop is the research (aka play) that goes into developing a curriculum and a process. Michelle Belto and I have a chance to teach a class in indigo, shibori and rust dyeing for Vivi Magoo at The Prairie in early November, and we jumped at the chance. I had done shibori and rust dying, but had not worked much with indigo (OK, I so had never worked with indigo, but don’t tell anybody).

Like learning most new things, learning indigo dye techniques was a combination of asking people how to do it and practicing on my own. It’s an amazing substance – this plant has been used for dyeing since 2400 BC, and maybe earlier. Cakes of indigo were used as currency in the Revolutionary War. Once dyed, indigo is so colorfast that it can last for centuries or even millennia. Here’s a video of my first indigo adventure.

I have a lot more to learn about creating color with indigo, but yesterday I worked on learning some basic techniques, mixing the indigo properly, and experimenting using paper and fabric. The deep blue-greenish color is a natural partner for the terra-cotta shades of rust dyeing. I really can’t wait to teach these classes at the retreat and share this wonderful process! Hope you’ll think about joining us at Vivi Magoo at The Prairie on November 3rd. I promise that it won’t make you bluewell, maybe it will.

Rust dyeing – multiple pieces, multiple materials, magical results

Book cover made with experimental rust-dyed paper - Lyn Belisle

Book cover made with experimental rust-dyed paper – Lyn Belisle

Ever since I learned that I’ll be teaching dyeing and surface design at Vivi Magoo art retreat, I’ve had little else on my mind. Did you see the newsletter about this event? If not, click here – it’s going to be SO much fun, and it’s coming up in just a month, November 3-5.

One of the techniques I’m teaching with Michelle Belto is dyeing with rust. I’ve done a bit of that, but wanted to tackle it on a Big Scale. And it worked! I dyed a yard of linen (thanks for that old white linen skirt, Gloria), some scrap cotton pieces, and two types of watercolor paper – a heavy 300# cold press and a lighter #140 hot press. I did it all at one time with the same process just to see how the different materials would take the rust. All were slightly different but all turned out beautifully.

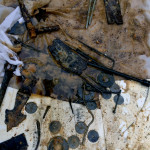
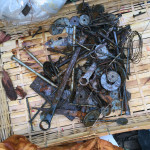
Here’s a short version of how I did it. I collected some rusty objects in a plastic bucket and poured a solution of bleach and vinegar over them to sit overnight. Do this outside! I got this recipe from the Internet (there are many rust-making solutions if you want to test other ones). There was about two inches of yucky rusty foamy gunk in the bottom of he bucket the next morning. Stinky yucky. But rusty.

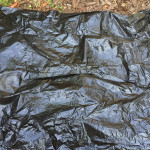
I spread a plastic drop-cloth in the yard (away from plants) and put a layer of fabric and watercolor paper on the plastic – some of it overlapped a bit, but I wasn’t concerned, I just wanted to see what happened on the different materials. The whole area was about three by four feet. I dumped the contents of the bucket over the whole thing and spread it out, wearing gloves. . .very very random. Then I covered it with black plastic and weighted it down with some old outdoor cushions and some flower pots to keep good contact – also to keep Dudley the Tortoise out of the pile of stuff.

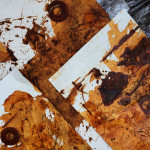
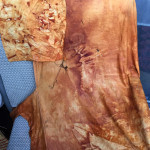
It sat covered in the sun for about six hours, then I took of the cushions and peeled back the black plastic – zowee! What great rust colors! It was exciting – take a look at the pictures below, and then I’ll tell you my observations. (If you can’t see the pictures, click this link)

Here are my observations and caveats – first, I haven’t washed the fabric thoroughly so I’m not sure how color fast the rust is, but since I won’t be wearing it, just using it for fiber art, that doesn’t concern me. You may want to try a small piece and see how it works for you if you’re going to make a garment.

Secondly, I wish I had dampened the 300# watercolor paper because it’s very thick and I think it would have taken the rust better if it had been wet. The thinner 140# watercolor paper was the most successful of the four materials. It had strong prints from the objects and lots of color variations.

After the process was done, it occurred to me that the formula that I got from the Internet included bleach, but that didn’t seem to affect the fabric – it still dyed a rich rust. Next time I’ll try it with salt and vinegar just to see. But whatever method you use, research it and try it on a small sample first. That’s what I did before I mixed up this huge batch. Work outside, wear gloves, keep your tortoises away from it!

In the Viva Magoo all-day class, we will be doing a version of this that uses lighter fabrics and papers and we’ll include some over-dyeing using the Shibori method (yep, you can do Shibori on paper as well as fabric) – I hope you’ll consider signing up for one of the workshops. If it’s half as interesting as this rusty experiment was today, it’ll be worth the price of admission!

A two-day encounter of the art-full kind

wsWhat was I thinking? Two full-day workshops at the Studio back-to-back? A weekend of hanging out, creating, eating and talking with eight other like-minded souls?  How would all of that look? It looked FANTASTIC!

Saturday was Belisle’s Collage Extravaganza and Composition Challenge. We worked on two major pieces – a collage on canvas with extreme emphasis on composition (the AB3s) and a collage on cradle board with image transfers and encaustic wax. The intrepid participants gave it their all, and we were very tired but happy at the end of the day. Here’s the video – see if you can detect the AB3s of composition at work in the finished pieces.

But wait – there’s more! On Sunday, Lesta Frank and I team-taught a very non-traditional mixed media journaling class. Everyone designed their own pages and created a loose-leaf portfolio to collect and show their experimental surface finishes, including one really interesting Profile Page. This was Lesta’s idea and consisted of an actual dimensional profile cutout with descriptions of a personal profile as part of the composition. Very nice! Watch for it in the video, below.

In the critiques and discussions, all agreed that the two-day experience was great, both for those who came both days and those who came on one day of choice. We had eight participants each day, half of whom were there for both days. Nicely balanced! I will plan another weekend experience in the early part of 2016. I should be recovered by then!

Potters and gourders

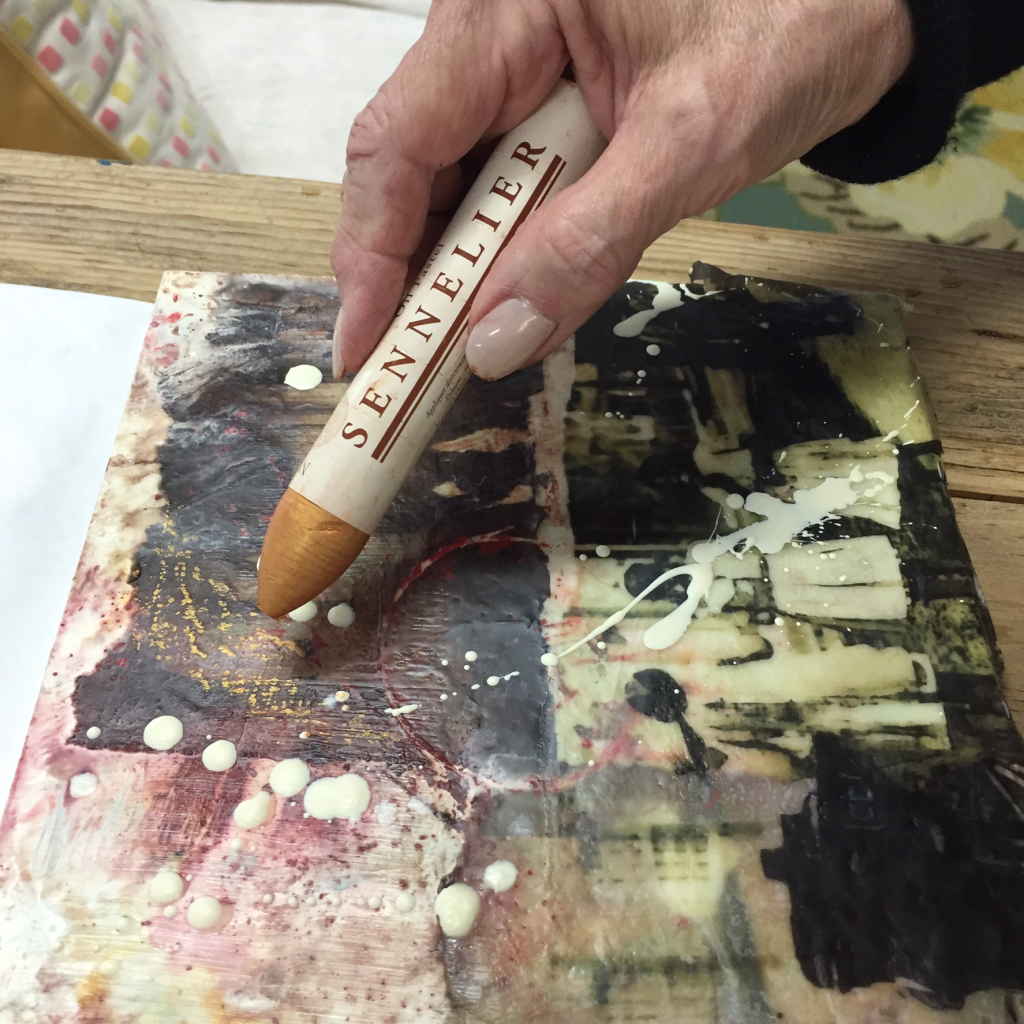
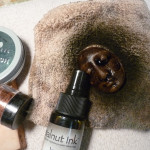
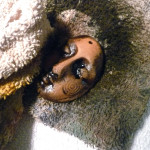
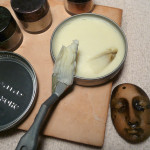
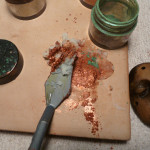
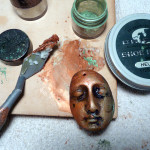
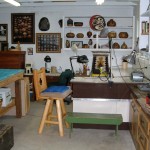
I’m presenting a program to the San Antonio Potters Guild tonight. It’s called Earthenware, Ornament, and Assemblage. While collecting photos photos of my clay pieces, I realized that working in earthenware has been part of my art practice for almost 50 years! These days it’s mostly face shard production and some small sculptural pieces, and I love exploring finishes for fired unglazed clay. Here’s one of the finishes I’m showing the potters tonight – it’s a wax-based custom metallic patina that starts with neutral shoe polish! I used it as a finish on the piece at the left and thought you might like to see how it’s done.
Kathleen Peet: "Diamonds on the soles of her shoes"

Kathleen Peet: “Diamonds on the soles of her shoes”

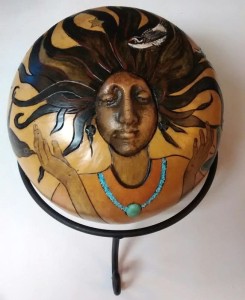
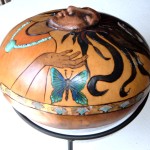
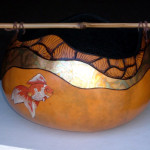
Just as I was working on my Potters Guild presentation, I got a message from Kathleen Peet, a mixed-media artist from Prineville, Oregon who uses my shard faces in her work. She works with gourds in a unique way – look at this gorgeous piece, left.

Kathleen has an Etsy shop called  Full Circle Art and you can contact her there to see the full scope of her creativity with gourds.

This is what she says about her passion: “When I started in 1996, gourds were a relatively new medium, especially in rural eastern Oregon. The most frequently asked questions were: “What are those?” and “Do you grow them?” Now, gourds are much better known, and some are recognized as ‘fine art’ rather than just craft. I have enjoyed taking this medium in many different directions, and just when I think I’ve tried everything, some new idea hits me. While still enjoying painting, spinning/weaving, ceramics and abalone jewelery….I always come back to gourds!”

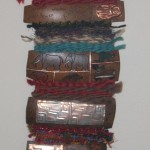
Here are some photos of more of Kathleen’s work, including a look at her Oregon studio – thanks, Kathleen! Clay and gourds are a natural pairing!


Bonnie, Akim & me, the (ahem) calligrapher

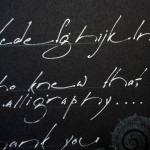
Lefties like me are challenged in many ways, but especially in the fine art of calligraphy. I’d always envied people who could take a simple work like “bread” and elevate it to super-star status with illuminated swashes. But thanks to my friend Bonnie Houser, I can now write like a calligrapher! And I’m getting better at it – AND it’s fun!
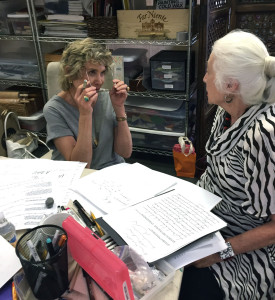
Some of you may know Bonnie as the owner of Dry Comal Creek Vineyards and Winery and some of you may know her through her art work, She’s a great friend and teacher to a lot of people. Lesta Frank and I asked Bonnie to give us a quick calligraphy lesson on an alphabet called AKIM. It was “invented” by German artist, sculptor and musician Hans-Joachim Burgert, who said,The 10spiritual material is the simple line. . .the line is a medium of free graphic discipline.”  Because this is a monolinear alphabet (no chiseled shading), anyone, even left-handed people, can do it well.

It was amazing how quickly we picked it up with Bonnie’s help. And the great thing is that there are as many personal variations of the Akim hand as their are writers. If you do a web search, you will see this for yourself. Take a look at some of the work we did with Bonnie, then give it a try!


Monday morning roundup

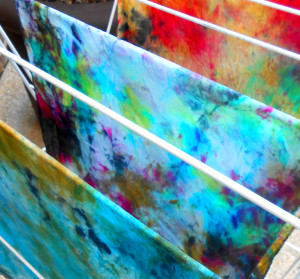
fabricGoddesses were out in force at the Goddess Banner workshop yesterday. It was a gorgeous afternoon for drying colorful, glittery fabric on the rack outside the Studio. Among the participants were Monika Astara (my favorite fashion designer) and Lisa Stamper Meyer from Roadhouse Arts, as well as several talented FASA members who specialize in surface design. So, even though we used the some of the same images, the results were totally diverse and eclectically spectacular. Take a look at the video, and then I’ll tell you about some of the techniques.

Aren’t those wonderful? We did a combination of Small Space Dyeing that Rosemary Uchniat teaches in her workshop and digital image transfer that’s done with hand sanitizer (yep!). I learned about this technique from an artist in Rehoboth, Delaware, and it works great on fabric. Basically, you print your image on an inkjet overhead transparency, spread a layer of hand sanitizer gel on your fabric, place the image face down, pat gently and leave for 15 minutes. You’ll get different results based on how much gel is on the fabric, but it works great. We protected the digital transfer by taping freezer paper on the back.
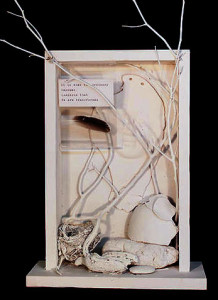
And speaking of Rosemary Uchniat, guess who won the Friday Freebie Mermaid Shard? Yep, Rosemary – congrats – it was totally random. Now she’ll have to make a mermaid!

Have a great Monday, y’all – I’m headed to NYC and Boston for a few days to see the family. Will send art reports along the way!


It takes a few eggs to hatch an altar

altar14 copy

My altar from last year titled “Illumination”

Celebration Circle’s annual invitational event, One People, Many Paths: The Sacred Art of Altars, is a personal favorite. It’s a challenge to take one of 50 plain wooden boxes and transform it into a personal artistic statement with meaning, maybe some humor, and a visual appeal that will encourage people to bid on it to benefit this very cool group of spiritual creatives. Last year’s altars show the amazing variety of artful offerings.

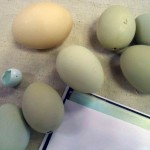
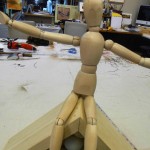
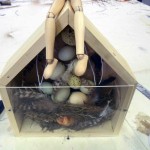
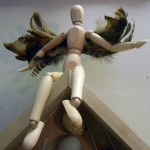
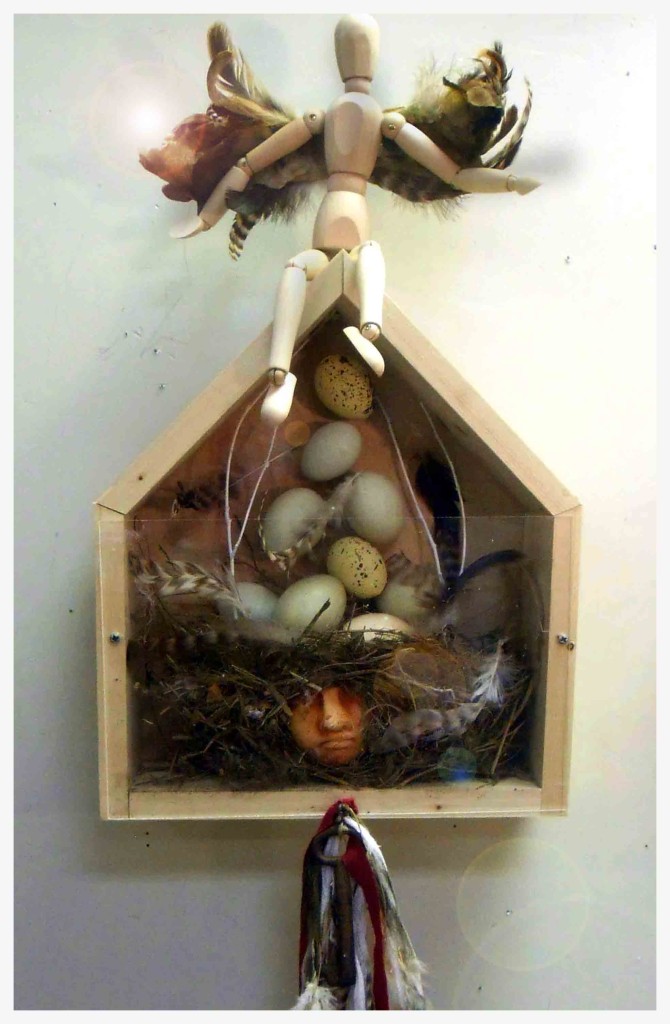
My altar for this year started with some eggs from the next-door neighbor’s chickens. I loved their shape and texture, plus there’s always the notion of what will hatch. When my friend Zippy found a nest that seemed made for the altar box, it started to come together. Want to see? Here’s how I made my altar titled “Brood, Hatch, Fly.”

Lyn Belisle "Brood, Hatch, Fly - wood, earthenware, plexiglass, found objects

Lyn Belisle “Brood, Hatch, Fly – wood, earthenware, plexiglass, found objects

Here is the quote that inspired “Brood, Hatch, Fly”:

“It may be hard for an egg to turn into a bird: it would be a jolly sight harder for it to learn to fly while remaining an egg. We are like eggs at present. And you cannot go on indefinitely being just an ordinary, decent egg. We must be hatched or go bad.” C.S. Lewis

You can see all of the Celebration Circle altars (and bid on them) at the Santikos Bijou Theater in Wonderland Mall from September 1 – 30, 2015. Now go hatch and fly.


Discharge fabric design – a cheap flashy bleach job

Shirtsm

Mike went to a garage sale on Saturday and found some brass Asian calligraphy characters that were used as wall decorations. The more I looked at them, the more I knew I didn’t want them on the wall.

But the designs were cool. So I took an old black shirt and used some diluted bleach to create a reverse stencil design in what’s called Discharge Dyeing. Discharging is the process of removing dye (by destroying or altering the dye “chromophores”) with various chemicals or bleach, often in pleasing patterns or designs through Shibori or Tie Dye methods, or by stamping, stenciling or block printing (definition from Dharma Trading Company).

brass copy Here’s what you needa black shirt (cotton, already washed), some chlorine bleach (Clorox), diluted 50/50 with water and put in a small spray bottle (label it!! Work outside!!), a non porous board like foam core to put between the front and back of the shirt to keep the bleach from bleeding through, scrap paper to mask off your bleaching area, masking tape to stick the paper to the shirt, and some INTERESTING OBJECTS to use as reverse stencils. I used the brass calligraphy symbols, but you could use anything – doilies, leaves stick-on letters, shells, twine and sticks – be creative.

Step One: Assemble your stuff on your work surface. Make sure that any stray bleach mist won’t damage the surface.

7


Step Two: Put your non-porous board between the layers of the shirt and smooth out the fabric This protects the back of the shirt and also makes the process easier by giving the surface some support.

8


Step Three: Lay out your objects in a pleasing pattern – center them if you like. You can use anything – stencils, lace, metal washers – and you can test your designs by trying them on black construction paper first – it “discharges” like black fabric.

9


Step four: Mask off everything except the area you’re going to mist with the bleach solution. Here, you can see I’m taping scrap paper around the edges of the area using blue painter’s tape.

10


Step Five: Once the masking is complete, you’re ready to spraybe careful of the fumes. Even diluted, bleach can be strong, but you are using just a small amount and working quickly. I used a little spritzer bottle and mixed about half a cup of the 50.50 water-bleach solution.

12


Step Six: Spritz the bleach solution over the exposed area of the shirt. working quickly and just misting the surface. There’s no need to soak the fabric. Pay special attention to edges of the shapes.

13


Step Seven: Watch in amazement as the color changes in seconds. Every black fabric has a distinct undercolor, some greenish, some rust. This shirt turns almost orange in the areas that are discharged with bleach.

14


Step 8 – Remove the objects(s) to test the progress. Looking good! This was a small wooden disk with a hole drilled in it – not sure where it came from, but I like the pattern it left.

16


Step Nine: Remove all of the objects carefully – no drips unless you want that effect – and make sure you like the resulting color, which usually takes less than a minute to develop), The bleach action stops automatically since you just misted the surface.

17


Step Ten blot-dry the front of the shirt with a paper towel – otherwise, you will get damp bleach on other parts of the shirt when you move it. You can use a hair dryer after you blot it, or you can just let it dry in place.

18


Step Eleven: Voila! Step back and congratulate yourself on your arty shirt – you should wash it before you wear it. This particular shirt is an “easy tee” by JJill that is much enhanced by its new design!

19


Step Twelve: Hire a cat to arrange itself artfully on your new garment – if you spread the shirt out after it comes out of the dryer, the cat may arrange itself for free whether you want it to or not.

20


There are tons of ways to do discharge dyeing on black fabric, but a diluted bleach mist will give you fine lines around a stencil. Be careful, though, don’t get bleach solution on unwanted surfaces! Or cats.